Sort by Category
- May 2026
- March 2026
- December 2025
- November 2025
- October 2025
- September 2025
- August 2025
- June 2025
- August 2024
- July 2024
- June 2024
- May 2024
- February 2024
- January 2024
- December 2023
- November 2023
- October 2023
- September 2023
- August 2023
- July 2023
- March 2023
- February 2023
- January 2023
- December 2022
- November 2022
- October 2022
- September 2022
- August 2022
- June 2022
- May 2022
- April 2022
- March 2022
- February 2022
- January 2022
- December 2021
- November 2021
- October 2021
- September 2021
- August 2021
- July 2021
- June 2021
- May 2021
- April 2021
- March 2021
- February 2021
- January 2021
- December 2020
- November 2020
- October 2020
- September 2020
- August 2020
- July 2020
- June 2020
- May 2020
- April 2020
- March 2020
- February 2020
- January 2020
- December 2019
- November 2019
- October 2019
- September 2019
- August 2019
- July 2019
- June 2019
- May 2019
- April 2019
- March 2019
- February 2019
- January 2019
- December 2018
- November 2018
- October 2018
- September 2018
- August 2018
- July 2018
- June 2018
- May 2018
- April 2018
- March 2018
- February 2018

Dark Chocolate Tahini Cookies
These gluten-free dark chocolate tahini cookies are made with almond flour, coconut flour, and rich tahini for the perfect crispy-outside, soft-inside texture. Naturally sweetened with coconut sugar and loaded with dark chocolate chunks—your new favorite healthy cookie!
These gluten-free dark chocolate tahini cookies are made with almond flour, coconut flour, and rich tahini for the perfect crispy-outside, soft-inside texture. Naturally sweetened with coconut sugar and loaded with dark chocolate chunks—your new favorite healthy cookie!

There’s something about the combination of dark chocolate and tahini that feels both nostalgic and elevated at the same time. I actually stumbled onto these cookies one cold afternoon when I was craving something cozy but didn’t want to make a full-on decadent dessert. I opened my pantry, spotted a jar of tahini I usually save for dressings, and thought… what if this could work in a cookie?
Spoiler: it absolutely works.
The earthy richness of tahini paired with sweet coconut sugar and melty dark chocolate creates this irresistible balance of nutty, toasty sweetness. And the texture? Chef’s kiss. Crispy around the edges, soft and almost brownie-like in the center — the kind of cookie that makes you pause mid–first bite.
These quickly became a go-to in our house, especially when I want something that feels indulgent but still uses simple, wholesome ingredients. If you love a bakery-style cookie with a little twist, you’re going to be obsessed with these Dark Chocolate Tahini Cookies. Serve them warm with a glass of cold milk and thank me later.

These cookies are the perfect mix of nutty, rich, and deeply chocolatey. The tahini adds a subtle sesame flavor that pairs so well with dark chocolate, while the almond and coconut flour combination creates crisp edges and a soft, chewy middle. They’re naturally gluten-free, sweetened with coconut sugar, and truly next-level with a sprinkle of flaky sea salt.
⬇️ 🎥 A YouTube video tutorial below if you want to watch the full step-by-step!
✨ If you try this recipe, make sure to tag me in your socials so I can cheer you on in the kitchen! Or leave feedback in the comments!
Dark Chocolate Tahini Cookies (Gluten-Free, Soft + Crispy!)
These gluten-free dark chocolate tahini cookies are made with almond flour, coconut flour, and rich tahini for the perfect crispy-outside, soft-inside texture. Naturally sweetened with coconut sugar and loaded with dark chocolate chunks - your new favorite healthy cookie!
Coconut flour behaves differently than most flours because it absorbs significantly more moisture. Small measurement differences can affect the dough texture, which is why the updated version includes additional guidance for best results.
Ingredients
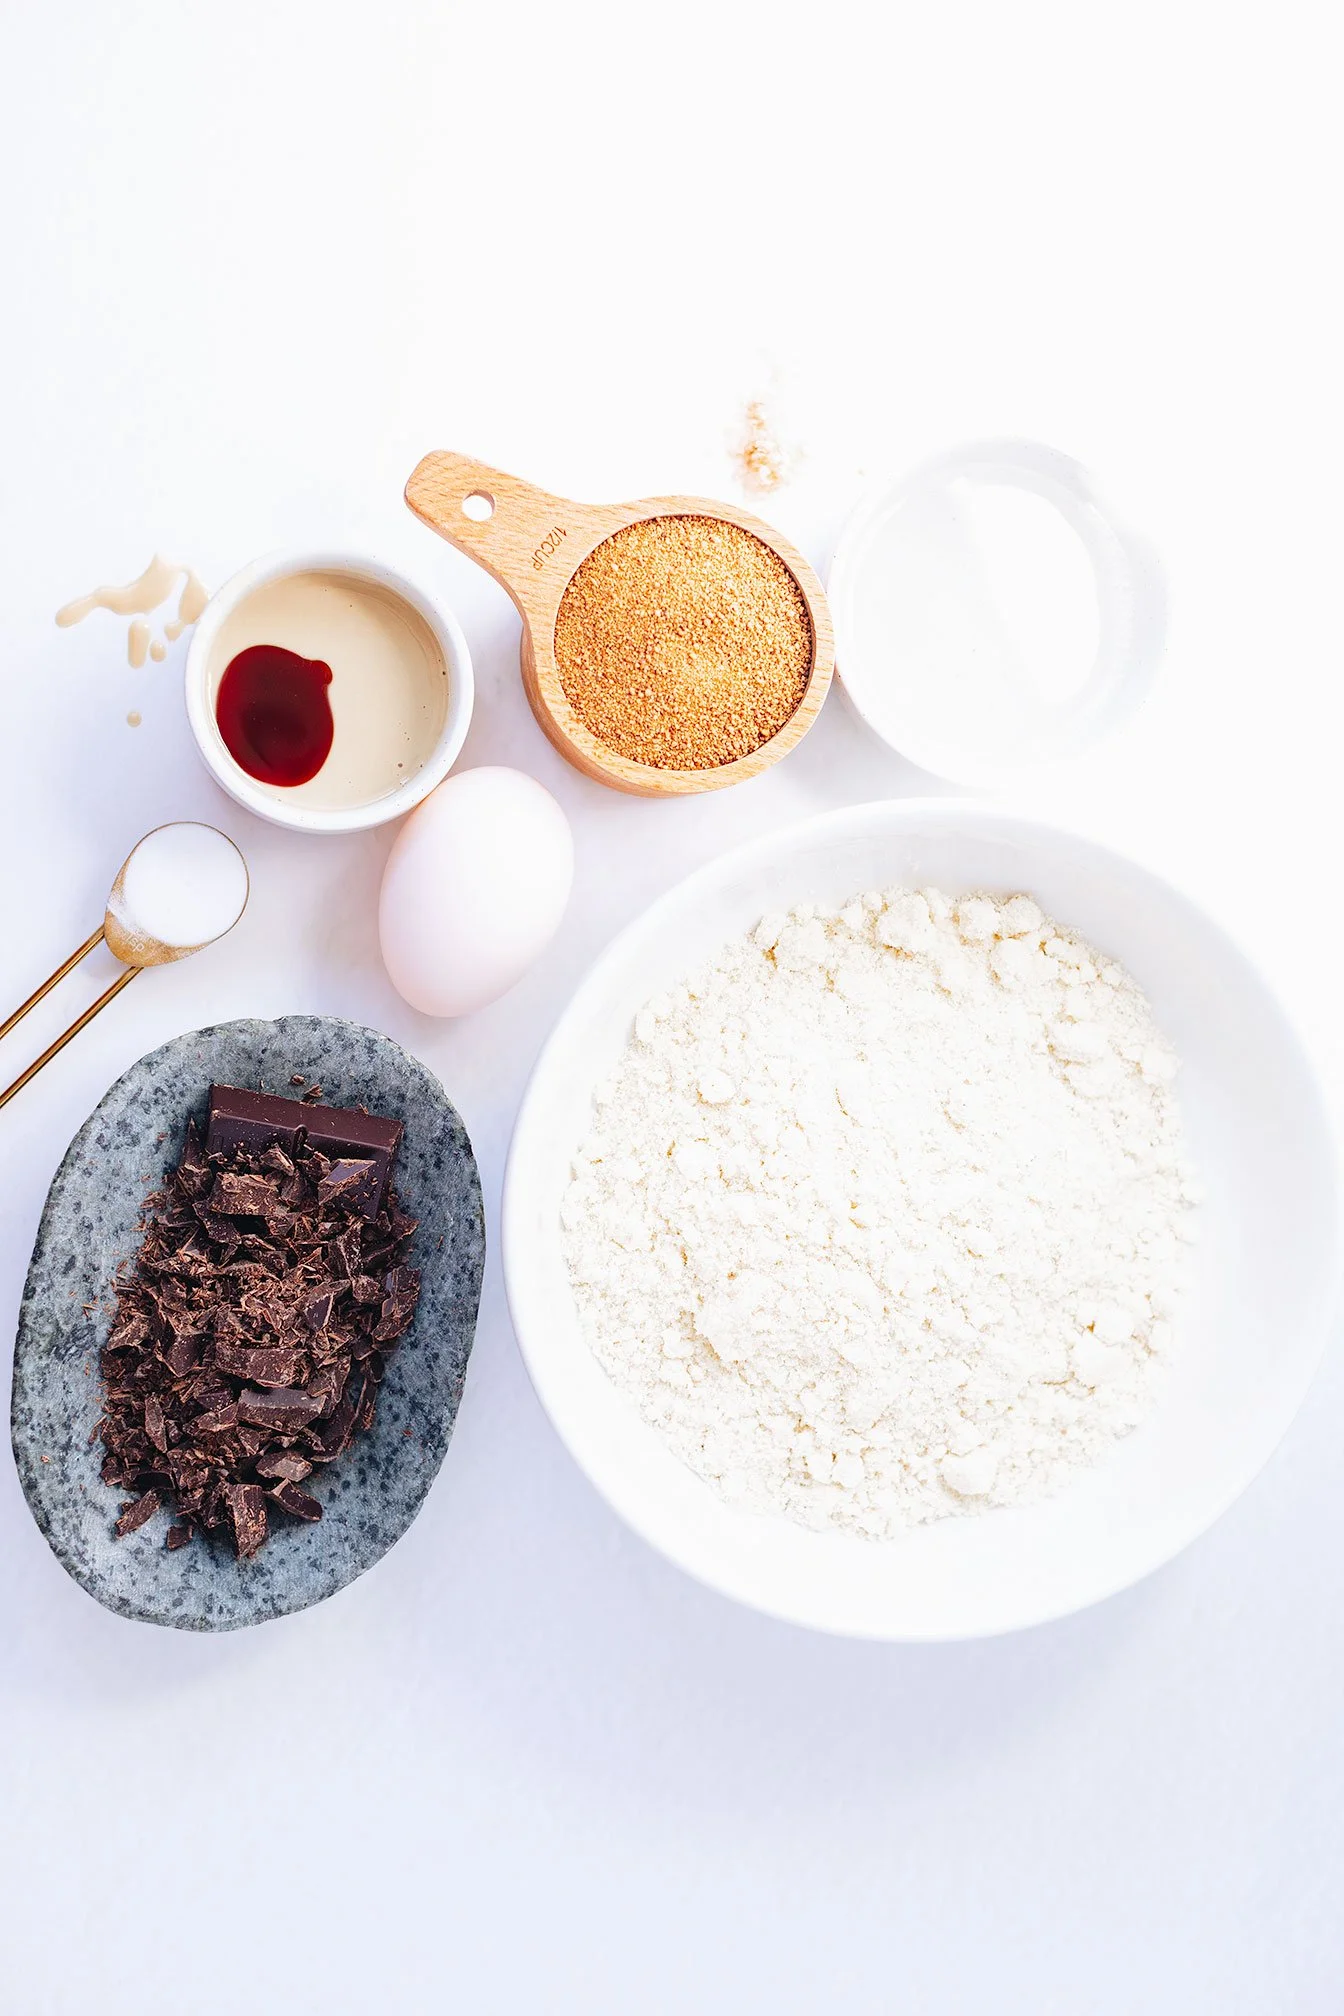
1 ¼ cups almond flour
¾ cup coconut flour (spooned and leveled, not packed)
2 tbsp arrowroot starch (optional but recommended for better texture)
⅓ cup coconut oil or grass-fed butter, melted and slightly cooled
½ cup coconut sugar
1 large egg, room temperature
¼ cup tahini (well stirred and pourable)
1 tsp vanilla extract
¾ tsp baking soda
2.1 oz dark chocolate bar, chopped or 1 cup dark chocolate chunks/chips
Flaky sea salt, for topping
Directions
Mix the dry ingredients
In a medium bowl, whisk together the almond flour, coconut flour, arrowroot starch (if using), coconut sugar, and baking soda.
Mix the wet ingredients
In another bowl, whisk together the melted coconut oil or butter, egg, tahini, and vanilla extract until smooth.
Combine
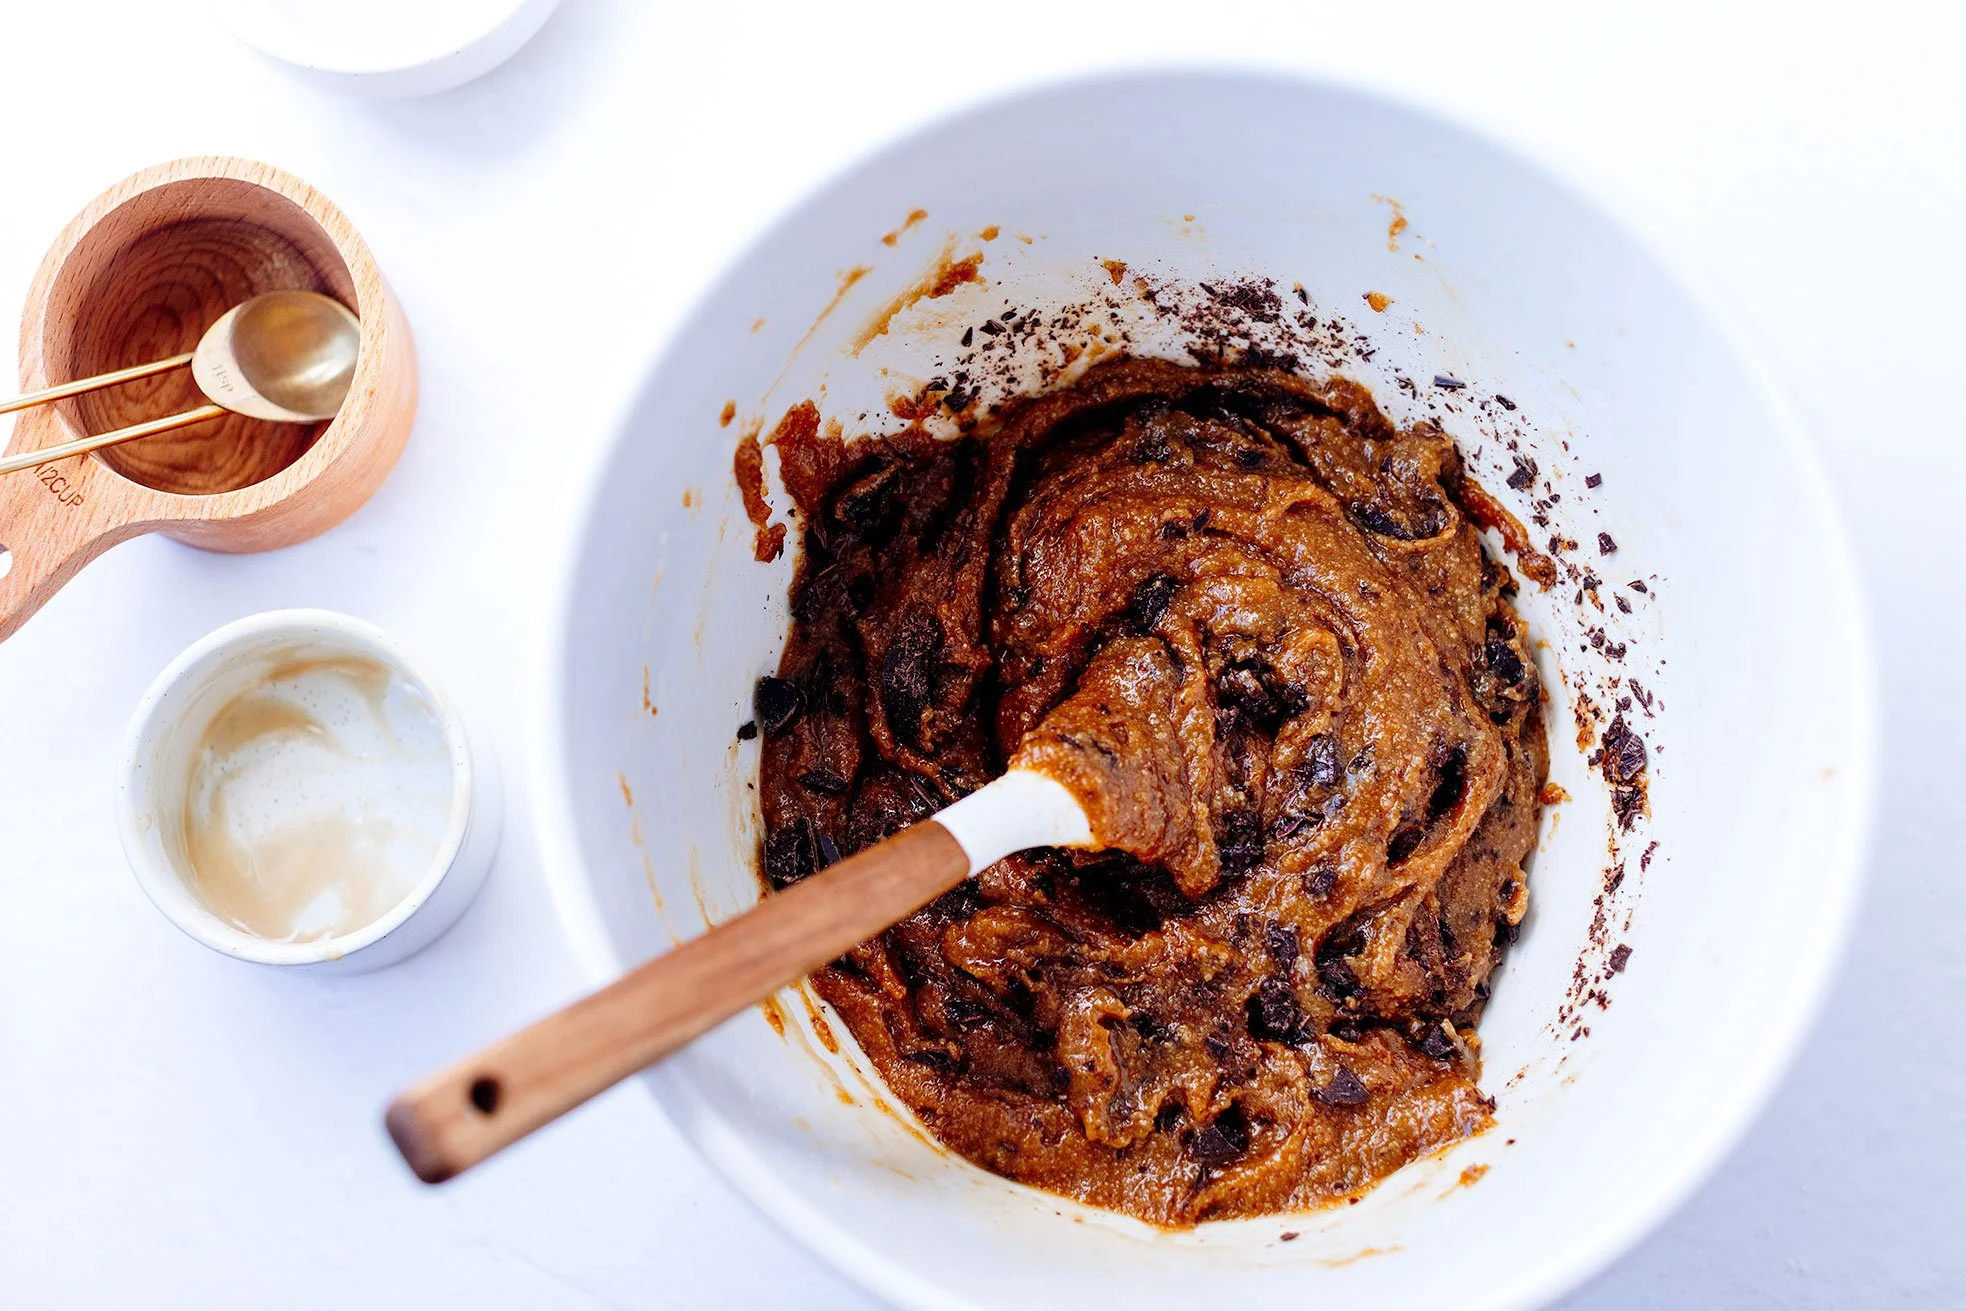
Pour the wet ingredients into the dry ingredients and stir until a thick dough forms. Fold in the chopped dark chocolate.
If the dough feels too crumbly to hold together, mix in 1–2 tablespoons of water or milk until it forms a scoopable dough.
Chill
Cover the dough and refrigerate for at least 1 hour (or up to overnight). Chilling helps the coconut flour fully hydrate and improves the texture of the cookies.
Bake
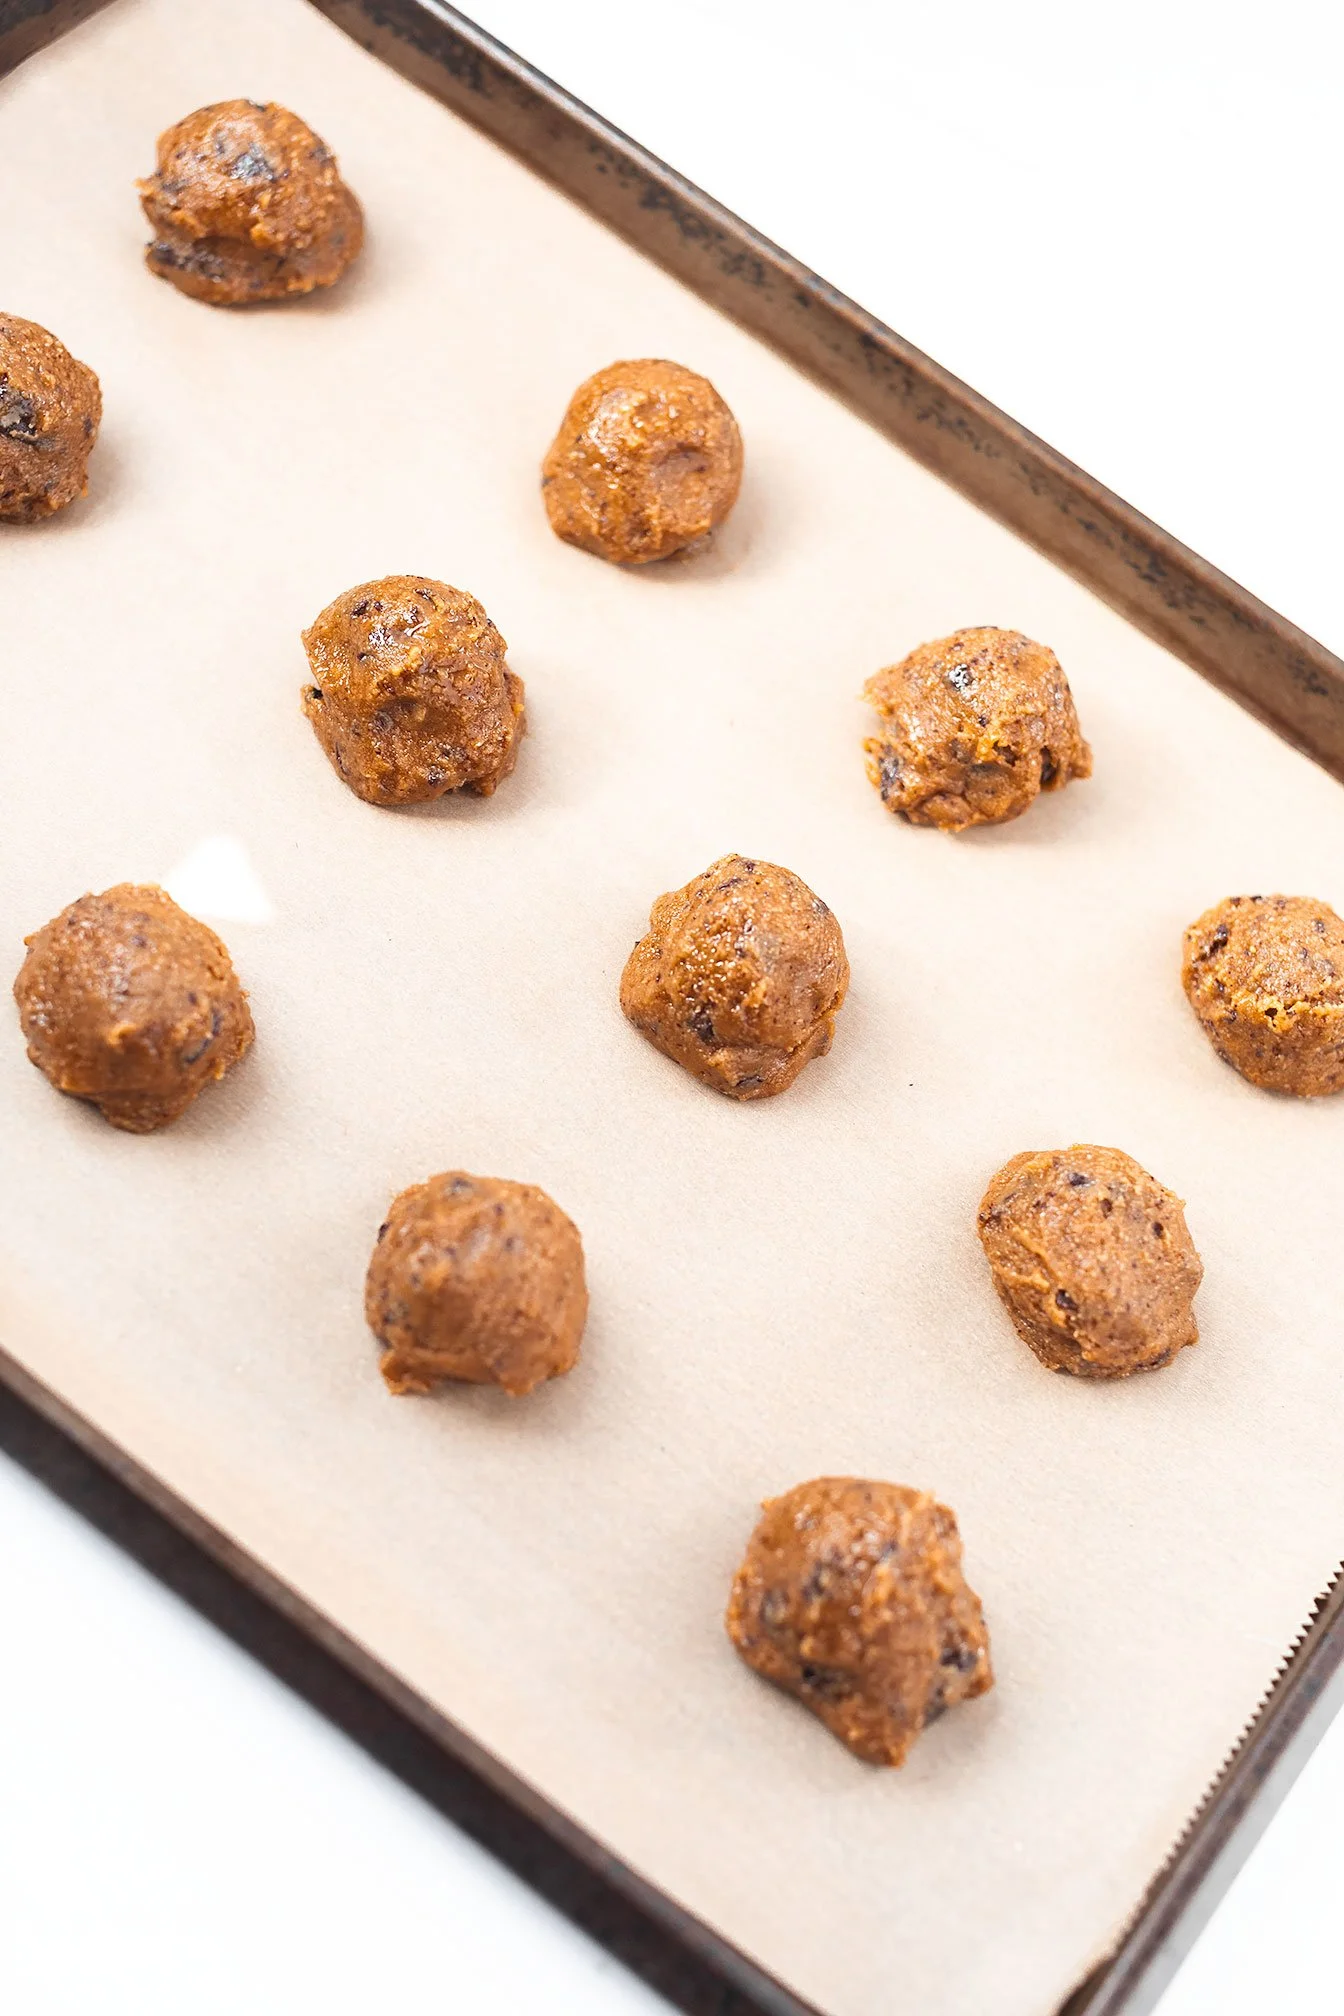
Preheat the oven to 350°F and line a baking sheet with parchment paper.
Scoop dough into balls (about 1–2 tablespoons each) and place on the baking sheet.
Because coconut flour cookies don’t spread much on their own, gently press each dough ball slightly to flatten.
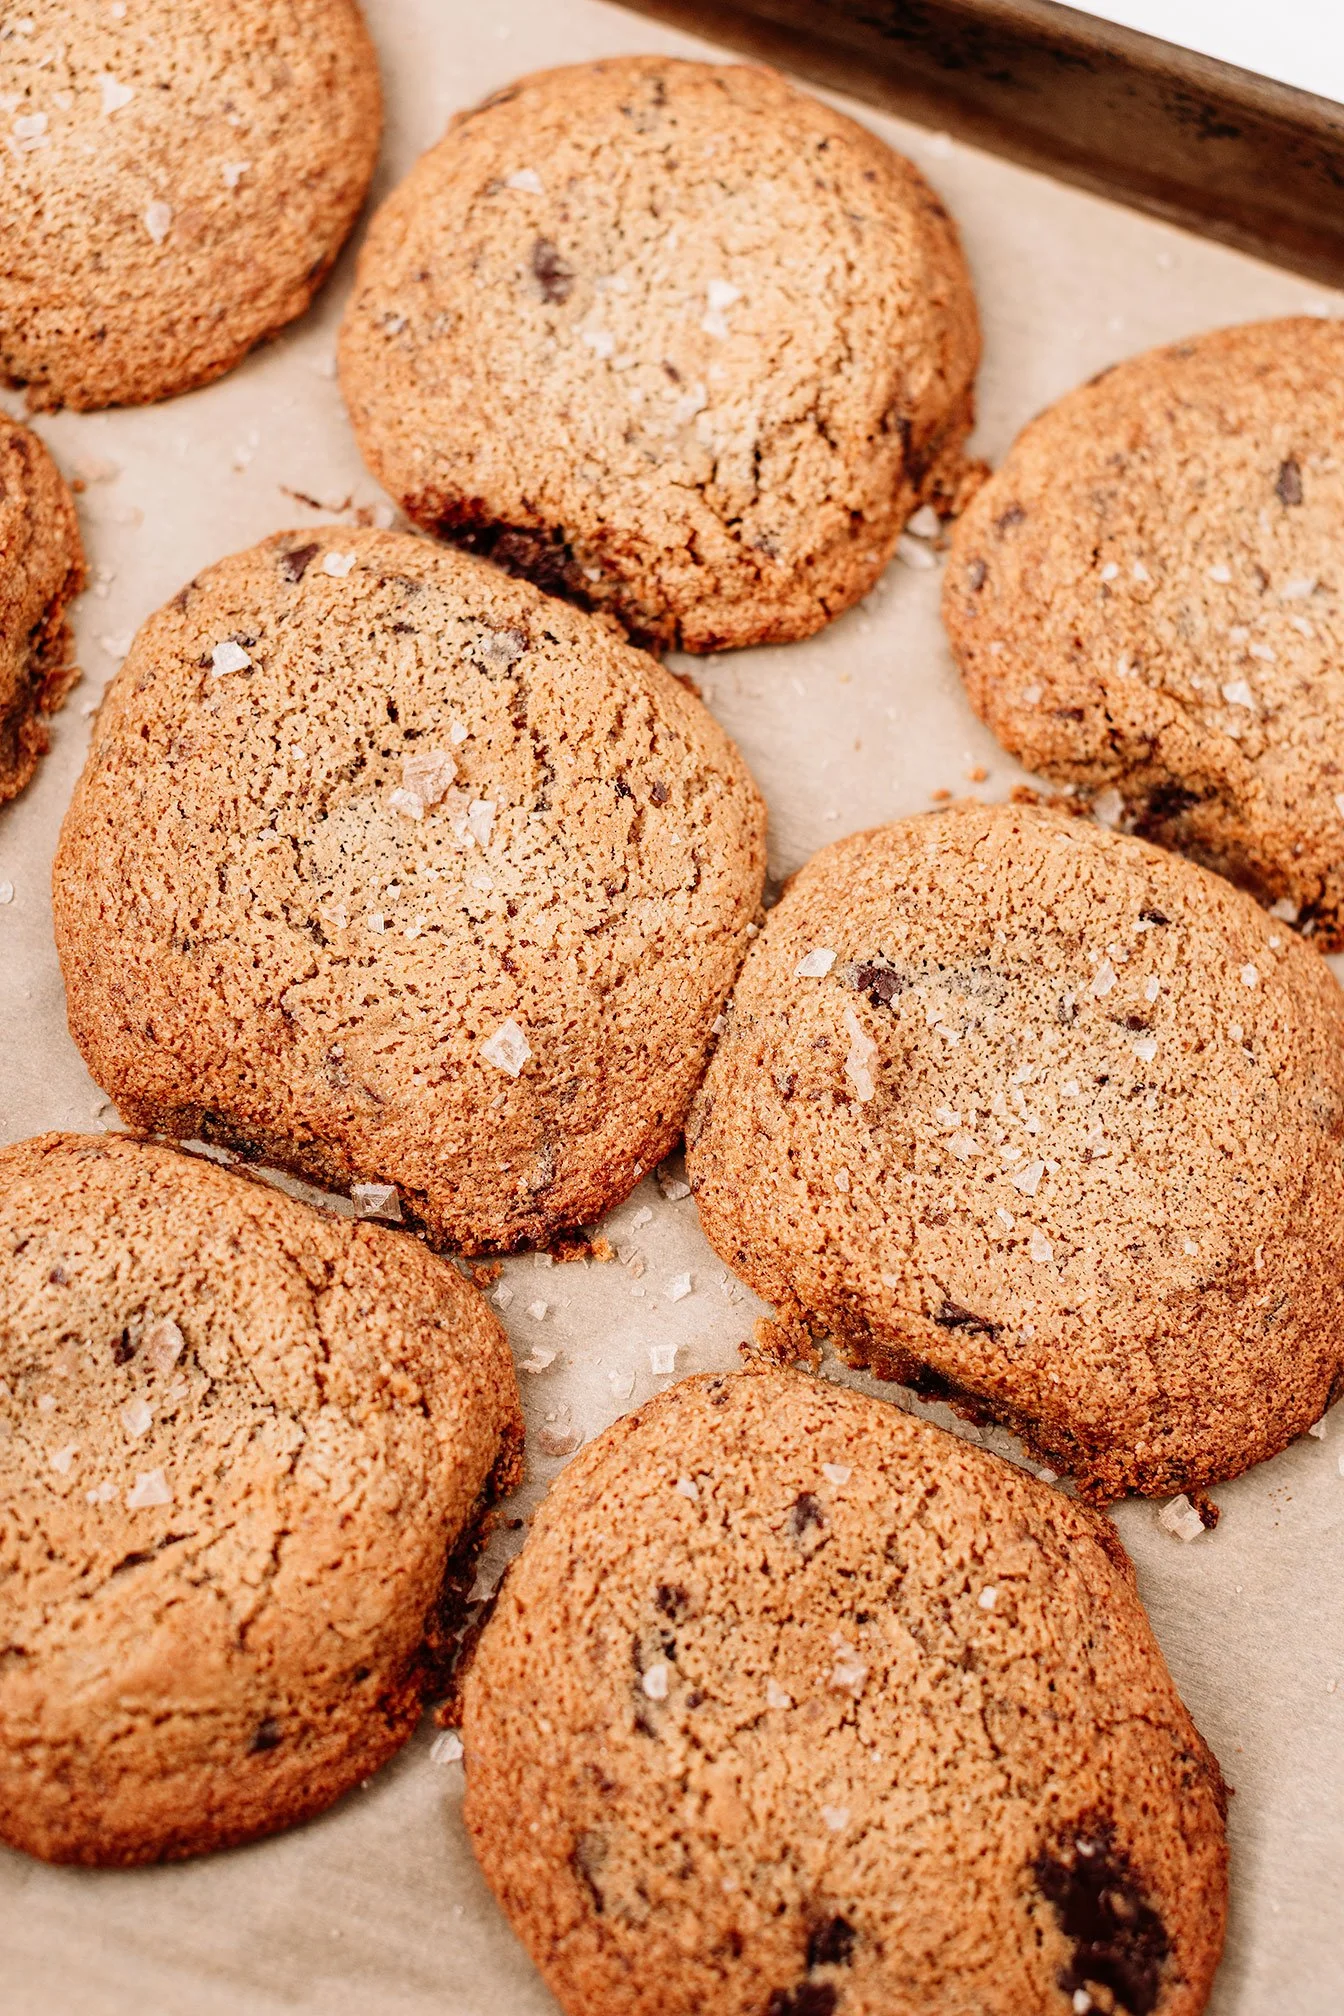
Bake for 9–11 minutes, until the edges are lightly golden but the centers still look soft.
Finish + Serve
Immediately sprinkle the tops with flaky sea salt.
Let cookies cool on the tray for 10 minutes before transferring to a rack. This helps them set properly.
Enjoy warm with a cold glass of milk!
Notes
Coconut flour should be spooned into the measuring cup and leveled, not packed, since packing can make the dough dry.
Tahini should be well stirred so the oil is evenly incorporated.
Dough color may vary depending on the brand of tahini and coconut sugar used.
If the dough feels dry, adding 1–2 tablespoons of water or milk will bring it together.

Halloween Munch Dark Chocolate Bark
Halloween bark recipe is as simple as they come! Using only 3-ingredients to make the bark, and topped with your favorite go-to halloween candy products or venturing out into the healthier but still spookier side!
Halloween munch dark chocolate bark is a fun and creative way of using healthier Halloween candy products!

For October’s virtual cooking class, I wanted to create a fun, festive and kid friendly dessert using healthier candy products. It’s so easy to switch out sugar and overly processed-filled Halloween candy products with healthier brands like Yum Earth, That’s It, Hu Kitchen and so much more (product recommendations for this recipe at the bottom!)


Halloween bark recipe is as simple as they come! Using only 3-ingredients to make the bark, and topped with your favorite go-to halloween candy products or venturing out into the healthier but still spookier side!

FAQs and tips on making dark chocolate bark:
After the chocolate has cooled, it is hard to spread or for toppings to stick so work quickly while your chocolate is still warm!
Storage? If the chocolate bark is set out at room temperature for too long, it will start to melt so best to store in the fridge for about a week or the freezer for 2 months. Don’t expect it to last that long in your house, though!
A spatula or back of a spoon are the best tools to spread the chocolate across a parchment paper lined baking sheet.
You can obviously use a double broiler to melt your chocolate but the fastest and easiest method is simply using a microwave! Microwave in 30 second increments while stirring until melted.


Other great Halloween recipes: spookylicious green smoothie
If you try this recipe, let us know! Leave a comment, rate it, and don’t forget to tag a photo to #fromtherootsblog on Instagram. We love seeing what you come up with!
Halloween munch dark chocolate bark is a fun and creative way of using healthier Halloween candy products!
SERVINGS: 6-8 | PREP TIME: 5 MIN | COOK TIME: N/A
Ingredients
2 cups dark chocolate chips (about 12 oz)
1/3 cup white chocolate chips
1 Tbsp+ 1 tsp coconut oil
1/4 cup candy corn
1/4 cup gummy worms
1/4 cup popcorn
Halloween sprinkles
Directions
Line a medium/large baking sheet with parchment paper or aluminum foil leaving overhang on at least two sides.
Add the chocolate chips and 1 Tbsp coconut oil to a microwave-safe bowl and microwave for 30 sec. Stir with a spoon and continue to warm in 30 sec increments until melted.
Spread the melted chocolate across the prepared baking sheet and use a rubber or offset spatula to smooth into an even layer.
Melt the white chocolate and 1 tsp oil in a separate bowl for 30 sec increments until smooth.
Drizzle the white chocolate in a “spiderweb or mummy style” across the baking sheet of melted dark chocolate.
Place candies, popcorn, and sprinkles on top of the bark while melted then place the baking sheet in the fridge or freezer for 1 hr to harden. Once hard, use a knife to cut into pieces of bark and enjoy!
Notes
Keep bark in an airtight container in the fridge or freezer until ready to eat!
SHOP OUR FAVORITE INGREDIENTS FOR THIS RECIPE!


Coconut Milk Panna Cotta
When I was in Italy, panna cotta was one of my favorite desserts! And fortunately enough, my body was able to tolerate the luxurious mixture of whole milk and heavy cream. But when ordering panna cotta from an Italian restaurant in the states, it definitely hits me (and my gut!) differently. Lol
So that is why I have created a healthy spin on the traditional panna cotta, using full fat canned coconut milk. Not only is this dessert dairy free, but it’s also free of refined sugar using pure maple syrup as the sweetener.
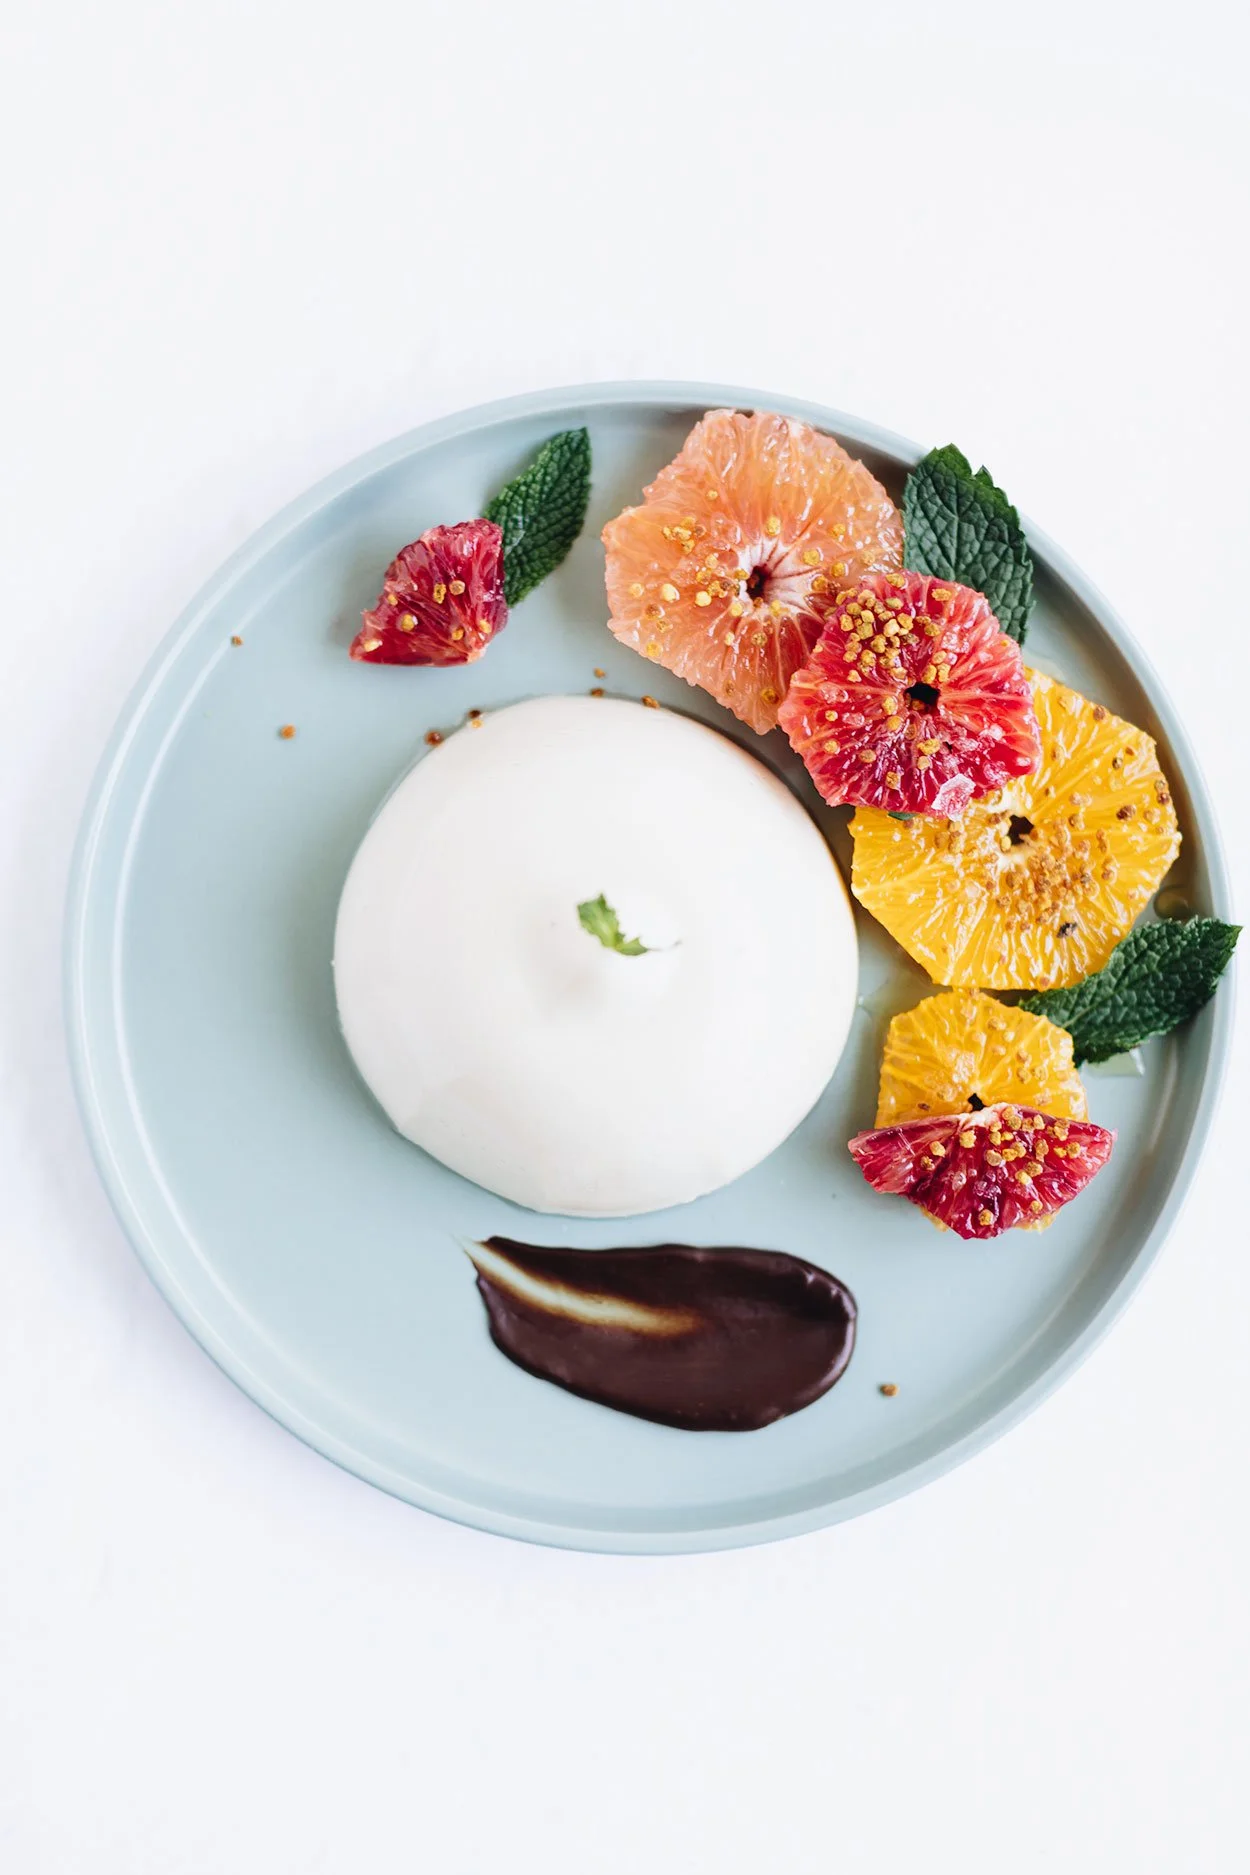
Coconut Milk Panna Cotta - A healthy spin on a classic Italian dessert that’s dairy-free, refined sugar-free and gluten-free. Accompanied by your choosing of honey citrus compote, strawberry sauce and dark chocolate sauce!
When I was in Italy, panna cotta was one of my favorite desserts! And fortunately enough, my body was able to tolerate the luxurious mixture of whole milk and heavy cream. But when ordering panna cotta from an Italian restaurant in the states, it definitely hits me (and my gut!) differently. Lol
So that is why I have created a healthy spin on the traditional panna cotta, using full fat canned coconut milk. Not only is this dessert dairy free, but it’s also free of refined sugar using pure maple syrup as the sweetener.

Travel nostalgia birthed this recipe but also the idea of using bovine gelatin. Recently, I have switched over to using Perfect Supplements as my main supplement source - taking desiccated liver capsules as my “multi-vitamin” and switching over to their hydrolyzed collagen powder. And now, I have been wanting to experiment using their bovine gelatin.
To give you the lowdown on this form of gelatin:
Made with 100% beef gelatin (collagen protein)
Sourced exclusively from brazilian pasture raised (grass fed) cows
The only gelatin to receive perfectly pure certification
And is great for recipes that call for gelatin or a gelling or thickening agent. (i.e. soups, fruit gelatin, gummy treats, custards, marshmallows and more!)
If you want to try it for yourself, here is CANDACE10 for 10% off your first order!
Now, back to Panna Cotta!


A couple tips when making this dish:
Make sure to not boil the coconut milk or the gelatin will lose its setting power
The consistency of panna cotta should have a soft jiggly texture.
Panna cotta can be made ahead of time (up to 2 days) and stored in the fridge.
You can easily double the recipe when making for a crowd or dinner party!
Instead of vanilla extract, you could use ½ vanilla bean.
If you try this recipe, let us know! Leave a comment, rate it, and don’t forget to tag a photo to #fromtherootsblog on Instagram. We love seeing what you come up with!
Coconut Milk Panna Cotta - A healthy spin on a classic Italian dessert that’s dairy-free, refined sugar-free and gluten-free. Accompanied by your choosing of honey citrus compote, strawberry sauce and dark chocolate sauce!
4 servings | Cook time 10 min | Prep Time 20 min
Ingredients
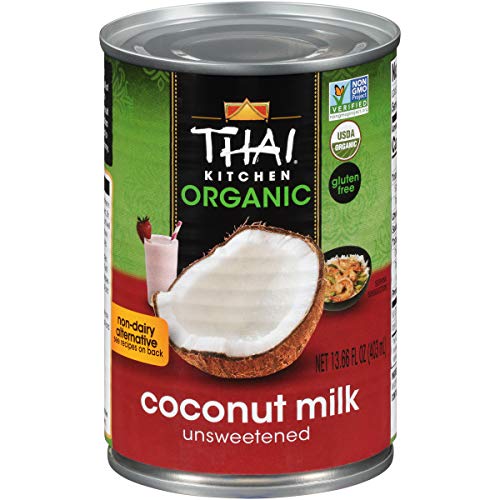
1 can full fat unsweetened coconut milk
⅓ cup pure maple syrup
1 scoop or ¼ oz gelatin
1 tsp vanilla extract
Strawberry sauce
2 cups fresh or frozen strawberries, hulled and sliced
3 Tbsp water
1 Tbsp organic sugar or pure maple syrup
Juice of half lemon
Honey citrus compote
1-3 citrus fruits (grapefruit, orange, blood orange)
Honey
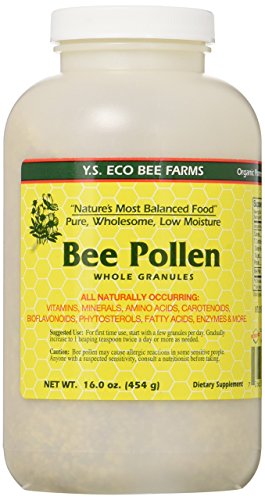
Bee pollen
Fresh mint leaves
Directions
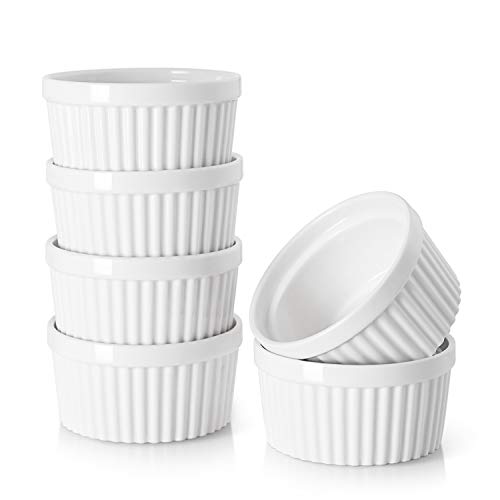
Grease 4 small dishes (ie ramekins, bowls, pudding dishes) to pour the panna cotta into.
In a small saucepan, whisk together half of the coconut milk and gelatin until combined. Set aside for about 5-10 min at room temperature to let the gelatin bloom.
Place the saucepan over medium heat and add vanilla. Whisk thoroughly until gelatin dissolves. Continue to heat until steam rises (but do not bring to a boil). Turn off the heat.
Remove from heat and whisk in maple syrup and remaining coconut milk. Pour the mixture equally into each dish, let sit at room temperature before placing them in the fridge for 2-3 hours.
While the panna cotta is setting, prepare sauce mixture or citrus salad, or both!
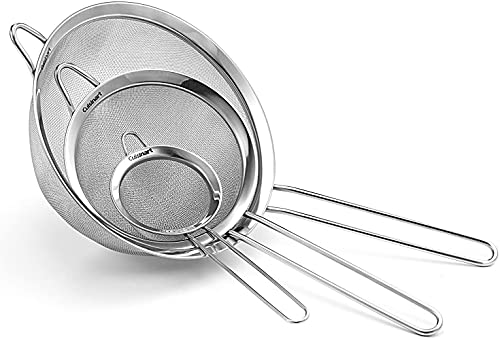
For the strawberry sauce: add sliced strawberries, lemon juice, honey and water to a medium pot. Cook for 7-12 minutes and remove from heat. Blend using an immersion blender, food processor or blender. Strain the sauce into a sieve (to remove strawberry seeds) and transfer sauce to a bowl or jar until ready to use.
For the citrus salad: slice the citrus fruits, and remove any pith. Cut in smaller pieces if desired. Add a drizzle of honey, bee pollen and mint!
To serve, you can either serve them directly in the dish or unmold them onto a plate. Top with strawberry sauce, citrus salad, or chocolate sauce and enjoy!
SHOP OUR FAVORITE TOOLS + INGREDIENTS FOR THIS RECIPE!