Sort by Category
- May 2026
- March 2026
- December 2025
- November 2025
- October 2025
- September 2025
- August 2025
- June 2025
- August 2024
- July 2024
- June 2024
- May 2024
- February 2024
- January 2024
- December 2023
- November 2023
- October 2023
- September 2023
- August 2023
- July 2023
- March 2023
- February 2023
- January 2023
- December 2022
- November 2022
- October 2022
- September 2022
- August 2022
- June 2022
- May 2022
- April 2022
- March 2022
- February 2022
- January 2022
- December 2021
- November 2021
- October 2021
- September 2021
- August 2021
- July 2021
- June 2021
- May 2021
- April 2021
- March 2021
- February 2021
- January 2021
- December 2020
- November 2020
- October 2020
- September 2020
- August 2020
- July 2020
- June 2020
- May 2020
- April 2020
- March 2020
- February 2020
- January 2020
- December 2019
- November 2019
- October 2019
- September 2019
- August 2019
- July 2019
- June 2019
- May 2019
- April 2019
- March 2019
- February 2019
- January 2019
- December 2018
- November 2018
- October 2018
- September 2018
- August 2018
- July 2018
- June 2018
- May 2018
- April 2018
- March 2018
- February 2018

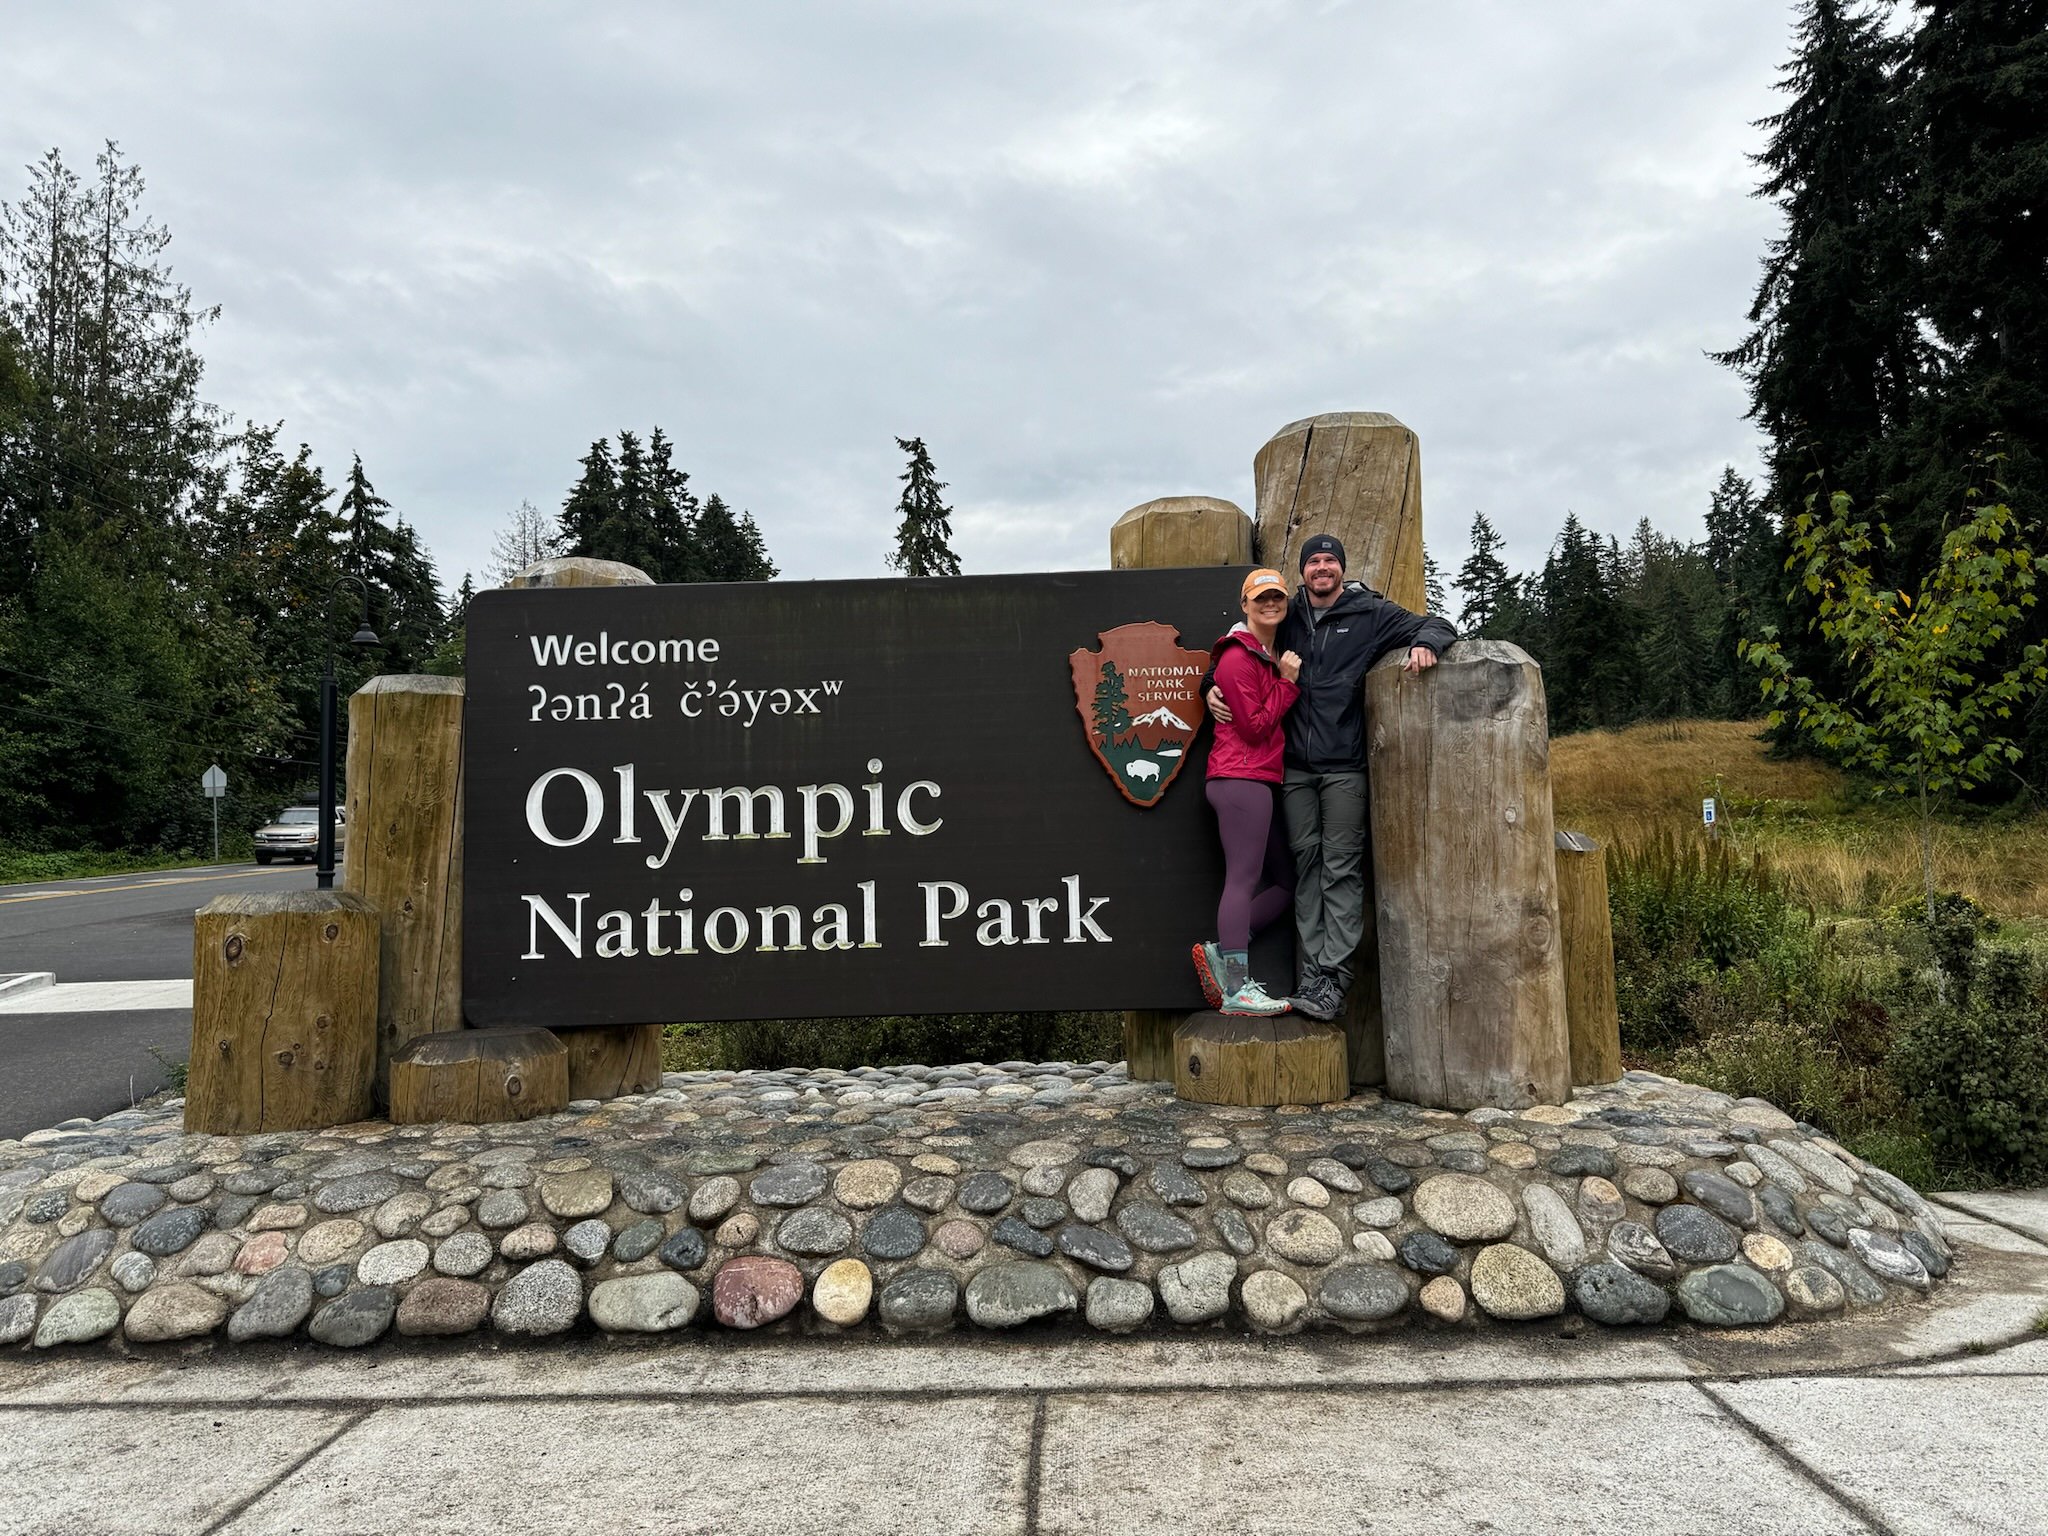
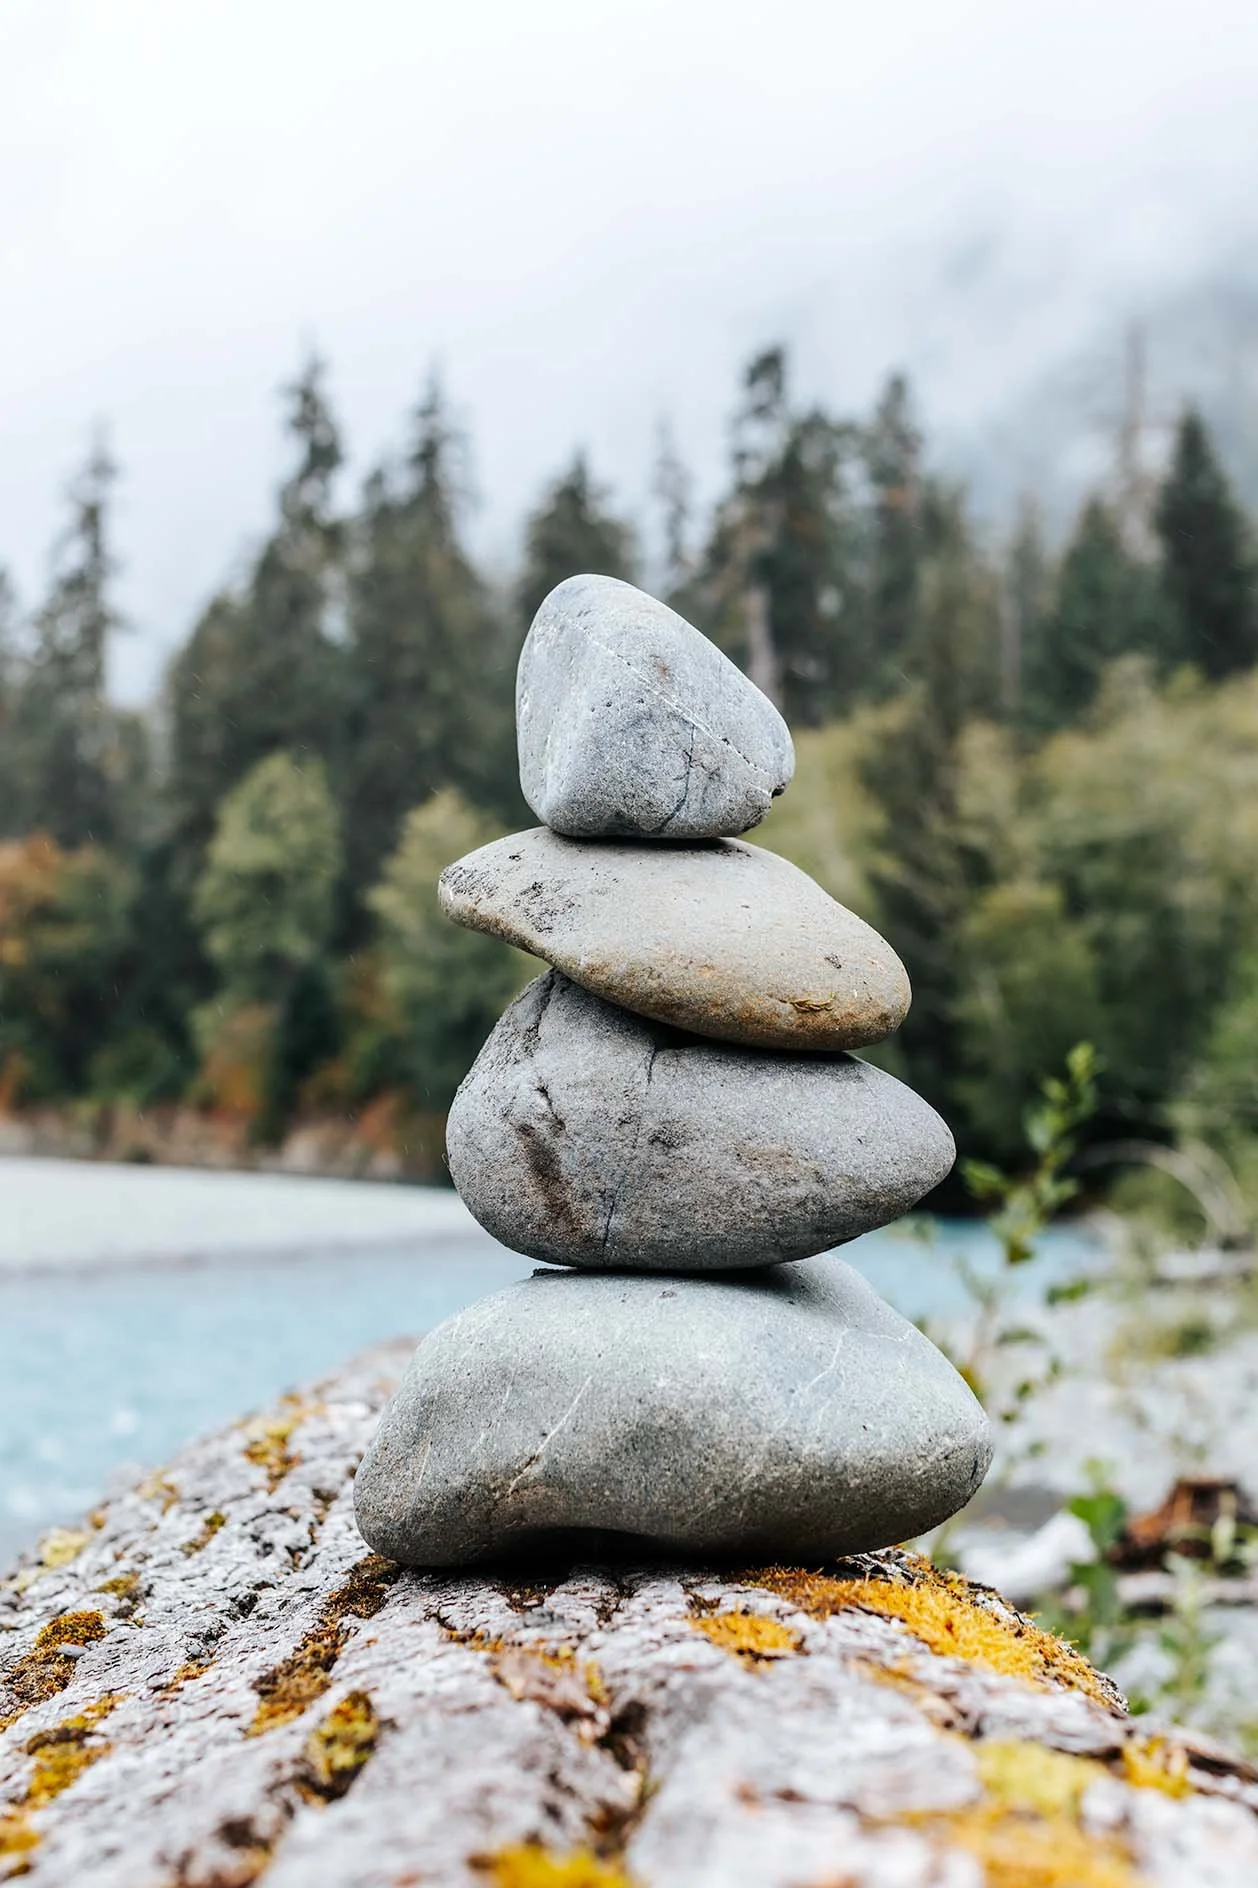
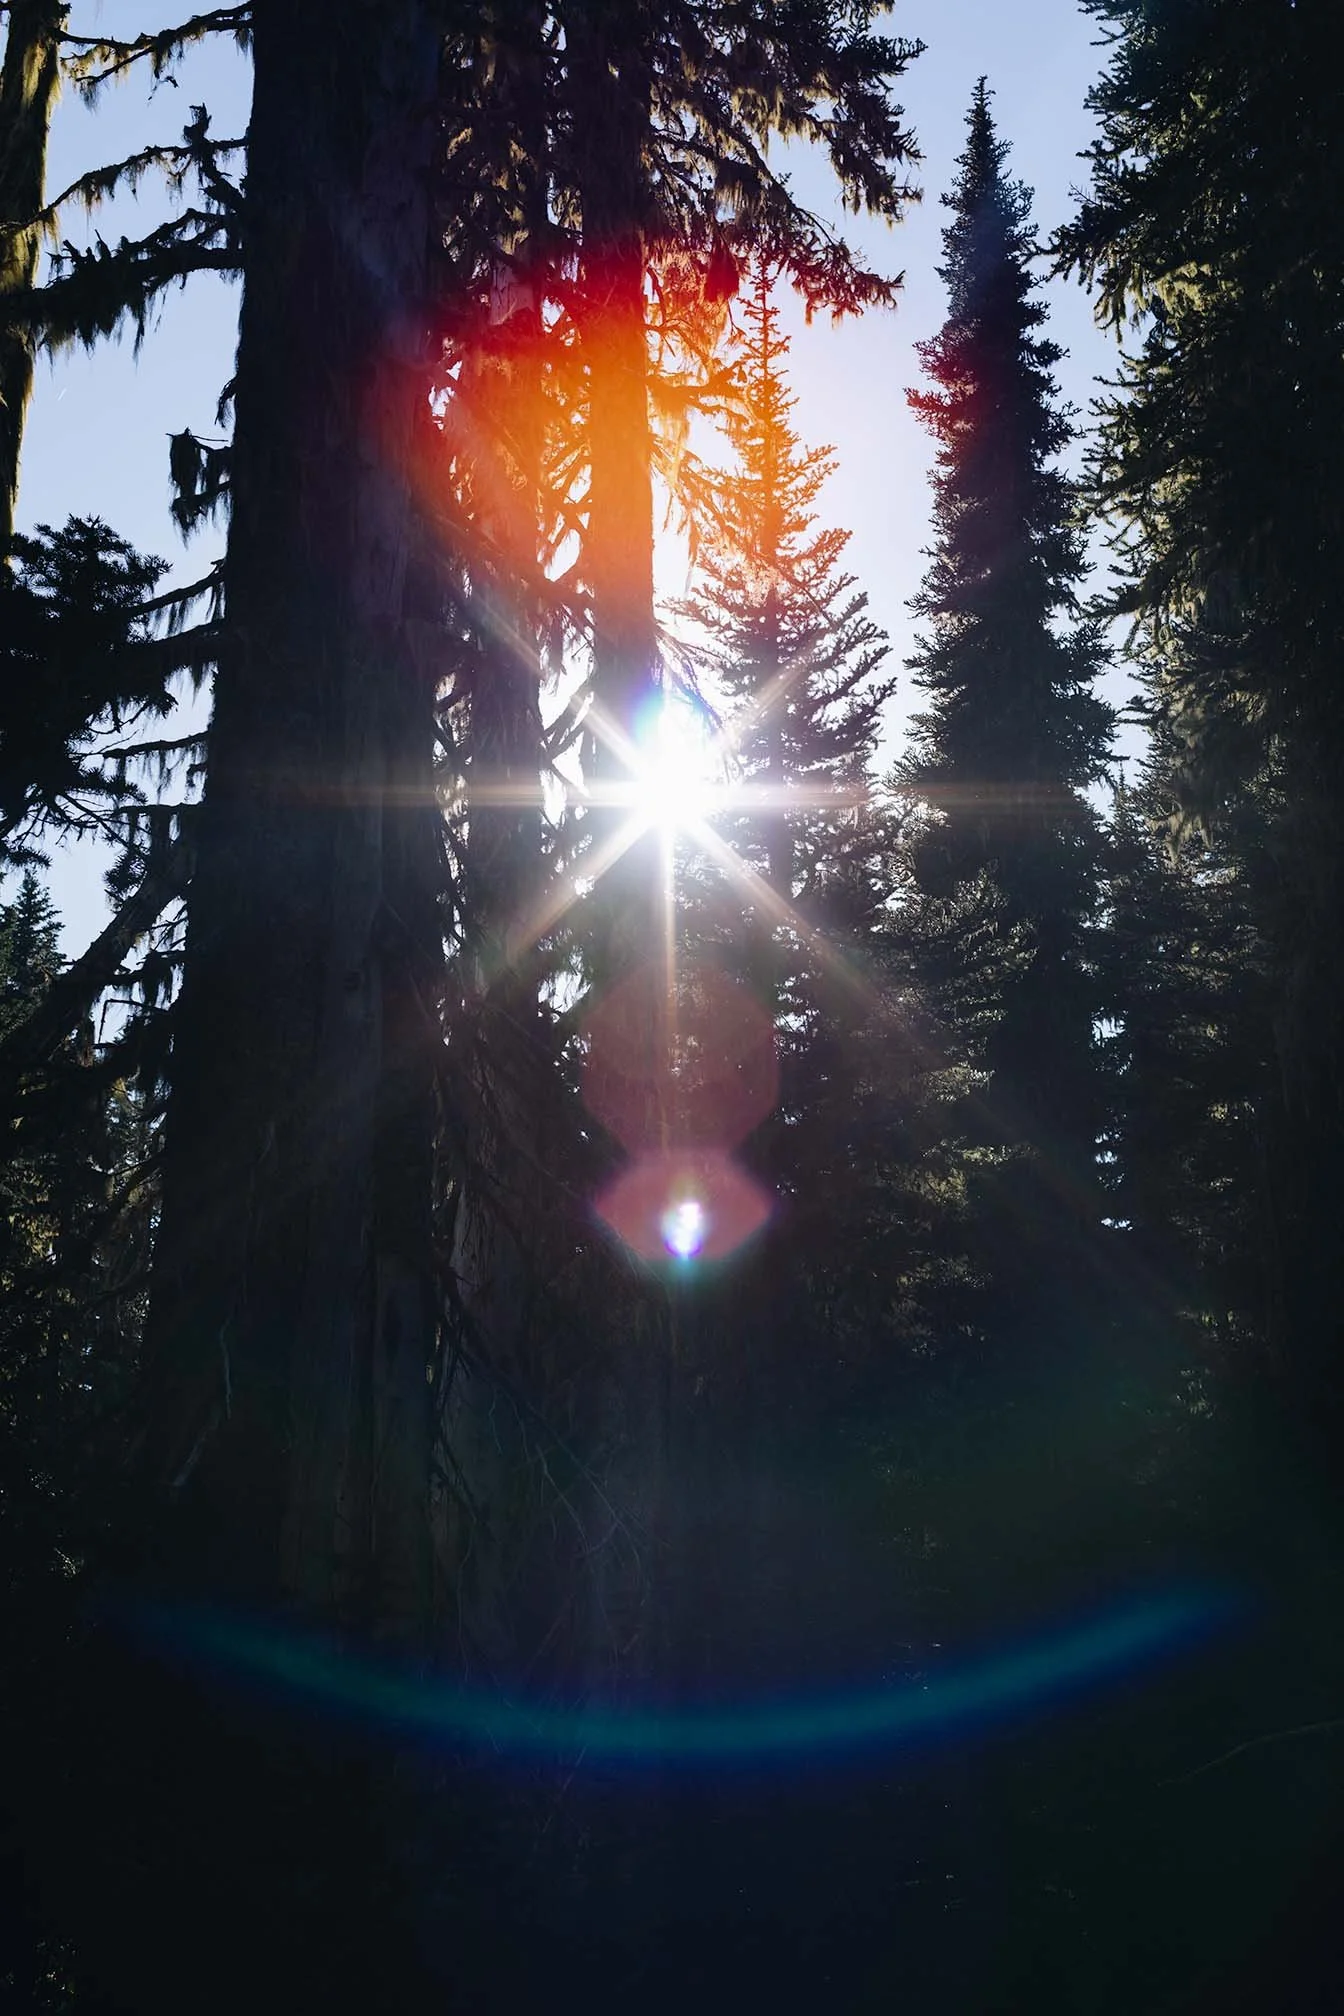
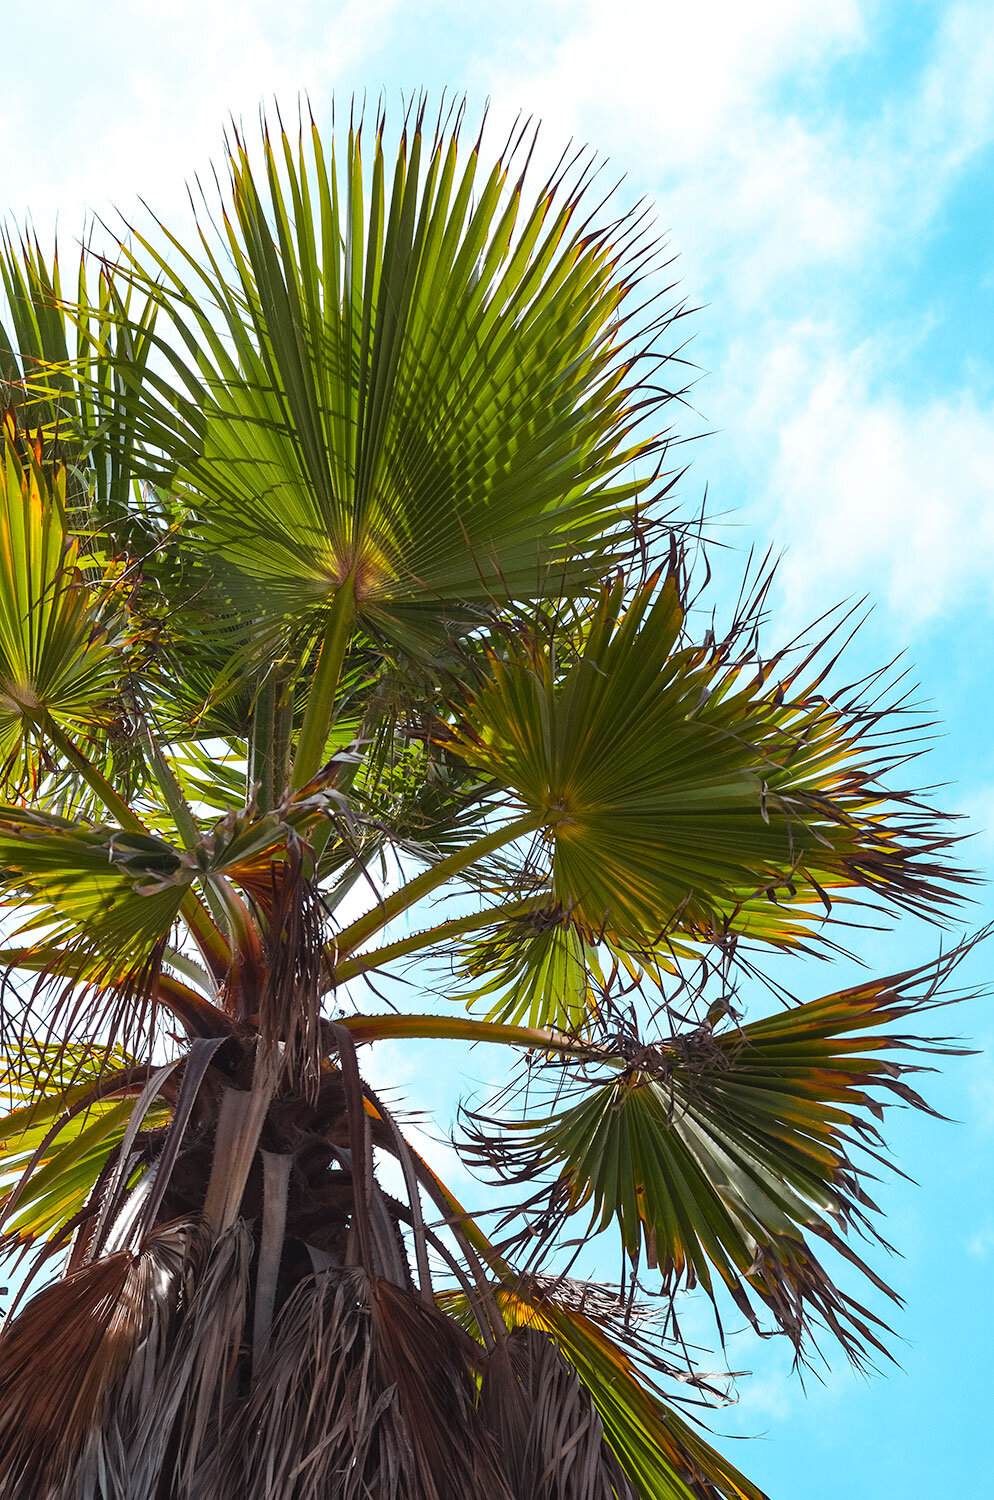
9-Day Adventure Through Mount Rainier, Olympic, and North Cascades National Parks in Washington
You’ll receive tips and healthy food suggestions for planning a 9-day journey dedicated exclusively to Washington's national parks—Mount Rainier, Olympic, and North Cascades.

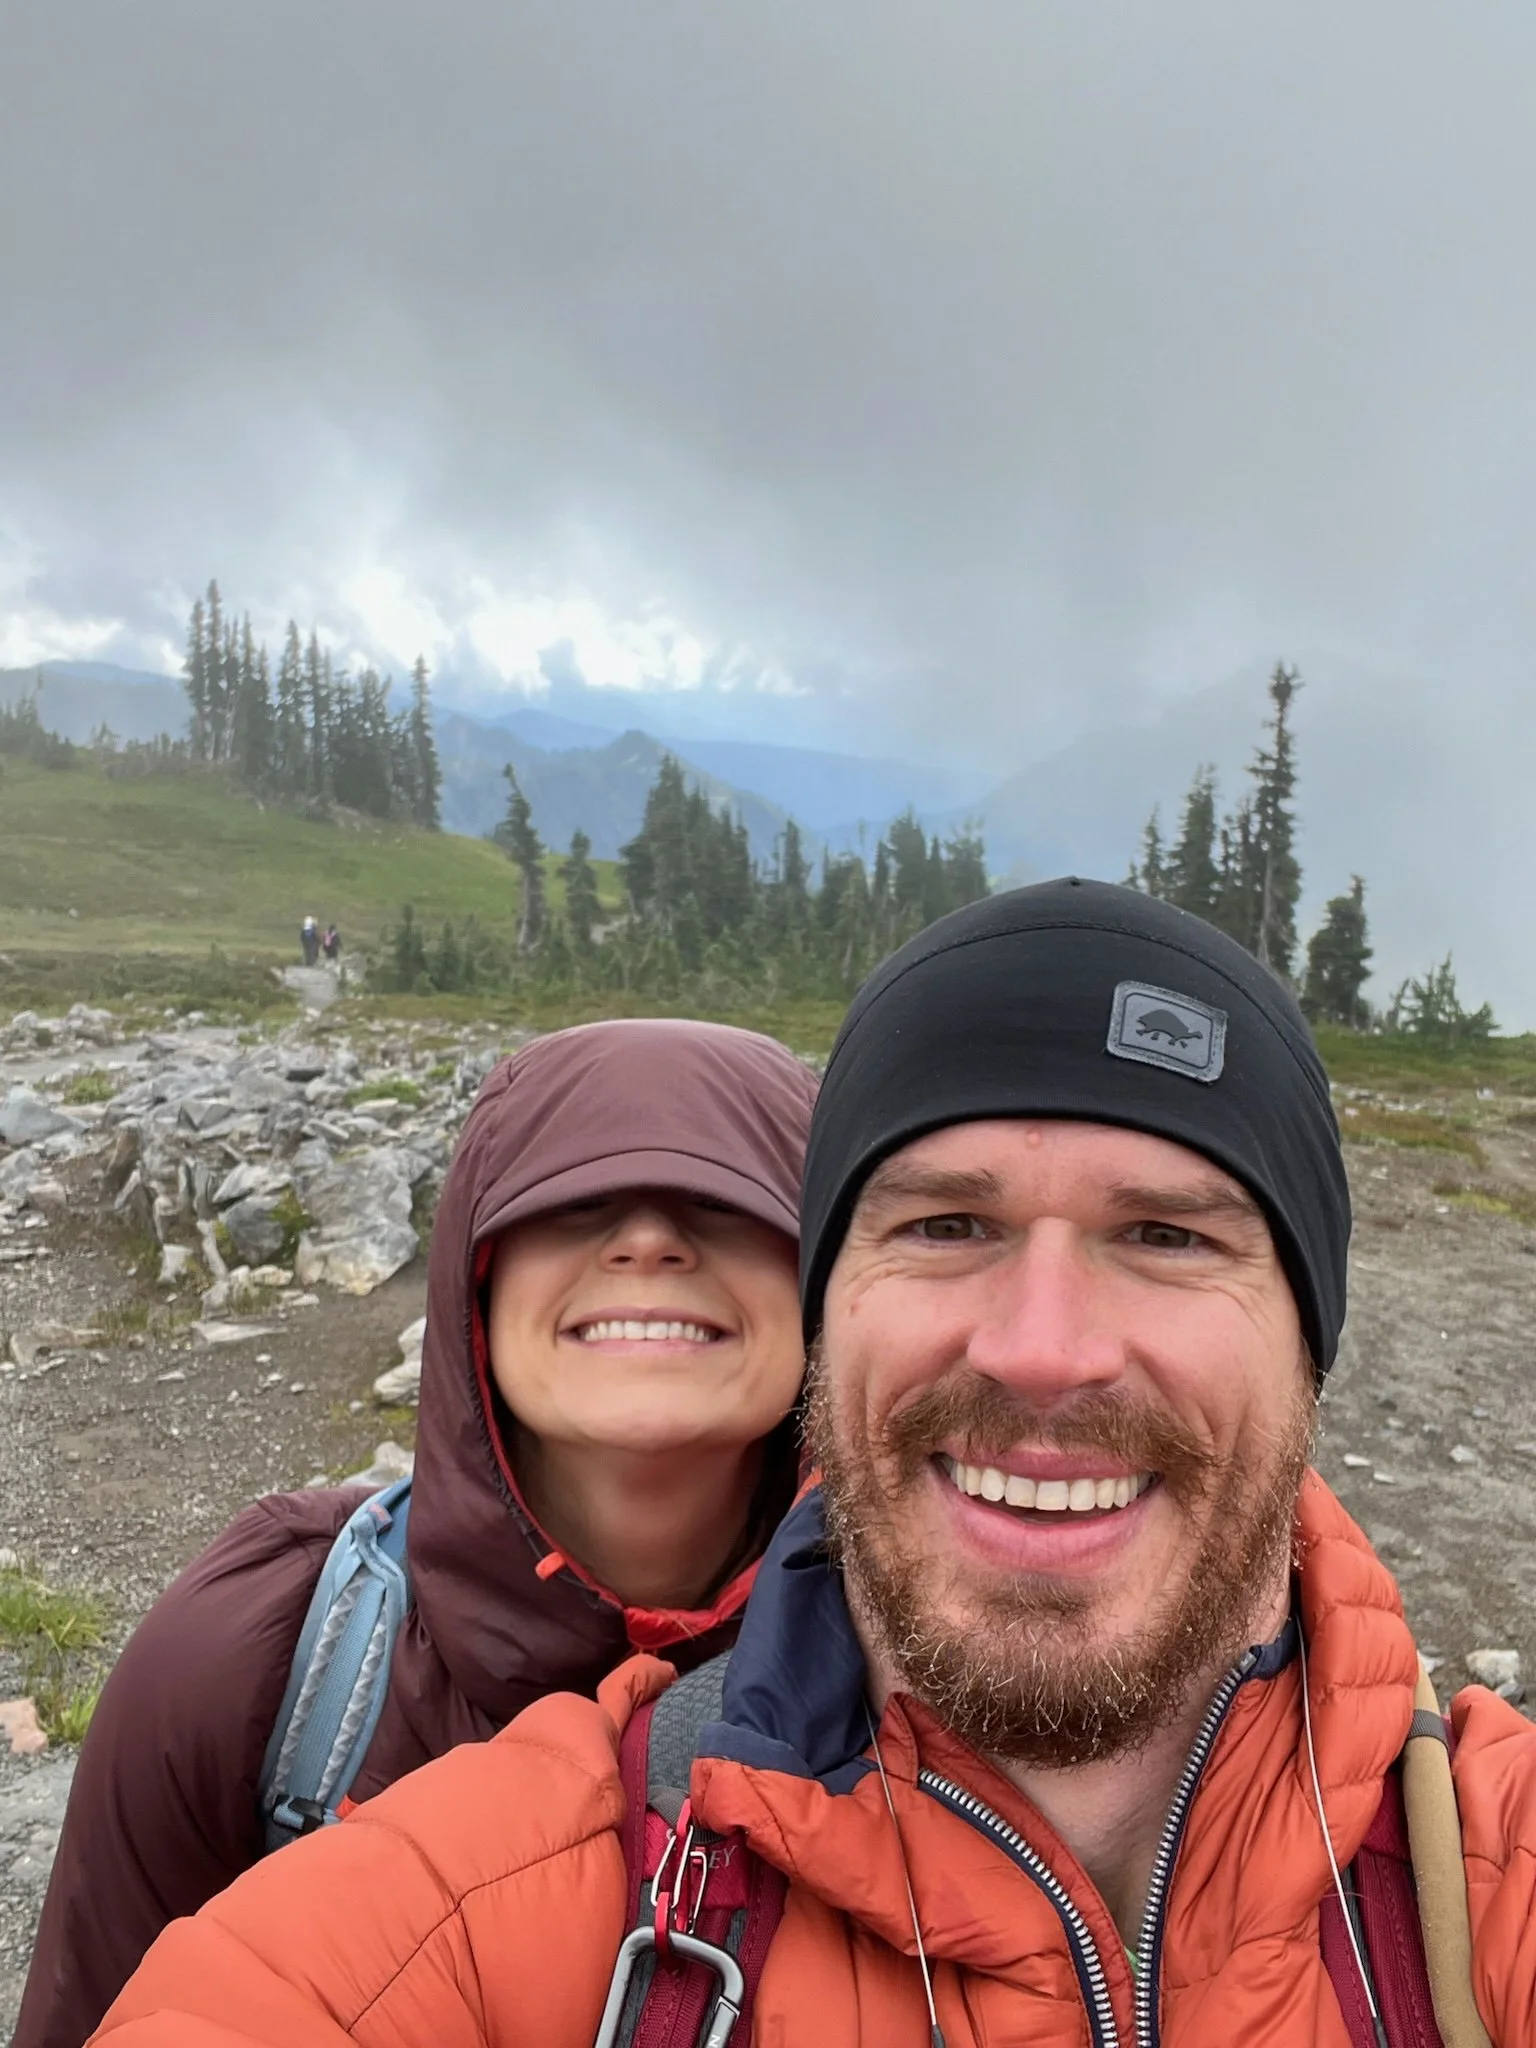
If you've been following my journey for a while, you might remember my travel posts about my visit to one of Washington's stunning national parks—Mount Rainier. That trip took place a few years ago in a camper van, making this travel blog a fresh experience!
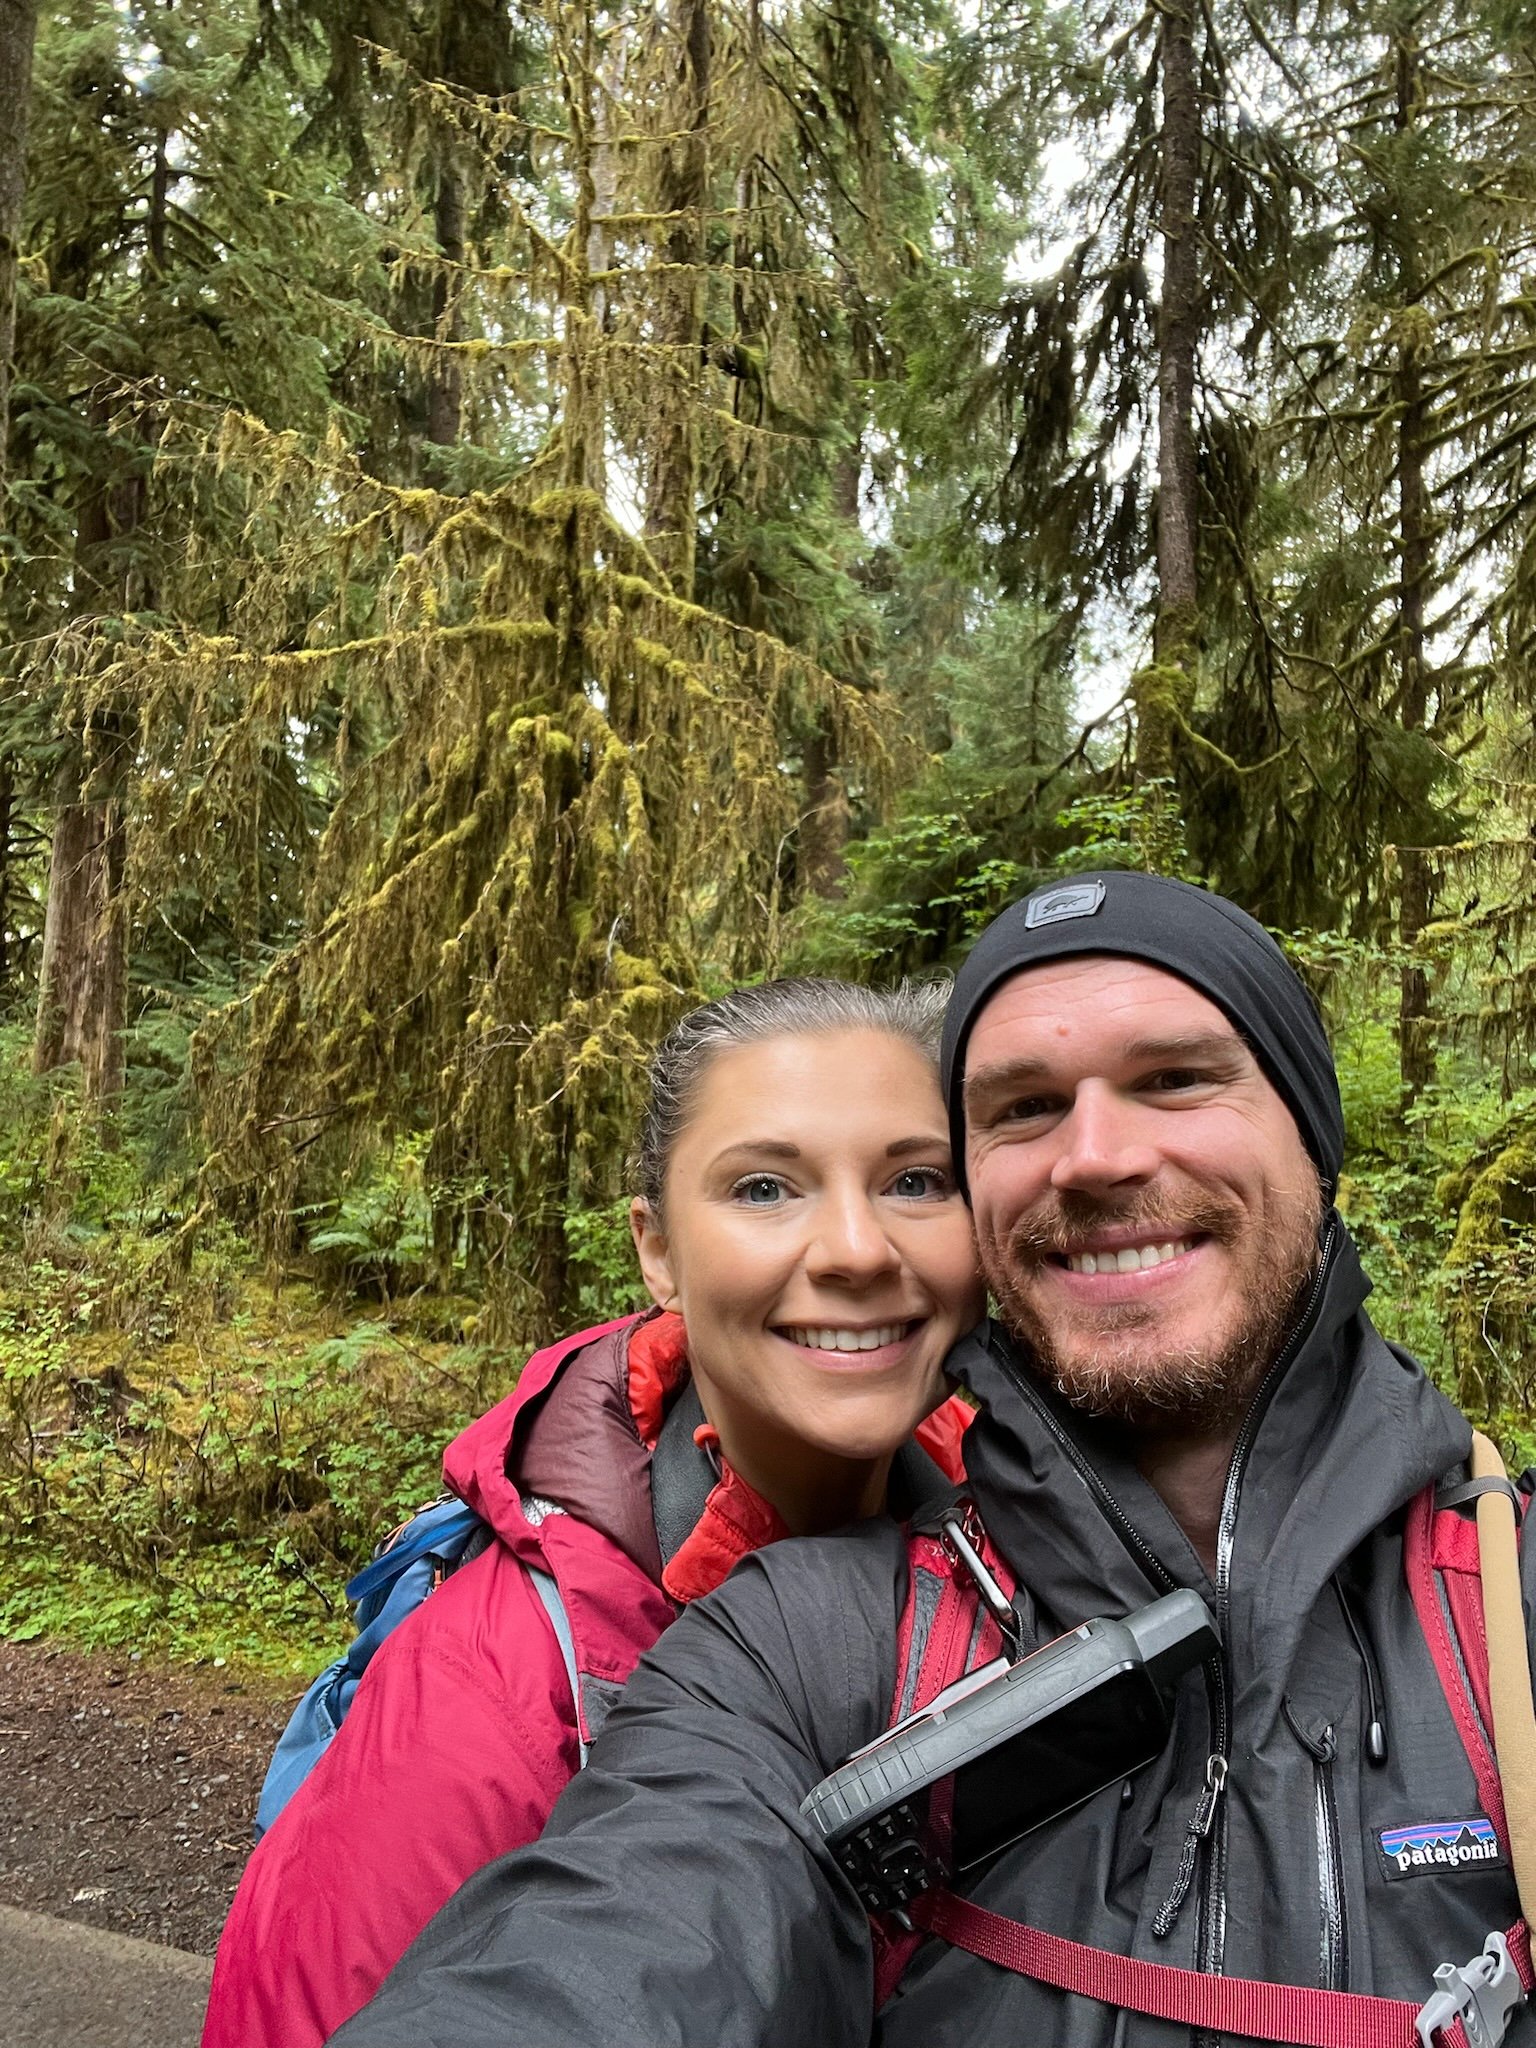
For starters, my previous adventure was with my ex-husband, while this new journey is alongside my current partner. Planning this trip has brought a sense of novelty and excitement as we aim to explore different sights, including attractions he hasn't yet experienced. Fortunately, this gives you the opportunity to explore fresh perspectives beyond the camper van experience. You’ll also receive tips and healthy food suggestions for planning a 9-day journey dedicated exclusively to Washington's national parks—Mount Rainier, Olympic, and North Cascades. Let’s get started!
DAY 1: TRAVEL DAY
We arrived at Seattle Tacoma International Airport (SEA) to kick off our adventure! After picking up our rental car—essential for reaching all three national parks—we headed straight toward the Mount Olympic area, which is about a 2-3 hour drive from Seattle. Along the way, we stopped for dinner at a fantastic healthy restaurant Yodelin and then settled into our cozy Airbnb.
🚙 For your journey, you can choose to drive the whole way or take the Bainbridge ferry, which I highly recommend as it’s much quicker!
🏠 Our Airbnb was located on the west side of the peninsula (Forks area), making it a convenient base for exploring the Olympic Peninsula. We absolutely loved our stay; it was super affordable!

DAY 2: Hoh Rainforest + Rialto Beach
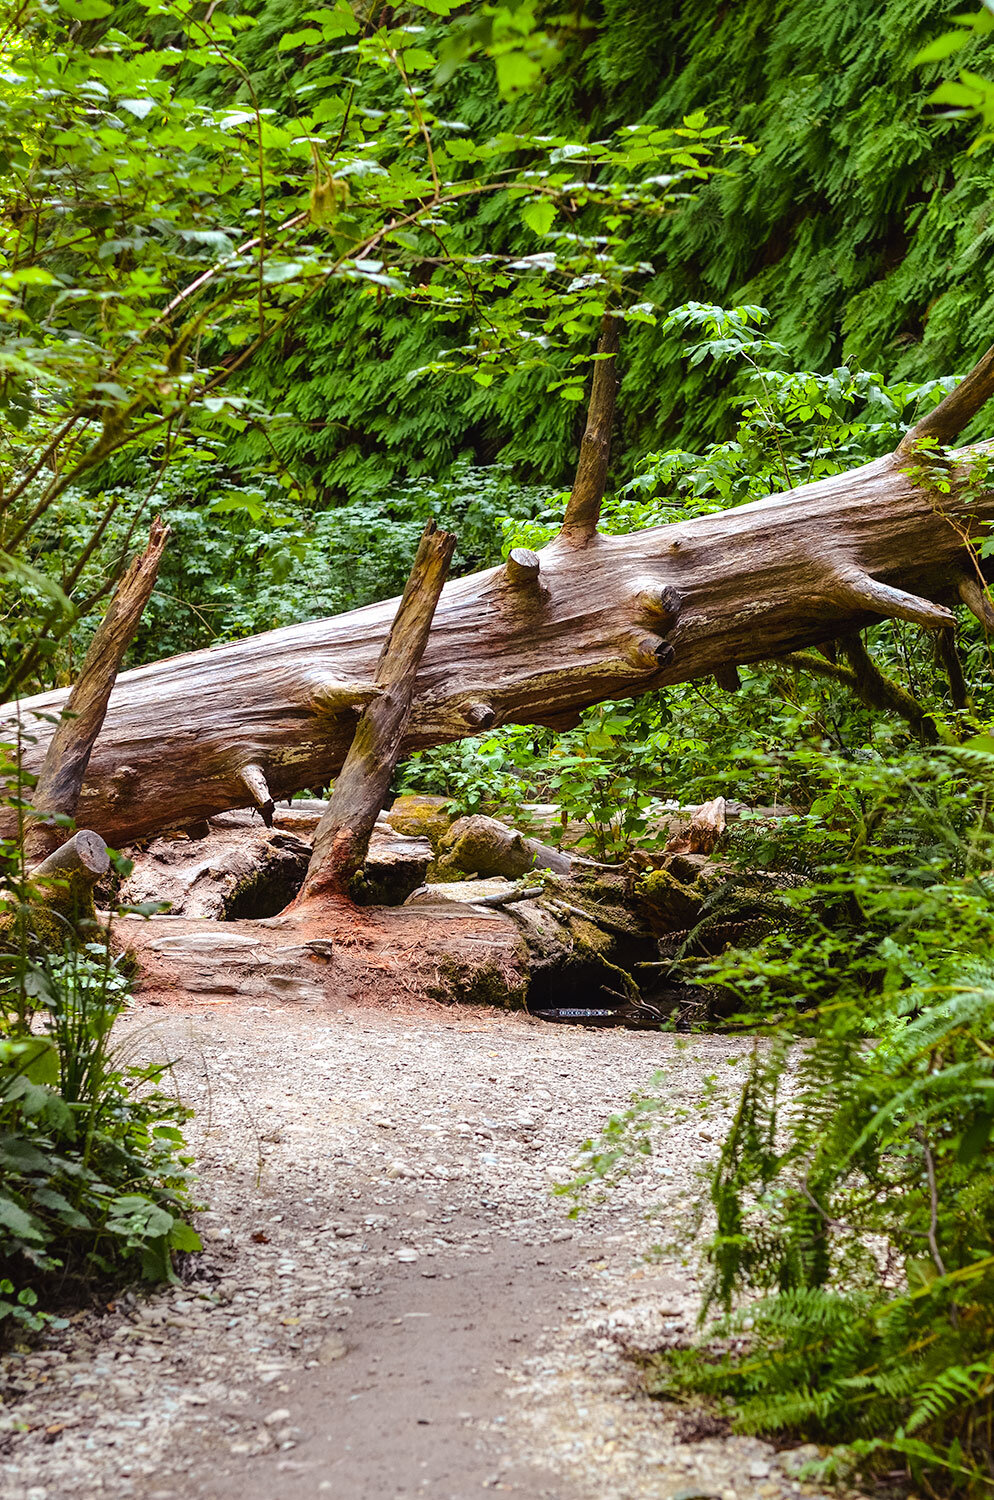
Located about an hour from our Airbnb, the Hoh Rainforest was our destination for the morning and early afternoon. You can easily spend 1-2 hours exploring, as there are several short hiking trails available, such as the Hall of Mosses Trail (0.8 miles round trip) and the Spruce Nature Trail (1.2 miles).


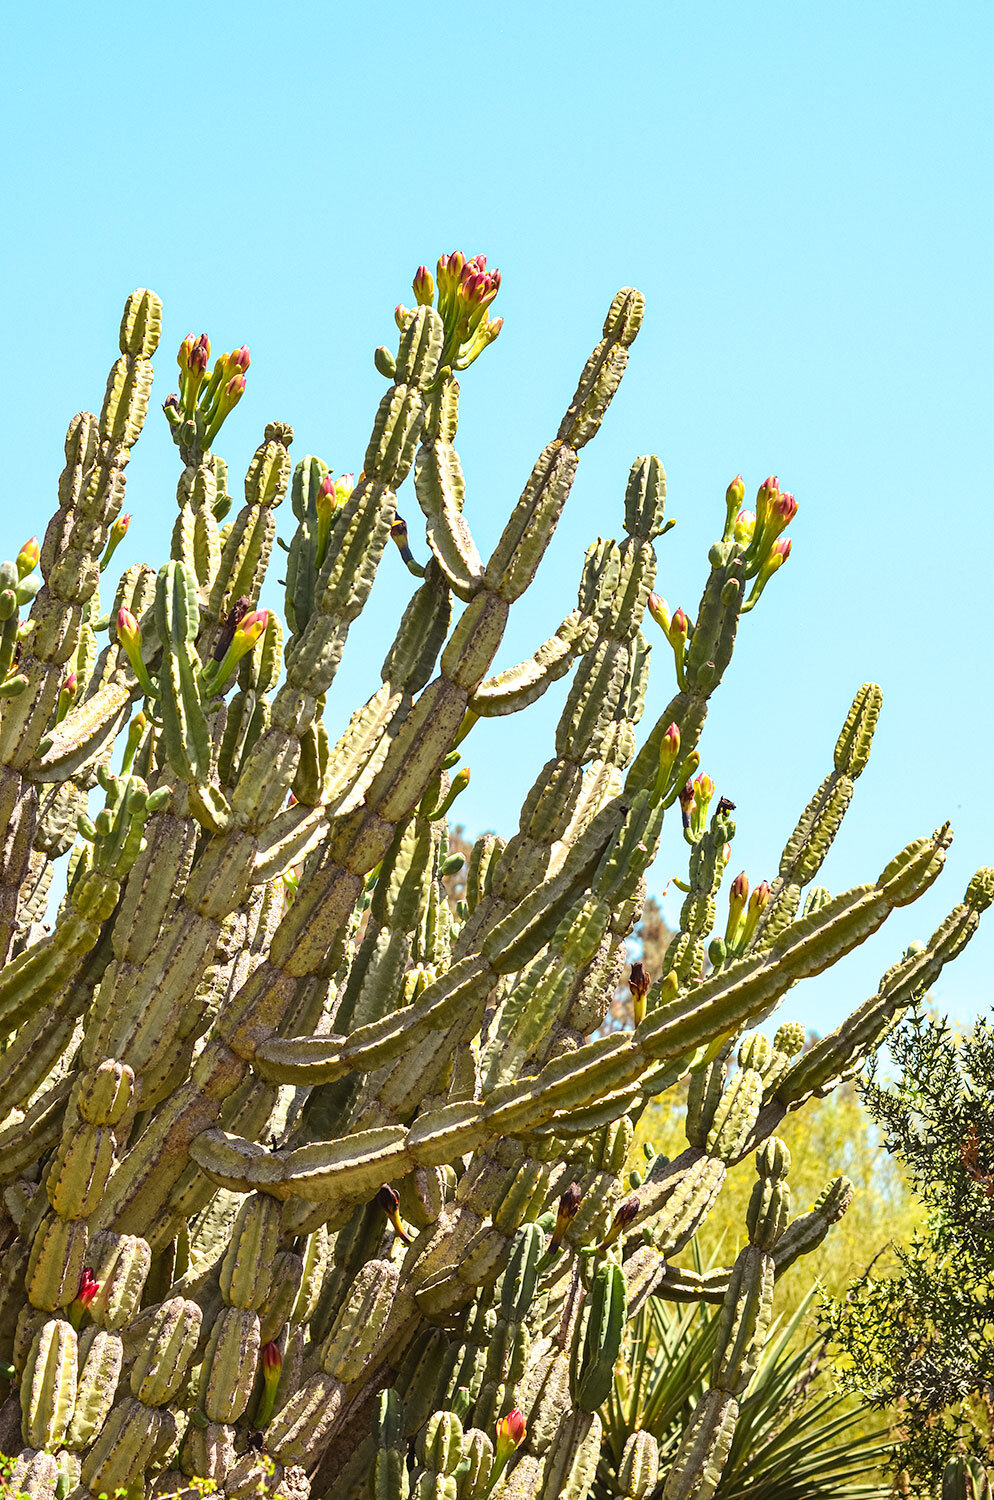
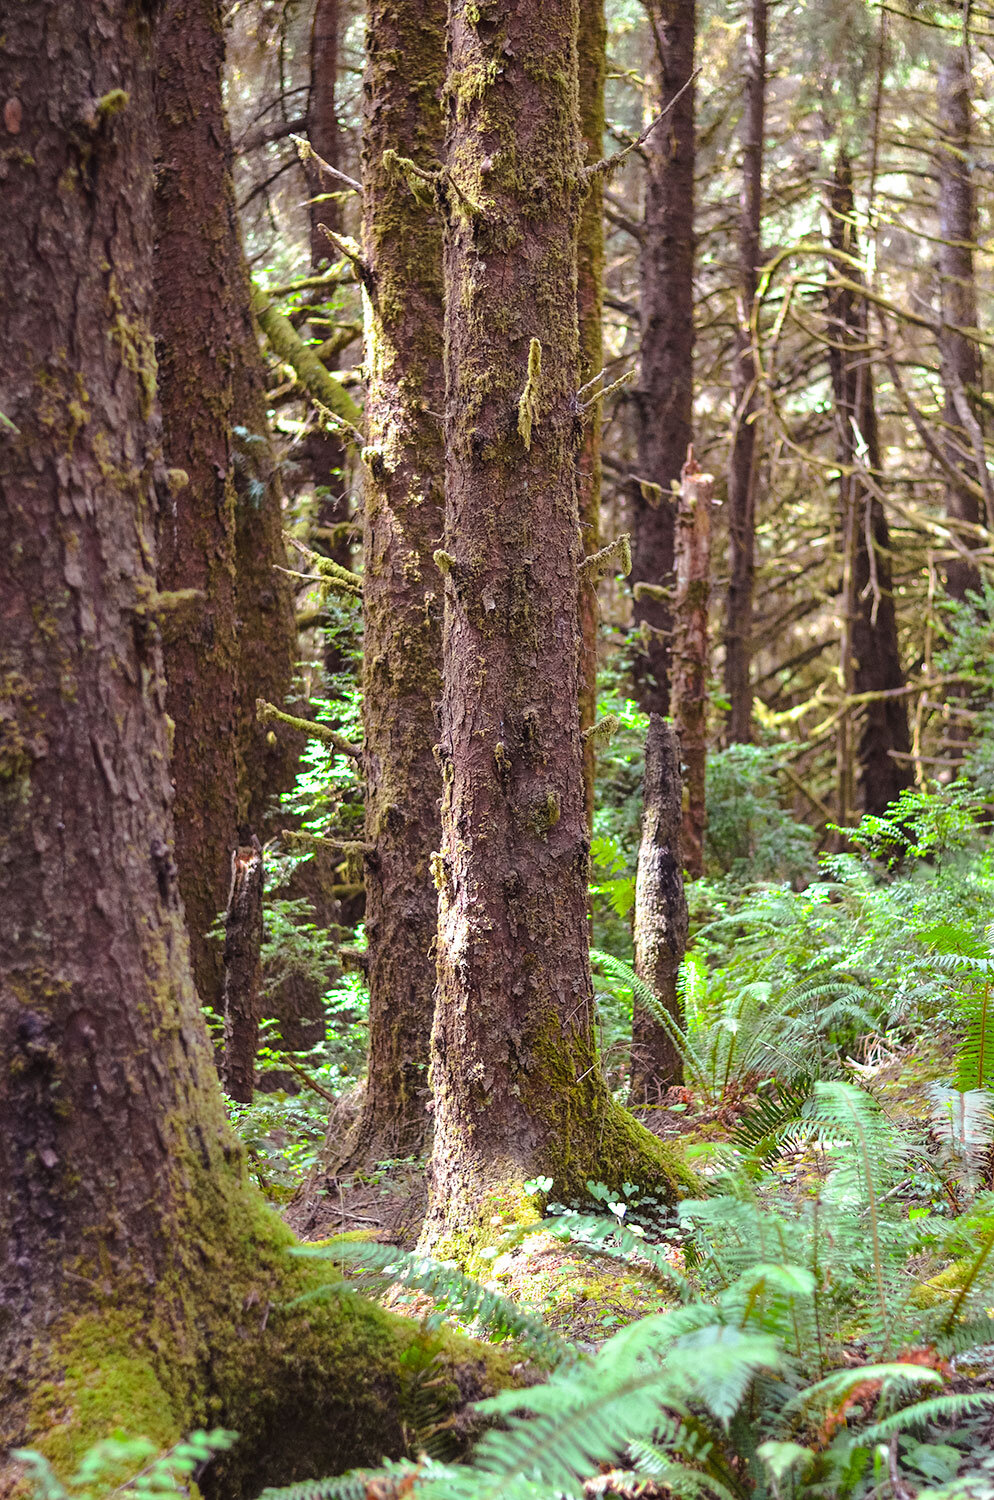
Despite the persistent rain during our entire stay on the Olympic Peninsula, this enchanting place is a must-visit, even if you only have a few hours. The Hoh Rainforest is one of the largest temperate rainforests in the United States, where you’ll feel as if you’ve stepped into a fairy tale, surrounded by trees draped in vibrant green moss alongside the river.
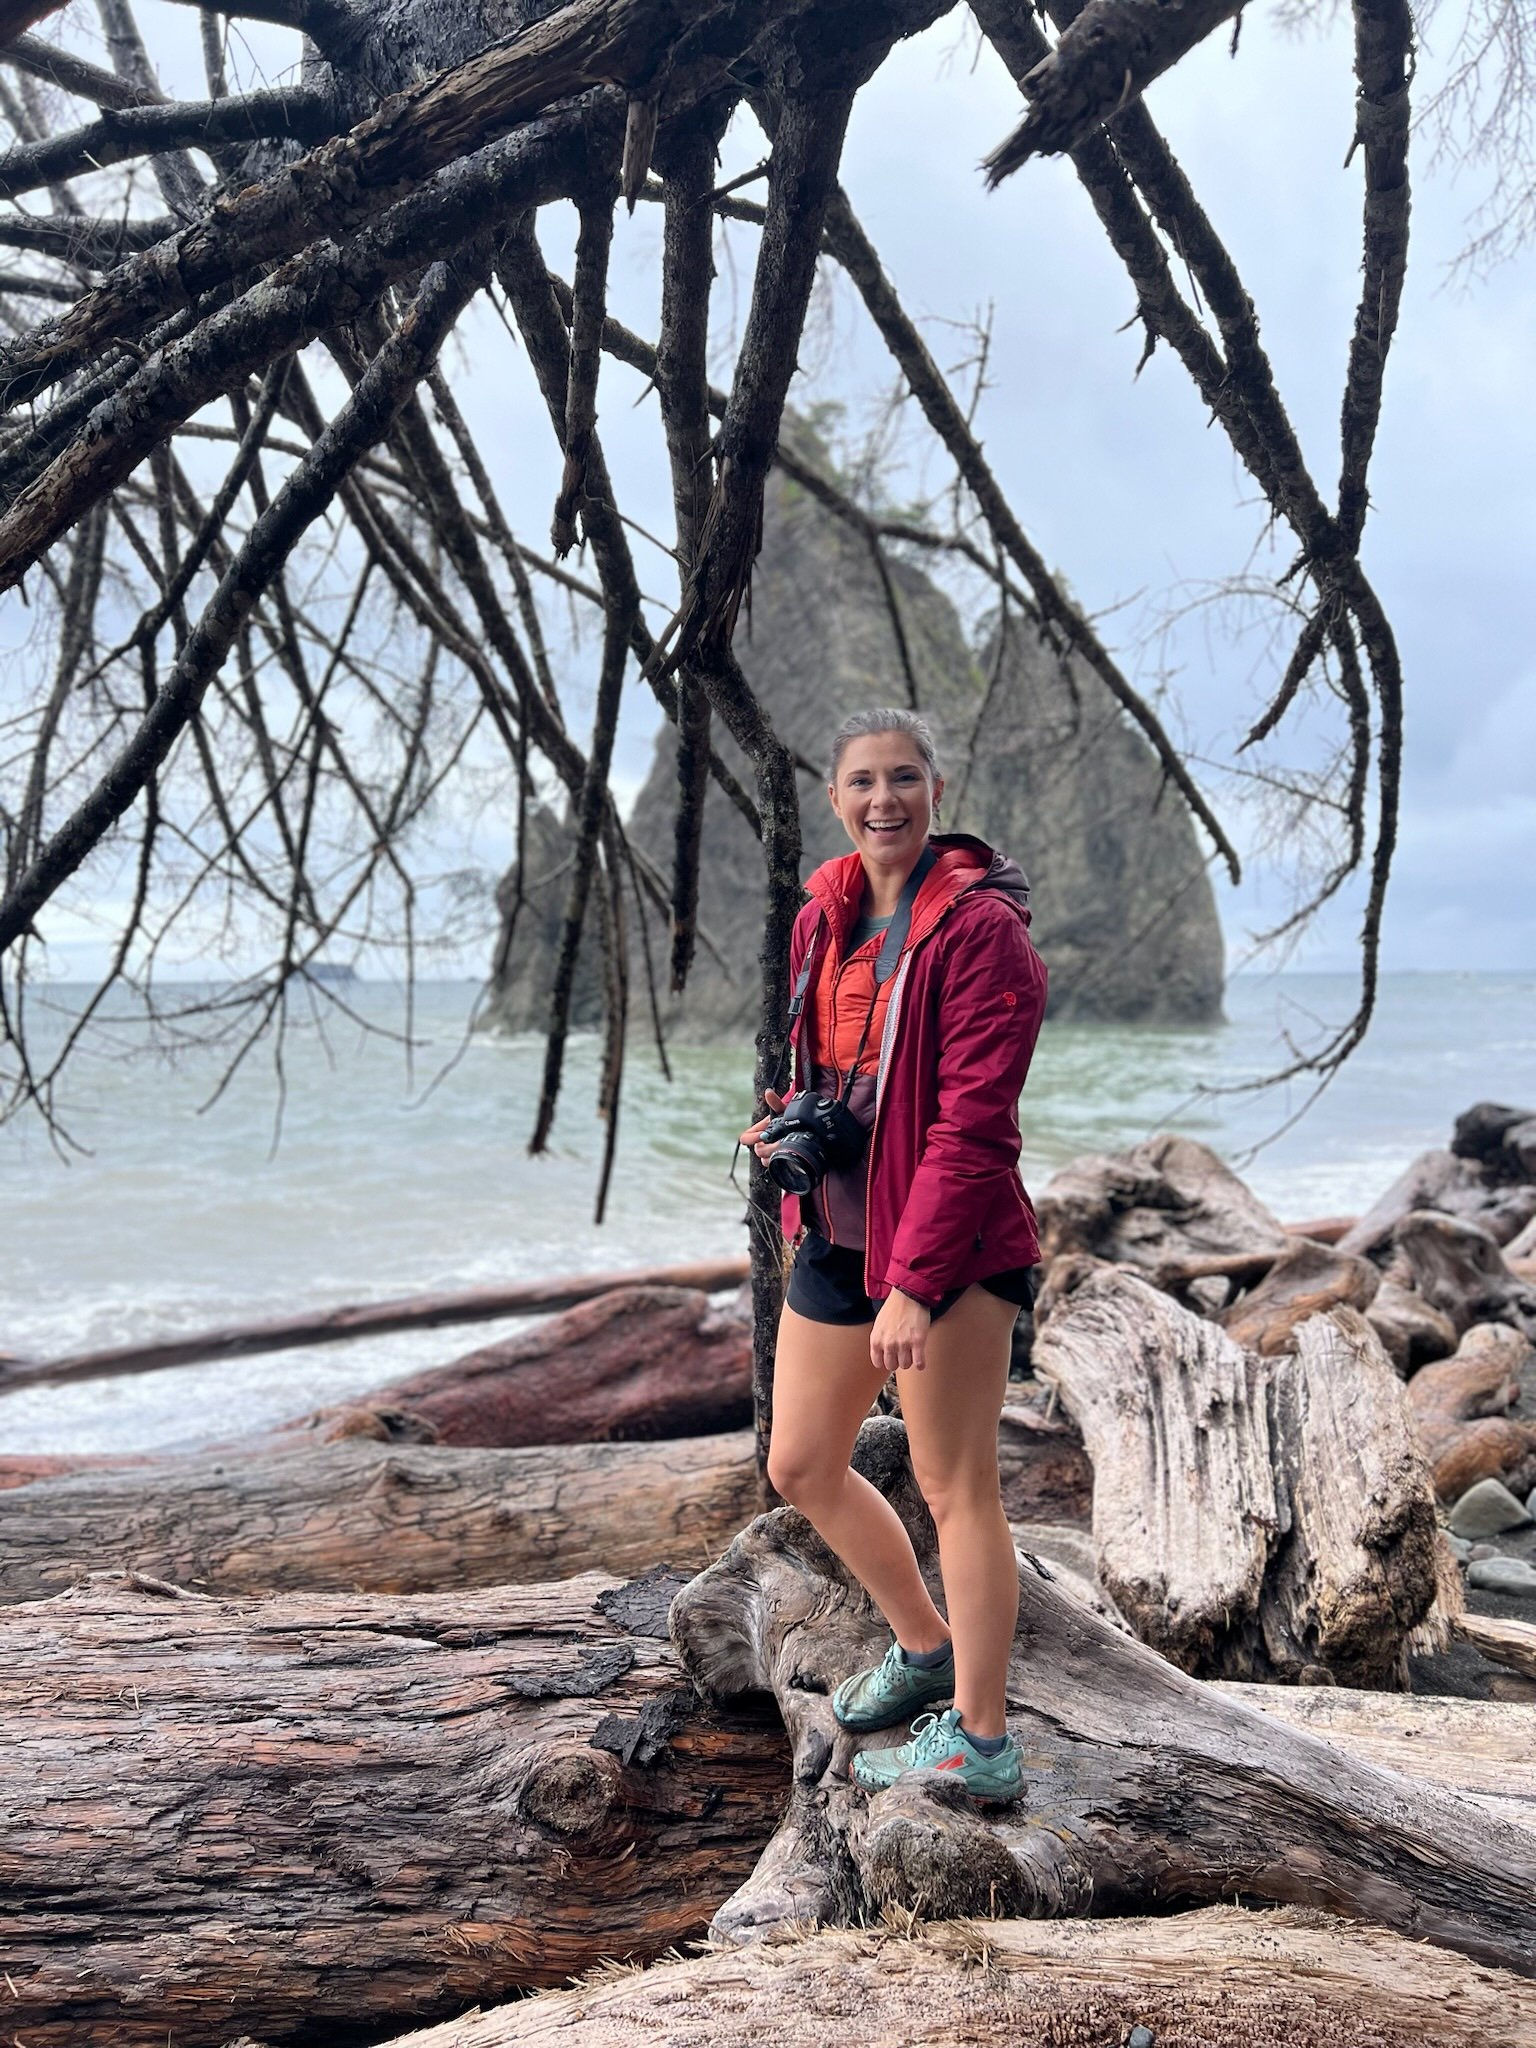
After enjoying lunch at the renowned Sully’s Drive-In in Forks, WA, we headed out to Rialto Beach.
🍔 If you’re gluten-free, their gluten-free burger bun is absolutely the best! I was honestly amazed!


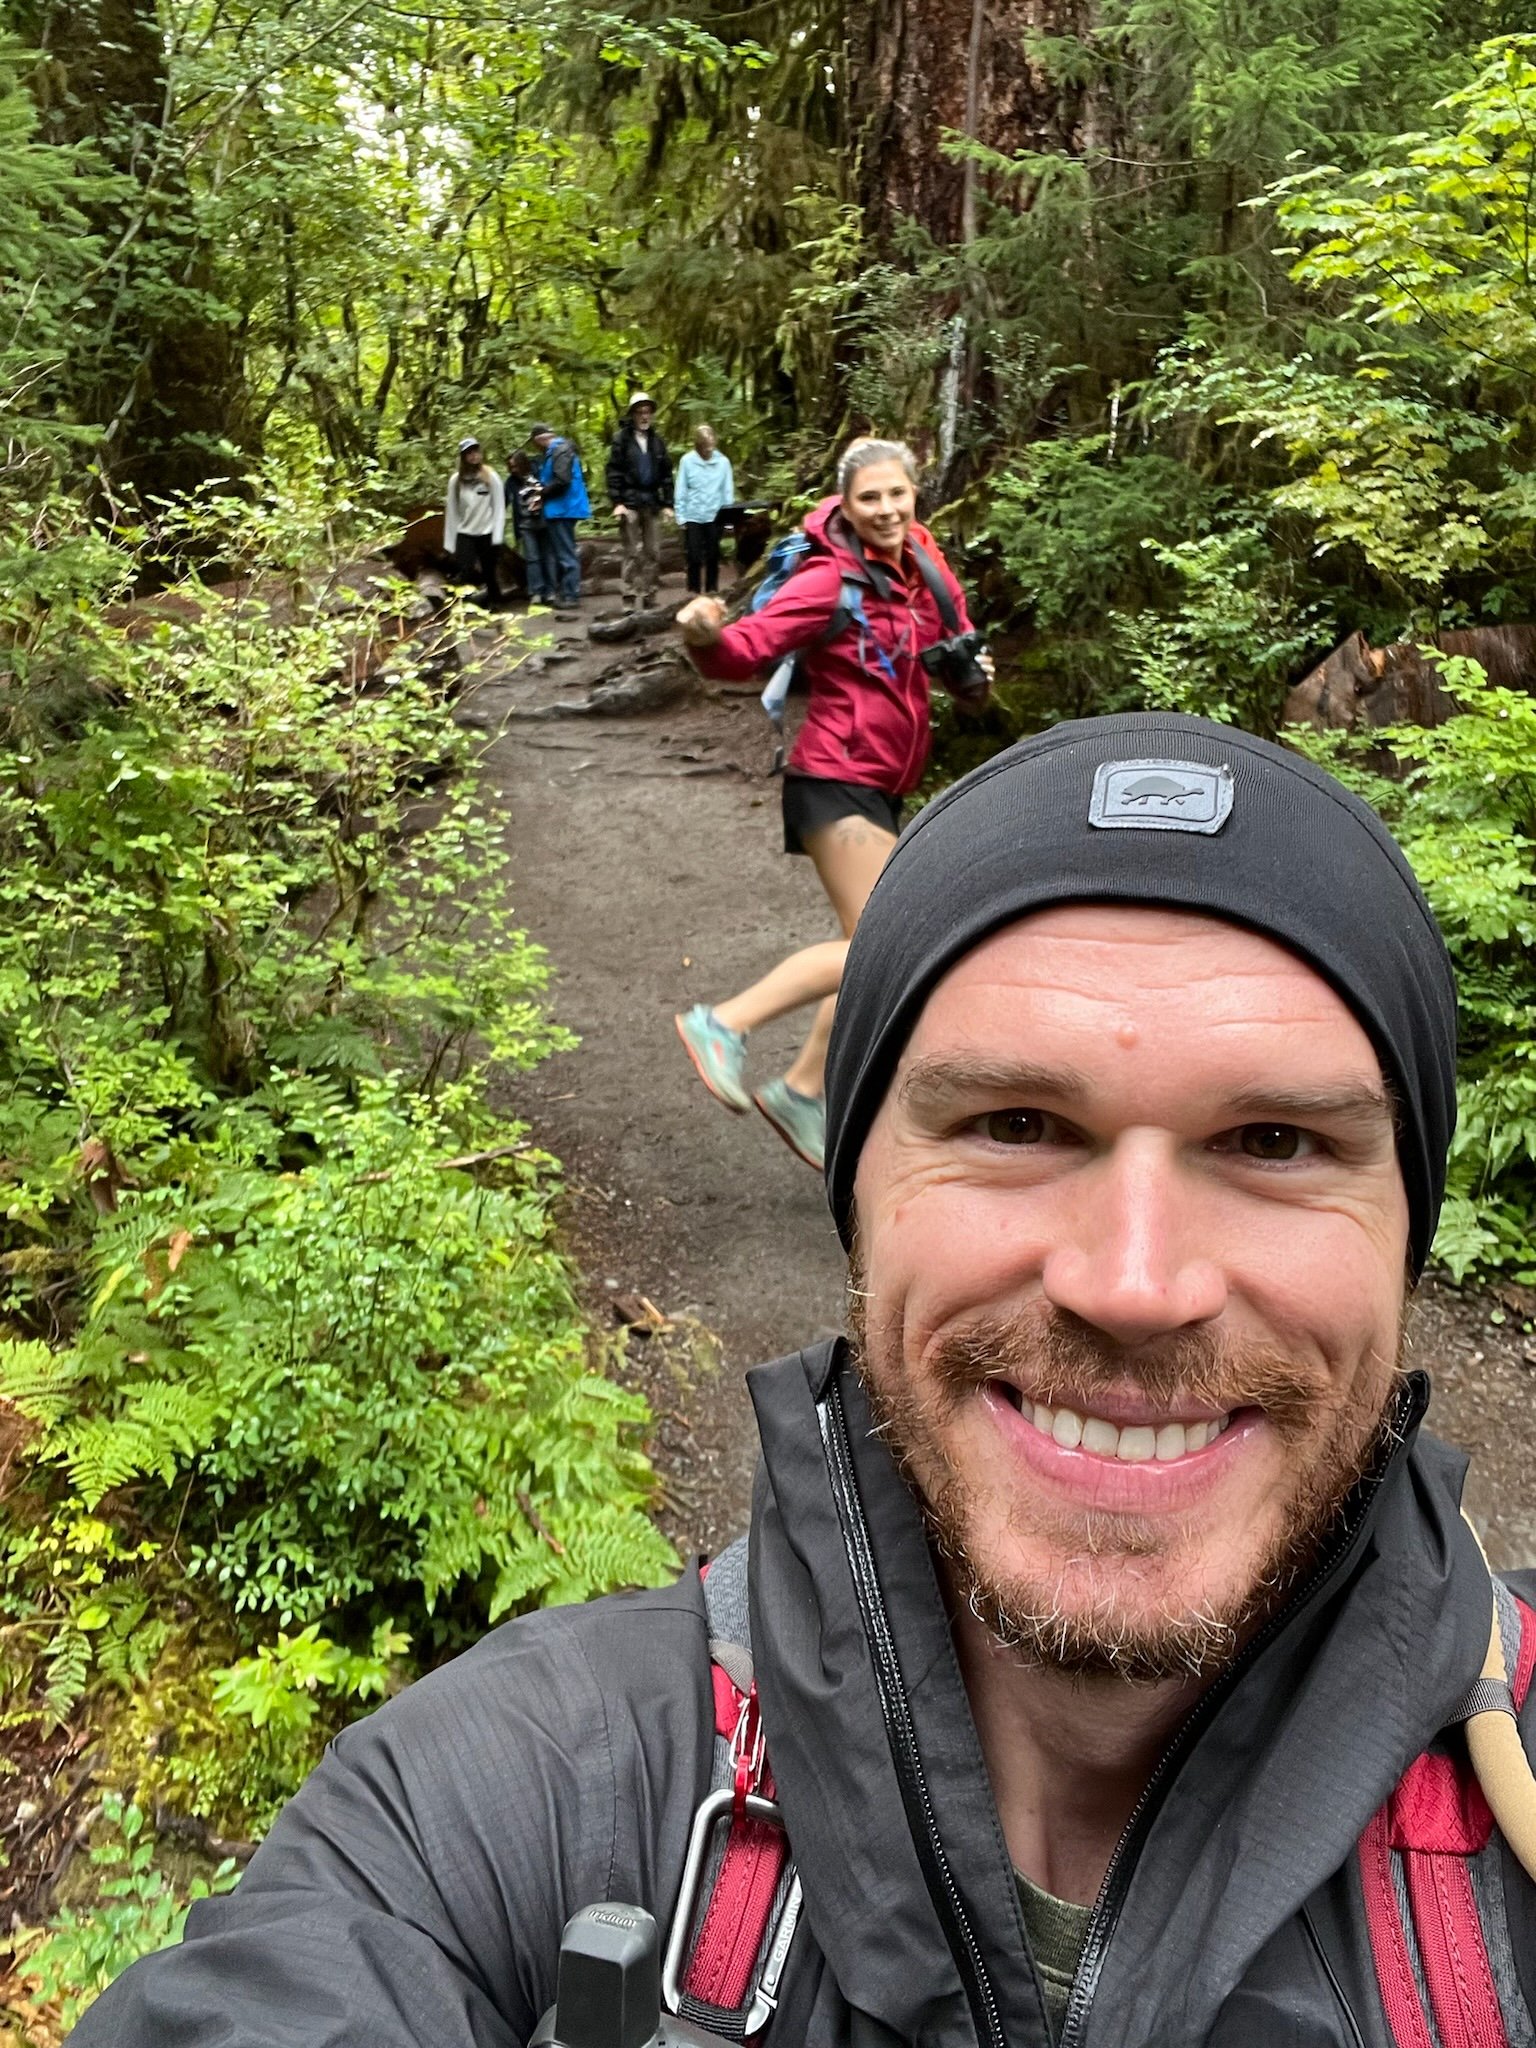
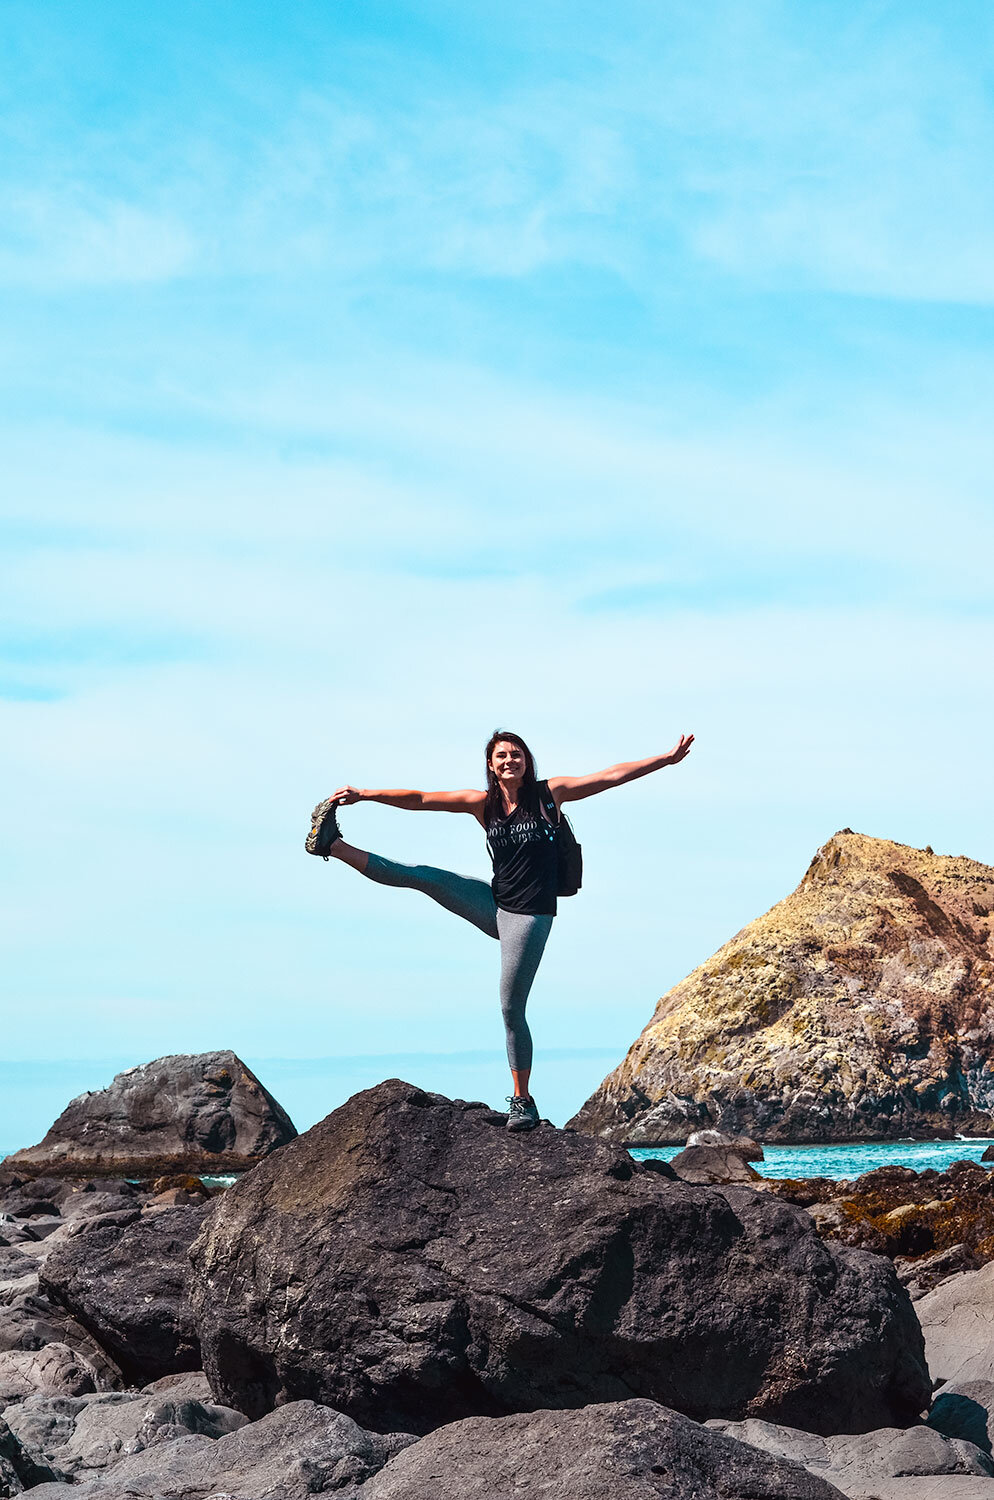
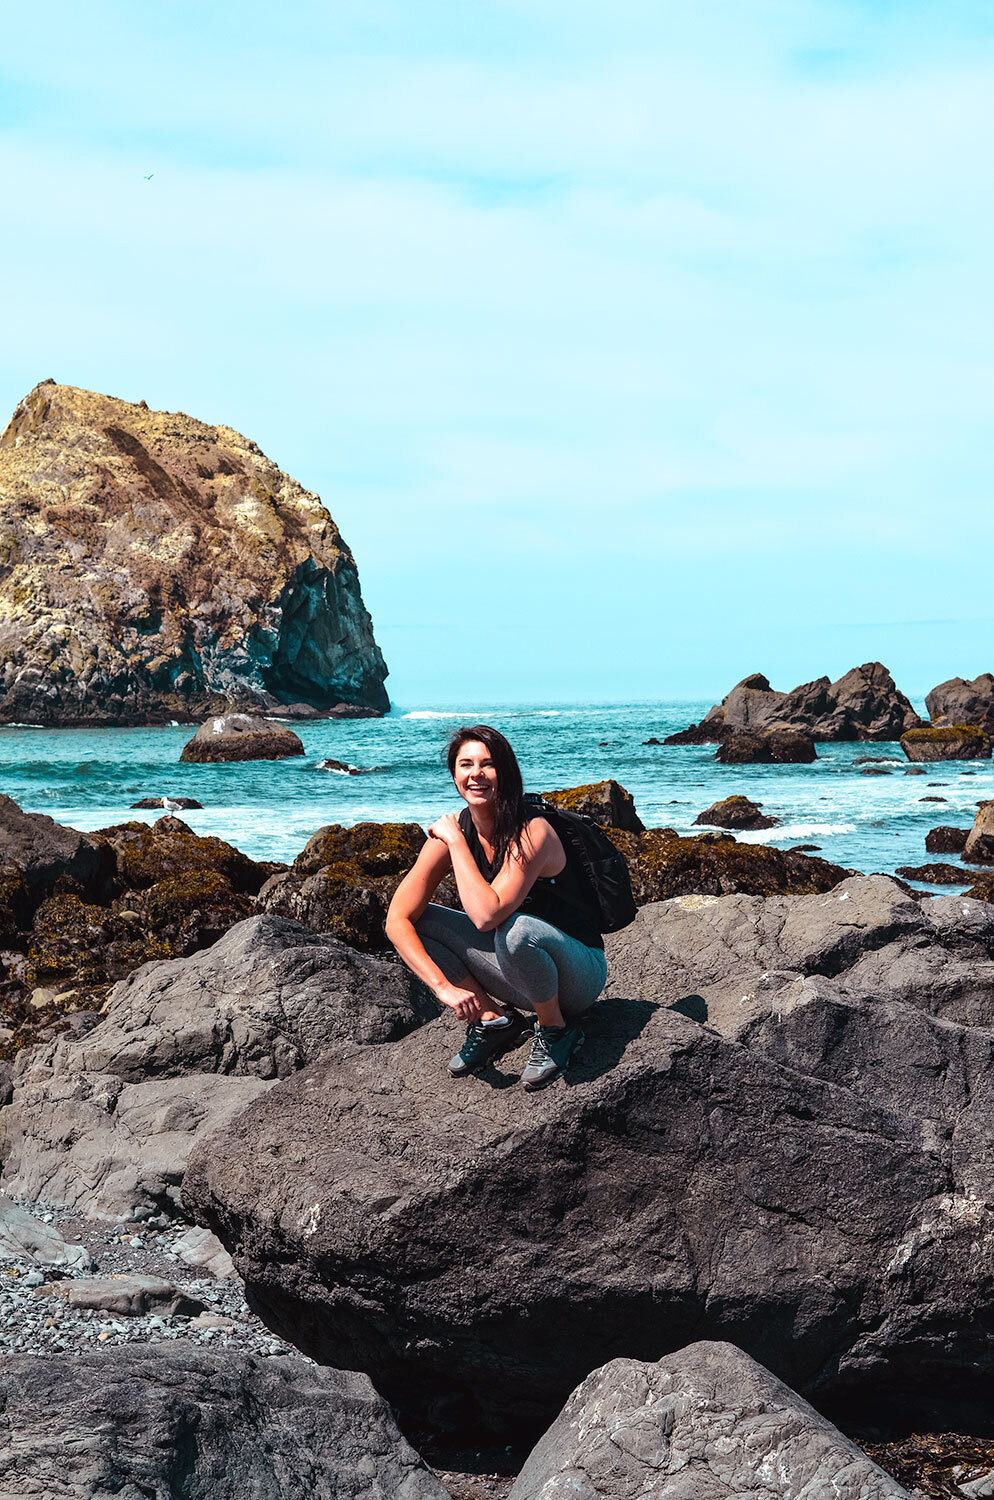
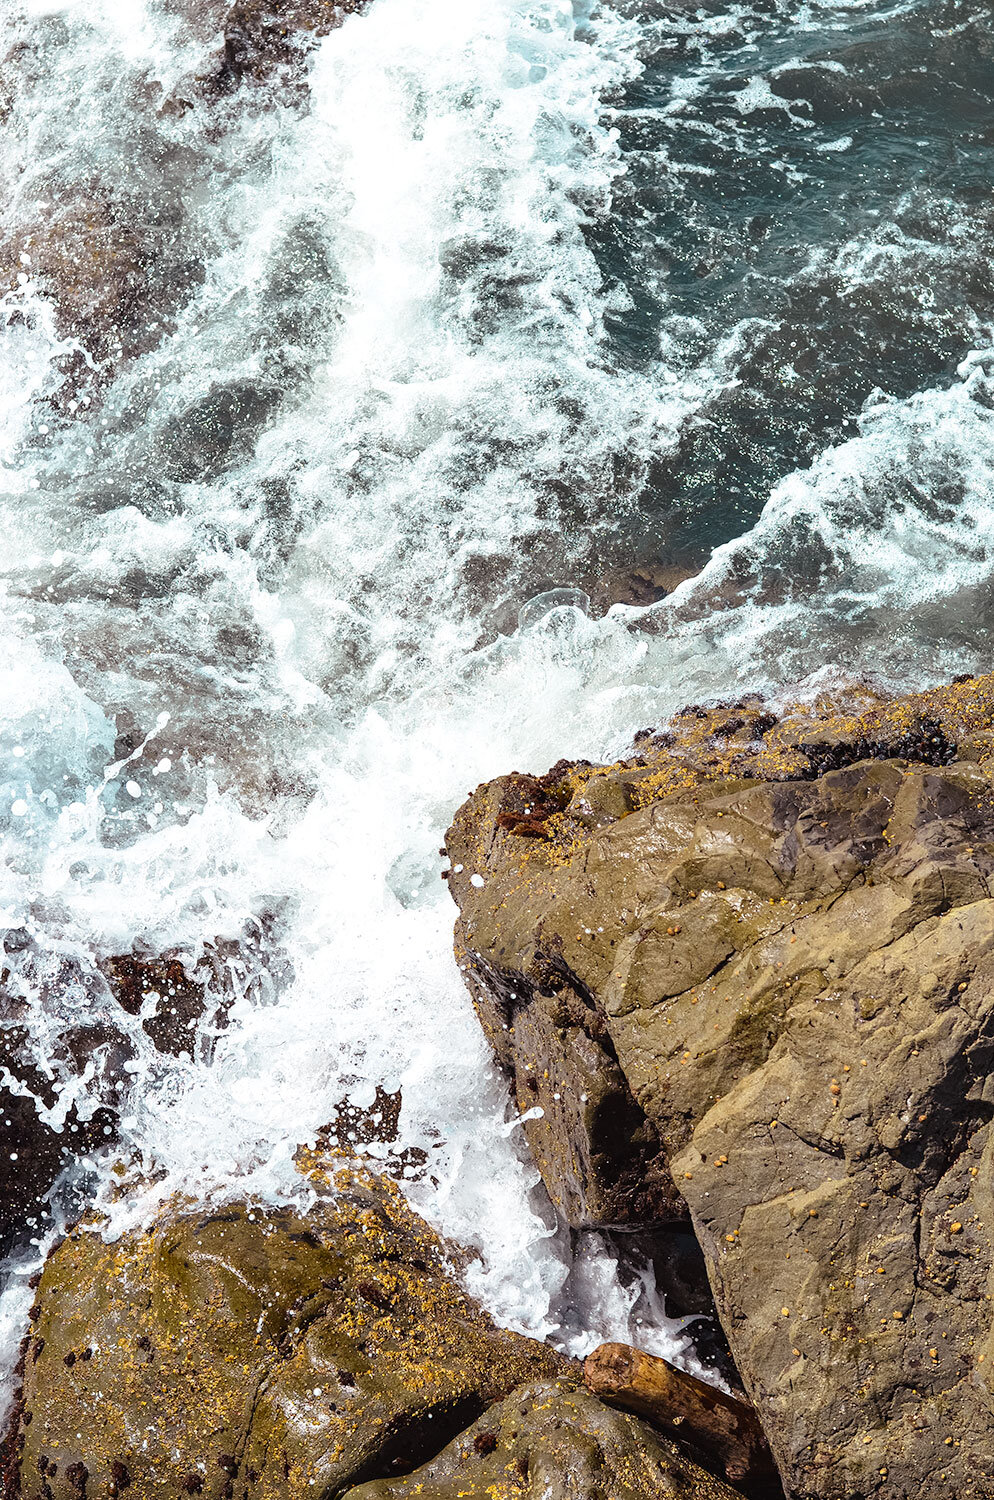
Before visiting Rialto Beach, be sure to go during low tide (low tide resource). If you're planning to walk to the Hole in the Wall and back, timing is key, as you can only do this during low tide, so plan accordingly! Since my partner had never visited the PNW beaches before, it was a wonderful opportunity for us to share this experience together! If you're short on time or can't make it at low tide, Second Beach is a great alternative. We aimed to enjoy the sunset hour, as we had heard it was the ideal spot, but sadly, it rained and stayed chilly for the rest of the afternoon into the evening!


DAY 3: Sol Duc Falls , Mount Storm King, Lake Crescent Lodge + Devil’s Punchbowl
As you can tell from the description, it was a LONG day! Haha! But we’re committed to making the most of every moment, so let’s dive in. Beginning our adventure at the stunning Sol Duc Falls, we enjoyed an easy 1.6-mile roundtrip hike with just a 200-foot elevation gain. We were genuinely amazed by the breathtaking beauty of this waterfall!


Once we crossed this must-see off our list, we headed up toward the Lake Crescent area, where we took on the challenge of Mount Storm King. A quick heads-up: this hike is quite challenging, covering 4.7 miles round trip with an elevation gain of about 2,106 ft. During our summer visit, we hoped for clear skies, but unfortunately, that wasn’t the case! We missed out on the stunning views depicted in photos, but the challenge made for an excellent bonding experience for us. Haha!
🪨 Be cautious of narrow sections with drop-offs where ropes are needed for assistance, and keep an eye on the weather if you're not accustomed to this type of terrain.
🐦⬛ We enjoyed our packed lunches at the mountain's summit, where we had to fend off hungry birds trying to snatch our food! So be sure to keep your meals secure up there!


Afterwards, we embarked on shorter hikes that led us to the Lake Crescent Lodge Restaurant, where we treated ourselves to refreshing cocktails – a well-deserved break before heading down to the Devil’s Punchbowl! We accessed the Devil’s Punchbowl via the Spruce Railroad Trail, which was an easy out-and-back journey of 2.4 miles with just a 137 ft elevation gain.


👙 If you plan to take a dip, remember to bring your swimsuit! I jumped in wearing my hiking clothes, and my partner leaped off both the bridge and the cliff into the water! (Check out the reel for his jumps!) This was the perfect way to wrap up a long but rewarding day!
DAY 4: Morning coffee at Lake Crescent Lodge, Hurricane Ridge + driving back to Seattle
We enjoyed our time at Lake Crescent Lodge so much that we stopped by for coffee, hoping to rent a kayak for a morning ride. Sadly, the waves were too rough and the wind too strong, so instead we strolled around the area with our coffee. After that, we headed straight to Hurricane Ridge. However, if you've been following our weather luck, you know it was still cold, rainy, and windy, which meant we missed out on the most popular hike known for its stunning views of the Olympic Mountain range. Haha! This hike ended up being my least favorite, purely because of the weather! But if the skies are clear, I definitely recommend it!


💲It costs $30 per car to reach the top of Hurricane Ridge, but it's FREE with the America the Beautiful Pass.

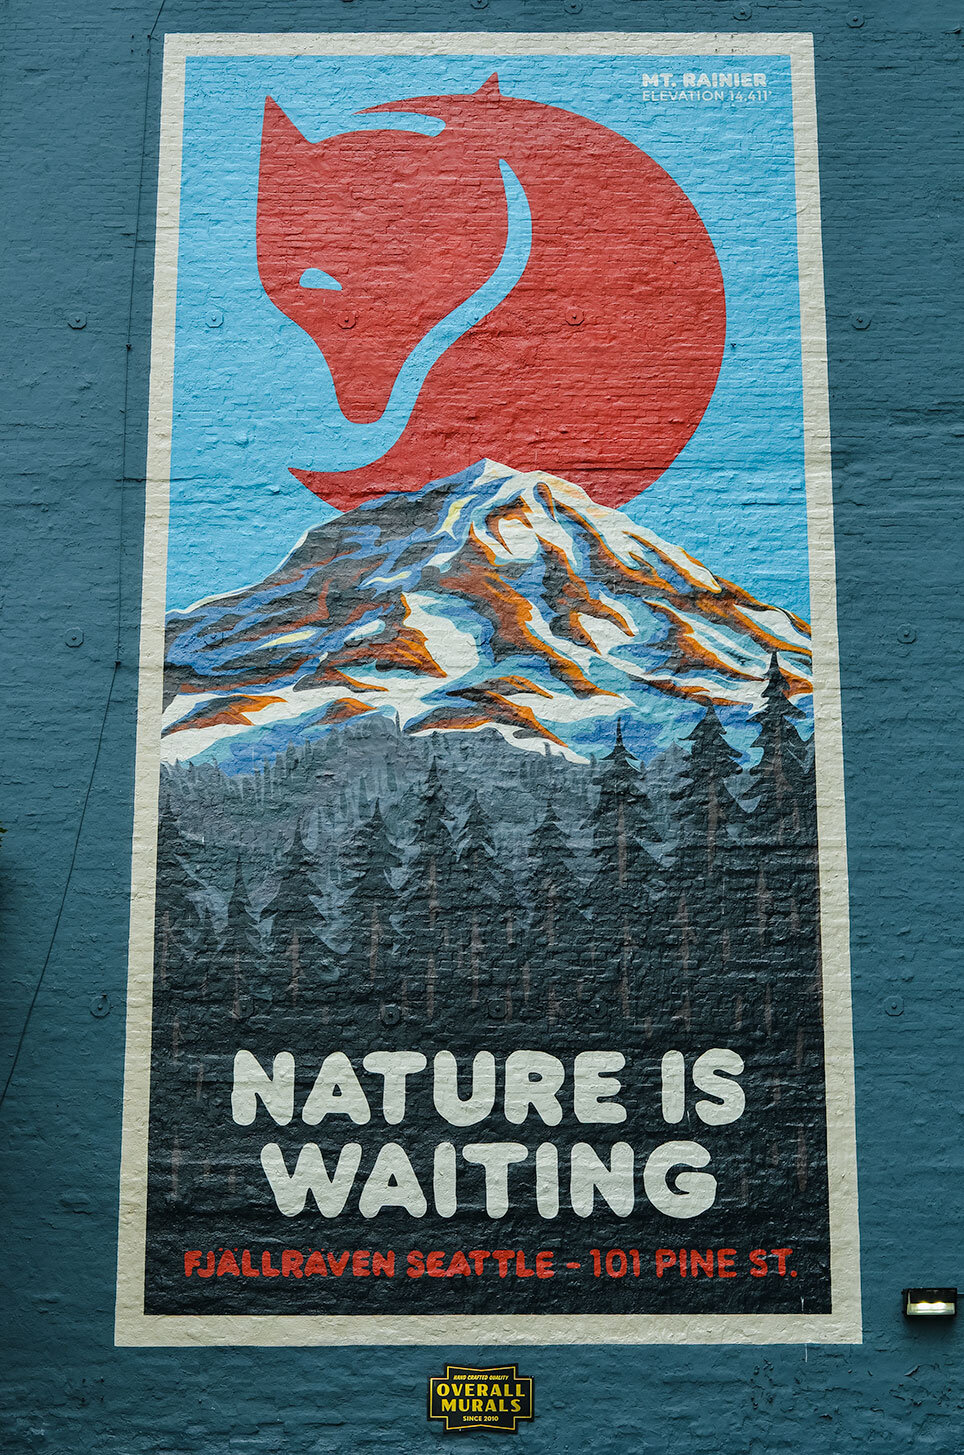
From there, we made our way directly to downtown Seattle, taking the ferry right into the heart of the city! We stayed at a lovely hotel - Kimpton near Pike Place Market, making it easy to visit the next morning. For dinner, we had reservations at Elliott’s Oyster House to celebrate our one-year anniversary! Once again, we hoped for better weather, as we had planned to ride The Seattle Great Wheel, but unfortunately, it was still dreary. Instead, we wandered around the pier before returning to our hotel to wind down for the night.
Candids


DAY 5: Exploring Seattle's Attractions and Journeying Towards the North Cascades Region
Since my partner had never visited the Pike Place Market area, we made it our first stop for coffee and breakfast. As we were heading to our new Airbnb, we decided to pick up some fresh salmon, produce, and other supplies at the market. If you want to learn more about Seattle, be sure to check out my camper van blog post here. After strolling around and enjoying more coffee and matcha, I couldn't resist stopping by my favorite spot, Frankie & Jo’s in Capitol Hill, where I indulged in a scoop each of Salty Caramel Ash and Supercookies & Cream on a gluten-free waffle cone. It truly is the best ice cream, even if you’re not dairy or gluten-free!


In the afternoon, we arrived at our Airbnb, where we made a quick grocery stop before grilling our fish and other provisions. It was absolutely delicious!
DAY 6: North Cascades Visitor Center, Lake Ann + Heather-Maple Pass Loop

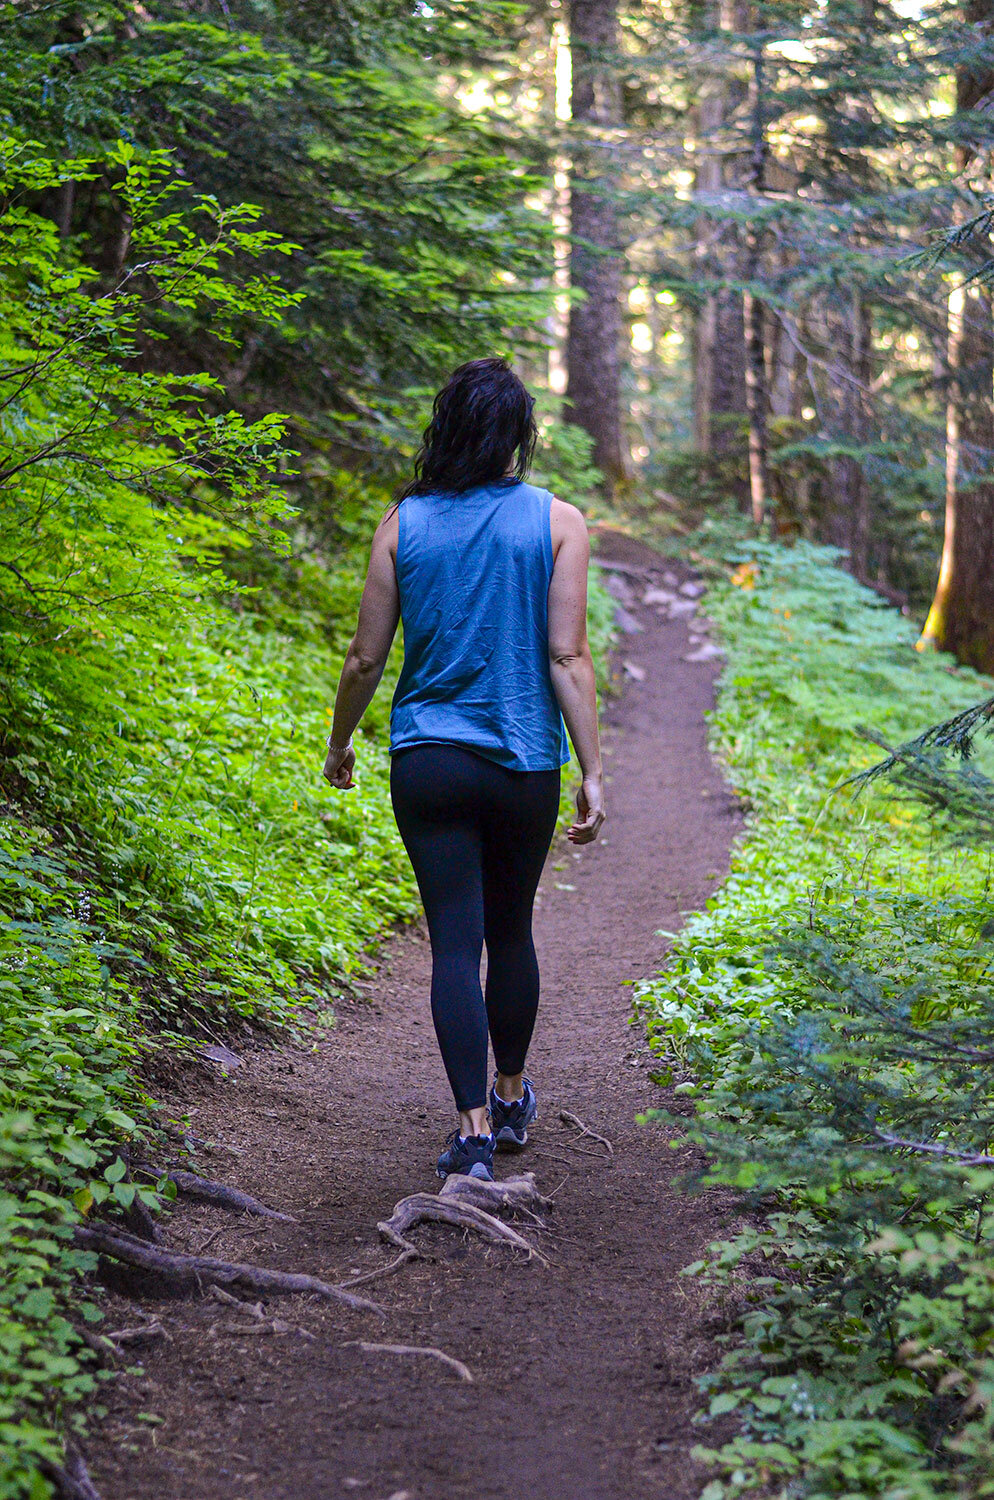
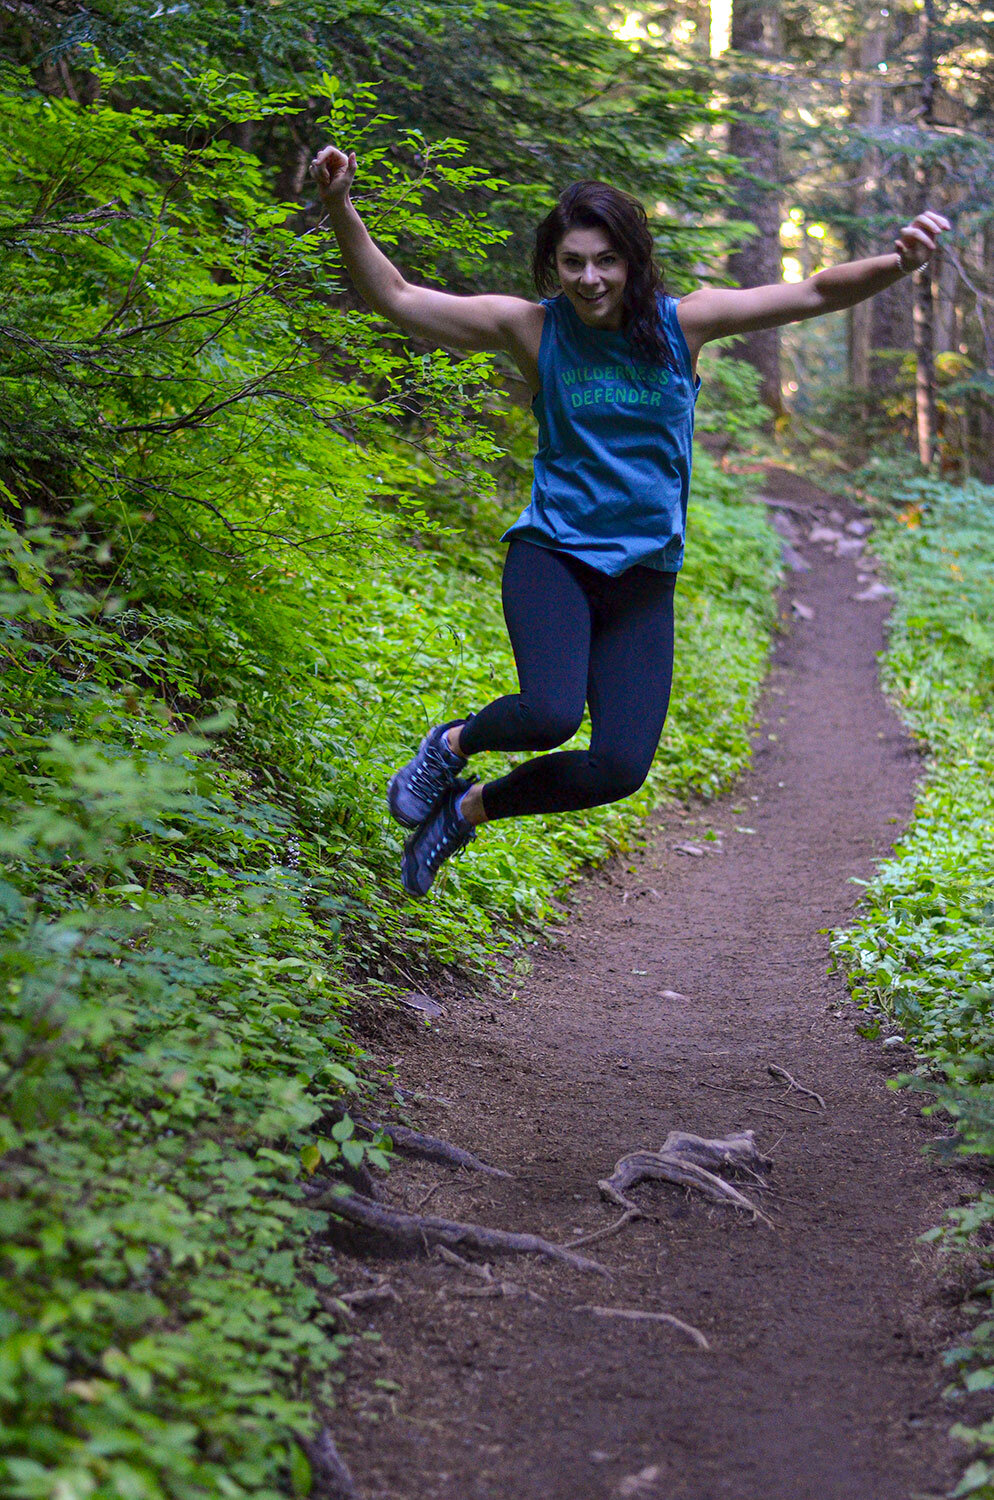
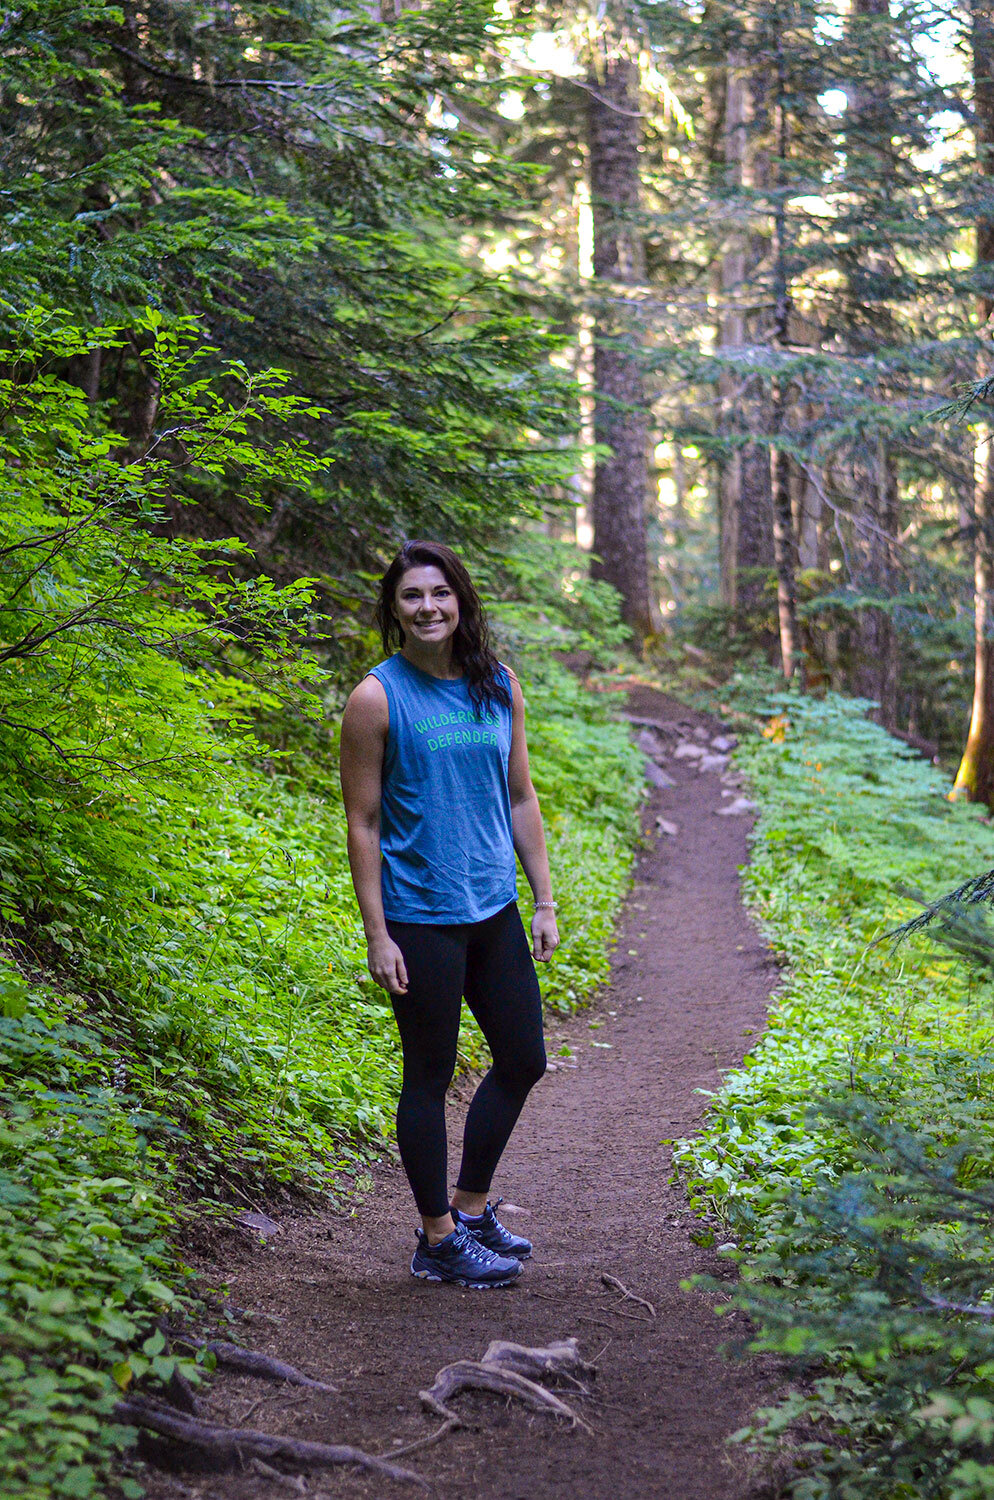
During our time in the Seattle area, some locals cautioned us about potential fire closures. To be on the safe side, we visited the North Cascades Visitor Center for the latest updates. We're glad we did; there were several hikes we couldn't do, such as the Sourdough Mountain trail, so we had to revise our plans. Fortunately, the Heather-Maple Pass Loop was open, and we decided to explore that for the day.


About 1.25 miles into the Heather-Maple Pass Loop, a trail veers left towards Lake Ann, a beautiful gem nestled within a talus bowl. This charming detour is a relatively flat 0.6 miles round trip. Stopping by the shores of Lake Ann provides a stunning view of the pass you’re headed to! Continuing on the main trail, this hike totals approximately 7.2 miles round trip with an elevation gain of 2,000 feet. It definitely ranks among our top hikes in Washington! The vista from the summit is breathtaking, showcasing endless mountain peaks and the lake below.


⛰️ If you hike clockwise, you can tackle the steep section of the trail early in the day, allowing for a more gradual descent later on. Conversely, a counter-clockwise hike offers increasingly dramatic views of Black Peak and North Cascades National Park as you ascend to the pass. Regardless of your choice, you will be in awe of the scenery.
To wrap up our day, we treated ourselves to dinner and drinks at Upriver Grill & Taproom, which offers gluten-free and dairy-free options!
DAY 7: Diablo Lake Trail + driving to Mount Rainer
The day before, we visited Diablo Lake Vista Point and instantly decided that would be our destination for the following day! Bright and early, we set off on the Diablo Lake Trail. This moderate trail spans 7.6 miles roundtrip with an elevation gain of 1,300 feet. Navigating it can be a bit tricky, so here are a few tips: Look for signs along SR 20 that lead to the road crossing the top of Diablo Dam. Cross the dam and follow the access road to the parking area near the trailhead. We hoped to time our hike to catch a ride on the Diablo Lake Ferry, but we missed it. If you're aiming for that, try to arrive a few minutes before 9 AM or 3:30 PM.


After our hike, we drove through the park, stopping at various overlooks and lakes before heading down to Mount Rainier!


candids


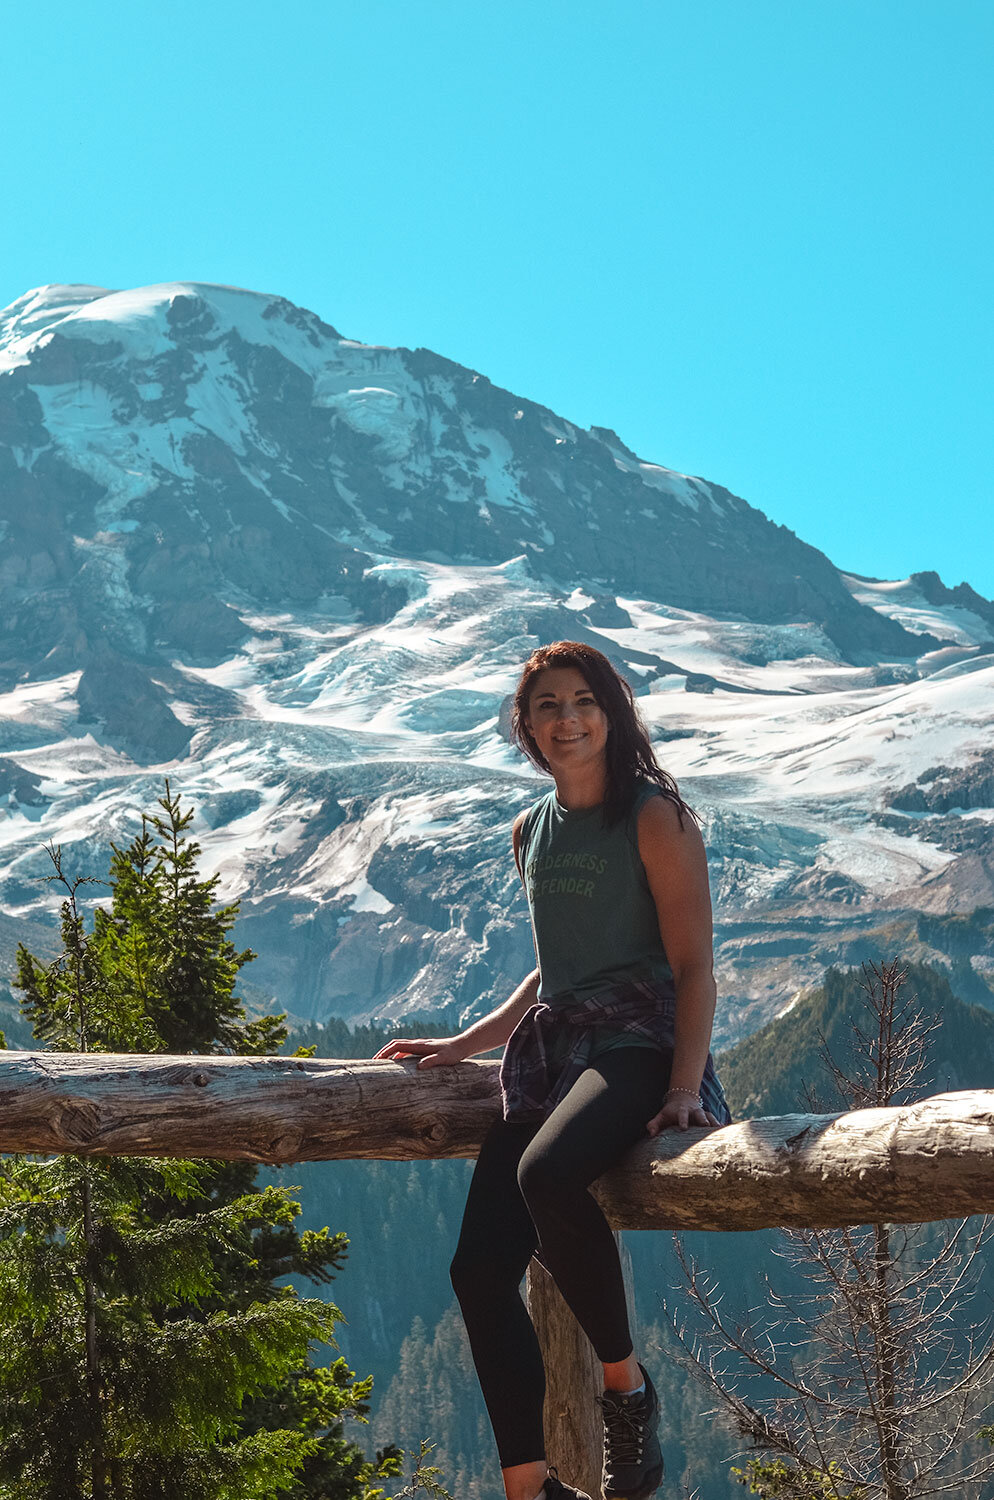
DAY 8: Paradise (South Side) - Skyline Trail Loop, Narada Falls + Pinnacle Peak Trail
☑️ Starting in 2024, timed entry reservations will be mandatory during peak seasons. From May 24th to September 2nd at select locations and peak times, a reservation will be required. Make sure to secure your reservations and find out more before your visit.
We kicked off our first day at Mount Rainier by exploring one of the park's most popular trails - The Skyline Trail. This 6-mile round trip offers an elevation gain of 1,794 feet. Numerous trails branch off from the Skyline Trail, making this area perfect for a full or half-day adventure! Unfortunately, the weather wasn't in our favor; however, on a sunny day, you can expect breathtaking views of majestic mountains and Paradise Valley.


After our hike, we enjoyed lunch at the Paradise Guest Service station located in the parking area, which offers cafeteria-style meals. *Gluten-free and dairy-free options are available!
Known for its stunning waterfalls, we made a stop at Narada Falls, where we were treated to a beautiful rainbow. To get there, drive 14 miles from the Nisqually Entrance to a designated viewpoint and parking area. Follow the short trail for amazing views!
Eager to fit in one last hike before heading to our Airbnb, we tackled the Pinnacle Peak Saddle Trail, which is a 2.4-mile round trip with a 1,056-foot elevation gain. It’s a good workout, but the views at the top – including Mount Rainier, Mount Adams, the Nisqually River Valley, and Reflection Lake – make it all worthwhile!


For dinner, we stumbled upon a charming and somewhat unexpected Ukrainian restaurant, where I had the pleasure of trying borscht for the first time!
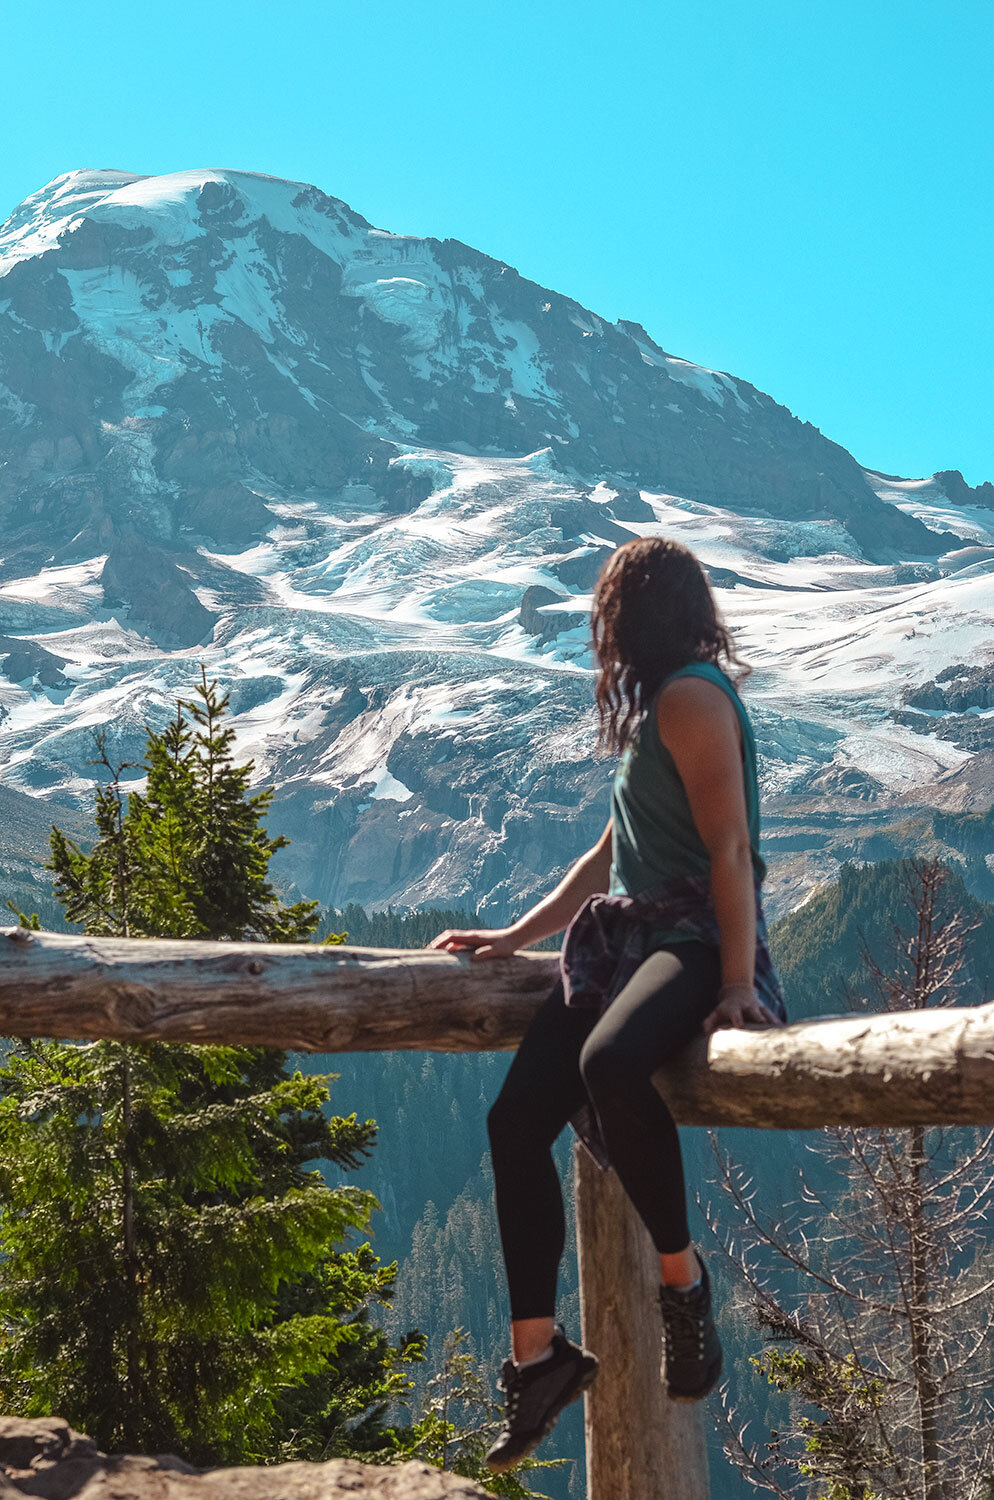
DAY 9: (Sunrise area) - Mount Fremont Fire Lookout, Burroughs Mountain Trail + Sunrise Rim Trail + (Paradise area) Skyline Trail Loop redo + Reflection Lake
This day was another long one, but since it was our last full day, we had to make it memorable! As a former firefighter, I couldn't miss the chance to conquer the Mount Fremont Lookout! Spanning 5.7 miles with an elevation gain of 1,151 feet, this hike quickly became a personal favorite. It begins on the Sourdough Ridge Trail and branches off to the Mount Fremont Trail, just beyond Frozen Lake. We took some time to explore the Mount Fremont Lookout, built in 1934 to monitor the forest for wildfires.


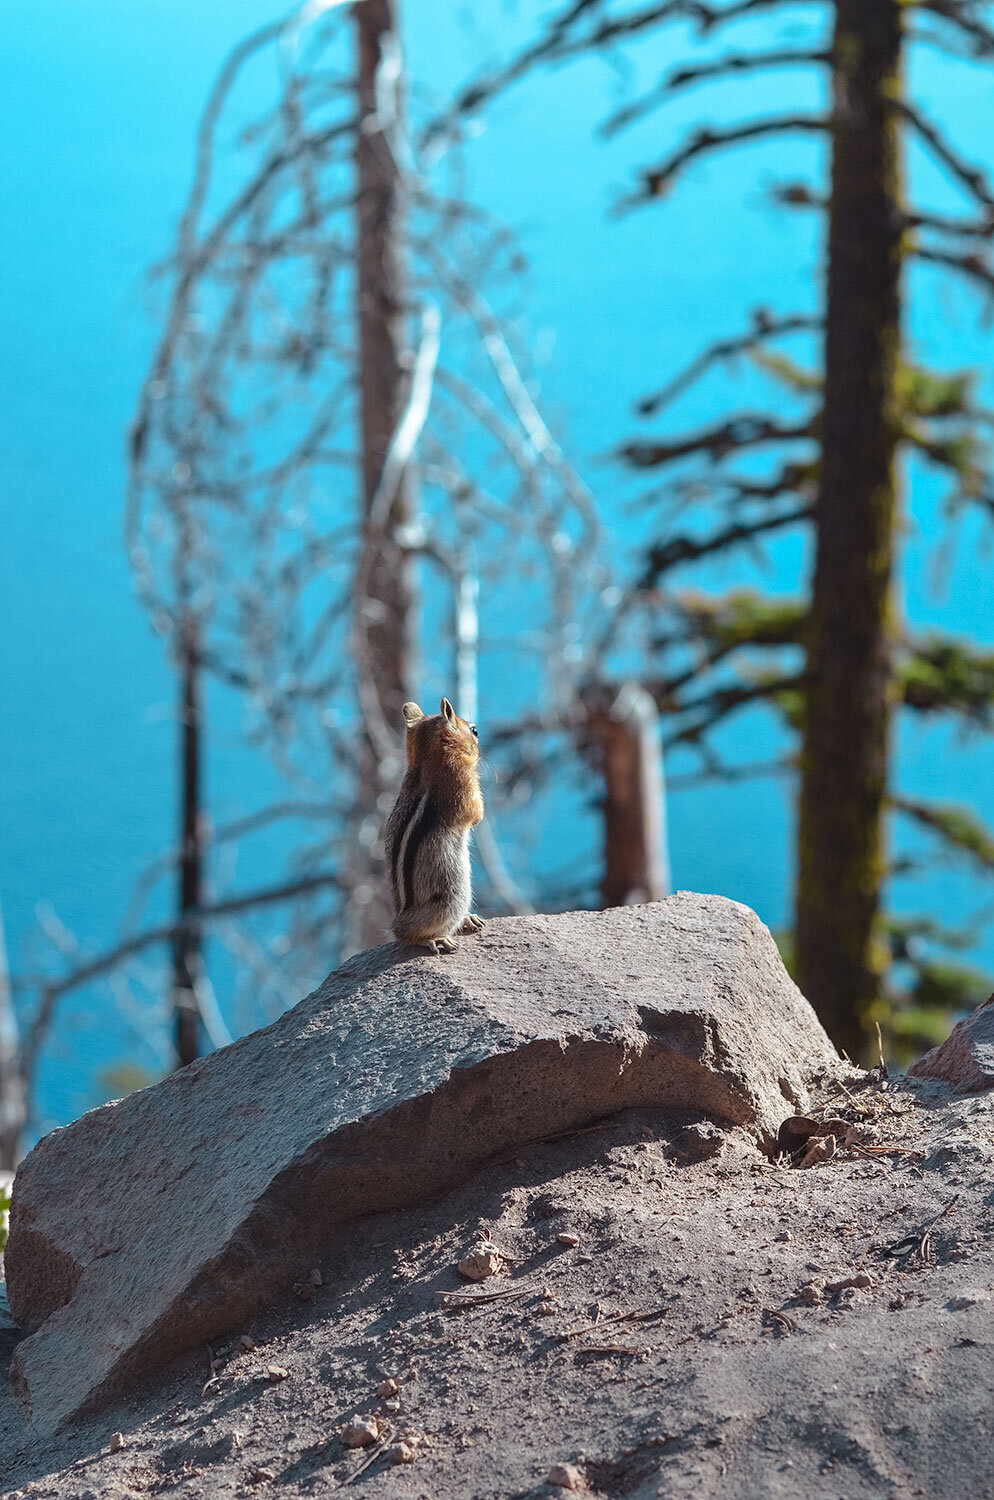
Since this hike shares the Burroughs Mountain Loop Trail, we decided to merge the two with just an additional 2.6 miles of hiking. The Burroughs Mountain trail itself is 9.4 miles long, featuring a 2,562-foot elevation gain. At the third Burroughs, we paused for a snack break and were delighted by the company of chipmunks. We then made our way back towards the Sunrise Rim Trail, which led us directly to the Sunrise Parking Lot.


As you can imagine, after covering roughly 15 miles before 1 PM, we were both exhausted and hungry! Unfortunately, the visitor center at the Sunrise parking area offered only concession-style food, so we headed back to the Paradise area for a proper meal. This worked out perfectly, as my partner wanted to tackle the Skyline Trail Loop again with the clear skies, while I ventured toward Reflection Lake to “reflect” on our trip! We both concluded our day with stunning views, enjoying the ideal hikes that suited us as individuals to wrap up our adventure!


candids


Our Best Tips from Visiting Washington's National Parks
Plan in Advance
Each park has its own set of rules, pricing, and reservation processes, so it’s essential to plan ahead! For example, since Mount Rainier is the most popular of the three parks, I realized we would need reservations. Be sure to visit each National Park's website for the latest information and resources!
Check Weather Conditions
Before heading to the Pacific Northwest, it’s wise to manage your expectations regarding rain and cloudy days. During our ten-day trip (the last day was for travel), we enjoyed perfect weather on about three days, even though we visited at the peak summer season. While summer months offer the best opportunities to see stunning viewpoints, remember that the weather is unpredictable. Be sure to plan for it by packing appropriate rain and winter gear, even in summer! Learn from my experience and avoid making a last-minute stop at REI in Seattle for better rain gear!
Provisions
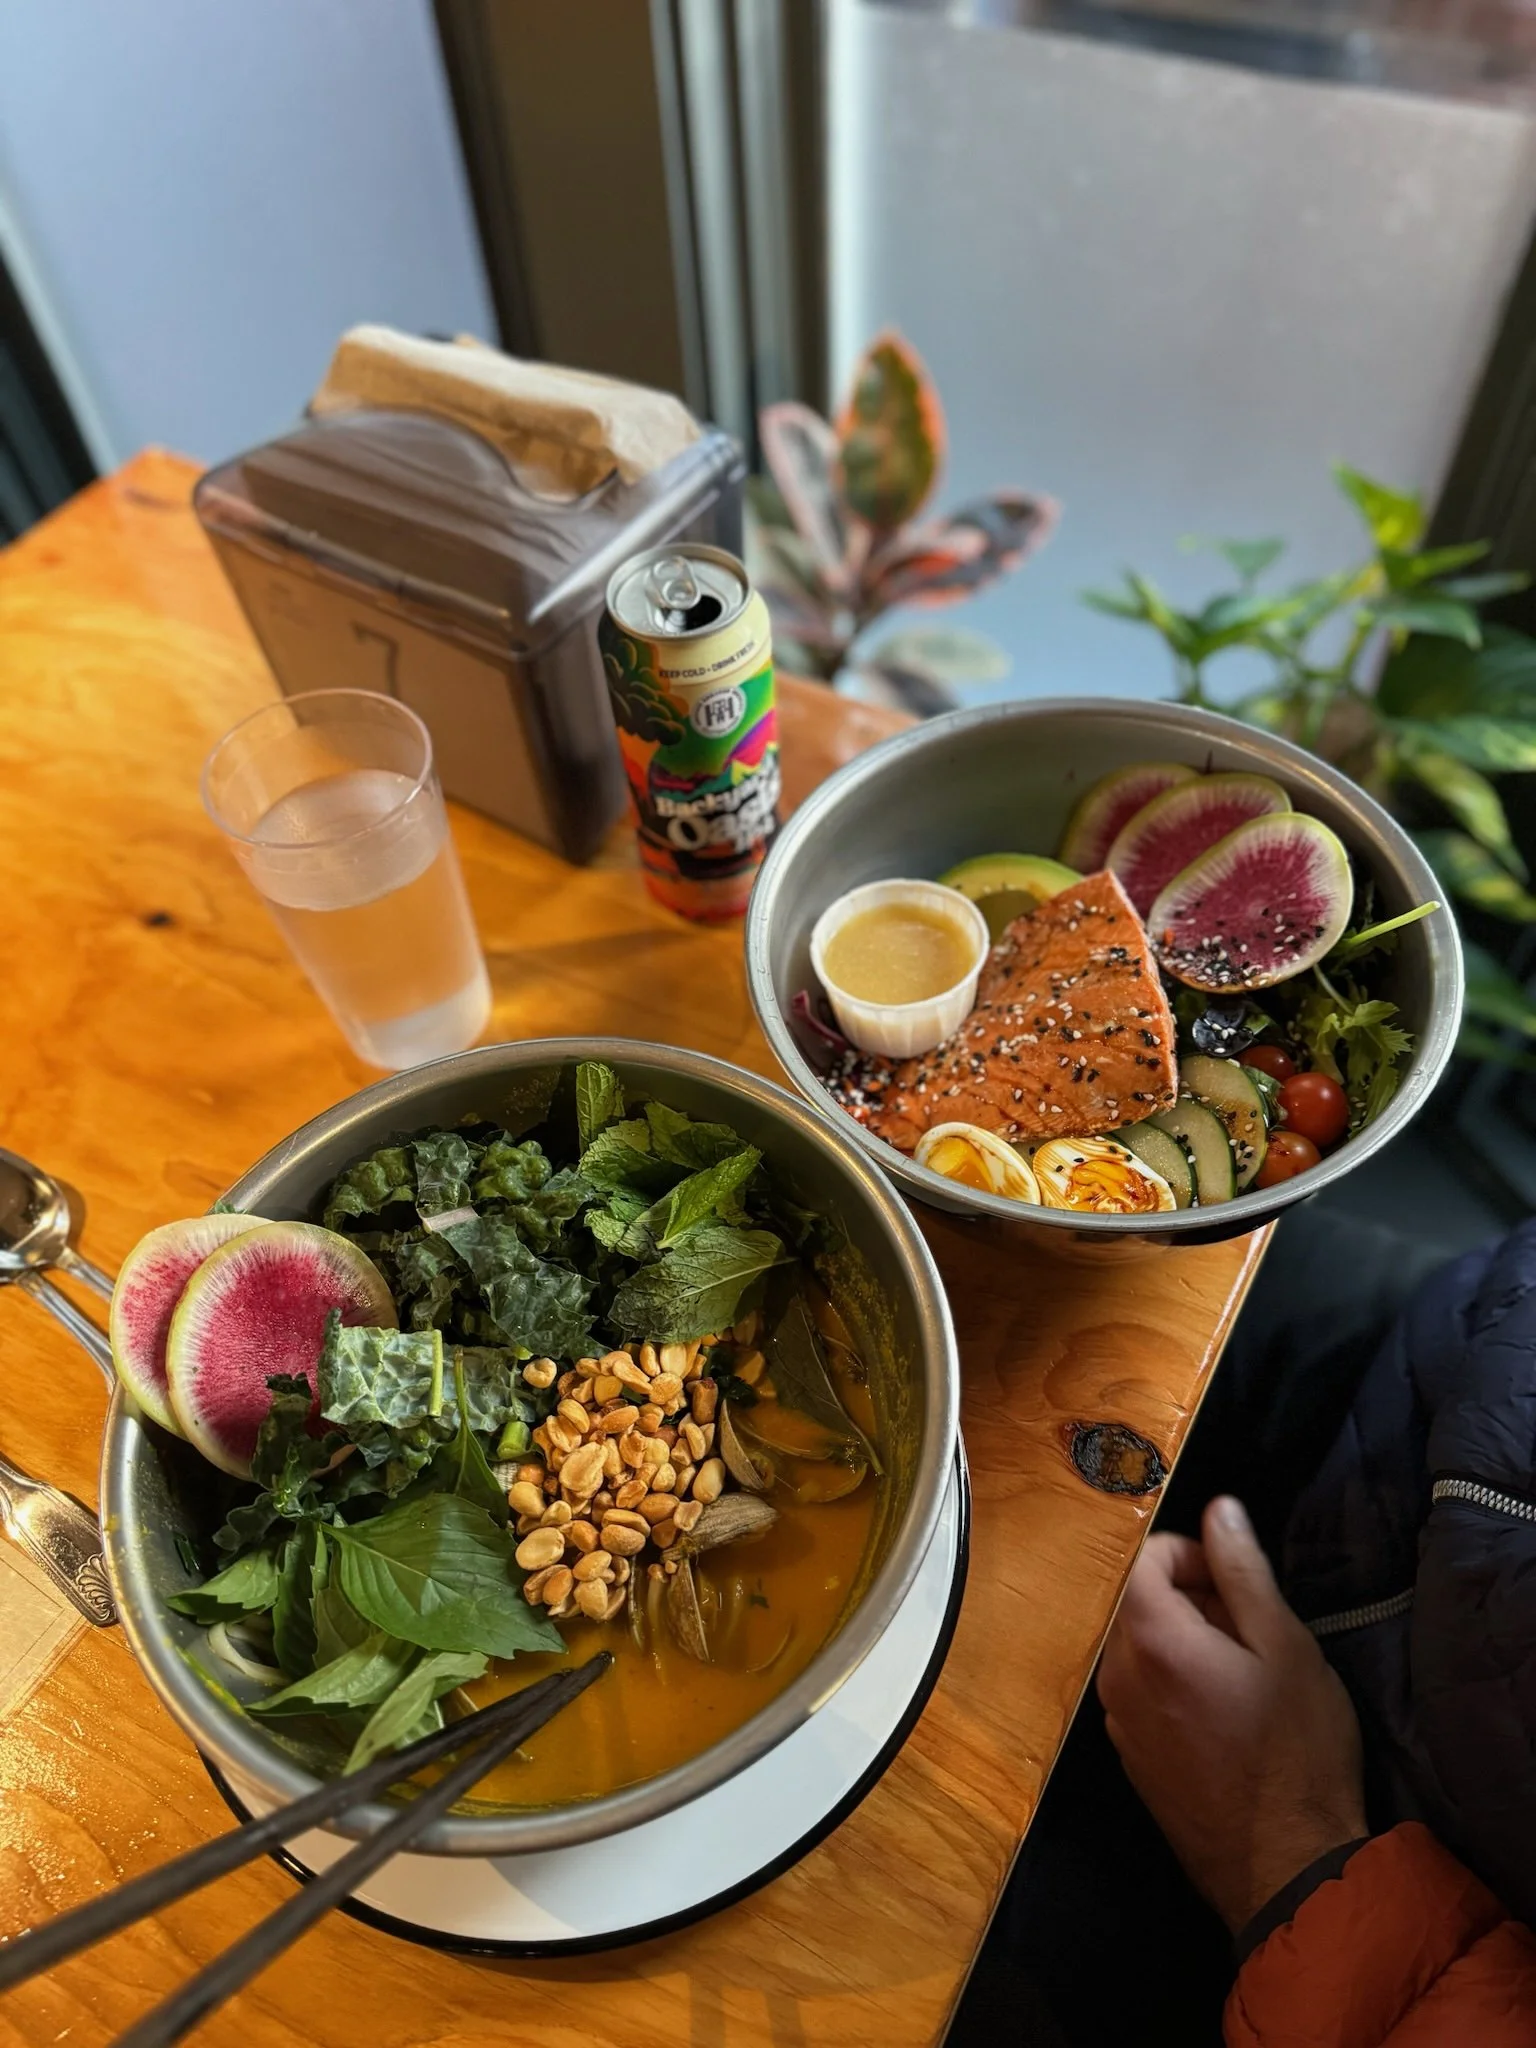
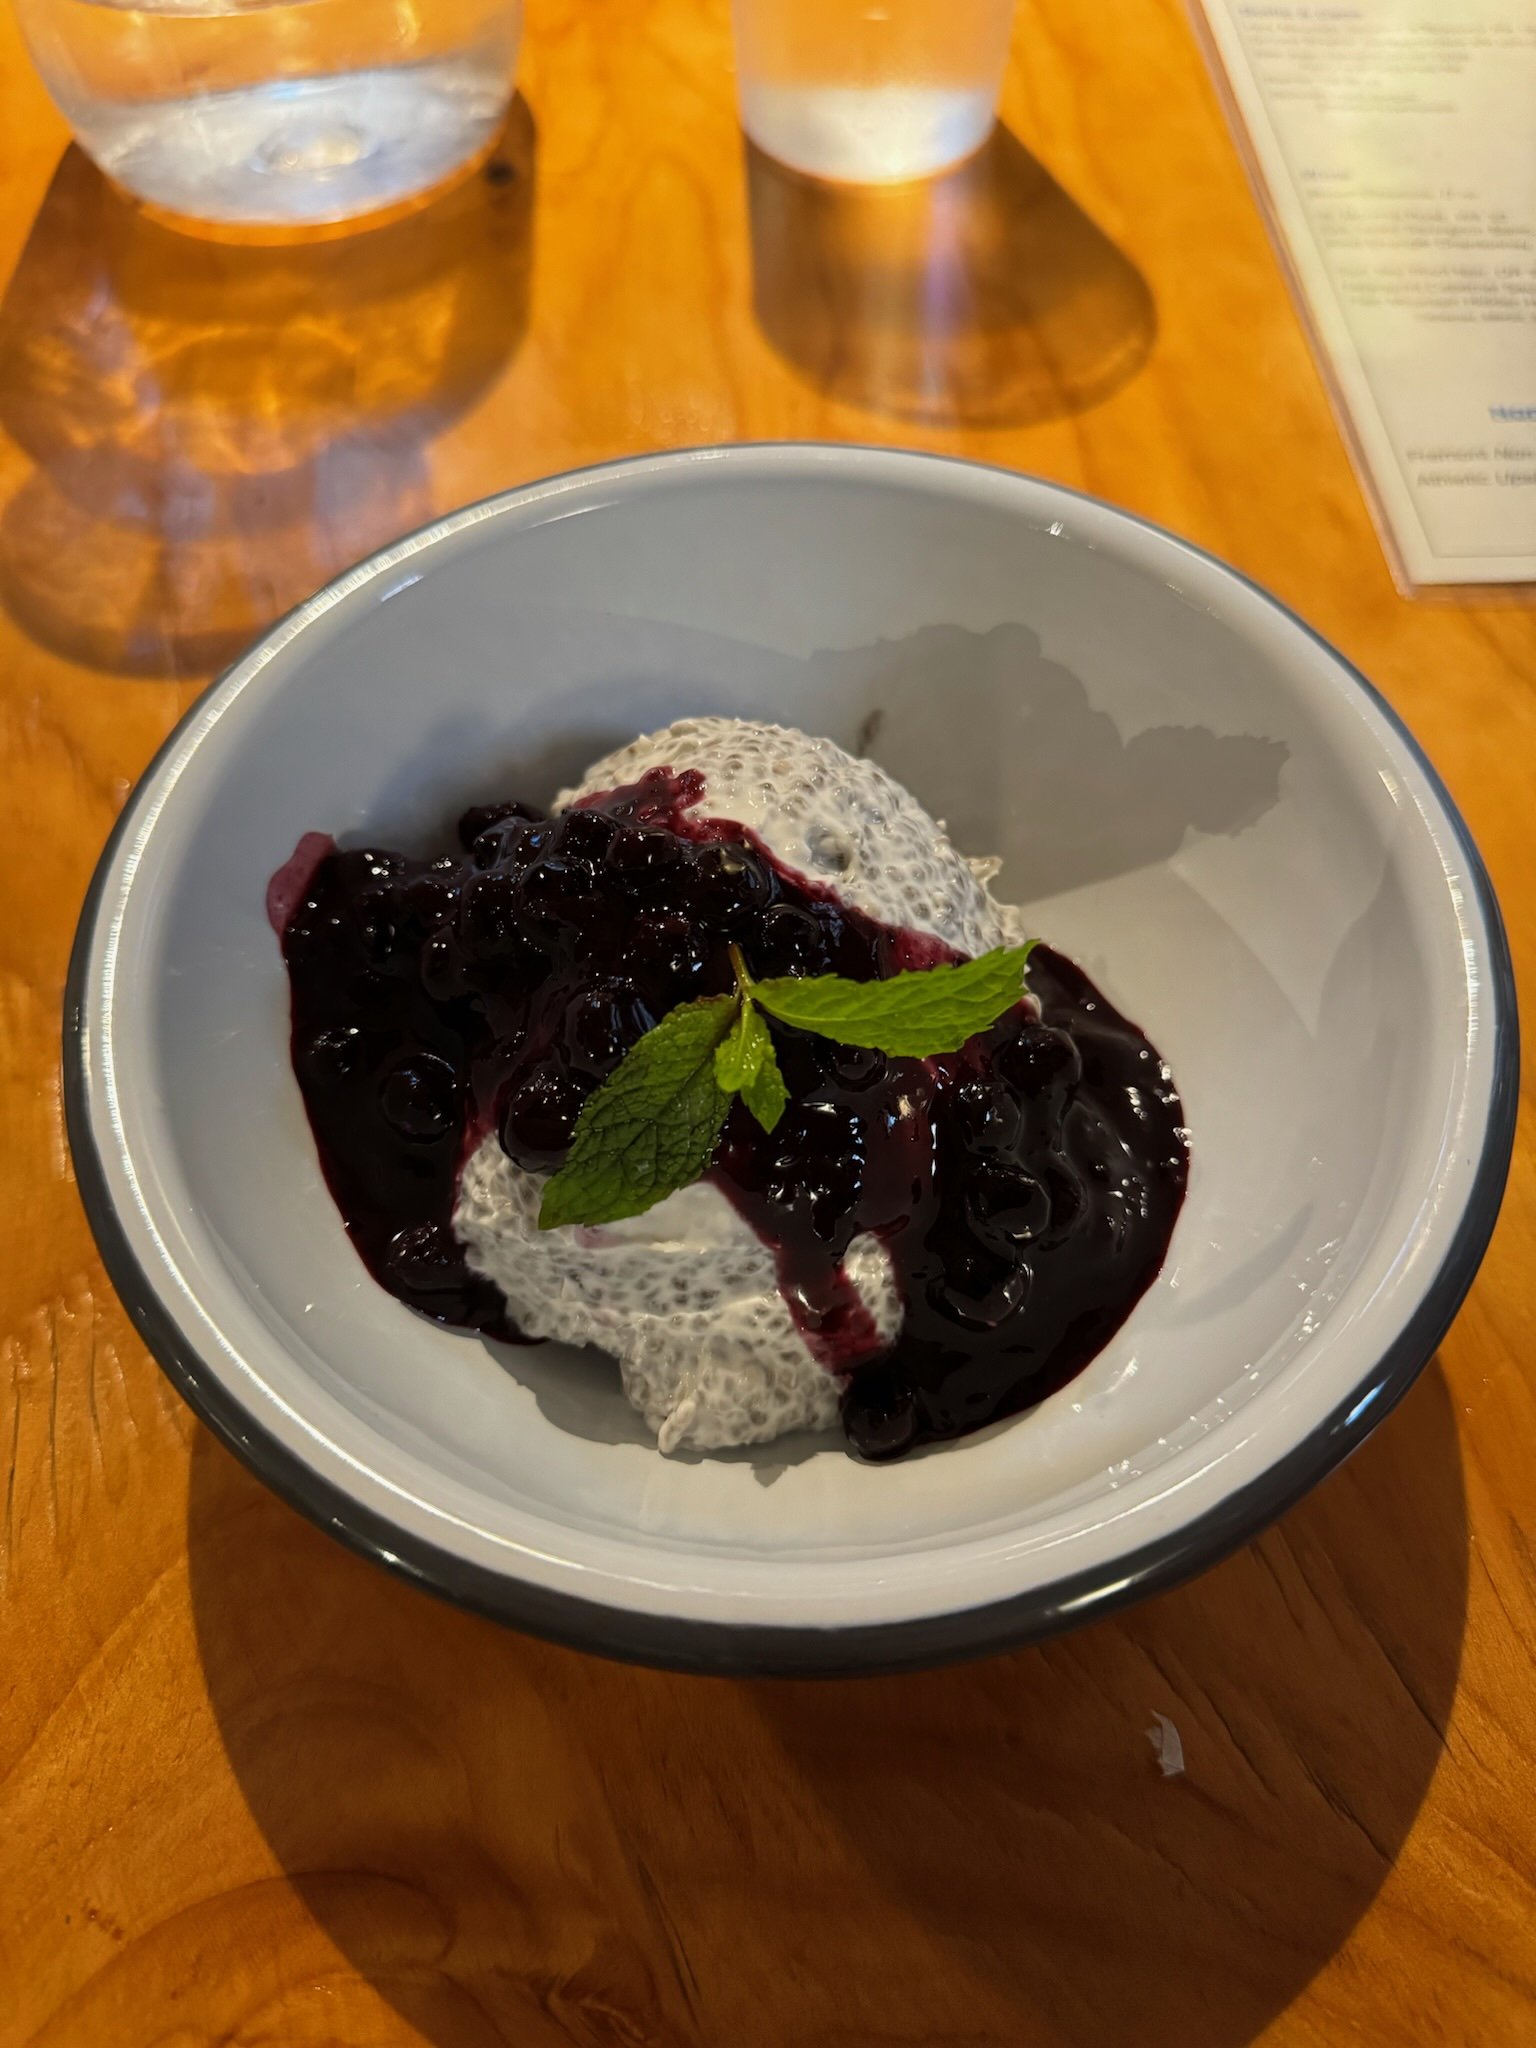
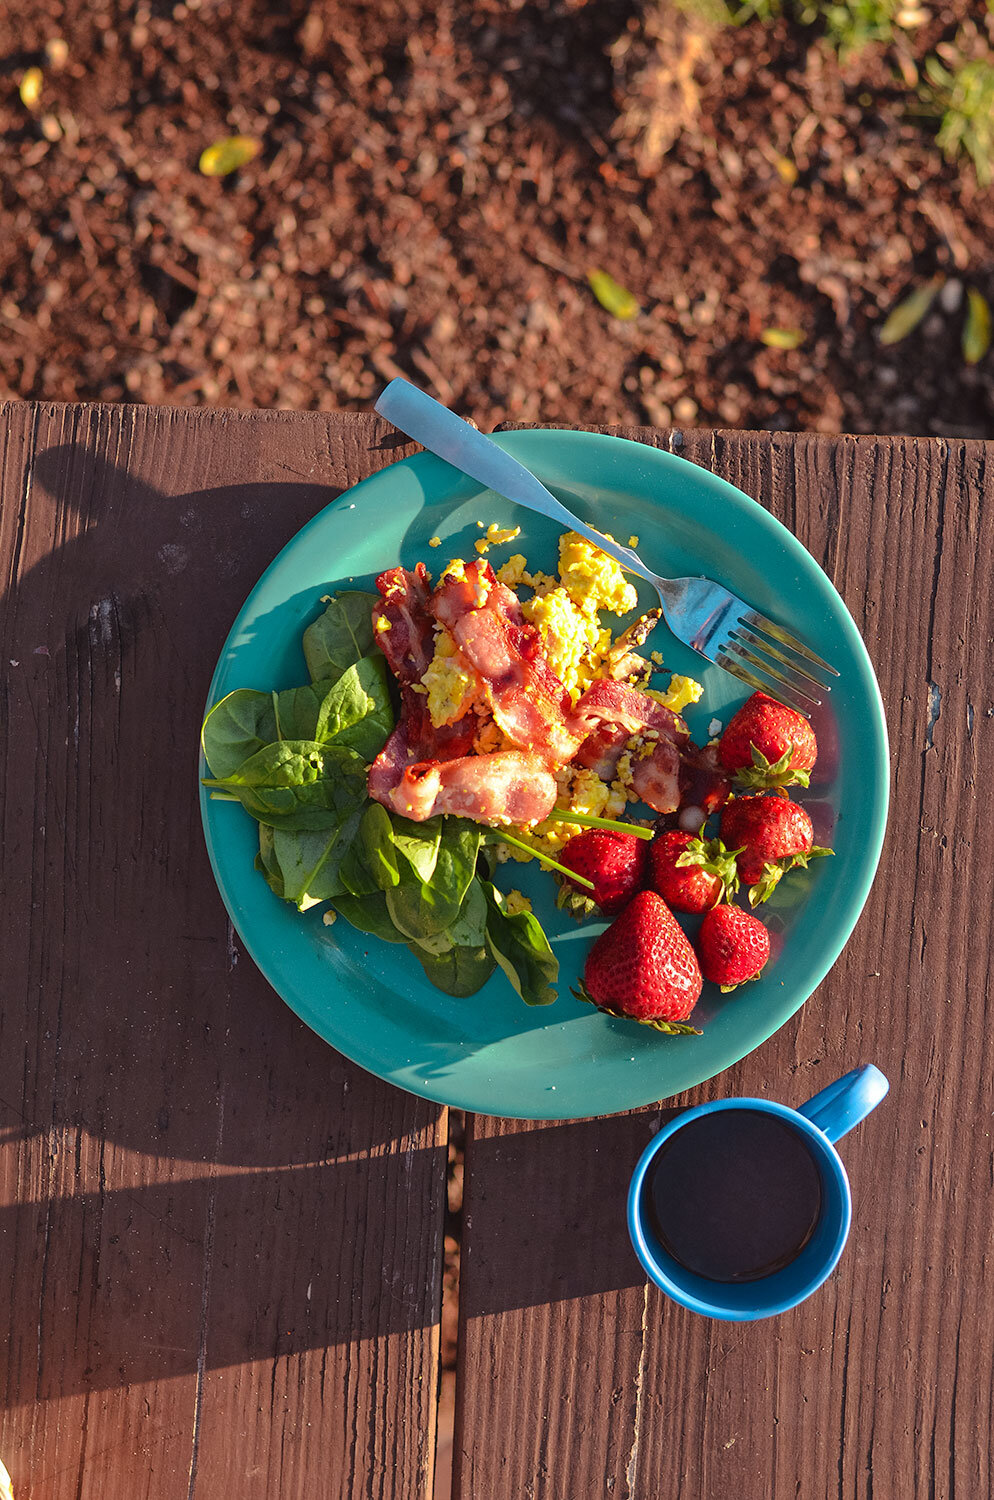
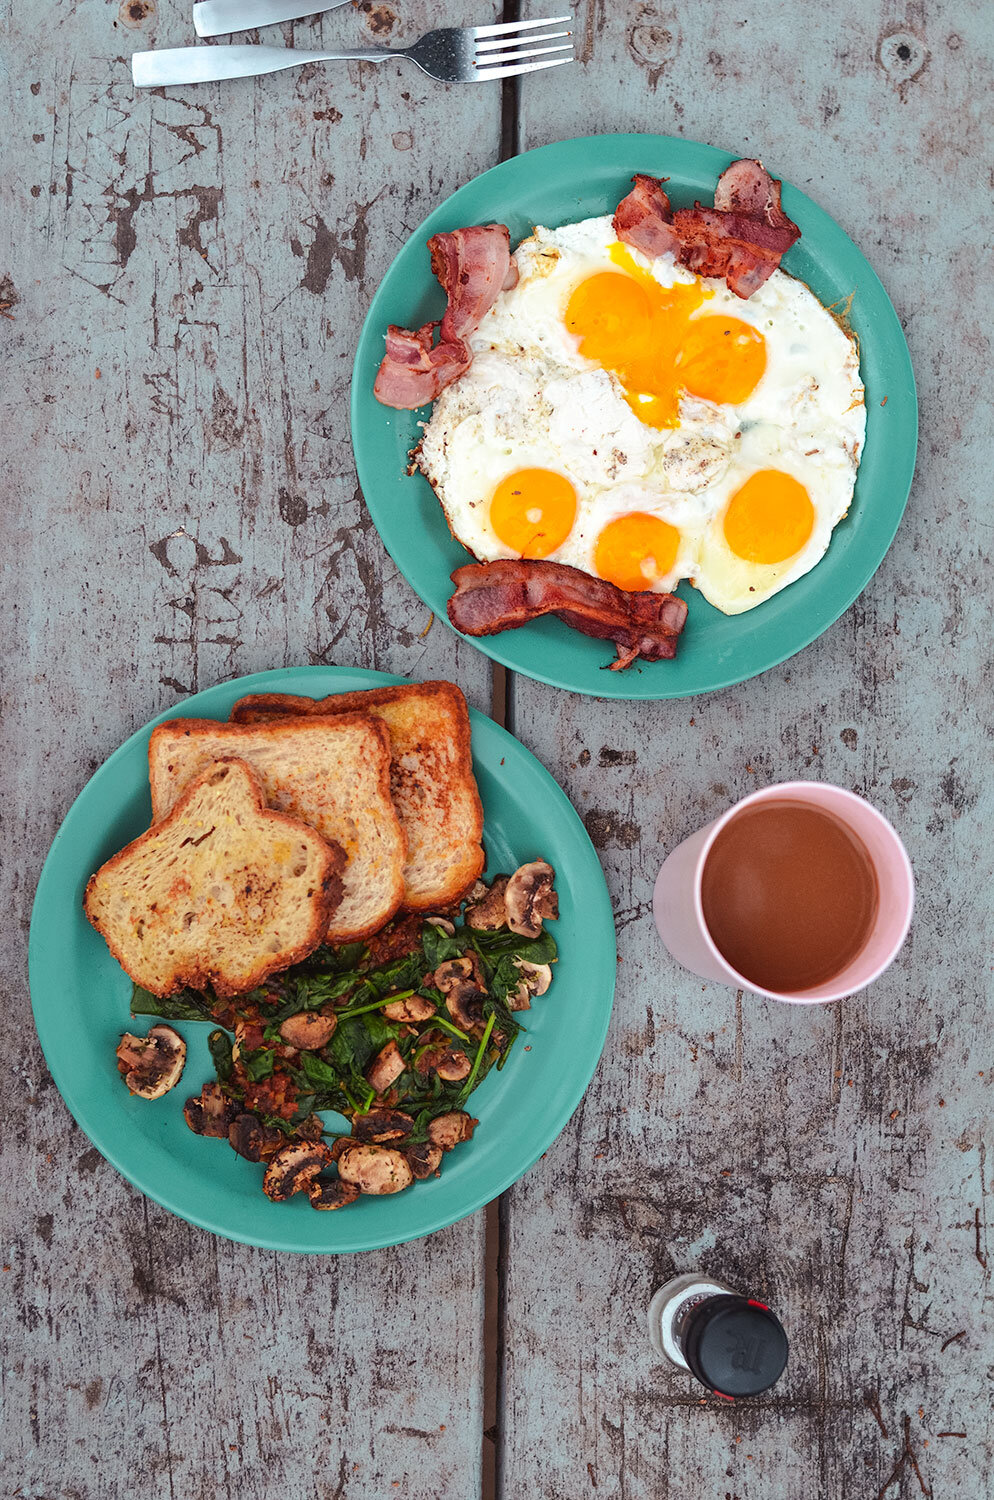
Always ensure you have plenty of food, snacks, and water. As someone who is gluten and dairy-free, I encountered few issues finding suitable options, except around Mount Rainier. However, to be prepared, I always brought extra provisions in case we found ourselves in areas without accessible food. Staying in Airbnbs at all three national parks was incredibly beneficial; we usually enjoyed breakfast there and packed lunches and snacks for our hikes throughout the day.
Note: Feel free to visit my Amazon storefront for all your hiking gear and food needs!
Download Offline Maps
While we didn't encounter significant issues without offline maps, having them would have simplified our experience. Additionally, it's worth mentioning that we used a Garmin device, which proved to be invaluable since many parks and the roads leading to them have limited cell reception.
💬 I hope you found this guide on a 9-Day Adventure Through Mount Rainier, Olympic, and North Cascades National Parks in Washington to be helpful! Feel free to share your thoughts, tips, or experiences at these parks in the comments section below!

Pacific Coast Highway Road Trip in a Camper Van Part 2
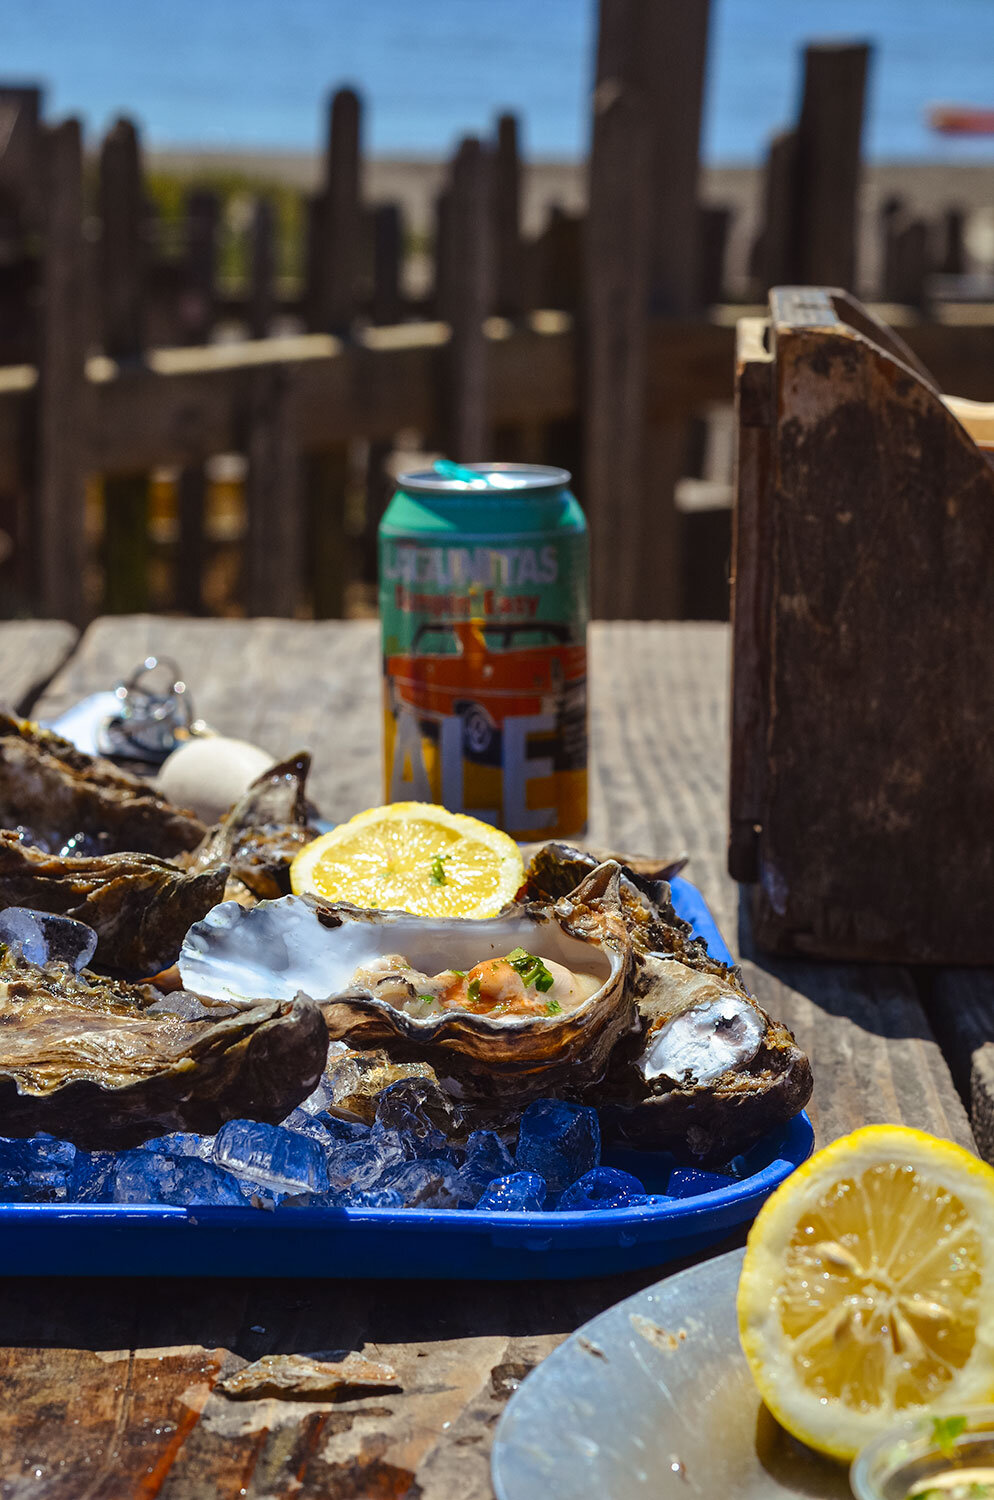
As we are driving down to San Francisco, we stopped by this amazing oyster restaurant, Hog Island Oyster Co in Marshall, where you can shuck your own oysters! We didn’t stop at too many restaurants because we have a kitchen in the van, but you must stop here! If you want more information, I love this blog post on the experience.
After stuffing our faces with oysters, San Fran bound for the rest of the day! Depending on what you want to do in the City by the Bay, one to two days is plenty of time! For the day, here is what we did:
Day 5
As we are driving down to San Francisco, we stopped by this amazing oyster restaurant, Hog Island Oyster Co in Marshall, where you can shuck your own oysters! We didn’t stop at too many restaurants because we have a kitchen in the van, but you must stop here! If you want more information, I love this blog post on the experience.

After stuffing our faces with oysters, San Fran bound for the rest of the day! Depending on what you want to do in the City by the Bay, one to two days is plenty of time! For the day, here is what we did:
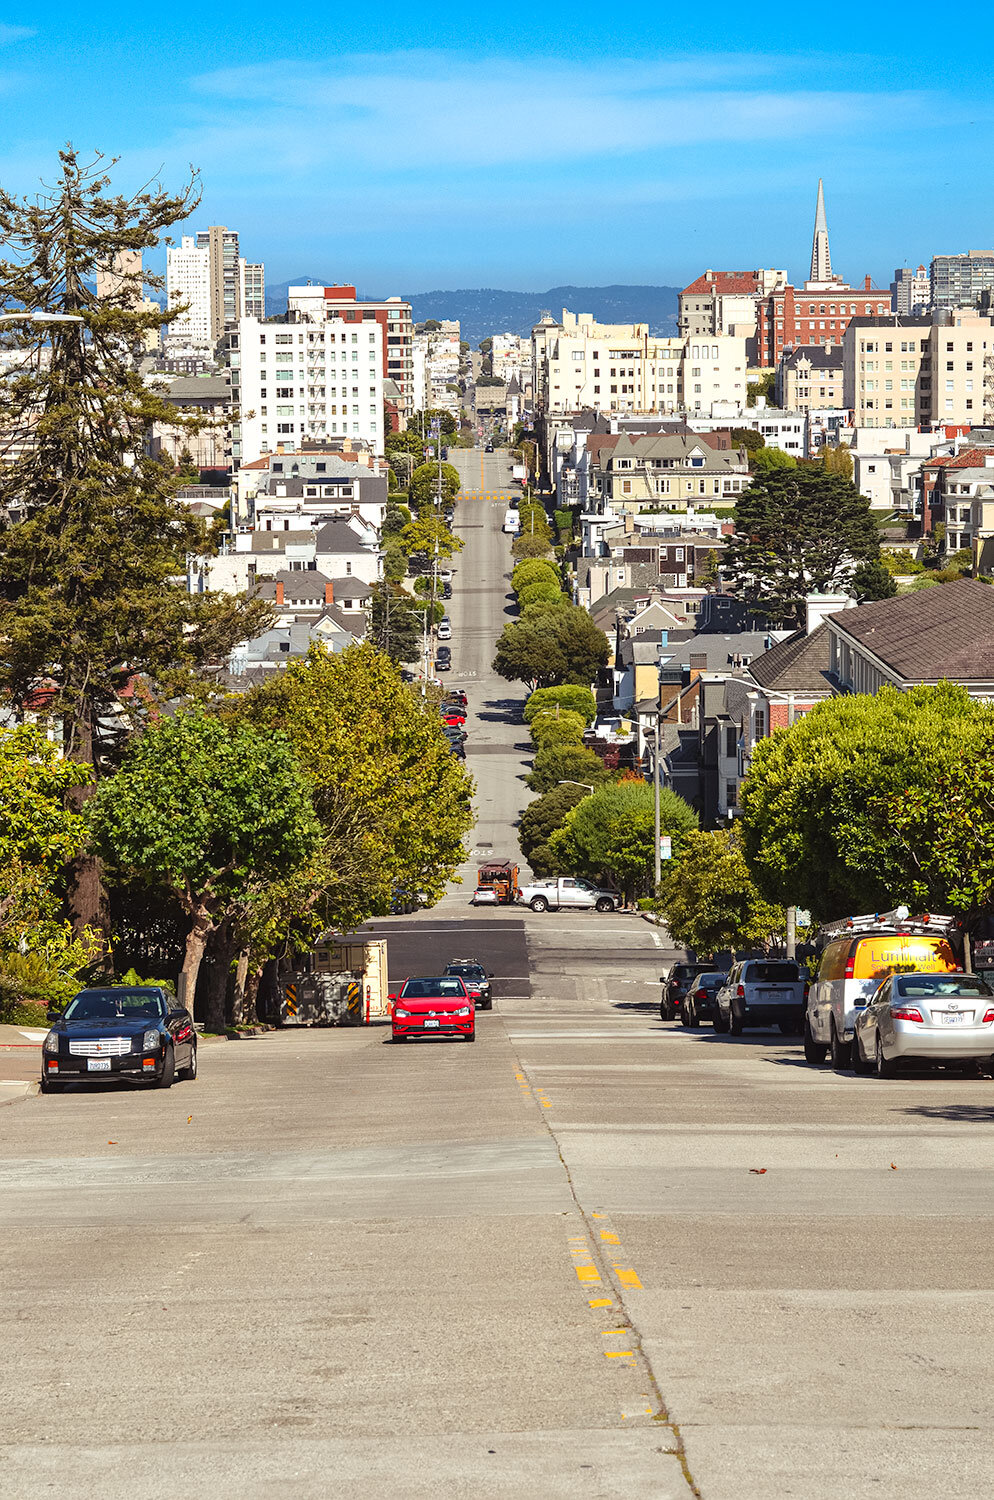
Drive through super twisty Lombard Street (yes, the camper van made it and yes, I thought I was going to have a heart attack the entire time!)
Get the best views of the Golden Gate Bridge. Fortunately, we were able to get both the sunny view just as we entered SF.
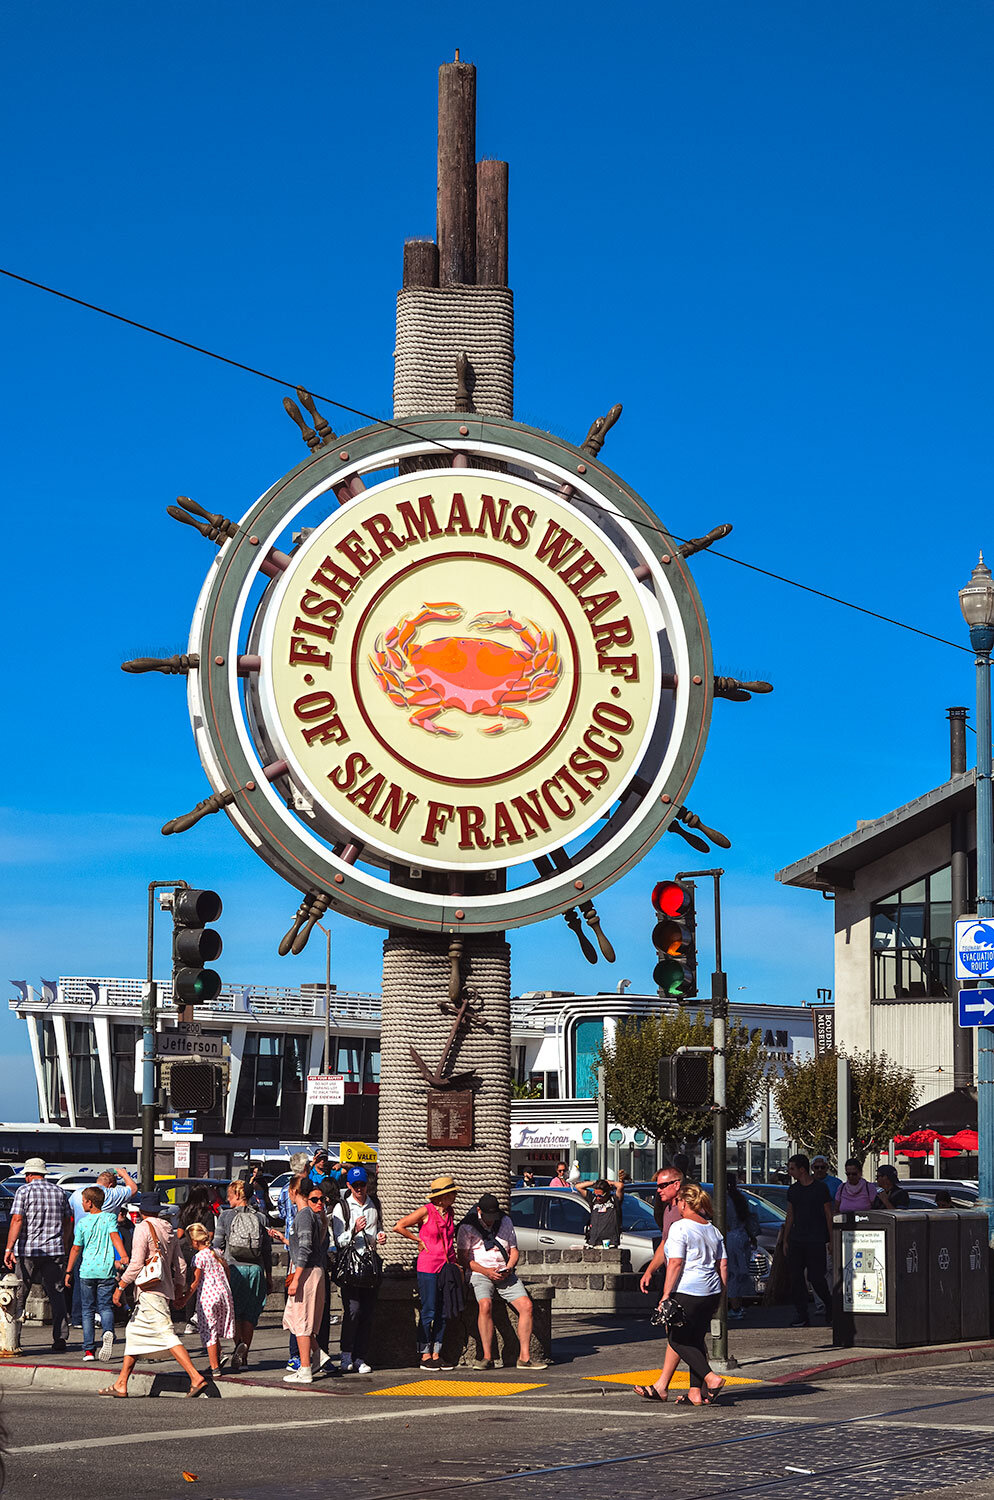
Go say “hi” to the sea lions on Pier 39 while you are at the Fisherman’s Wharf!
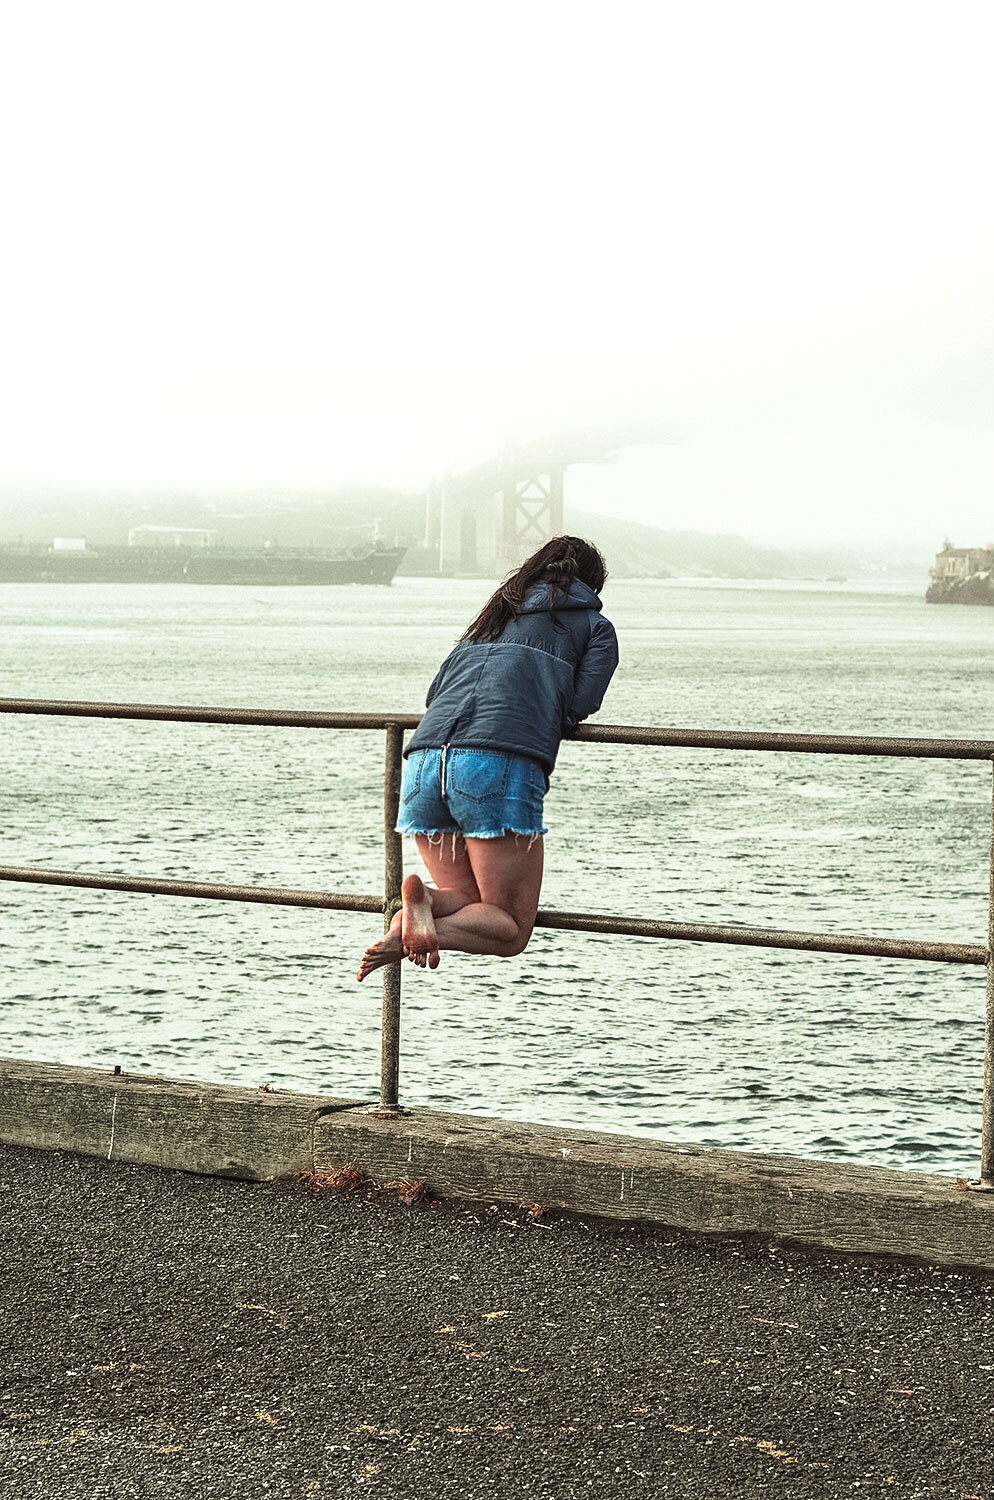
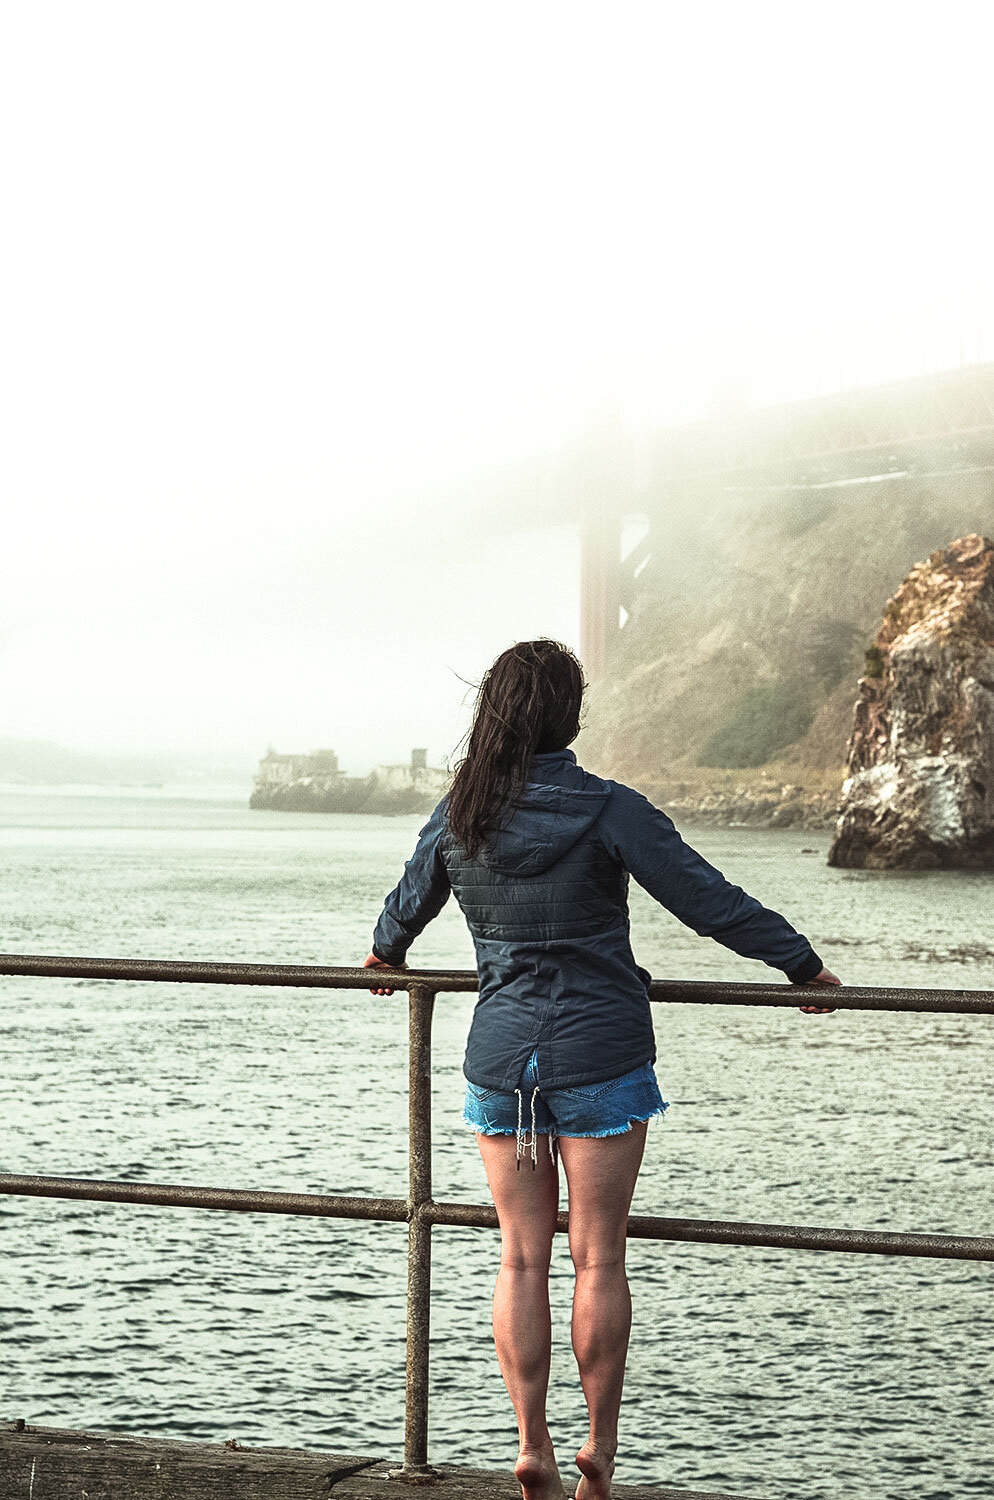
Hike near Lands End - The best spot to hike in the morning fog as you get incredible views of the Pacific Ocean and the GG Bridge. You can also see remains of a shipwreck, hear sea lions in the background, and walk down to see the Labyrinth.
Visit Alcatraz Island. Pro tip: Purchase tickets early - like two months in advance!
Muir Woods National Monument - Walk among massive trees; just can’t get enough of them!

Day 6
After visiting, “Karl the Fog” over the GGB in the morning - Yes, the fog in the Foggy City has a name! (Even has an Instagram account!) We headed south towards LA. On our way, we were able to stop by many locations! If only there was more time!
But to give a brief itinerary for each location that we stopped at we are driving on HWY1:
Pacifica, CA - Devil’s Slide Trail - Used to be the most dangerous portion of the PCH but is now a trail for hiking and baking. Great roadside views!
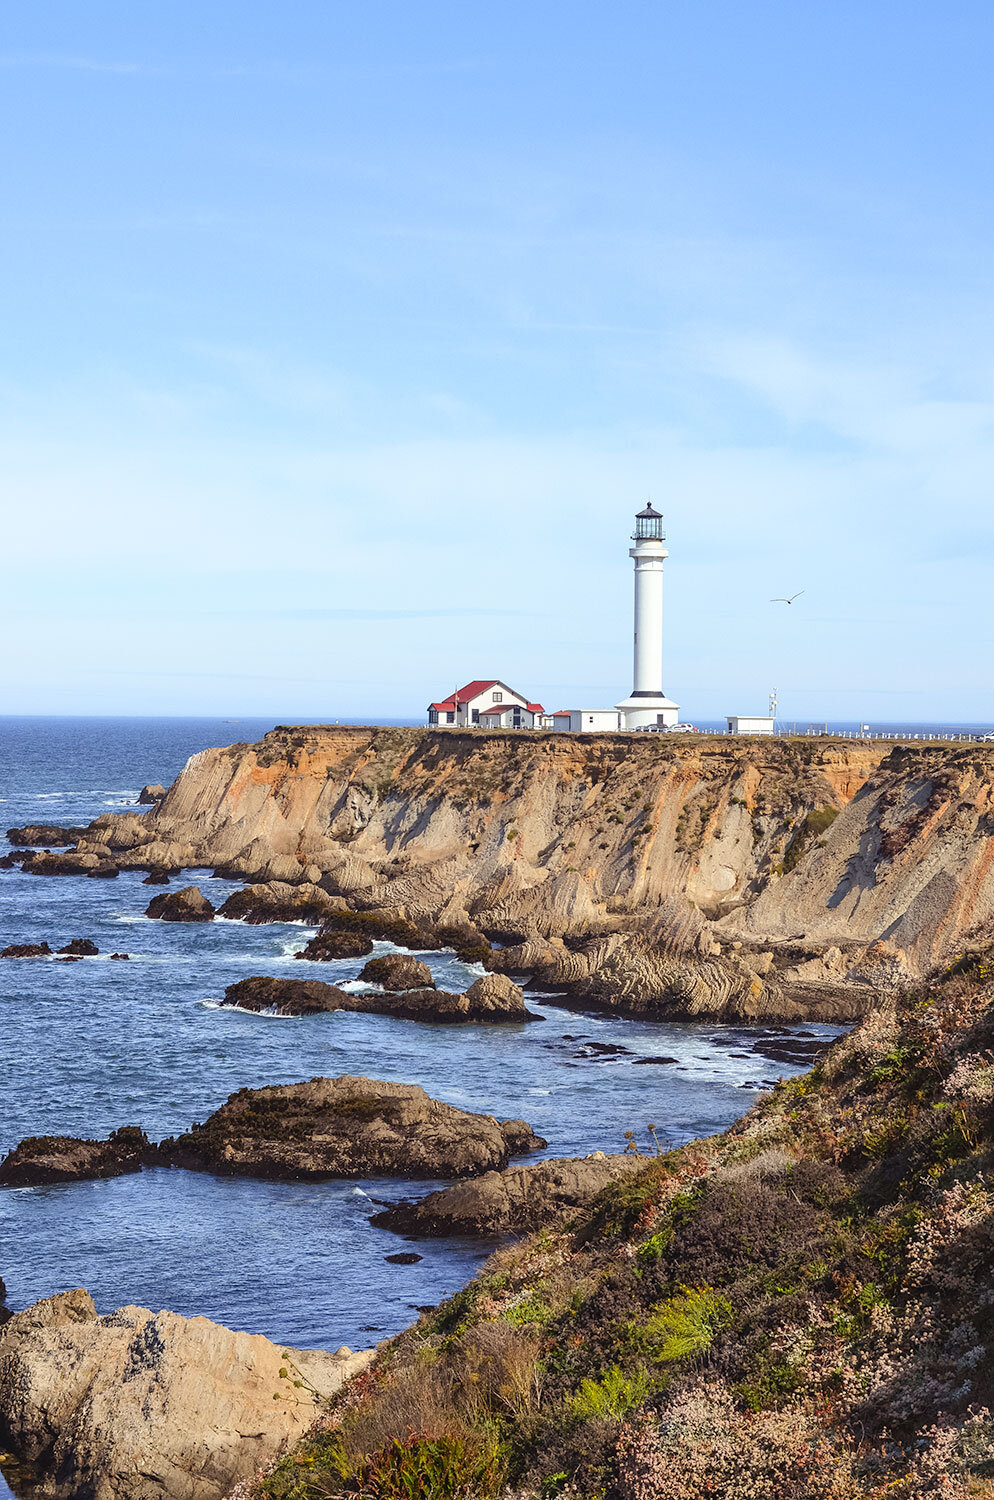
Pescadero, CA - Pigeon Point Lighthouse - The tallest lighthouse on the West Coast.
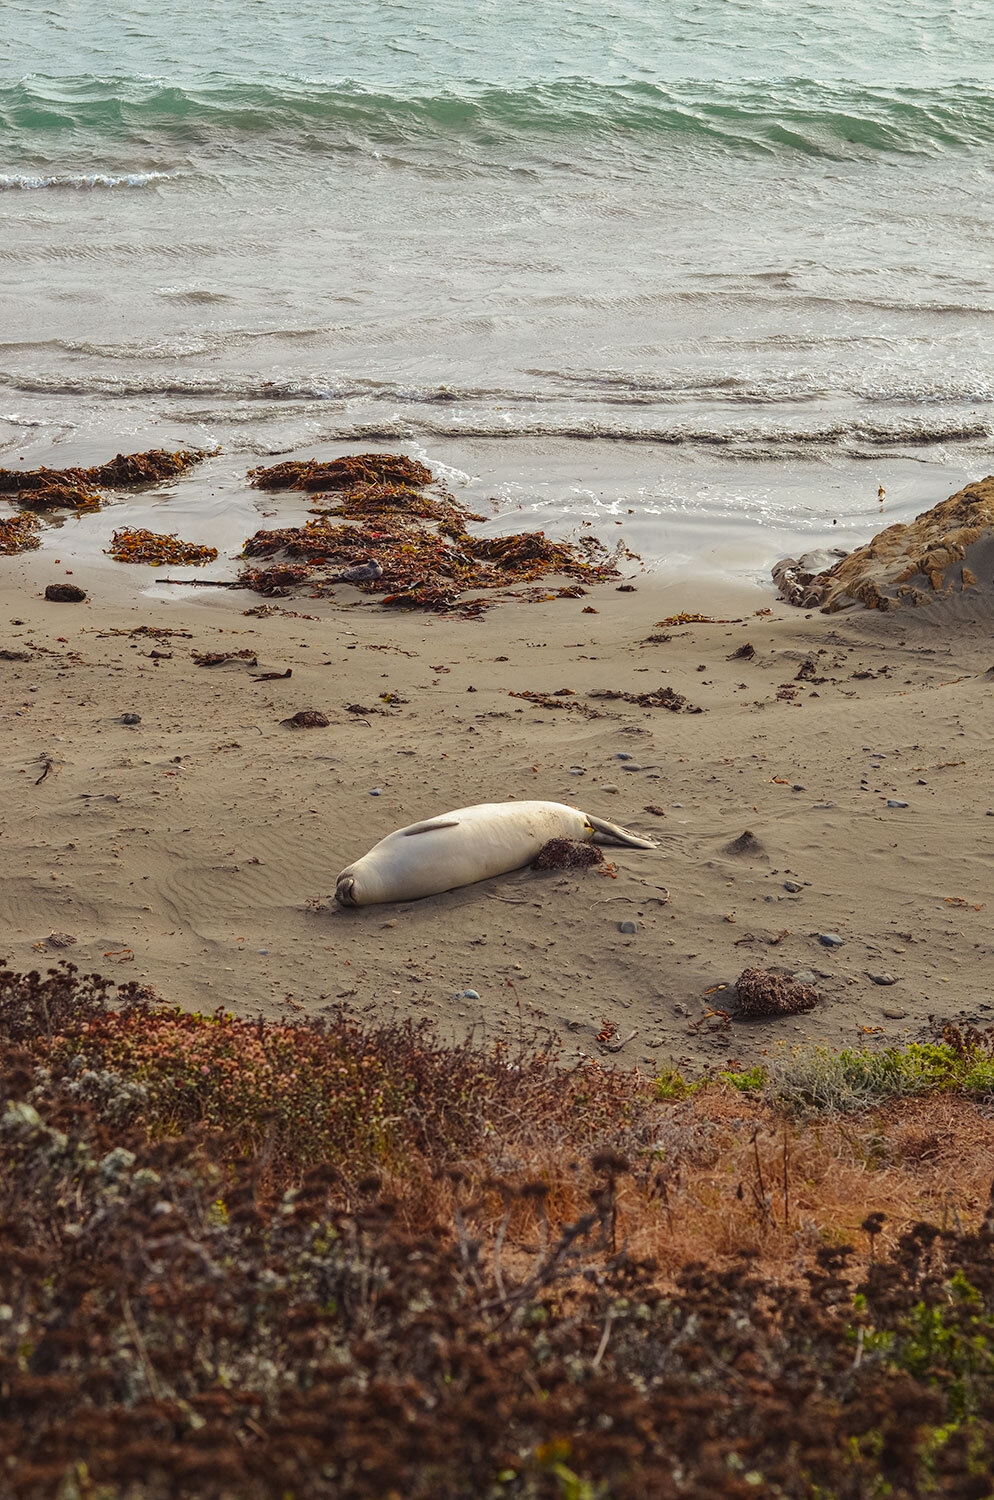
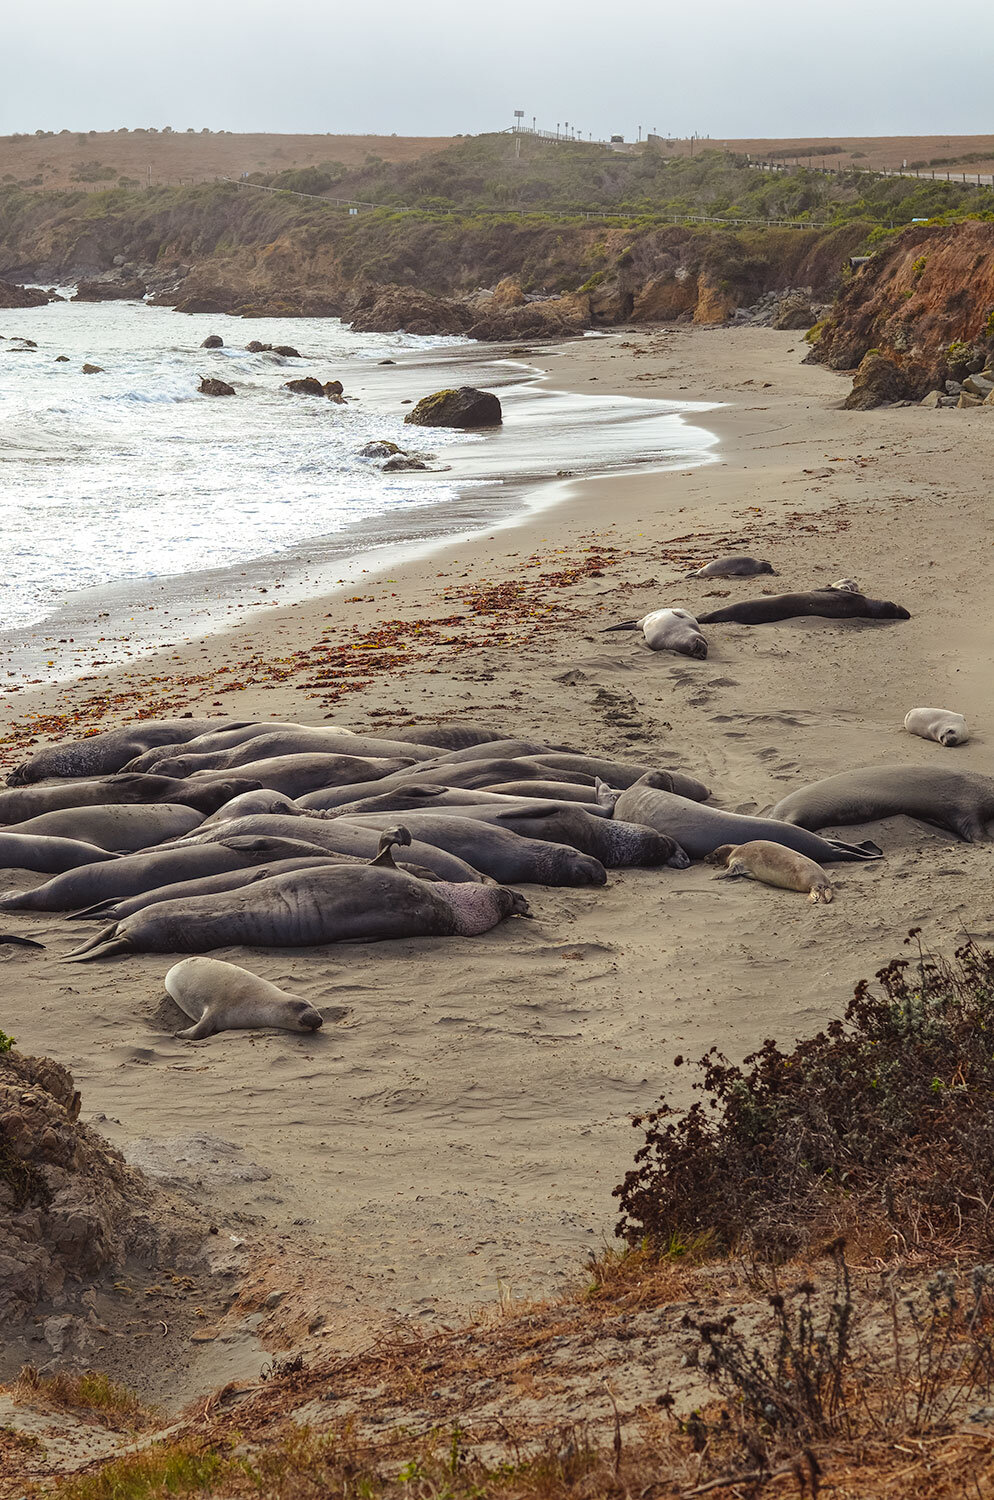
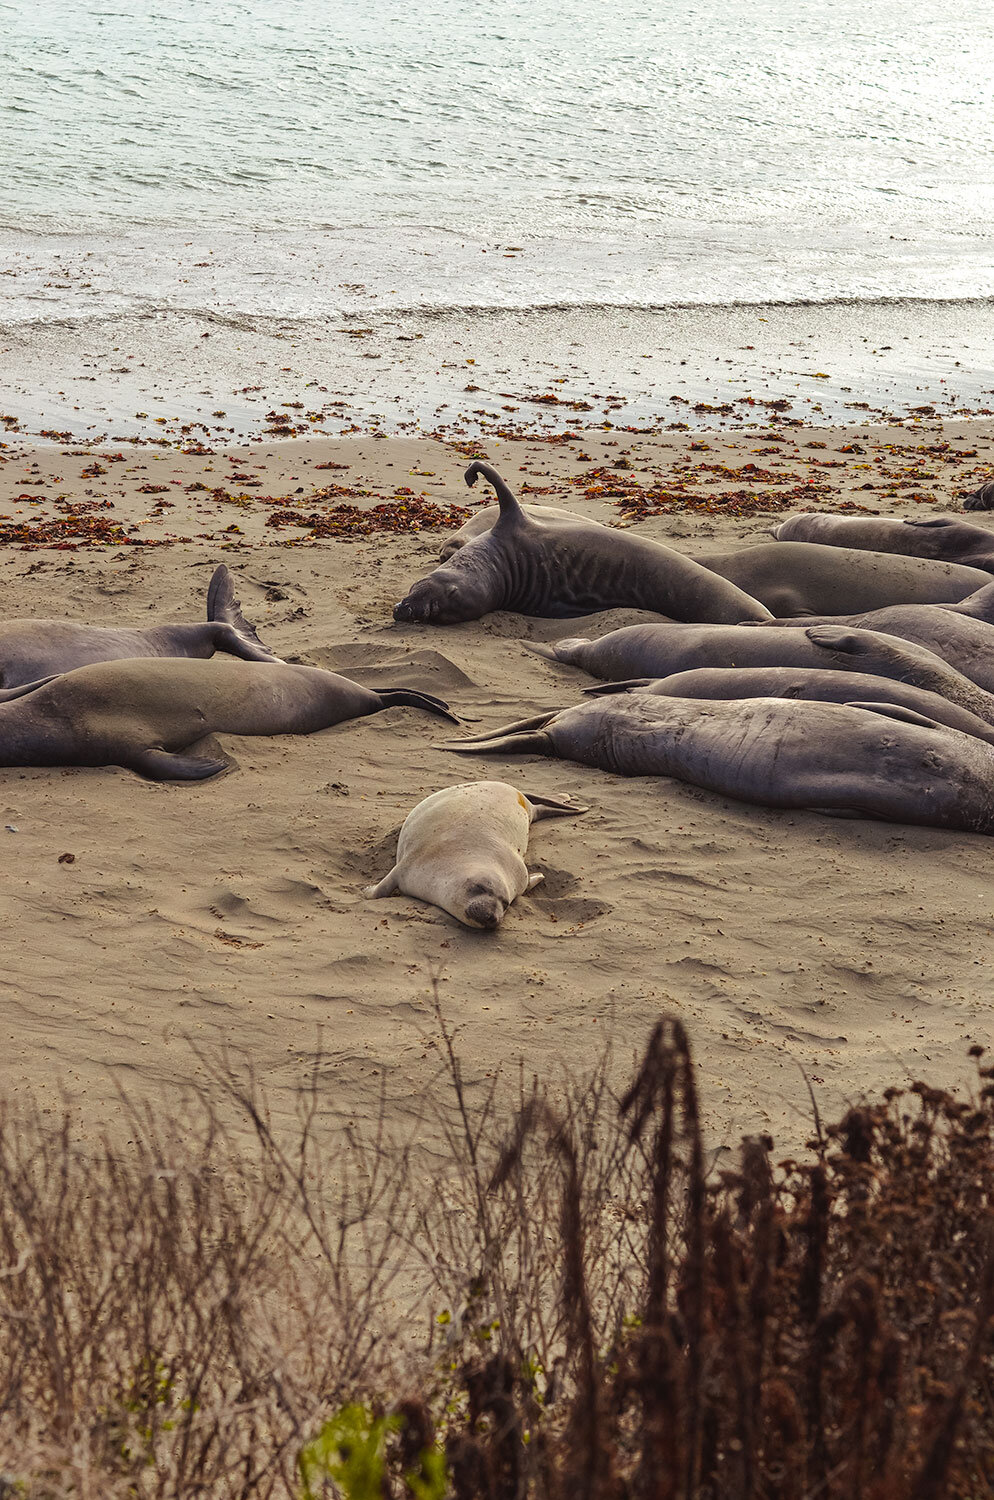
Ano Nuevo State Park - Have to stop by to see the sleeping sea lions! There is also a 3-mile trail that takes you close to them.
Davenport, CA - Shark Fin Cove - Title says it all - cove with a giant rock shark fin formation.
Monterey, CA - Where Big Little Lies was filmed!
Carmel-by-the-Sea, CA - Such a charming little town with lots of shops and wineries to check out. This is also where we locked our keys in the van (facepalm!)

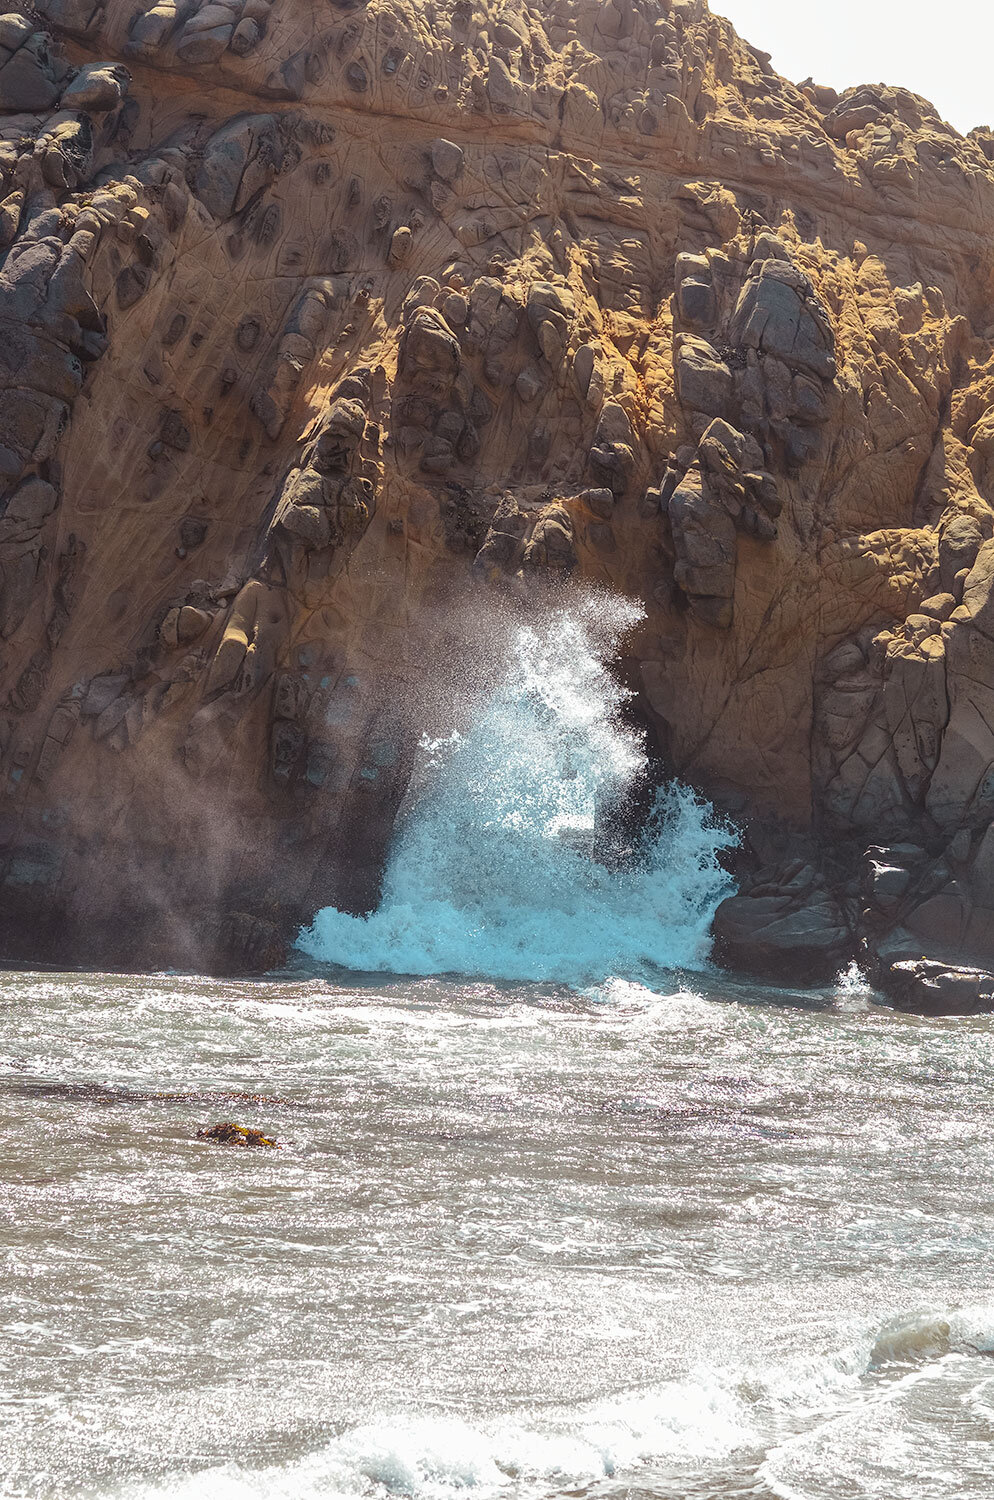
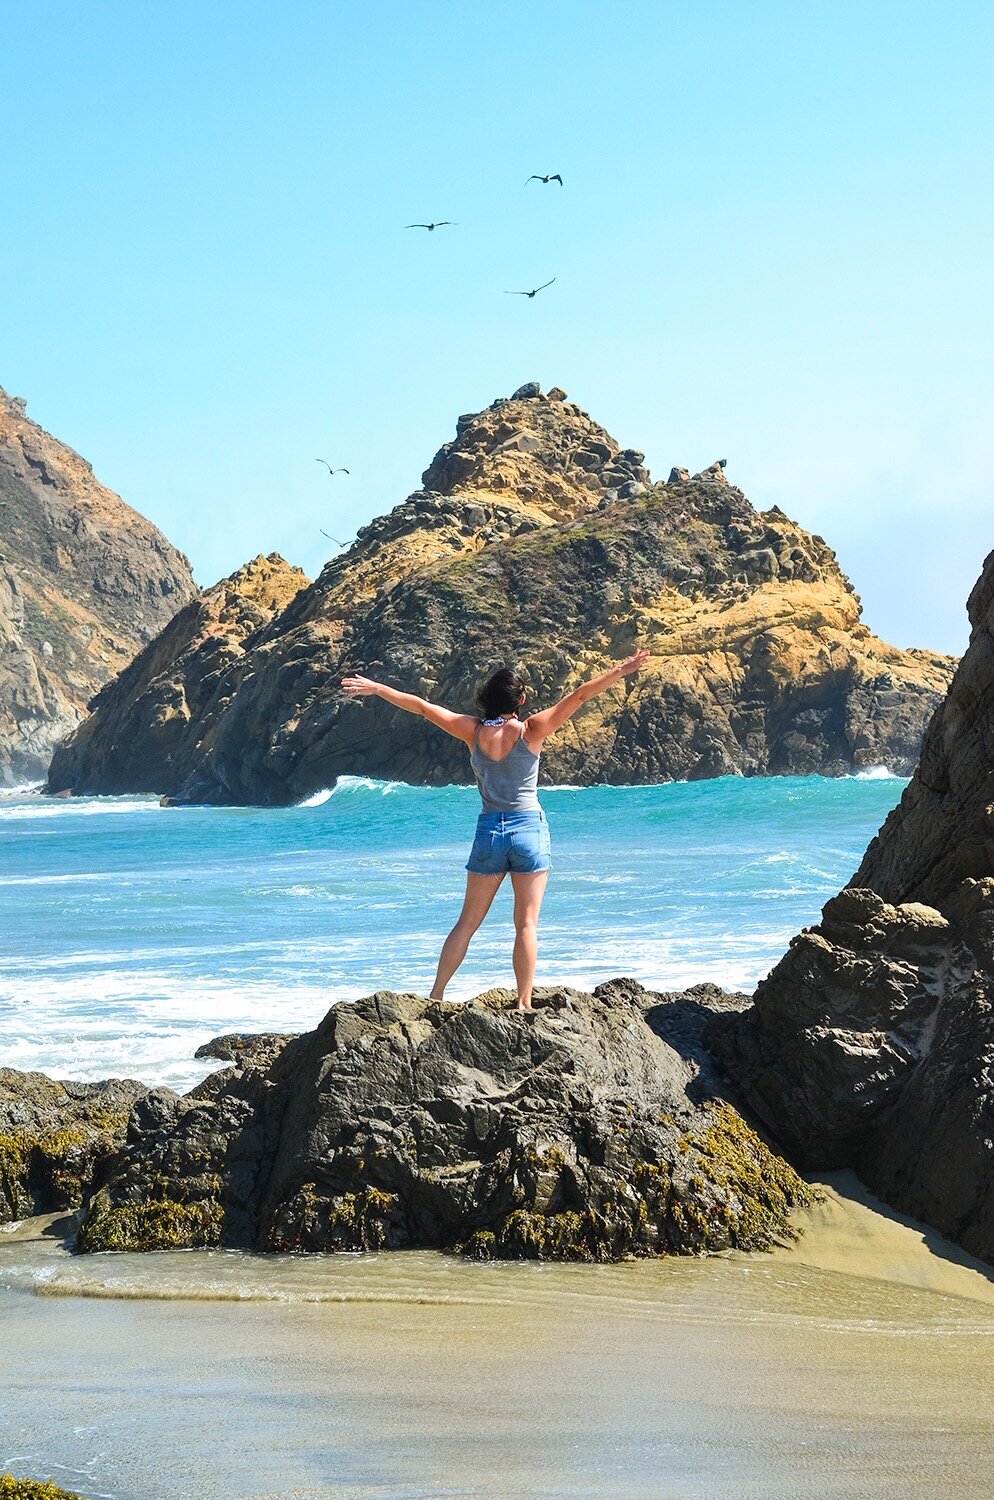
Big Sur
Pfeiffer Beach - a beach with purple sand and “the window”
Bixby Bridge - One of the most famous bridges on the west coast.
McWay Falls at Julia Pfeiffer Burns State Park - Iconic waterfall that goes into the ocean.
Santa Barbara - Drove through but if you have more time, check out State Street, Rincon Beach, and Shoreline Park.
Malibu, CA - Leo Carrillo State Park - Cool area where we made an early dinner! If you have time, check out the coastal caves, tide pools, or watch surfers/windsurfers.
Santa Monica, CA - Santa Monica Pier - Classic west coast pier.
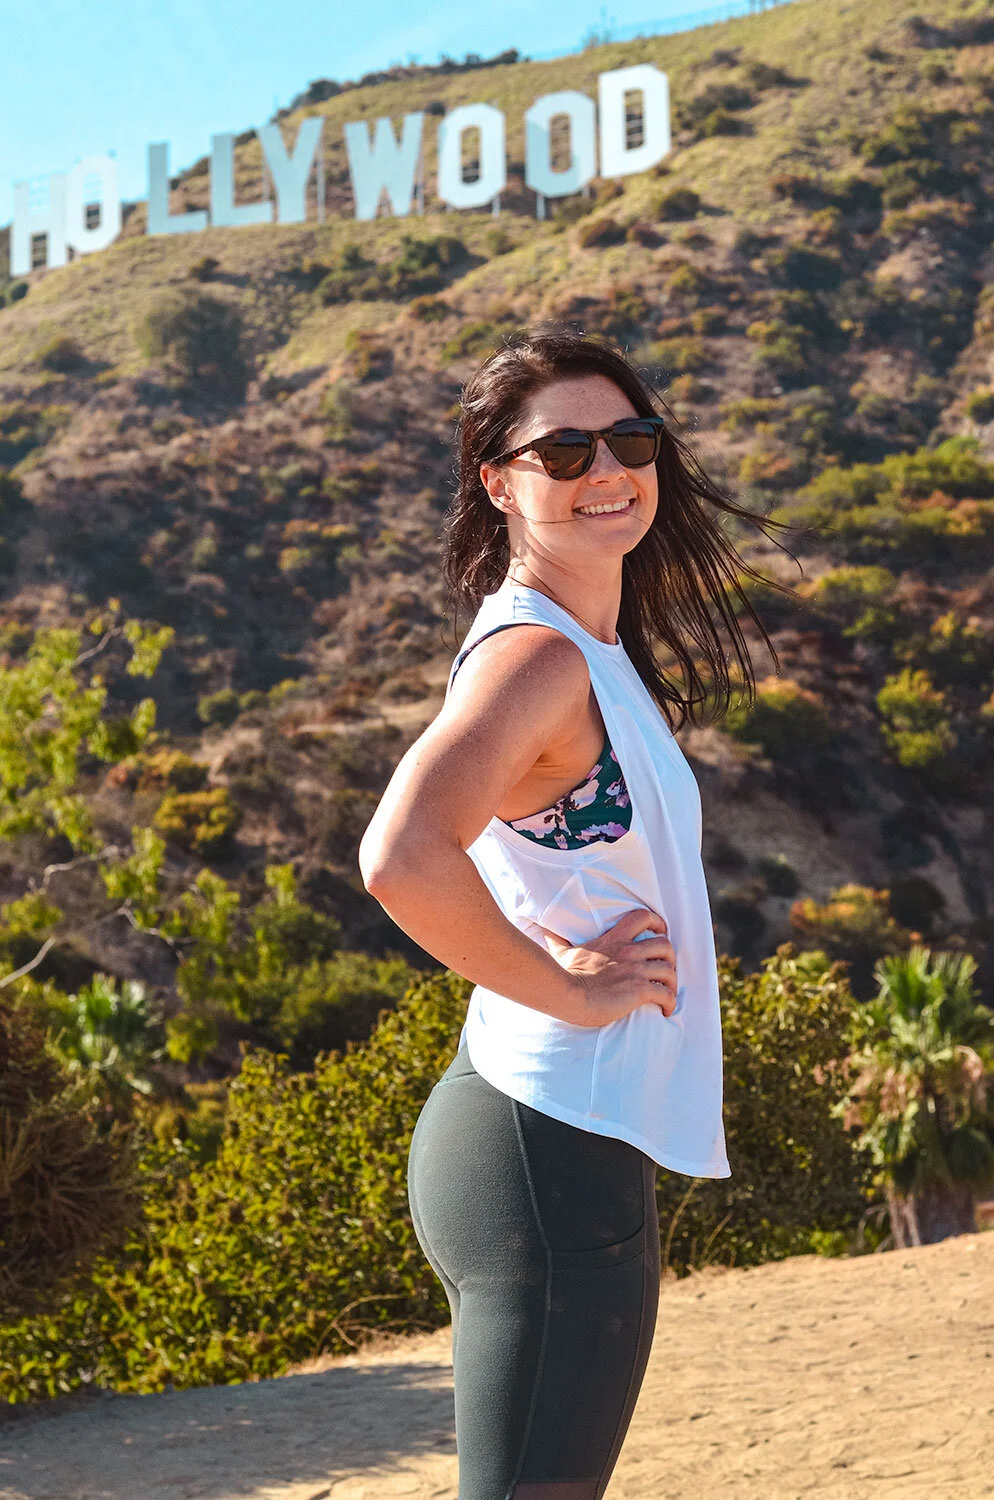
Los Angeles - Griffith Park - Griffith Observatory and the Hollywood Sign Hike
Finally made it to LA around 5pm in which we drove straight over to Griffith Park to hike the Hollywood sign. You would think it would be easy to navigate this area since it is so popular, but it is not! I should have saved our exact coordinates but if you find yourself having the same problem we had, here is a great post on locating the exact Hollywood Sign Hike.
CONFESSION TIME: We did not stay in an RV spot for our last night on our camper van road-trip! There, I said it! But to be fair, we thought we wouldn’t have time to get to LA on this day so we were expecting to find an RV spot before we got to LA. So, we stayed at a Double Tree, ate way too many double tree cookies (have you had them!? they are amazing!) and left early in the am.
Day 7
Last day! Since LA was our stopping point for the trip, we needed to drop off the camper van at noon and fly out in the evening. With that said, we pretty much had a full day to do just about anything!
All day LA itinerary:
Had our last meal around Santa Monica Pier - Made friends with the beach volleyball players real fast!
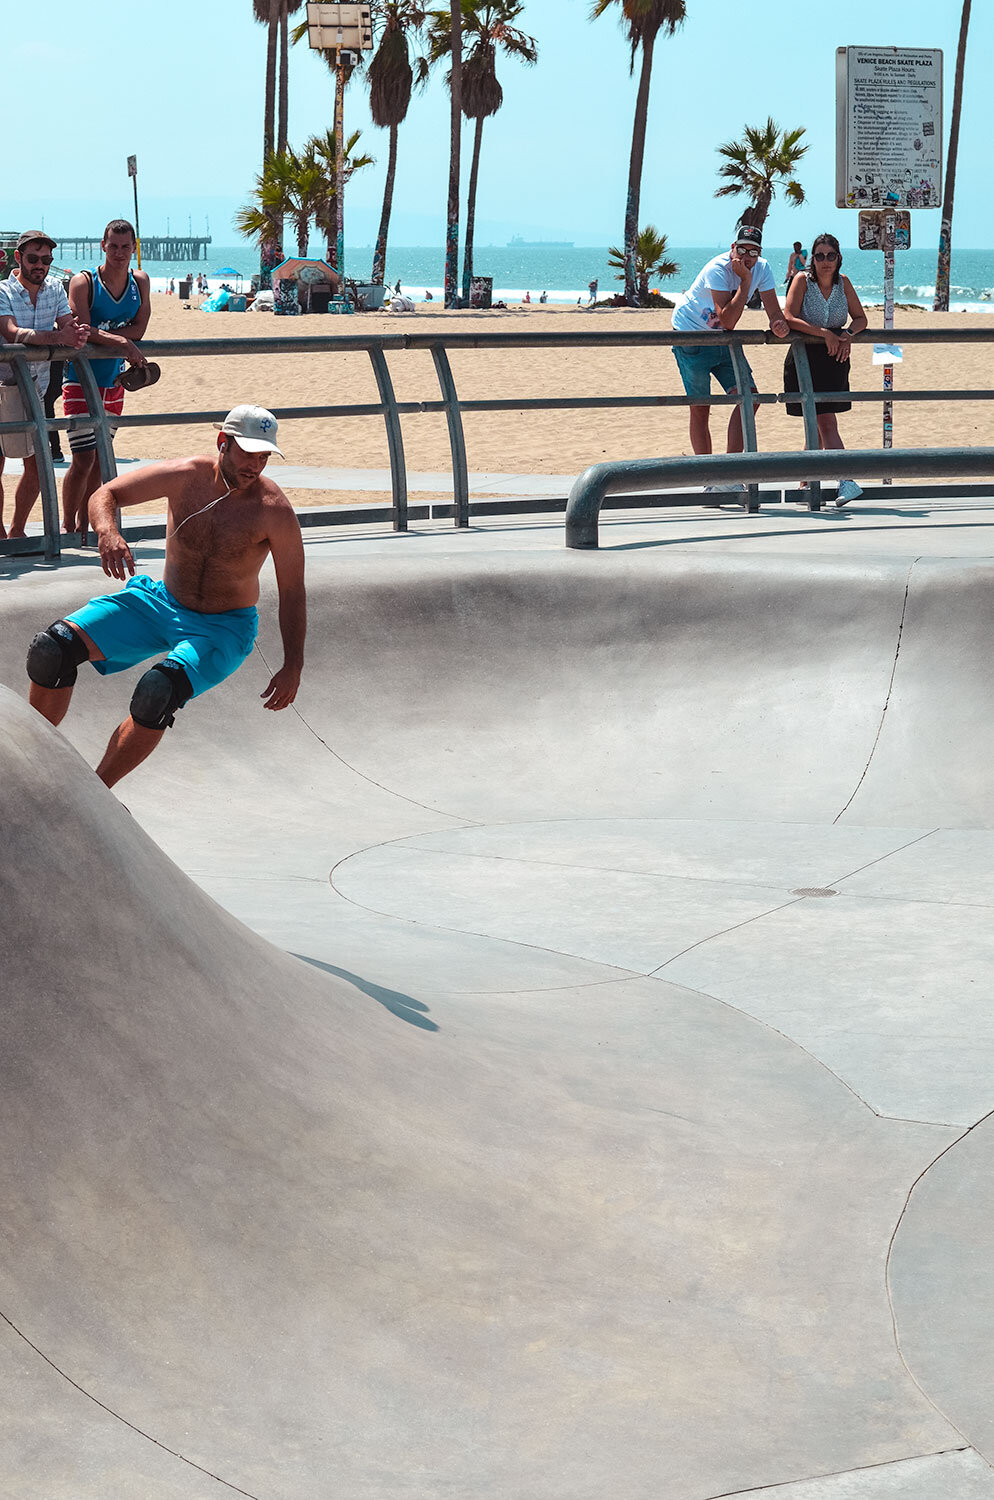
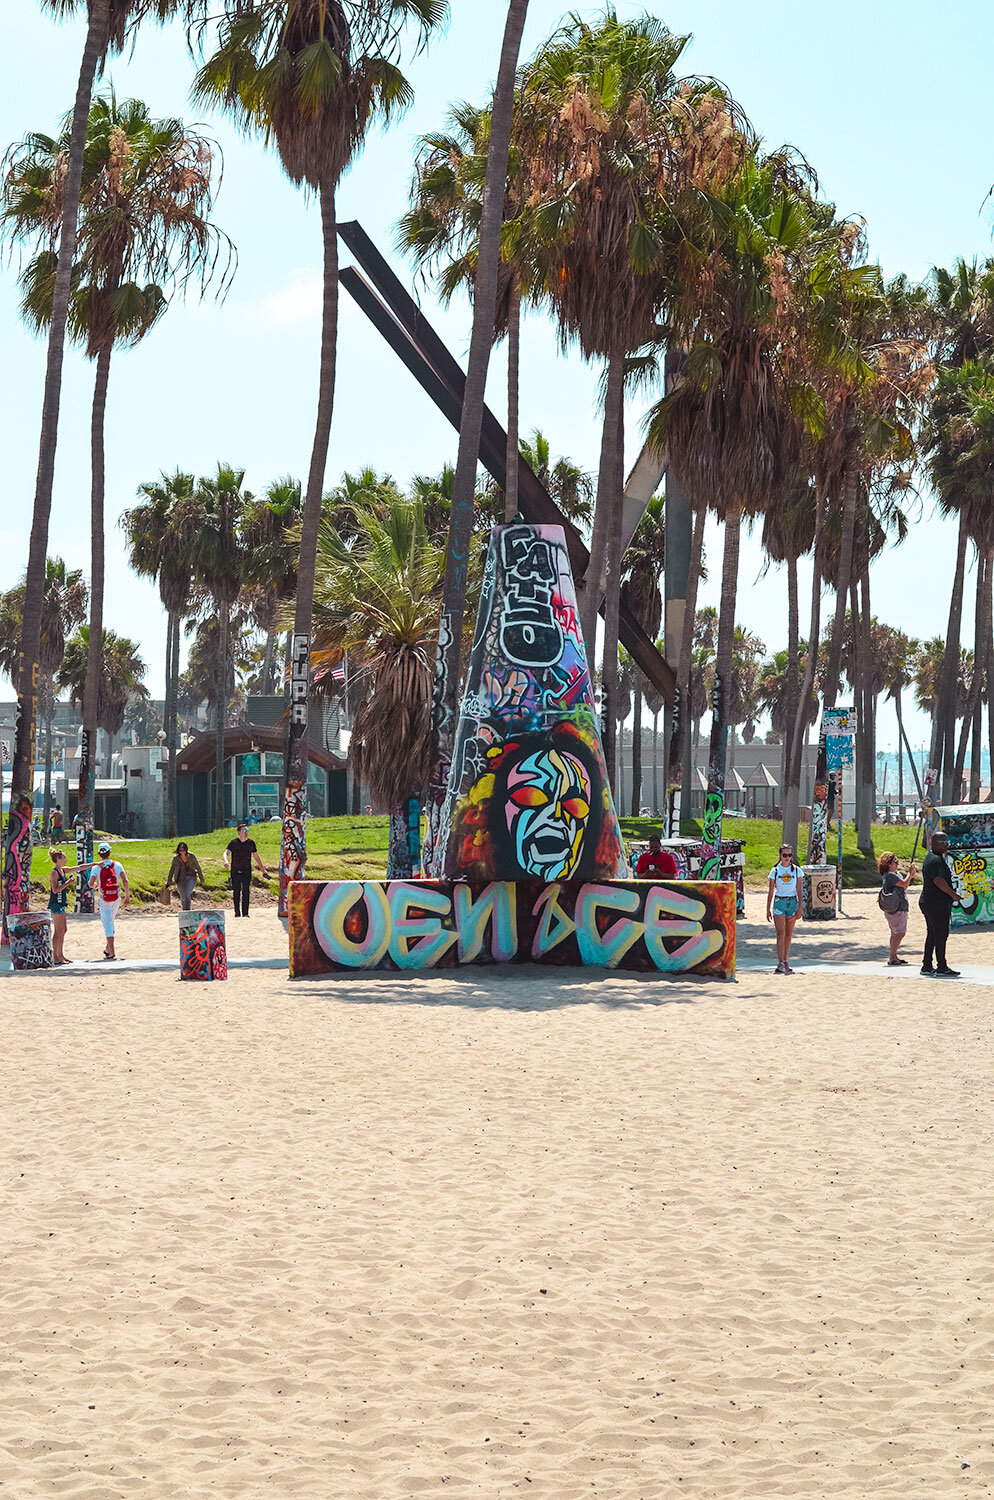
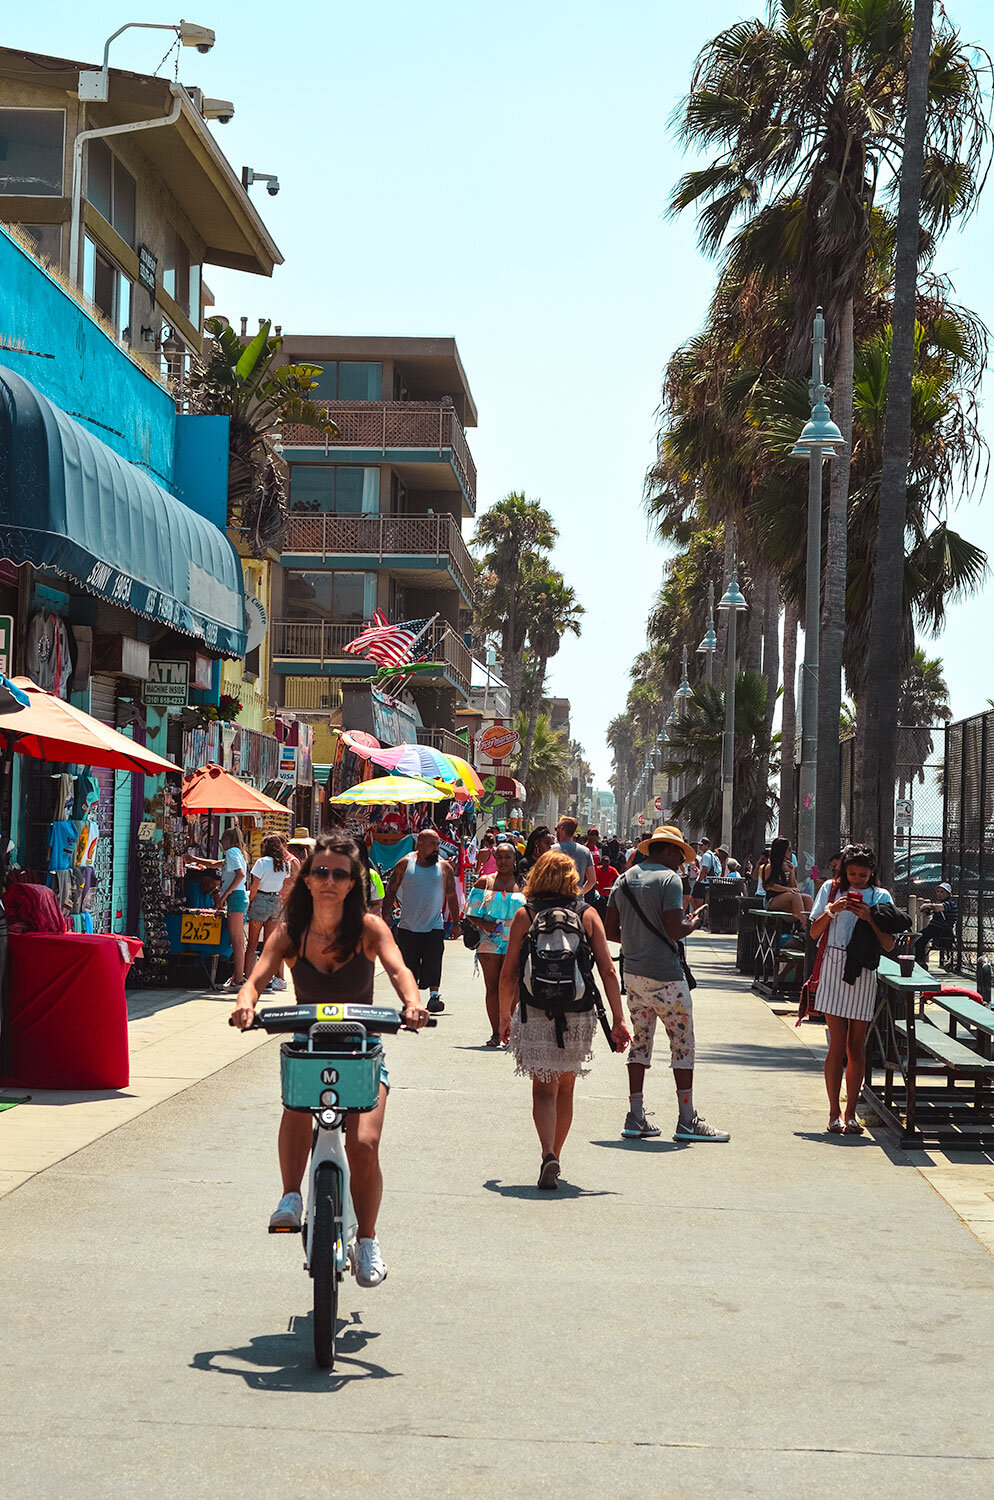
Located about 3 miles away from the pier in Venice Beach where we spent the rest of the morning. Great spot to see live shows, people watching, shopping, and do a pull up at muscle beach!
Stroll through Melrose Avenue and Abbot Kinney - Great areas to explore cute boutiques, cafes, bars, and to see some awesome street art.
Drop off the Camper van! (tears were shed!)
A dear friend from LA picked us up and we spent the rest of the day getting a local’s guide to the city!
Just outside of LA in San Marino, CA is The Huntington - Library, Art Museum, and Botanical Gardens. My friend surprised me by making tea reservations at the Rose Garden Tea Room! Such a fun and memorable experience!
I had the ultimate local experience at San Pedro Fish Market where I had their famous Shrimp Tray. My mouth is watering as I write this!
Fly out of LAX with a full and happy belly!


Essential Tips for First Timers:
When to Travel: We went during the summer months because of our schedule. With that said, the summertime brings in tons of tourists, and it will be harder to reserve an RV/camping spot so plan ahead! So-Cal will stay warm even during the summer months, but the more north you go, the colder it will be. Spring and Fall will have the fewest crowds and all around great weather.
Which direction to take: When planning your road trip, I highly recommend starting North to South. This will keep you on the coastal side and makes it easy to take advantage of pullouts.
Attire: Make sure you dress in layers. We experienced colder weather during the first half of the trip since we were up north but as you drive down the coast, it can get pretty windy. Also, make sure you bring waterproof layers in case of rain.
Park Passes: If you think that you will be hitting up National Parks, BLM, National Forests, and National Wildlife Refuges, throughout your trip, you may save money in getting a parking pass. Here is the link if you are interested.
Be Flexible: Most of the small stops along the coast were things that we ended up discovering on a whim. You never know what area you’ll discover and love so make a plan but give yourself flexibility. Also, if you are planning on hiking and visiting state parks, make sure you schedule more time since certain parks can take hours to actually get to them.
Plan ahead: Yes, it’s great to be flexible but it’s also smart to plan! You will notice that cell reception is almost obsolete in most state parks and as you are driving down the coast so make sure you have a general idea of where you are going. For example, instead of relying on google maps, download an offline map in advance. That being said, make sure you know where gas, rest, food, and rv spots are.
Here are some apps that I found helpful for this trip:
Travel
Spotify - All good road trips need an awesome playlist! That’s why I created an End of Summer Road Trip Playlist.
Roadtrippers - Road trip planner that includes how much money you’ll spend on fuel and far you have to drive.
Gasbuddy - Find the cheapest gas along your route.
Accuweather - Self-explanatory but when traveling north to south, you want to be prepared for all weather conditions.
iExit - Use for the practical part of your road trip like what amenities are available at the upcoming exit.
Chimani - Helps you to navigate national parks.
National Parks Service - Great for providing live updates on events in the area, where to sleep/eat, and road closures.
Scout - If you are traveling alone or want to keep your family/friends in the loop while you’re traveling.
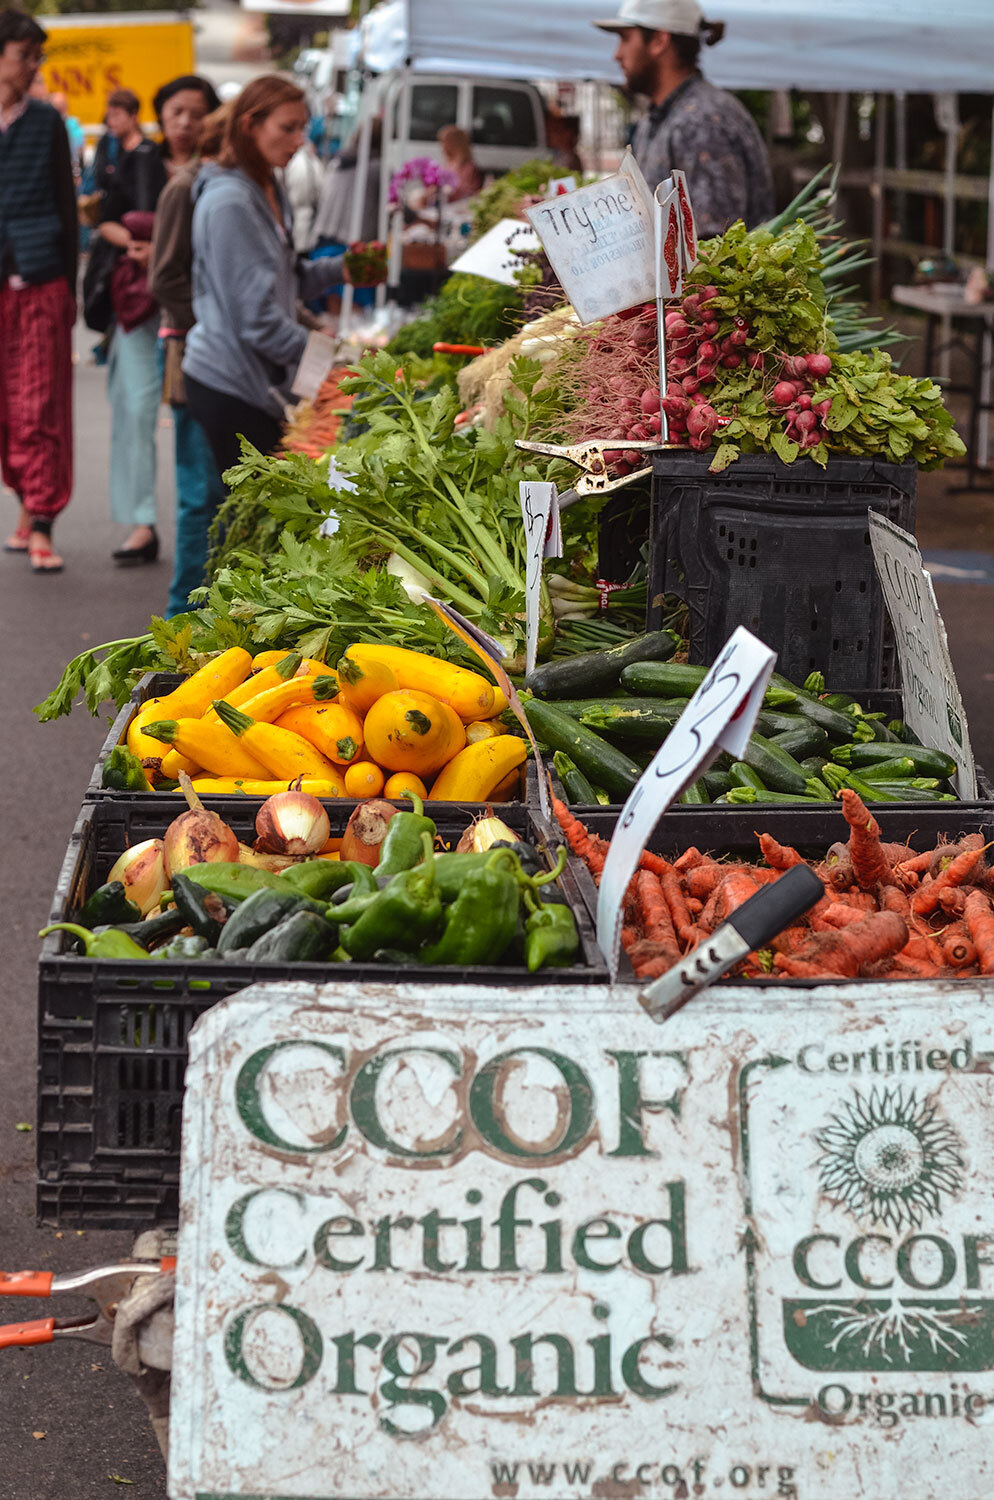
Food Tripping - Suggests healthier food options like organic coffee stops, juice joints, microbreweries, farmers’ markets, among others.
BringFido- We didn’t bring the dogs with us for this trip, but if you are traveling with a furry companion this app is great as a pet travel and hotel directory.
AllTrails - The best hiking, running, backpacking, biking, etc trails around the world.

Camping
KOA - Campgrounds across North America
Hipcamp - Private, unique camping spots
The Dyrt - Campsites, National, State, and Private
Recreation.gov - National Parks only
Tentrr - Glamping, platform tents
REI Co-op National Parks Guide - National Parks only, no reservations
Campendium - RV, tent campgrounds
Allstays - Range of campgrounds, rest stops, and free camping spots across the US.


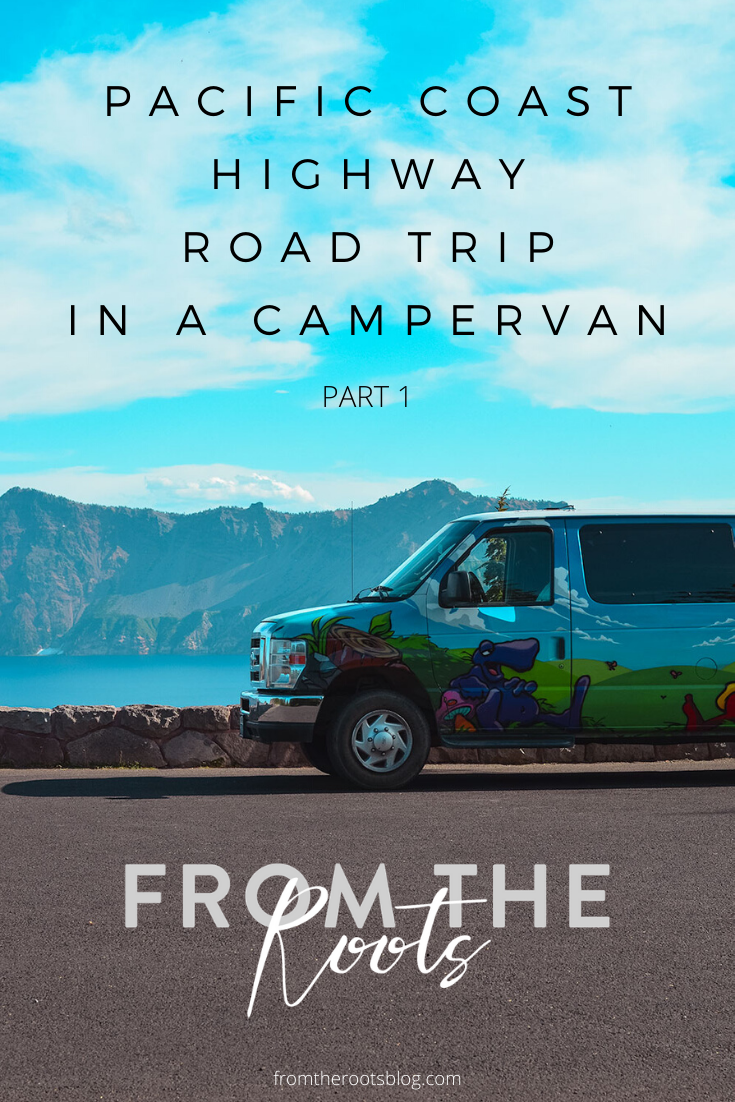
Pacific Coast Highway Road Trip in a Camper Van Part 1
The Pacific Coast Highway road trip has been on my bucket list for quite some time! The inner hippie in me has always wanted to rent a camper van (or live in one) and travel down Highway 1 and see what the beautiful scenic route had to offer me.
And that is just what I did this past summer. Flew into Seattle, rented a camper van, and drove down the beautiful scenic highway all the way down to Los Angeles. Now, I understand that the Pacific Northwest has amazing food, tourist spots, etc but if you are wanting a hippie version that is chock full of hiking adventures, living/lodging in a camper van, and getting lost in the beauty of the pacific coast, then you are in the right place!
The Pacific Coast Highway road trip has been on my bucket list for quite some time! The inner hippie in me has always wanted to rent a camper van (or live in one) and travel down highway 1 and see what the beautiful scenic route had to offer me.
And that is just what I did this past summer. Flew into Seattle, rented a camper van, and drove down the beautiful scenic highway all the way down to Los Angeles. Now, I understand that the Pacific Northwest has amazing food, tourist spots, etc but if you are wanting a hippie version that is chock full of hiking adventures, living/lodging in a camper van, and getting lost in the beauty of the pacific coast, then you are in the right place!
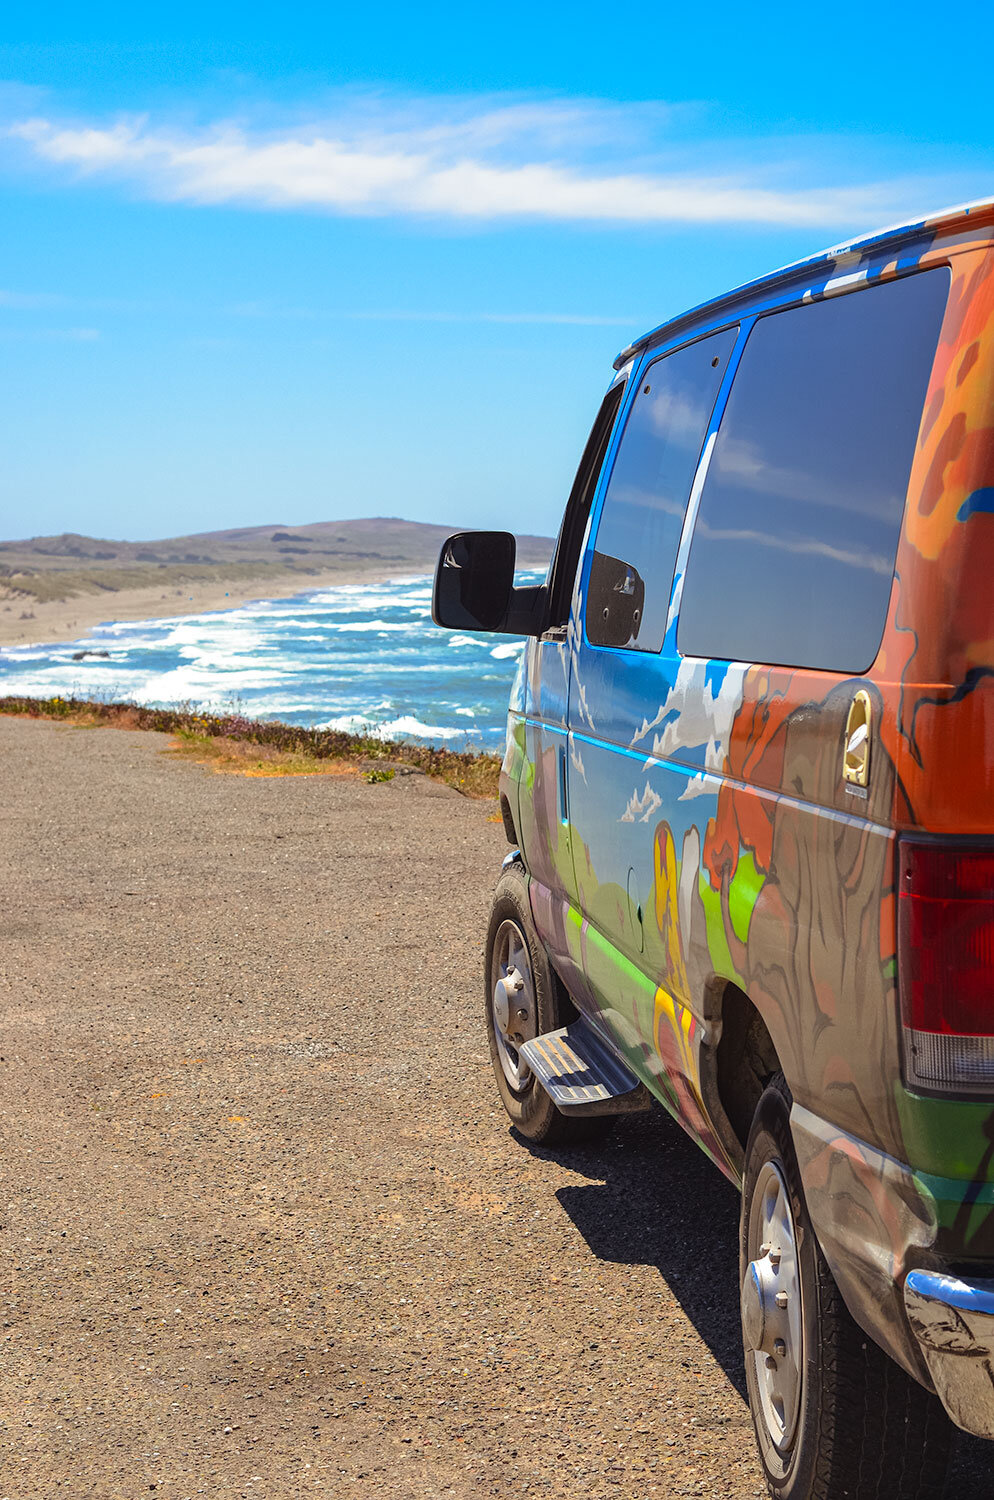
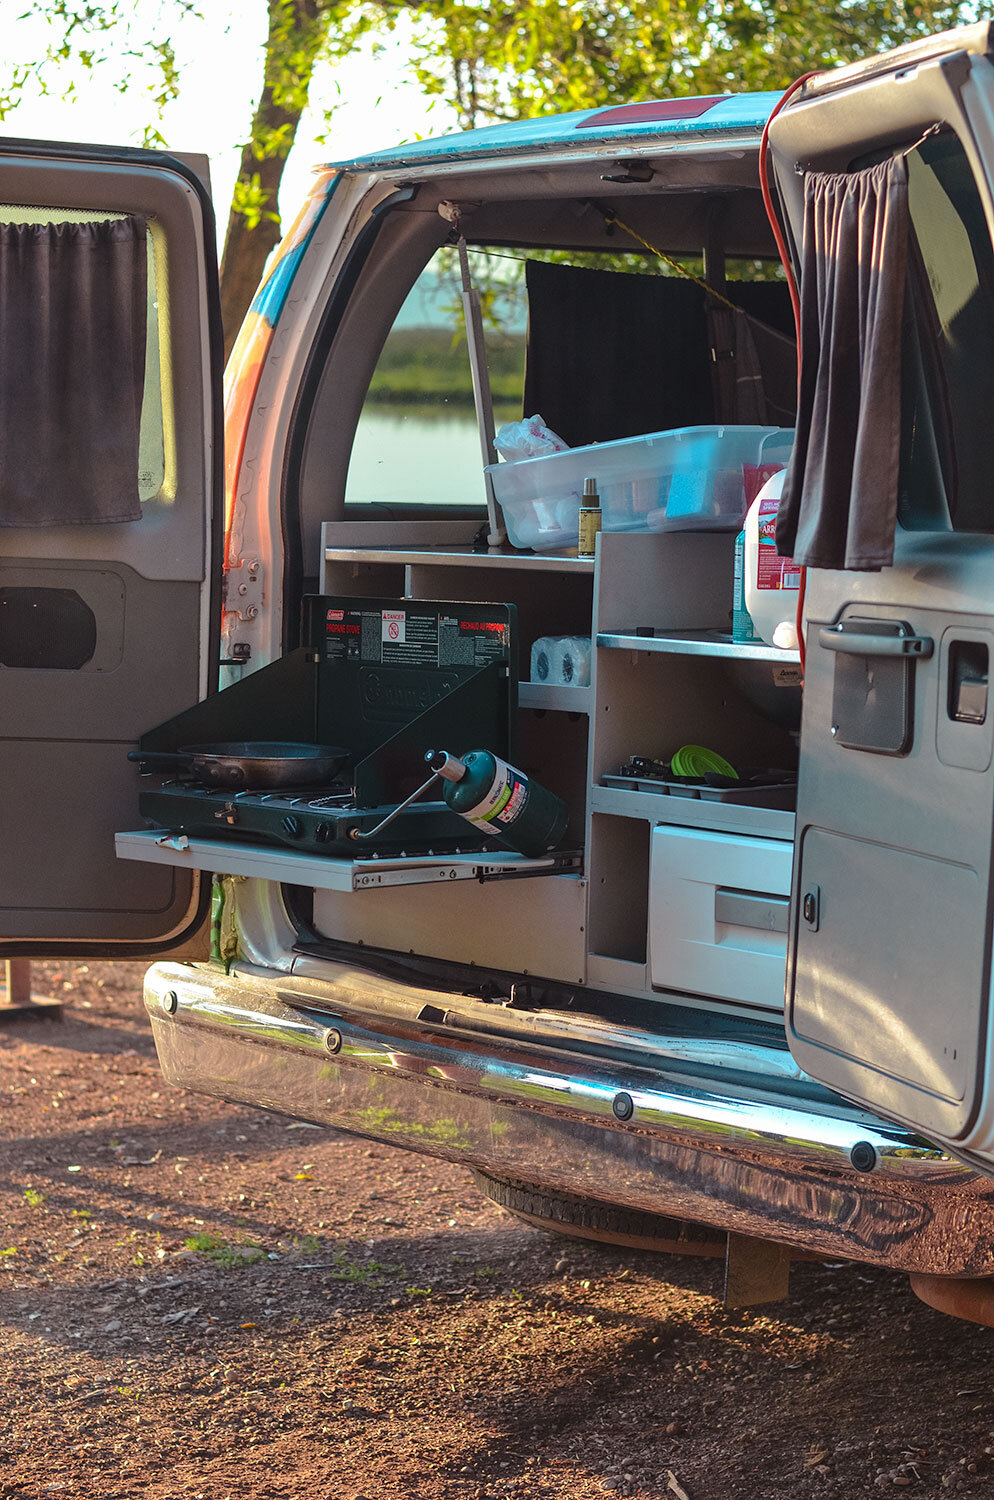
Before we get started on our road trip, let me spill the beans on the camper van company that I used. Since this was a one-way road trip, I went with Escape Campervans. After shopping around and speaking with friends that have rented a camper van in the past, this was the best option for us. We were able to pick up the camper van in Seattle and drop it off in Los Angeles. For two people, the Mavericks was the best choice to rent in my opinion. This model included a functional kitchen, “dining room” table and benches that converted into a big comfy queen-sized bed, and seats/sleeps up to 5 people. Bedding, basic kitchen essentials, lawn chairs, and curtains for privacy are included. Information on this specific model is here.
One Week Itinerary
Day 1: Seattle, WA
Day 2: Mt. Rainer, WA and Cannon Beach, OR
Day 3: Portland and Crater Lake, OR
Day 4: Redwoods National Park and Fort Bragg, CA
Day 5: San Francisco, CA
Day 6: Carmel-By-The-Sea, Big Sur, Pfeiffer Beach, CA
Day 7: Los Angeles, CA
We stopped at many other spots along the way, so here are the google map locations that you can use when planning your one-week road trip!
Day 1
When planning a road trip on the PCH, I highly recommend driving from north to south because your vehicle is closer to the ocean. That is why our road trip begins in Seattle! Spent the entire day in Seattle, and I am so glad we did! There are so many things that you can do, especially during the summertime!
Seattle deserves a separate blog post on its own, but to recap the day:
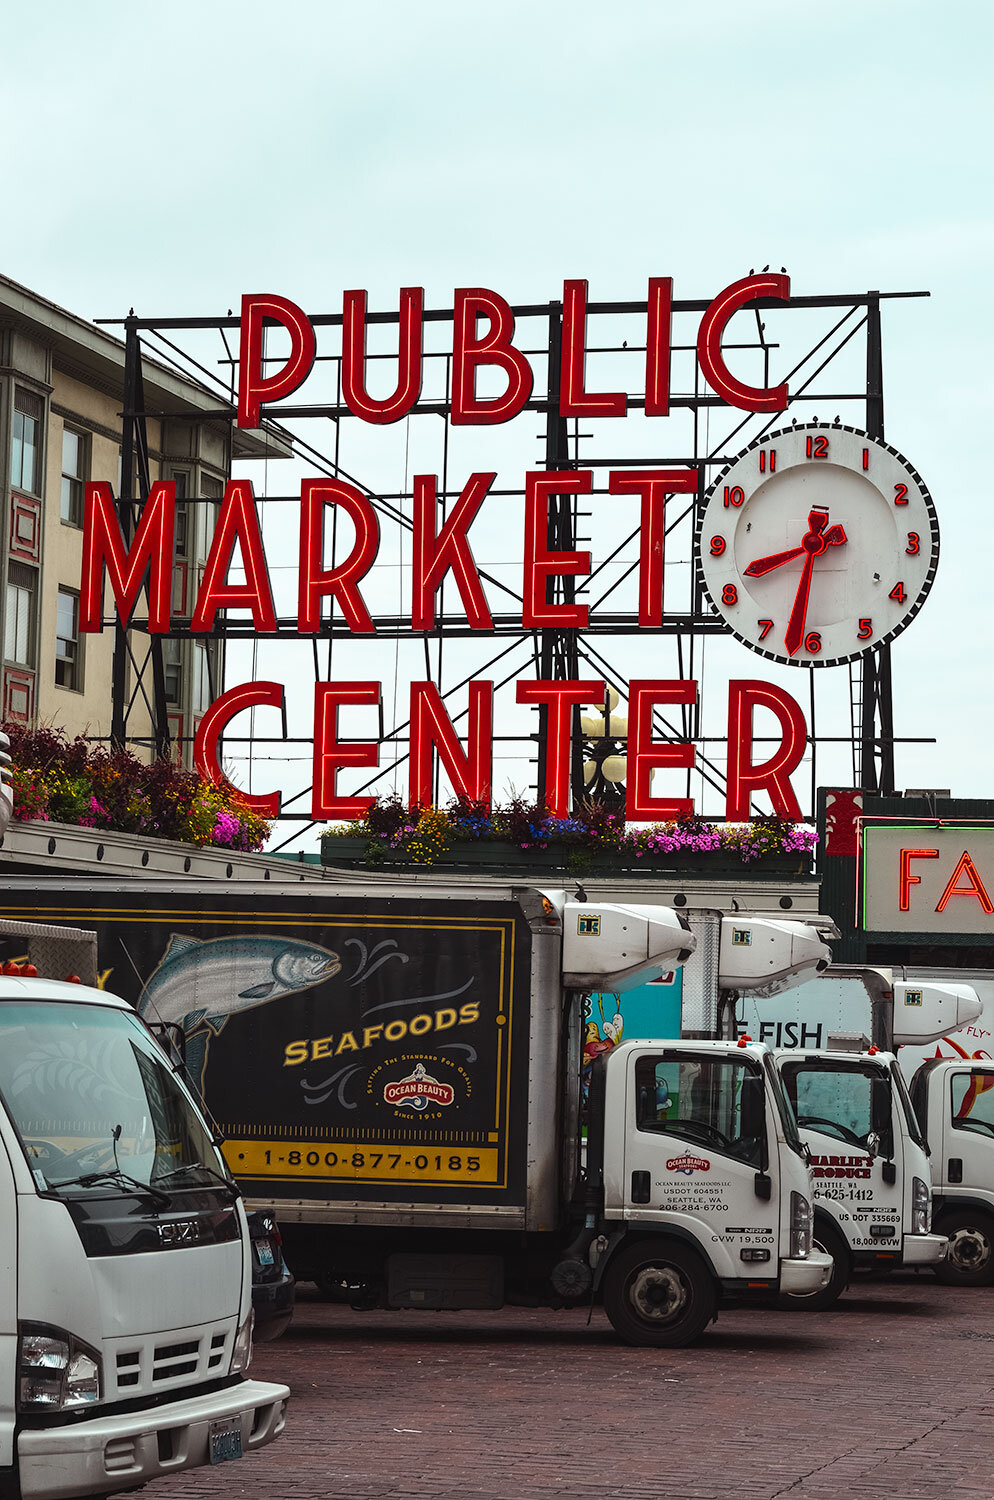
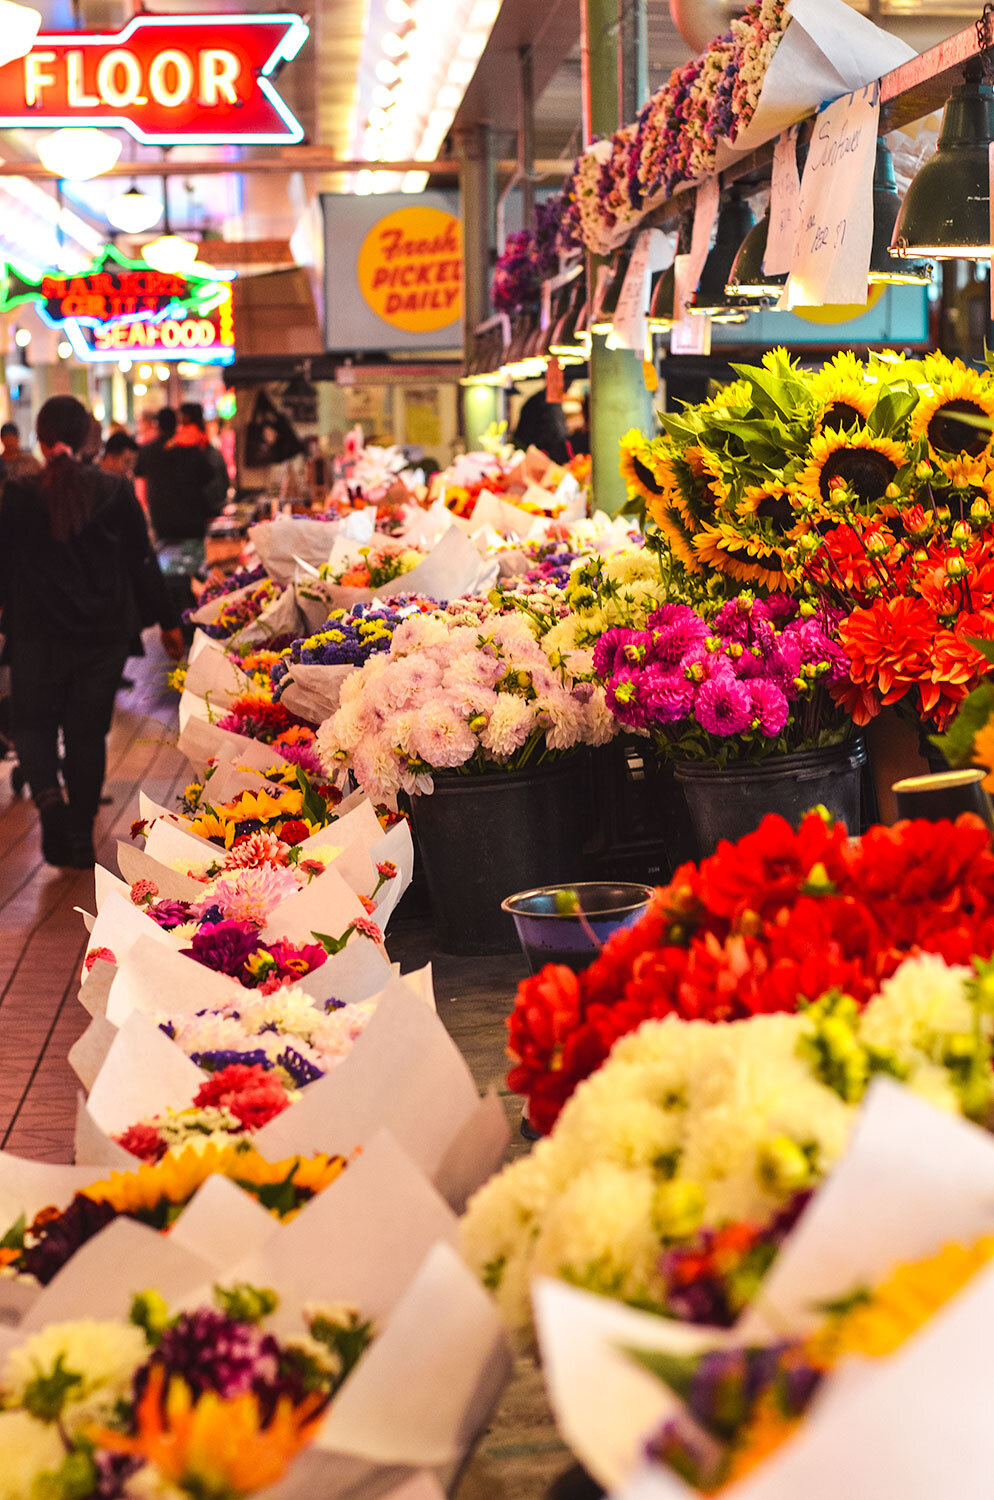
Pike Place Market - First place to visit to beat the crowd. Grab a coffee at the first Starbucks and eat breakfast by sampling everything from the smoked salmon to the famous clam chowder. This is also where we grabbed food provisions to stock the camper van.
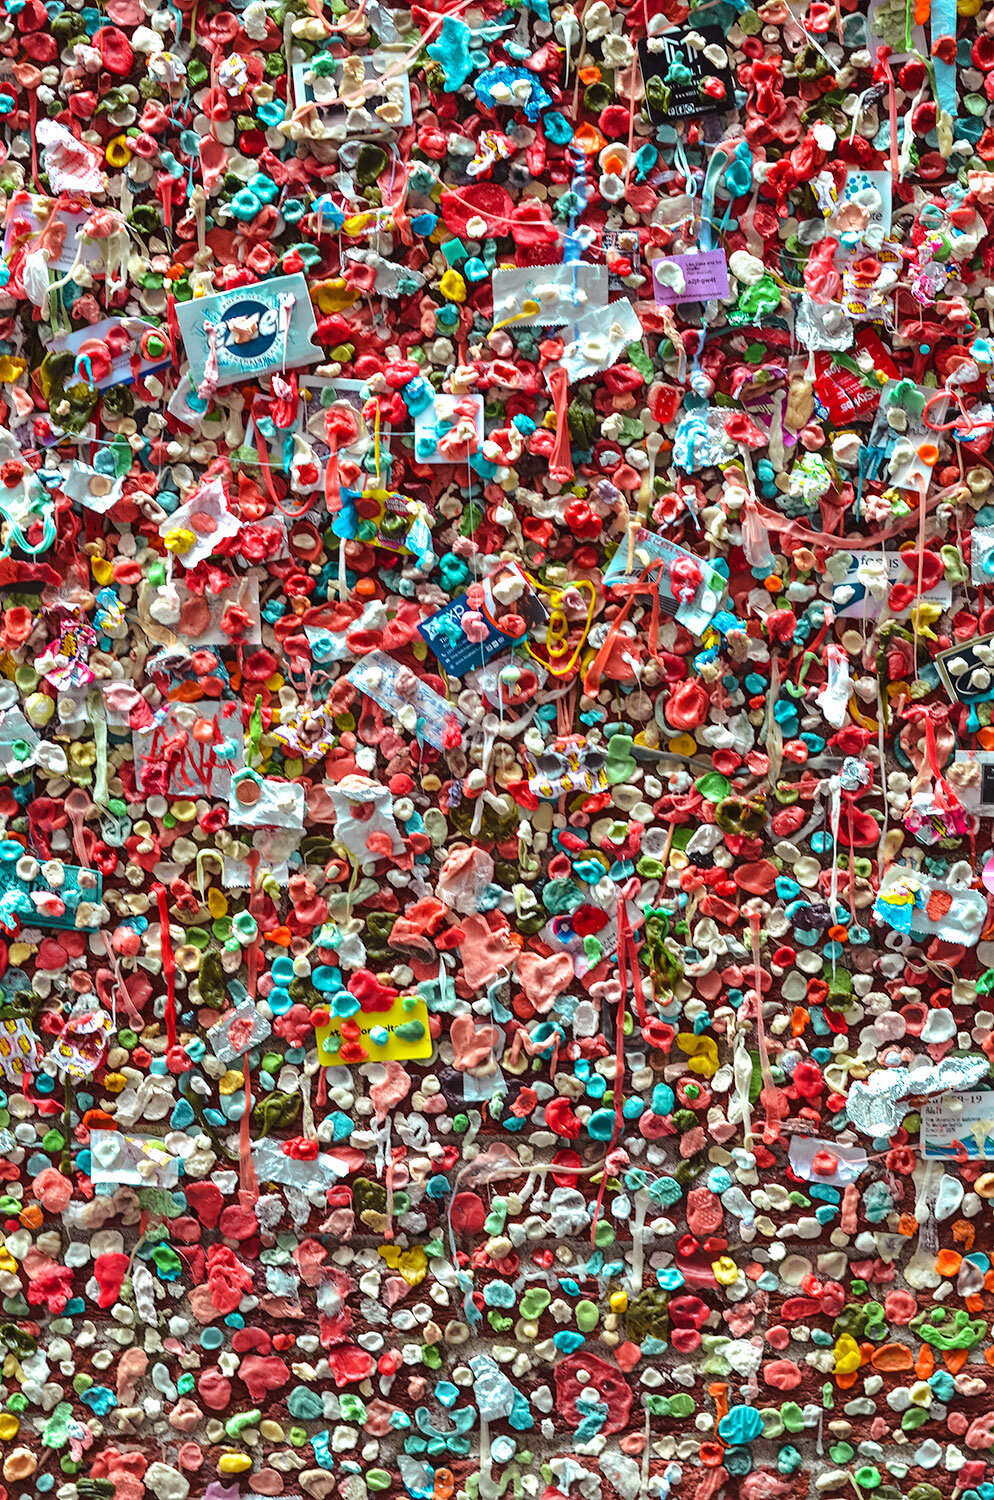
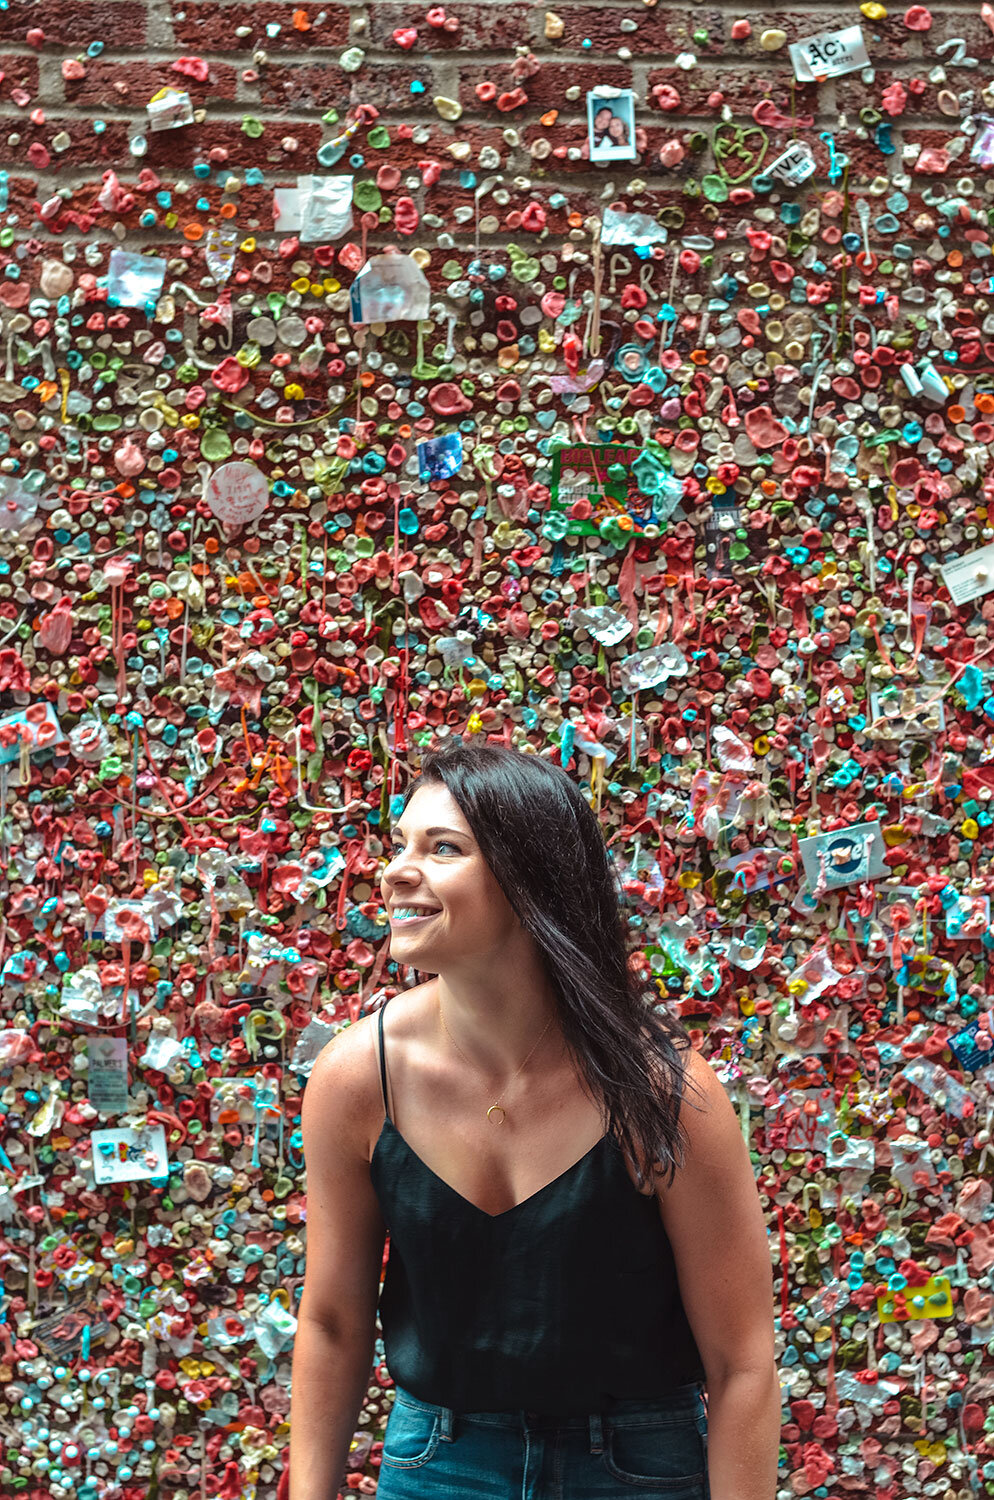
Gum wall at Pike Place - I’m sure you will have gum on hand since you have been eating seafood all morning. Located right below Pike Place Market, can’t miss it!
The afternoon was spent grabbing the camper van and shopping for provisions.
Salty’s on Alki: Amazing views of downtown and great seafood! You need to make dinner reservations beforehand if you want a table! Time to kill before your dinner reservation? Alki Beach is the perfect spot to walk along the water, watch beach volleyball games, or to watch the most picturesque sunsets.
Frankie & Jo’s ice cream: Why not end a perfect day with the best plant-based ice cream you have ever eaten!


Day 2
Now that we got the city life behind us, why not let our hair down and officially start this road trip, shall we!? About two hours south of Seattle is our first stop, Mt. Rainier National Park. Get ready for big mountain snow capped views because Mt. Rainier does not disappoint! Fingers crossed the weather cooperates for your visit though!
Regardless of what time of the year it is, dress appropriately, as there will be snow in the mountains. Fun fact: Mount Rainier is actually a volcano standing 14,411 feet in elevation. Great spot for hiking, picnicking, and snowshoeing. If you want to make a full day here, the park offers great lodging accommodations. We made reservations to camp inside the park but had to cancel due to temporary closures so make sure you check on park alerts.

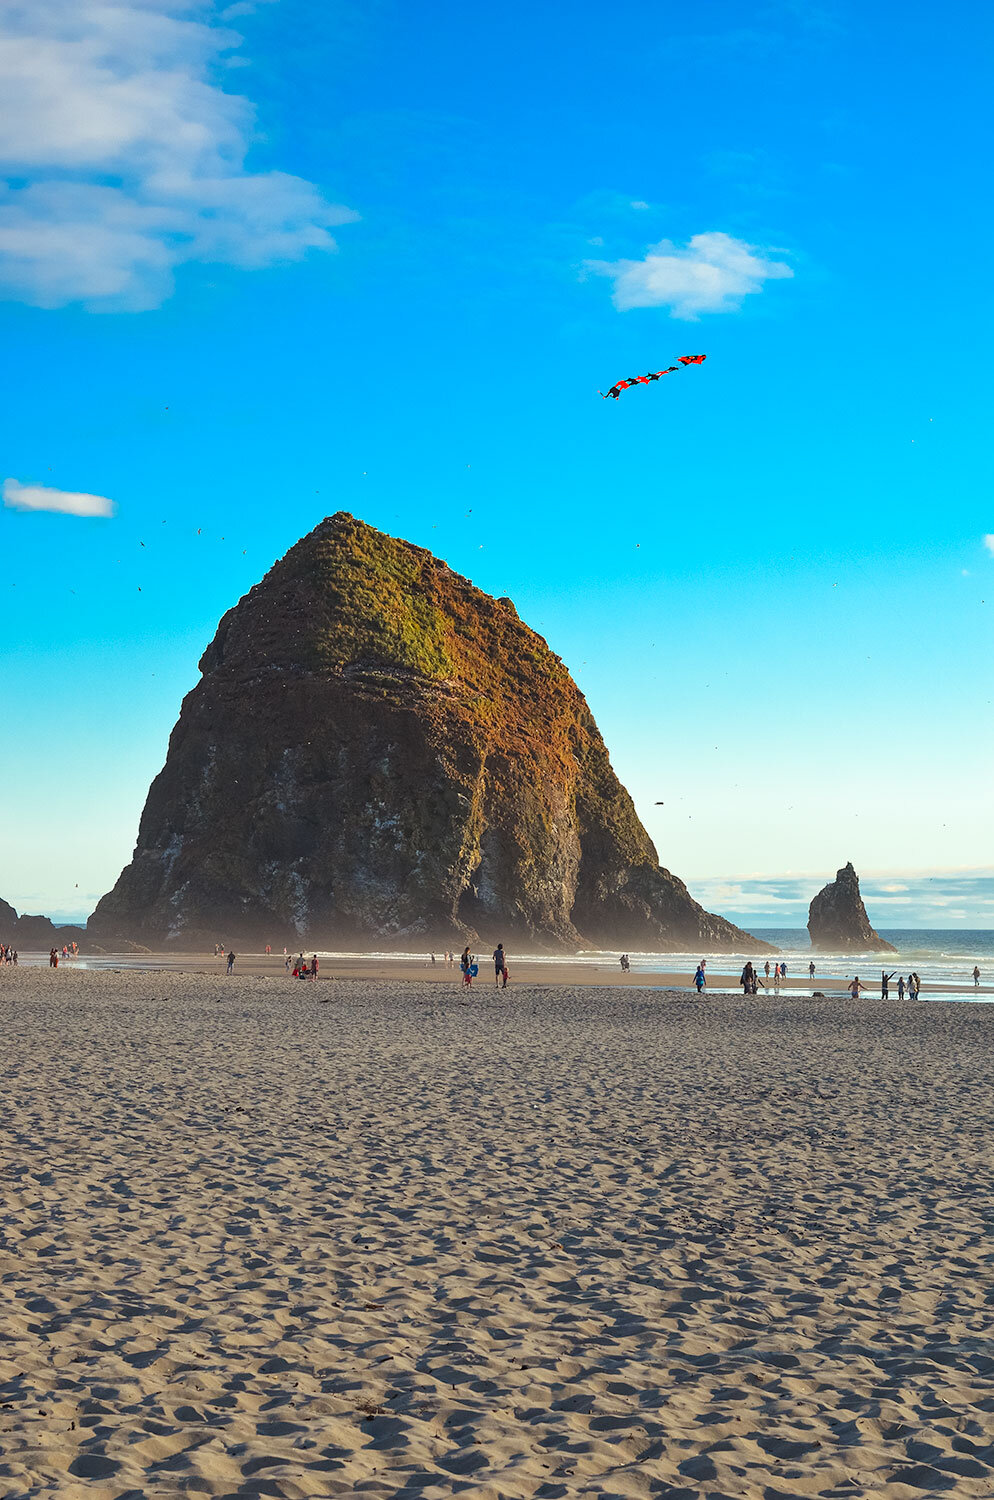
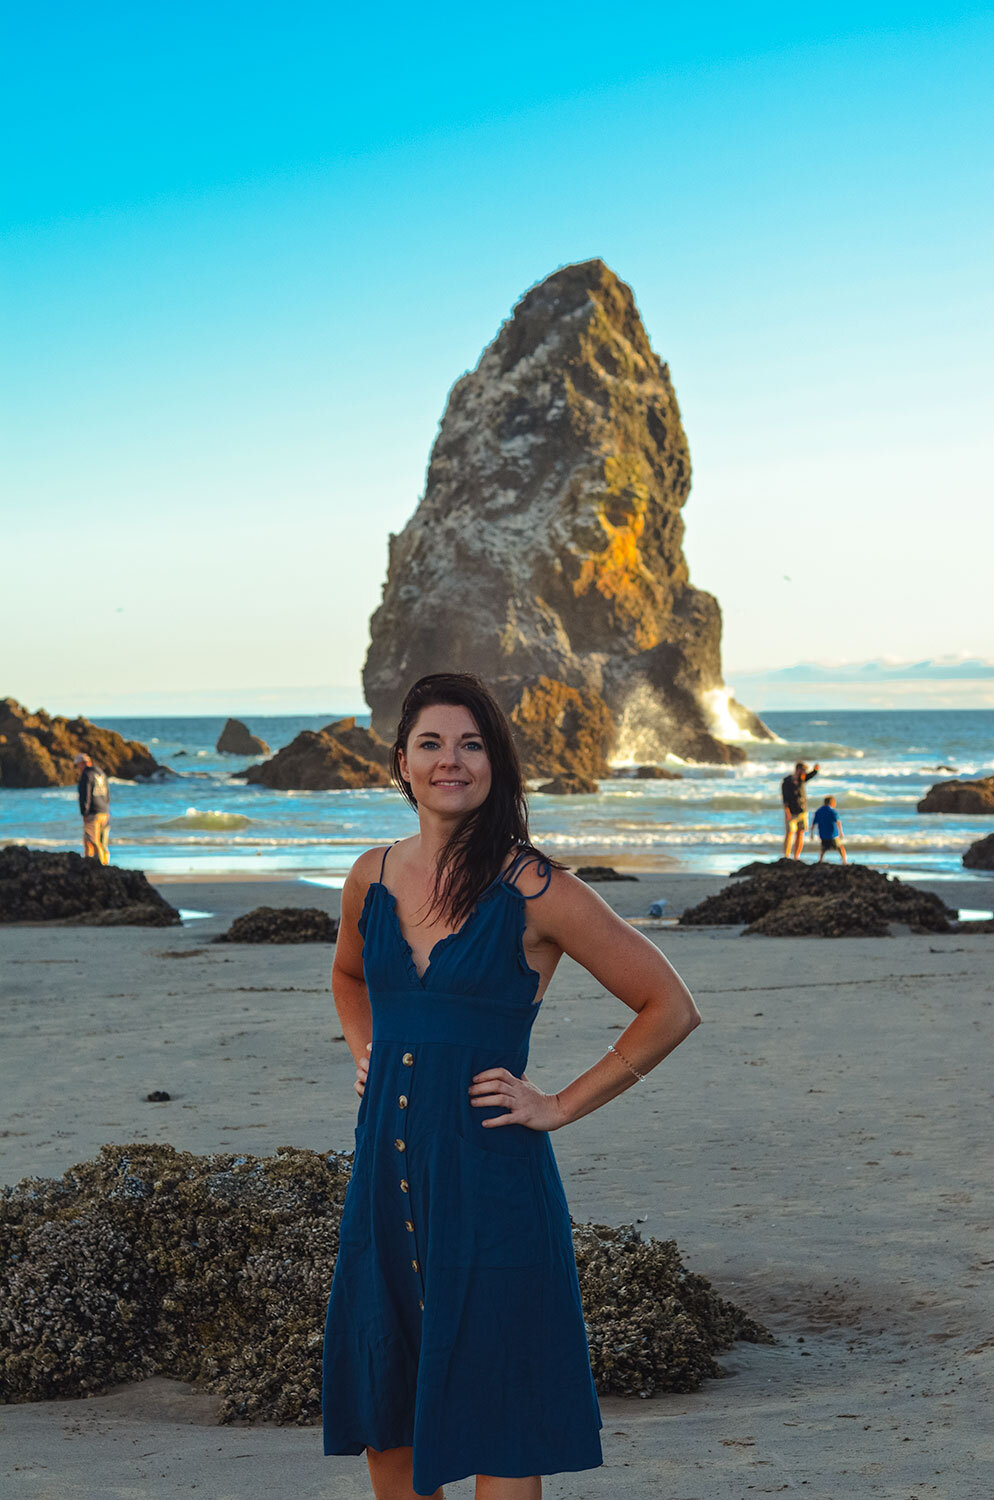
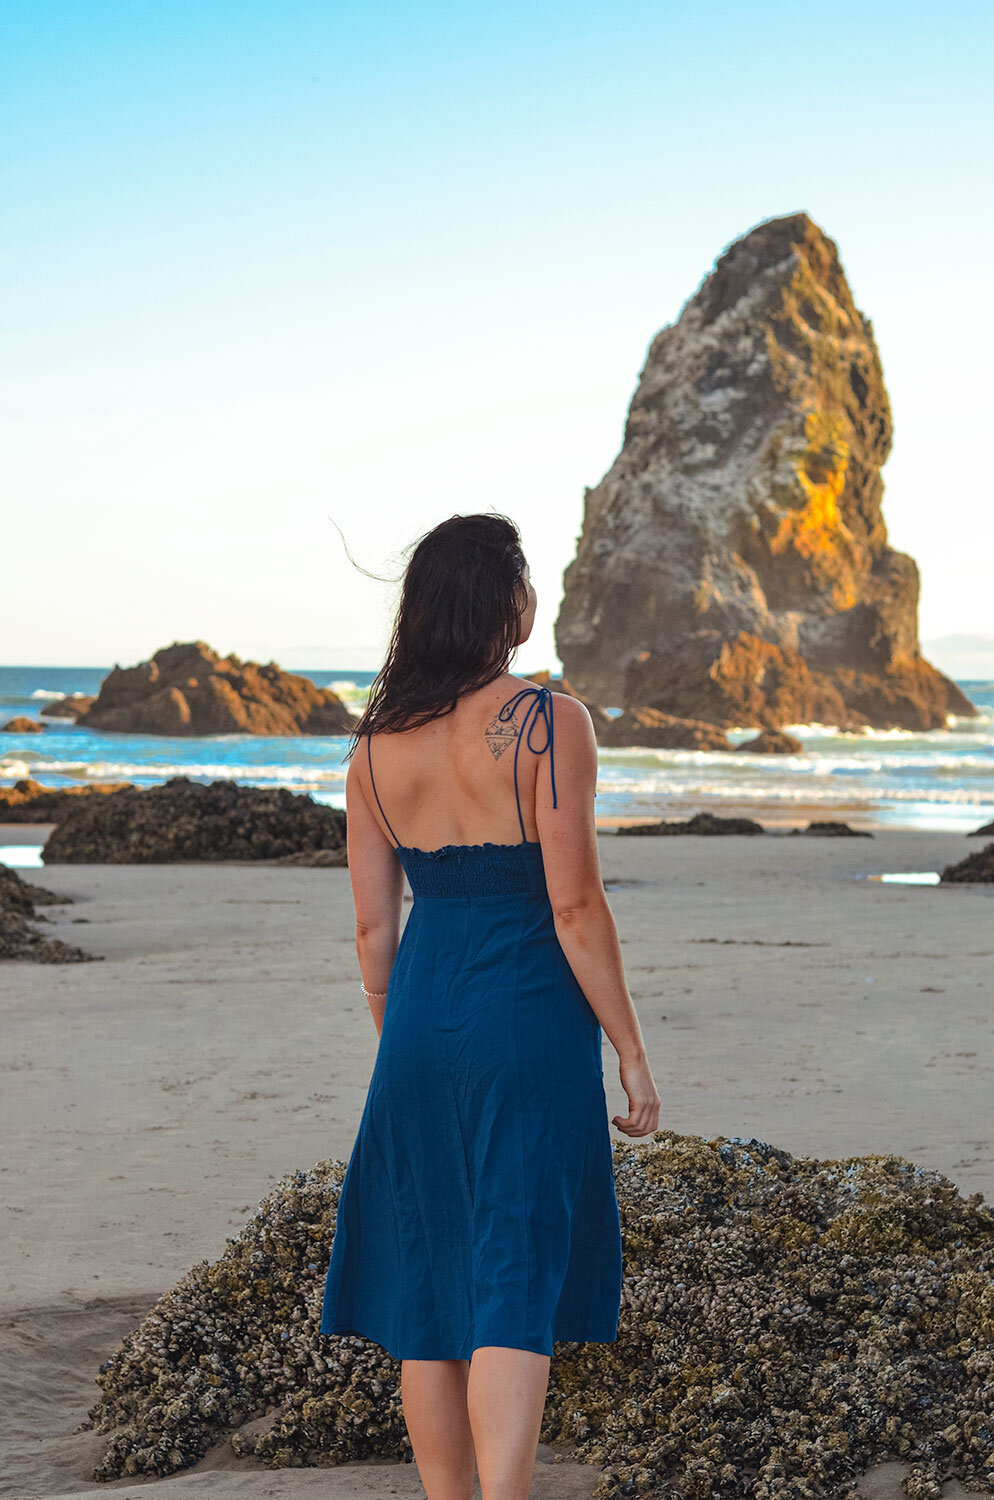
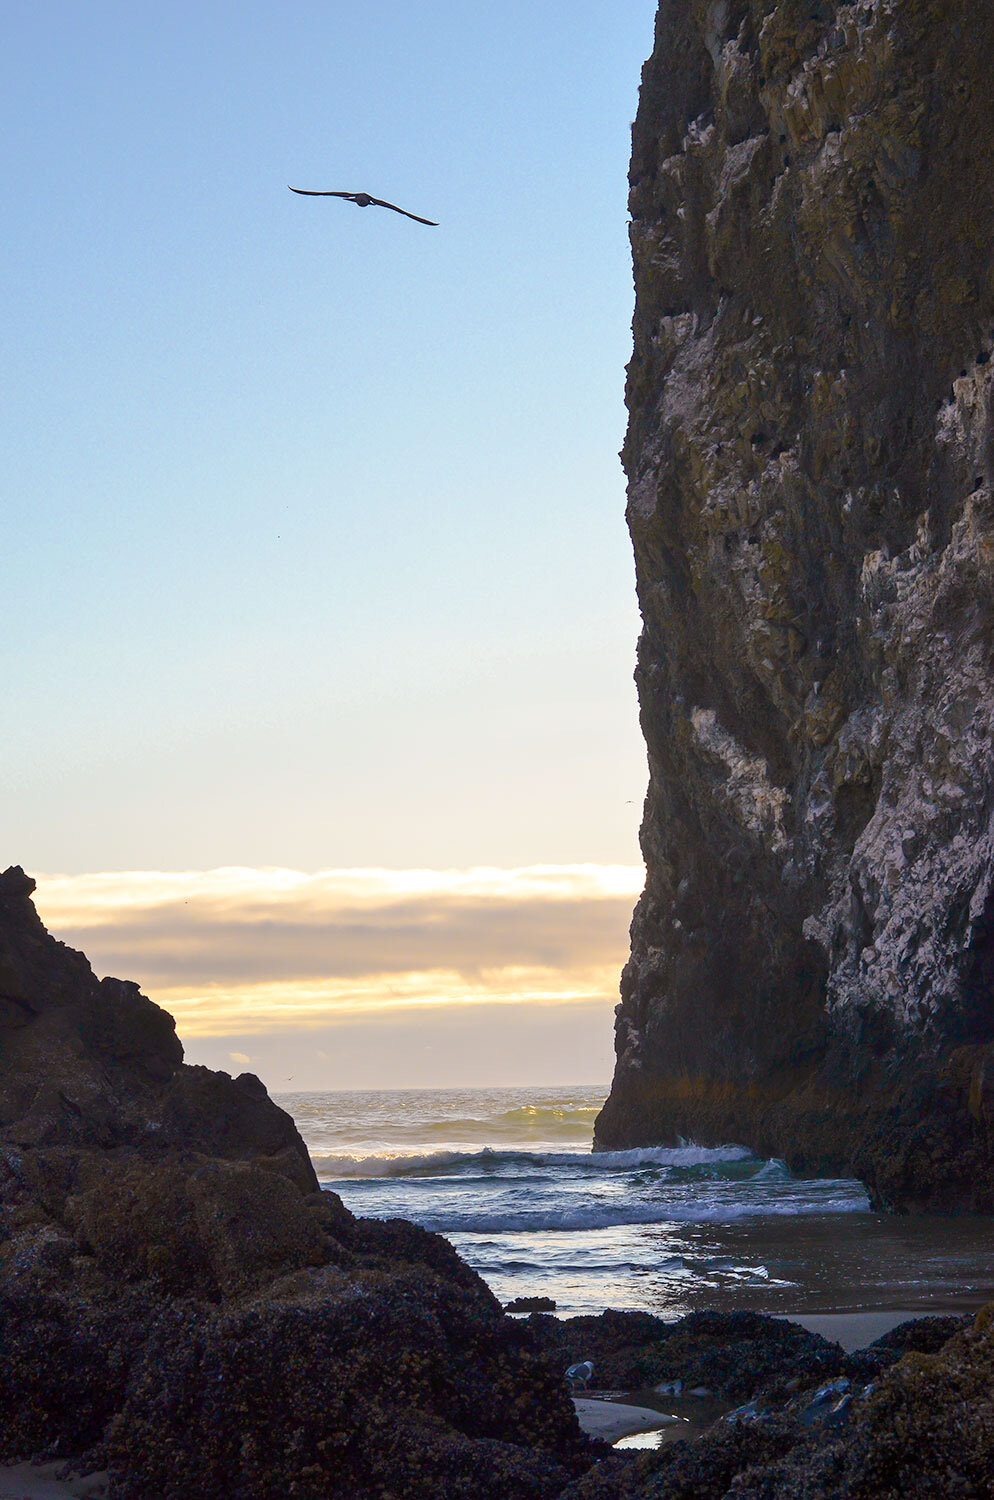
Due to the campsite cancellation in Mt. Rainier, we had to get back on the road and drive south to Cannon Beach which takes about five hours. Cannon Beach is a quaint town located on the beautiful Oregon Coast. To be honest, other than seeing Big Sur, it was my favorite beach of all time and possibly a future place to live!
If you bypass Mt. Rainier, it’s about 4 hours from Seattle and 1.5-hour drive to Portland (where we will be in the morning!). Unfortunately, we only had the evening in this area so the only thing that made sense during the sunset hour is to check out Haystack Rock aka “Goonies Rock”! There are many RV/camping options around the area. We camped at this spot for the night.
Goonies Never Say Die.


Day 3
Unless you want to get morning views in Cannon Beach, we are driving to Portland, baby! Honestly, you could do both since Portland is less than two hours from the coast! I wish we had a few days in the city because like their slogan “Keep Portland Weird”, the city did not disappoint! But if you only have half a day, here are a few things you must do:
Grab a donut or two at Voodoo Donut.
Wash your donut down with a delicious coffee brew at Stumptown.
Stroll around downtown and visit Powell’s Books, Portland Saturday Markets, and Japanese Gardens.
Nosh on amazing Thai food from Pok Pok (make reservations beforehand or you will wait in line!)
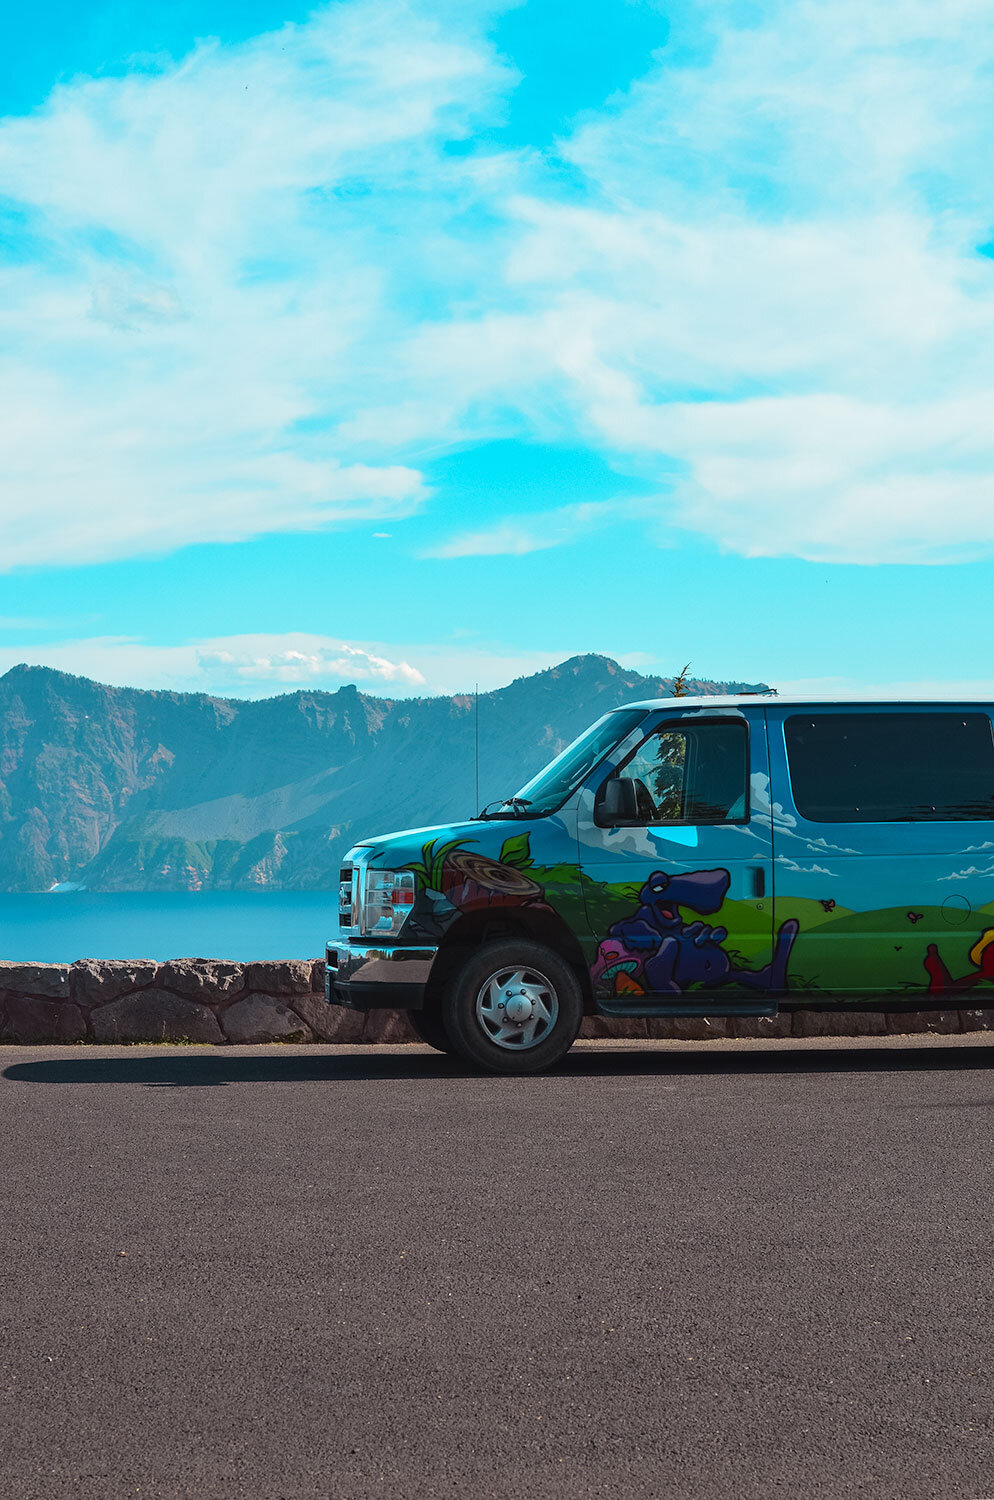
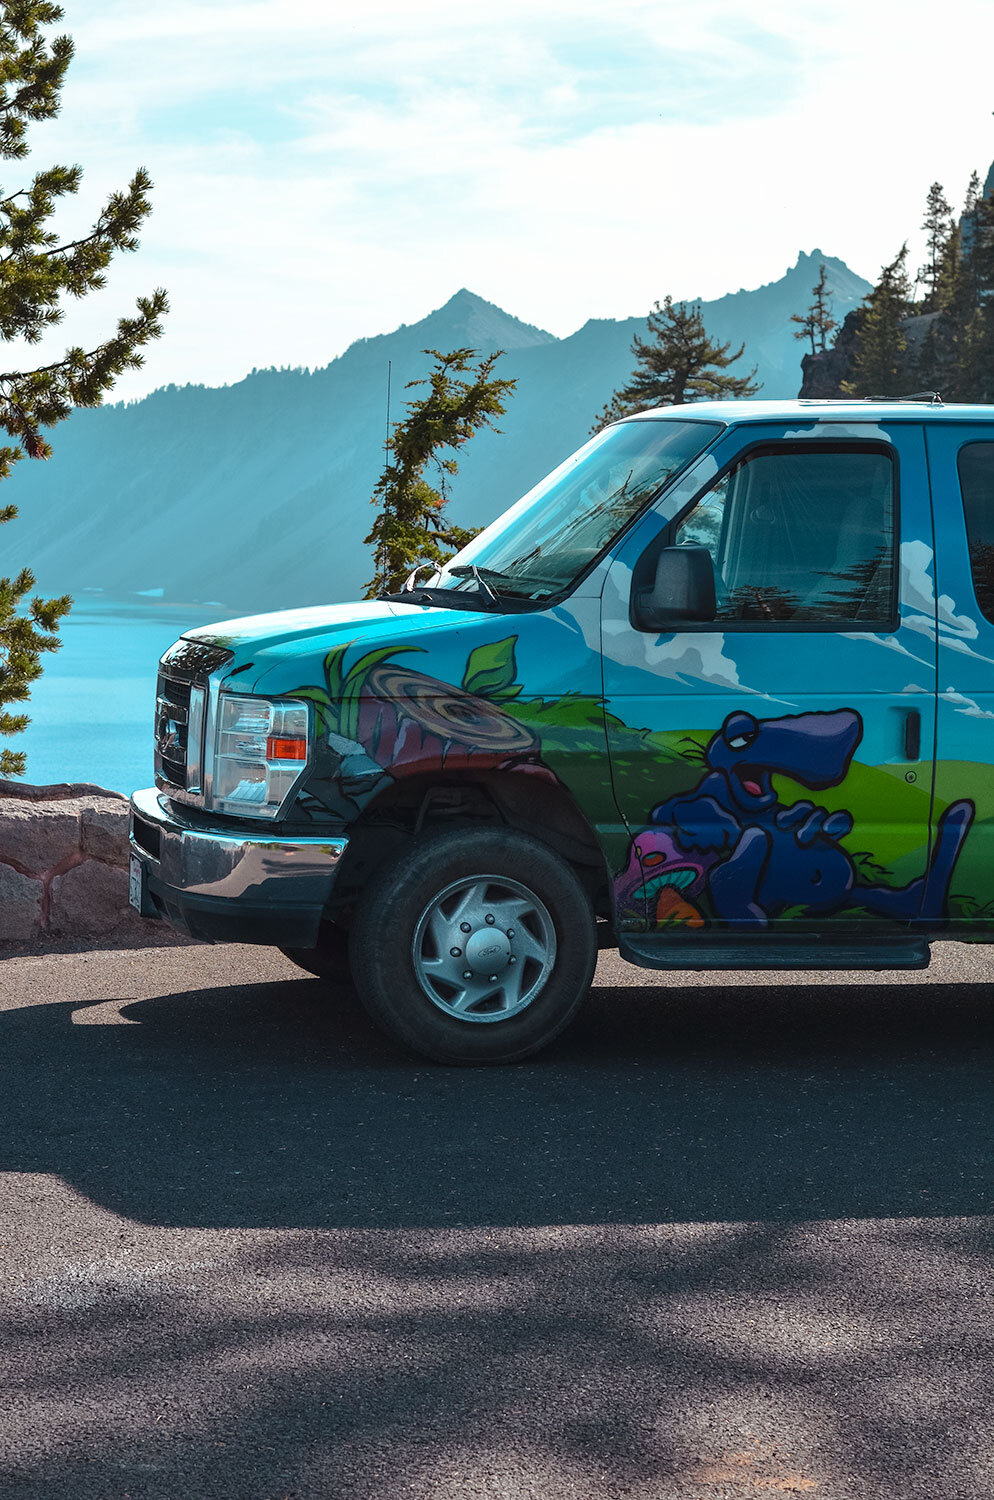
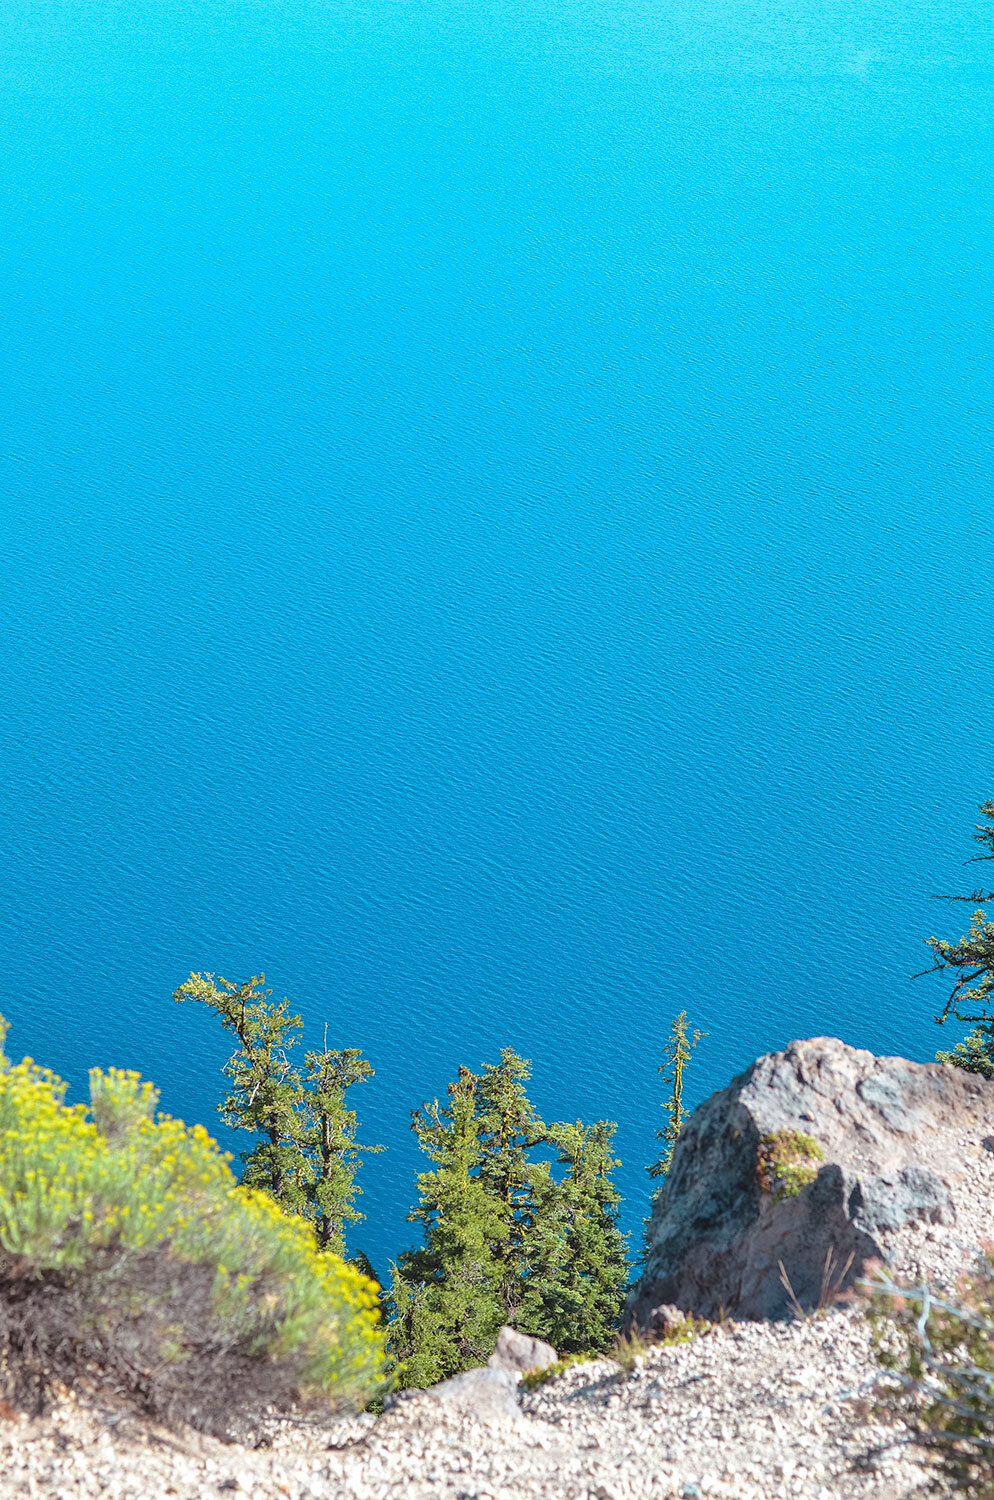
Back on the road again. (Did I mention that you will be driving a lot!) This time, we are heading to Crater Lake National Park. We are packing this road trip full of experiences so taking travel time into account, we have two hours of hiking time at Crater Lake. Luckily, Crater Lake is very accessible and you can drive around the perimeter of the lake (Rim Drive). Fun fact: Crater Lake is one of the deepest lakes in the USA and quite possibly the most pristine on Earth! The lake is fed entirely by rain and snow (not from rivers), making the water as blue and clear as it’s going to get!
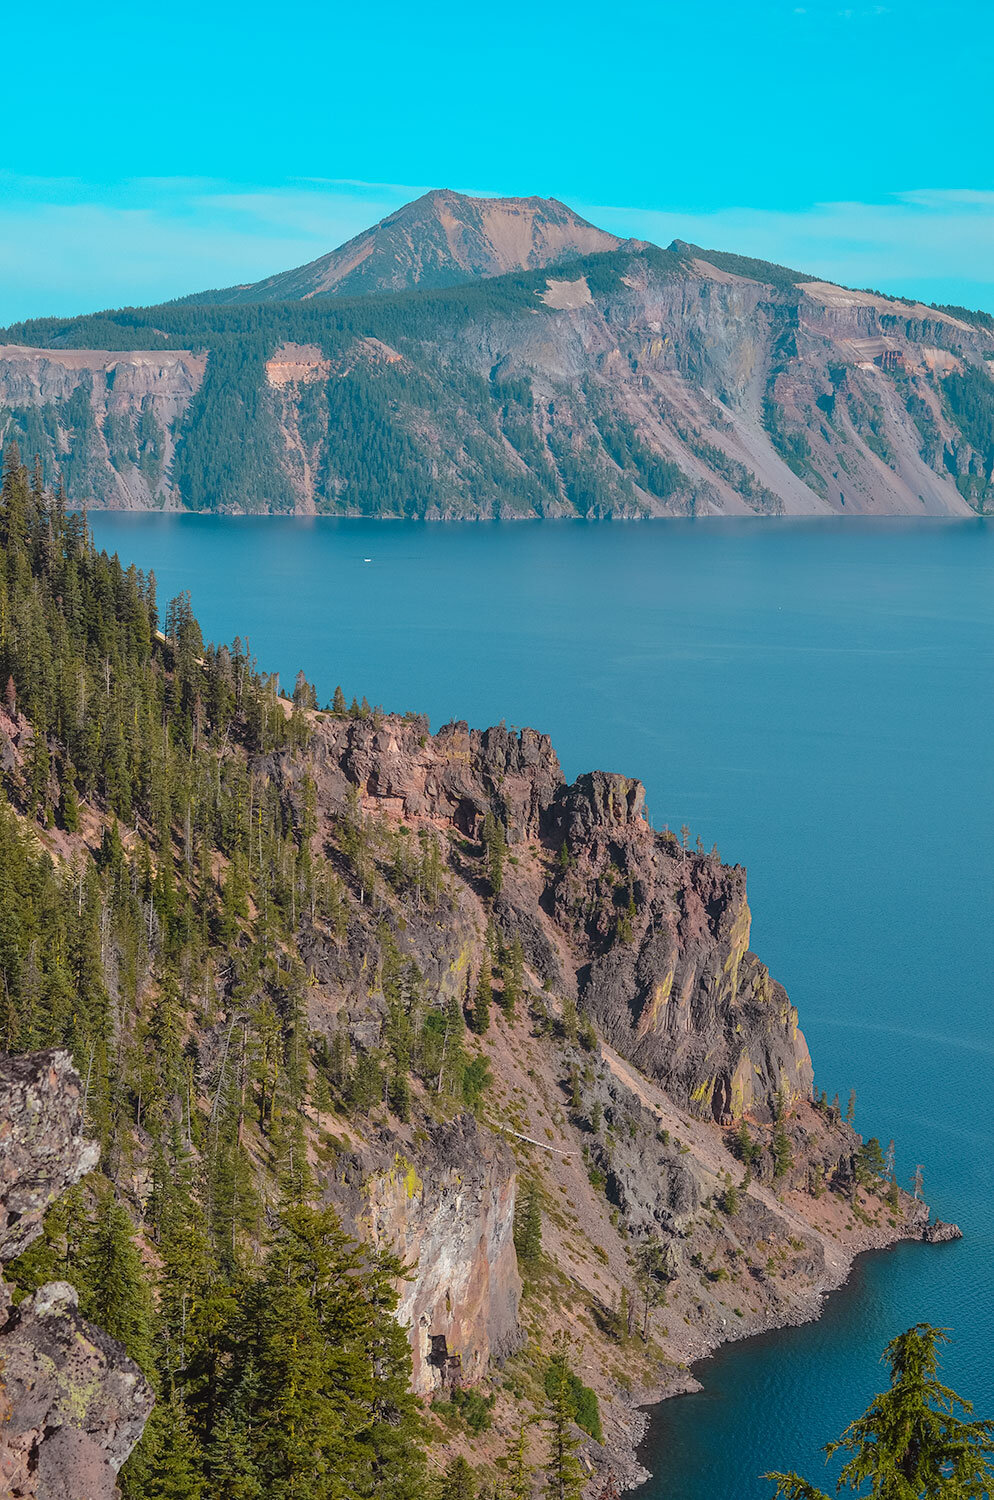
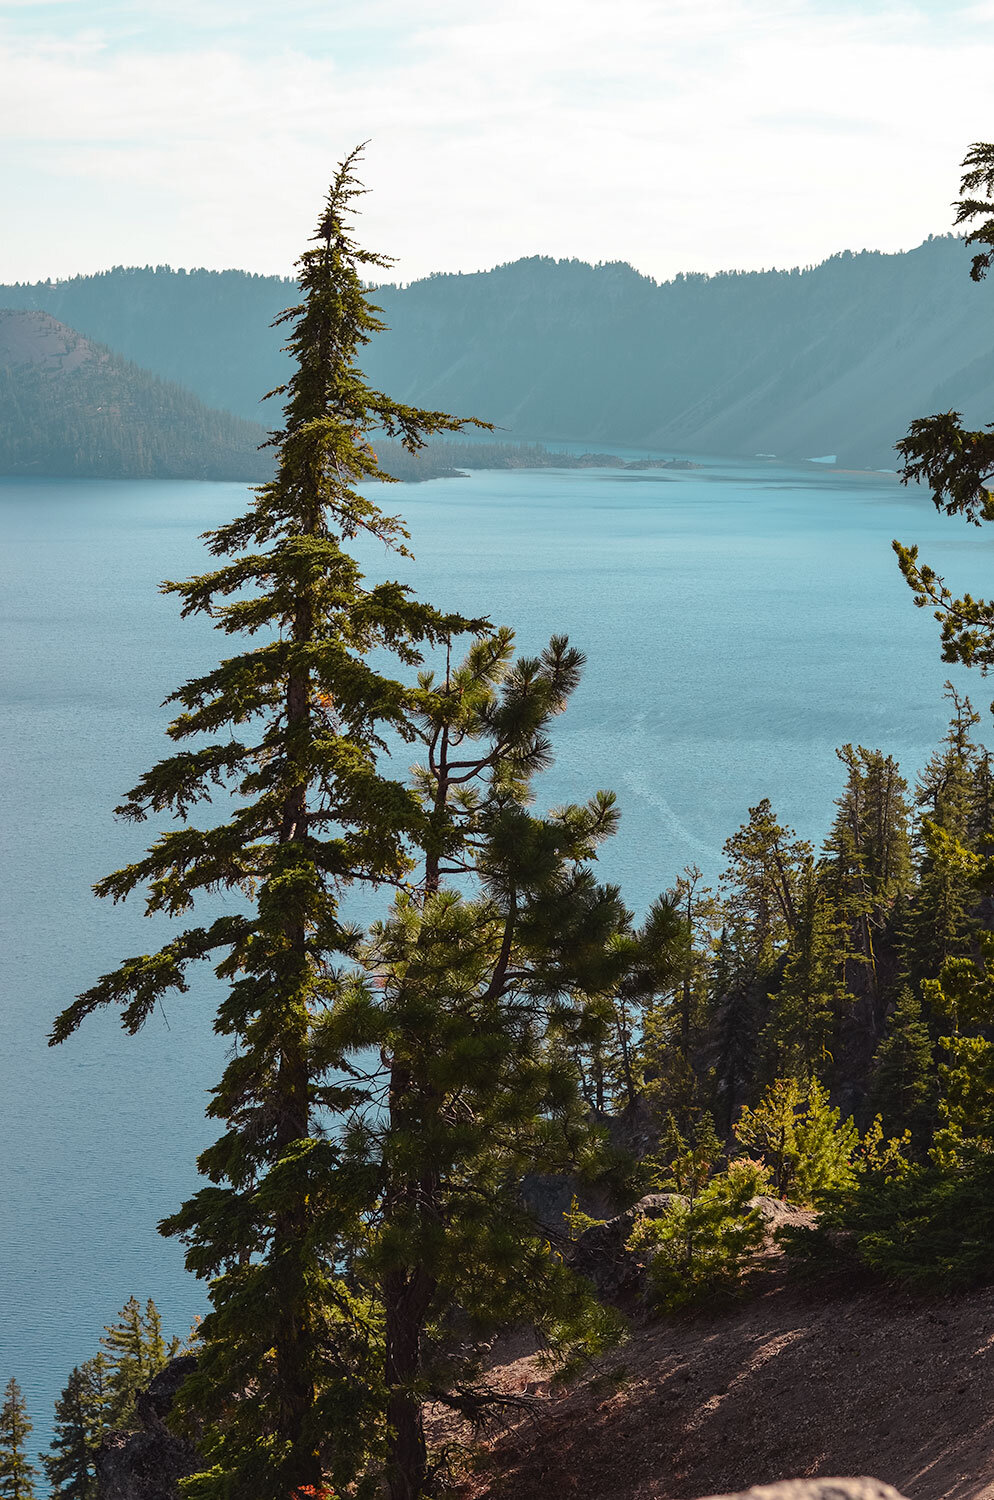
Want to see the clear waters yourself? Hike the 1.1 mile Cleetwood Cove trail that will give you access to the shore. You can also take a boat tour around the lake. Make sure you make reservations in advance! This area offers great RV spots. We stayed here for the night - favorite RV spot!
Tip: Make sure you check to see if the park is open since the park’s roads, trails, and facilities are closed seasonally due to snow.
Bonus Tip: If you decide to park by a stagnant lake or dense forest of trees during the summer, make sure you purchase bug spray or a mosquito net! When we opened the back of the van to cook, a swarm of mosquitoes came charging in. Needless to say, we became close friends for the entire week! Here is a great post on proper mosquito netting for your camper van!
Day 4
Just below the Oregon border is the Redwood National and State Parks. They are made up of the National Park, Jedediah Smith Redwoods State Park, Del Norte Coast Redwoods State Park, and Prairie Creek Redwoods State Park (check out this map to see their locations.) Since the parks are spread out, the struggle was real as far as which one to visit.
Well, I’m a coastal girl so Del Norte Coast it is! Here are things to do in the park:
Hike Damnation Creek Trail (4-mile hike) - This hike is great for the adventurer since it’s challenging but very rewarding! The ability to see the Redwoods along the coast is a combination you can’t beat!
Hike to Hidden Beach, which is a secluded beach, lined with tide pools, piles of driftwood and weathered rock formations.
If you are traveling with family, visit the Trees of Mystery and soar through the trees.

Next stop, Prairie Creek! Like Del Norte Coast, you get a mixture of redwood and beaches, but one thing that sets this park apart from the rest is their Roosevelt Elk. We had the chance to spot some Elk on the Elk Prairie Trail (2.8-mile hike).
Another thing you must do is explore the beautiful Fern Canyon. Fun fact: Portions of The Lost World: Jurassic Park were filmed in Fern Canyon!
If you have more time in this park, I highly suggest hiking the Miner’s Ridge and James Irvine Trail (12.4-mile hike) It takes about five hours to complete but if you want to see the best views of Fern Canyon and Gold Bluffs Beach, then this is the hike for you!
Like most of the locations we have visited thus far, you could easily spend a week/weekend visiting all the parks. But alas, we have a lot of miles to get through so to end the day, we are heading four hours down the coast to Fort Bragg! Since we got in late, we passed by Glass Beach on the way to our RV spot for the night.


Part 2 will include the second half of the itinerary, essentials for first-timers, and the best road trip apps/resources!