Sort by Category
- May 2026
- March 2026
- December 2025
- November 2025
- October 2025
- September 2025
- August 2025
- June 2025
- August 2024
- July 2024
- June 2024
- May 2024
- February 2024
- January 2024
- December 2023
- November 2023
- October 2023
- September 2023
- August 2023
- July 2023
- March 2023
- February 2023
- January 2023
- December 2022
- November 2022
- October 2022
- September 2022
- August 2022
- June 2022
- May 2022
- April 2022
- March 2022
- February 2022
- January 2022
- December 2021
- November 2021
- October 2021
- September 2021
- August 2021
- July 2021
- June 2021
- May 2021
- April 2021
- March 2021
- February 2021
- January 2021
- December 2020
- November 2020
- October 2020
- September 2020
- August 2020
- July 2020
- June 2020
- May 2020
- April 2020
- March 2020
- February 2020
- January 2020
- December 2019
- November 2019
- October 2019
- September 2019
- August 2019
- July 2019
- June 2019
- May 2019
- April 2019
- March 2019
- February 2019
- January 2019
- December 2018
- November 2018
- October 2018
- September 2018
- August 2018
- July 2018
- June 2018
- May 2018
- April 2018
- March 2018
- February 2018

Halloween Munch Dark Chocolate Bark
Halloween bark recipe is as simple as they come! Using only 3-ingredients to make the bark, and topped with your favorite go-to halloween candy products or venturing out into the healthier but still spookier side!
Halloween munch dark chocolate bark is a fun and creative way of using healthier Halloween candy products!

For October’s virtual cooking class, I wanted to create a fun, festive and kid friendly dessert using healthier candy products. It’s so easy to switch out sugar and overly processed-filled Halloween candy products with healthier brands like Yum Earth, That’s It, Hu Kitchen and so much more (product recommendations for this recipe at the bottom!)


Halloween bark recipe is as simple as they come! Using only 3-ingredients to make the bark, and topped with your favorite go-to halloween candy products or venturing out into the healthier but still spookier side!

FAQs and tips on making dark chocolate bark:
After the chocolate has cooled, it is hard to spread or for toppings to stick so work quickly while your chocolate is still warm!
Storage? If the chocolate bark is set out at room temperature for too long, it will start to melt so best to store in the fridge for about a week or the freezer for 2 months. Don’t expect it to last that long in your house, though!
A spatula or back of a spoon are the best tools to spread the chocolate across a parchment paper lined baking sheet.
You can obviously use a double broiler to melt your chocolate but the fastest and easiest method is simply using a microwave! Microwave in 30 second increments while stirring until melted.


Other great Halloween recipes: spookylicious green smoothie
If you try this recipe, let us know! Leave a comment, rate it, and don’t forget to tag a photo to #fromtherootsblog on Instagram. We love seeing what you come up with!
Halloween munch dark chocolate bark is a fun and creative way of using healthier Halloween candy products!
SERVINGS: 6-8 | PREP TIME: 5 MIN | COOK TIME: N/A
Ingredients
2 cups dark chocolate chips (about 12 oz)
1/3 cup white chocolate chips
1 Tbsp+ 1 tsp coconut oil
1/4 cup candy corn
1/4 cup gummy worms
1/4 cup popcorn
Halloween sprinkles
Directions
Line a medium/large baking sheet with parchment paper or aluminum foil leaving overhang on at least two sides.
Add the chocolate chips and 1 Tbsp coconut oil to a microwave-safe bowl and microwave for 30 sec. Stir with a spoon and continue to warm in 30 sec increments until melted.
Spread the melted chocolate across the prepared baking sheet and use a rubber or offset spatula to smooth into an even layer.
Melt the white chocolate and 1 tsp oil in a separate bowl for 30 sec increments until smooth.
Drizzle the white chocolate in a “spiderweb or mummy style” across the baking sheet of melted dark chocolate.
Place candies, popcorn, and sprinkles on top of the bark while melted then place the baking sheet in the fridge or freezer for 1 hr to harden. Once hard, use a knife to cut into pieces of bark and enjoy!
Notes
Keep bark in an airtight container in the fridge or freezer until ready to eat!
SHOP OUR FAVORITE INGREDIENTS FOR THIS RECIPE!


S'mores Cookies
Fun fact about me that not many people know is that I am a pyro! Maybe that is why I am a volunteer firefighter but I just absolutely love fires - campfires, bonfires, having a fake fire scene playing in the background, the sound of fire food crackling … I’m obsessed!
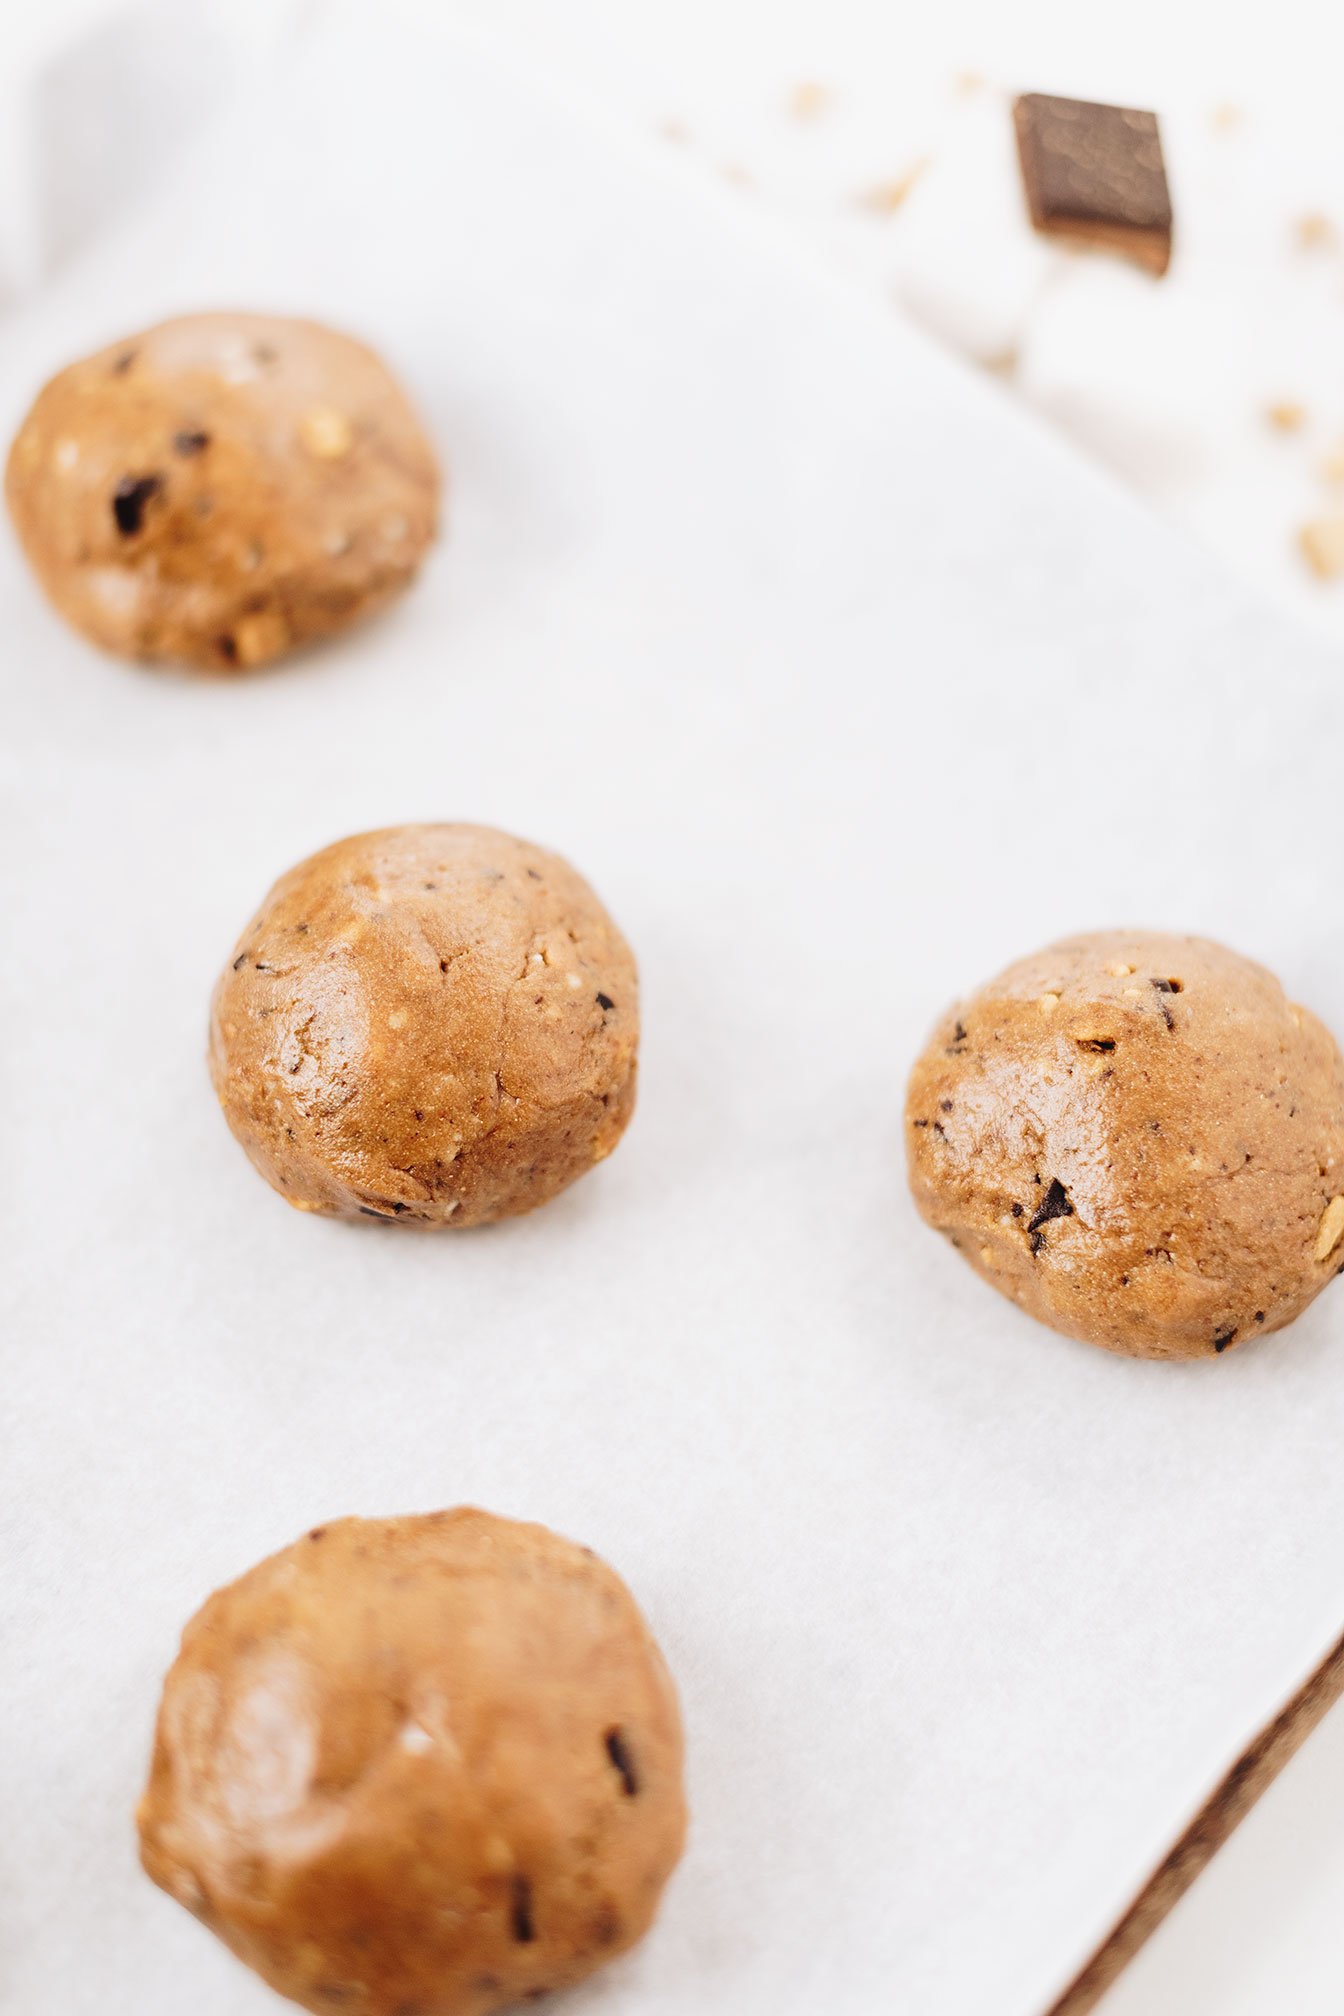
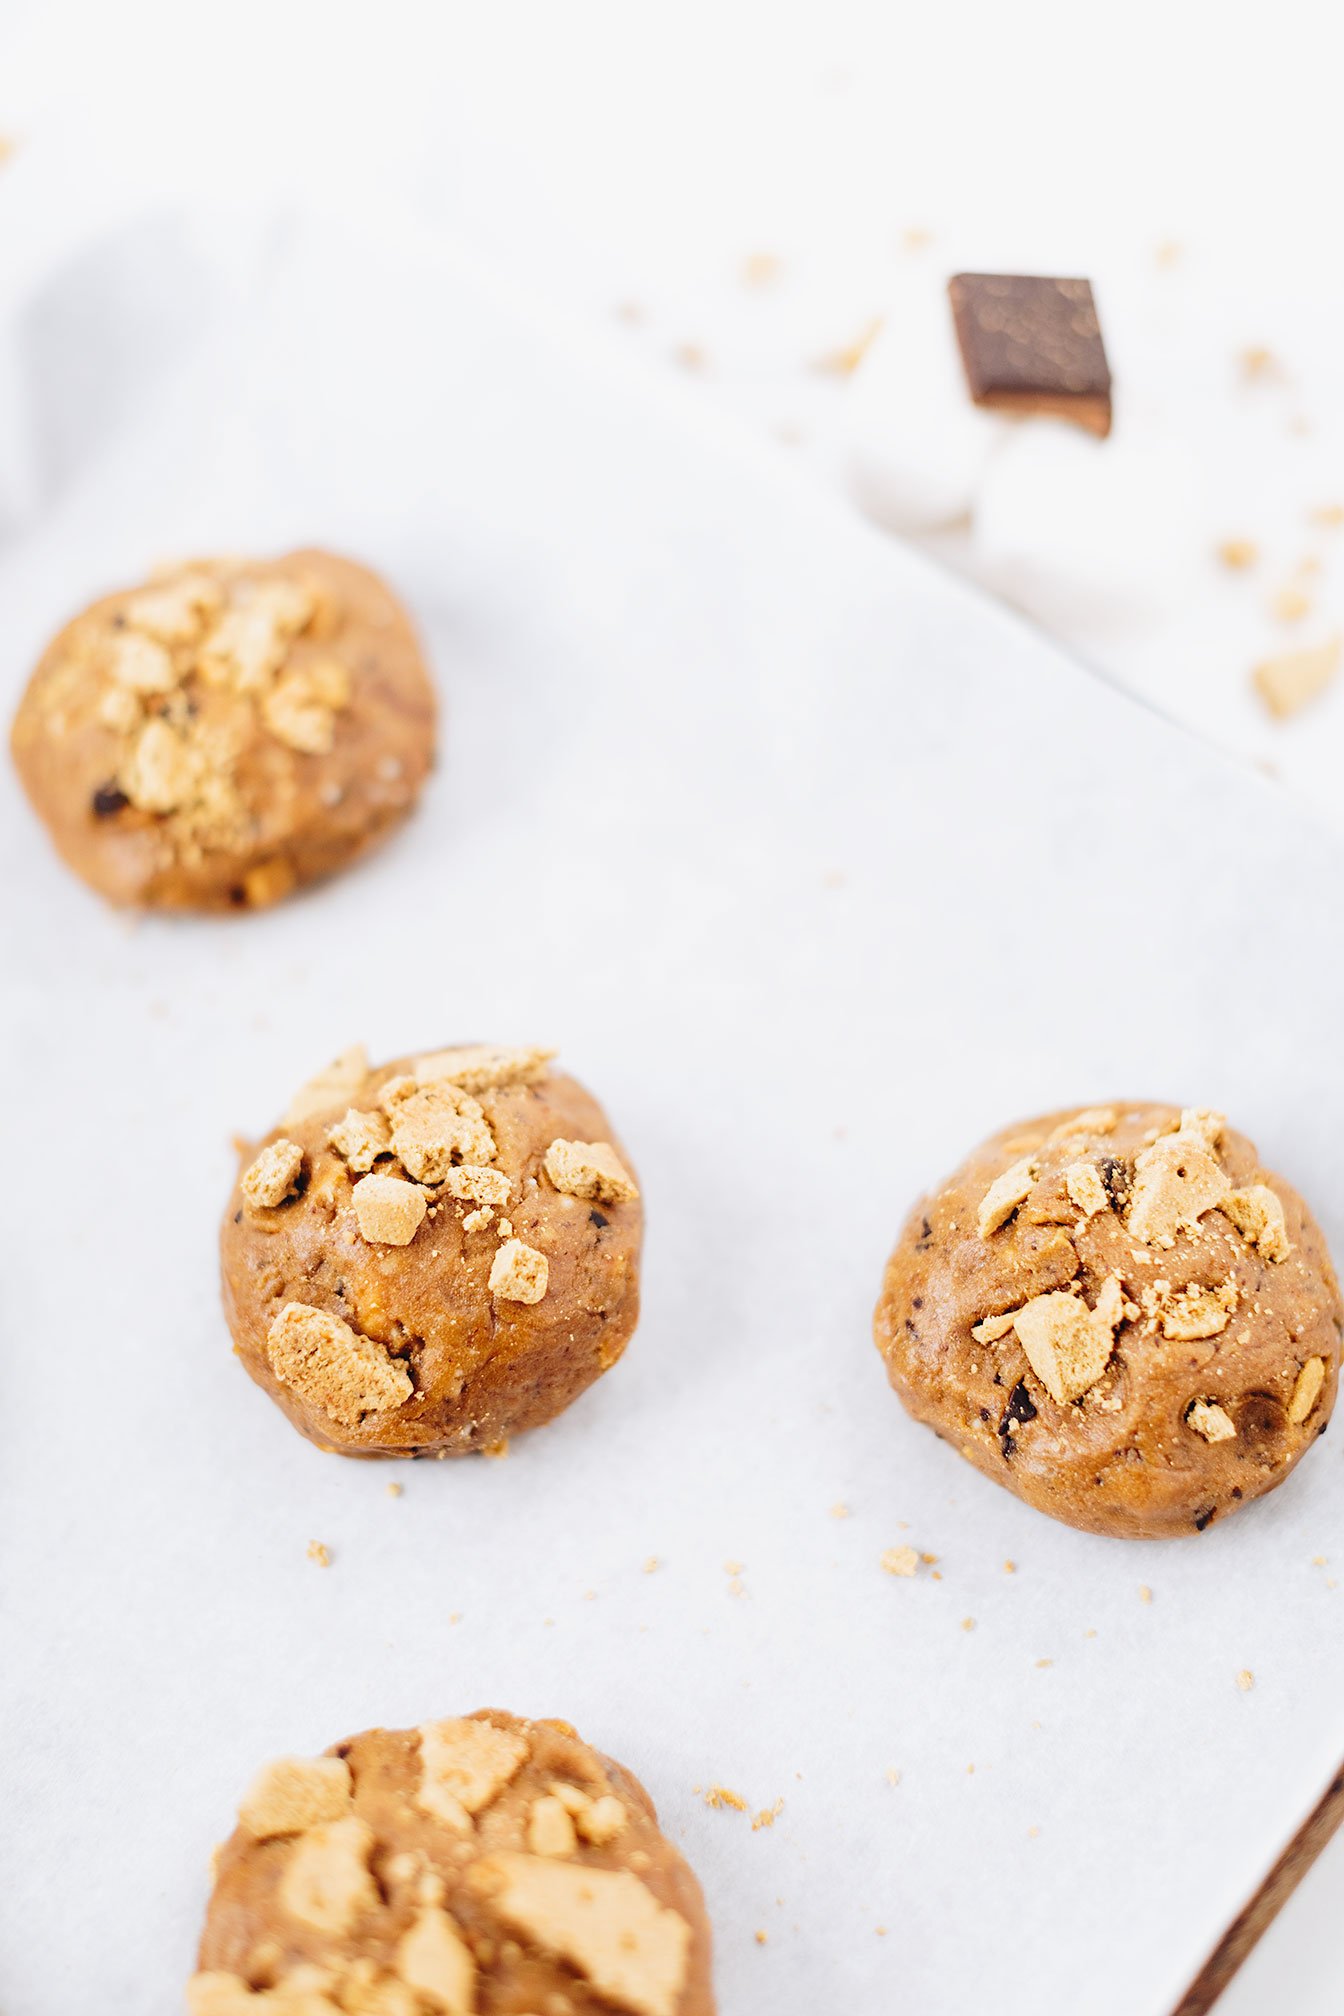
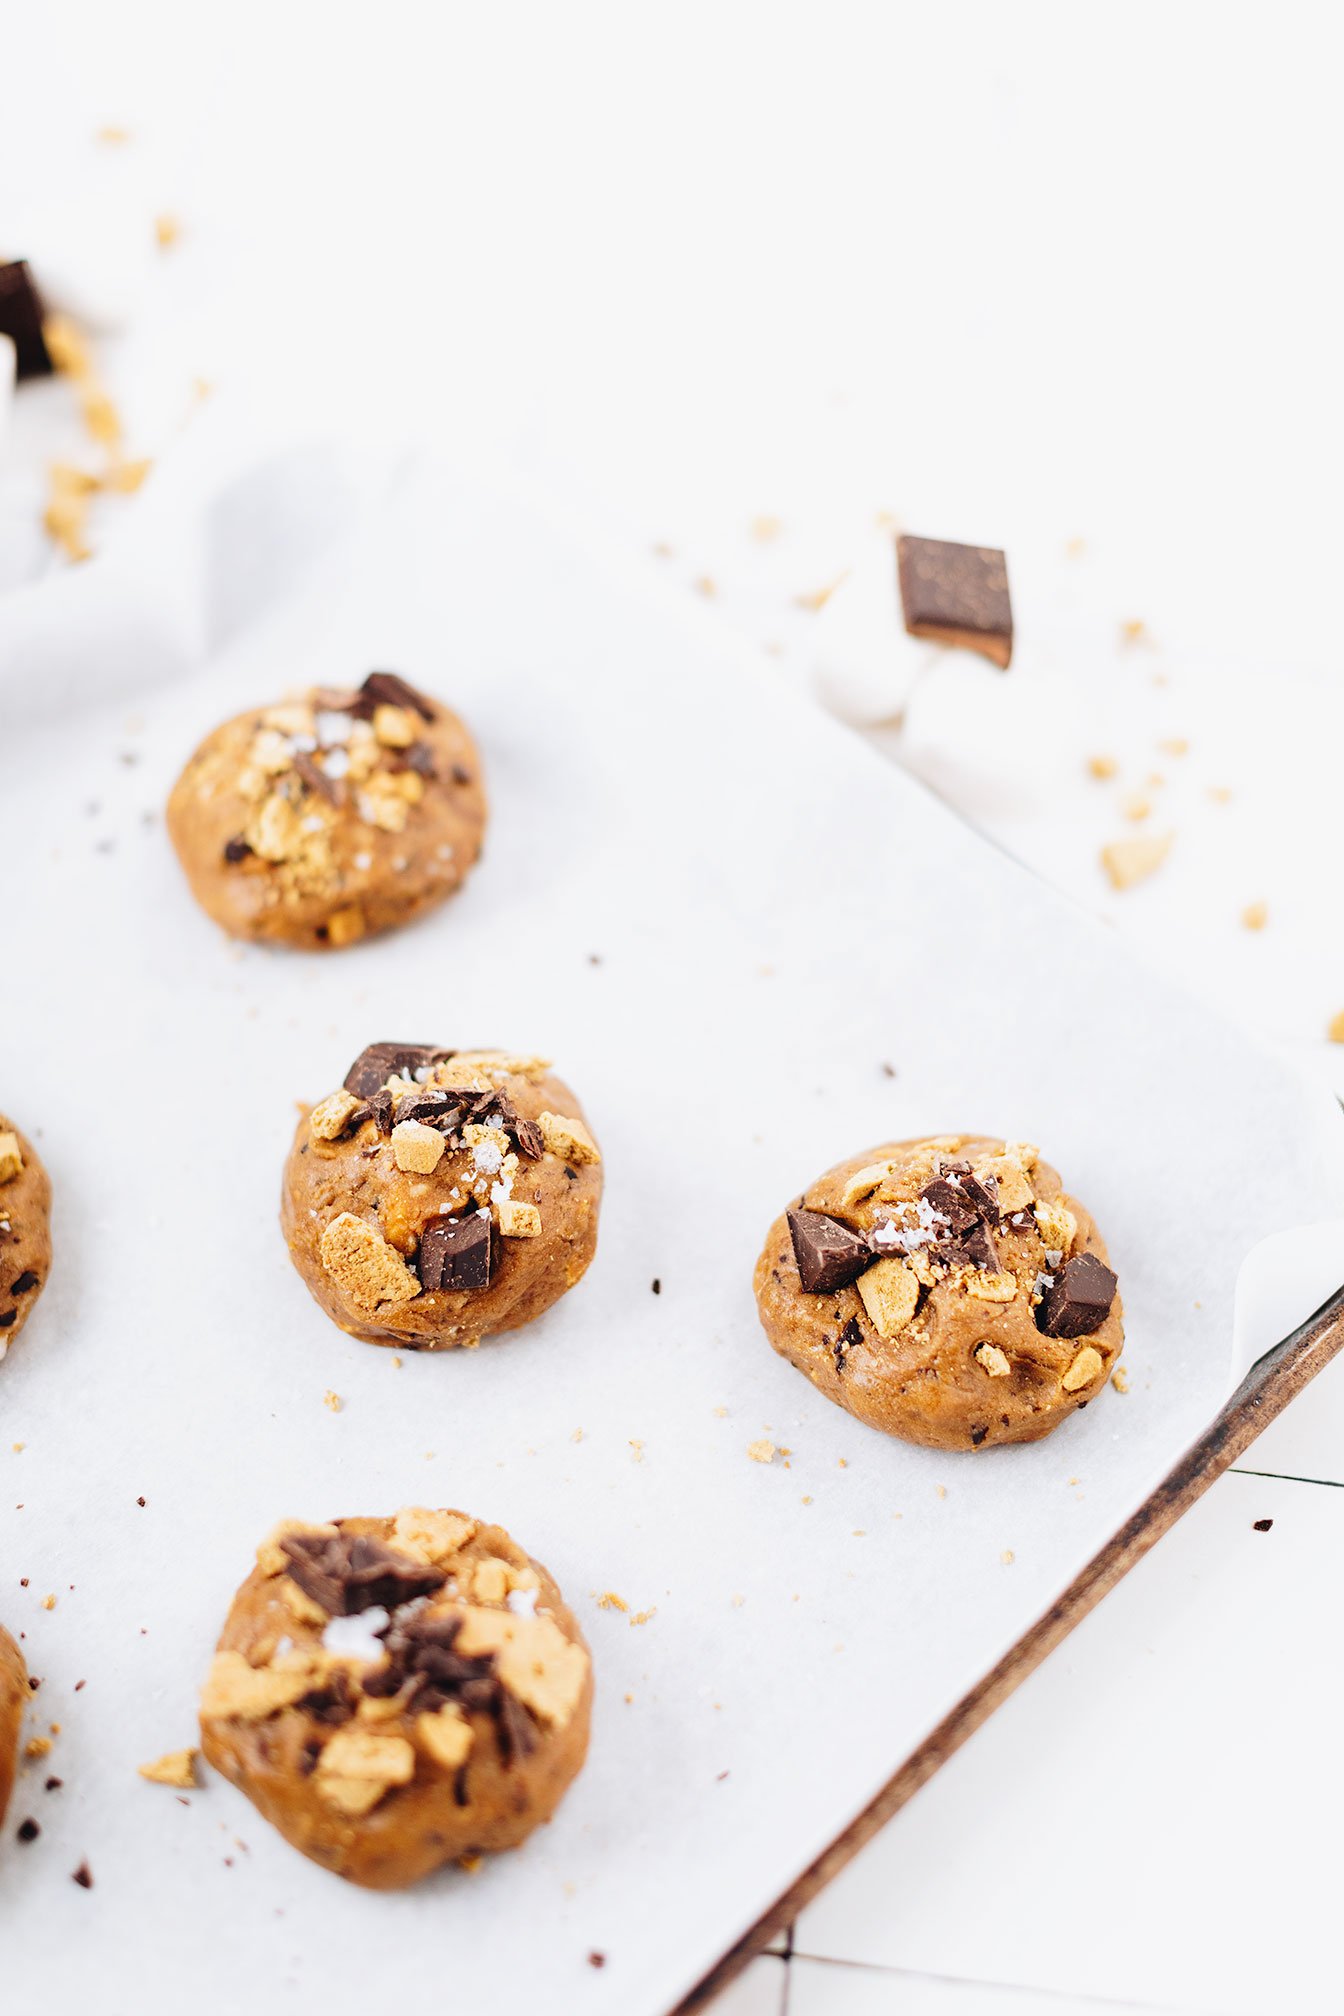
S’mores cookie with a surprise marshmallow filling you cannot resist. Gluten-free, dairy-free friendly, refined sugar-free and no campfire needed!

Fun fact about me that not many people know is that I am a pyro! Maybe that is why I am a volunteer firefighter but I just absolutely love fires - campfires, bonfires, having a fake fire scene playing in the background, the sound of fire food crackling … I’m obsessed!


And now that I have niece and nephews close by, I take full advantage of spoiling them with campfire treats - s’mores being #1!
So when we had Thanksgiving this past week, I wanted to surprise them with a dessert that I knew they were going to love. Because why try to give them traditional desserts like pumpkin pie when we know they aren’t going to like it or try it? Why not just make them something fun and that they will actually enjoy!


And that is why I created this s’mores cookie recipe! They couldn’t believe that a cookie was also a s’more! And to top off the mindblown effect, when I ripped the cookie apart - they couldn’t believe that there was a gooey, melted marshmallow inside and that I didn’t have a fire to produce that sort of effect!
All this to say, that if you are wanting major Aunt brownie points - you should make these cookies! And selfishly for yourself - that is why they are gluten-free, dairy-free, and naturally sweetened. They will not know the difference!


And if you are unfamiliar with gluten-free or plant based s’more products to look for - I have added the products I used at the bottom of the recipe for reference. I will say that the Hu Kitchen stuffed dark chocolate bars just really elevate this recipe - especially if you are team peanut butter cup in your s’more stack!

If you try this recipe, let us know! Leave a comment, rate it, and don’t forget to tag a photo to #fromtherootsblog on Instagram. We love seeing what you come up with!
S’mores cookie with a surprise marshmallow filling you cannot resist. Gluten-free, dairy-free friendly, refined sugar-free and no campfire needed!
Serving: 2 Tbsp scoop = 8 large cookies, 1 Tbsp scoop = 16 regular cookies | Prep Time: 5 min | Cook Time: 10 min
Ingredients
1 ½ cup gluten-free 1 to 1 flour
¾ cup coconut sugar
½ cup dark chocolate chips or bar, chopped
½ cup mini marshmallows or 8 large marshmallows
½ cup graham crackers, crushed/chopped
1 egg, room temperature
3 Tbsp milk of choice, I used coconut milk
3 Tbsp coconut oil, melted
1 tsp pure vanilla extract
½ tsp baking soda
½ tsp baking powder
½ tsp pink himalayan sea salt
Directions
Preheat the oven to 350 degrees F and line a baking sheet with parchment paper.
In a large bowl, combine flour, baking soda and powder, and salt. In a medium bowl, combine egg, coconut sugar, milk, oil, and vanilla.
Stir the dry ingredients into the wet. Gently stir in the chocolate chips, graham crackers and marshmallows if you are doing mini.
Using a cookie scoop or 1 Tbsp, scoop out 2 Tbsp worth and flatten dough out to place a large marshmallow in and fold the rest of the dough over the marshmallow until fully covered. If you added mini marshmallows, scoop out 1 Tbsp, and place dough onto a greased or parchment lined baking sheet. Add a few extra chocolate chips, graham crackers and kosher salt flakes on top to make the cookies look pretty.
Bake for 10 minutes until golden brown.
Let them cool for at least 15 minutes so that the cookies can firm up. Transfer to a wire wreck to cool completely and enjoy!
SHOP OUR FAVORITE INGREDIENTS FOR THIS RECIPE!


Peanut Butter And Jelly Muffins
PB&J Muffins. Need I say more!?
I’m pretty biased when it comes to anything using peanut butter. *Cough Healthy Strawberry Brown Rice Krispie Treats, Healthy Reese’s Peanut Butter Eggs, Peanut Butter & Jelly Protein Smoothie Bowl, Chocolate Peanut Butter Granola and Berry Parfait, Raspberry Almond Thumbprint Cookies, and the list goes on…
Peanut Butter and Jelly Muffins - A healthy but flavorful take on the childhood PB&J sandwiches. Using one bowl, naturally sweetened and gluten-free!

PB&J Muffins. Need I say more!?
I’m pretty biased when it comes to anything using peanut butter. *Cough Healthy Strawberry Brown Rice Krispie Treats, Healthy Reese’s Peanut Butter Eggs, Peanut Butter & Jelly Protein Smoothie Bowl, Chocolate Peanut Butter Granola and Berry Parfait, Raspberry Almond Thumbprint Cookies, and the list goes on…


So it was surprising to me that I didn’t have this recipe posted until now! I have been making it for so many loved ones and it has become my nutrition clients’ (link) #1 breakfast and snack favorite, that I just assumed I already had the recipe posted. Haha.

But I can’t take all the credit for this masterpiece of a peanut butter and jelly muffin recipe. I have adapted this recipe from Minimalist Baker but have adjusted the ingredients just a smidge to make it more feasible and accessible for clients who would like to make these from home!


With that being said, if I recommend this recipe for a client that is dealing with blood sugar issues, then I usually tell them to opt out of the maple and/coconut sugar and to leave the extra garnishes off like the jelly/jam. And the muffins will STILL taste amazing.
This peanut butter and jelly muffin recipe will soon be in your go to muffin recipe arsenal. I Promise You!


If you try this recipe, let us know! Leave a comment, rate it, and don’t forget to tag a photo to #fromtherootsblog on Instagram. We love seeing what you come up with!
Peanut Butter and Jelly Muffins - A healthy but flavorful take on the childhood PB&J sandwiches. Using one bowl, naturally sweetened and gluten-free!
PREP TIME: 5 MIN | COOK TIME: 30 MIN | MAKES 12 Servings
Ingredients
¾ cup unsweetened applesauce
½ cup creamy or crunchy peanut butter
⅓ cup coconut sugar
¼ cup maple syrup
¼ cup unsweetened milk of choice
¼ cup coconut oil (melted)
2 eggs
1 tsp apple cider vinegar
1 ½ cup gluten-free flour blend
¾ cup gluten-free rolled oats
1 ½ tsp baking soda
½ tsp baking powder
¼ tsp sea salt
9-11 tsp naturally sweetened jam of choice
handful blueberries as garnish (optional)
Directions
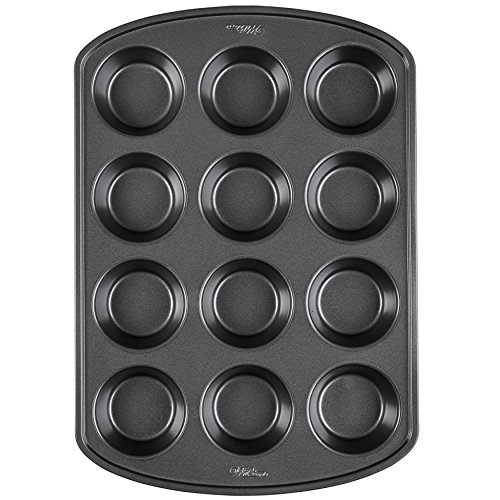
Preheat the oven to 350 degrees and lightly grease or line a standard 12 count muffin tin.
In a large mixing bowl, whisk eggs and then add applesauce, peanut butter, coconut sugar, maple syrup, oil and milk and stir until combined and sugar crystals have dissolved.
Add baking soda, baking powder, and apple cider and whisk to combine.
Lastly, add the flour, oats, and salt and stir to combine. The batter should be scoopable, not pourable. If the batter isn’t on the thicker side, then slowly add in more flour.
Pour batter into muffin tins about ¾ full and top with ½ to 1 tsp jam and ¼ tsp more peanut butter. Swirl jam and peanut butter using a toothpick, making sure you don’t get too close to the edges or it will cause seeping when baking and can get too browned. You can also garnish with blueberries and oats on top or create an oat streusel topping!
Bake for 26-32 minutes or until a toothpick when inserted comes out clean. Allow to cool in tin for 20 minutes before allowing them to cool a second time on a wire rack. May need to loosen muffins from the pan by sliding a butter knife around the edges.
Enjoy immediately after! Can keep at room temperature for several days and freezer friendly.
SHOP OUR FAVORITE TOOLS + INGREDIENTS FOR THIS RECIPE!


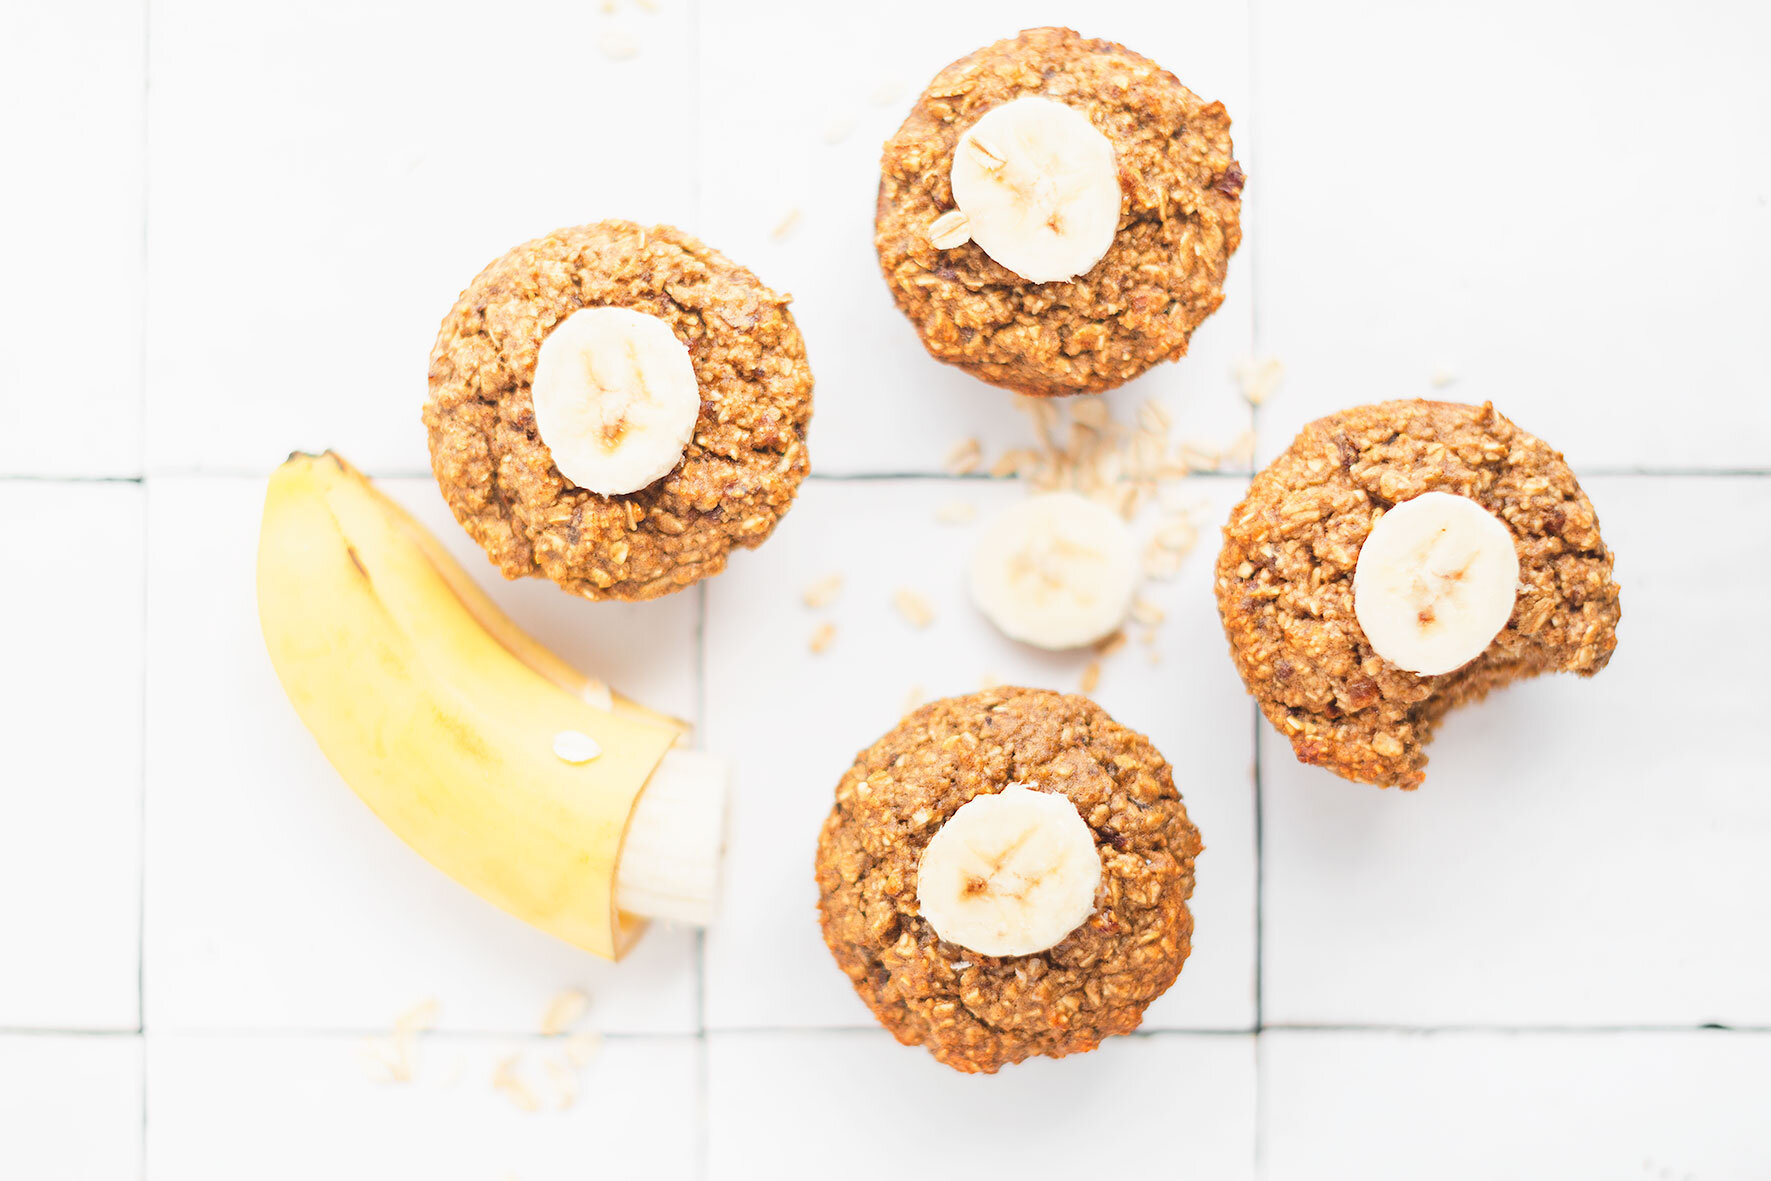
5-Ingredient Banana Bread Muffins
It’s no secret that I absolutely love banana bread! *Cough Paleo Banana Nut Bread and Brownie Batter Banana Bread Muffins.
WIth that said, I am completely unapologetic as I whipped up yet another banana bread recipe - banana bread muffins!
This was a fun recipe to create as I had my niece and nephews in mind. Like most parents, mornings feel rushed so I wanted to create a recipe that my sister could make ahead of time so that first thing in the morning, she can warm up or serve cold these muffins with a small pad of butter and eggs on the side and serve it to the kiddos!
Banana Bread Muffins - All you need is a blender or food processor and 5 wholesome ingredients. Naturally gluten free, no refined sugar, and super easy to whip up!

It’s no secret that I absolutely love banana bread! *Cough Paleo Banana Nut Bread and Brownie Batter Banana Bread Muffins.
WIth that said, I am completely unapologetic as I whipped up yet another banana bread recipe - banana bread muffins!
This was a fun recipe to create as I had my niece and nephews in mind. Like most parents, mornings feel rushed so I wanted to create a recipe that my sister could make ahead of time so that first thing in the morning, she can warm up or serve cold these muffins with a small pad of butter and eggs on the side and serve it to the kiddos!
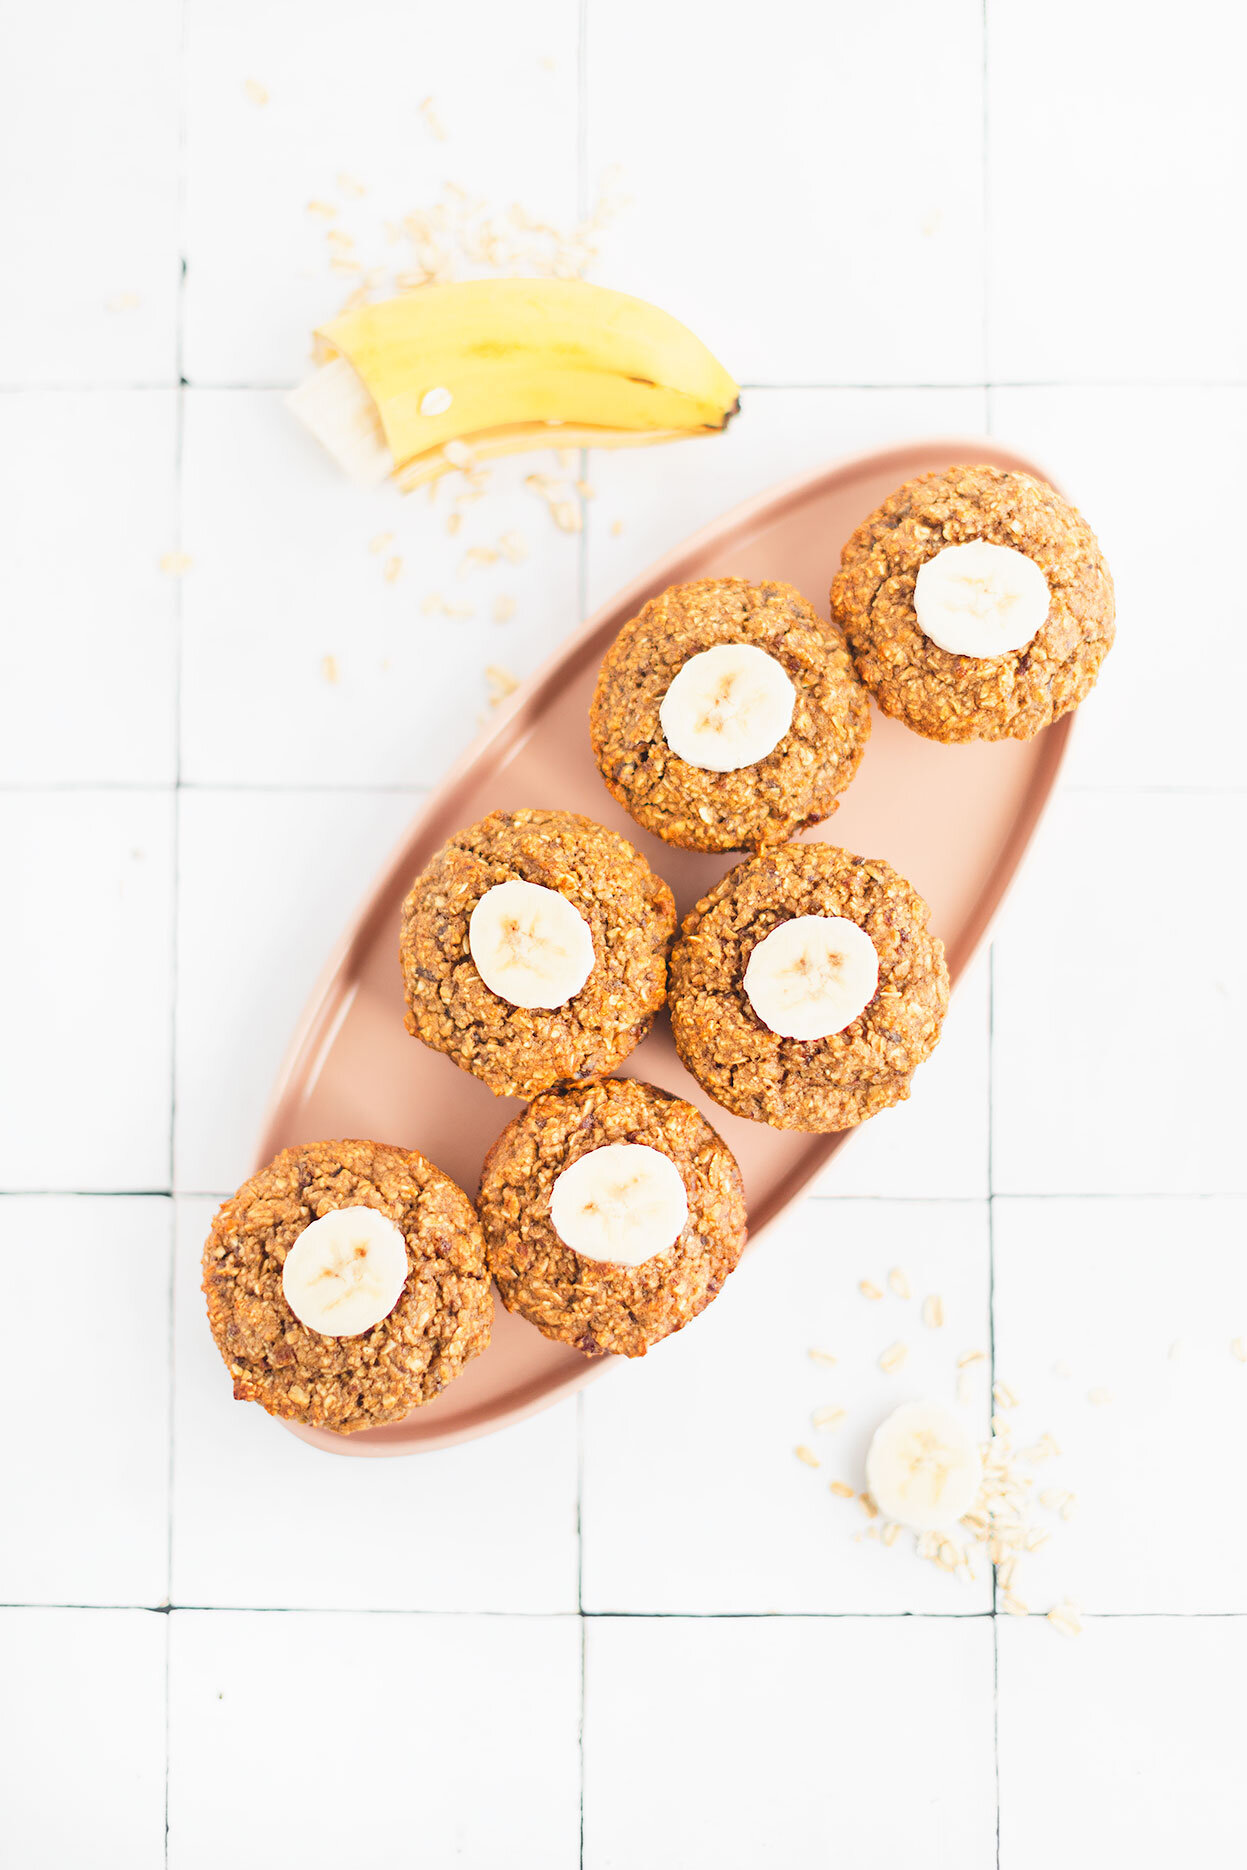
Simple as that! And even if you aren’t a busy mom, this recipe is great for people that are busy in general. Think about it. If you are able to throw 5 measly ingredients into a blender, pour the batter in a muffin tin and walk away for about 15 minutes to come back to freshly baked banana bread muffins, wouldn’t you do it too?!


No refined sugars here! We are only using naturally sweetened sources like bananas and medjool dates. Now, if you add chocolate chips, that is a different story!
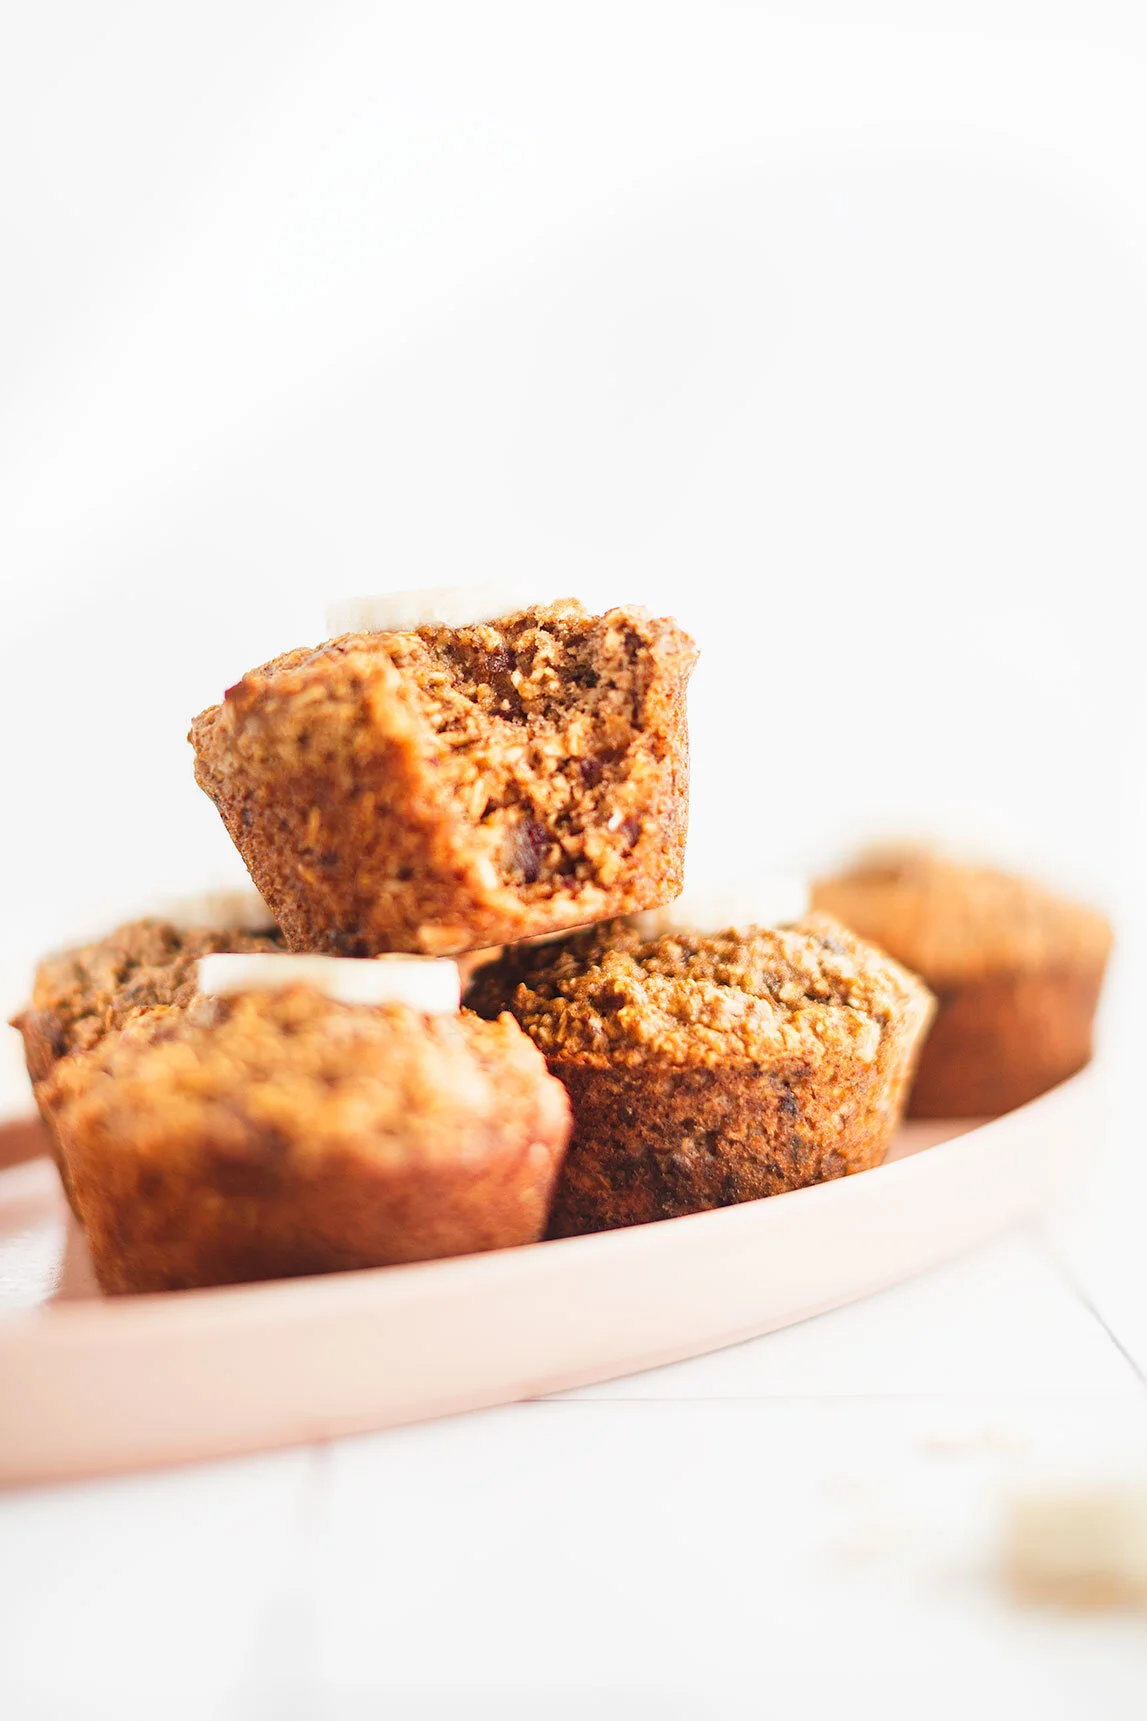
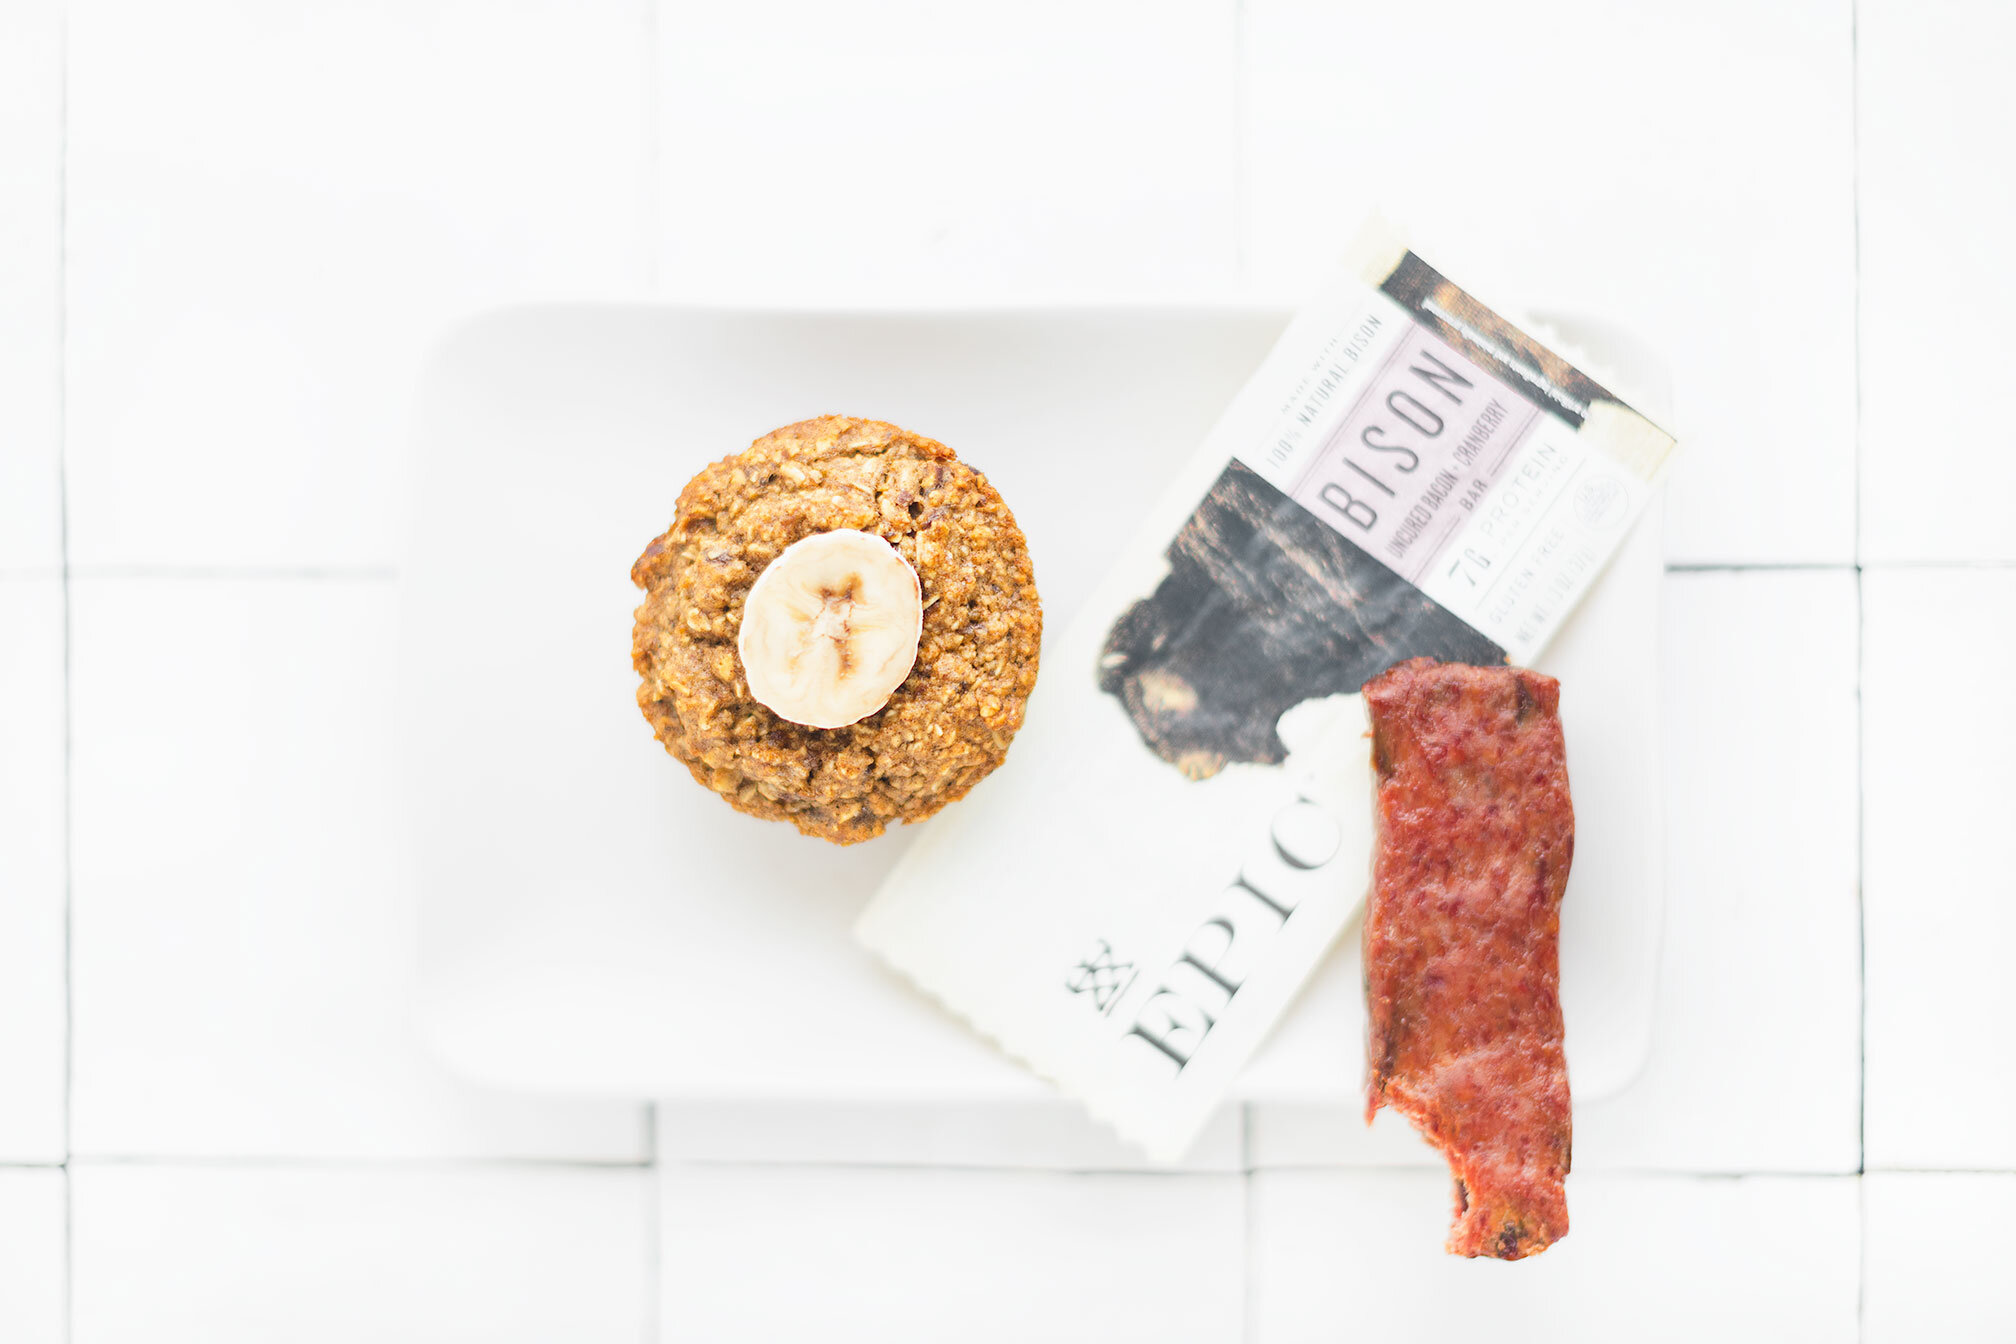
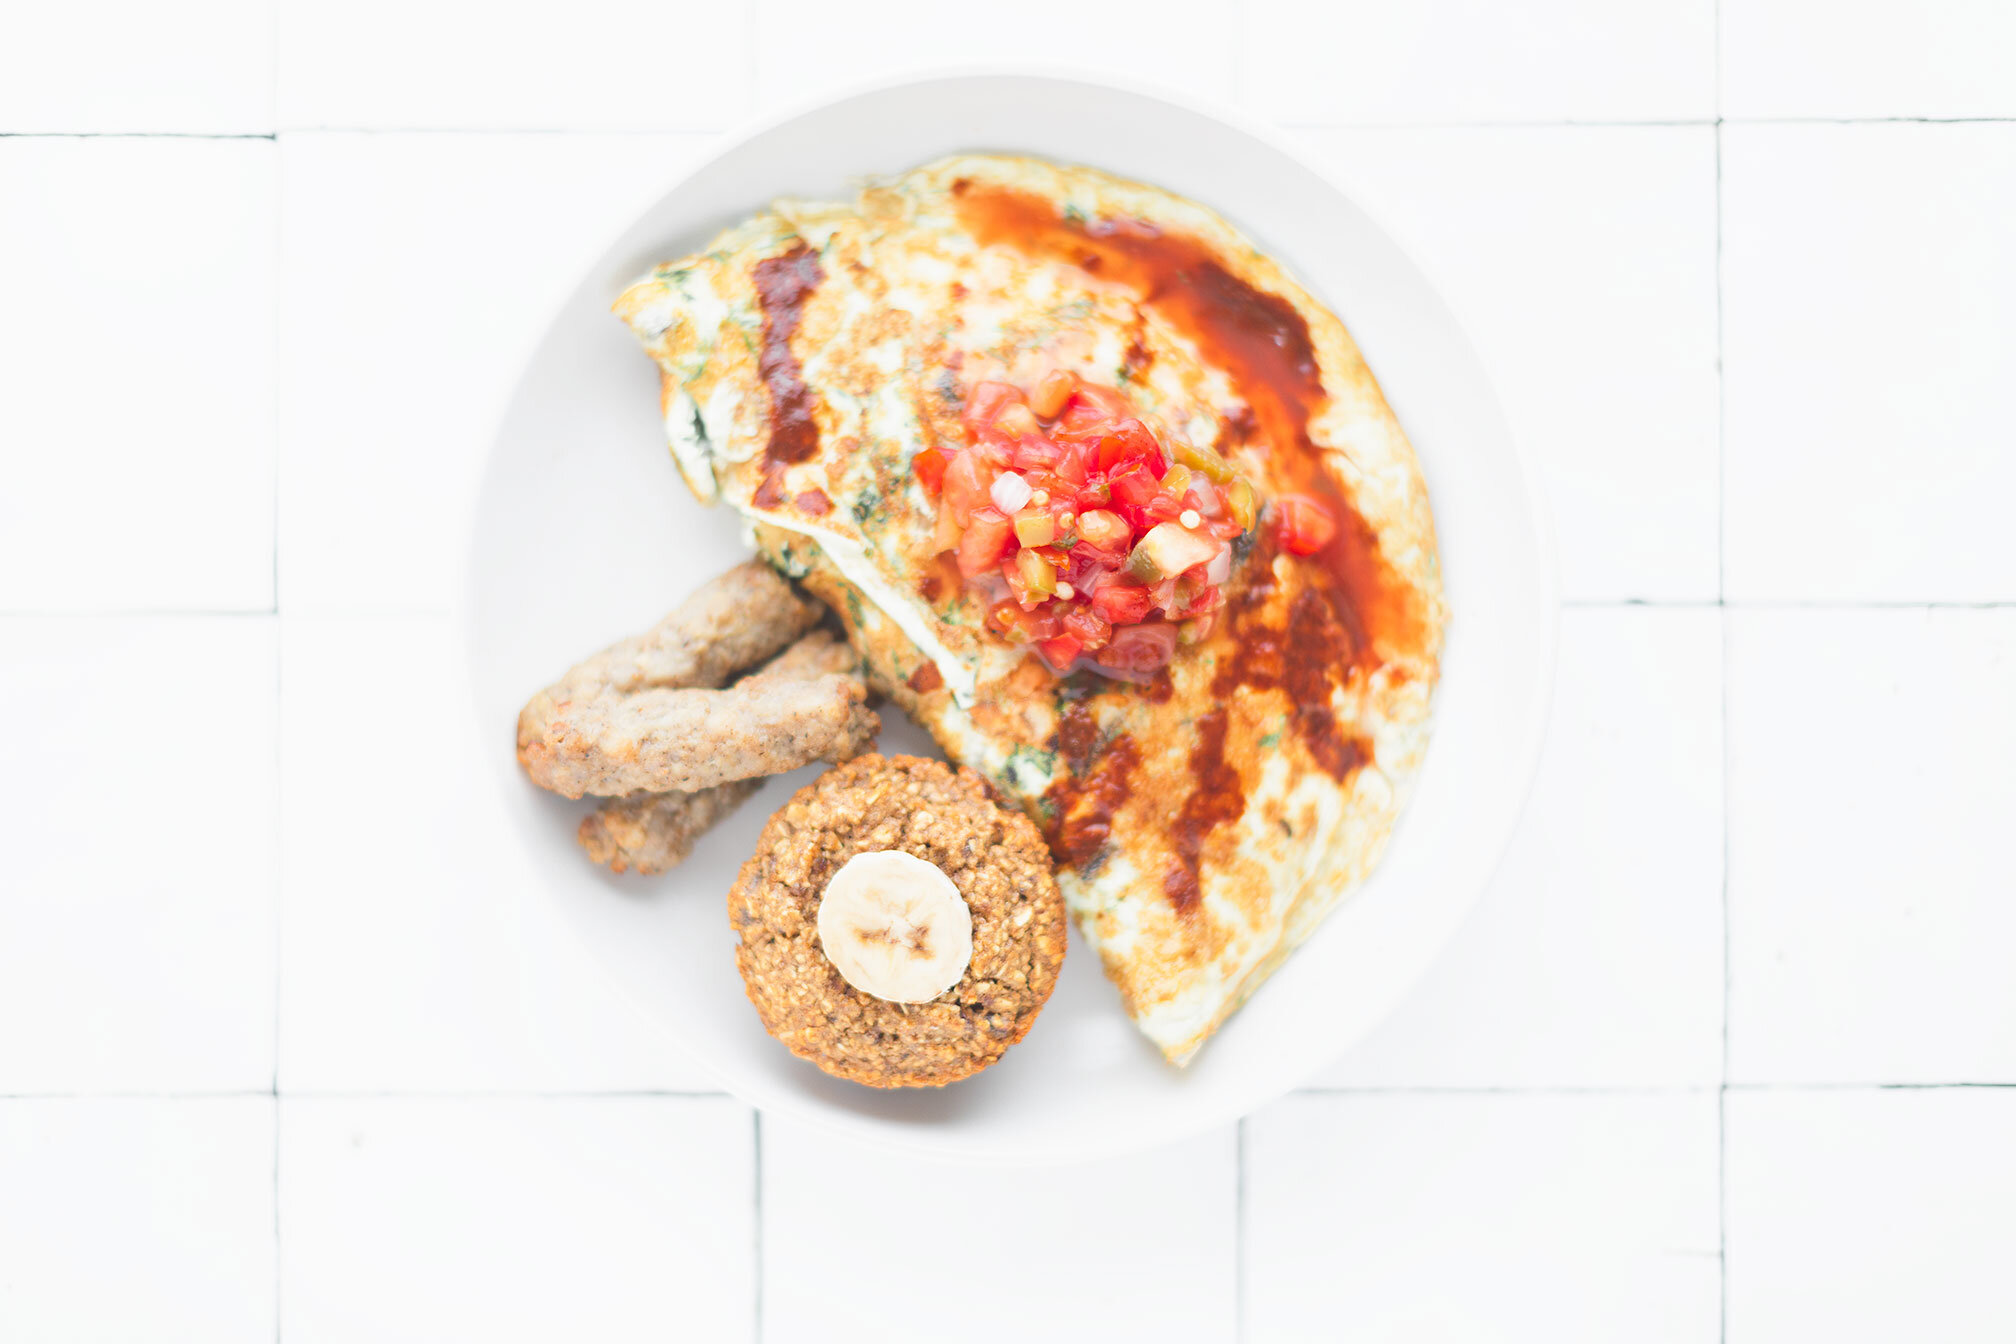
With that said, these muffins are great when paired to a great fat and protein source so here are some great examples of what that could look like as a breakfast or snack option:
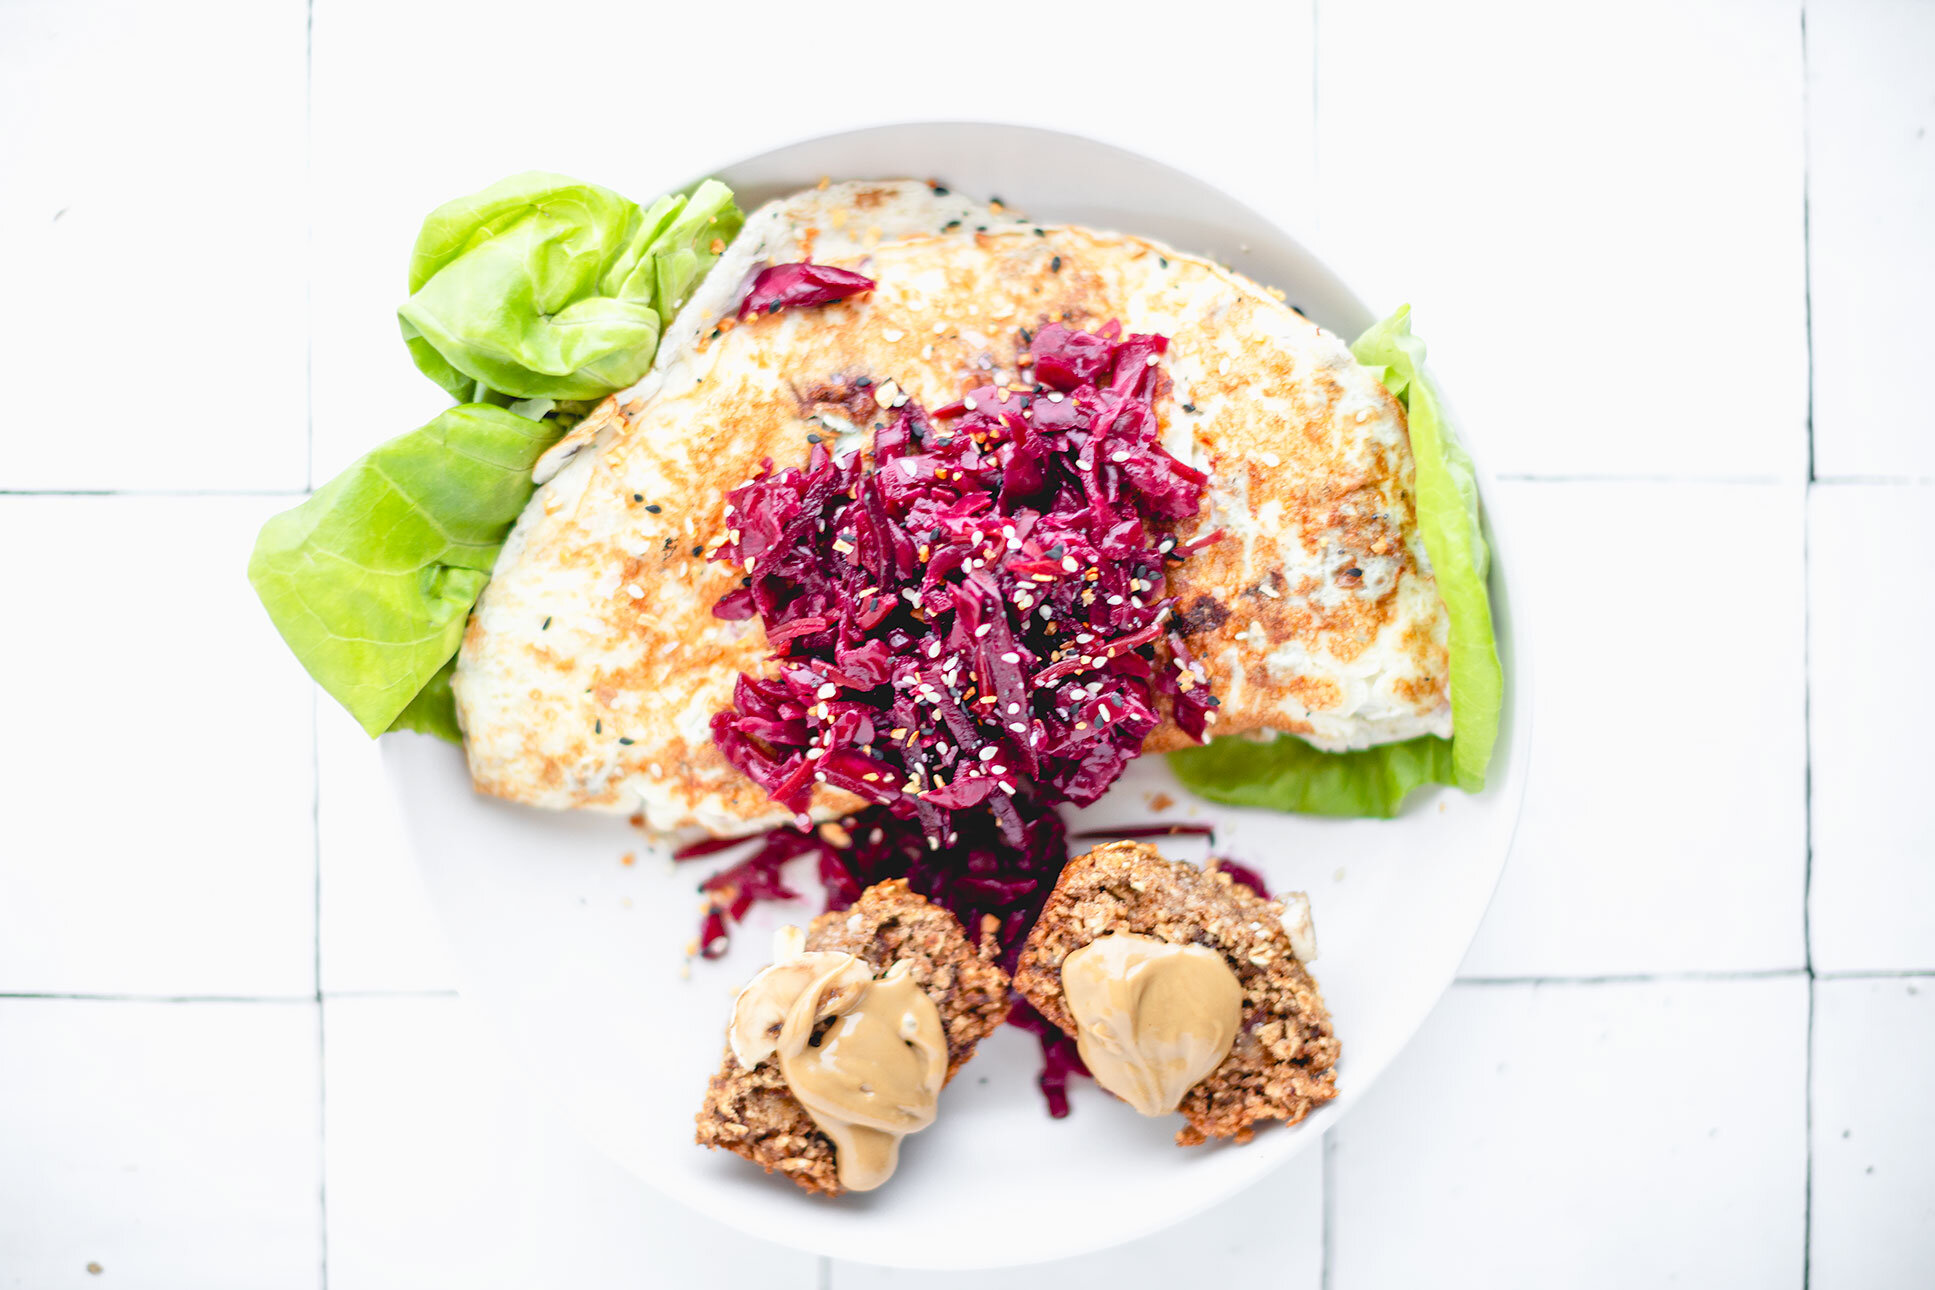
If you try this recipe, let us know! Leave a comment, rate it, and don’t forget to tag a photo to #fromtherootsblog on Instagram. We love seeing what you come up with!
Banana Bread Muffins - All you need is a blender and 5 wholesome ingredients. Naturally gluten free, no refined sugar, and super easy to whip up!
Ingredients
2 cups gluten-free oats
1 large ripe banana
2 eggs
¾ cup pitted whole dates
1 tsp baking soda
*pinch of salt / generous pinch of cinnamon
Optional: ¼ cup dark chocolate chips if you are feeling crazy
Makes 6 muffins
Directions
Preheat the oven to 350 degrees and grease 6 count muffin tin.
Combine all ingredients in a blender or food processor until smooth.
Pour batter into greased muffin tin and top with oats, banana slices, or chocolate chips if you would like.
Bake for 15-20 minutes and enjoy!
Notes
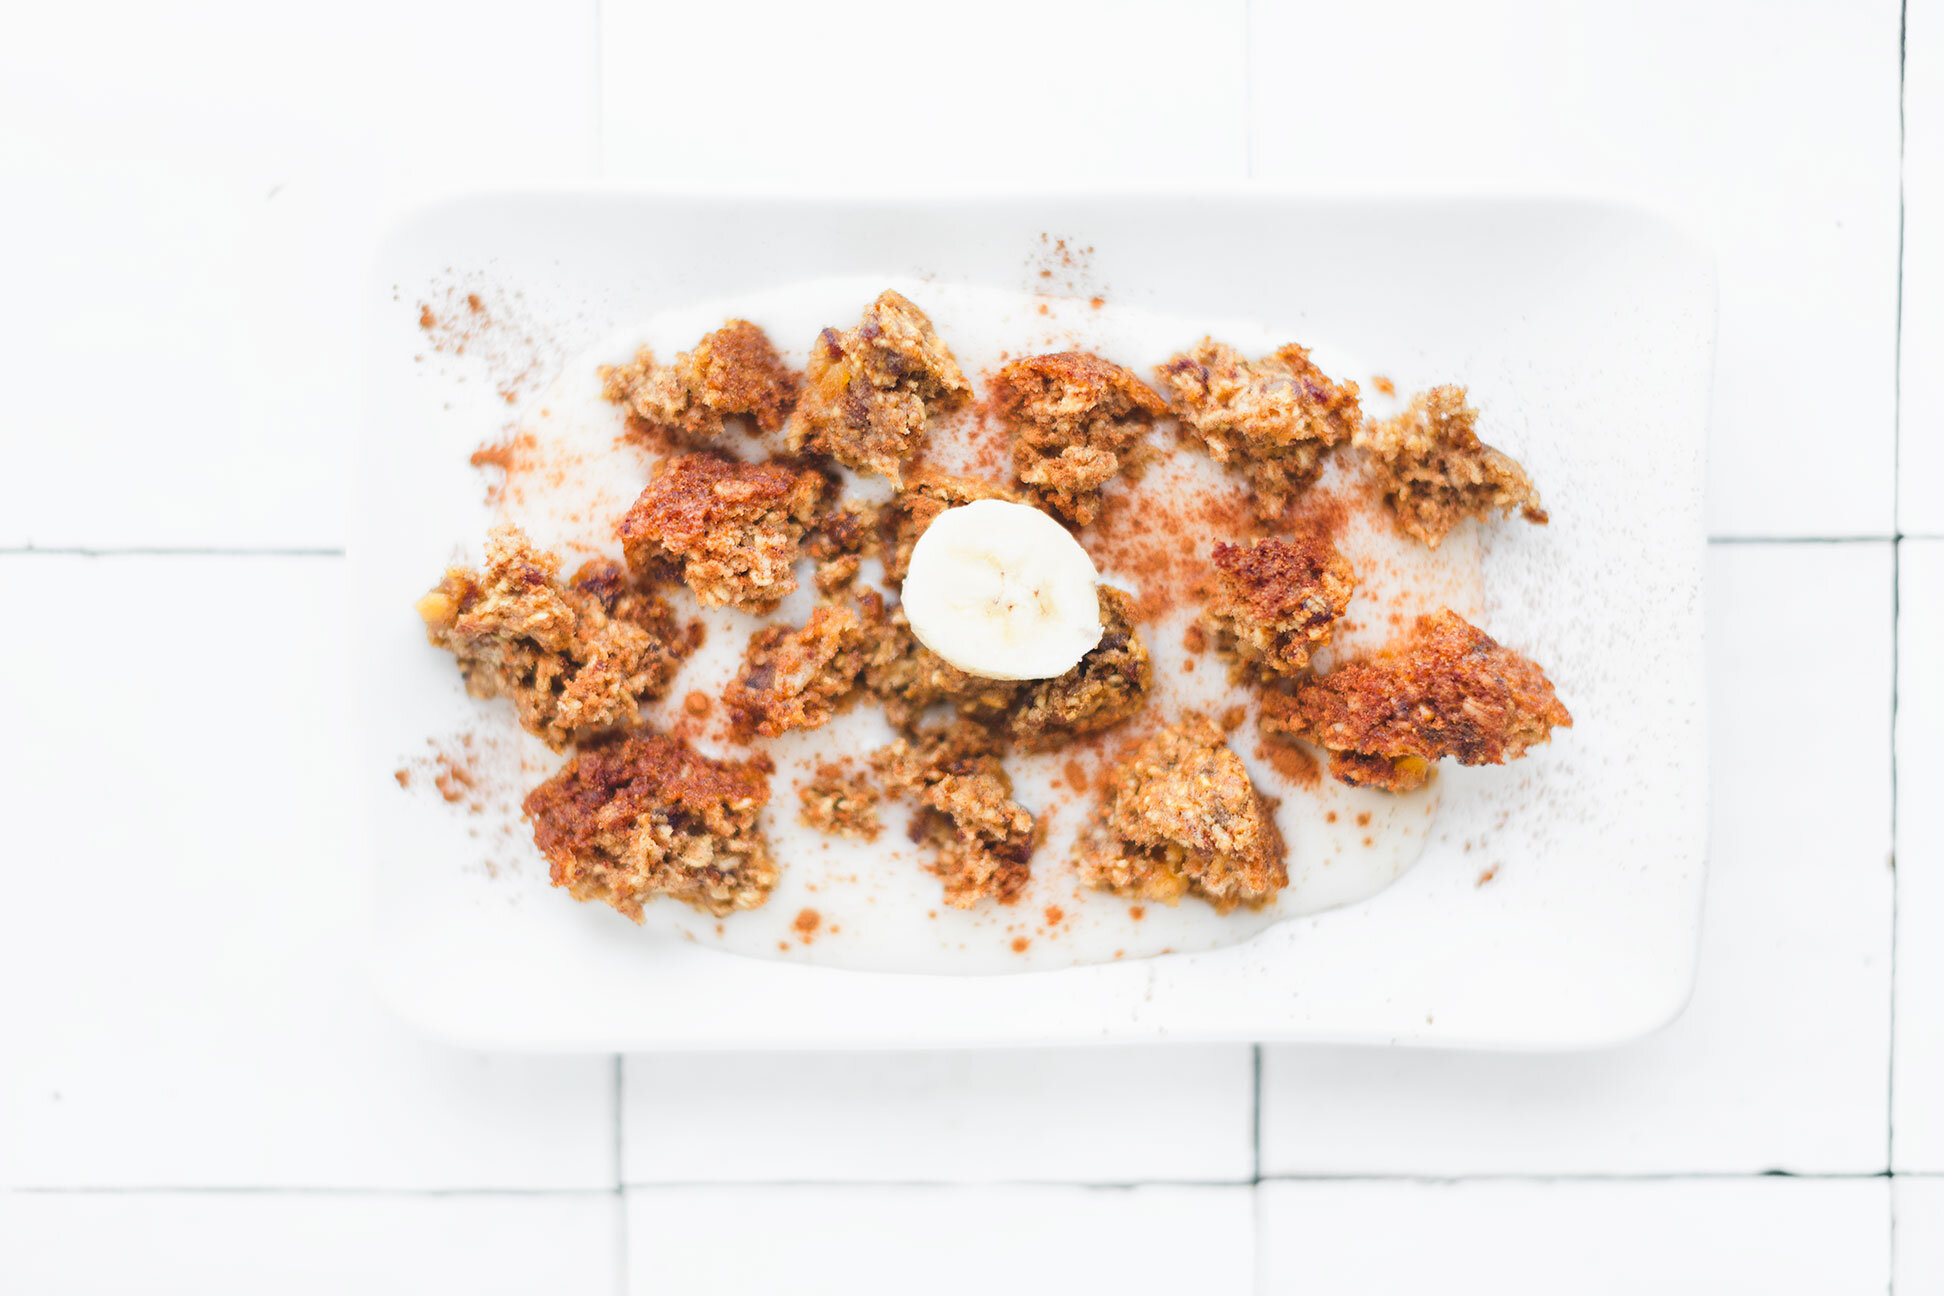
Store in the fridge for up to a week.
Great to add to your meal prep rotation
Dates should be soft but if your dates feel hard when removing the seeds, soften the dates by soaking them in warm water before putting in the blender. This is super helpful if you don’t have the best high powered blender or processor.
*salt and cinnamon don’t make the 5-ingredient cut but they truly elevate the banana bread flavors!

Turkey Taco Spaghetti Squash Boats
When I think of spaghetti squash, I think spaghetti = Italian, right? So, that is pretty much all I have done when cooking spaghetti squash. I have made shrimp alfredo, chicken parmesan, and the classic marinara to name a few, but it never occurred to me to use spaghetti squash in a different way. After posting a poll on my IG, it turns out many of you would like to see how spaghetti squash can be used for a Mexican inspired dish!
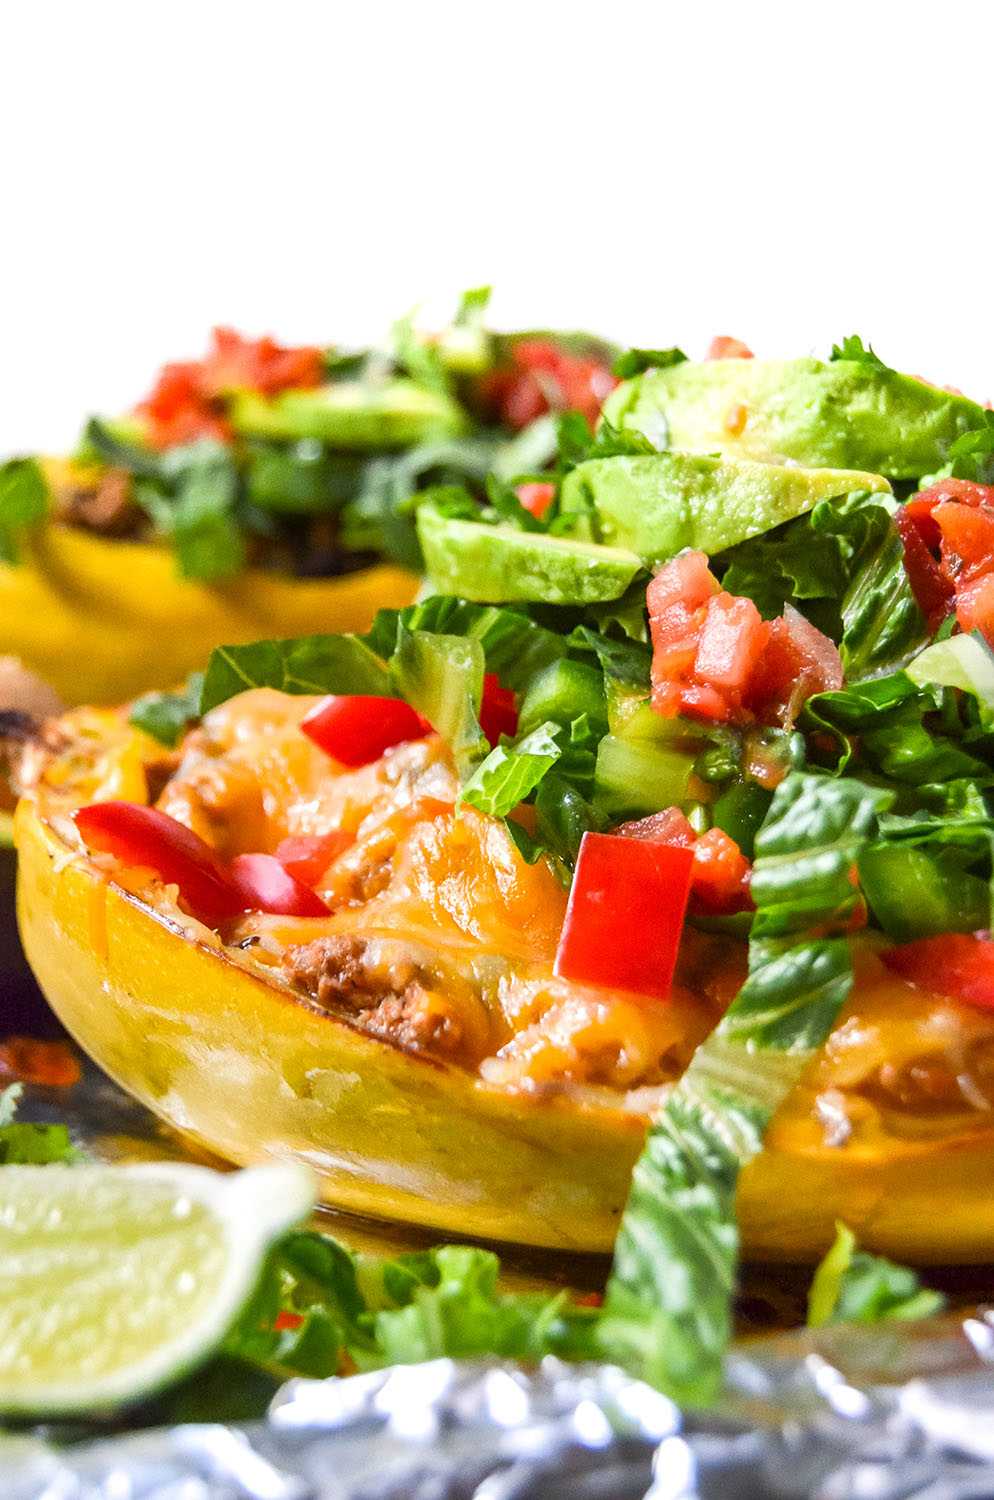
Turkey taco spaghetti squash boats is a great recipe to make for a guilt-free, low carb taco night. Perfect for meal preps and a hit among kids!

When I think of spaghetti squash, I think spaghetti = Italian, right? So, that is pretty much all I have done when cooking spaghetti squash. I have made shrimp alfredo, chicken parmesan, and the classic marinara to name a few, but it never occurred to me to use spaghetti squash in a different way. After posting a poll on my IG, it turns out many of you would like to see how spaghetti squash can be used for a Mexican inspired dish!

Needless to say, after experimenting I was surprised at how spaghetti squash and Mexican flavors paired so well together! My husband was hesitant at first but it was love at first bite for him -- he now asks for these squash boats every week!

Hey, if I can make this every week then I would be happy as a clam. For a #tacotuesdaynight, it has to be the easiest recipe to bake while preparing the toppings. While your spaghetti squash is cooking, you are preparing the meat mixture that goes inside the boats while prepping all the fun and healthy toppings. As soon as your boats are done baking, add all your favorite toppings and dig in! And the best thing when you’re done eating? You don’t have as many dishes to wash!!

You can make this recipe kid-friendly by omitting/using less of the spicier seasonings. Other than that, these squash boats would be great to add to your taco night! With that said, you will find that this recipe can be customized to your preference. For example, in my hubby’s boat, I added extra beans and cheese while my boat sticks to the recipe but with 5 maybe 20 dashes of hot sauce (love my spicy food)!

If you try this recipe, let us know! Leave a comment, rate it, and don’t forget to tag a photo to #fromtherootsblog on Instagram. We love seeing what you come up with!
Turkey taco spaghetti squash boats is a great recipe to make for a guilt-free, low carb taco night. Perfect for meal preps and a hit among kids!
INGREDIENTS
1 lb lean ground turkey
3 cloves garlic
2 cans low-sodium black beans ((drained/rinsed))
1 large spaghetti squash
1 cup fresh salsa or pico de gallo*
1 tsp each garlic powder, ground cumin, and chili powder
1/2 tsp each smoked paprika, cayenne pepper, and salt
1/4 tsp pepper
couple dashes of red pepper flakes
Toppings
Lime wedges, fresh salsa, pico de gallo*, romaine lettuce, cheese, avocado, cilantro, jalapenos, peppers, hot sauce
DIRECTIONS
Preheat oven to 375 degrees. Slice squash in half lengthwise and scoop out the seeds.
Drizzle halves with olive oil and season with S&P. Place squash cut side down on baking sheet and roast for 45-50 minutes. When done, use a fork to scrape out the squash flesh.
While your spaghetti squash is cooking, make the meat mixture.
Drizzle oil in a skillet on medium-high heat. Add the minced garlic to the skillet and saute for about 2 minutes or until fragrant. Add the ground turkey and cook until slightly pink, then add all of your seasonings, fresh salsa, and black beans.
Turn the heat off and set meat mixture to the side.
Transfer cooked squash flesh to the meat mixture and combine. At this point, taste mixture to see if you need to add more S&P/seasonings/hot sauce for personal preference.
Transfer squash mixture to your now scraped spaghetti squash bowls and top with optional cheese.
Bump up the oven temperature to 400 degrees and bake for an additional 5-10 minutes until your cheese is nice and bubbly or your naked boat is nice and warm.
Top with your favorite toppings and enjoy!
NOTES
Pro tip: Place the whole squash in the microwave for 5 minutes for an easier slice!
If you are using a smaller spaghetti squash, then use just 1 can black beans.