Sort by Category
- May 2026
- March 2026
- December 2025
- November 2025
- October 2025
- September 2025
- August 2025
- June 2025
- August 2024
- July 2024
- June 2024
- May 2024
- February 2024
- January 2024
- December 2023
- November 2023
- October 2023
- September 2023
- August 2023
- July 2023
- March 2023
- February 2023
- January 2023
- December 2022
- November 2022
- October 2022
- September 2022
- August 2022
- June 2022
- May 2022
- April 2022
- March 2022
- February 2022
- January 2022
- December 2021
- November 2021
- October 2021
- September 2021
- August 2021
- July 2021
- June 2021
- May 2021
- April 2021
- March 2021
- February 2021
- January 2021
- December 2020
- November 2020
- October 2020
- September 2020
- August 2020
- July 2020
- June 2020
- May 2020
- April 2020
- March 2020
- February 2020
- January 2020
- December 2019
- November 2019
- October 2019
- September 2019
- August 2019
- July 2019
- June 2019
- May 2019
- April 2019
- March 2019
- February 2019
- January 2019
- December 2018
- November 2018
- October 2018
- September 2018
- August 2018
- July 2018
- June 2018
- May 2018
- April 2018
- March 2018
- February 2018

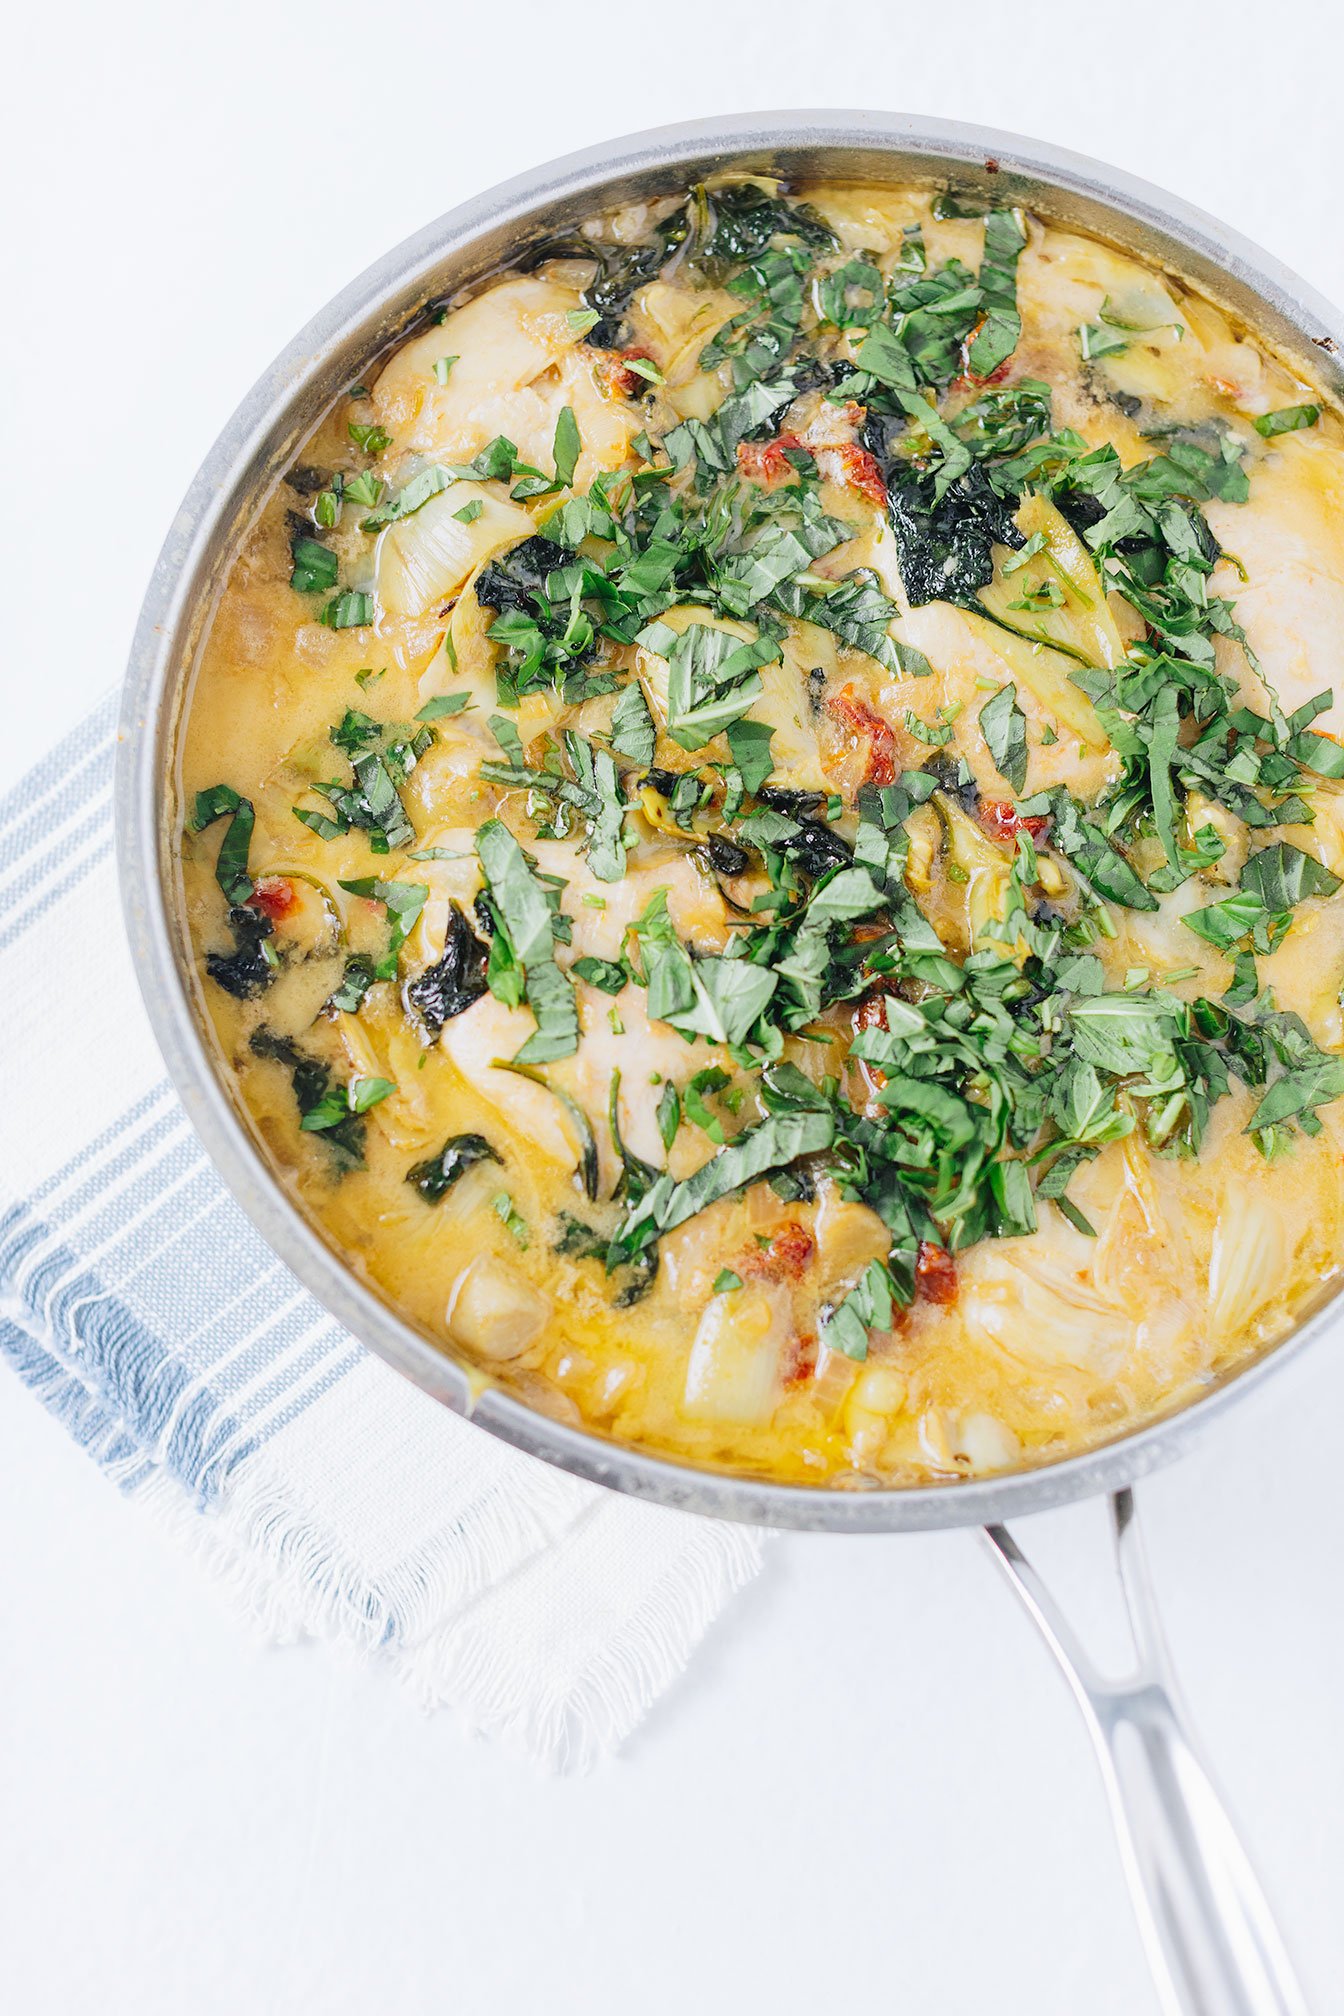
Creamy Tuscan Chicken
If you are looking for a super simple weeknight recipe that is healthy, affordable, requires less than 10 ingredients to make, one skillet - all while appeasing every member in the household - then look no further!
Creamy Tuscan Chicken recipe ticks all those boxes and so much more!
Members from the Nourished Roots Meal Plan Membership could not believe how easy the recipe came together during our monthly meal prep virtual cooking class calls.
Creamy Tuscan Chicken - An easy and healthy weeknight staple dinner, you can’t believe it’s not from Olive Garden.

If you are looking for a super simple weeknight recipe that is healthy, affordable, requires less than 10 ingredients to make, one skillet - all while appeasing every member in the household - then look no further!
Creamy Tuscan Chicken recipe ticks all those boxes and so much more!
Members from the Nourished Roots Meal Plan Membership could not believe how easy the recipe came together during our monthly meal prep virtual cooking class calls.

Comments like: “should have doubled the recipe because my family is requesting leftovers” and “our family is not dairy free but we could have sworn there was dairy in this recipe - how is it so creamy!?”
If you would like more creamy non-dairy based recipes, check these out: creamy coconut lime chicken thighs, pesto chicken salad with pickled grapes and arugula, lamb stew squash bowl, cauliflower alfredo sauce, creamy tomato pesto soup, and spicy Thai tofu with crispy coconut spaghetti squash noodles.
If you try this recipe, let us know! Leave a comment, rate it, and don’t forget to tag a photo to #fromtherootsblog on Instagram. We love seeing what you come up with!
Creamy Tuscan Chicken - An easy and healthy weeknight staple dinner, you can’t believe it’s not from Olive Garden.
Servings: 6 | Prep Time: 15 MIN | Cook Time: 30 MIN
Ingredients
4 large chicken breasts
1 Tbsp avocado oil
1 Tbsp ghee (or butter, or avo oil)
1/2 medium onion
3 cloves garlic, minced
1 13.5 oz can coconut cream (or full-fat, unsweetened)
2 packed cups fresh spinach
1/2 cup sun-dried tomatoes
1 14 oz can quartered artichoke hearts
fresh basil, garnish
Serve with roasted potatoes, cauliflower rice, zucchini noodles, or spaghetti squash
Directions
Liberally season both sides of each chicken breast with salt.
Heat avocado oil in a large skillet over medium-high heat. Once oil is hot and shimmering, place chicken breasts in a skillet. Cook 5 to 6 minutes per side, depending on thickness of chicken breast. Once chicken is browned and firm on both sides, transfer to a plate and set aside.
Clean any browned or burnt residue from the skillet, then return to heat. Lower heat to medium and add ghee (or butter or avocado oil). When the ghee is melted, add minced onion (the other half from the omelet recipe!) and garlic. Cook, stirring constantly, until fragrant – approximately 30 to 60 seconds.
Pour in coconut cream and stir well. Add spinach, sun-dried tomatoes, and artichoke hearts. Stir well, then allow sauce to simmer until well combined and slightly thickened, approximately 5 minutes.
Return chicken to skillet and turn 2 to 3 times, to coat in sauce. Serve warm with roasted potatoes, cauliflower rice, zucchini noodles, or spaghetti squash.

Classic Vegan Truffles
Valentine’s day is coming up, so truffles are a great safe option to make for that special someone or just for you! Truffles are great to make the day before as the flavor consistency tastes best when chilled overnight.
As most of you know, a classic chocolate truffle includes a ganache that is composed of heavy cream and bittersweet chocolate. You can dip the truffles in chocolate or dust them off with cocoa powder.
These truffles are rich, creamy smooth and just melt in your mouth! Literally, as I am writing this post, my mouth is watering!

Classic vegan truffles are to die for!

Valentine’s day is coming up, so truffles are a great safe option to make for that special someone or just for you! Truffles are great to make the day before as the flavor consistency tastes best when chilled overnight.
As most of you know, a classic chocolate truffle includes a ganache that is composed of heavy cream and bittersweet chocolate. You can dip the truffles in chocolate or dust them off with cocoa powder.


I am lactose intolerant, so I haven’t been able to eat a classic truffle in quite some time. Through countless recipe testings, I am finally at a point where I can eat a truffle and not be sick!


While this recipe follows the traditional approach on making a classic truffle, the special ingredients that are orchestrated in these special little balls are what makes them stand out the most.
Check out below on how to make these amazing bad boys!

If you try this recipe, let us know! Leave a comment, rate it, and don’t forget to tag a photo with #fromtherootsblog on Instagram. We love seeing what you come up with!

These classic vegan truffles are made with ingredients that are naturally lower in sugar while maintaining the classic creamy ganache texture!
INGREDIENTS
12 oz good quality vegan dark chocolate ((60% or higher))
1 can coconut cream
1/4 cup coffee
1 Tbsp pure maple syrup
DIRECTIONS
In a small saucepan, heat coconut cream, coffee, and pure maple syrup while whisking consistently. Just as it starts to boil, take the saucepan off the burner.
Cut the chocolate bark into pieces (can use small chocolate chips too) and place into a medium bowl.
Pour the cream mixture over the chocolate. With a spatula, fold the cream mixture with the chocolate until fully incorporated.
Let the mixture sit until room temperature and place into fridge to chill for up to 2 hours.
When the ganache is firm, use a small scooper or spoon and form the ganache into balls. Roll them in your favorite toppings like cocoa powder, coconut flakes, or melted chocolate with clean, cold hands.
Store in refrigerator until ready to serve!
NOTES
Before setting your ganache mixture in the fridge to chill, cover the top layer with plastic wrap to prevent a skin from developing as well as to keep the ganache away from dirt and fridge odor.
Best when chilled in the fridge overnight. If you are putting it in the freezer to speed up the "chilling process", set the ganache out until room temperature before scooping into balls. If you try to scoop when the ganache is really firm to frozen, then the ganache will fall apart and it will be hard to form balls.
If you find the balls are melting in your hands as you are forming them, wash your hands and keep an ice packet or frozen bag of peas at bay to lower your hand's body temperature.