Sort by Category
- December 2025
- November 2025
- October 2025
- September 2025
- August 2025
- June 2025
- August 2024
- July 2024
- June 2024
- May 2024
- February 2024
- January 2024
- December 2023
- November 2023
- October 2023
- September 2023
- August 2023
- July 2023
- March 2023
- February 2023
- January 2023
- December 2022
- November 2022
- October 2022
- September 2022
- August 2022
- June 2022
- May 2022
- April 2022
- March 2022
- February 2022
- January 2022
- December 2021
- November 2021
- October 2021
- September 2021
- August 2021
- July 2021
- June 2021
- May 2021
- April 2021
- March 2021
- February 2021
- January 2021
- December 2020
- November 2020
- October 2020
- September 2020
- August 2020
- July 2020
- June 2020
- May 2020
- April 2020
- March 2020
- February 2020
- January 2020
- December 2019
- November 2019
- October 2019
- September 2019
- August 2019
- July 2019
- June 2019
- May 2019
- April 2019
- March 2019
- February 2019
- January 2019
- December 2018
- November 2018
- October 2018
- September 2018
- August 2018
- July 2018
- June 2018
- May 2018
- April 2018
- March 2018
- February 2018
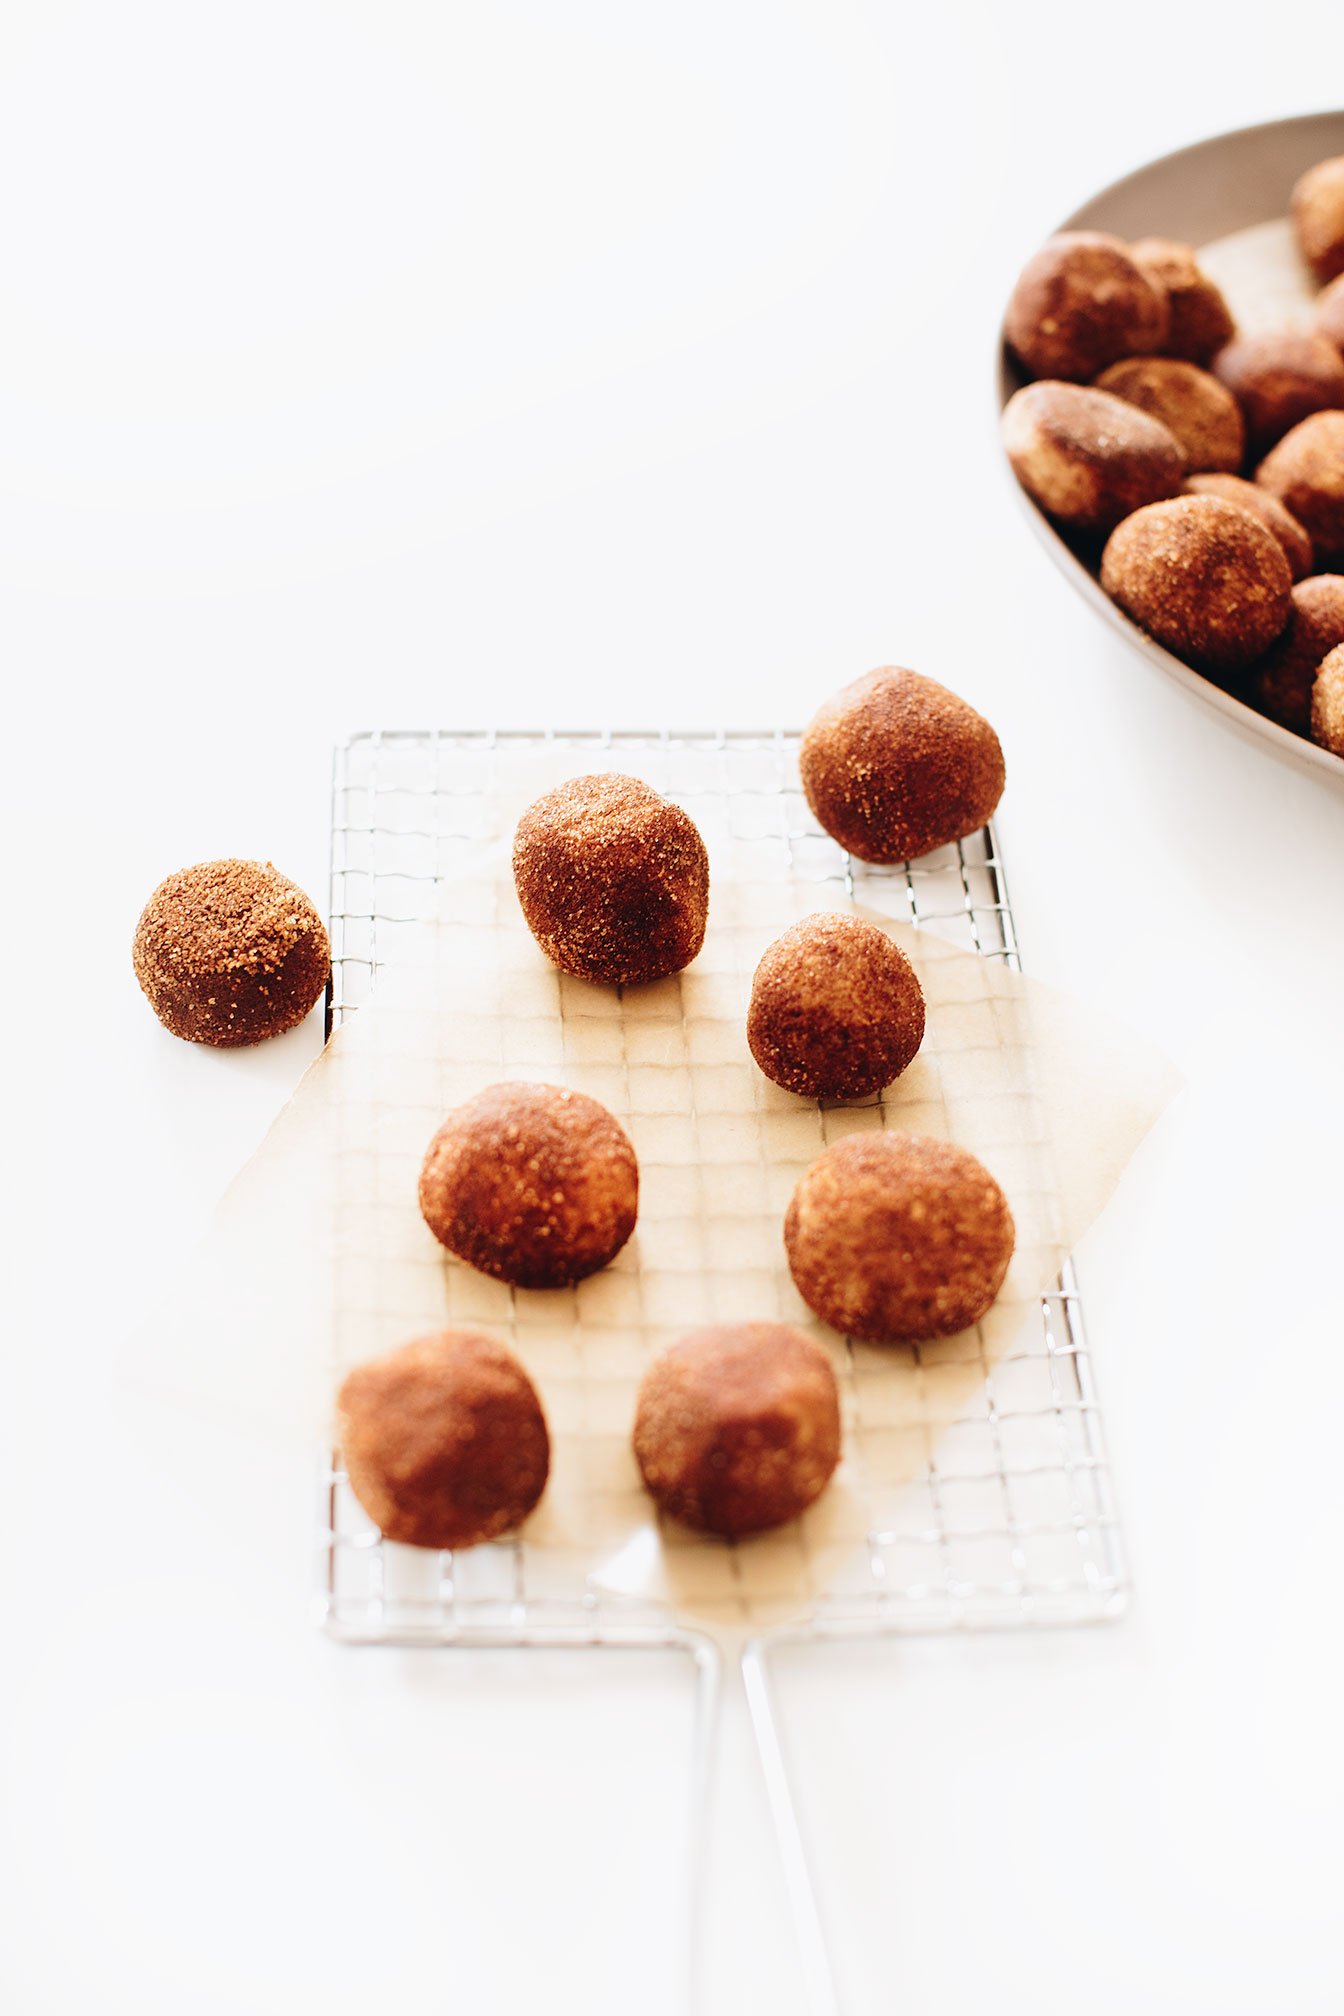
Snickerdoodle Protein Balls
#1 favorite protein ball recipe that the girls at the gym absolutely love! And rightfully so because who doesn’t love the flavor combinations of cinnamon and sugar?!
Cinnamon and sugar are what makes a snickerdoodle, but that doesn’t mean we have to stick to the traditional unhealthy, sugar filled dessert.
Because these snickerdoodle protein balls are good for you! Not only are they made with natural sweeteners like pure maple syrup and coated with coconut sugar but they are also gluten-free, dairy free and filled with lofts of healthy fats, flavor and protein.
Satisfy your sweet tooth with snickerdoodle protein balls - A no-bake, healthy treat that will keep you full!
#1 favorite protein ball recipe that the girls at the gym absolutely love! And rightfully so because who doesn’t love the flavor combinations of cinnamon and sugar?!
Cinnamon and sugar are what makes a snickerdoodle, but that doesn’t mean we have to stick to the traditional unhealthy, sugar filled dessert.
Because these snickerdoodle protein balls are good for you! Not only are they made with natural sweeteners like pure maple syrup and coated with coconut sugar but they are also gluten-free, dairy free and filled with lofts of healthy fats, flavor and protein.
HOW TO MAKE SNICKERDOODLE PROTEIN BALLS
Let me give you the easy answer. Add all of the ingredients to the food processor and blend until the mixture is thick and creamy. Roll into balls and that’s it!
Main reason why I love these protein balls so much is because it doesn’t require baking, using only one kitchen equipment and takes less than 10 minutes to prepare.
WHEN TO EAT
Pre | Post workout - Need a quick bite before or after a workout to tie you over? Well, these protein balls are perfect in a pinch. Packed with protein and complex carbs to drive better performance at the gym!
Afternoon delight - If I am needing a snack or feel sluggish around 3PM, 1-2 of these protein balls will push me through with energy before dinner time.
Dessert alternative - Sometimes I will have a sweet tooth after dinner and these balls come in clutch!
If you try this recipe, let us know! Leave a comment, rate it, and don’t forget to tag a photo to #fromtherootsblog on Instagram. We love seeing what you come up with!
Satisfy your sweet tooth with snickerdoodle protein balls - A no-bake, healthy treat that will keep you full!
Servings: 40 balls | Prep: 5 MIN | Cook time: NA
Ingredients
3 cups oats (or oat flour)
1 cup vanilla protein powder
½ cup pure maple syrup
1 ½ cup nut butter
½ cup coconut oil
2 Tbsp ground cinnamon
1 tsp vanilla extract
½ tsp sea salt
Cinnamon sugar coating (optional)
¼ cup coconut sugar
1 tsp ground cinnamon
Instructions
To a food processor, (if not using oat flour), add oats to the processor and blend on high until oats have turned into oat flour. Add all of the ingredients, except cinnamon sugar coating, and blend on high until completely incorporated.
If its too dry, add more honey or water and if it’s too wet, add 1 tbsp increments of oat flour.
Using a tablespoon or cookie scooper, form into balls and place on a plate.
If making the cinnamon sugar coating, add both ingredients in a small bowl and toss until incorporated. Add 3-4 balls in the cinnamon sugar mix and roll each ball around until fully coated.
Store in an airtight container for up to one week or in the freezer for up to a month.
Notes
My favorite protein powder is Equip Foods! Use code ROOTS for 15% off your first order at this link.
Peanut Butter And Jelly Muffins
PB&J Muffins. Need I say more!?
I’m pretty biased when it comes to anything using peanut butter. *Cough Healthy Strawberry Brown Rice Krispie Treats, Healthy Reese’s Peanut Butter Eggs, Peanut Butter & Jelly Protein Smoothie Bowl, Chocolate Peanut Butter Granola and Berry Parfait, Raspberry Almond Thumbprint Cookies, and the list goes on…
Peanut Butter and Jelly Muffins - A healthy but flavorful take on the childhood PB&J sandwiches. Using one bowl, naturally sweetened and gluten-free!
PB&J Muffins. Need I say more!?
I’m pretty biased when it comes to anything using peanut butter. *Cough Healthy Strawberry Brown Rice Krispie Treats, Healthy Reese’s Peanut Butter Eggs, Peanut Butter & Jelly Protein Smoothie Bowl, Chocolate Peanut Butter Granola and Berry Parfait, Raspberry Almond Thumbprint Cookies, and the list goes on…
So it was surprising to me that I didn’t have this recipe posted until now! I have been making it for so many loved ones and it has become my nutrition clients’ (link) #1 breakfast and snack favorite, that I just assumed I already had the recipe posted. Haha.
But I can’t take all the credit for this masterpiece of a peanut butter and jelly muffin recipe. I have adapted this recipe from Minimalist Baker but have adjusted the ingredients just a smidge to make it more feasible and accessible for clients who would like to make these from home!
With that being said, if I recommend this recipe for a client that is dealing with blood sugar issues, then I usually tell them to opt out of the maple and/coconut sugar and to leave the extra garnishes off like the jelly/jam. And the muffins will STILL taste amazing.
This peanut butter and jelly muffin recipe will soon be in your go to muffin recipe arsenal. I Promise You!
If you try this recipe, let us know! Leave a comment, rate it, and don’t forget to tag a photo to #fromtherootsblog on Instagram. We love seeing what you come up with!
Peanut Butter and Jelly Muffins - A healthy but flavorful take on the childhood PB&J sandwiches. Using one bowl, naturally sweetened and gluten-free!
PREP TIME: 5 MIN | COOK TIME: 30 MIN | MAKES 12 Servings
Ingredients
¾ cup unsweetened applesauce
½ cup creamy or crunchy peanut butter
⅓ cup coconut sugar
¼ cup maple syrup
¼ cup unsweetened milk of choice
¼ cup coconut oil (melted)
2 eggs
1 tsp apple cider vinegar
1 ½ cup gluten-free flour blend
¾ cup gluten-free rolled oats
1 ½ tsp baking soda
½ tsp baking powder
¼ tsp sea salt
9-11 tsp naturally sweetened jam of choice
handful blueberries as garnish (optional)
Directions
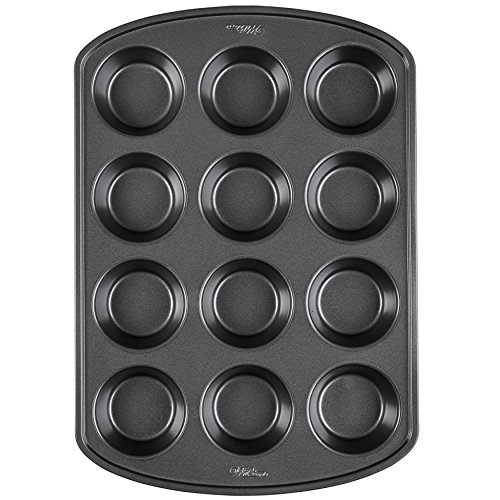
Preheat the oven to 350 degrees and lightly grease or line a standard 12 count muffin tin.
In a large mixing bowl, whisk eggs and then add applesauce, peanut butter, coconut sugar, maple syrup, oil and milk and stir until combined and sugar crystals have dissolved.
Add baking soda, baking powder, and apple cider and whisk to combine.
Lastly, add the flour, oats, and salt and stir to combine. The batter should be scoopable, not pourable. If the batter isn’t on the thicker side, then slowly add in more flour.
Pour batter into muffin tins about ¾ full and top with ½ to 1 tsp jam and ¼ tsp more peanut butter. Swirl jam and peanut butter using a toothpick, making sure you don’t get too close to the edges or it will cause seeping when baking and can get too browned. You can also garnish with blueberries and oats on top or create an oat streusel topping!
Bake for 26-32 minutes or until a toothpick when inserted comes out clean. Allow to cool in tin for 20 minutes before allowing them to cool a second time on a wire rack. May need to loosen muffins from the pan by sliding a butter knife around the edges.
Enjoy immediately after! Can keep at room temperature for several days and freezer friendly.
SHOP OUR FAVORITE TOOLS + INGREDIENTS FOR THIS RECIPE!


