Sort by Category
- December 2025
- November 2025
- October 2025
- September 2025
- August 2025
- June 2025
- August 2024
- July 2024
- June 2024
- May 2024
- February 2024
- January 2024
- December 2023
- November 2023
- October 2023
- September 2023
- August 2023
- July 2023
- March 2023
- February 2023
- January 2023
- December 2022
- November 2022
- October 2022
- September 2022
- August 2022
- June 2022
- May 2022
- April 2022
- March 2022
- February 2022
- January 2022
- December 2021
- November 2021
- October 2021
- September 2021
- August 2021
- July 2021
- June 2021
- May 2021
- April 2021
- March 2021
- February 2021
- January 2021
- December 2020
- November 2020
- October 2020
- September 2020
- August 2020
- July 2020
- June 2020
- May 2020
- April 2020
- March 2020
- February 2020
- January 2020
- December 2019
- November 2019
- October 2019
- September 2019
- August 2019
- July 2019
- June 2019
- May 2019
- April 2019
- March 2019
- February 2019
- January 2019
- December 2018
- November 2018
- October 2018
- September 2018
- August 2018
- July 2018
- June 2018
- May 2018
- April 2018
- March 2018
- February 2018
Melon Berry Summer Salad
Melon Berry Summer Salad - A refreshing salad made with seasonal, rich produce to revitalize you on a hot summer day!
Melon Berry Summer Salad - A refreshing salad made with seasonal, rich produce to revitalize you on a hot summer day!
Summer is the prime season for melons, making it the perfect time to savor a refreshing salad filled with summer produce to wrap up the season.
This vibrant salad features a mix of summer produce such as blueberries, cucumbers, avocados, cantaloupe, along with robust veggies like shaved Brussel sprouts and kale forming the base.
For a protein boost, grilled shrimp is a great addition. It complements the citrusy and refreshing flavors of the salad, and you don't even need to use the oven. Leftover cold shrimp also pairs well with the salad.
HOW TO MAKE THE CITRUS VINAIGRETTE
Crafting the Citrus Vinaigrette is simple. Combine oil, herbs, seasonings, Dijon mustard, honey, and any citrus fruit you have on hand. In this recipe, half a grapefruit was squeezed, which adds a perfect touch to the salad.
Use the remaining half of the grapefruit to create a delightful paloma cocktail or mocktail to complement the meal. (recipe here)
If you try this recipe, let us know! Leave a comment, rate it, and don’t forget to tag a photo to #fromtherootsblog on Instagram. We love seeing what you come up with!
Melon Berry Summer Salad - A refreshing salad made with seasonal, rich produce to revitalize you on a hot summer day!
SERVINGS: 4 | PREP TIME: 10 MIN | COOK TIME: 10 MIN
Ingredients
salad components
2 cups shaved brussels sprouts
2-4 cups kale (de-stemmed, leaves torn into bite sized pieces)
1 cup or 3 mini cucumbers, sliced
1 avocado, diced
½ small red onion, sliced
½ cup crumbled feta or goat cheese
1 cup fresh blueberries
¼ cup small cantaloupe, diced
¼ cup sliced almonds
Optional: 1 lb grilled seasoned shrimp
Vinaigrette dressing:
½ grapefruit (juice)
¼ cup avocado oil
1 Tbsp honey
1 Tbsp dijon mustard
1 tsp salt
½ tsp black pepper
½ tsp garlic powder
½ tsp oregano
Directions
1) To prepare the dressing: Combine all ingredients in a small bowl or mason jar. If using a mason jar, seal the lid and shake vigorously for 30 seconds until the dressing is well mixed. If using a bowl, whisk the ingredients together until they are combined.
2) In a large salad bowl, combine shaved Brussels sprouts and kale. Pour the dressing over the greens and toss until they are evenly coated. Finally, add your remaining toppings and serve!
3) Enjoy this dish as a side salad or as a main course alongside grilled shrimp or your preferred protein source!
Massaged Kale Salad
If you are wanting to level up your salad game, then you need to hop on the massaged kale train! This leafy green is absolutely packed with vitamins like A, C, and K, fiber forward, antioxidants and a powerful anti-inflammatory food. But if you are not familiar with eating kale, it can be a tough food to swallow - no pun intended!
Level up your salad game using massaged kale!
If you are wanting to level up your salad game, then you need to hop on the massaged kale train! This leafy green is absolutely packed with vitamins like A, C, and K, fiber forward, antioxidants and a powerful anti-inflammatory food. But if you are not familiar with eating kale, it can be a tough food to swallow - no pun intended!
Luckily for you, using the massaging technique, will have you eating and loving the vegetable in no time.
Kale, being a cruciferous veggie, has a rough texture by nature so to help physically break down the kale to make it easier to digest, we use the massaging method.
Massaging prior to eating is like pre-digesting the kale. All you have to do is give your kale some love by using your hands.
We do this by massaging oil + salt + lemon juice in the kale to help break down the tough, fibrous content in the kale. The kale will visually change before your eyes into a vibrant green and will feel softer in texture.
A bonus about using this method is that it will stay in the refrigerator for a good week even after massaging - unlike other more delicate leafy greens which tend to wilt and become soggy after chopping. Kale will keep its soft but chewy texture without becoming mushy.
That is why, in my new cookbook: The Nourished Cookbook, I show you many ways in how you can add massaged kale into your nourish bowls! It’s a great non-starchy carbohydrate source to batch cook and to pair with so many other base meals! Here are some other massaged kale salad recipes on the blog: Fall Harvest Grain Bowl, Summer Burger Salad, Winter Pear Salad with Citrus Dijon Vinaigrette, and Butternut Squash, Kale, and White Bean Lasagna Soup.
If you try this recipe, let us know! Leave a comment, rate it, and don’t forget to tag a photo to #fromtherootsblog on Instagram. We love seeing what you come up with!
Level up your salad game using massaged kale!
Servings: 4-6 | Prep time: 10 min | Cook time: N/A
Ingredients
4 cups or 3 handfuls of organic raw kale
1-2 tsp olive or avocado oil
Juice of ½ lemon
1 tsp sea salt
Directions
Wash kale thoroughly to remove dirt and de-stem kale leaves. Transfer to a large bowl. Add in the lemon juice and salt. Lightly pour oil onto your hands to coat.
Using a massaging action (similar to kneading bread dough), start to tear the leaves apart and massage. Continue massaging for about 2-5 minutes or until the kale turns a vibrant green and the leaves are soft.
Notes
Can be used as a side dish, a salad base, or as a topping of your choice for a complete meal in a bowl.
Carrot and Beet Salsa
Beets protect liver cells and bile ducts from free radical damage. They are rich in phytonutrients - betaine, which supports detoxification pathways in the body. Their health benefits don’t stop here! They are also rich in fiber, iron, folate and the trifecta of blood pressure lowering minerals: calcium, magnesium, and potassium.
Other supporting roles are:
Carrots - contain detoxifying properties, rich in fiber and carotenoids including beta-carotene which help stimulate bile to flow and remove wastes.
Apples - hydrating and detoxifying, rich in fiber and natural plant polyphenols that protect cells from free radical damage and inflammation.
Liver Loving Carrot and Beet Salsa
The star ingredient in making this salsa liver loving are beets!
Beets protect liver cells and bile ducts from free radical damage. They are rich in phytonutrients - betaine, which supports detoxification pathways in the body. Their health benefits don’t stop here! They are also rich in fiber, iron, folate and the trifecta of blood pressure lowering minerals: calcium, magnesium, and potassium.
Other supporting roles are:
Carrots - contain detoxifying properties, rich in fiber and carotenoids including beta-carotene which help stimulate bile to flow and remove wastes.
Apples - hydrating and detoxifying, rich in fiber and natural plant polyphenols that protect cells from free radical damage and inflammation.
Now that school is over, here are some simple tips on how to prepare the salsa.
I will say that prep time requires a bit of effort but I promise you, after it’s done - everything comes together within seconds!
Ways to make sure your prep time is cut in half- using a mandolin or food processor with a shredding blade. I promise you - this cuts your prep time in half vs getting a mini workout using a box grater or cutting your ingredients into tiny little bite size pieces.
I also want to mention that if you are following the Nourishment Program, you will see that this salsa can be turned into a Six Senses Nourish Meal!
SIX SENSES NOURISH COMPONENTS:
Non-starchy carbs | beet and carrot salsa
Starchy carbs | grain-free tortillas (Siete)
Protein | Grilled tilapia (wild-caught)
Fats | buffalo sauce dressing (primal kitchen), feta/goat cheese, avocado
Probiotics | pickled red onions
Flavor | cilantro, lime, seasonings on fish
If you would like more information on how to build more six senses nourish meals and why it’s an easy and seamless way of getting nutrient dense, whole foods into your diet, then check out the Nourishment Program for more information!
If you try this recipe, let us know! Leave a comment, rate it, and don’t forget to tag a photo to #fromtherootsblog on Instagram. We love seeing what you come up with!
Liver Loving Carrot and Beet Salsa
Ingredients
1 beet
1 carrot
½ red onion
½ red apple
Juice of ½ lime + zest
¼ cup fresh cilantro, chopped
1 jalapeno (optional)
Clove of garlic (optional)
S+P to season
Directions
Shred the beets, carrots, onion and apples. You can use a mandolin, box grater or food processor fitted with the shredded blade. Place the shredded ingredients into a large bowl.
To the bowl, add juice and zest of lime, cilantro, seasonings and optional ingredients and toss until combined. Taste test to see if you need to add more salt, cilantro, etc. Keep in the fridge for at least 30 minutes for the ingredients to marry into each other before serving!
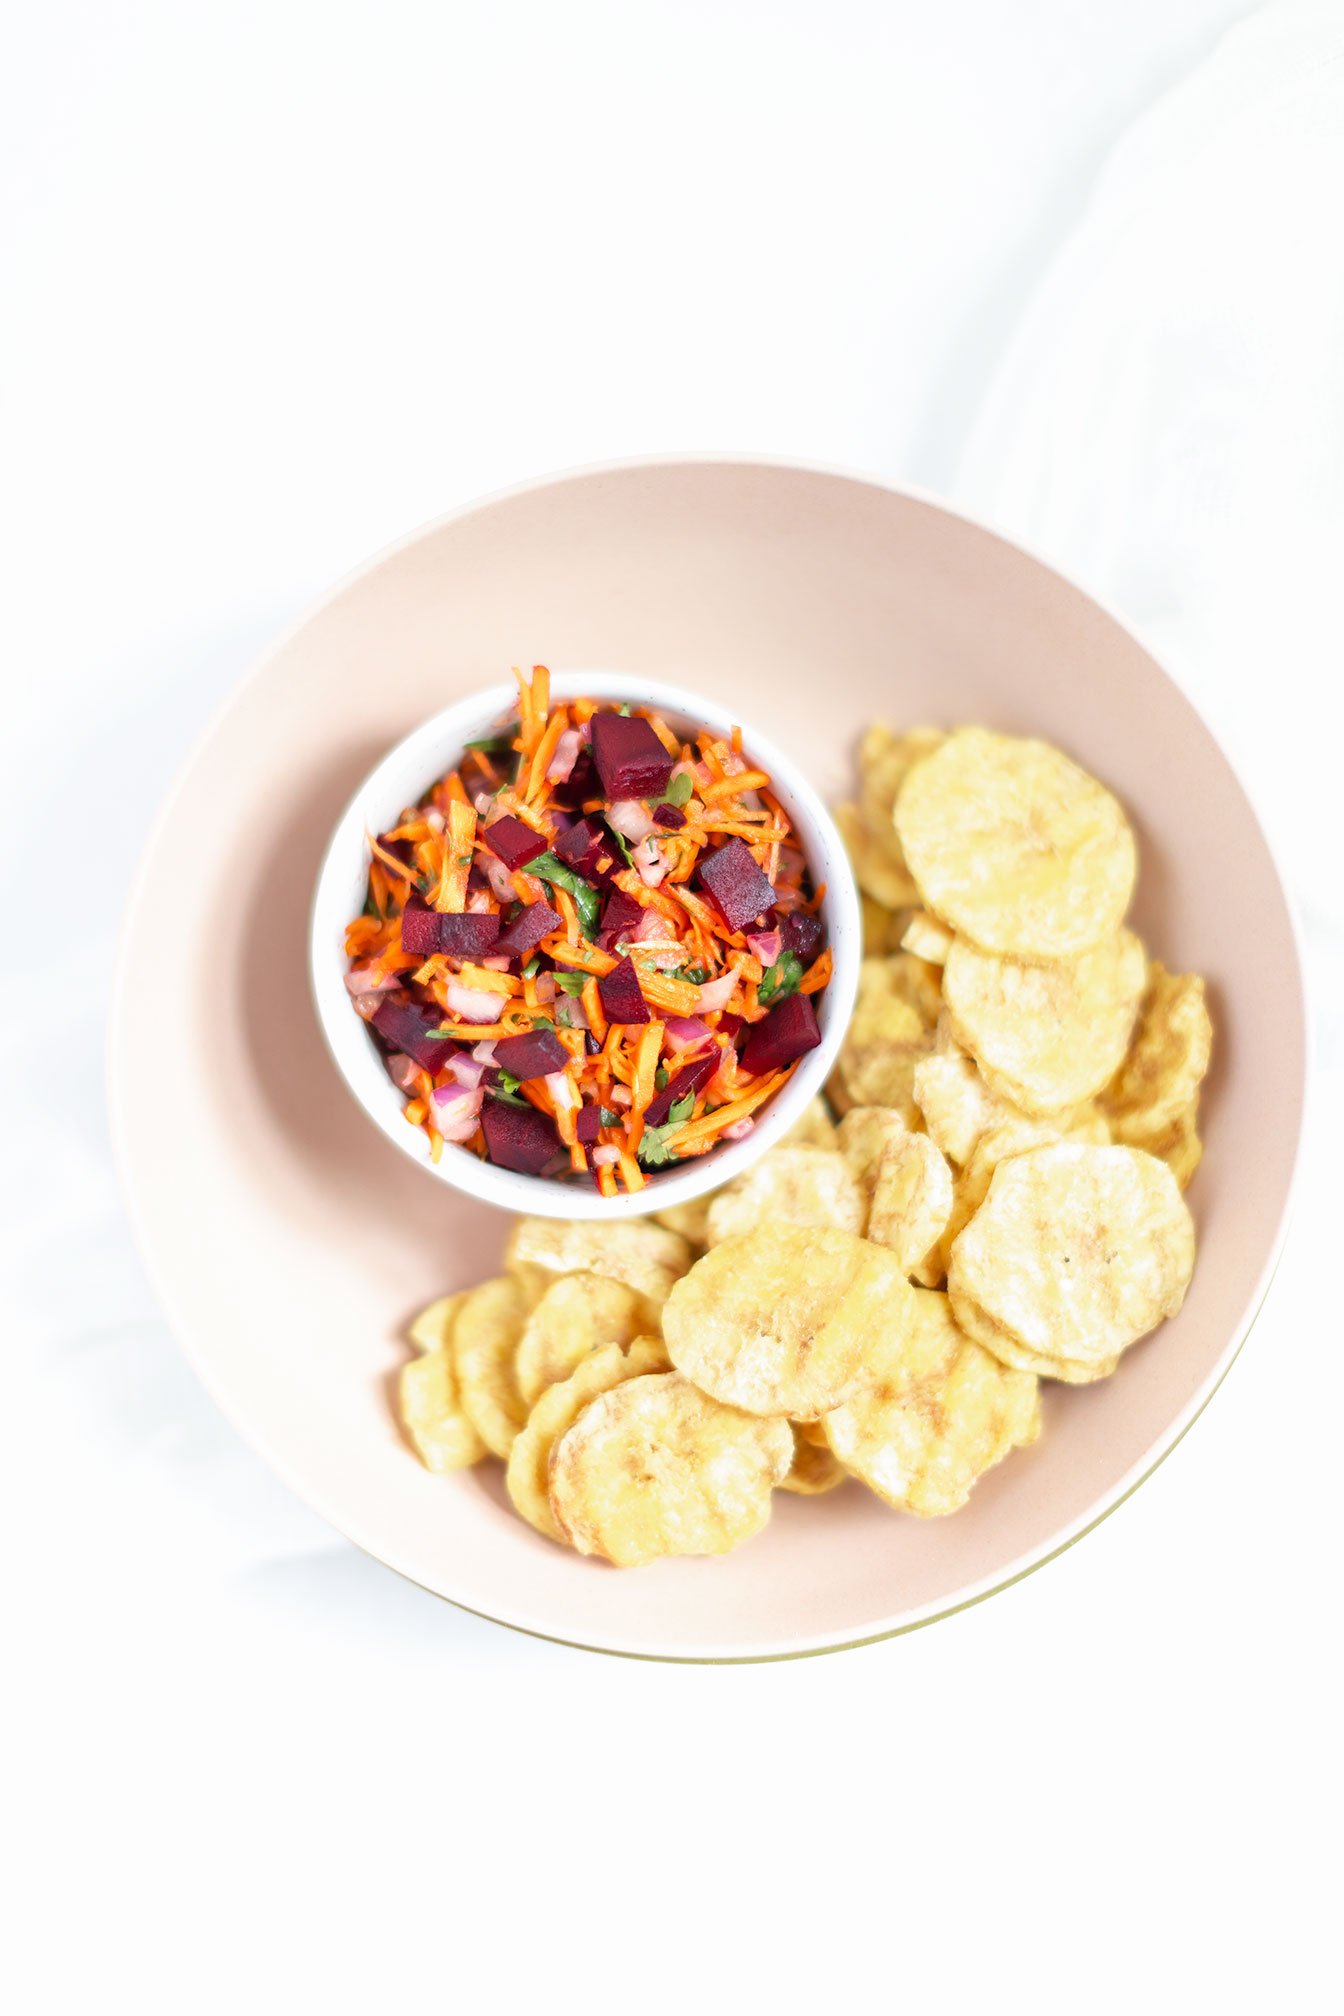
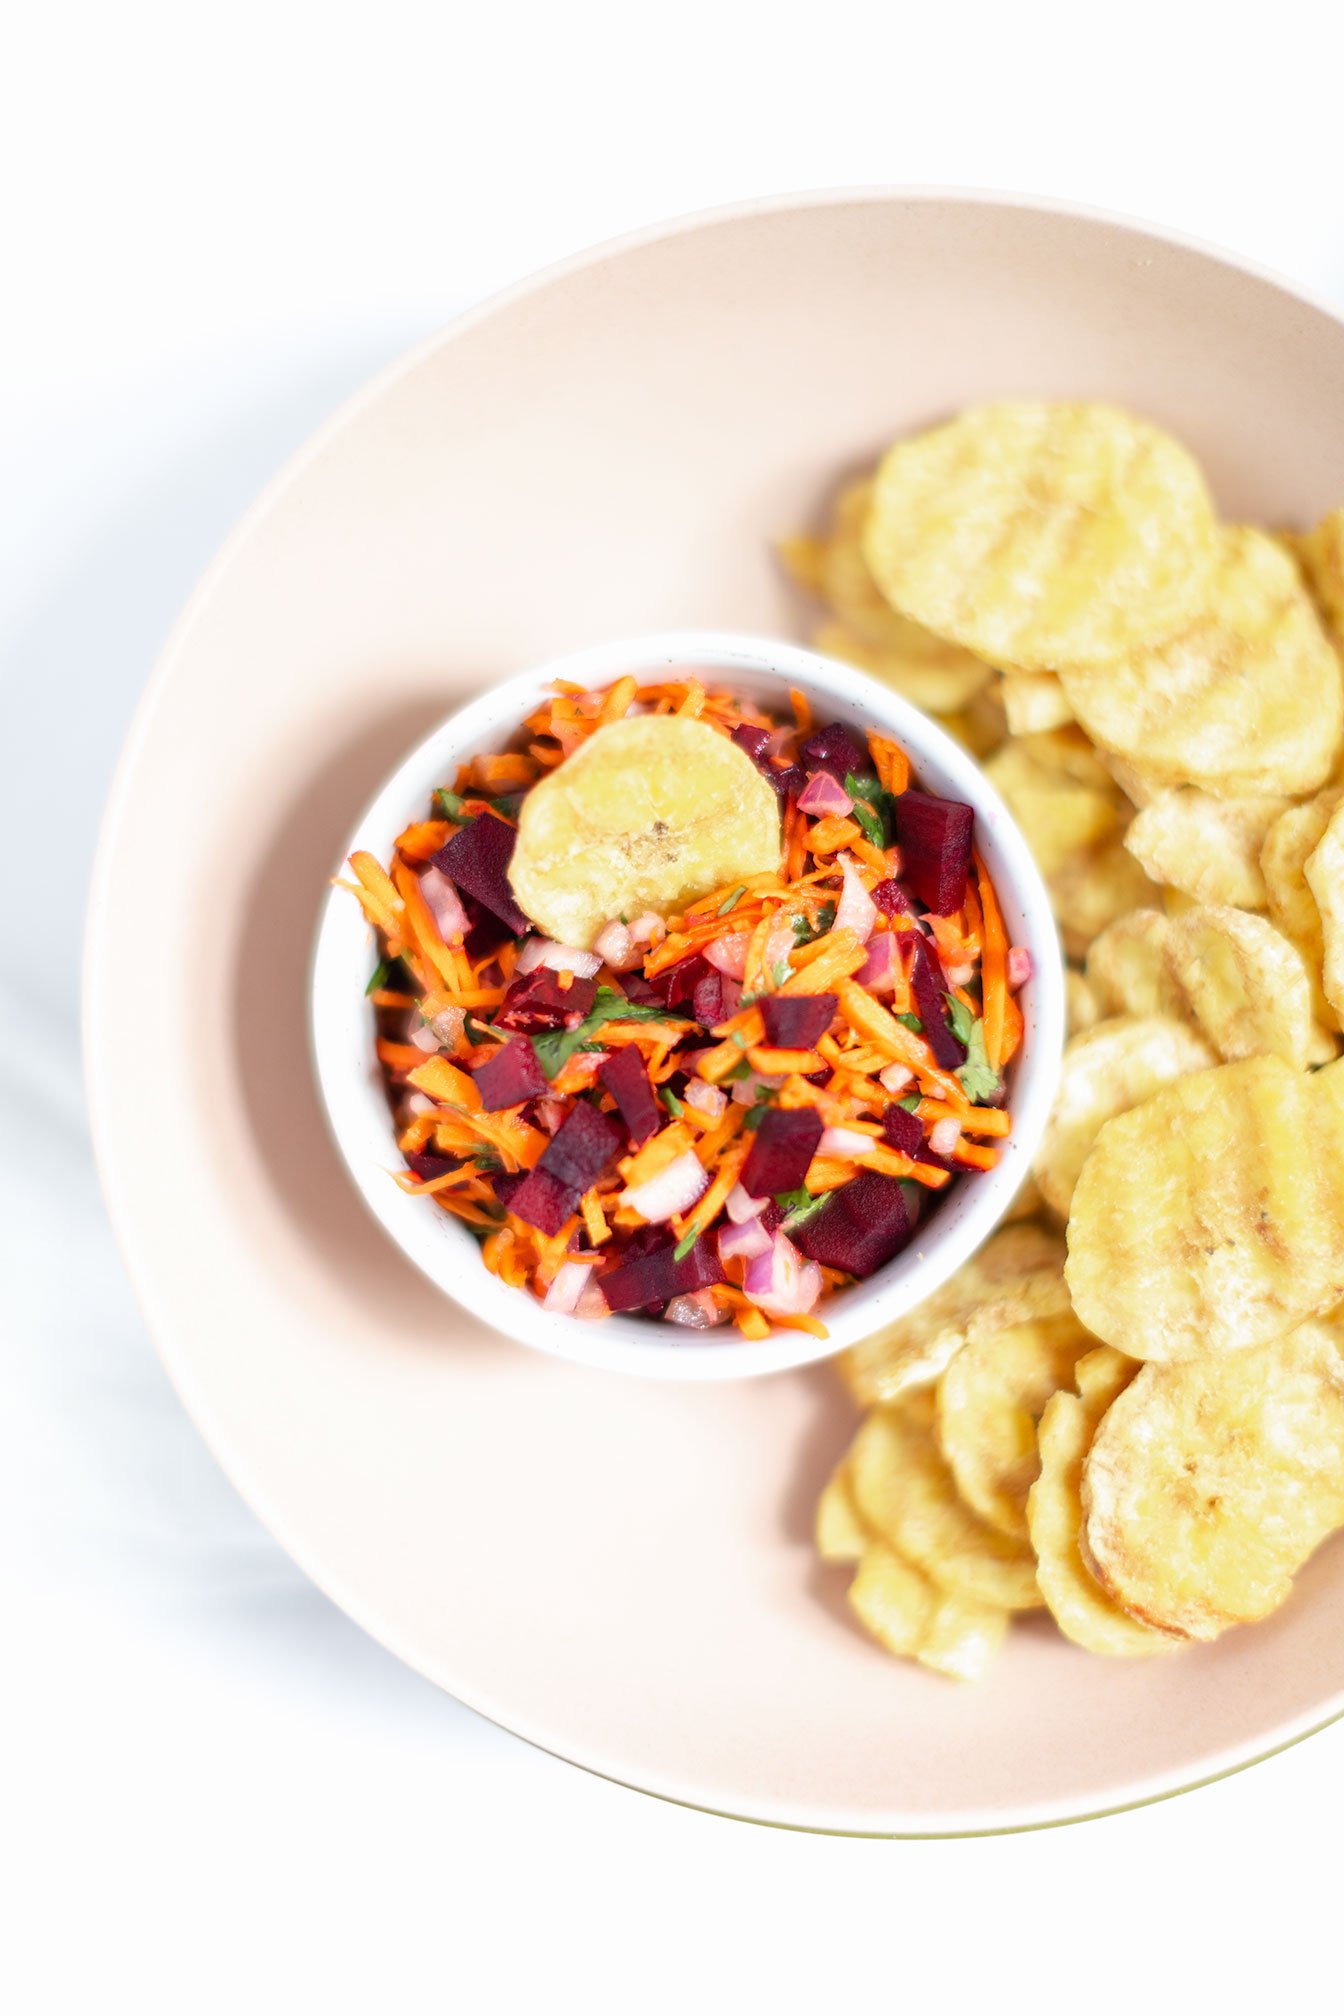
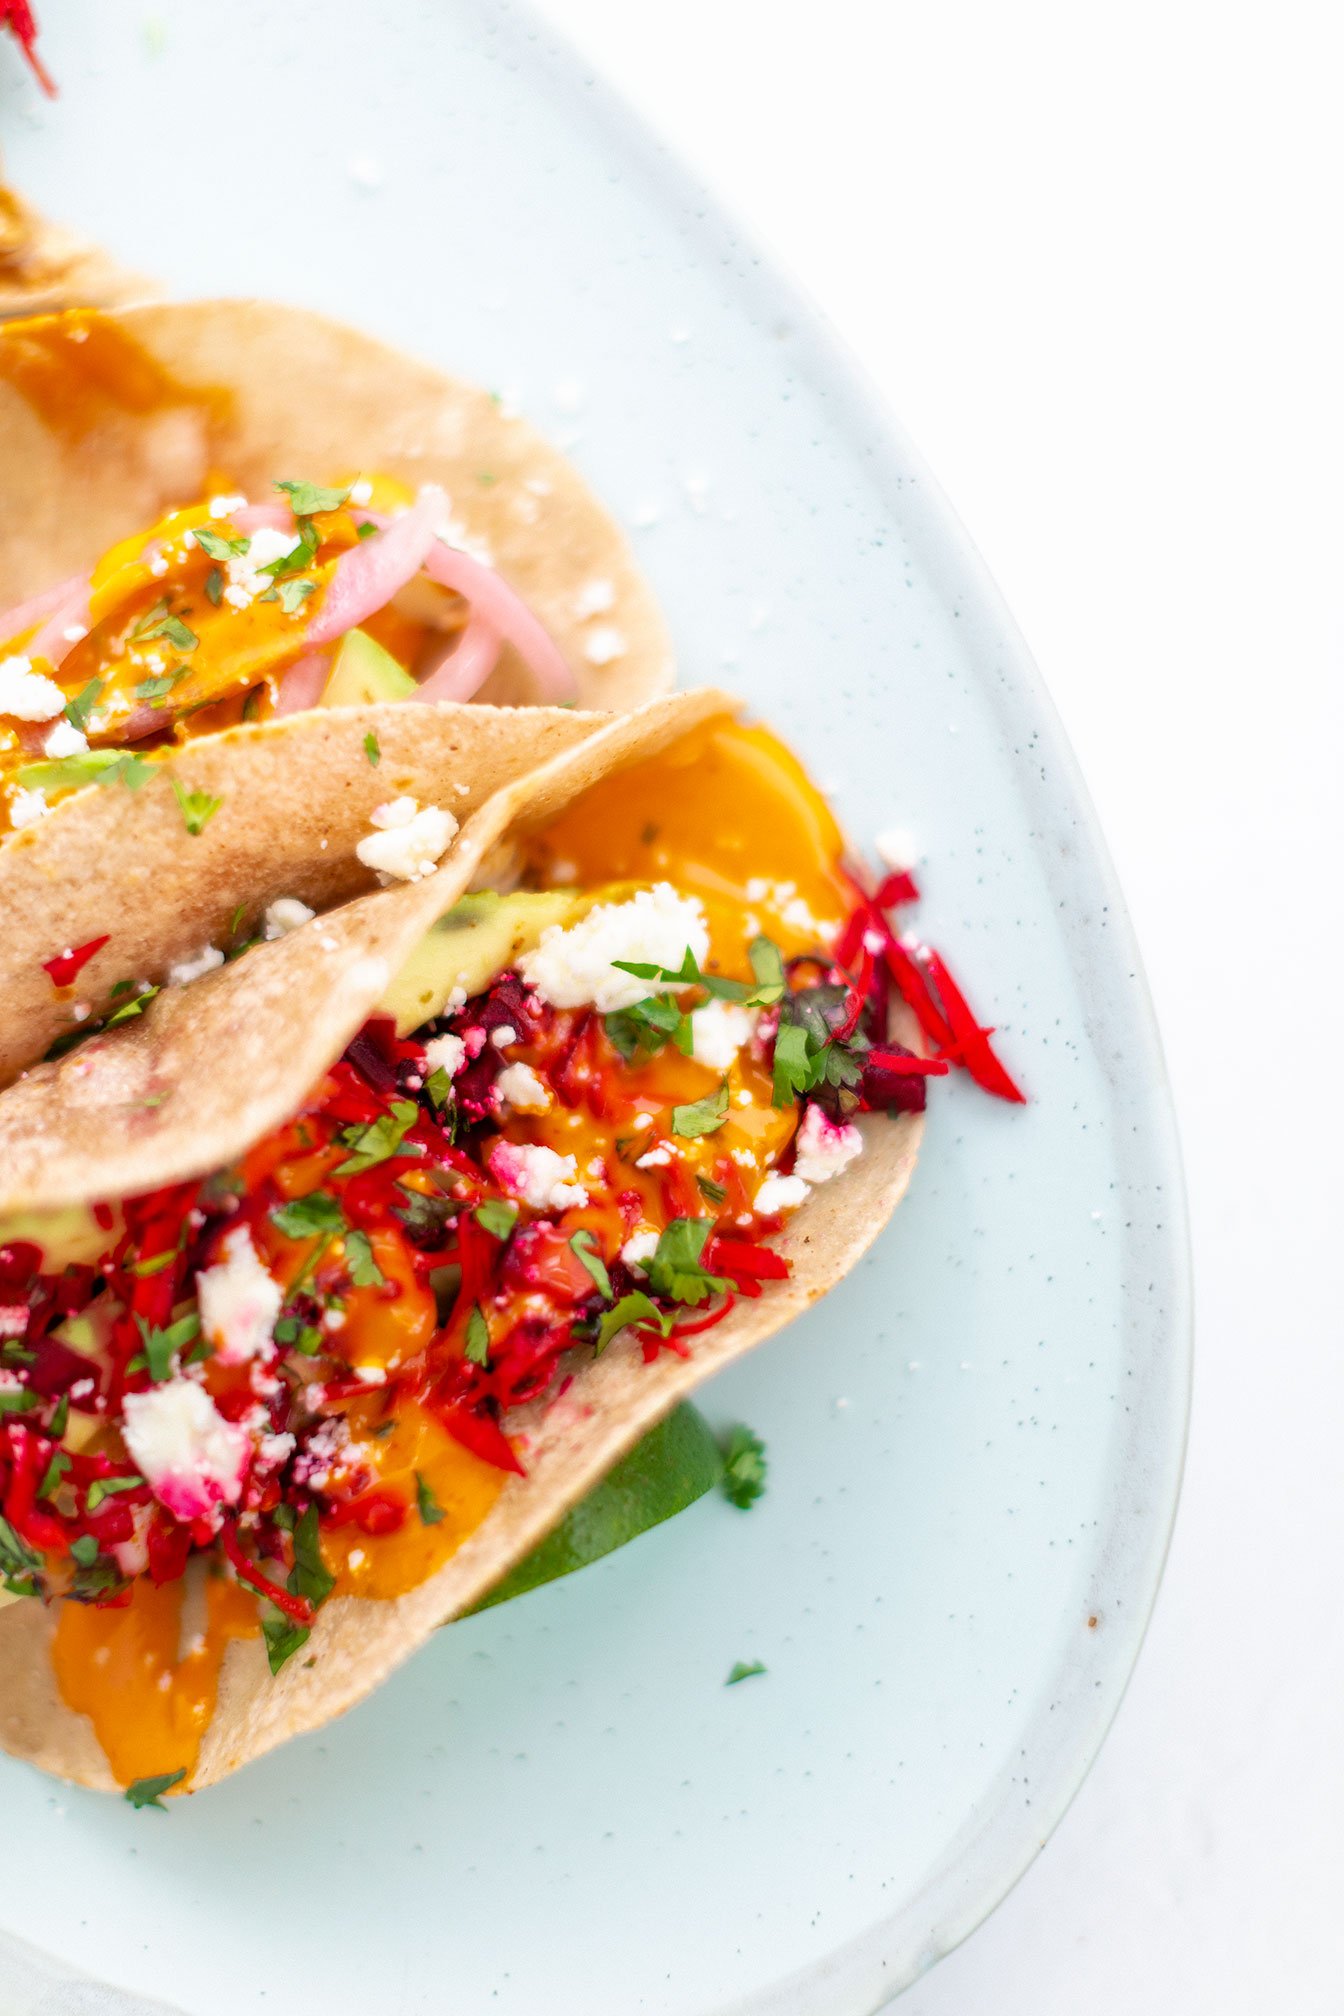
Great to serve with plantain chips, or use as a topping for breakfast eggs, tacos, fish, anything! Keep in the fridge for up to 3 days.
Crispy Smashed Potatoes with Garlic Pesto
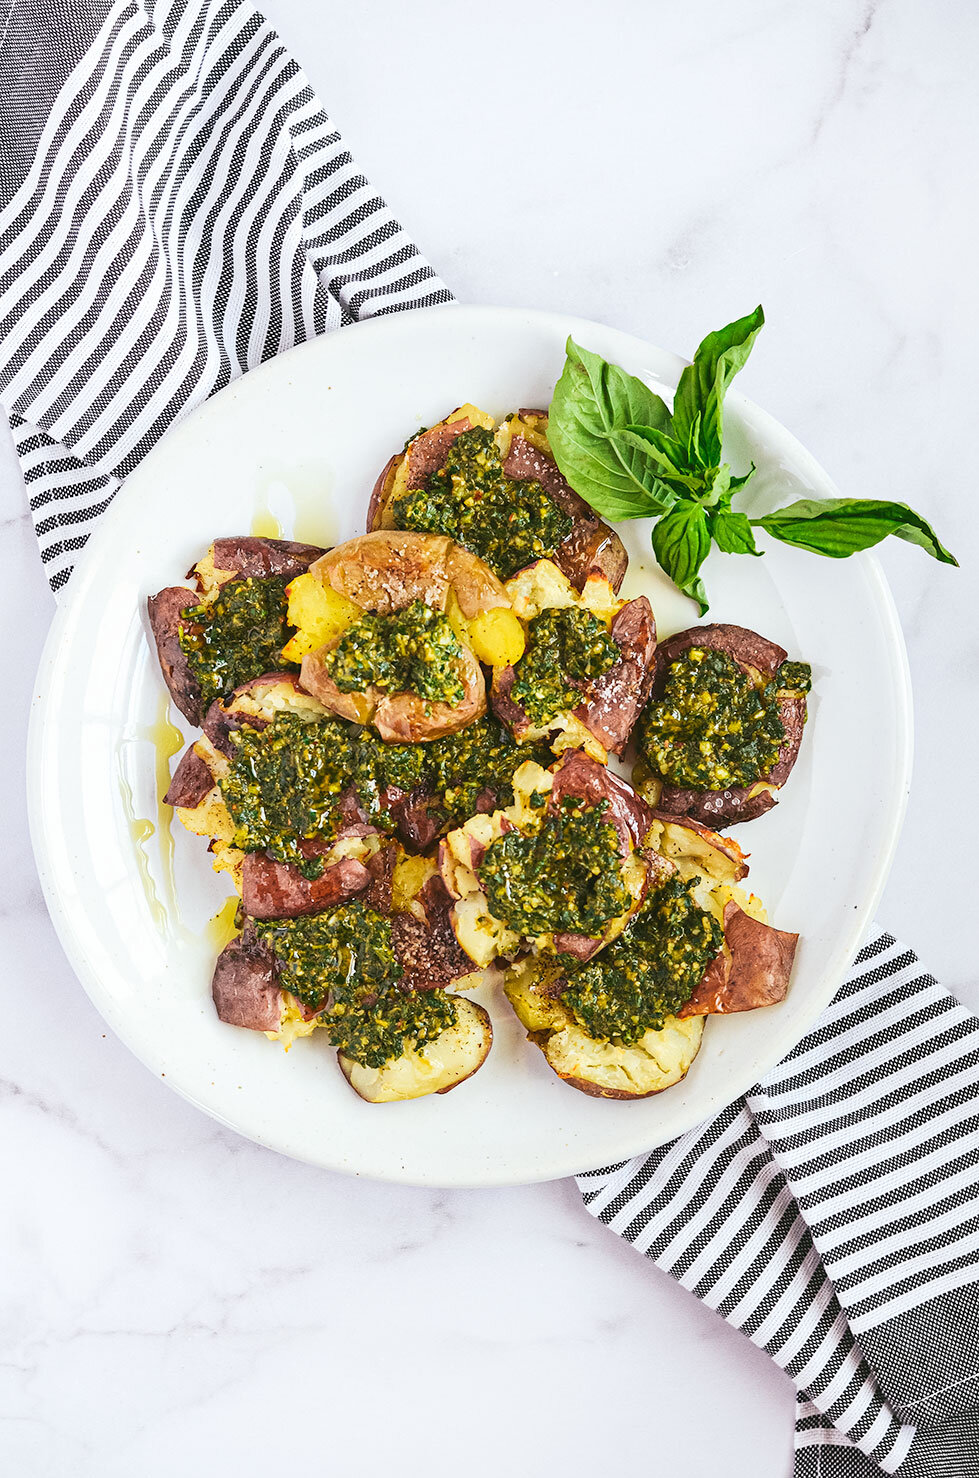
Crispy Smashed Potatoes with Garlic Pesto - The perfect go-to side dish to make for dinner or as a carb source for your weekly lunch meal prep.
I have been making smashed potatoes for years! Why? Because they are just so simple to make!
Crispy Smashed Potatoes with Garlic Pesto - The perfect go-to side dish to make for dinner or as a carb source for your weekly lunch meal prep.
I have been making smashed potatoes for years! Why? Because they are just so simple to make!
Quick little breakdown on how to prepare these bad boys:
Boil the potatoes until they are fork-tender.
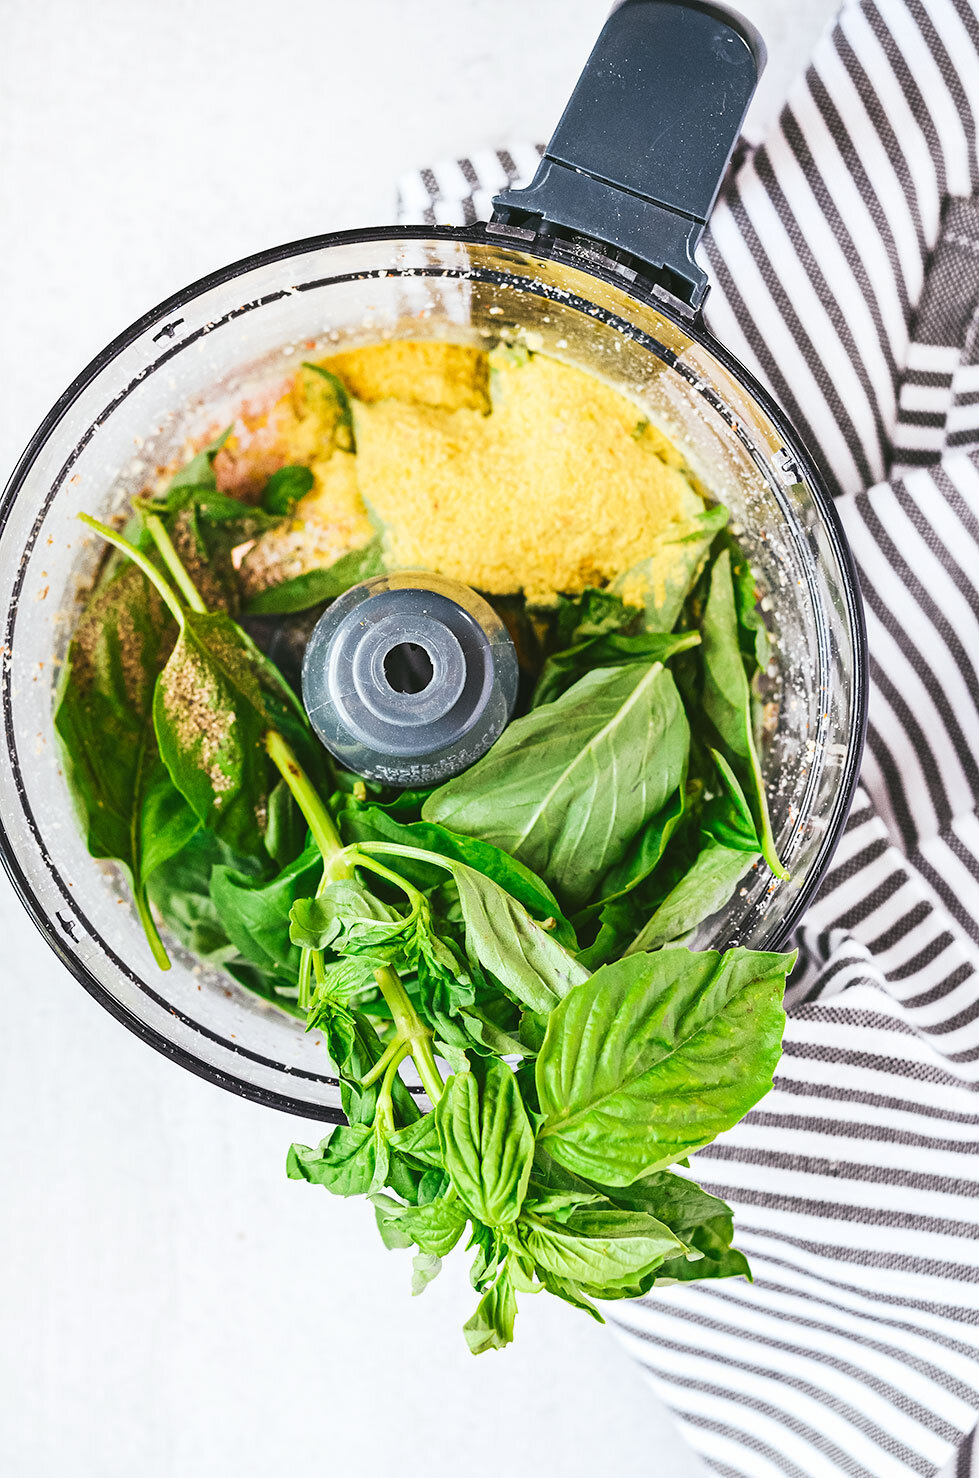
Make a creamy garlicky pesto that takes less than 5 minutes to make.
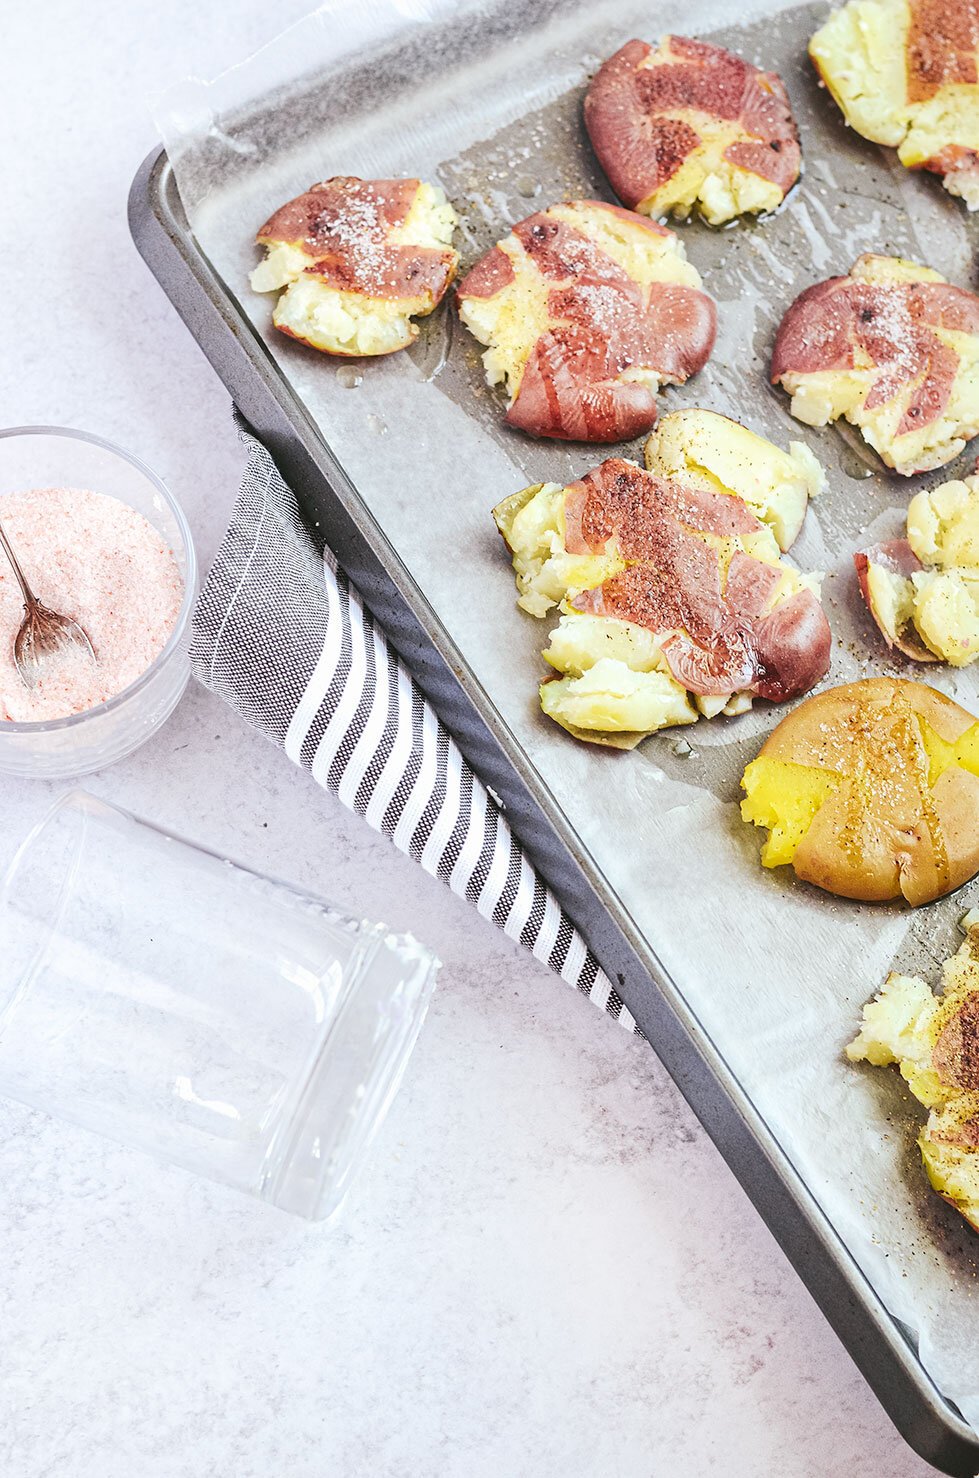
Smash those bad boys with a glass cup, palm of your hand, or a saucepan.
Drizzle with oil and roast until golden brown and crispy.
Spoon that delicious sauce over the potatoes and serve!
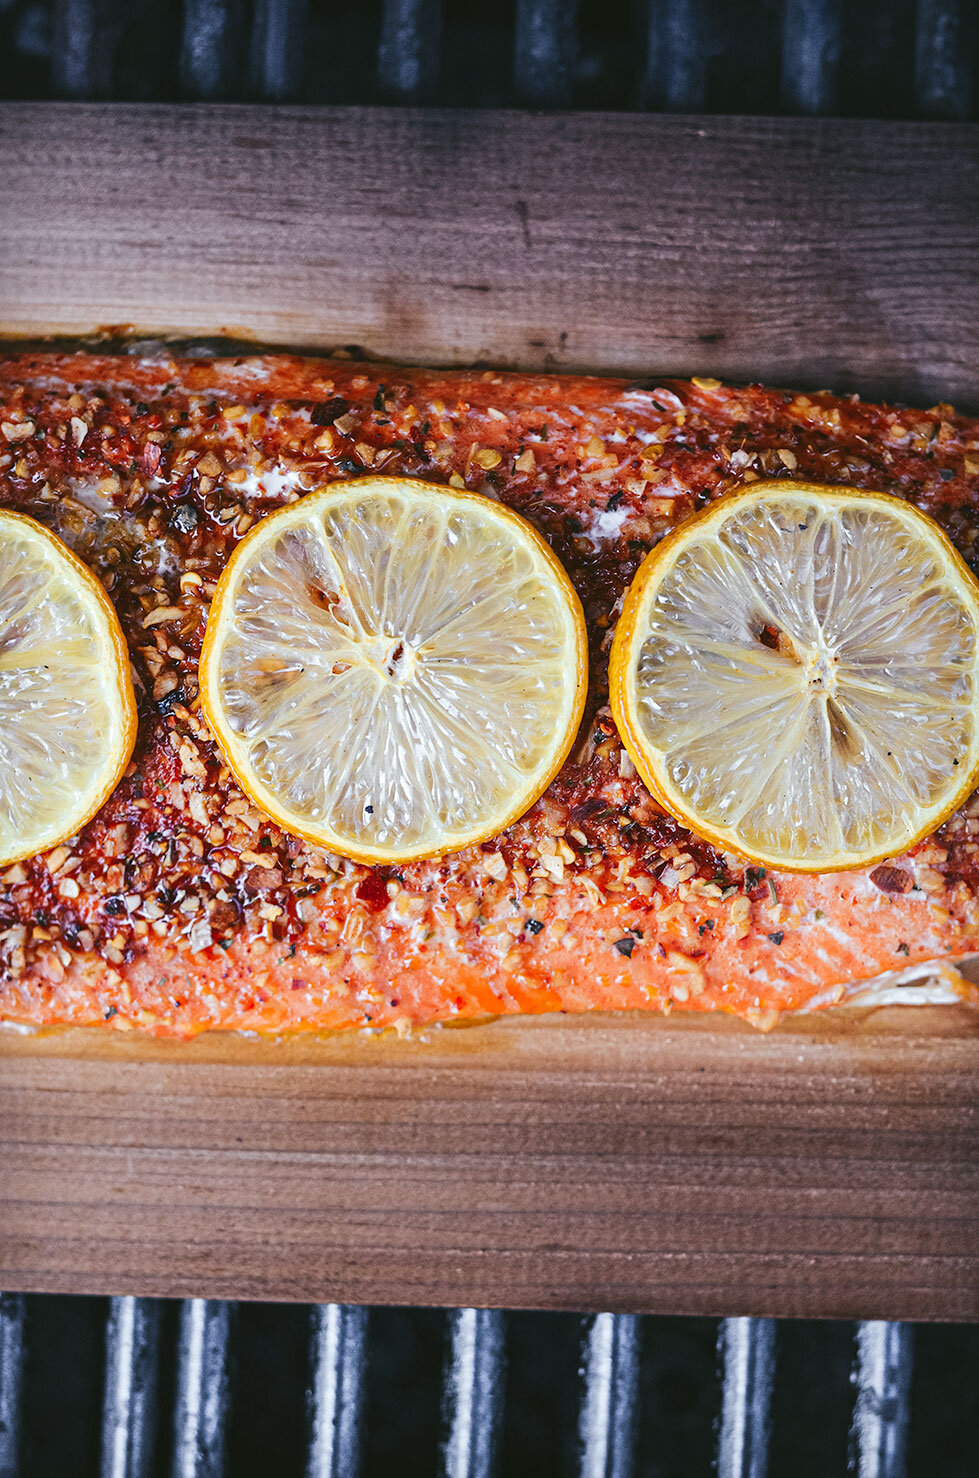
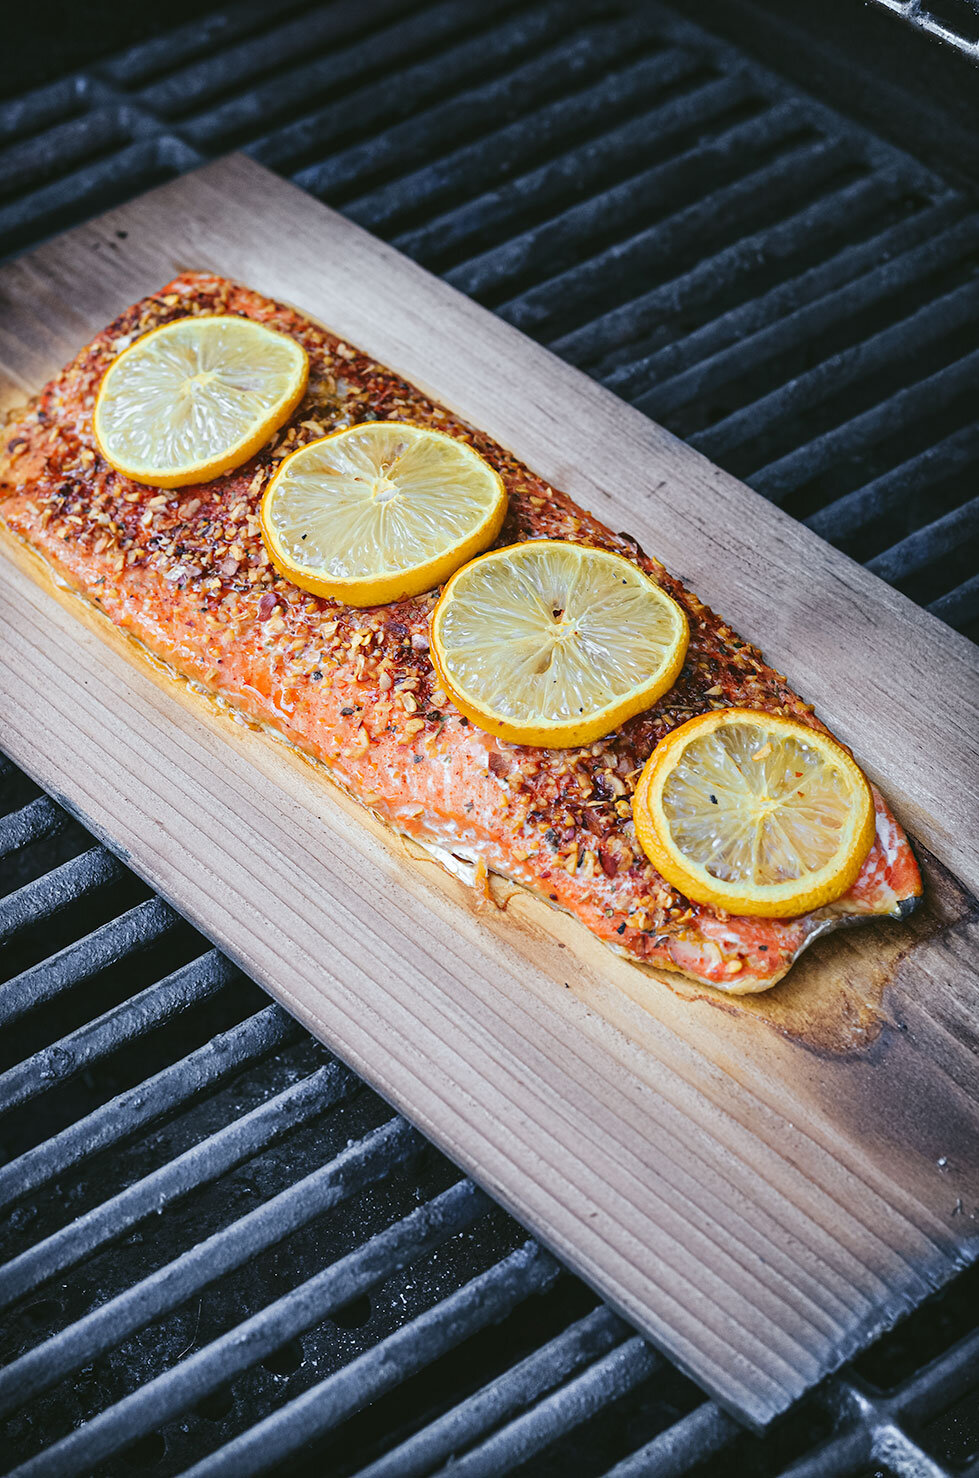
Lately, I have been digging planked salmon so for dinner this week, I paired smashed potatoes with planked salmon and a paleo caesar salad using Primal Kitchen Caesar Dressing and added fun uncured bacon bits from Epic. This would also pair well with baked hot chicken, pecan crusted spiced salmon and turkey meatballs.
If you try this recipe, let us know! Leave a comment, rate it, and don’t forget to tag a photo to #fromtherootsblog on Instagram. We love seeing what you come up with!
Crispy Smashed Potatoes with Garlic Pesto - The perfect go-to side dish to make for dinner or as a carb source for your weekly lunch meal prep.
Ingredients
Smashed Potatoes
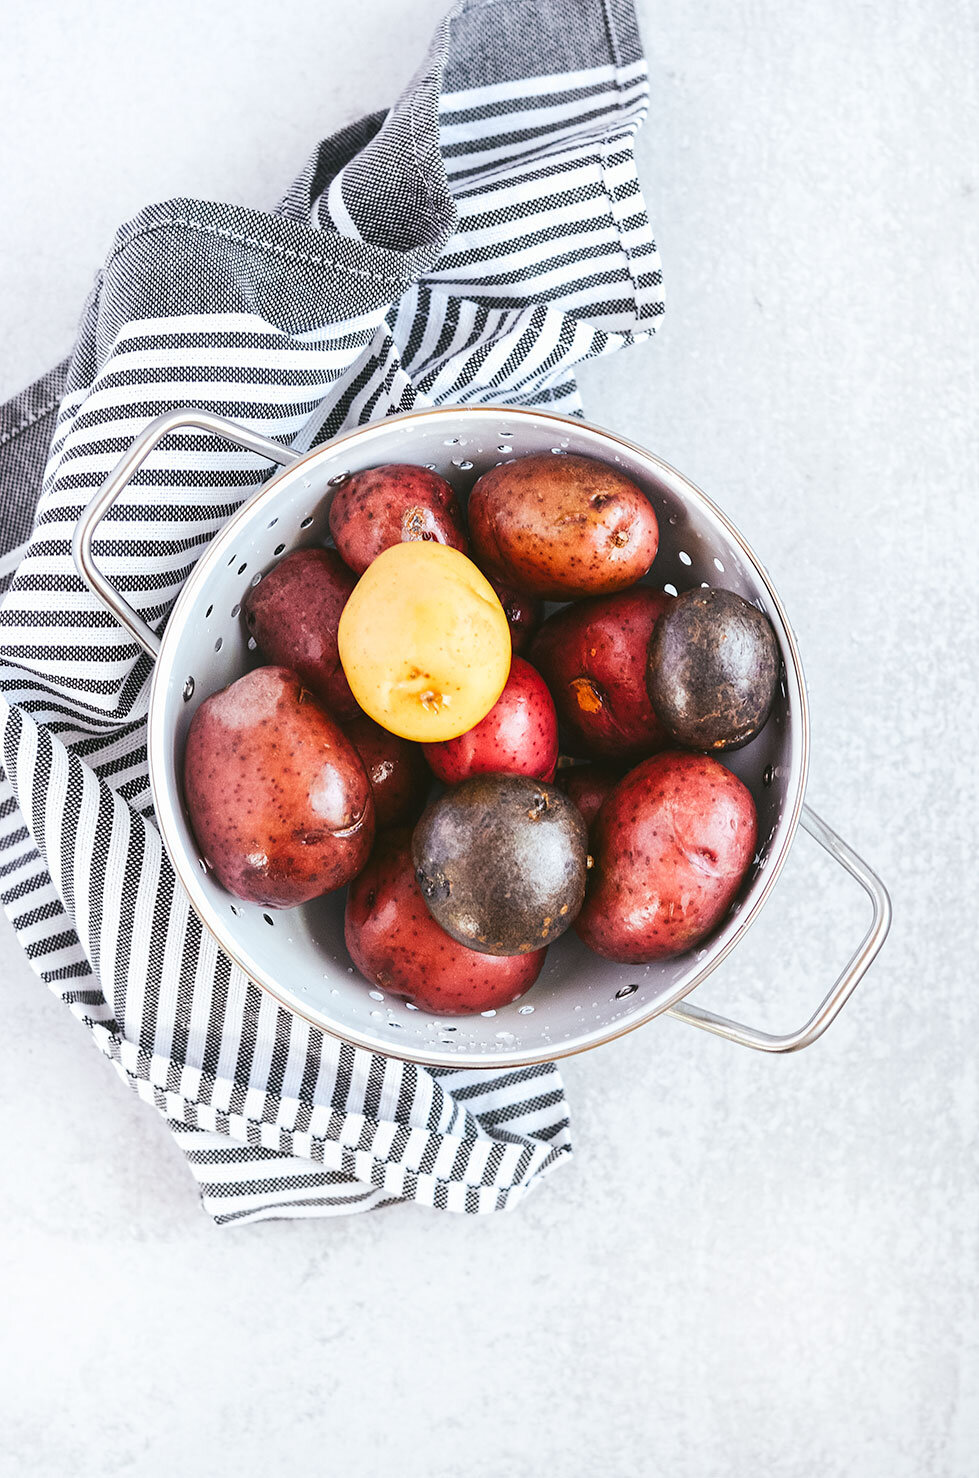
1 lb (16 oz) baby potatoes
1-2 Tbsp olive or avocado oil
Sea salt & black pepper
Garlic Pesto
2 cups packed fresh organic basil
¼ cup nutritional yeast
5-8 raw almonds
3 large cloves garlic (peeled)
⅓ cup olive or avocado oil (oil-free version - water or veggie stock)
Healthy pinch each sea salt and black pepper
Directions
Add rinsed potatoes to a large pot with water until potatoes are fully submerged. Bring water to a boil over medium-high heat and cook for 15-20 minutes. A knife should be able to slide in and out easily.
Preheat the oven to 450 degrees. Line a baking sheet with aluminum foil or parchment paper.
While the potatoes are cooking, prepare the pesto mixture by adding almonds and garlic to a food processor and pulse until finely chopped. Add basil, nutritional yeast, salt and pepper and turn the setting on low. As the processor is on low, pour the oil through the feed tube gradually. Scrape down the sides and add more if necessary to achieve the desired sauce consistency. (Oil-free version* add water or veggie stock gradually until desired consistency)
Taste and adjust taste if necessary, adding more nutritional yeast for that cheesy flavor, salt for overall flavor, garlic for that “bite” or almonds for a nuttier flavor. Transfer to a small serving dish and set aside.
When the potatoes are soft and tender, place on the baking sheet and smash them down with the bottom of a saucepan, glass cup, or the palm of your hand. For any larger potatoes, cut in half and then smash.
Drizzle smashed potatoes with oil and generously season with salt and pepper. Roast for 20-25 minutes or until golden brown and crispy.
Spoon the pesto mixture over the potatoes and garnish with additional oil, salt and pepper if desired.
Paleo Hasselback Sweet Potatoes
As someone who doesn’t eat gluten, sweet potatoes are one of my favorite carbohydrate sources. They are great after a hard workout when you need to replenish glycogen stores and nutritionally, are among the best sources of vitamin A along with riboflavin, thiamin, and carotenoids due to their naturally orange color.
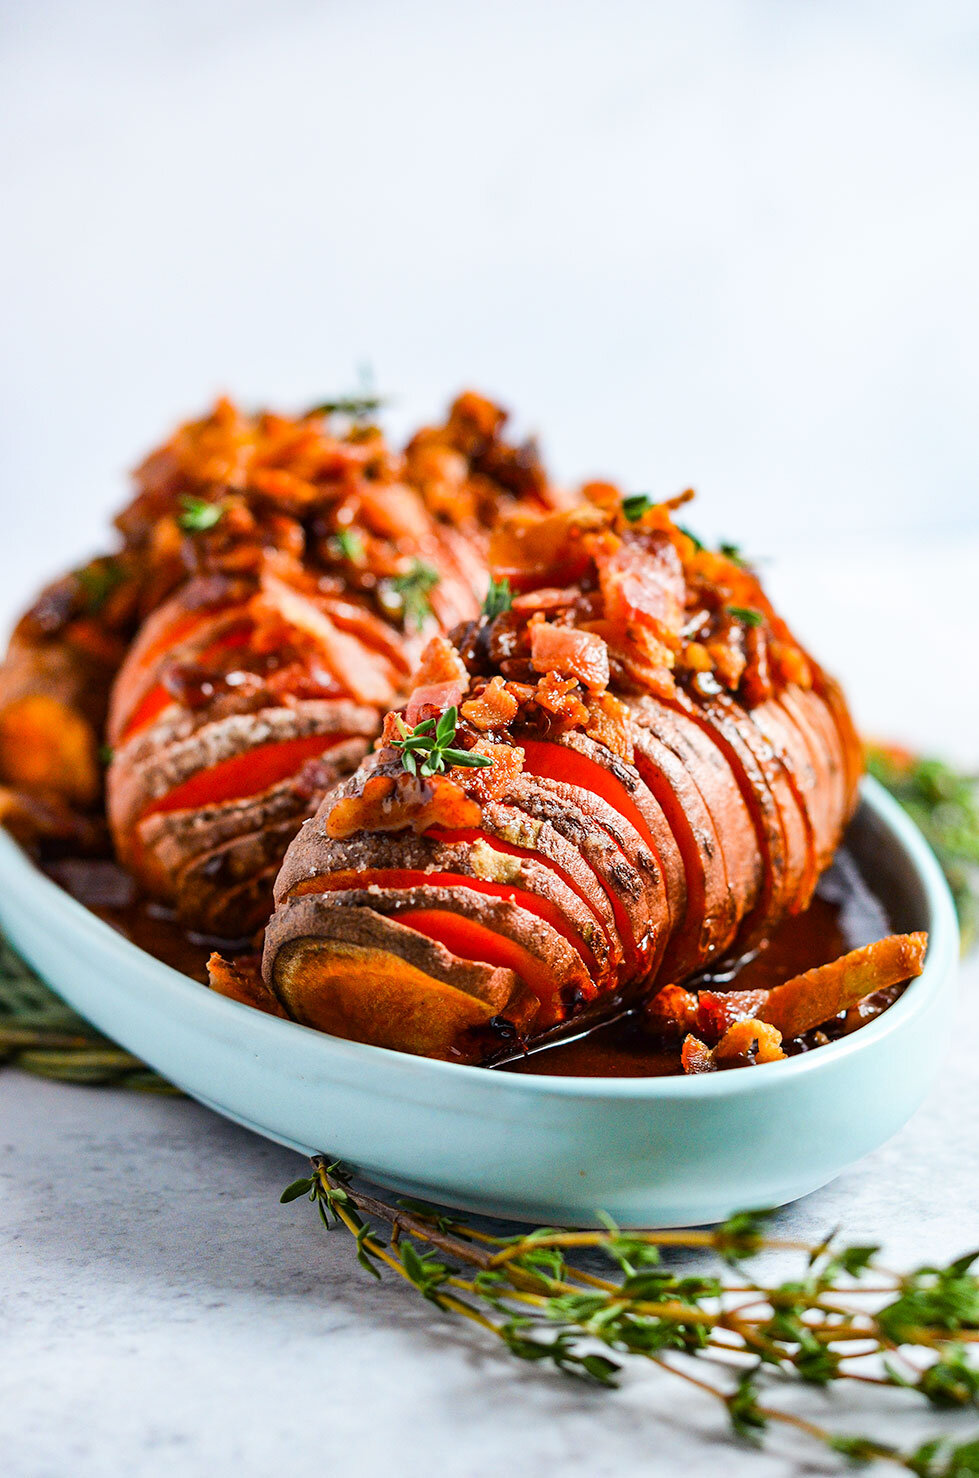
Hasselback Sweet Potatoes - Melt in your mouth, sop of buttery sweetness; you can’t tell it’s actually healthy for you! Paleo, dairy-free and gluten-free.
As someone who doesn’t eat gluten, sweet potatoes are one of my favorite carbohydrate sources. They are great after a hard workout when you need to replenish glycogen stores and nutritionally, are among the best sources of vitamin A along with riboflavin, thiamin, and carotenoids due to their naturally orange color.
Sweet potatoes nutrition versatility mirrors its versatility in our diet. They can be eaten any time during the day - paired well with most dishes from a poached egg for breakfast to adding coconut butter and cacao powder for dessert.
For this dish, it’s great for the holidays, as a side dish for dinner or implemented into lunch meal prep rotations!
As a tip, for the best Hasselback sweet potatoes, you’ll need to make deep incisions using a very sharp chef’s knife. Another thing I found was that if you place chopsticks on each side of the sweet potato and cut, it will make the best cut without going all the way through!
I would like to thank Bako Sweet for gifting me with these amazing organic California grown sweet potatoes! For more information regarding nutrition, products, and sourcing, check this link!
Now without further ado, let’s get to the recipe!
If you try this recipe, let us know! Leave a comment, rate it, and don’t forget to tag a photo to #fromtherootsblog on Instagram. We love seeing what you come up with!
Hasselback Sweet Potatoes - Melt in your mouth, sop of buttery sweetness; you can’t tell it’s actually healthy for you! Paleo, dairy-free and gluten-free.
Ingredients
4 Sweet potatoes
4 slices bacon (cooked and crumbled)
¼ cup raw pecans
2 Tbsp pure maple syrup
1 Tbsp coconut sugar
1 Tbsp grass-fed butter
1 tsp ground cinnamon
Avocado oil cooking spray
Pink Himalayan sea salt
Directions
Preheat the oven to 450 degrees. Line a sheet pan with foil, then coat the foil with cooking spray or simply use a silicone non-stick baking liner.
Place a potato on a cutting board between two chopsticks or two wooden spoons. Using a sharp chef’s knife, slice the potato into ¼ inch thick slices. (The chopsticks will prevent you from slicing all the way through the potato)
Repeat the process with the remaining potatoes. Plate the potatoes on the sheet pan. Spray potatoes with avocado oil spray and sprinkle sea salt.
Bake for 50-60 minutes until potatoes are tender, browned and tops are crispy.
While the potatoes are cooking, melt butter in a small skillet on medium heat. Chop the pecans and add to the melted butter.
Stir for about 2-5 minutes until you get a nutty aroma. Add coconut sugar and maple syrup and stir.
As soon as the mixture starts to bubble, immediately add cinnamon to the mixture and take off the burner. Mix thoroughly until the mixture is thick but liquidy. May need to add tbsp water if the mixture is too thick. *Make sure the sugar doesn’t burn! This process is very fast.
Remove the potatoes from the oven and top each potato with pecan sugar mixture. Sprinkle the bacon and fresh thyme leaves over the top and enjoy!
Notes
Ingredients that I used that are #paleoapproved
Pederson’s Organic No Sugar Added Uncured Smoked Bacon
Primal Kitchen Avocado Oil Spray
Kerrygold Grass-fed Butter


