Sort by Category
- May 2026
- March 2026
- December 2025
- November 2025
- October 2025
- September 2025
- August 2025
- June 2025
- August 2024
- July 2024
- June 2024
- May 2024
- February 2024
- January 2024
- December 2023
- November 2023
- October 2023
- September 2023
- August 2023
- July 2023
- March 2023
- February 2023
- January 2023
- December 2022
- November 2022
- October 2022
- September 2022
- August 2022
- June 2022
- May 2022
- April 2022
- March 2022
- February 2022
- January 2022
- December 2021
- November 2021
- October 2021
- September 2021
- August 2021
- July 2021
- June 2021
- May 2021
- April 2021
- March 2021
- February 2021
- January 2021
- December 2020
- November 2020
- October 2020
- September 2020
- August 2020
- July 2020
- June 2020
- May 2020
- April 2020
- March 2020
- February 2020
- January 2020
- December 2019
- November 2019
- October 2019
- September 2019
- August 2019
- July 2019
- June 2019
- May 2019
- April 2019
- March 2019
- February 2019
- January 2019
- December 2018
- November 2018
- October 2018
- September 2018
- August 2018
- July 2018
- June 2018
- May 2018
- April 2018
- March 2018
- February 2018

The Best Gluten-Free Skillet Cornbread
During the first few weeks of quarantine, I was a baking machine. I created all the things, paleo banana nut bread, muffins, cookies, sourdough bread, you name it! It was so bad, I had to start freezing the leftovers because my fridge couldn’t handle it!
I was also creating recipes using ingredients from my pantry. Like most, I wasn’t sure if the grocery stores were going to be closed or only provide limited ingredients so I got creative in the fast! But since I’m cooking for one, having a one-pot meal goes a long way!
The BEST gluten-free skillet cornbread made with just 10 ingredients! Fluffy, perfectly sweet, crumbly and so tasty!

During the first few weeks of quarantine, I was a baking machine. I created all the things, paleo banana nut bread, muffins, cookies, sourdough bread, you name it! It was so bad, I had to start freezing the leftovers because my fridge couldn’t handle it!

I was also creating recipes using ingredients from my pantry. Like most, I wasn’t sure if the grocery stores were going to be closed or only provide limited ingredients so I got creative in the fast! But since I’m cooking for one, having a one pot meal goes a long way!

But this recipe, I was completely fine with that! Using all my canned items to make chili (I never make chili the same so sorry if I can’t provide a chili recipe! haha) I also made skillet cornbread, and oh boy, was it good!

Growing up, my mom would make cornbread using Jiffy cornbread mix. It was my favorite version because I would rather have a sweeter cornbread than savory. Though, I do love adding fun add-on ingredients like minced jalapenos or green chilies to give it a kick!

So if you are #teamjiffy, then you will love this recipe! Enjoy as a side with your fall and winter recipes or as an appetizer!
If you try this recipe, let us know! Leave a comment, rate it, and don’t forget to tag a photo to #fromtherootsblog on Instagram. We love seeing what you come up with!
The BEST gluten-free skillet cornbread made with just 10 ingredients! Fluffy, perfectly sweet, crumbly and so tasty!
Ingredients
1 cup yellow cornmeal
1 cup gluten-free 1 to 1 baking flour (or paleo baking flour)
¾ cup unsweetened plant based milk
¼ cup cup organic cane sugar
¼ cup extra virgin olive oil
2 eggs room temperature; lightly beaten
1 Tbsp grass fed butter or coconut oil
1 tsp apple cider vinegar or lemon juice
1 ½ tsp baking powder
½ tsp baking soda
¼ tsp pink Himalayan sea salt
Directions
In a liquid measuring cup, measure out milk and add 1 tsp apple cider vinegar or lemon juice. Mix until combined and set aside. How to create “buttermilk” plant-based way!
Preheat the oven to 375 degrees. In a 9 inch cast iron skillet, melt 1 Tbsp grass fed butter or coconut oil on the stove top. Make sure the melted butter has coated the bottom and sides of the skillet. Set aside to cool.
Add dry ingredients to a large mixing bowl and whisk to combine.
In a medium mixing bowl, mix the oil, “buttermilk” mixture, and whisked eggs until combined.
Slowly pour the liquid mixture into the dry mixing bowl and whisk until fully combined.
The batter should be thick but pour-able. Add more cornmeal or flour if too wet or almond milk if too thick in 1 Tbsp amounts.
Pour batter into the prepared oiled skillet, lightly sprinkle some sugar over batter, and bake on a center rack for 25-30 minutes, or until the edges are light golden brown and a toothpick inserted into the center comes out completely clean.
Let cool completely in the pan for 10-15 minutes - set on a wire rack to speed the cooling process. To remove, run a dull knife around the edges to loosen, then slice and serve.
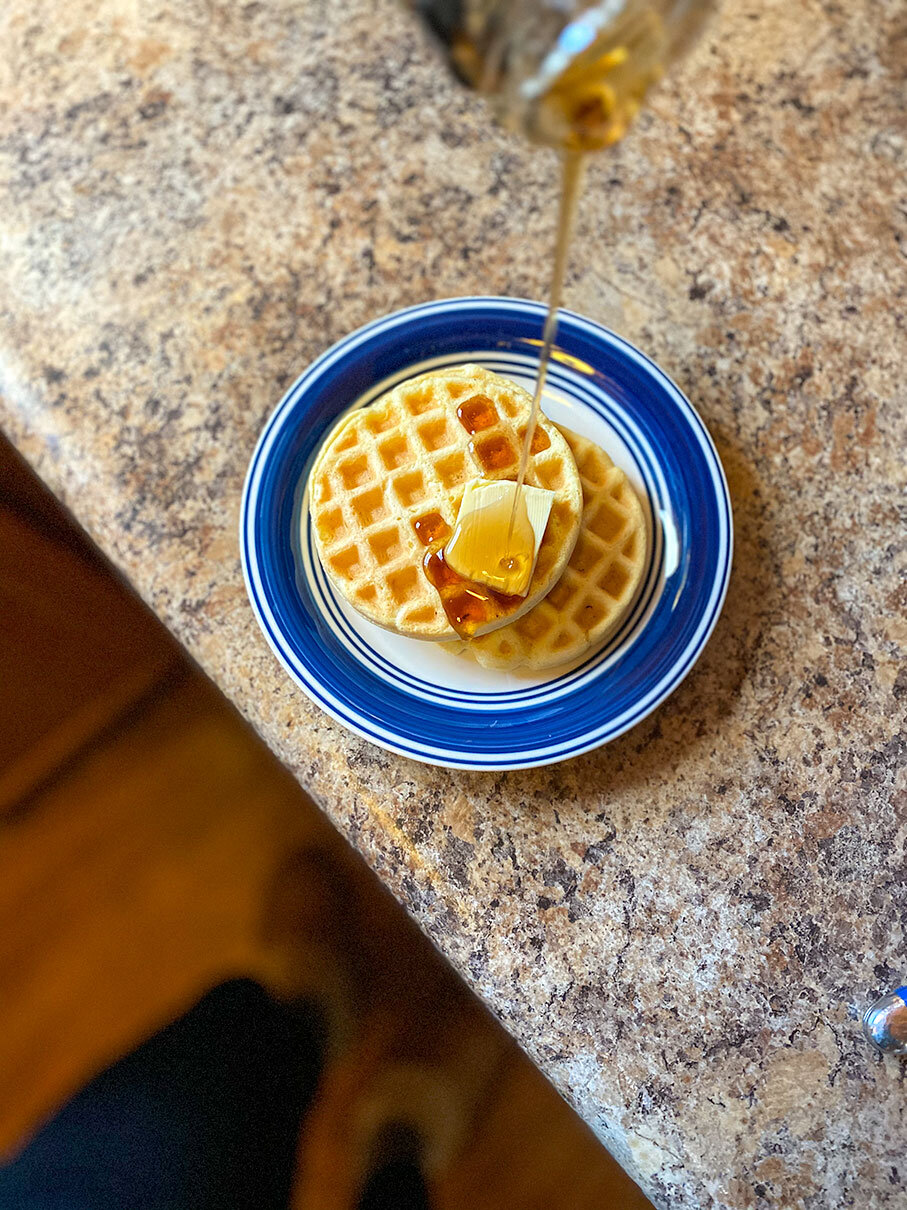
Serve with butter, maple syrup, or honey.
Store covered at room temperature for 2-3 days, or in the refrigerator for 3-4 days. Freeze up to a month.
Notes
Like a spicy kick in your cornbread? Feel free to mince in 1 jalapeno or green chilis to the batter.
I have not tested this recipe with other sweeteners such as coconut sugar or maple syrup so if you try to sub sugar out, the texture and flavor may be off.
Here are the brands I use for this recipe: GF 1 to 1 baking flour, yellow cornmeal, and paleo baking flour, organic cane sugar

Magic Bar Cookie Skillet
As I was packing food supplies for my winter retreat, I noticed that I didn’t have anything for dessert. Who doesn’t think about packing dessert!? But I didn’t want to bring a lot of ingredients to make something homemade so that’s when I came up with an idea to make “a cookie skillet in a jar”! All the dry ingredients are in a jar. Just bring one egg and coconut oil and you are all set!
Magic Bar Cookie Skillet - Great for camping trips, DIY holiday gifts, or when you are hankering for a cookie skillet! - Paleo, naturally low in sugar, dairy-free, and gluten-free.

As I was packing food supplies for my winter retreat, I noticed that I didn’t have anything for dessert. Who doesn’t think about packing dessert!? But I didn’t want to bring a lot of ingredients to make something homemade so that’s when I came up with an idea to make “a cookie skillet in a jar”! All the dry ingredients are in a jar. Just bring one egg and coconut oil and you are all set!


Dry ingredient layers (bottom to the top)
Almond flour
Paleo flour
Baking soda
Salt
Coconut sugar
Chocolate chips
Toasted coconut flakes
Chopped raw walnuts

You can also use the batter to make cookies! For these cookies, I swapped out the “magic bar” toppings for chocolate chips and salted caramel almond butter. Reserve ¼ serving of salted caramel to drizzle over the cookies, add a pinch of coarse sea salt, and bam! Perfection!

If you try this recipe, let us know! Leave a comment, rate it, and don’t forget to tag a photo to #fromtherootsblog on Instagram. We love seeing what you come up with!
Magic Bar Cookie Skillet - Great for camping trips, DIY holiday gifts, or when you are hankering for a cookie skillet! - Paleo, naturally low in sugar, dairy-free, and gluten-free.
Ingredients
1/2 cup blanched almond flour
1/2 cup paleo flour
1/4 cup coconut oil (solid)
1 egg
1/3 cup coconut sugar, dark chocolate chips, chopped raw walnuts, toasted coconut flakes
1 tsp vanilla extract or vanilla powder
1/4 tsp salt
1/4 tsp baking soda
Directions
Preheat oven to 350 degrees.
Combine sugar and solid coconut oil together.
Add the egg, salt, baking soda, and fours and blend using a mixer until well combined.
Fold chocolate chips, walnuts, and coconut flakes into the dough until well combined.
Grease a 6 inch cast iron skillet and press cookie dough firmly into skillet
Cook for 16-20 minutes
After the cookie skillet has cooled down, top with dairy-free whipped cream or ice cream and enjoy!
Notes
If you do not have paleo flour, double up on almond flour. Vice versa for paleo flour.
Here is the paleo flour brand I use.

Winter Retreat in Shawnee National Forest
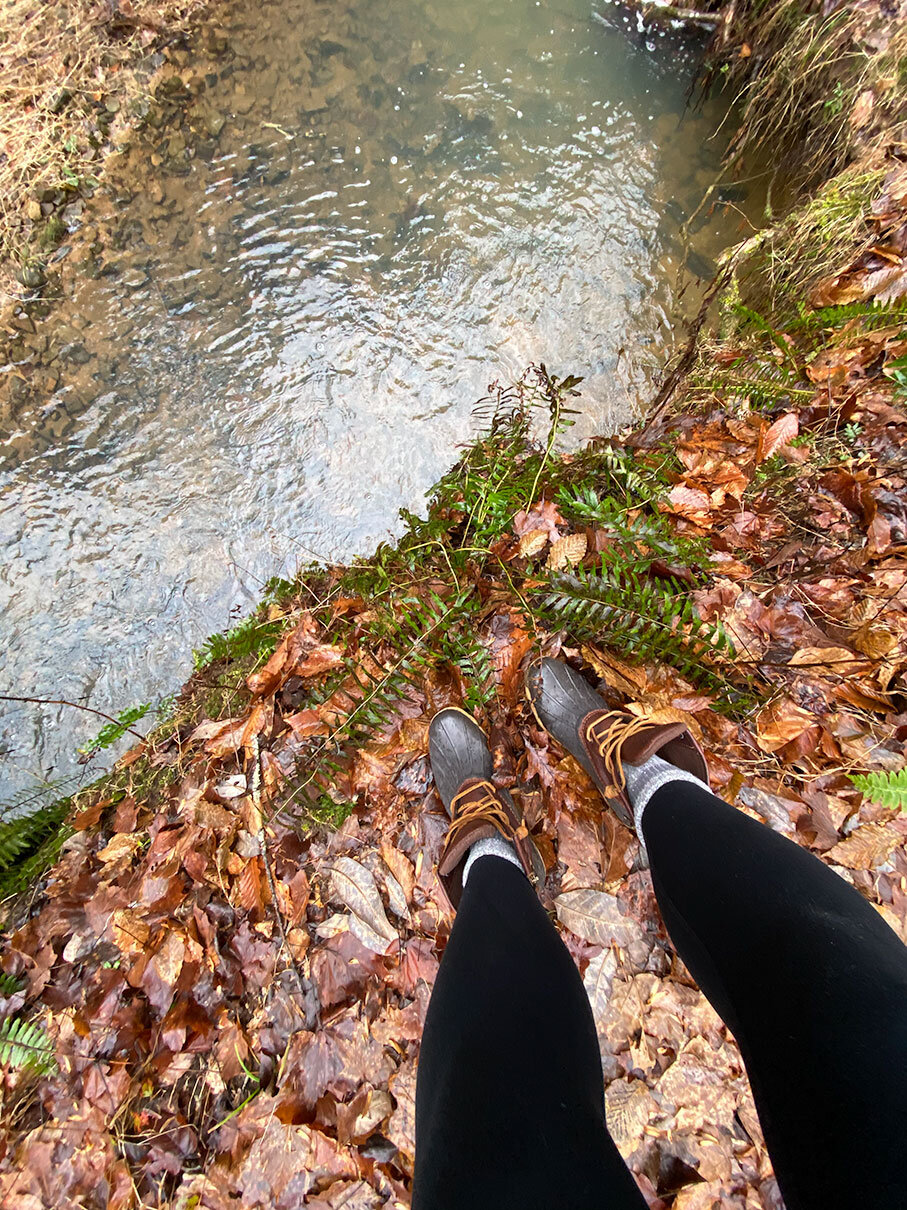
At the beginning of January of this year, Southernmost Illinois provided me a four-day lodging experience so that I could explore the most beautiful National Forest in the state of Illinois. Not a bad way to start the new year, amiright?! If you are looking for a winter retreat in the Midwest region, then look no further.
Three days, 30 miles, one woman - braving the winter by foot in Shawnee National Forest. Haha, okay that sounds a bit dramatic, but at least I got your attention. ;)

At the beginning of January of this year, Southernmost Illinois provided me a four-day lodging experience so that I could explore the most beautiful National Forest in the state of Illinois. Not a bad way to start the new year, amiright?! If you are looking for a winter retreat in the Midwest region, then look no further.
Lodging
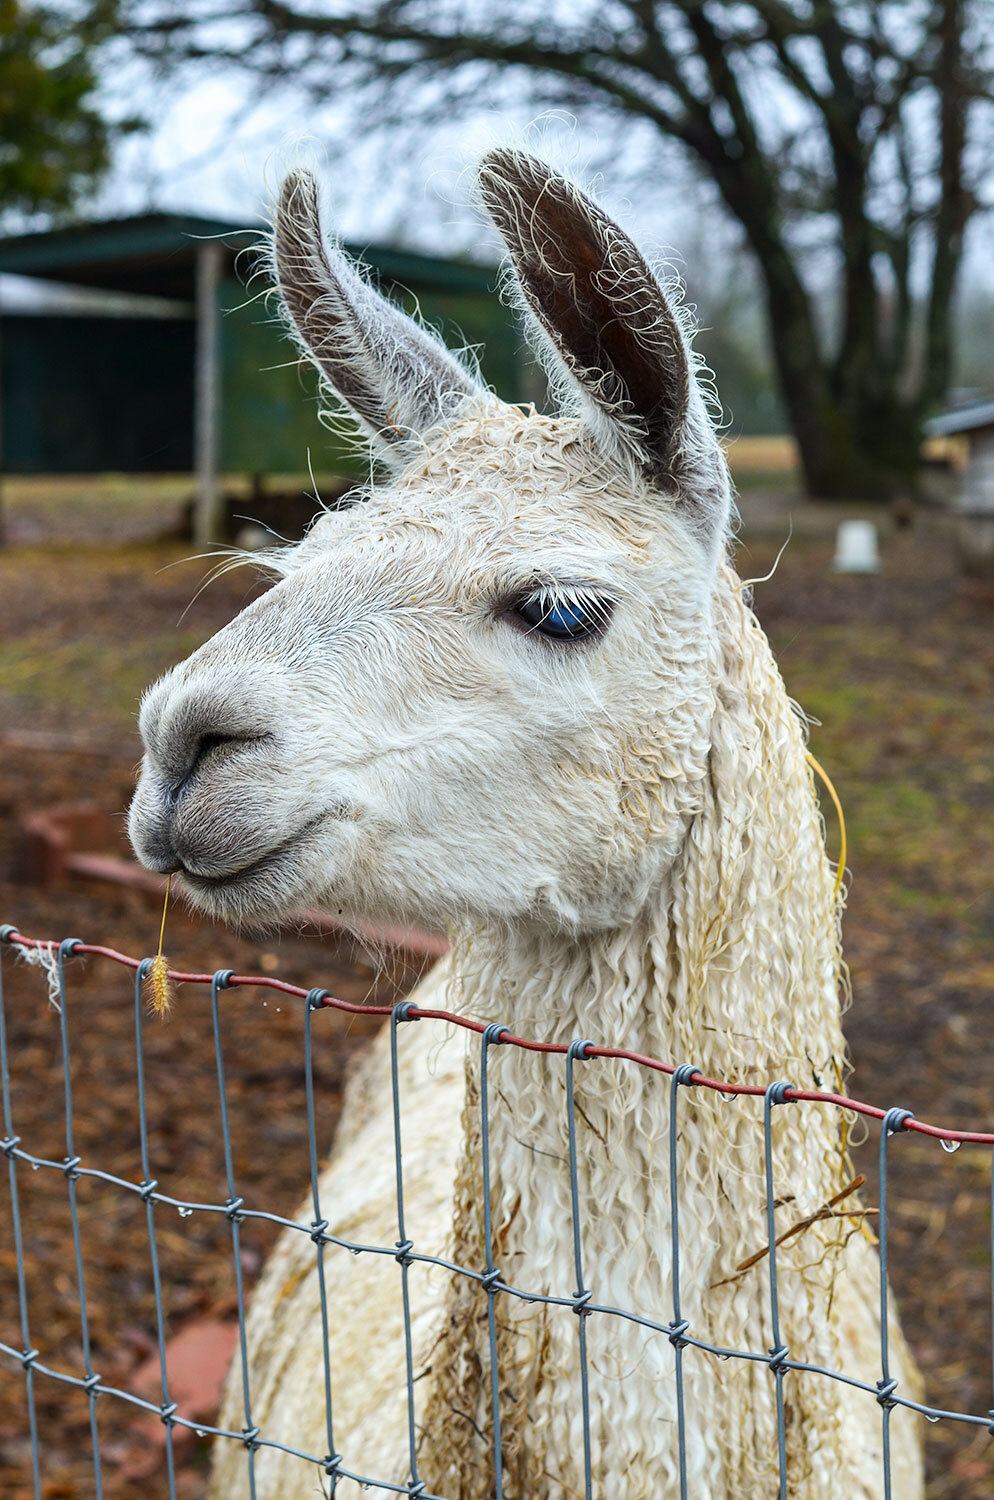
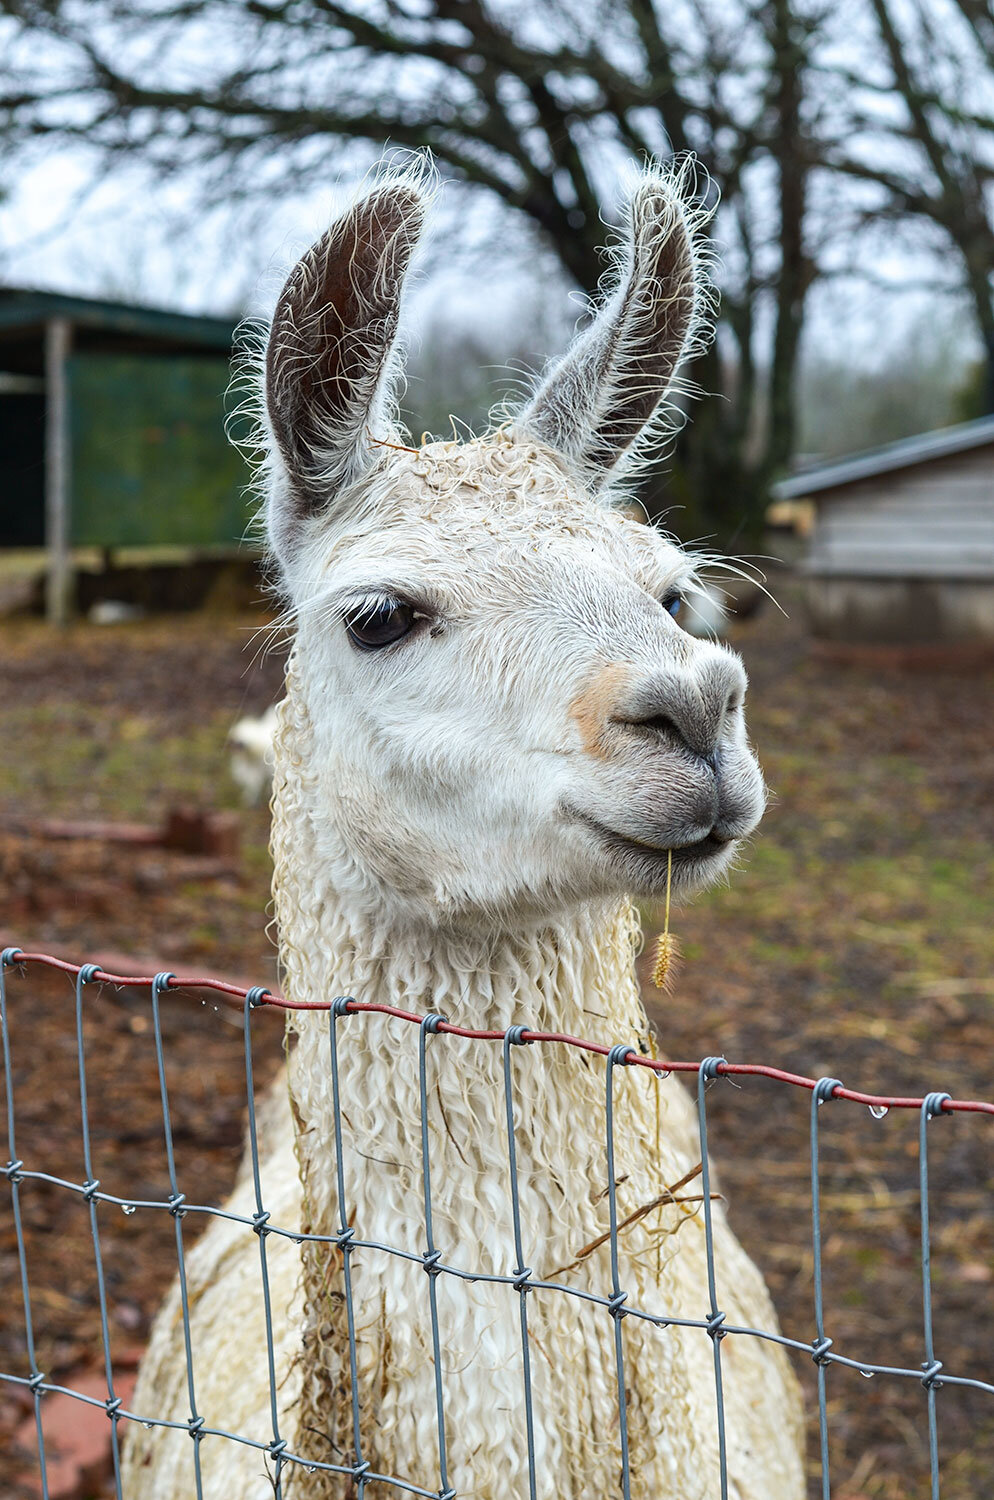
For the duration of the trip, I stayed at the oh so cozy, Rim Rock’s Dogwood Cabins. I couldn’t have asked for a better lodging experience! Not only is the location perfectly situated within the Shawnee National Forest, but they have farm animals on the property: llamas, miniature donkeys, goats, chickens/guineas and 4 dogs to be exact!
There are a total of 6 unique cabins on the property. I stayed in Coyote Hollow. All of their cabins are pet-friendly and have general lodging amenities (i.e. free WiFi, satellite, outdoor fireplace.) Because there was a full kitchen, I cooked and prepared all the meals during my stay. Here is a link for more information regarding cabin and local area information if you are interested in lodging! Currently, there is a winter special to the end of February 2020: 25% off weekdays and RENT 2 nights, get another night free!


Recipe for paleo magic bar cookie skillet can be found here.
Hiking
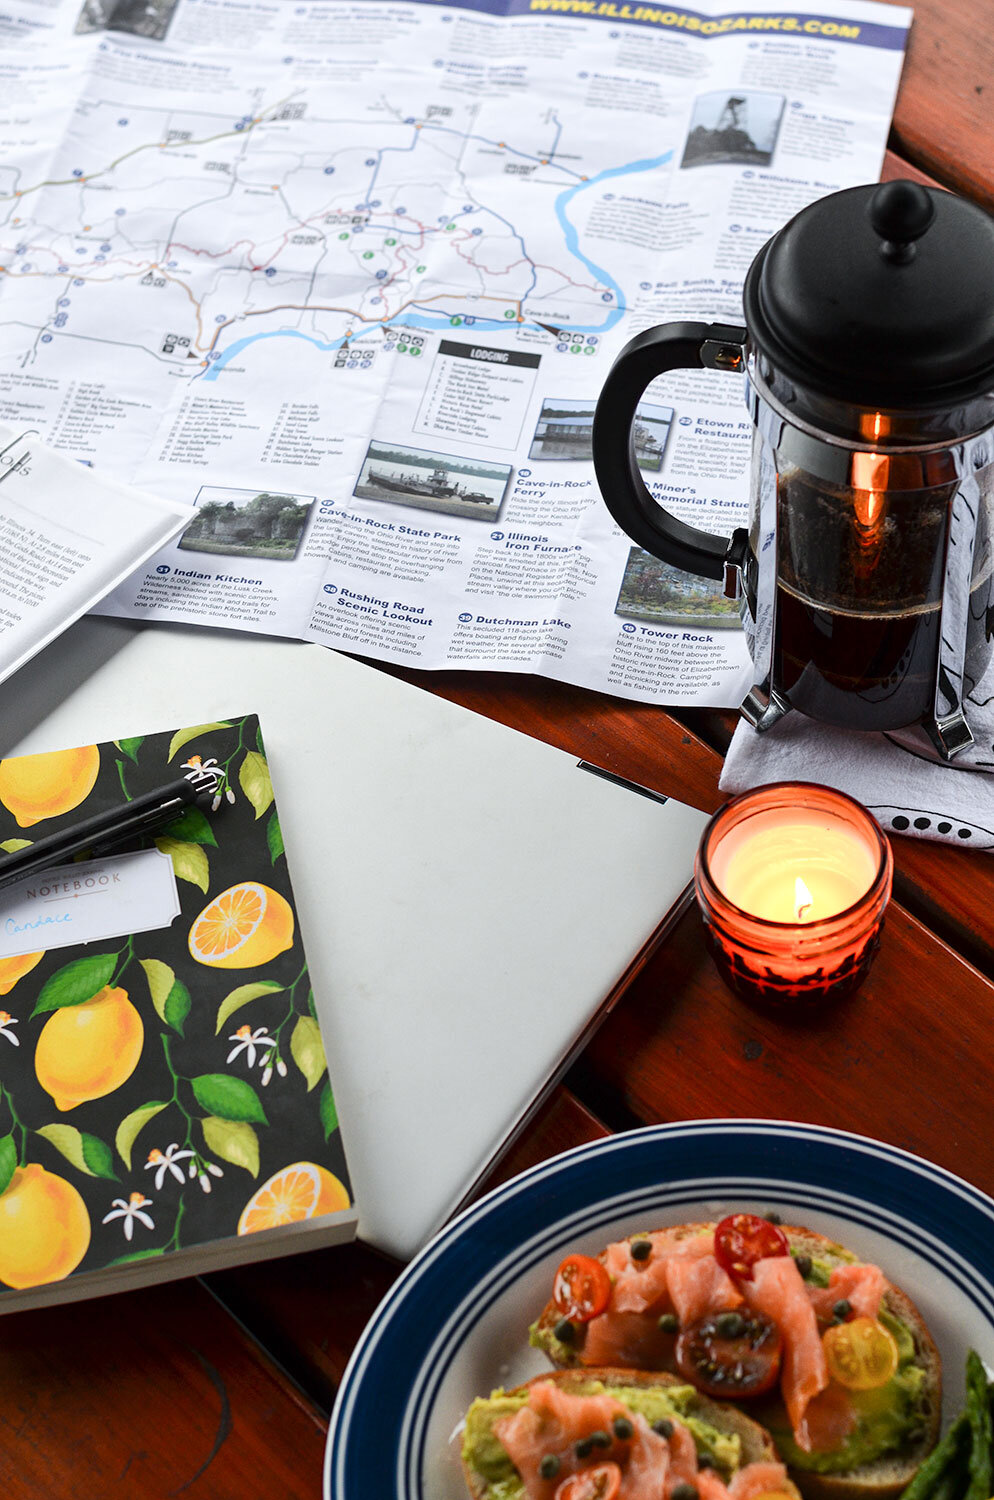
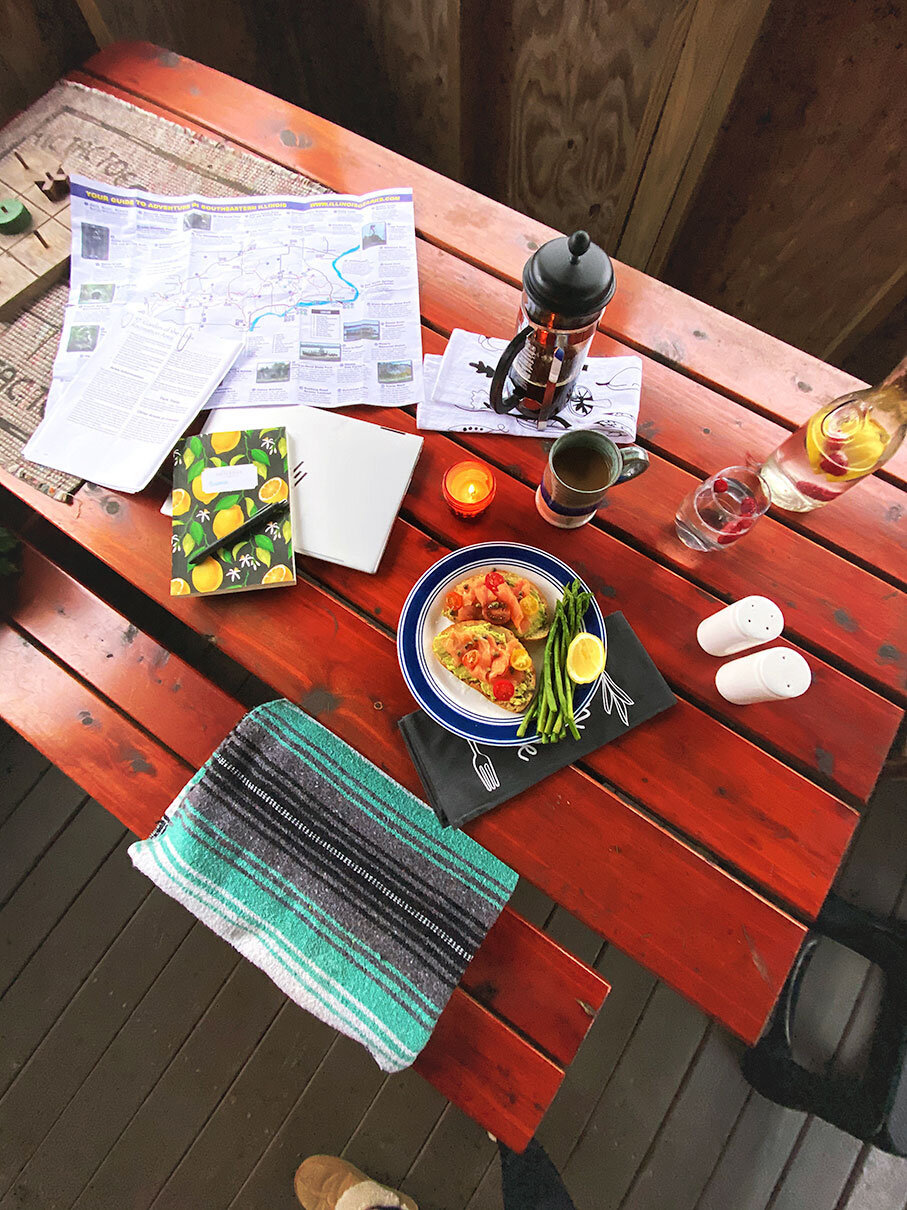
Since this is a winter retreat, you are probably thinking that I am going to talk about indoor attractions, restaurant recommendations, and shopping. Sorry to disappoint, because this girl enjoys the outdoors; regardless if it is raining, snowing, or sleeting! And now that I think of it, all three happened in one morning, haha. So if I haven’t lost you at this point, grab a map and a cup of coffee, and let’s dive into the beauty that is Shawnee National Forest during winter!
Day 1:
Since the Rim Rock National Recreation trail is 100 yards east of the cabins’ main entrance, I started there first. Recommend taking the lower loop on the right side, going up the stairs in the “main attraction” area which leads around the rim of a rock escarpment, hence the name! You will see really cool bluff lines, incredible bluffs, unique rock formations, “fat man squeezes”, and creeks. If you go in the summer, wildflowers are in full bloom; so beautiful.
Rim Rock National Recreation Trail
Distance: 1.7 miles
Difficulty: Easy
While you are in this area, you will see another great trail: Pounds Hollow Lake. And while this spot is more of a summer hot spot, hiking around its beautiful 28 acre National Forest lake is beautiful too! Any horse lovers?! This area is the most popular horseback riding trail spot!
Pounds Hollow Lake and Thacker Hollow Loop
Distance: 10 miles
Difficulty: Easy
The last hike for the day was at high knob since it’s about a 15-minute driving distance from Pounds Hollow. A great little hike to end the day. If you are hiking in this area when it’s raining, make sure you are wearing appropriate shoes. Lots of moss means green in winter = great but when raining = slick! Tip: I highly recommend this hike first if you want the perfect view of sunsets.
Pounds Hollow
Distance: .6 miles
Difficulty: Moderate


Day 2
I had an early start to the day as I drove about 40 minutes west to see the falls! First stop: Burden Falls. There are trails that you can explore in this area, but if you are pushed for time and just want to see waterfalls, you can spot them about 100 yards off the parking lot area.
Burden Falls
Distance: .8 miles
Difficulty: Moderate
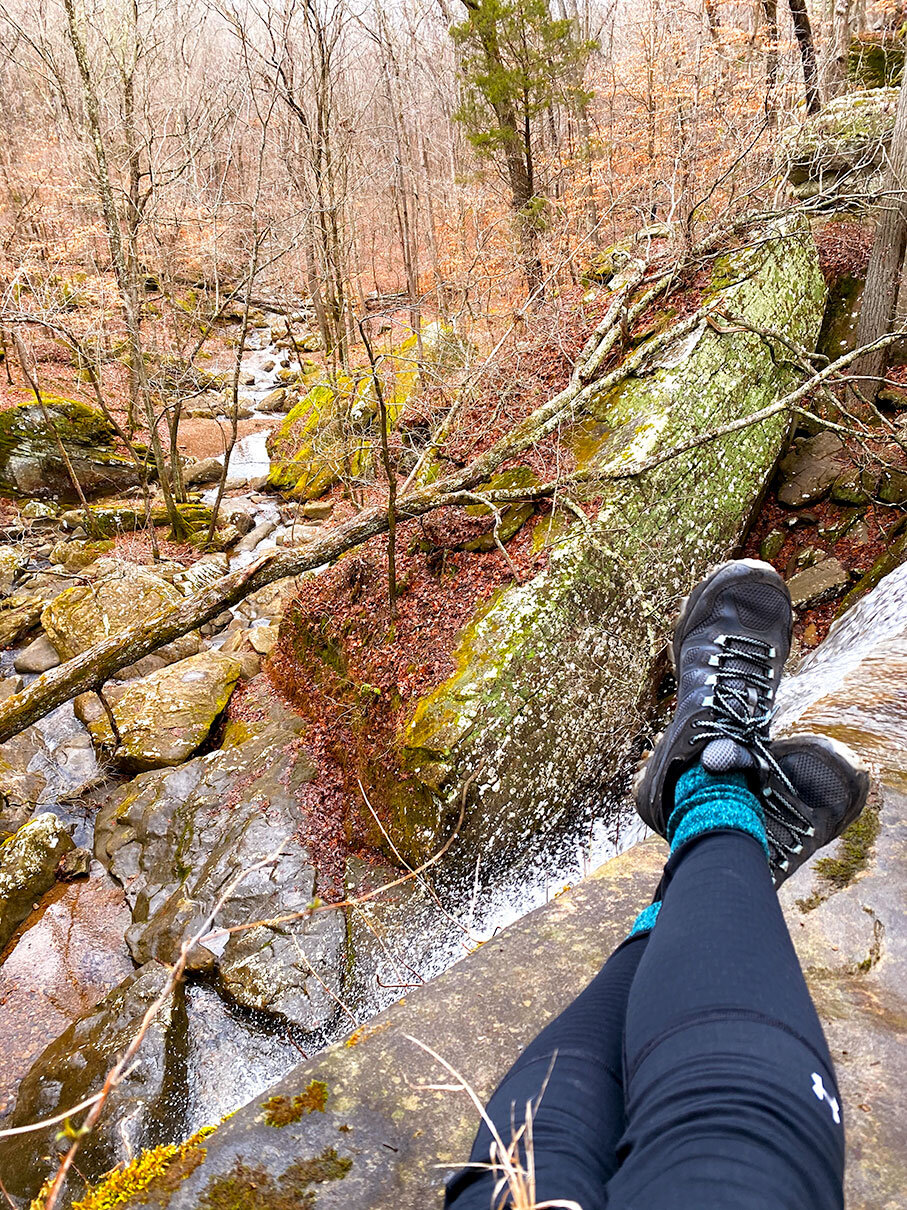
About 10 minutes from Burden Falls you will find Jackson Falls. This was my favorite waterfall spot! You can spend a good amount of time in this area. At the top of the falls, cross the creek and follow the trail to the left (as you are looking out over the falls) for about ¾ mile. You will cross a smaller creek/waterfall, then about 100 yards, there are some large boulders along the bluff line that you can scramble down and follow the trail back along to the falls. Many miles of scenic hiking along the top and bottom sections in this area. Any rock climbers!? This area is great for rock climbing and bouldering between three waterfalls!
Jackson Falls
Distance: 3.7 miles
Difficulty: Moderate
After lunch, I headed over to Bell Smith Springs. This was probably my favorite hiking spot! Spent the rest of the afternoon/evening weaving through various trails that contained clear, rocky streams, scenic canyons bordered by high sandstone cliffs, and beautiful vegetation! Within the trail system, you have interconnected trails featuring Devil’s Backbone, Boulder Falls, and a natural rock bridge. *If you have more time in this area, I would recommend checking Sand Cave
Bell Smith Springs
Distance: 8 miles
Difficulty: Moderate


Day 3:
Saved the best for last! At the wee hours of the morning, I drove over to Garden of the Gods to catch the sunrise! Even though it was below freezing temps and killer winds, man oh man, was it worth it! You can easily spend 15 minutes to a half-day in this area. There are a number of trails that offer various activities and are accessible year-round. *Please be safe when climbing the sandstone rock formations!
Garden of the Gods - Observation Trail
Distance: .5 miles
Difficulty: Easy


And there you have it! Hiking in the winter isn’t so bad! Honestly, it was a truly therapeutic experience for me. Regardless if you are doing a winter retreat on your own or doing it with loved ones, it’s good to take time out for yourself. Nature has a special way of re-grounding us. I leave you with this:
“Every morning was a cheerful invitation to make my life of equal simplicity, and I may say innocence, with Nature herself.”
― Henry David Thoreau, Walden


This post was sponsored by Southernmost Illinois Tourism Bureau. All thoughts and opinions expressed in this post are my own.


Foolproof Shakshuka
Foolproof Shakshuka - A classic Middle Eastern dish where poached eggs are nestled in a hearty, spiced tomato sauce. This simple one-pan meal can be made for breakfast, brunch, lunch, or dinner!
Shakshuka - such a fun word! If you have never heard of it, shakshuka comes from Arabic, meaning, “a haphazard mixture” or “all mixed up.” This delicious Middle Eastern dish is “mixed up” with sauteed vegetables, spices, tomatoes, and poached eggs.
Foolproof Shakshuka - A classic Middle Eastern dish where poached eggs are nestled in a hearty, spiced tomato sauce. This simple one-pan meal can be made for breakfast, brunch, lunch, or dinner!

Shakshuka - such a fun word! If you have never heard of it, shakshuka comes from Arabic, meaning, “a haphazard mixture” or “all mixed up.” This delicious Middle Eastern dish is “mixed up” with sauteed vegetables, spices, tomatoes, and poached eggs.

To make this foolproof, you only need a skillet for this recipe. You start by sauteing vegetables and/or breakfast sausage in the skillet, throw in some spices to toast, then add in tomatoes for the flavors to meld. Simmer the mixture to allow the flavors to build as well as to allow excess liquid to evaporate.


You then create little pockets in the stew, crack a few eggs directly into the mixture, and then place the skillet in the oven. Garnish with fresh herbs, cheese, red pepper flakes and serve it hot with flatbread or crusty bread. That easy!
If you try this recipe, let us know! Leave a comment, rate it, and don’t forget to tag a photo to #fromtherootsblog on Instagram. We love seeing what you come up with!
Ingredients
4 eggs
1 medium zucchini (cubed)
1 lb brussels sprouts (shaved)
½ cup cherry tomatoes (halved)
½ red onion (diced)
2 cloves garlic (minced)
1 package (12 oz) breakfast turkey sausage
1 can 28 oz fire-roasted crushed tomatoes
½ cup crumbled feta or vegan feta
½ tsp smoked paprika
½ tsp cumin
Dashes of red pepper flakes (omit if sensitive to spice)
Salt and pepper to season
Directions
Preheat the oven to 375 degrees.
In a large oven-safe skillet, cook breakfast sausage over medium heat. When the sausage is finished cooking, drain the oil from the sausage and set to the side.
If the skillet has about a tablespoon of oil leftover from the sausage, leave in the skillet; otherwise, add about a tablespoon of oil to the skillet. Once the pan is warm again (continue cooking on medium heat), add onion and garlic and saute until onions are translucent, about 4 minutes.
Add zucchini, brussels sprouts, and cherry tomatoes. Continue cooking, stirring often until the vegetables are cooked, about 4-6 minutes. Add smoked paprika, cumin, S&P, and red pepper flakes.
Pour in the crushed tomatoes with their juices and the cooked sausage. Stir, and let the mixture come to a simmer. Reduce the heat as necessary to maintain a gentle simmer, and cook for 5 minutes to give the flavors time to meld.
Turn off the heat. Taste (careful - hot!), and add salt, pepper, or additional spices as necessary. Use the back of a spoon to make a well near the perimeter and crack the egg directly into it. Gently spoon a bit of the tomato mixture over the whites to help contain the egg. Repeat with the remaining 4-5 eggs, depending on how many you can fit in the skillet. Sprinkle salt and pepper over the eggs.
Carefully transfer the skillet to the oven and bake for 8-12 minutes, checking often once you reach 8 minutes. You know when the eggs are done when the egg whites are an opaque white and the yolks have risen a bit but are still soft. They should still jiggle in the centers when you “shimmy” the pan. (Keep in mind, the eggs will continue to cook after you pull the dish out of the oven.)
Transfer the hot skillet to a heat-safe surface like the stove. Top with crumbled feta, fresh cilantro/basil leaves, and more red pepper flakes, if desired. Serve in bowls with crusty bread on the side or on its own.
Notes
I like using these turkey sausage brands. Applegate and The Great American Turkey Co.

Sweet Potato Hash Breakfast Skillet
Breakfast skillets are my go-to when I’m looking for an easy, early morning meal (or for any time of the day -- I’m a fan of breakfast for dinner!). In this recipe, I use a sweet potato hash that creates a flexible foundation for a breakfast skillet that you can customize to your liking. Whether you need to plan an unexpected breakfast brunch, or just want an easy no-fuss meal, this recipe caters to you! Ingredients in this recipe can easily be changed out with your favorite veggies. Sometimes, I’ll resort to this recipe when I want to clear out my fridge and use leftover ingredients. So, let’s get to cooking!
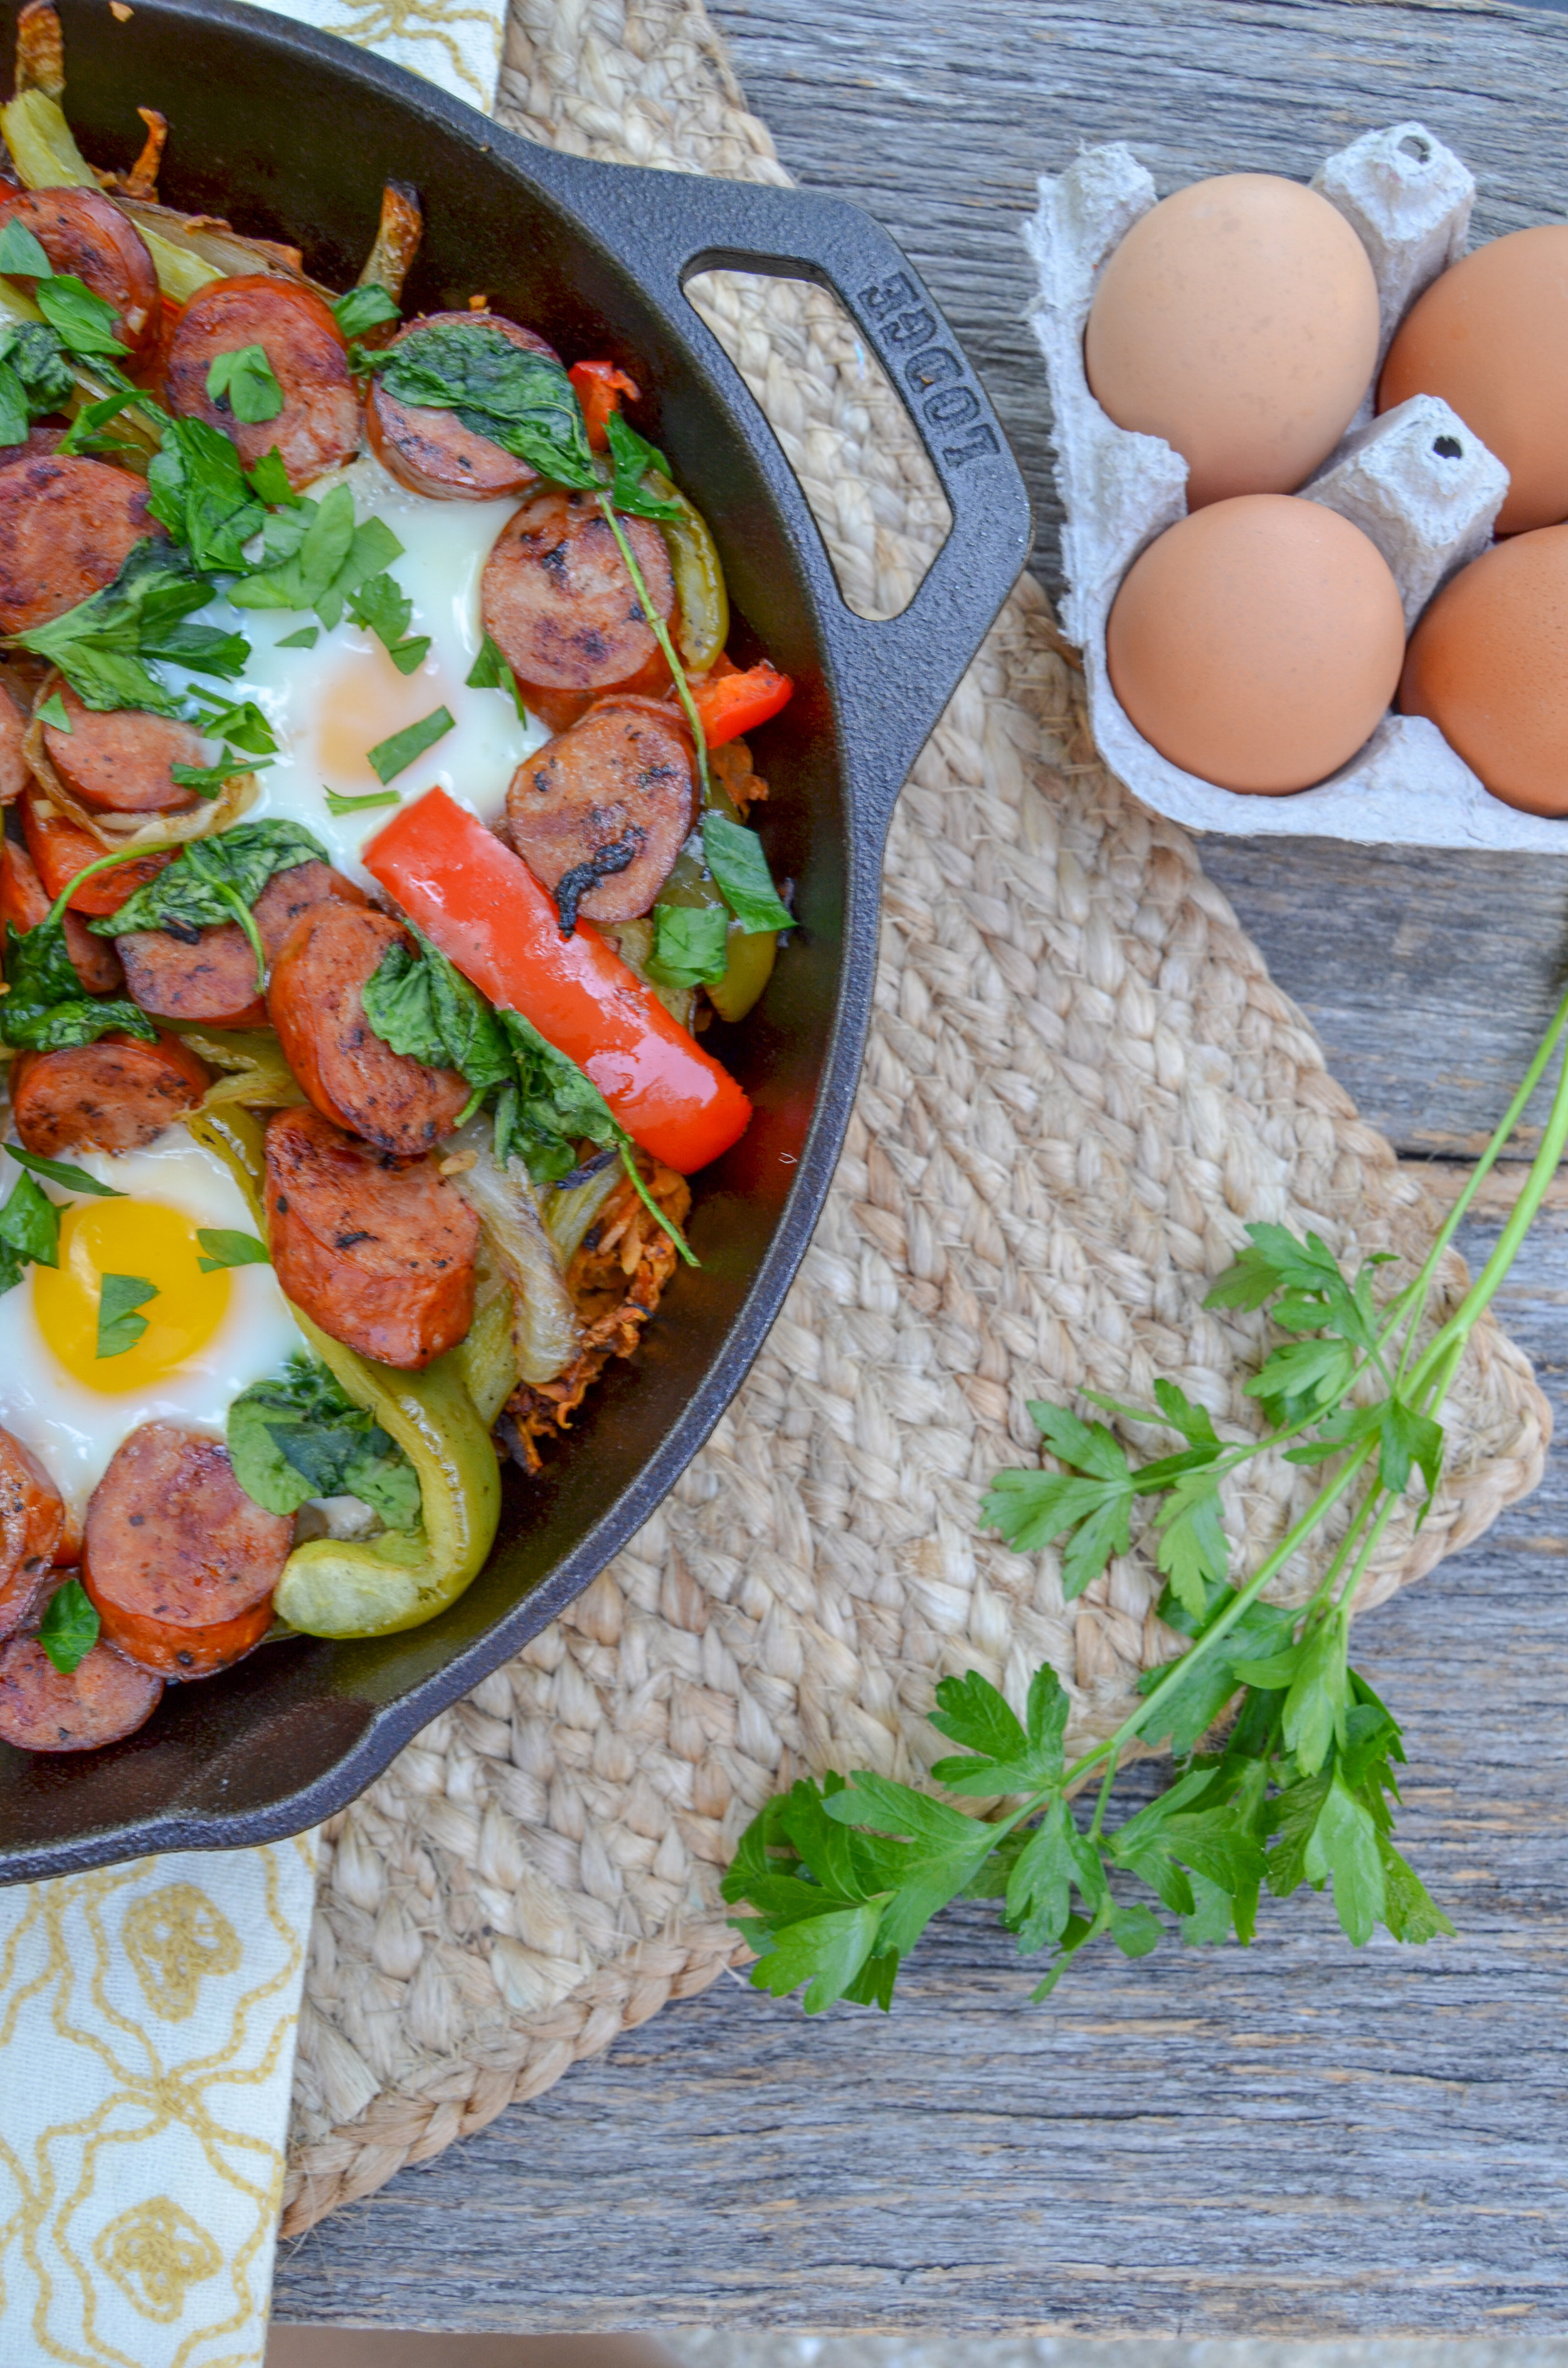
This breakfast skillet with andouille sausage and eggs is a filling, savory, healthy meal for any time of day!


Breakfast skillets are my go-to when I’m looking for an easy, early morning meal (or for any time of the day -- I’m a fan of breakfast for dinner!). In this recipe, I use a sweet potato hash that creates a flexible foundation for a breakfast skillet that you can customize to your liking. Whether you need to plan an unexpected breakfast brunch, or just want an easy no-fuss meal, this recipe caters to you! Ingredients in this recipe can easily be changed out with your favorite veggies. Sometimes, I’ll resort to this recipe when I want to clear out my fridge and use leftover ingredients. So, let’s get to cooking!
My sweet potato hash breakfast skillet recipe only takes 30 minutes to make and requires just one skillet with any produce, protein, and eggs you have left in the fridge. At the end of the week, I typically have about a small bunch of fresh spinach left in the bag, ½ of an onion in a sandwich bag lodged in the back of the fridge, as well as stocked grated sweet potato in the freezer.

I start out by cooking the onions and garlic in the skillet to provide a base flavor for the skillet to build upon before adding peppers and protein. In this case, I used green and red peppers and andouille sausage. Once the peppers and sausage have been cooked, I remove them from the skillet so that I can cook the sweet potatoes next. I season the sweet potatoes to perfection then add the cooked ingredients back on top. This is when I add a handful of spinach and mix everything together. Create cute little nest pockets for how many eggs you would like and then pop the skillet in the oven for the final bake.
Serve up one egg per person along with a healthy helping of the sweet potato mixture. Since this recipe is flexible, you can garnish it however you want. For example, sometimes I want a more “Southwestern” flavor with a kick. In that case, I would top the skillet with cilantro, avocado slices, cotija cheese, salsa, and hot sauce! Remember, this skillet recipe caters to your needs! ;)
You can also serve this up with a side of toast or on a bed of mixed greens to make sure you get all of the delicious egg yolk!
If you try this recipe, let us know! Leave a comment, rate it, and don’t forget to tag a photo with #fromtherootsblog on Instagram. We love seeing what you come up with!

This breakfast skillet with andouille sausage and eggs is a filling, savory, healthy meal for any time of day!
INGREDIENTS
4-6 fresh eggs
1 large sweet potato (peeled and chopped into small cubes or grated)
1 green pepper chopped
1 red pepper chopped
1/2 cup onion diced
2 cloves garlic minced
1 cup packed fresh baby spinach
8 oz andouille chicken sausage (Applegate)
1 Tbsp coconut oil, plus more for cooking
1/2 tsp smoked paprika
1/2 tsp cumin
1/4 tsp salt
1/4 tsp black pepper
1 small handful parsley (garnish)
DIRECTIONS
Preheat oven to 400 degrees.
Add 1 Tbsp coconut oil to a cast iron skillet over medium-high heat. Once hot, add onions and let cook for 2-3 min until softened.
Add peppers and garlic and cook for 3-5 min until softened.
Set veggies to the side and cook sausage or protein until 5-7 min or until brown and crispy. (If using raw meat, cook until brown and cooked through).
Set protein aside and drizzle more oil in the skillet if necessary. Add sweet potatoes and spices and toss until combined. Cook until the potatoes are soft and crispy on the outside, about 5-10 min.
Add cooked veggies and protein back in the skillet along with spinach and cook until spinach has wilted.
Create a well in the hash mixture for 4-6 eggs.
Crack an egg into each well and bake in the oven, just until eggs are set. Check for doneness after 5 min.
Garnish with parsley and top with your favorite toppings like avocado, hot sauce, salsa, or goat cheese.