Sort by Category
- May 2026
- March 2026
- December 2025
- November 2025
- October 2025
- September 2025
- August 2025
- June 2025
- August 2024
- July 2024
- June 2024
- May 2024
- February 2024
- January 2024
- December 2023
- November 2023
- October 2023
- September 2023
- August 2023
- July 2023
- March 2023
- February 2023
- January 2023
- December 2022
- November 2022
- October 2022
- September 2022
- August 2022
- June 2022
- May 2022
- April 2022
- March 2022
- February 2022
- January 2022
- December 2021
- November 2021
- October 2021
- September 2021
- August 2021
- July 2021
- June 2021
- May 2021
- April 2021
- March 2021
- February 2021
- January 2021
- December 2020
- November 2020
- October 2020
- September 2020
- August 2020
- July 2020
- June 2020
- May 2020
- April 2020
- March 2020
- February 2020
- January 2020
- December 2019
- November 2019
- October 2019
- September 2019
- August 2019
- July 2019
- June 2019
- May 2019
- April 2019
- March 2019
- February 2019
- January 2019
- December 2018
- November 2018
- October 2018
- September 2018
- August 2018
- July 2018
- June 2018
- May 2018
- April 2018
- March 2018
- February 2018
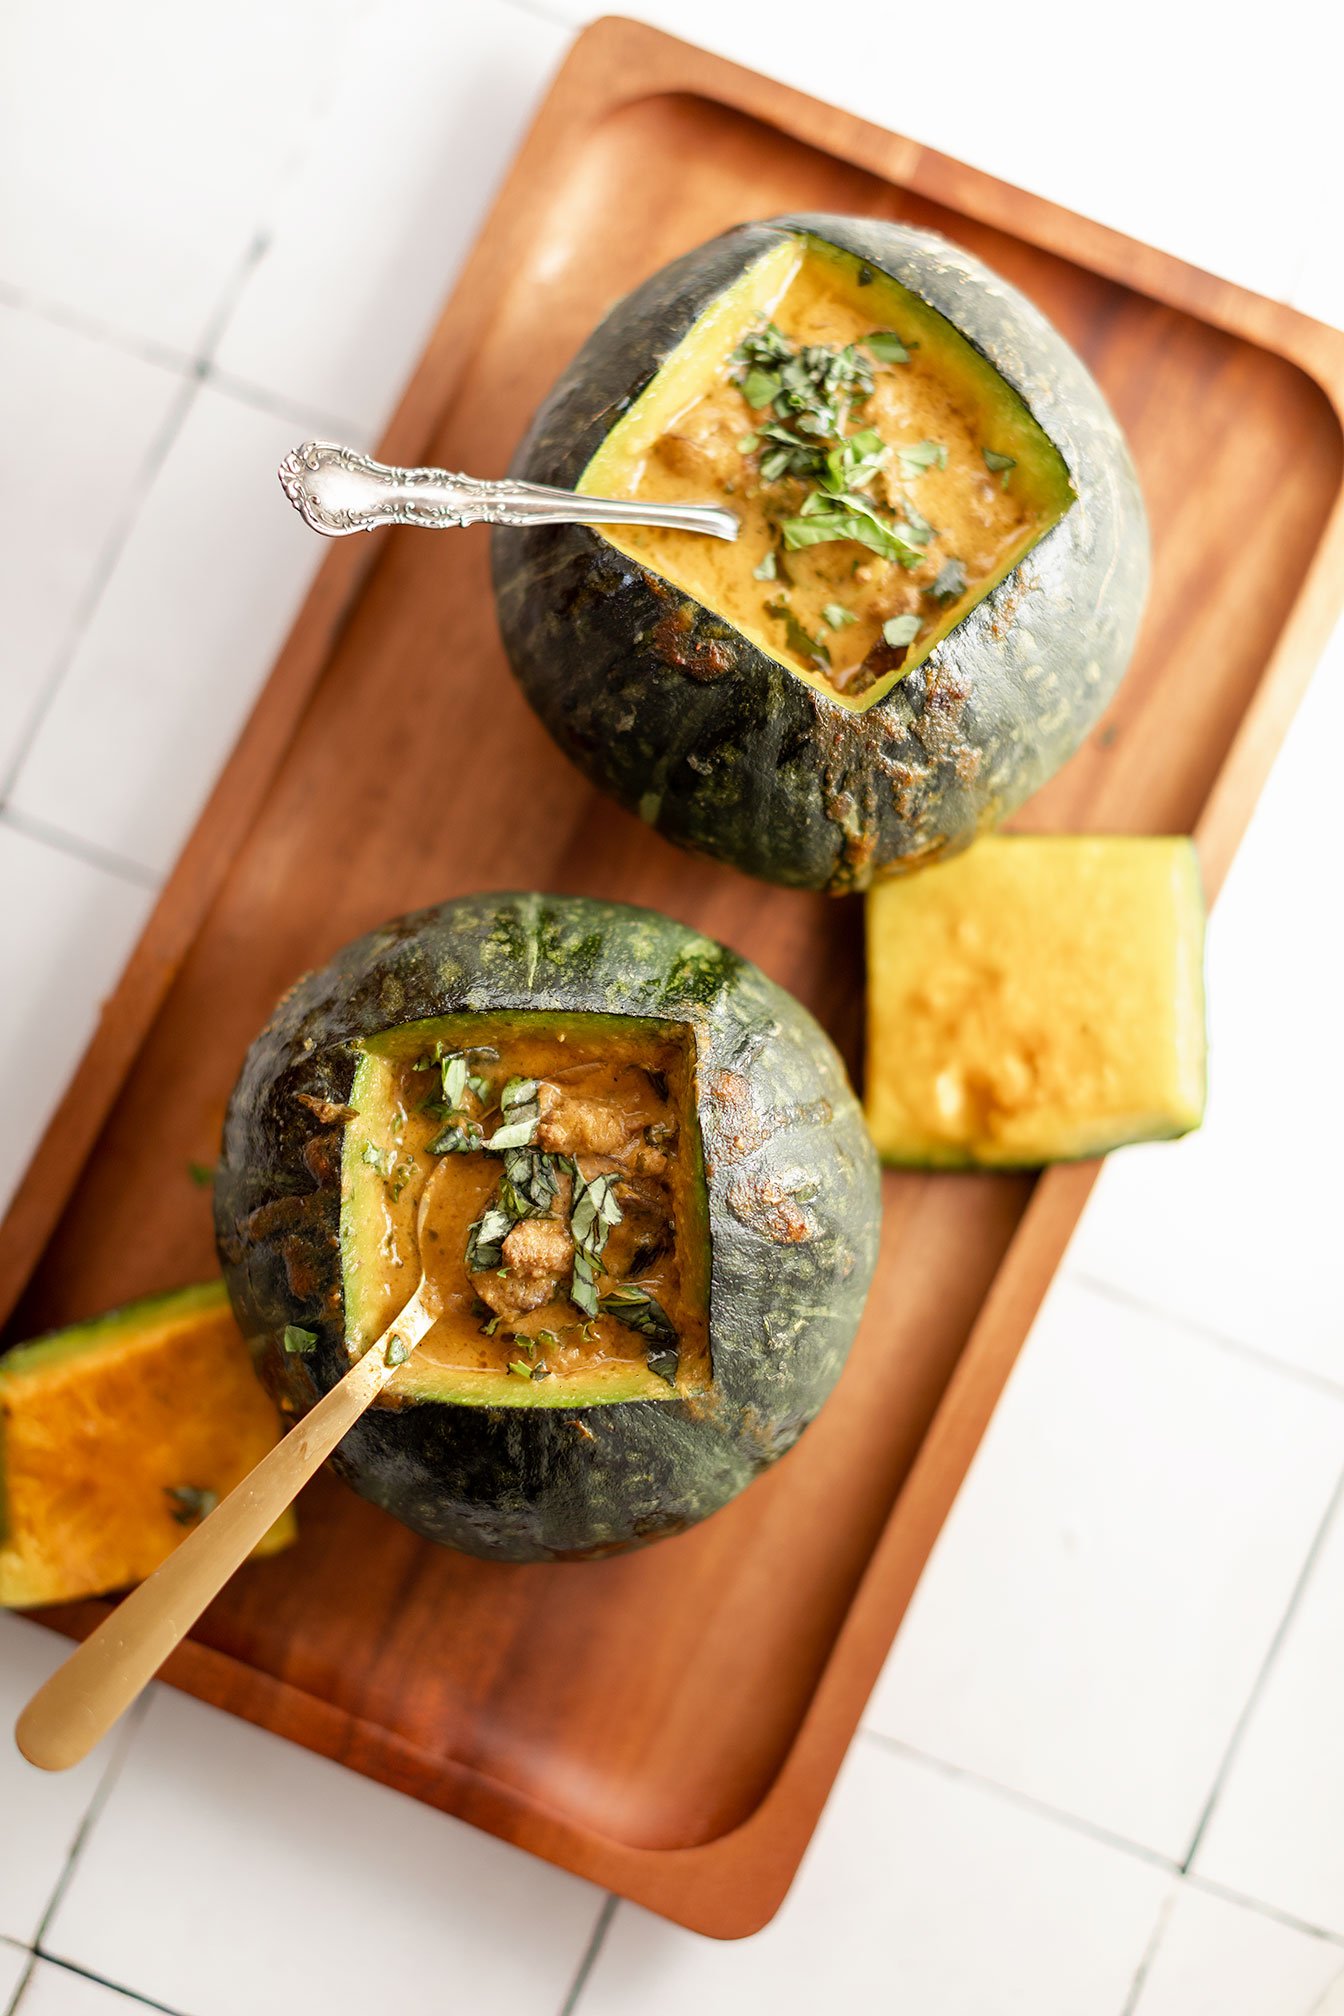
Lamb Stew Squash Bowl
that can also be served with a side of rice.
Lamb stew squash bowl has got to be the epitome of winter comfort. There is nothing like spending an hour or two in the kitchen creating a comfort dish and sharing it with your loved ones. Especially when you are using seasonal ingredients that are not only nourishing for the body, but for the soul.
For this recipe, I used kabocha squash as they are the perfect “bowl” size for this dish but you can also use: pumpkin, acorn, butternut, delicata, or even zucchini. Random thought but if you have a large family or fun gathering, using a large pumpkin for this dish would definitely be the star on the table as well as a crowd pleaser!
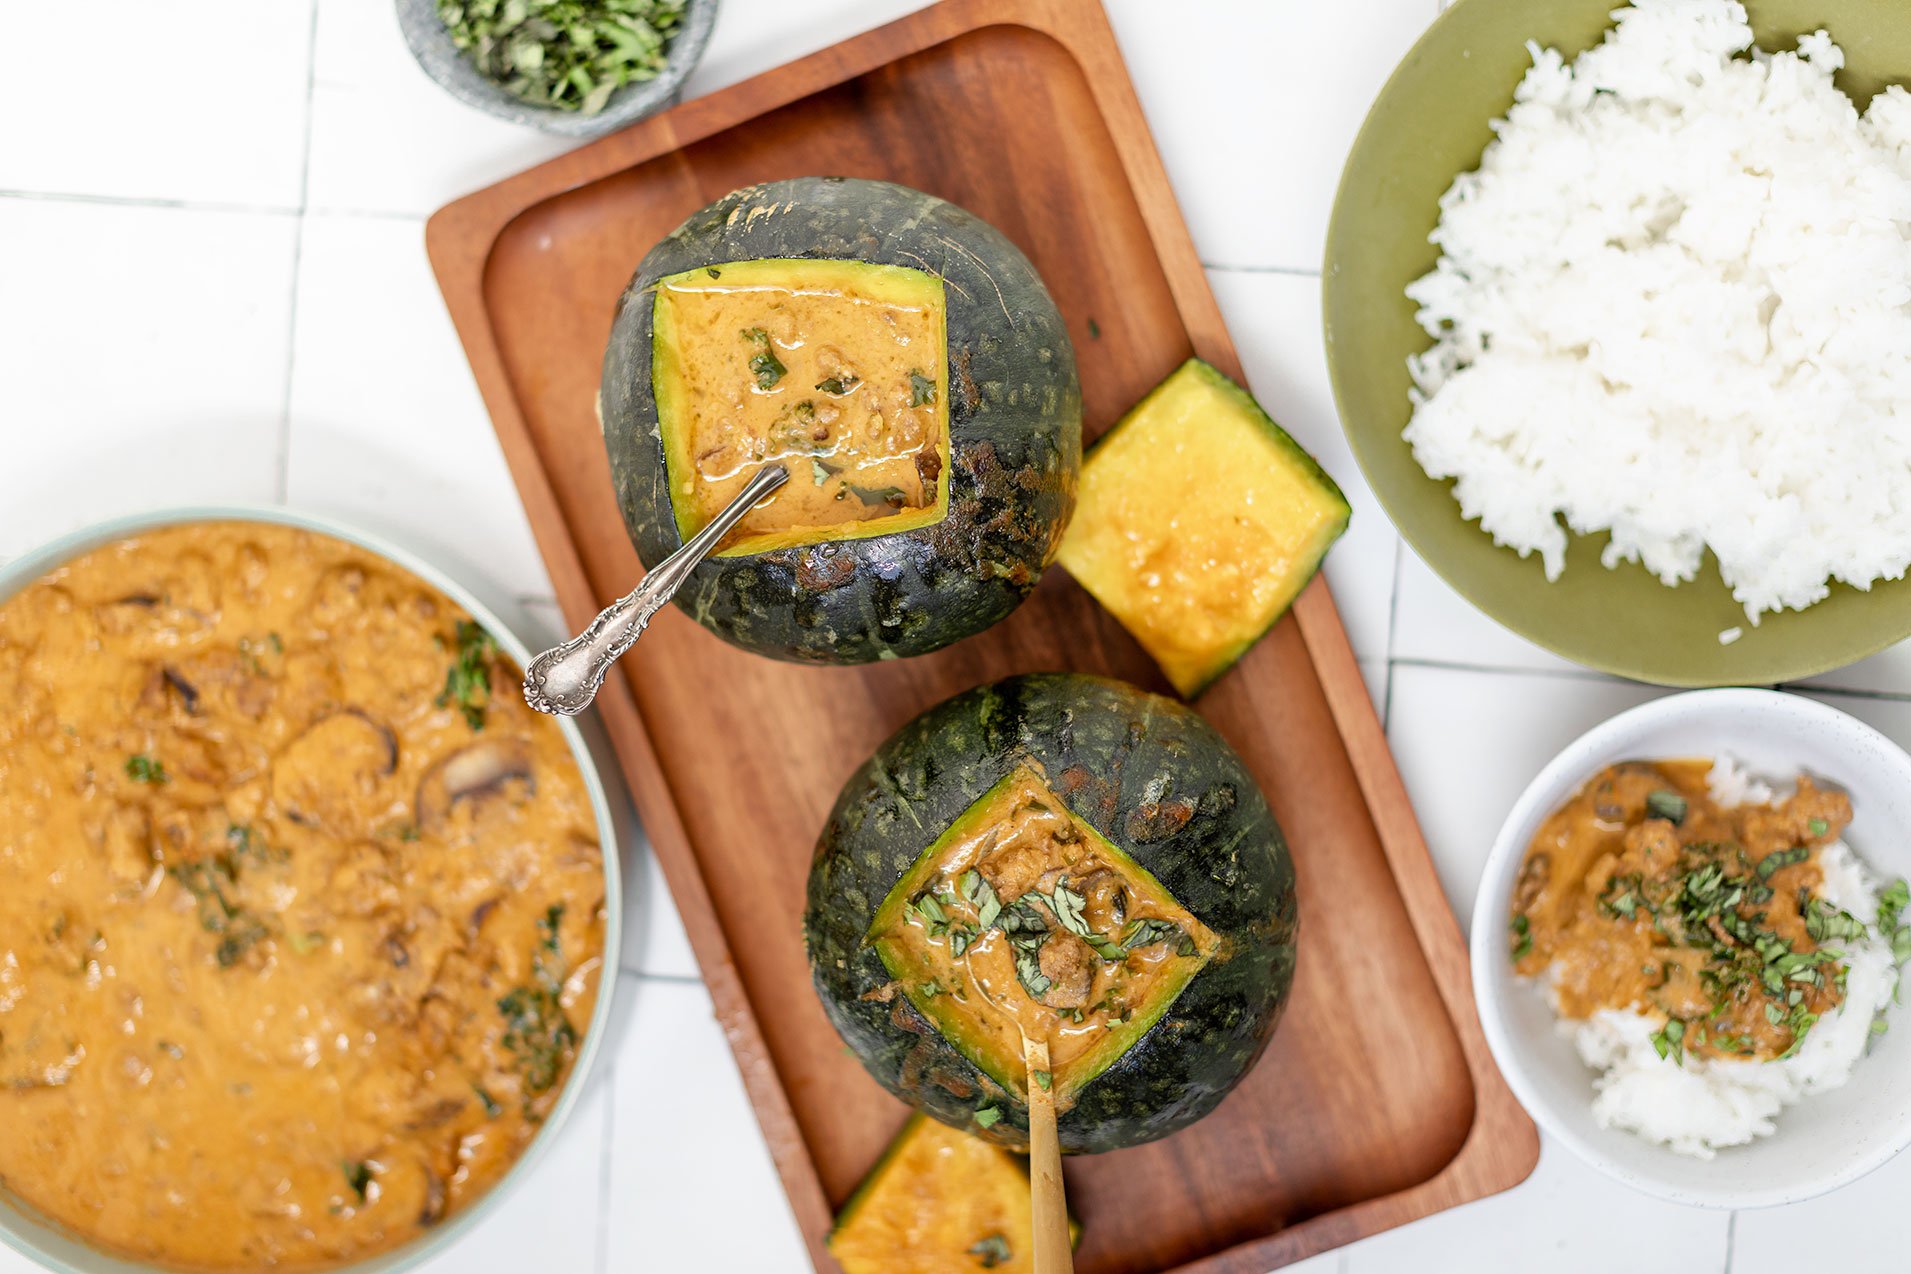
Nourishing and hearty lamb stew squash bowl that can also be served with a side of rice.
Lamb stew squash bowl has got to be the epitome of winter comfort. There is nothing like spending an hour or two in the kitchen creating a comfort dish and sharing it with your loved ones. Especially when you are using seasonal ingredients that are not only nourishing for the body, but for the soul.


For this recipe, I used kabocha squash as they are the perfect “bowl” size for this dish but you can also use: pumpkin, acorn, butternut, delicata, or even zucchini. Random thought but if you have a large family or fun gathering, using a large pumpkin for this dish would definitely be the star on the table as well as a crowd pleaser!

Squash not accessible or not keen on squash? Feel free to prepare a side of rice, quinoa or roasted sweet potatoes to go with the stew!
Now that we are on the stew topic, I could literally drink this smooth, creamy flavor bomb of a stew just on its own! I’m telling you, there is nothing like roasting your veggies prior to blending into a cream sauce. Just saying!

If you try this recipe, let us know! Leave a comment, rate it, and don’t forget to tag a photo to #fromtherootsblog on Instagram. We love seeing what you come up with!
Nourishing and hearty lamb stew squash bowl that can also be served with a side of rice.
Servings: 4-6 | Prep Time: 20 min | Cook Time: 1 hour
Ingredients
1 lb ground lamb or meat of choice
2 small kabocha squash or squash / pumpkin of choice
1 8 oz container baby bella mushrooms, sliced
2 cups kale or collard greens, shredded
1 can coconut milk, unsweetened
1 onion
2 large tomatoes
6 cloves garlic
1 .5 oz organic fresh basil (small container)
1 Tbsp favorite go-to seasoning
1-2 Tbsp grass-fed butter
Kosher salt and pepper
Directions
Preheat the oven to 400 degrees.
Clean out both squash and line the inside and lid with butter, set aside.
Slice tomatoes and onion in half, and place on a cookie sheet with crushed cloves of garlic. Drizzle oil and kosher salt and cook in the oven for 25 minutes.
While the tomato mixture is cooking, crumble ground meat in a large skillet over medium heat. Add the seasoning and saute until the lamb meat is fully cooked. Set aside but keep rendered fat in the skillet.
After the roasted veggies have cooled down, remove the outer skin from the onion and transfer everything to a blender. Add in the coconut milk and basil and blend until smooth. Taste test and add additional salt if needed.
Add mushrooms and kale to the skillet with reserved lamb fat and set over medium heat. Saute for about 5 minutes and pour in the blended cream mixture and cooked lamb meat. Remove from heat and transfer the mixture into your buttered squashes.
Place filled squash bowls on a cookie sheet with the lids on top and cook in the oven for 25 minutes.
At this time, if you have leftover lamb stew, feel free to make a side of steamed rice.
Remove from the oven and garnish with basil chiffonade and enjoy! Don’t forget to scrape the inside of your squash as you eat!

Fire Cider Bone Broth
Fire cider bone broth is so easy to make, you probably have most of the ingredients in your pantry or fridge already! So during the cold winter months, you want to make sure you have this bone broth close by as a preventive measure against the cold and flu.
The basic ingredients are bone broth, apple cider vinegar, turmeric, horseradish, ginger, black peppercorns, honey, lemons, onion, garlic, cayenne pepper and jalapenos. Okay...I know what you are thinking, this combination sounds strange! Just trust me, it’s so tasty! It’s earthy, zingy, sour, heat with a touch of sweet notes that will wake your sinuses up in the best way possible!
Fire Cider Bone Broth - Combining gut health restoration with immunity goodness, this fire cider bone broth will become an established staple in your house during these cold winter months.

Fire cider bone broth is so easy to make, you probably have most of the ingredients in your pantry or fridge already! So during the cold winter months, you want to make sure you have this bone broth close by as a preventive measure against the cold and flu.
The basic ingredients are bone broth, apple cider vinegar, turmeric, horseradish, ginger, black peppercorns, honey, lemons, onion, garlic, cayenne pepper and jalapenos. Okay...I know what you are thinking, this combination sounds strange! Just trust me, it’s so tasty! It’s earthy, zingy, sour, heat with a touch of sweet notes that will wake your sinuses up in the best way possible!

But if that doesn’t convince you, maybe the health benefits per ingredient will!

Raw Apple Cider Vinegar - Raw apple cider vinegar includes “The Mother” which is the cloudy substance floating in some bottles of vinegar. The mother is believed to be rich in health-boosting natural protein, healthy bacteria (probiotics) and acetic acid. The vinegar itself is antimicrobial, improves insulin resistance and has antifungal properties.
Horseradish Root - This specific root provides that hot, pungent effect in your nose and sinuses that can sometimes be used to relieve congestion. It also releases a strong anti-inflammatory and antibiotic compound called ally isothiocyanate. Other uses include boosting the immune system, treating sinus infections, preventing UTIs and aid in digestion.
Honey - Not only does honey contain a host of health properties, like being antimicrobial, it provides the bone broth a touch of sweetness that offsets the pungent flavors. To help with allergies, you need to get local, raw honey. This will insure that the honey has the allergens native to the area you live in.
Lemons - Contain high levels of calcium, magnesium, phosphorus and vitamin C that is great for boosting the immune system. Lemons are also great as a cleanser, purifier, rejuvenator, and detoxifier, especially for the liver, as they help in fat metabolism.
Garlic - Known as the “king of herbs”! It has been used for medicinal purposes for the common cold and flu and seems to help purify the body and may have immune-enhancing properties. Garlic contains a mineral, sulfur, that promotes elimination of toxins from the blood, lymph, and body.

Bone Broth - Is one of the most beneficial foods to consume to restore gut health and therefore support immune system function and healthy inflammation response. Collagen/gelatin and the amino acids proline, glutamine, and arginine help seal these openings in the gut lining and support gut integrity.
Onions - The effects of onions is similar to, although more subtle than that of garlic. Like garlic, onions have a characteristic odor from the active sulfur bonds that release its purifying properties. For this drink in particular, the onion flavor really enhances the overall full-bodied flavor we are trying to achieve.
Peppers - The chilis and cayenne peppers contain capsaicin, with medicinal properties in cleansing the blood and stimulating the circulation. They also stimulate the gastric secretions and help digestion. The seeds surrounding the inner core of the peppers often concentrate the hot nature, so if you don’t like your food too spicy, you can take out the seeds.
Ginger - The classic digestive tonic that actually has multiple benefits for the digestive tract, including toning of the intestinal muscles, improving bile flow, helping in the digestion of fats, and lessening the risk of inflammation along the lining of the intestines. Fun fact: ginger is also a diaphoretic (causes sweating) that helps in circulation and in warming the body when we feel cold, so great during the colder winter months!
Turmeric - The much-loved anti-inflammatory spice! This plant is a member of the ginger family and shares some of its anti-inflammatory properties with that spice. Like ginger, turmeric lowers the level of messaging molecules that trigger inflammation. It also lowers levels of nitric oxide and is associated with a more favorable overall balance of immune system messaging molecules (called cytokines).
Black Pepper - Think of black pepper as turmeric’s wing man! Black pepper helps to increase the absorption and metabolization of curcumin (a curcuminoid polyphenol found in turmeric).

As you can see, these ingredients follow the same pattern in boosting the immunity while providing gut relief. You can also include other ingredients to your broth like cinnamon sticks, echinacea, rosemary, and other types of citrus fruits and peppers depending on your taste preferences.
To make the fire cider, you want to make sure that your fruit and roots are organic and properly washed. In order to get the most nutritional value from each ingredient, I would roughly chop the onions and pepper, grate the roots, zest and juice the lemon, and crush the garlic cloves. I have also included a way to make this in tonic form (no heat, long fermentation) in the Notes section.


Disclaimer: This post is not a substitute for medical advice. If you are suffering from cold or flu like symptoms or have a weakened immune system, please see your healthcare provider!
References: Haas, E. M., & Levin, B. (2006). Staying healthy with nutrition: The complete guide to diet and nutritional medicine (21st century edition ed.). Berkeley, CA: Celestial Arts.
https://www.stephgaudreau.com/how-to-make-fire-cider-tonic/
If you try this recipe, let us know! Leave a comment, rate it, and don’t forget to tag a photo to #fromtherootsblog on Instagram. We love seeing what you come up with!
Fire Cider Bone Broth - Combining gut health restoration with immunity goodness, this fire cider bone broth will become an established staple in your house during these cold winter months.
Ingredients
16 oz bone broth
1 lemon (juice & zest)
Knob of fresh ginger root (grated)
Knob of fresh horseradish root (grated)
Knob of fresh turmeric root (grated) or 1 tsp - 1Tbsp turmeric powder
1 tsp of whole black peppercorns
2 Tbsp raw apple cider vinegar
1 Tbsp raw local honey (if possible)
1 jalapeno (sliced)
3 cloves garlic (crushed)
½ small onion (chopped)
Couple dashes of cayenne pepper
Directions
Add all the ingredients to a medium saucepan on medium heat.
The broth should come to a boil, then reduce heat and simmer for 5-10 minutes. Taste and adjust flavor as needed. The broth should have the perfect amount of zing, acidity, and kick! Then turn off the heat.
Set a strainer over a medium bowl or large measuring cup to strain the liquid away from the solids. If the bone broth is too potent for you, dilute with hot water or more bone broth.
Store (strained) leftovers in the refrigerator up to 2-3 days. Reheat on the stovetop until just warm.
Notes
If there are certain ingredients that you don’t like or like more of, feel free to change the measurements to preference. *Just make sure to keep black pepper with turmeric as they work concurrently as an anti-inflammatory.
The final product will taste differently depending on what bone broth brand you use as some brands have added flavorings to their broth. To make sure you are in control of the flavoring, I would use this bone broth brand as the broth in itself is very mild tasting: Bonafide Provisions
You can also turn this recipe into a tonic! Simply replace bone broth with water and/or raw apple cider vinegar and add all ingredients (minus honey) to a large 32 oz Mason jar. Make sure you fill to the neck of the jar with vinegar. Place a small piece of wax paper underneath the lid, fit the lid on the jar tightly and place in a dark area (like a cabinet) for 30 days. Every day, make sure you invert the jar a couple times to make sure everything is mixed. After a month, strain the liquid away from the solids. Add honey and mix until dissolved. Store tonic in a bottle in the fridge.

The Best Gluten-Free Skillet Cornbread
During the first few weeks of quarantine, I was a baking machine. I created all the things, paleo banana nut bread, muffins, cookies, sourdough bread, you name it! It was so bad, I had to start freezing the leftovers because my fridge couldn’t handle it!
I was also creating recipes using ingredients from my pantry. Like most, I wasn’t sure if the grocery stores were going to be closed or only provide limited ingredients so I got creative in the fast! But since I’m cooking for one, having a one-pot meal goes a long way!
The BEST gluten-free skillet cornbread made with just 10 ingredients! Fluffy, perfectly sweet, crumbly and so tasty!

During the first few weeks of quarantine, I was a baking machine. I created all the things, paleo banana nut bread, muffins, cookies, sourdough bread, you name it! It was so bad, I had to start freezing the leftovers because my fridge couldn’t handle it!

I was also creating recipes using ingredients from my pantry. Like most, I wasn’t sure if the grocery stores were going to be closed or only provide limited ingredients so I got creative in the fast! But since I’m cooking for one, having a one pot meal goes a long way!

But this recipe, I was completely fine with that! Using all my canned items to make chili (I never make chili the same so sorry if I can’t provide a chili recipe! haha) I also made skillet cornbread, and oh boy, was it good!

Growing up, my mom would make cornbread using Jiffy cornbread mix. It was my favorite version because I would rather have a sweeter cornbread than savory. Though, I do love adding fun add-on ingredients like minced jalapenos or green chilies to give it a kick!

So if you are #teamjiffy, then you will love this recipe! Enjoy as a side with your fall and winter recipes or as an appetizer!
If you try this recipe, let us know! Leave a comment, rate it, and don’t forget to tag a photo to #fromtherootsblog on Instagram. We love seeing what you come up with!
The BEST gluten-free skillet cornbread made with just 10 ingredients! Fluffy, perfectly sweet, crumbly and so tasty!
Ingredients
1 cup yellow cornmeal
1 cup gluten-free 1 to 1 baking flour (or paleo baking flour)
¾ cup unsweetened plant based milk
¼ cup cup organic cane sugar
¼ cup extra virgin olive oil
2 eggs room temperature; lightly beaten
1 Tbsp grass fed butter or coconut oil
1 tsp apple cider vinegar or lemon juice
1 ½ tsp baking powder
½ tsp baking soda
¼ tsp pink Himalayan sea salt
Directions
In a liquid measuring cup, measure out milk and add 1 tsp apple cider vinegar or lemon juice. Mix until combined and set aside. How to create “buttermilk” plant-based way!
Preheat the oven to 375 degrees. In a 9 inch cast iron skillet, melt 1 Tbsp grass fed butter or coconut oil on the stove top. Make sure the melted butter has coated the bottom and sides of the skillet. Set aside to cool.
Add dry ingredients to a large mixing bowl and whisk to combine.
In a medium mixing bowl, mix the oil, “buttermilk” mixture, and whisked eggs until combined.
Slowly pour the liquid mixture into the dry mixing bowl and whisk until fully combined.
The batter should be thick but pour-able. Add more cornmeal or flour if too wet or almond milk if too thick in 1 Tbsp amounts.
Pour batter into the prepared oiled skillet, lightly sprinkle some sugar over batter, and bake on a center rack for 25-30 minutes, or until the edges are light golden brown and a toothpick inserted into the center comes out completely clean.
Let cool completely in the pan for 10-15 minutes - set on a wire rack to speed the cooling process. To remove, run a dull knife around the edges to loosen, then slice and serve.
Serve with butter, maple syrup, or honey.
Store covered at room temperature for 2-3 days, or in the refrigerator for 3-4 days. Freeze up to a month.
Notes
Like a spicy kick in your cornbread? Feel free to mince in 1 jalapeno or green chilis to the batter.
I have not tested this recipe with other sweeteners such as coconut sugar or maple syrup so if you try to sub sugar out, the texture and flavor may be off.
Here are the brands I use for this recipe: GF 1 to 1 baking flour, yellow cornmeal, and paleo baking flour, organic cane sugar

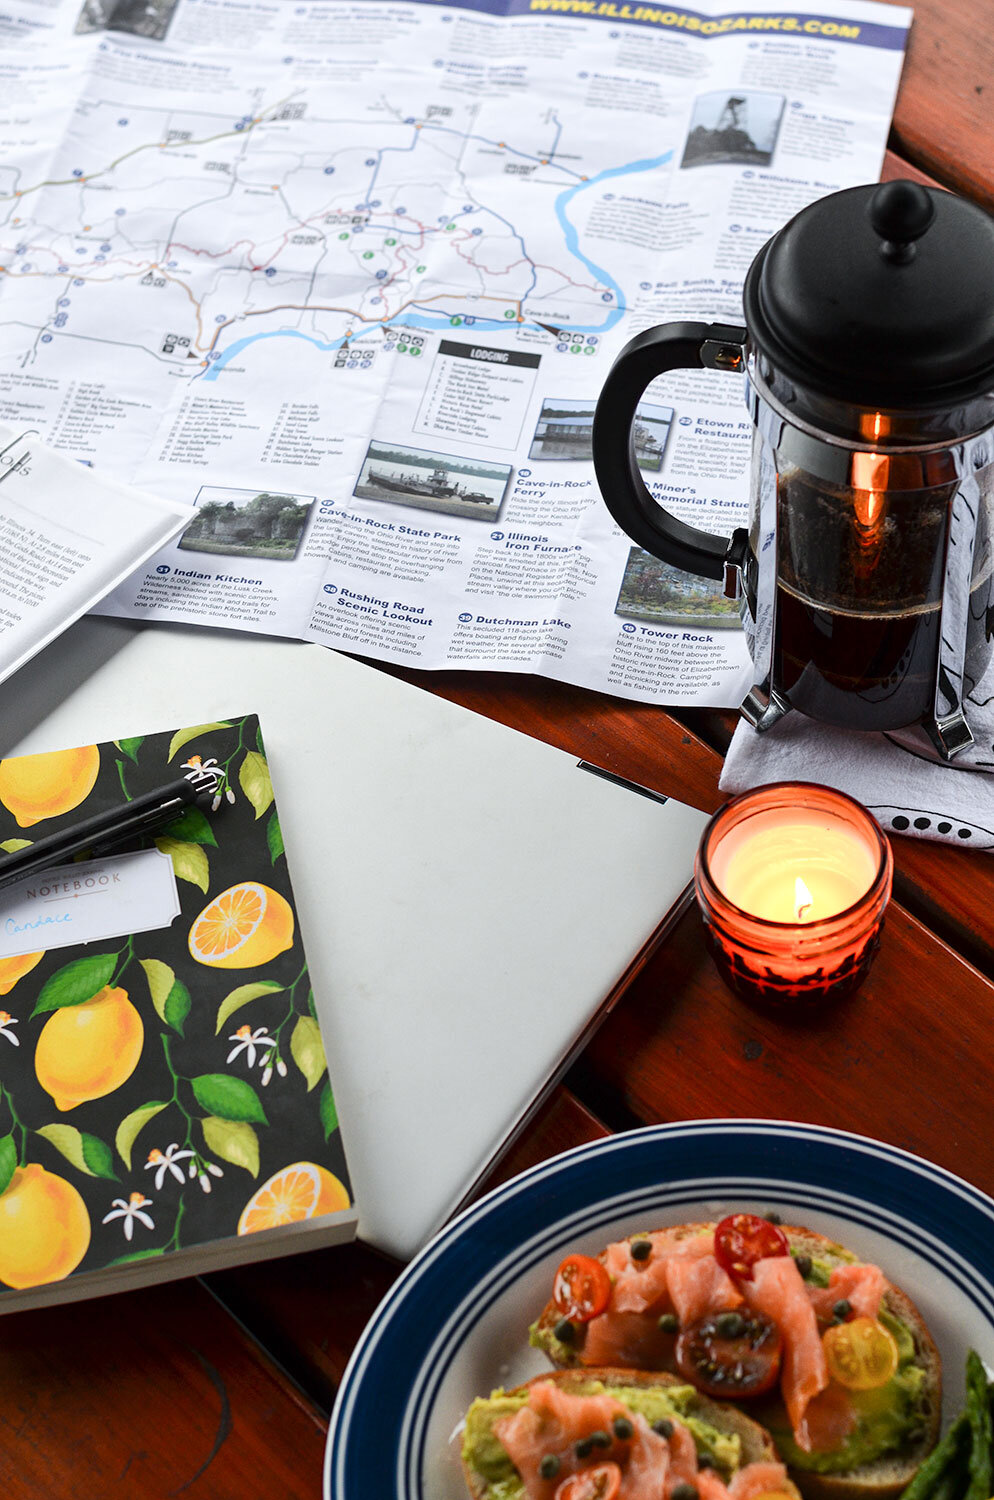
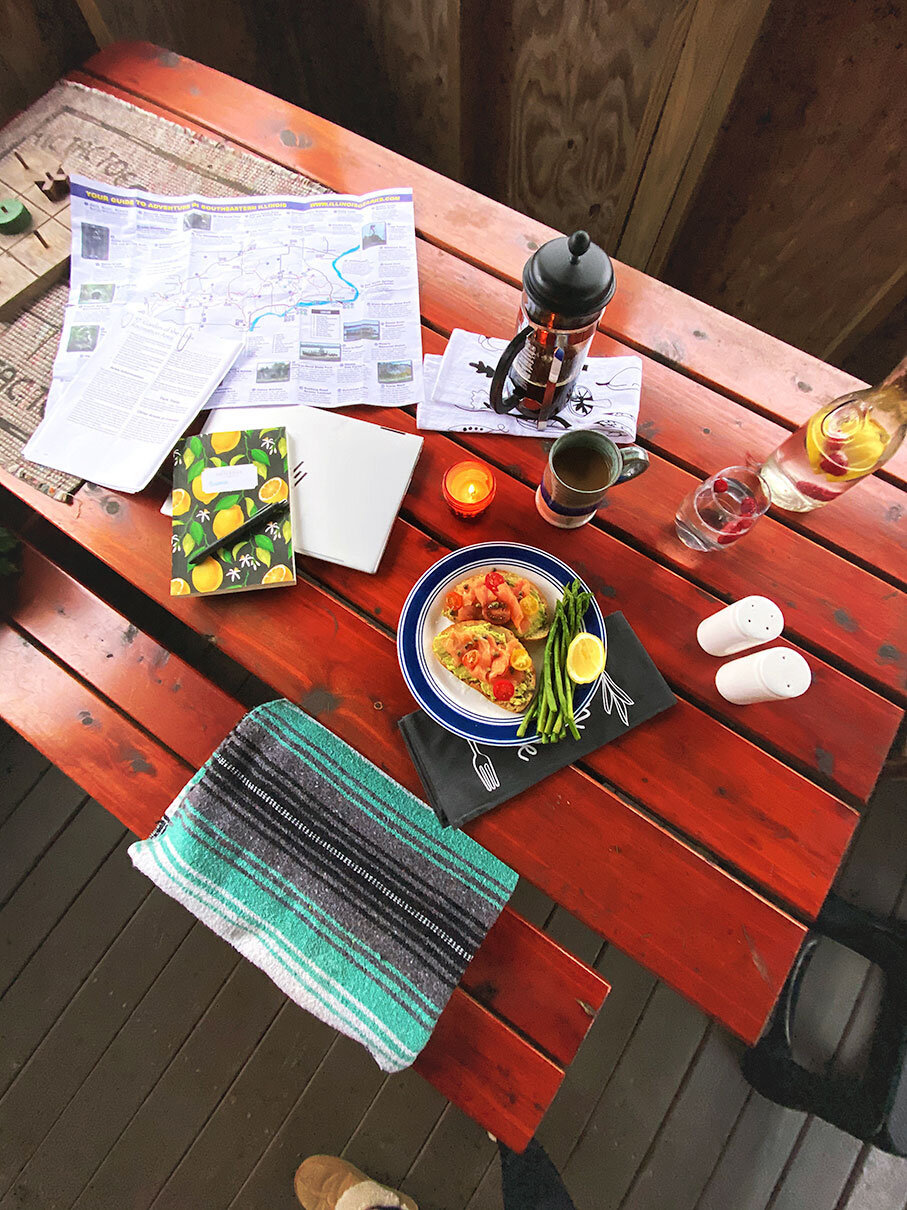
Winter Retreat in Shawnee National Forest
At the beginning of January of this year, Southernmost Illinois provided me a four-day lodging experience so that I could explore the most beautiful National Forest in the state of Illinois. Not a bad way to start the new year, amiright?! If you are looking for a winter retreat in the Midwest region, then look no further.
Three days, 30 miles, one woman - braving the winter by foot in Shawnee National Forest. Haha, okay that sounds a bit dramatic, but at least I got your attention. ;)

At the beginning of January of this year, Southernmost Illinois provided me a four-day lodging experience so that I could explore the most beautiful National Forest in the state of Illinois. Not a bad way to start the new year, amiright?! If you are looking for a winter retreat in the Midwest region, then look no further.
Lodging
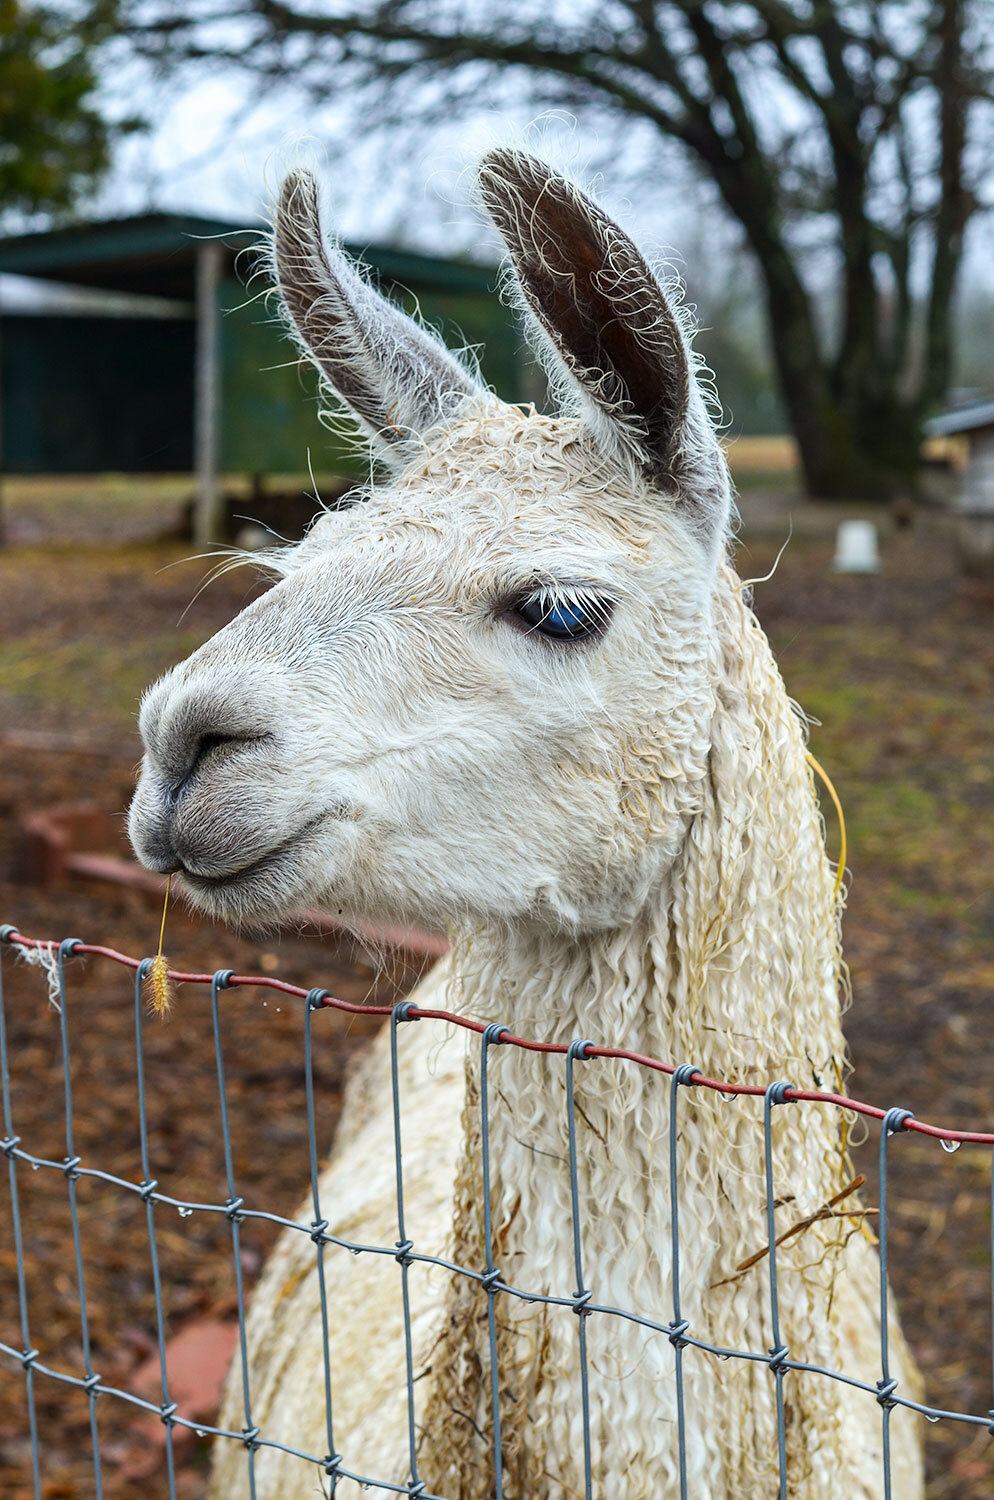
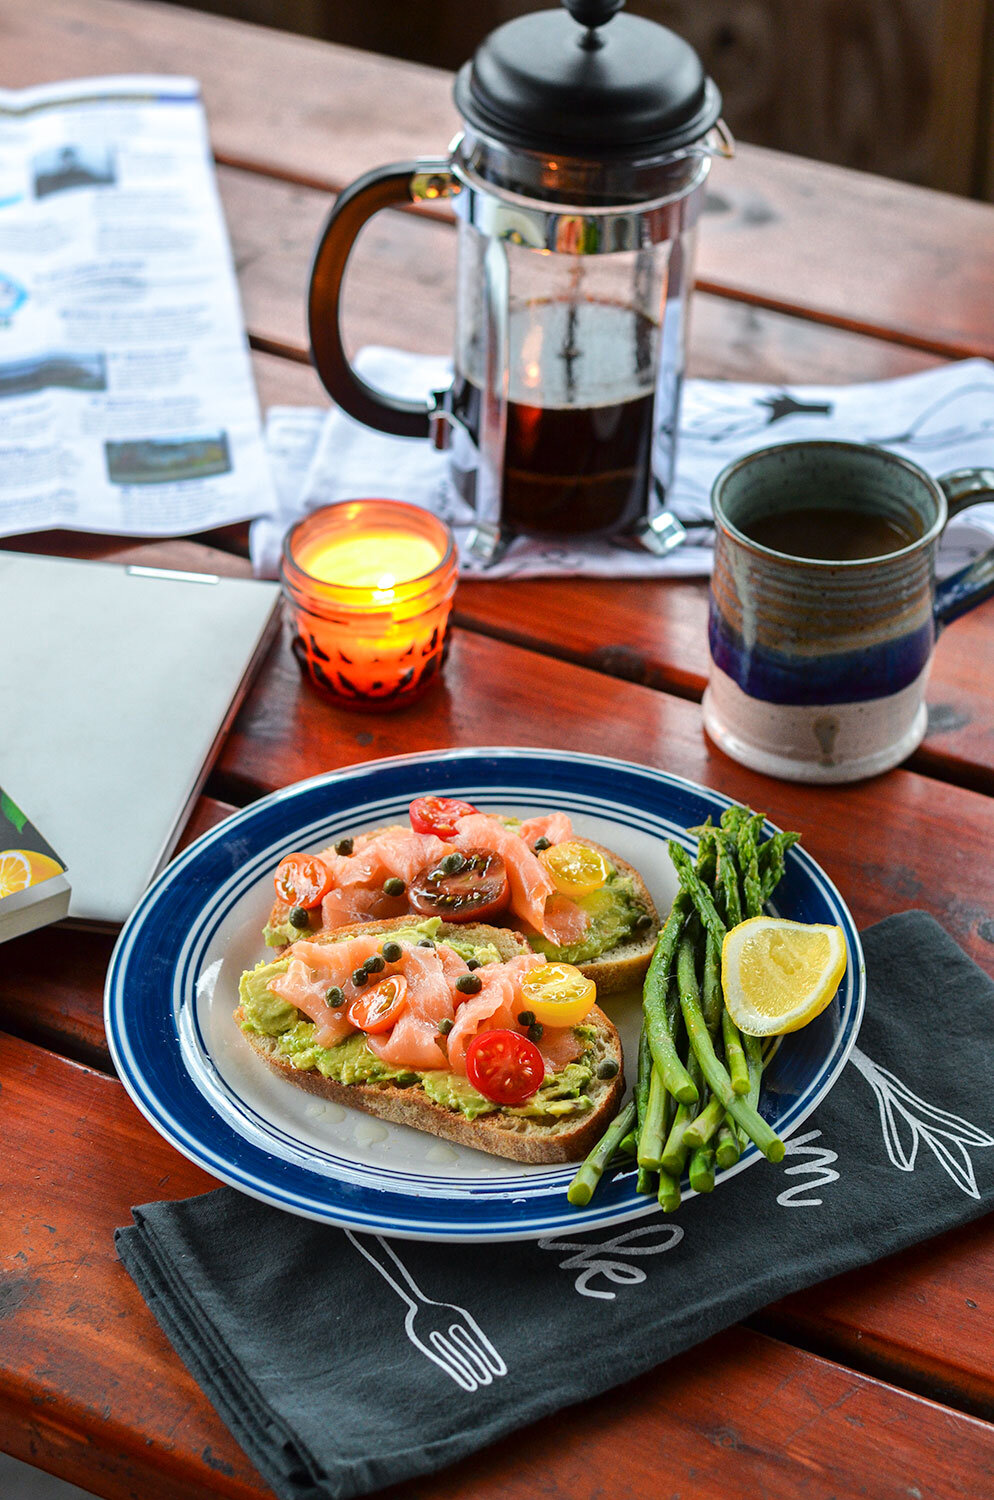
For the duration of the trip, I stayed at the oh so cozy, Rim Rock’s Dogwood Cabins. I couldn’t have asked for a better lodging experience! Not only is the location perfectly situated within the Shawnee National Forest, but they have farm animals on the property: llamas, miniature donkeys, goats, chickens/guineas and 4 dogs to be exact!

There are a total of 6 unique cabins on the property. I stayed in Coyote Hollow. All of their cabins are pet-friendly and have general lodging amenities (i.e. free WiFi, satellite, outdoor fireplace.) Because there was a full kitchen, I cooked and prepared all the meals during my stay. Here is a link for more information regarding cabin and local area information if you are interested in lodging! Currently, there is a winter special to the end of February 2020: 25% off weekdays and RENT 2 nights, get another night free!


Recipe for paleo magic bar cookie skillet can be found here.
Hiking
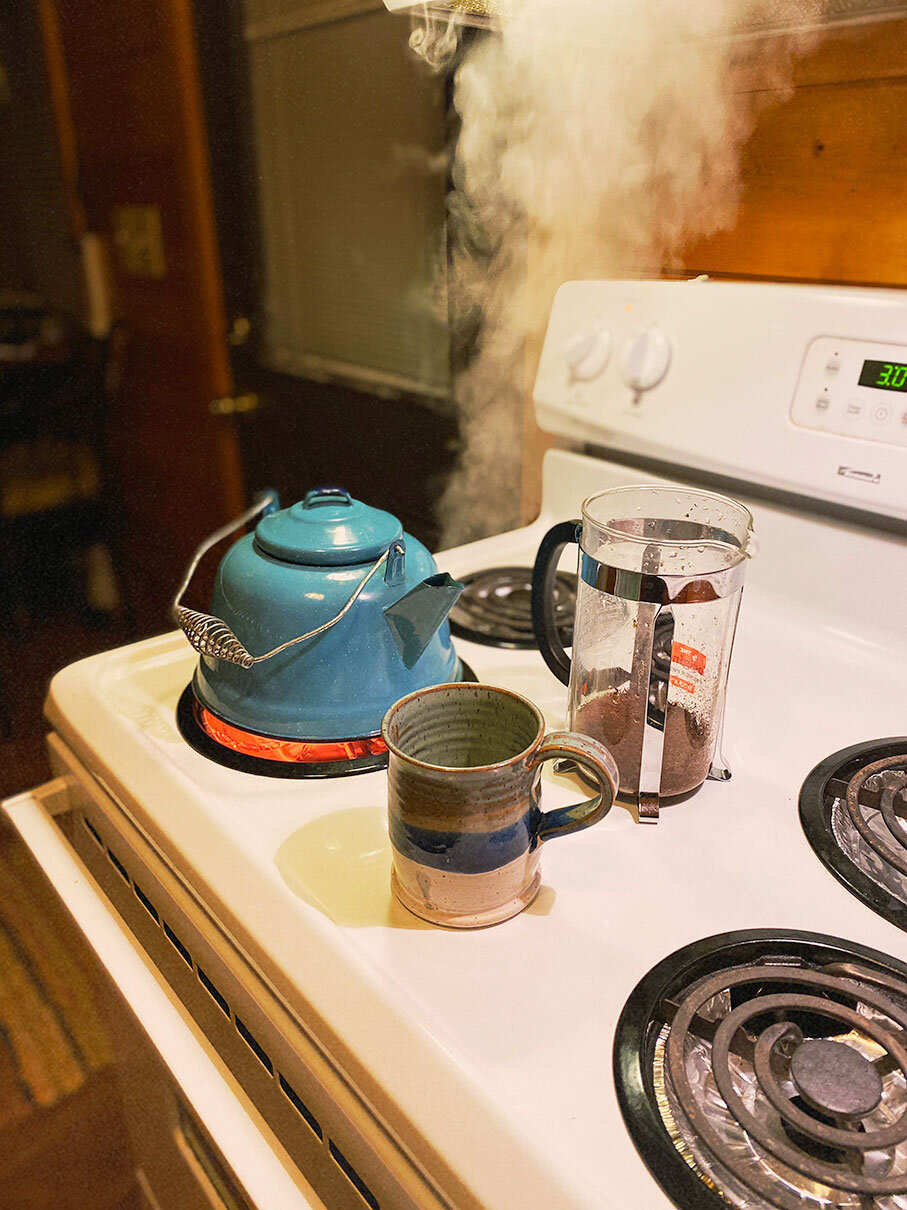
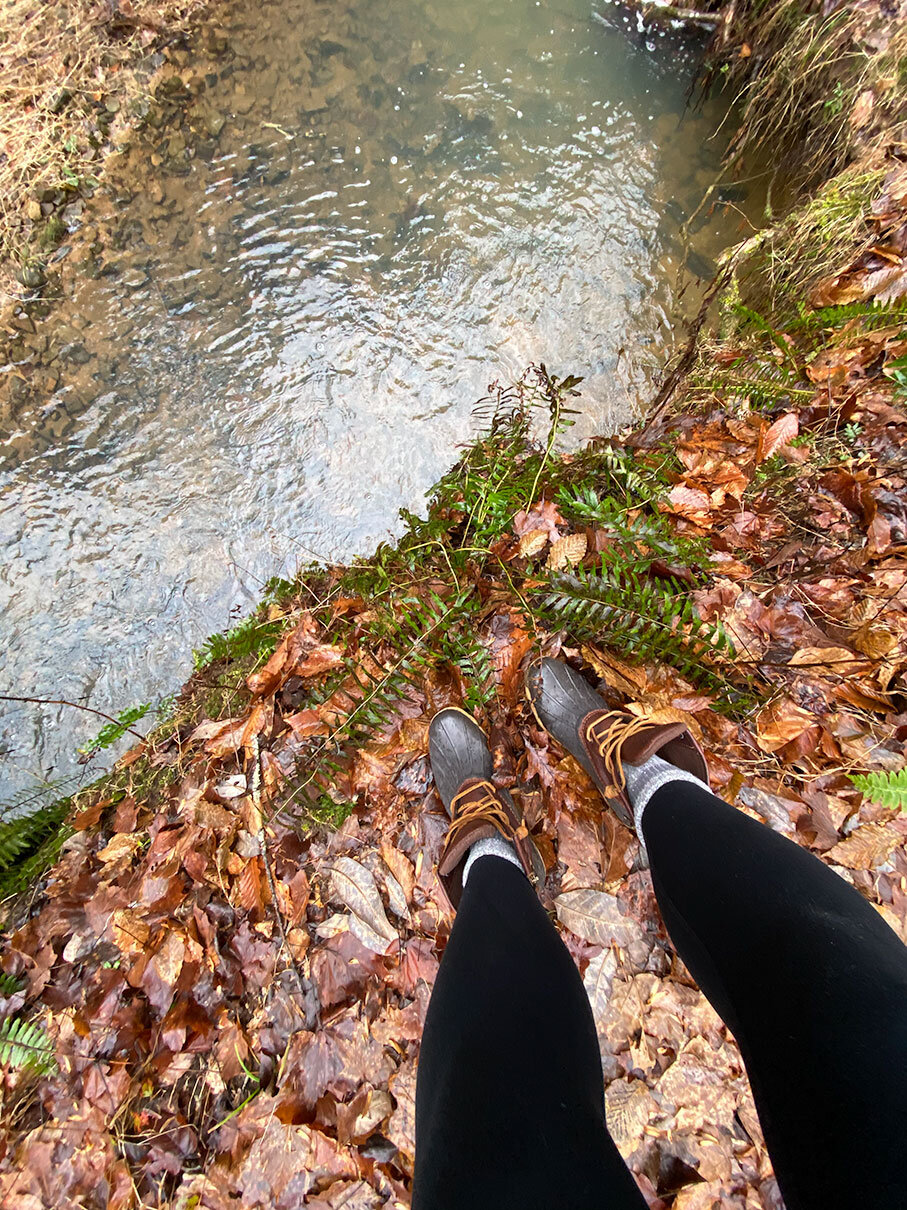
Since this is a winter retreat, you are probably thinking that I am going to talk about indoor attractions, restaurant recommendations, and shopping. Sorry to disappoint, because this girl enjoys the outdoors; regardless if it is raining, snowing, or sleeting! And now that I think of it, all three happened in one morning, haha. So if I haven’t lost you at this point, grab a map and a cup of coffee, and let’s dive into the beauty that is Shawnee National Forest during winter!
Day 1:
Since the Rim Rock National Recreation trail is 100 yards east of the cabins’ main entrance, I started there first. Recommend taking the lower loop on the right side, going up the stairs in the “main attraction” area which leads around the rim of a rock escarpment, hence the name! You will see really cool bluff lines, incredible bluffs, unique rock formations, “fat man squeezes”, and creeks. If you go in the summer, wildflowers are in full bloom; so beautiful.
Rim Rock National Recreation Trail
Distance: 1.7 miles
Difficulty: Easy
While you are in this area, you will see another great trail: Pounds Hollow Lake. And while this spot is more of a summer hot spot, hiking around its beautiful 28 acre National Forest lake is beautiful too! Any horse lovers?! This area is the most popular horseback riding trail spot!
Pounds Hollow Lake and Thacker Hollow Loop
Distance: 10 miles
Difficulty: Easy
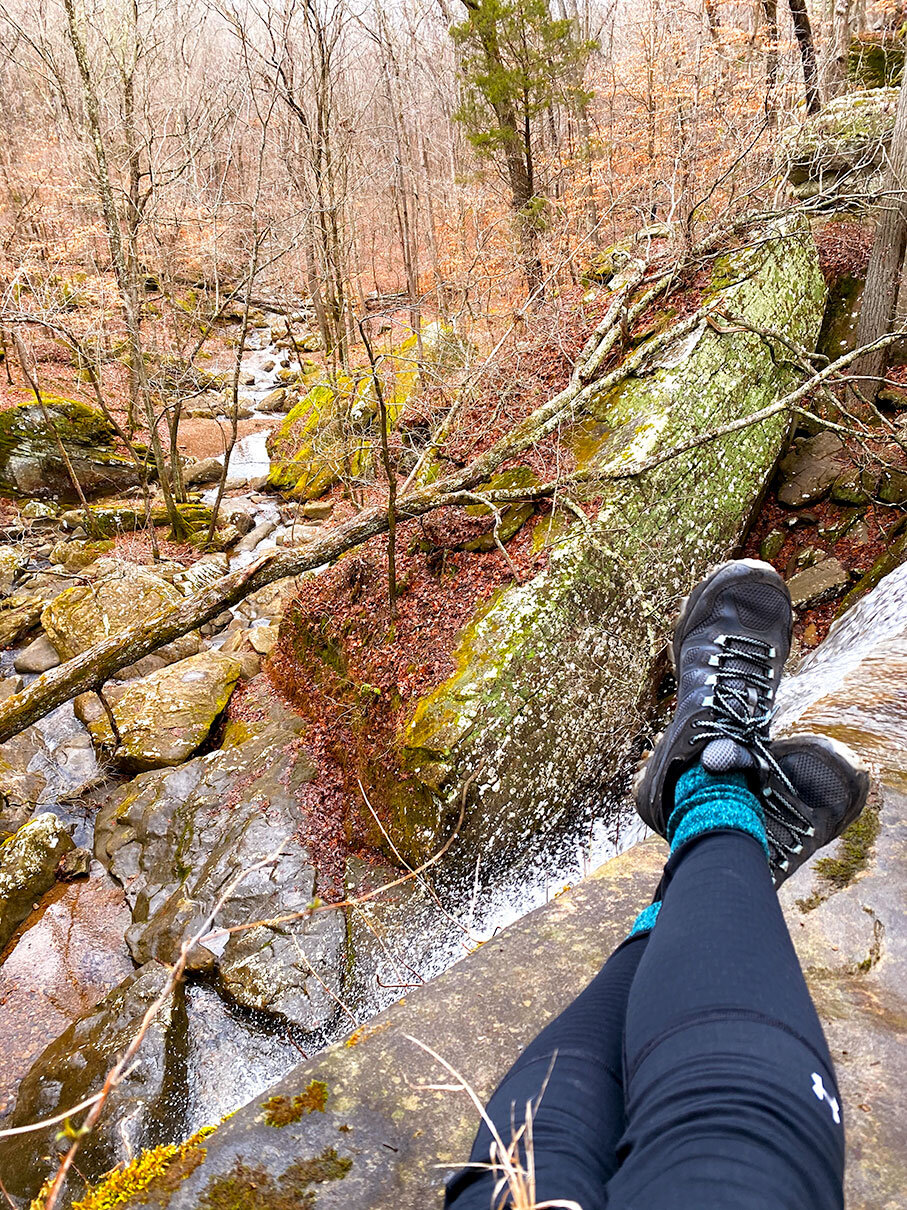
The last hike for the day was at high knob since it’s about a 15-minute driving distance from Pounds Hollow. A great little hike to end the day. If you are hiking in this area when it’s raining, make sure you are wearing appropriate shoes. Lots of moss means green in winter = great but when raining = slick! Tip: I highly recommend this hike first if you want the perfect view of sunsets.
Pounds Hollow
Distance: .6 miles
Difficulty: Moderate


Day 2
I had an early start to the day as I drove about 40 minutes west to see the falls! First stop: Burden Falls. There are trails that you can explore in this area, but if you are pushed for time and just want to see waterfalls, you can spot them about 100 yards off the parking lot area.
Burden Falls
Distance: .8 miles
Difficulty: Moderate
About 10 minutes from Burden Falls you will find Jackson Falls. This was my favorite waterfall spot! You can spend a good amount of time in this area. At the top of the falls, cross the creek and follow the trail to the left (as you are looking out over the falls) for about ¾ mile. You will cross a smaller creek/waterfall, then about 100 yards, there are some large boulders along the bluff line that you can scramble down and follow the trail back along to the falls. Many miles of scenic hiking along the top and bottom sections in this area. Any rock climbers!? This area is great for rock climbing and bouldering between three waterfalls!
Jackson Falls
Distance: 3.7 miles
Difficulty: Moderate
After lunch, I headed over to Bell Smith Springs. This was probably my favorite hiking spot! Spent the rest of the afternoon/evening weaving through various trails that contained clear, rocky streams, scenic canyons bordered by high sandstone cliffs, and beautiful vegetation! Within the trail system, you have interconnected trails featuring Devil’s Backbone, Boulder Falls, and a natural rock bridge. *If you have more time in this area, I would recommend checking Sand Cave
Bell Smith Springs
Distance: 8 miles
Difficulty: Moderate


Day 3:
Saved the best for last! At the wee hours of the morning, I drove over to Garden of the Gods to catch the sunrise! Even though it was below freezing temps and killer winds, man oh man, was it worth it! You can easily spend 15 minutes to a half-day in this area. There are a number of trails that offer various activities and are accessible year-round. *Please be safe when climbing the sandstone rock formations!
Garden of the Gods - Observation Trail
Distance: .5 miles
Difficulty: Easy


And there you have it! Hiking in the winter isn’t so bad! Honestly, it was a truly therapeutic experience for me. Regardless if you are doing a winter retreat on your own or doing it with loved ones, it’s good to take time out for yourself. Nature has a special way of re-grounding us. I leave you with this:
“Every morning was a cheerful invitation to make my life of equal simplicity, and I may say innocence, with Nature herself.”
― Henry David Thoreau, Walden


This post was sponsored by Southernmost Illinois Tourism Bureau. All thoughts and opinions expressed in this post are my own.


Butternut Squash, Kale, and White Bean Lasagna Soup
Butternut Squash, Kale, and White Bean Lasagna Soup - Made with less than 10 ingredients - sure to be a dinner staple during the wintertime.
Ever since I made Pioneer Woman's lasagna soup ten years ago, I never got back to the normal way of making lasagna. When you find an easier, more efficient way of making something, why turn back? Amiright!?
So to switch up the classic take on lasagna soup, I made it winter-inspired using butternut squash, kale, and white beans. For this recipe, I used spicy sausage but if you are plant-based, you can simply switch out for vegan sausage or an extra can of white beans.
This lasagna soup is made with less than 10 ingredients, using one pot, and finished in under 30 minutes! So for my busy mom’s out there, this one's for you!
Butternut Squash, Kale, and White Bean Lasagna Soup - Made with less than 10 ingredients - sure to be a dinner staple during the wintertime.

Ever since I made Pioneer Woman's lasagna soup ten years ago, I never got back to the normal way of making lasagna. When you find an easier, more efficient way of making something, why turn back? Amiright!?

So to switch up the classic take on lasagna soup, I made it winter-inspired using butternut squash, kale, and white beans. For this recipe, I used spicy sausage but if you are plant-based, you can simply switch out for vegan sausage or an extra can of white beans.

This lasagna soup is made with less than 10 ingredients, using one pot, and finished in under 30 minutes! So for my busy mom’s out there, this one's for you!

Most of you know, I am a huge fan of Banza pasta! So to make this lasagna soup gluten-free, I used their brand spanking new line of lasagna noodles! With nearly two times the protein, three times the fiber, and nearly 30% fewer net carbs - it’s crazy how you can’t even tell the difference from traditional lasagna noodles!
If you try this recipe, let us know! Leave a comment, rate it, and don’t forget to tag a photo to #fromtherootsblog on Instagram. We love seeing what you come up with!
Butternut Squash, Kale, and White Bean Lasagna Soup - Made with less than 10 ingredients - sure to be a dinner staple during the wintertime.
Ingredients:
1 container lasagna noodles (uncooked)
1 can 28oz crushed fire-roasted tomatoes
1 container (4 cups low-sodium chicken stock) or veggie stock
1 can white beans (rinsed and drained)
1 container (16oz) spicy sausage or vegan sausage/extra can of beans
2 cups fresh kale (destemmed)
1 white onion (diced)
4 cloves garlic (minced)
1 butternut squash (about 1 ½ cups) cubed
Dash or 3 of red pepper flakes
1 tsp salt
½ tsp pepper
Directions:
Heat about 1 tbsp olive oil in a dutch oven or heavy-bottomed stockpot over medium heat. Add the sausage and cook until brown (about 5-8 minutes). Place sausage on a paper towel covered plate to absorb excess grease.
While the pot has oil and grease from the sausage, add the butternut squash, and cook, turning occasionally, until just beginning to caramelize and soften (about 5 minutes). Add the onion and garlic to the pot, and cook until soft and translucent.
Add the sausage back to the pot and add tomatoes, chicken stock, seasonings, and lasagna noodles (may have to break noodles into thirds to fit into the pot. If you think you need more liquid, add about 1-2 cups of stock or water.
Cover, and bring the stock just to a boil, then turn the heat down to low-medium. Let simmer uncovered for about 15-20 minutes. Season with additional salt, pepper, and red pepper flakes to taste.
Add white beans and torn kale leaves, and continue to simmer until warmed through, about 5-7 minutes. Serve warm with crusty bread and enjoy! Great to garnish with fresh basil and additional red pepper flakes too. Makes about 4 servings.

