Sort by Category
- August 2025
- June 2025
- August 2024
- July 2024
- June 2024
- May 2024
- February 2024
- January 2024
- December 2023
- November 2023
- October 2023
- September 2023
- August 2023
- July 2023
- March 2023
- February 2023
- January 2023
- December 2022
- November 2022
- October 2022
- September 2022
- August 2022
- June 2022
- May 2022
- April 2022
- March 2022
- February 2022
- January 2022
- December 2021
- November 2021
- October 2021
- September 2021
- August 2021
- July 2021
- June 2021
- May 2021
- April 2021
- March 2021
- February 2021
- January 2021
- December 2020
- November 2020
- October 2020
- September 2020
- August 2020
- July 2020
- June 2020
- May 2020
- April 2020
- March 2020
- February 2020
- January 2020
- December 2019
- November 2019
- October 2019
- September 2019
- August 2019
- July 2019
- June 2019
- May 2019
- April 2019
- March 2019
- February 2019
- January 2019
- December 2018
- November 2018
- October 2018
- September 2018
- August 2018
- July 2018
- June 2018
- May 2018
- April 2018
- March 2018
- February 2018

Healthy Crispy Chicken Salad
The biggest game changer for this recipe is the crispy chicken! I honestly should make a post on its own because once you master the cooking and preparing method, you will never look at chicken the same!
To make a mouthwatering, juicy chicken:
Slice the chicken breast halfway through in a crisscross pattern. You can use chopsticks on both sides as a guide to not cut completely through the chicken.
This allows the chicken to absorb the marinade, sauce, and seasonings when cooking as well as making the chicken get cooked evenly and quickly.
Healthy crispy chicken salad with ranch dressing is an easy and healthy take on the classic fried chicken salads. It’s gluten-free, dairy-free, air fried or baked - not deep fried, and full of protein, veggies and healthy fats!

The biggest game changer for this recipe is the crispy chicken! I honestly should make a post on its own because once you master the cooking and preparing method, you will never look at chicken the same!


To make a mouthwatering, juicy chicken:
Slice the chicken breast halfway through in a crisscross pattern. You can use chopsticks on both sides as a guide to not cut completely through the chicken.
This allows the chicken to absorb the marinade, sauce, and seasonings when cooking as well as making the chicken get cooked evenly and quickly.


It’s that easy! And what is more easy, is preparing this salad! If you grew up in the south like I did, you know the chicken frying method by memory. But for this recipe, you are tweaking it using gluten free alternatives with a healthy fat focus and using the air fryer or baking method - whichever you prefer.


I also want to mention that if you are following the Nourishment Program, you will see that this crispy chicken salad is considered a Six Senses Nourish Meal!
Six Senses Nourish Components:
Non-starchy carbs | lettuce, corn, carrots, tomatoes
Starchy carbs | chicken breading
Protein | chicken breast, pork rind
Fats | chicken, pork rind, avocado, dressing
Probiotics | pickled red onions
Flavor | herbs, seasonings on chicken and in dressing
If you would like more information on how to build more six senses nourish meals and why it’s an easy and seamless way of getting nutrient dense, whole foods into your diet, then check out the Nourishment Program for more information!

If you try this recipe, let us know! Leave a comment, rate it, and don’t forget to tag a photo to #fromtherootsblog on Instagram. We love seeing what you come up with!
Healthy crispy chicken salad with ranch dressing is an easy and healthy take on the classic fried chicken salads. It’s gluten-free, dairy-free, air fried or baked - not deep fried, and full of protein, veggies and healthy fats!
Servings: 4 | Prep Time: 15 min | Cook Time: 6 min
Ingredients
For the chicken
1 lb chicken breasts or tenderloins
2 large eggs
¼ cup plant based or milk
1 cup pork rind bread crumbs
½ cup GF baking flour
1 Tbsp of your go-to spicy or chicken seasoning
1 tsp salt
Avocado oil spray
For the ranch dressing
½ cup mayo (primal kitchen, chosen brand)
1 tsp fresh or dried dill
1 tsp fresh or dried parsley
1 tsp fresh lemon juice
½ tsp garlic powder
¼ tsp mustard powder
S+P
For the salad
6 cups romaine lettuce, chopped
½ cup pickled red onions
1-2 avocado, sliced or chopped
1 cup shredded carrots
1 cup corn
1 cup cherry tomatoes, halved
For the pickled onions:
½ red onion (thinly sliced)
½ cup apple cider vinegar (with the mother)
1 tsp fine sea salt
½ Tbsp pure maple syrup
Filtered water
Directions
Start with making the crispy chicken! Pat the chicken dry with a paper towel and make diagonal slices. You can use chopsticks on both sides of the chicken to make sure you are not cutting straight through to the bottom. (look at IG reel or description above). Sprinkle salt and your go-to seasoning on both sides of the chicken - making sure you are massaging the seasonings in the diagonal cuts. In a small bowl, whisk the eggs and milk until combined. In a separate bowl or plate, whisk the panko, flour, and seasonings. If using an air fryer, make sure you have it preheated. Now, you are ready to dip a chicken breast or tenderloin in the egg wash, and then in the dry mixture - making sure you are getting in the crannies of the chicken! Shake off any excess flour mixture and place in the air fryer rack. Repeat. Once your rack is full, but not cramped - spray avocado oil spray and cook for 400 degrees 4-6 min (flipping halfway). Lightly sprinkle with sea salt and set aside.
To make the dressing, add all the ingredients to a small dish and whisk until smooth. Place in the fridge until ready to serve.
To make the pickled onions, combine all ingredients into a mason jar and refrigerate for up to 2 weeks. If you want them to pickle faster, heat vinegar, salt, maple syrup and 1 cup filtered water over medium high heat until fully dissolved. Pour liquid mixture over the sliced onions in a sealed container (mason jar). Seal and shake the jar a few times and let sit for at least 20 min for onions to pickle.
While your chicken is cooking, prep the rest of the salad. Add the lettuce to a large bowl and top with sliced avocados, carrots, pickled onions, cherry tomatoes, corn and additional toppings. Place the chicken breast or tenderloins on top of the salad and serve with prepared dressing. *What’s great about preparing the chicken in this way - you don’t have to pre-cut! You just fork off a bite size chicken piece and that’s it!

Pesto Chicken Salad with Pickled Grapes and Arugula
What’s great about this recipe is that it’s super easy to make! If you’ve got boiling water and cooking chicken then you are already ahead of the game! The only components you will need to do for this recipe are pickle grapes for about 10-15 minutes and make pesto sauce using a food processor or mortar and pestle. That’s it.
Speaking of pickling, this meal is considered a six senses nourishing meal as the pickled grapes fit in the probiotics component. The probiotics in unpasteurized red wine vinegar can help to improve the microbiome and our digestive system.
Pesto chicken salad with pickled grapes and arugula is the epitome of a refreshing summer dish! The complexity of flavors, textures, and ingredients creates a literal summer barbecue in your mouth!

What’s great about this recipe is that it’s super easy to make! If you’ve got boiling water and cooking chicken then you are already ahead of the game! The only components you will need to do for this recipe are pickle grapes for about 10-15 minutes and make pesto sauce using a food processor or mortar and pestle. That’s it.

Speaking of pickling, this meal is considered a six senses nourishing meal as the pickled grapes fit in the probiotics component. The probiotics in unpasteurized red wine vinegar can help to improve the microbiome and our digestive system.
Six Senses Nourish Components:
Non-starchy carbs | arugula, basil
Starchy carbs | pasta, grapes
Fat | Nuts, oil in pesto, cheese
Protein | chicken, nutritional yeast, nuts
Flavor | basil pesto sauce, seasonings on chicken
Probiotics | red wine vinegar, nutritional yeast


Another fun way of looking at this dish is that if you make batched cooked items on your designated batch cook day, ie: pesto, pasta, grilled chicken, and pickled grapes then it’s just a matter of throwing everything together with arugula and the optional toppings when ready to serve!

If you would like more information on how to build more six senses nourish meals and why it’s an easy and seamless way of getting nutrient dense, whole foods into your diet, then check out the Nourishment Program for more information!

If you try this recipe, let us know! Leave a comment, rate it, and don’t forget to tag a photo to #fromtherootsblog on Instagram. We love seeing what you come up with!
Pesto chicken salad with pickled grapes and arugula is the epitome of a refreshing summer dish! The complexity of flavors, textures, and ingredients creates a literal summer barbecue in your mouth!
SERVINGS: 4-6 PREP: 10 MIN COOK TIME: 20 MIN
Ingredients
1 lb grilled chicken (seasoned Italian/classic)
1 box pasta of choice (GF or grain free preferred)
10-15 red grapes (halved)
Couple handfuls of arugula
½ cup red wine vinegar (to pickle grapes)
Pesto or premade pesto of choice
¼ cup pine nuts
Garnish
Cheese of choice (ie goat, feta, parmigiano reggiano)
Directions
Using a food processor or mortar and pestle, prepare the pesto.
Chop grapes in half and pickle in red wine vinegar for 10-15 minutes.
Season chicken breasts with salt and pepper and your favorite seasonings and cook using your preferred method (oven, pan fry, air fry, instant pot).
Boil pasta and cook until al dente.
In a mixing bowl, mix in some of the green pesto to drained pasta. Chop up the chicken breasts into small chunks. Add the chicken and drained pickled grapes to the mixing bowl.
Finally, add baby arugula, top with toasted pine nuts and cheese.

Paleo Crunchwrap Supreme
When I was ditching fast food chains out of my vocabulary, Taco Bell was the hardest! Even when I was a vegetarian during high school, I would get two - cheesy, bean and rice burritos every Wednesday for four years! No joke!
Now, it’s seldom that I get “fast food cravings” but when I do, yo quiero Taco Bell!
So when I made the trip back to Georgia, the cravings came wafting back as I passed by the thousands of “Taco Bell” logos on the food interstate exit markers.
Okay, maybe an exaggeration but this was also the same time that food bloggers were recreating the famous “Crunchwrap Supreme”. So with all this taco bell talk, I had to re-create my own!
Paleo Crunchwrap Supreme - Naturally full of flavor, fun, and food allergy/sensitivity conscience!

When I was ditching fast food chains out of my vocabulary, Taco Bell was the hardest! Even when I was a vegetarian during high school, I would get two - cheesy, bean and rice burritos every Wednesday for four years! No joke!
Now, it’s seldom that I get “fast food cravings” but when I do, yo quiero Taco Bell!
So when I made the trip back to Georgia, the cravings came wafting back as I passed by the thousands of “Taco Bell” logos on the food interstate exit markers.


Okay, maybe an exaggeration but this was also the same time that food bloggers were recreating the famous “Crunchwrap Supreme”. So with all this taco bell talk, I had to re-create my own!
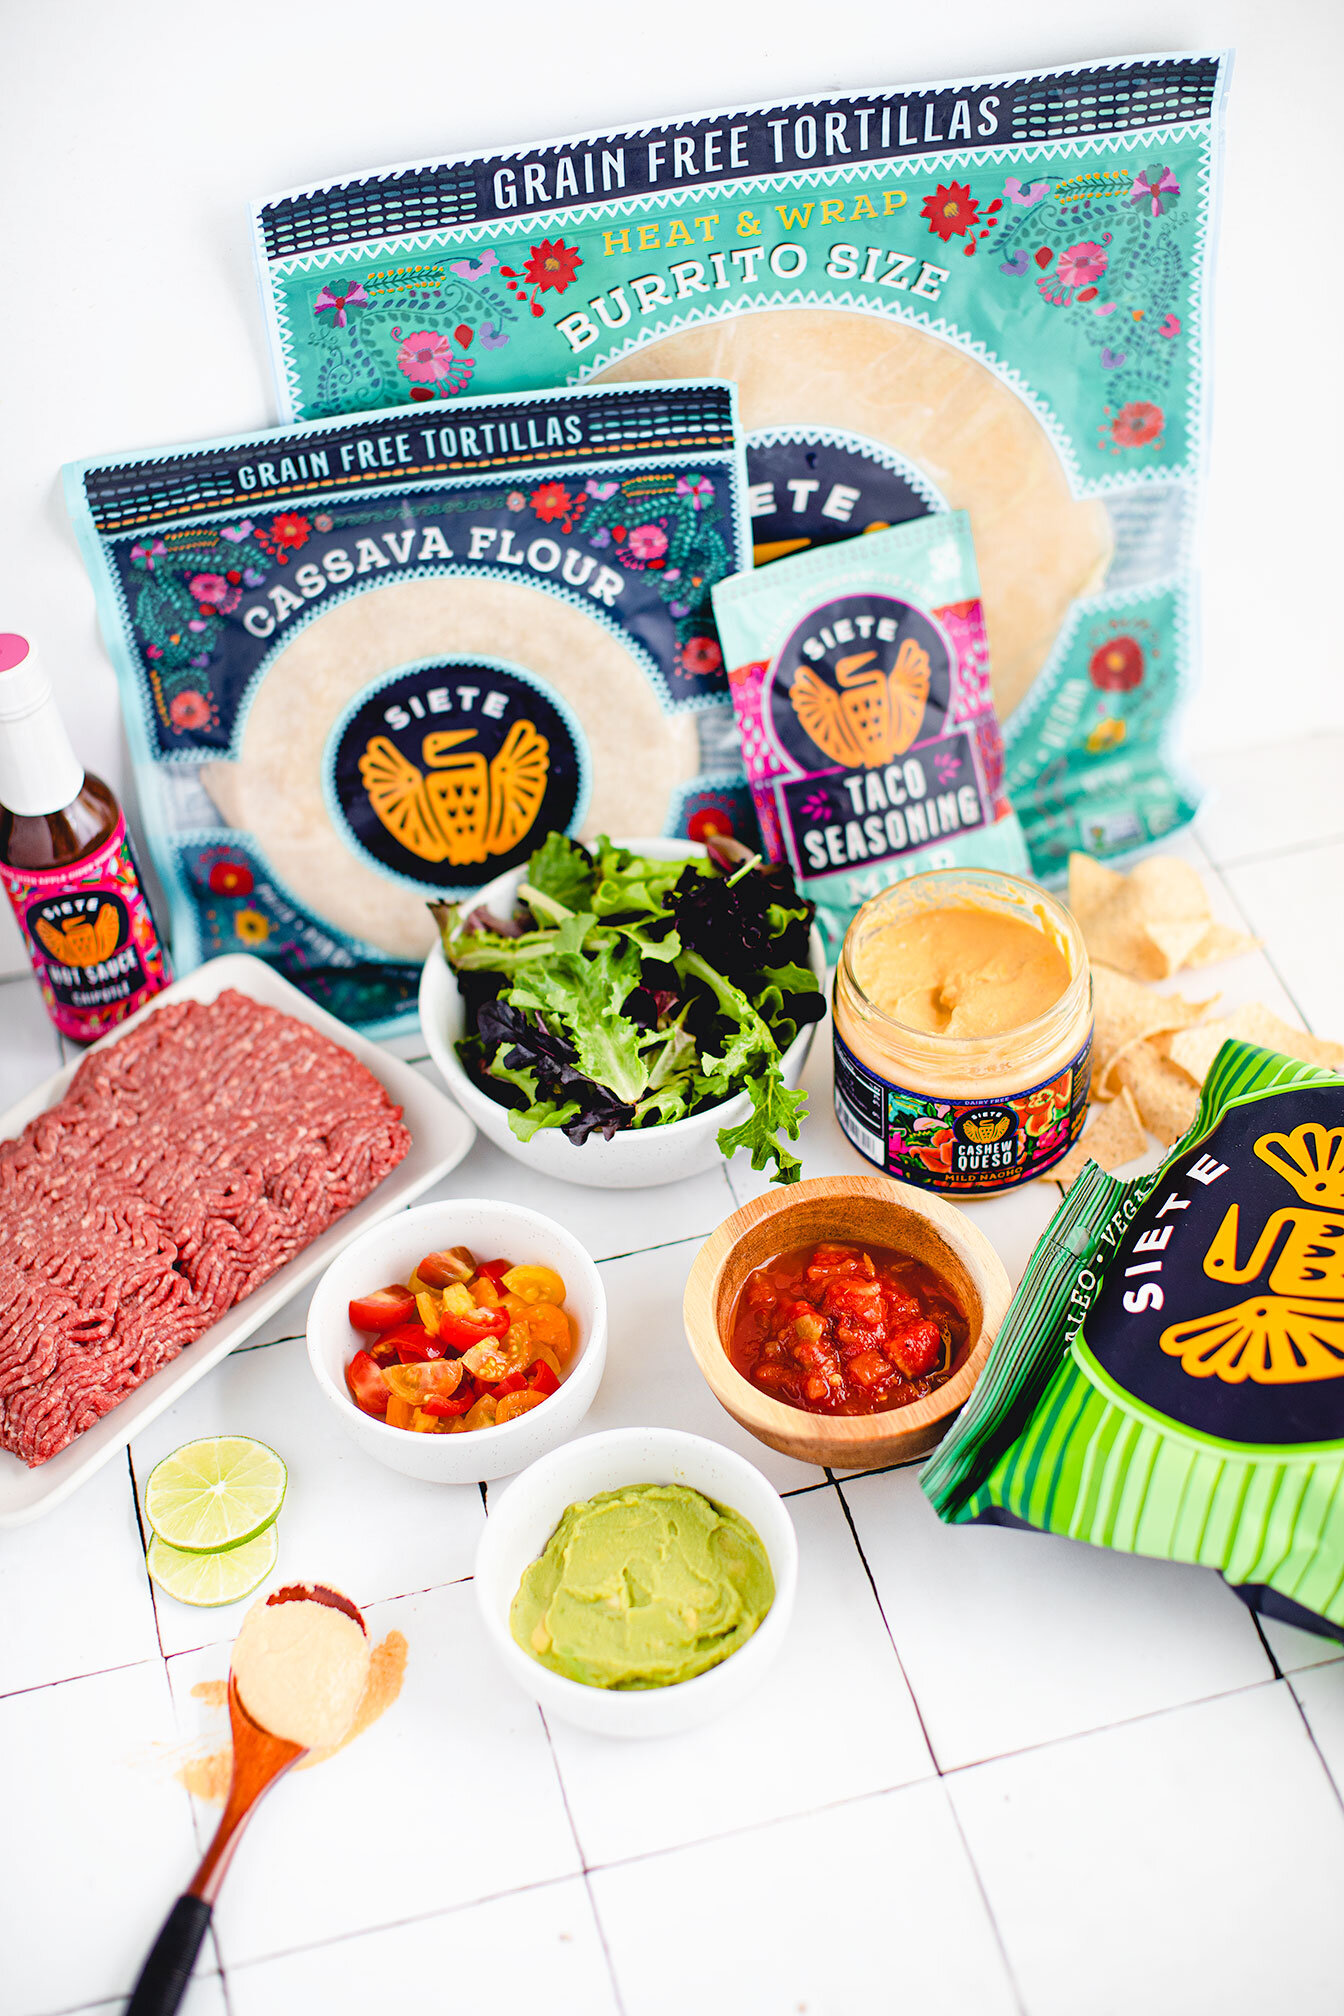
And to make this recipe super easy and fun, I used Siete Foods products for most of the ingredients. Now I know what you are thinking, that’s a lot of processed products! And yes, you are not wrong. Let’s be real here, I don’t think I ever had a recipe on the blog that had at least two processed products as an ingredient for a recipe.

But I wanted to show you that Siete Foods is a honest, family oriented health company that produces clean products, food allergy/sensitivity conscience, and that tastes freaking amazing!
With that said, this recipe is automatically paleo, grain-free, dairy-free, and gluten-free - win-win!
If you would like to try Siete Foods for the first time or would like to order all the products used for this recipe, send me a DM on Instagram or email: fromtherootsblog@gmail.com for 25% off your entire purchase!
Bonus recipe! Ever have the Watermelon Freeze at Taco Bell? Me either! Haha! With that said, I don’t know what it tastes like but I have seen pictures so if we want to go ALLL the way and ring that Taco Bell, then you can simply make a watermelon freeze by adding freshly pressed watermelon juice to the Creamy Coconut Lime Mint Frozen Margarita. I omitted the mint leaves and tequila to make this mocktail version.

Are you a visual person? Me too! That’s why I created a video on how to make Paleo Crunchwrap Supreme and watermelon freeze on IG reels here
If you try this recipe, let us know! Leave a comment, rate it, and don’t forget to tag a photo to #fromtherootsblog on Instagram. We love seeing what you come up with!
Paleo Crunchwrap Supreme - Naturally full of flavor, fun, and food allergy/sensitivity conscience!
Ingredients
Taco meat
1 lb grass fed ground beef (ground turkey or chicken)
1 packet Siete Foods taco seasoning (or low-sodium taco seasoning)
⅓ cup low-sodium bone broth or water
Crunchwrap
4 Siete Foods Grain-Free Burrito Sized Tortillas
4 Siete Foods Cassava Flour Tortillas
1 bag Siete Foods tortilla chips
1 jar Siete Foods cashew queso (or spicy queso)
2 cups spring mix greens
2 avocados
½ cup diced tomatoes
⅓ cup fresh salsa
Avocado oil
Avocado oil cooking spray
Garnish
Siete foods hot sauce
Makes 4 servings
Directions
Heat a large skillet over medium high heat with avocado oil spray. Brown ground beef until cooked through, about 8 min. If you have excess fat from the beef, you can drain and place the skillet back on the stovetop. Add the taco seasoning packet and ⅓ cup liquid. Cook, stirring, until well combined and most of the liquid is absorbed, about 3 min. Remove from heat and cover to keep warm.
Use this time to set up an assembly line of ingredients: burrito and normal size tortillas, cooked taco meat, chips, queso, greens, diced tomatoes, mashed avocados, and fresh salsa.
If you are using Siete Foods Burrito sized tortillas, it is best to follow this method to prevent tortillas from breaking:
Heat 1 tsp avocado oil in a very large skillet over medium high heat. Heat the burrito sized tortillas in the skillet for 10-15 seconds per side.
It’s all about timing and keeping the tortillas warm so you will be preparing each crunchwrap individually following this method before assembly. *So don’t heat all the burrito tortillas at once!
Transfer the burrito tortilla onto a large cutting board and scoop ⅓ cup of the taco meat into the center of the tortilla. Top with 1-2 Tbsp cashew queso. Gently place about a small handful of tortilla chips on top. (You could also use a tostada or normal size fried tortilla as a substitute) Top with ¼ cup or half avocado mash on top of the chips. Top with spring mix greens, diced tomatoes and fresh salsa.
Place the uncooked cassava tortilla on top and tightly fold edges of the large tortilla toward the center, creating pleats.
Quickly invert crunchwrap so pleats are on the bottom and everything stays together.
Heat skillet with avocado oil spray or 1-2 tsp avocado oil on medium high heat and cook until the tortilla is golden and the seams are sealed together. Flip over and cook until the top is golden. Repeat with remaining crunchwraps. Serve with hot sauce or extra cashew queso and enjoy!

Smoked Sardine Toast with Radicchio Salad and Pickled Onions
Not going to lie, this was my first sardine recipe on the blog as well as my first sardine recipe creation to date! I’m not quite sure why it has taken me until now because I love all things fish! The only thing I can come up with is that I think it’s the most underrated fish in the nutrition world and because it’s not the most photogenic thing to shoot. But...that’s just me!
But if you are hesitant about sardines or automatically thinking of another fish to sub out for this recipe, don’t do it!
Flavor-wise - go with smoked sardines as it’s reminiscent of smoked salmon. Hello, bagel and lox or my everything bagel and lox socca pizza!
Healthwise - Heart-healthy benefits including omega-3 fatty acids, vitamin B-12, vitamin D, calcium, and minerals like iron, zinc, potassium, and magnesium.
Smoked Sardine Toast with Radicchio Salad and Pickled Onions - Heart-healthy toast that is great for #toasttuesday, lunch, or as an appetizer!

Not going to lie, this was my first sardine recipe on the blog as well as my first sardine recipe creation to date! I’m not quite sure why it has taken me until now because I love all things fish! The only thing I can come up with is that I think it’s the most underrated fish in the nutrition world and because it’s not the most photogenic thing to shoot. But...that’s just me!


But if you are hesitant about sardines or automatically thinking of another fish to sub out for this recipe, don’t do it!

Flavor-wise - go with smoked sardines as it’s reminiscent of smoked salmon. Hello, bagel and lox or my everything bagel and lox socca pizza!
Health-wise - Heart-healthy benefits including omega-3 fatty acids, vitamin B-12, vitamin D, calcium, and minerals like iron, zinc, potassium, and magnesium.


Want to know more about sardines!? Check out my fellow FNTP gal pal and creator of #sardineweek, Kendall McKinven IG page on all things sardines!
If you try this recipe, let us know! Leave a comment, rate it, and don’t forget to tag a photo to #fromtherootsblog on Instagram. We love seeing what you come up with!
Smoked Sardine Toast with Radicchio Salad and Pickled Onions - Heart-healthy toast that is great for #toasttuesday, lunch, or as an appetizer!
Ingredients
Toast
2 slices of sourdough bread or bread of choice
Spread
¼ cup Goat cheese, plain greek yogurt, or dairy/non-dairy spread of choice
Radicchio Salad
½ head of radicchio (finely chopped)
5 radishes (thinly sliced)
1 English cucumber (thinly sliced)
5-10 olives (sliced in half)
¼ cup extra virgin olive oil
3 garlic cloves (minced or sliced)
1 tsp (or more) red hot chili flakes
S&P
Pickled Onions
½ red onion (thinly sliced)
½ cup apple cider vinegar (with the mother)
1 tsp fine sea salt
½ Tbsp pure maple syrup (or another sweetener)
Filtered water
1 can smoked sardine filets of choice (wild-caught & sustainable)
Garnish
Lemon juice, sea salt flakes, fresh dill, extra virgin olive oil, capers, chili flakes
Directions
In a 16 oz mason jar, place thinly sliced onions in a 16 oz mason jar or jar of choice. Add apple cider vinegar, sea salt, and sweetener of choice. Fill to the top with filtered water. Screw on the lid and shake vigorously to combine all ingredients. Make sure the onions are evenly coated with the vinegar mixture. Let the onions marinate for 30 minutes.
In a medium bowl, add chopped radicchio and sliced radishes, cucumbers, and olives. In a small saucepan, heat oil on low-medium heat and add garlic. About halfway when the garlic is turning brown, sprinkle chili flakes. Once the garlic and chili flakes are aromatic, turn the heat off. Let the oil mixture cool before tossing it into the salad until fully coated. Season with S&P.
To assemble your smoked sardine toast: toast 2 slices of sourdough bread, spread dairy/nondairy mixture, top with radicchio salad mixture, pickled onions, 2-3 sardine filets per toast and garnish with desired toppings. Enjoy!
**For the pickled onions - Refrigerate in a sealed container for up to two weeks. Great as a garnish on tacos, eggs, or making more smoked sardine toasts!
**You will have leftover radicchio salad which is great as a side dish, turn into a meal by adding a fish of choice, or making more smoked sardine toasts!
INGREDIENTS/KITCHEN TOOLS USED FOR THIS RECIPE:
Smoked sardine filets, mandolin (vegetable) slicer, 16 oz mason jar

Ahi Poke Bowl & Stack
I don’t eat out often, but when I do, I get a poke bowl...and I get ALL THE TOPPINGS! Just like a salad, poke bowls are so versatile. You can create so many fun flavor combinations all by the toppings you choose. And for this recipe, it’s the same way!
So even though I have preferred toppings that were used for this specific meal, feel free to change them out to your liking.
But for this recipe, I give you my classic, go-to way of creating a poke bowl that can also be transformed into a stack (if you want to be fancy!)
Ahi Poke Bowl + Stack - 2 fun versions that you can make for a lunch meal prep, refreshing light dinner, or for a crowd!

I don’t eat out often, but when I do, I get a poke bowl...and I get ALL THE TOPPINGS! Just like a salad, poke bowls are so versatile. You can create so many fun flavor combinations all by the toppings you choose. And for this recipe, it’s the same way!

So even though I have preferred toppings that were used for this specific meal, feel free to change them out to your liking.
But for this recipe, I give you my classic, go-to way of creating a poke bowl that can also be transformed into a stack (if you want to be fancy!)


Ahi tuna is my favorite protein so I created a marinade that is full of Asian flavors, a sauce that is sweet but spicy, and toppings that pair really well with those flavors.


Since we are searing the tuna, this recipe is great as a meal prep. So if you want to make 4 servings and divide it amongst you and someone else for the next 2 days then you can. It’s also great as a light and refreshing dinner or for a crowd as people can top their bowl or stack however they would like!
To see how I turn this into a stack version, check out our IG reel here!
So stop paying $10-$15 for a poke bowl and make it yourself!
If you try this recipe, let us know! Leave a comment, rate it, and don’t forget to tag a photo to #fromtherootsblog on Instagram. We love seeing what you come up with!
Ahi Poke Bowl + Stack - 2 fun versions that you can make for a lunch meal prep, refreshing light dinner, or for a crowd!
Ingredients
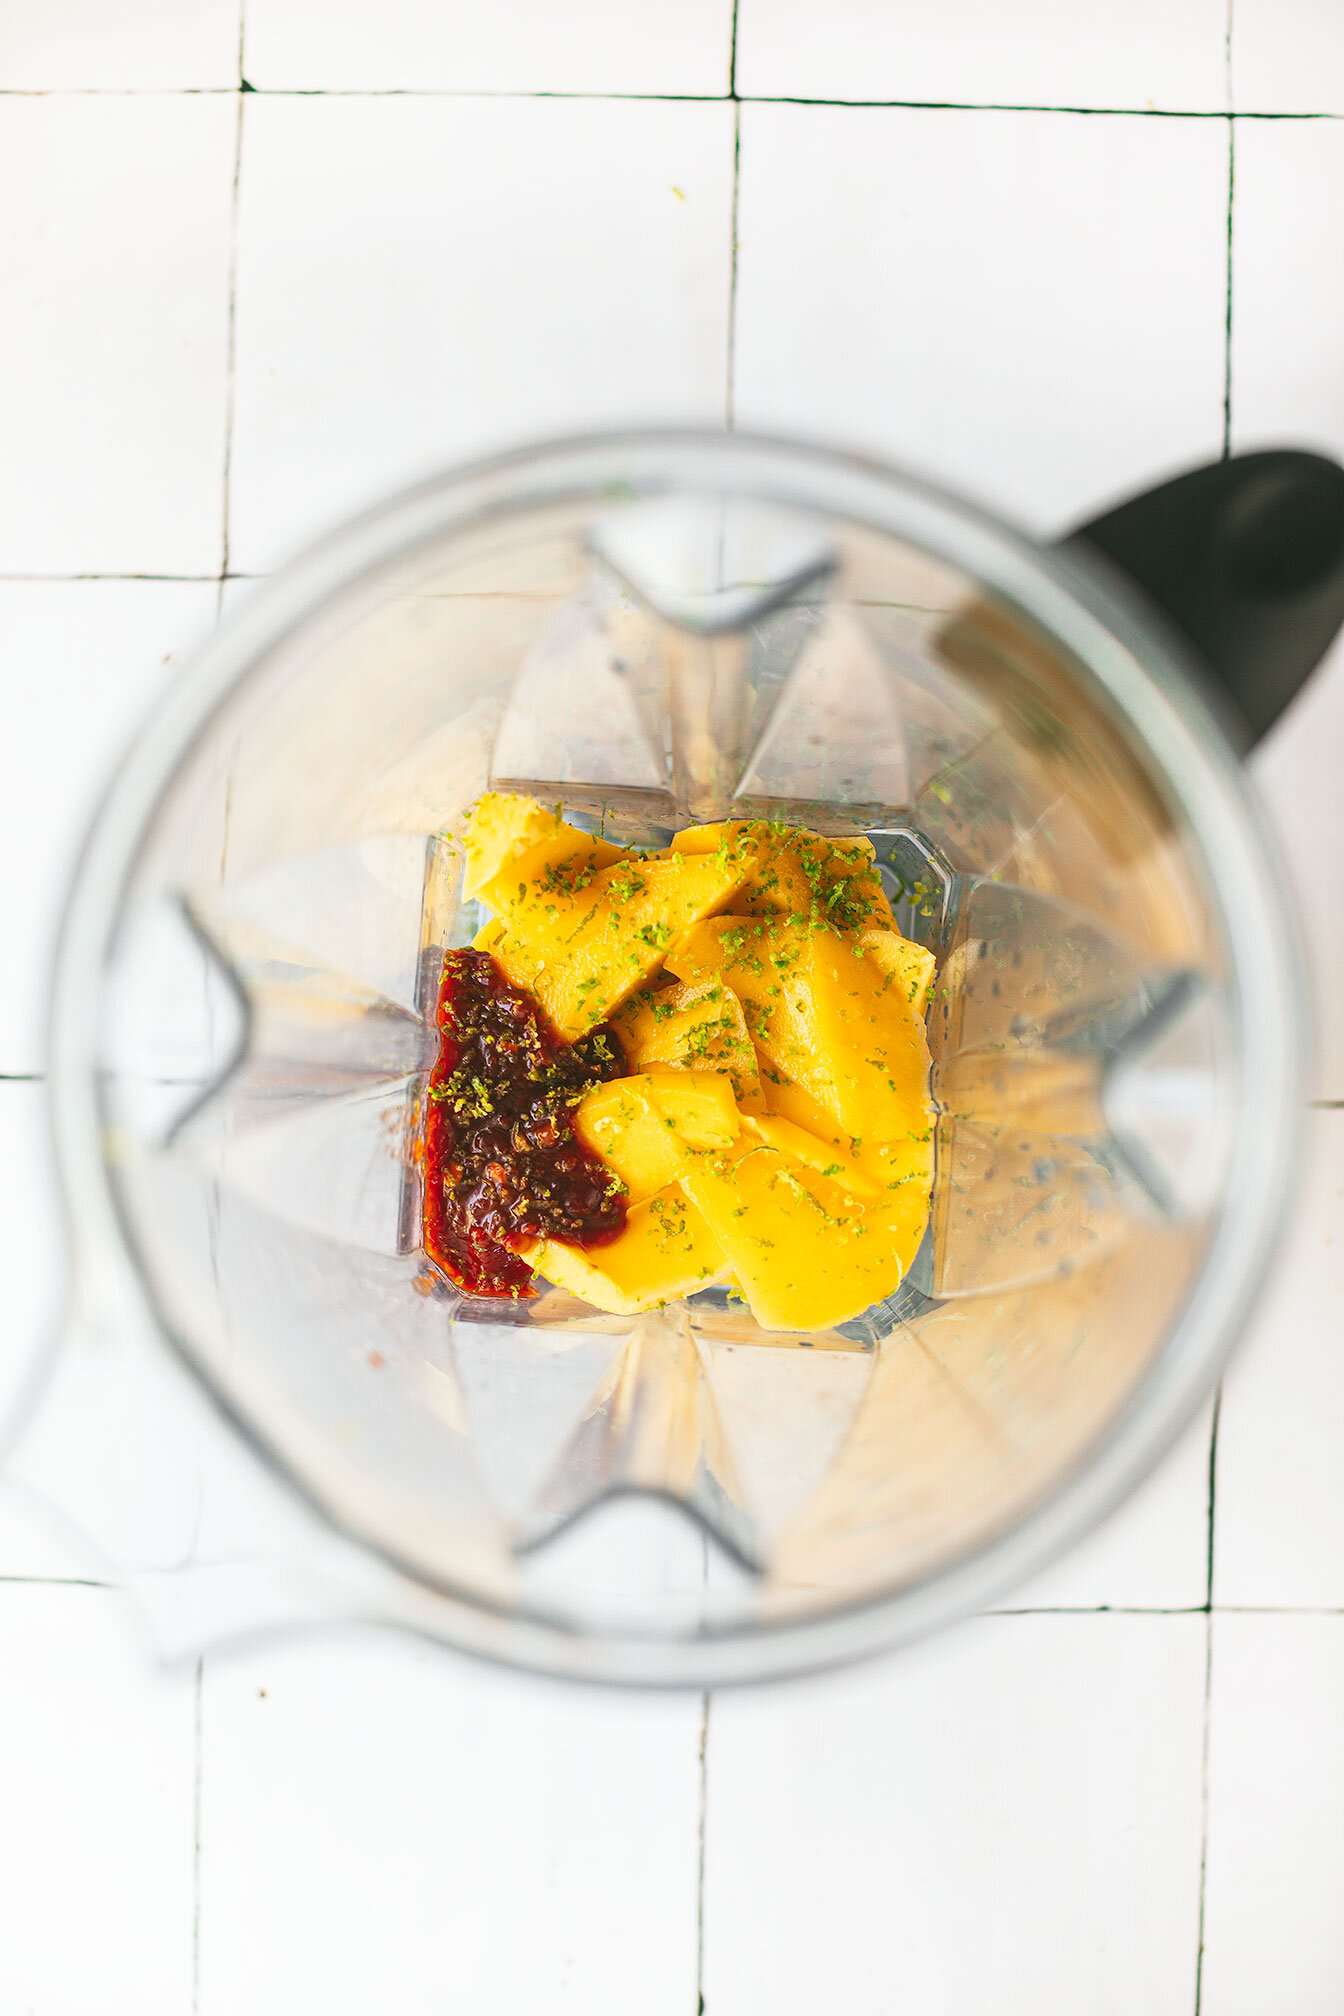
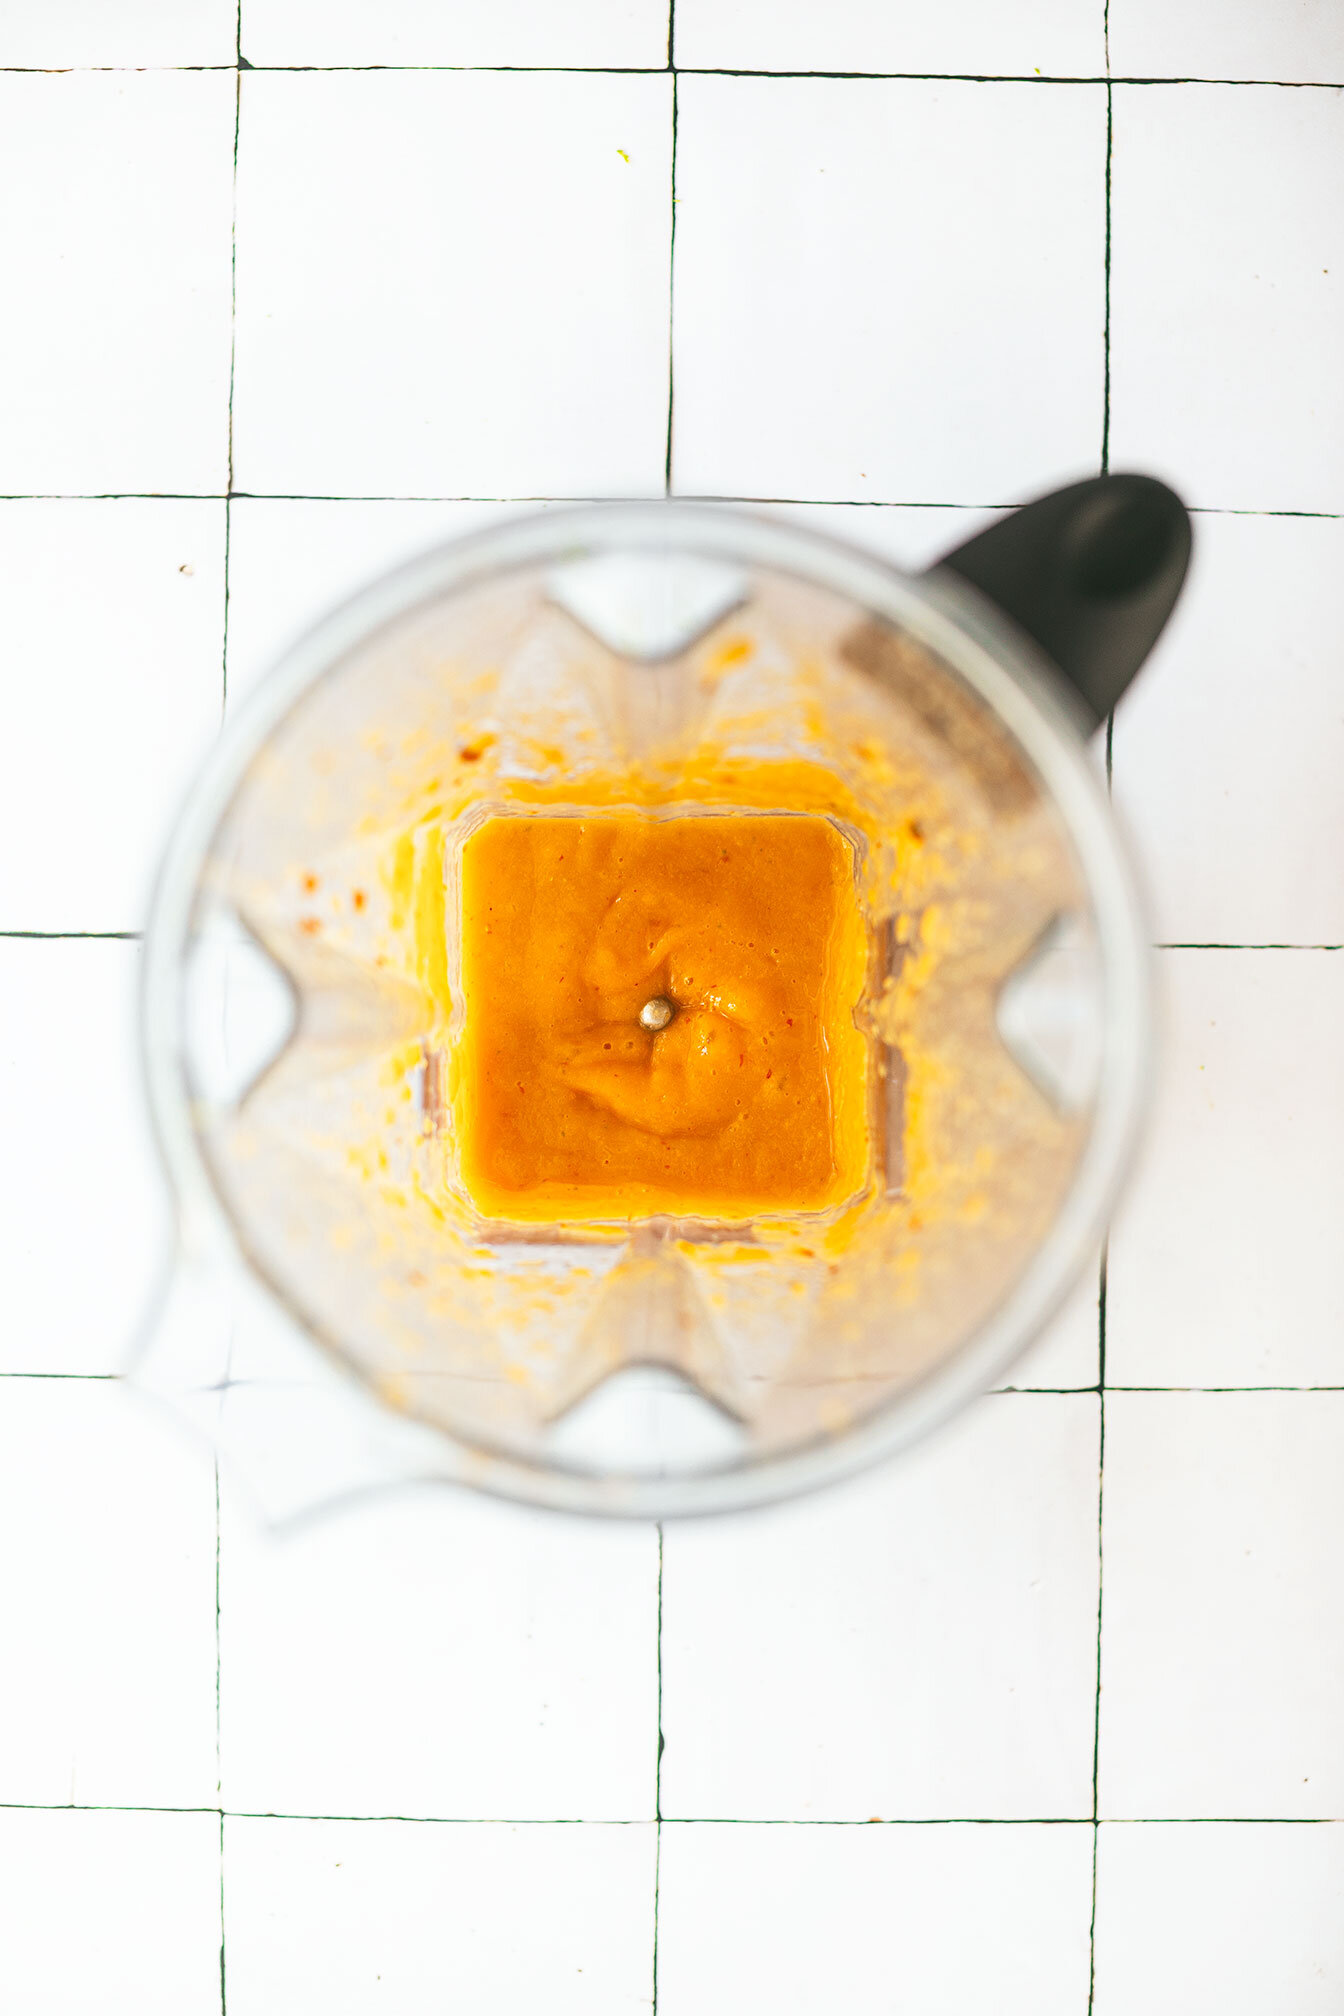
Chili mango sauce
1 whole mango (chunks)
½ juice of 1 lime + zest
1-2 tsp chili garlic sauce
Ahi Tuna marinade
2 ahi tuna steaks (4-6 oz 1.5” thick each)
¼ cup water
2 Tbsp white miso paste
2 Tbsp low-sodium GF tamari
1 Tbsp honey
1 knob fresh garlic (minced)
1 Tbsp sesame oil
1 tsp chili oil
½ juice of 1 lime + zest
Bowl/Stack components (makes 4 servings)
1-2 cups sprouted brown rice
2 cups edamame
Seared ahi tuna steaks
And top with your favorite poke bowl garnishes like mango chili sauce, English cucumbers, shaved carrots, jalapeno slices, nori sheets, green onion, pickled ginger, avocado slices, and microgreens
Directions
Prepare the marinade by combining all ingredients in a shallow bowl or Ziploc bag and marinate in the fridge for at least 30 minutes.
While your steaks are marinating, prepare the chili mango sauce by simply adding all ingredients into a blender and blend until smooth and creamy.
Prepare the rest of the ingredients by steaming your rice and chopping veggies.
Sear tuna steaks either on the grill or in a skillet on medium-high heat (4-6 minutes per side).
To make ahi poke stack version: You can use a 4” springform pan or use a greased 1 cup to create your stack mold. Layer starting with brown rice first and ahi tuna at the end if using a springform pan or the opposite sequence if using a measuring cup.
To make ahi poke bowl version: Add all components and garnishes in a bowl and serve!
Divide all ingredients into ¼ in order to make 4 servings!