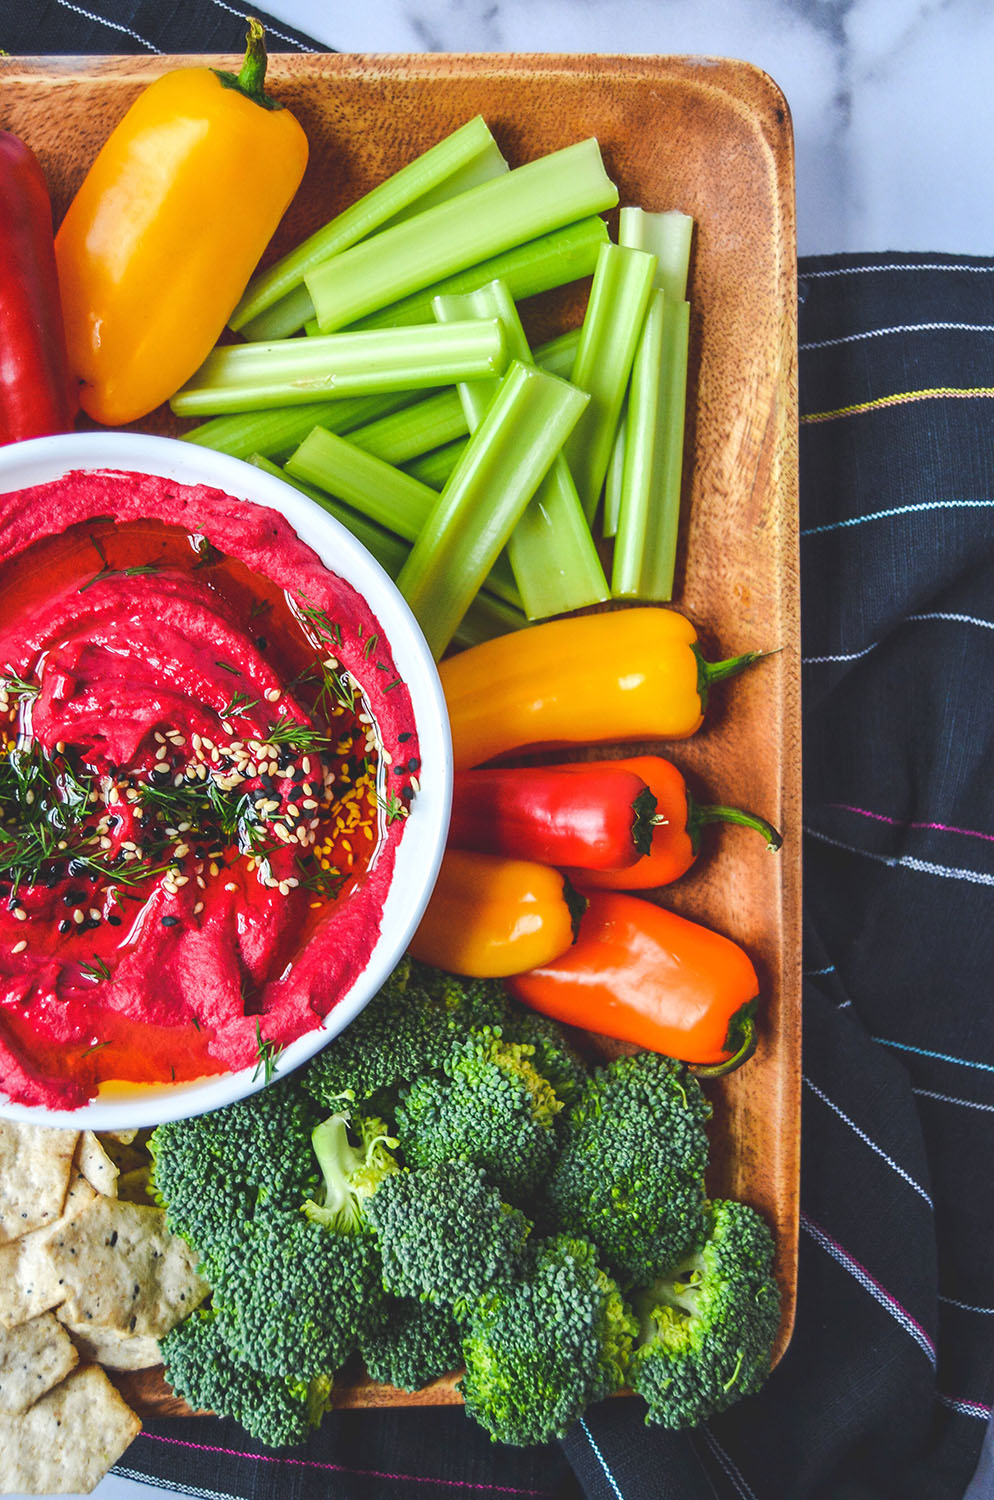
Roasted Beet Hummus
As healthy as it is beautiful!
I can’t stop staring at this hummus. It is just too beautiful to eat. It almost makes me feel like this isn’t even hummus at all, but rather magical food made for unicorns! But once you take off your rose-colored glasses, you see that this is, in fact, made with beets.
Now, don’t beets have an earthy taste? Yes, they do. However, once you add citrus and umami flavors to this dish you will see their best side and not their dirty, earthy side.
As you can see, you can make roasted beet hummus for Valentine’s day, girl’s night out, Sunday brunch, #bachelormonday… you get my drift!
Making this for my weekly meal prep is a breeze. There are so many people asking me for healthy snacks and this one is it! I love taking ½ cup to work with veggie sticks and peppers to for my afternoon snack. With the tahini, chickpeas, and beets, this snack is super filling. Bonus - it’s a conversation starter at your job, too!
If you are obsessed about beets like I am, check out these beet recipes: refrigerator pickled beets and avocado deviled eggs.
If you try this recipe, let us know! Leave a comment, rate it, and don’t forget to tag a photo to #fromtherootsblog on Instagram. We love seeing what you come up with!
ingredients
1 can chickpeas (drained, rinsed, and deshelled*)
2 small beets
1/3 cup tahini
1/4 cup extra virgin olive oil
1/2 fresh lemon
1 Tbsp white miso paste
3 clove garlic (minced)
S&P to taste
instructions
Preheat oven to 425 degrees.
Wrap the beets in tin foil and roast for 45 minutes to 1 hour until cooked through.
When beets have slightly cooled, remove the skin away.
To a Vitamix or food processor, add the chickpeas, roasted beets, tahini, lemon juice, miso, and garlic. As the mixture is blending, slowly add the olive oil. Blend until smooth and creamy; scrape the sides down if necessary.
Add S&P to season as you are blending. At this point, you may want to add more lemon juice or garlic depending on your preference. I like to blend for at least 5 minutes to ensure the consistency is smooth. You may need to add more olive oil or water to thin the hummus.
When you have reached the desired, creamy consistency, transfer hummus to a bowl and add fresh herbs and toppings like dill, parsley, sesame seeds, pine nuts, and extra olive oil.
The hummus will keep for up to one week in the fridge.
*This step is optional but if you have the time, it’s worth it! For a super creamy hummus, de-shell as many chickpeas as you can when rinsing.


