Sort by Category
- October 2025
- September 2025
- August 2025
- June 2025
- August 2024
- July 2024
- June 2024
- May 2024
- February 2024
- January 2024
- December 2023
- November 2023
- October 2023
- September 2023
- August 2023
- July 2023
- March 2023
- February 2023
- January 2023
- December 2022
- November 2022
- October 2022
- September 2022
- August 2022
- June 2022
- May 2022
- April 2022
- March 2022
- February 2022
- January 2022
- December 2021
- November 2021
- October 2021
- September 2021
- August 2021
- July 2021
- June 2021
- May 2021
- April 2021
- March 2021
- February 2021
- January 2021
- December 2020
- November 2020
- October 2020
- September 2020
- August 2020
- July 2020
- June 2020
- May 2020
- April 2020
- March 2020
- February 2020
- January 2020
- December 2019
- November 2019
- October 2019
- September 2019
- August 2019
- July 2019
- June 2019
- May 2019
- April 2019
- March 2019
- February 2019
- January 2019
- December 2018
- November 2018
- October 2018
- September 2018
- August 2018
- July 2018
- June 2018
- May 2018
- April 2018
- March 2018
- February 2018

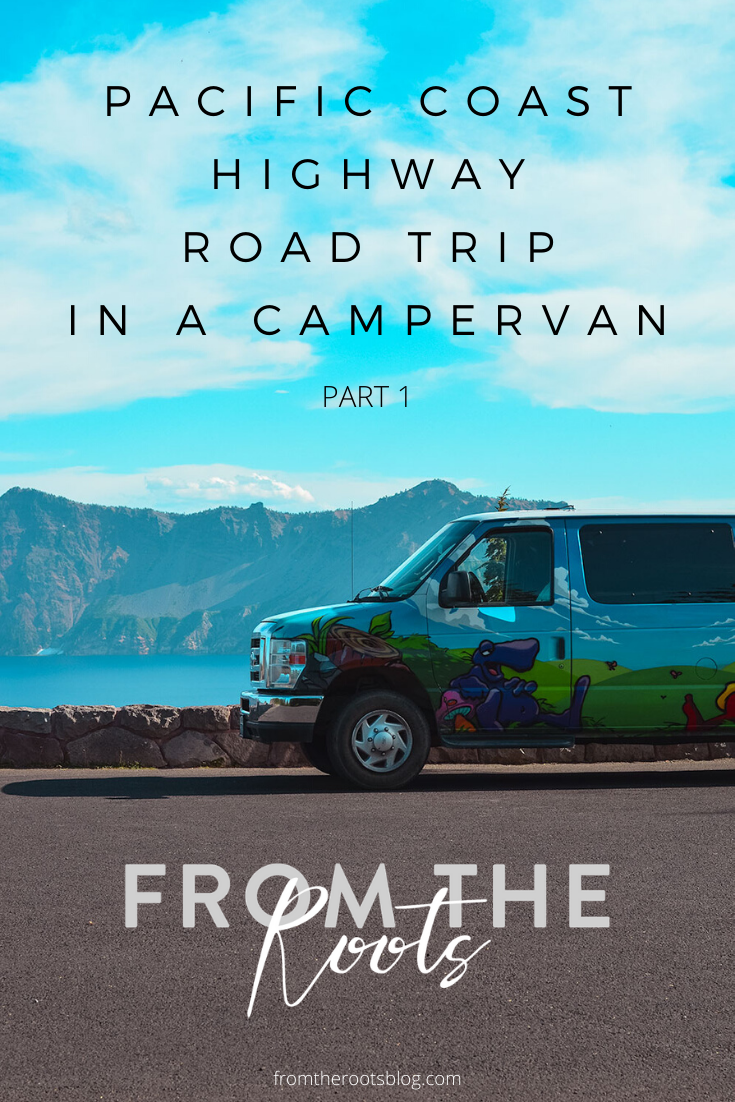
Pacific Coast Highway Road Trip in a Camper Van Part 1
The Pacific Coast Highway road trip has been on my bucket list for quite some time! The inner hippie in me has always wanted to rent a camper van (or live in one) and travel down Highway 1 and see what the beautiful scenic route had to offer me.
And that is just what I did this past summer. Flew into Seattle, rented a camper van, and drove down the beautiful scenic highway all the way down to Los Angeles. Now, I understand that the Pacific Northwest has amazing food, tourist spots, etc but if you are wanting a hippie version that is chock full of hiking adventures, living/lodging in a camper van, and getting lost in the beauty of the pacific coast, then you are in the right place!
The Pacific Coast Highway road trip has been on my bucket list for quite some time! The inner hippie in me has always wanted to rent a camper van (or live in one) and travel down highway 1 and see what the beautiful scenic route had to offer me.
And that is just what I did this past summer. Flew into Seattle, rented a camper van, and drove down the beautiful scenic highway all the way down to Los Angeles. Now, I understand that the Pacific Northwest has amazing food, tourist spots, etc but if you are wanting a hippie version that is chock full of hiking adventures, living/lodging in a camper van, and getting lost in the beauty of the pacific coast, then you are in the right place!
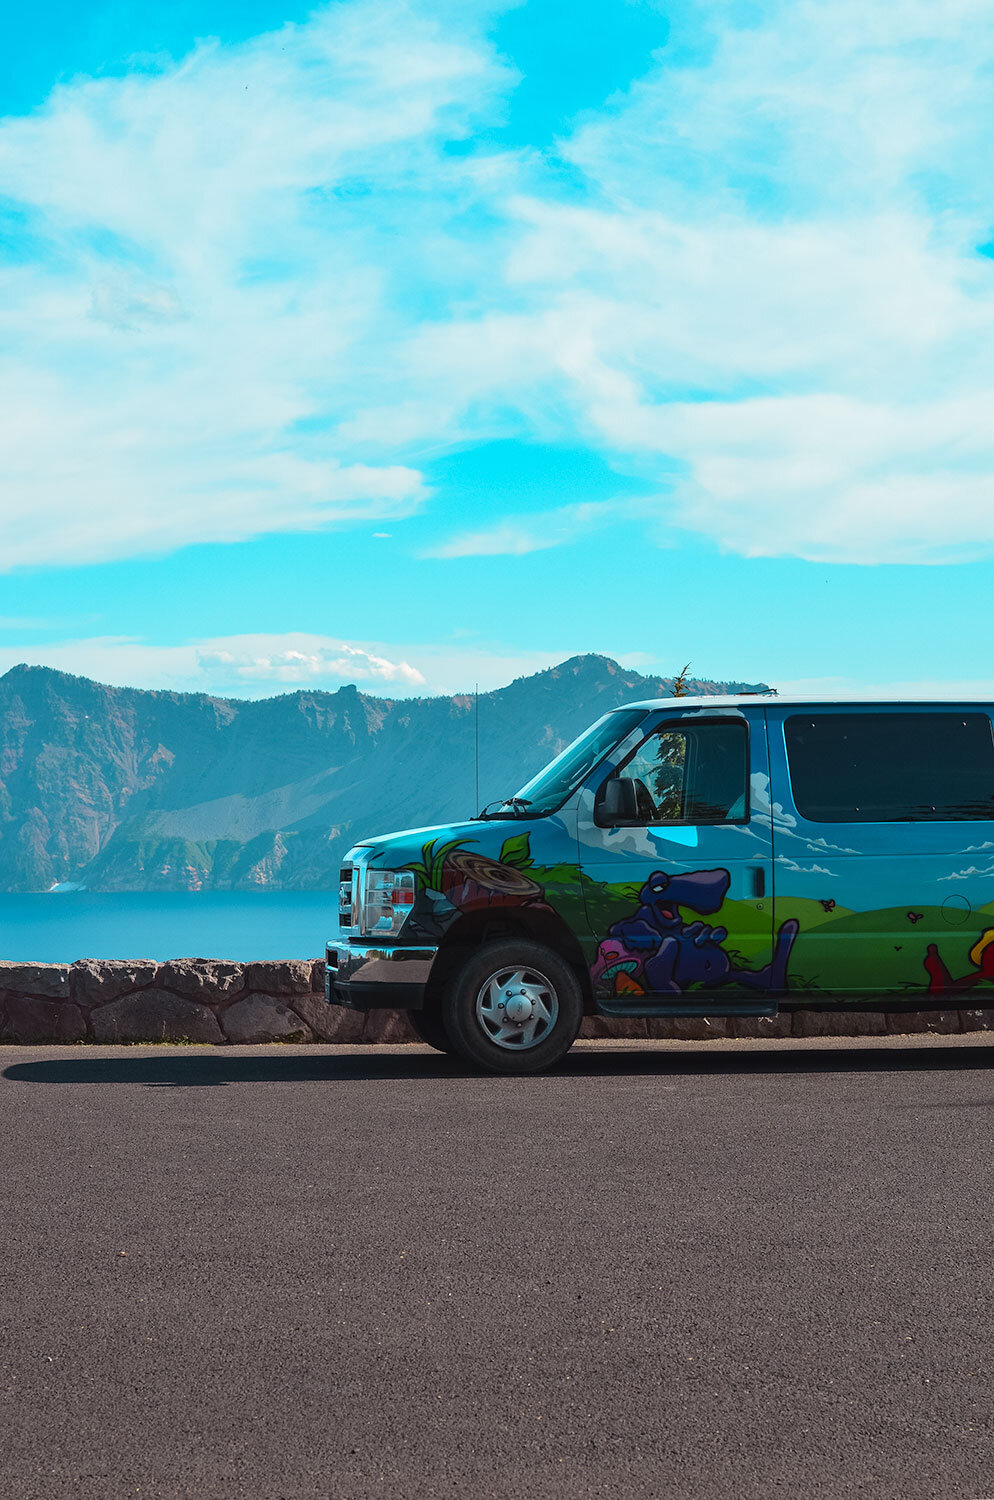
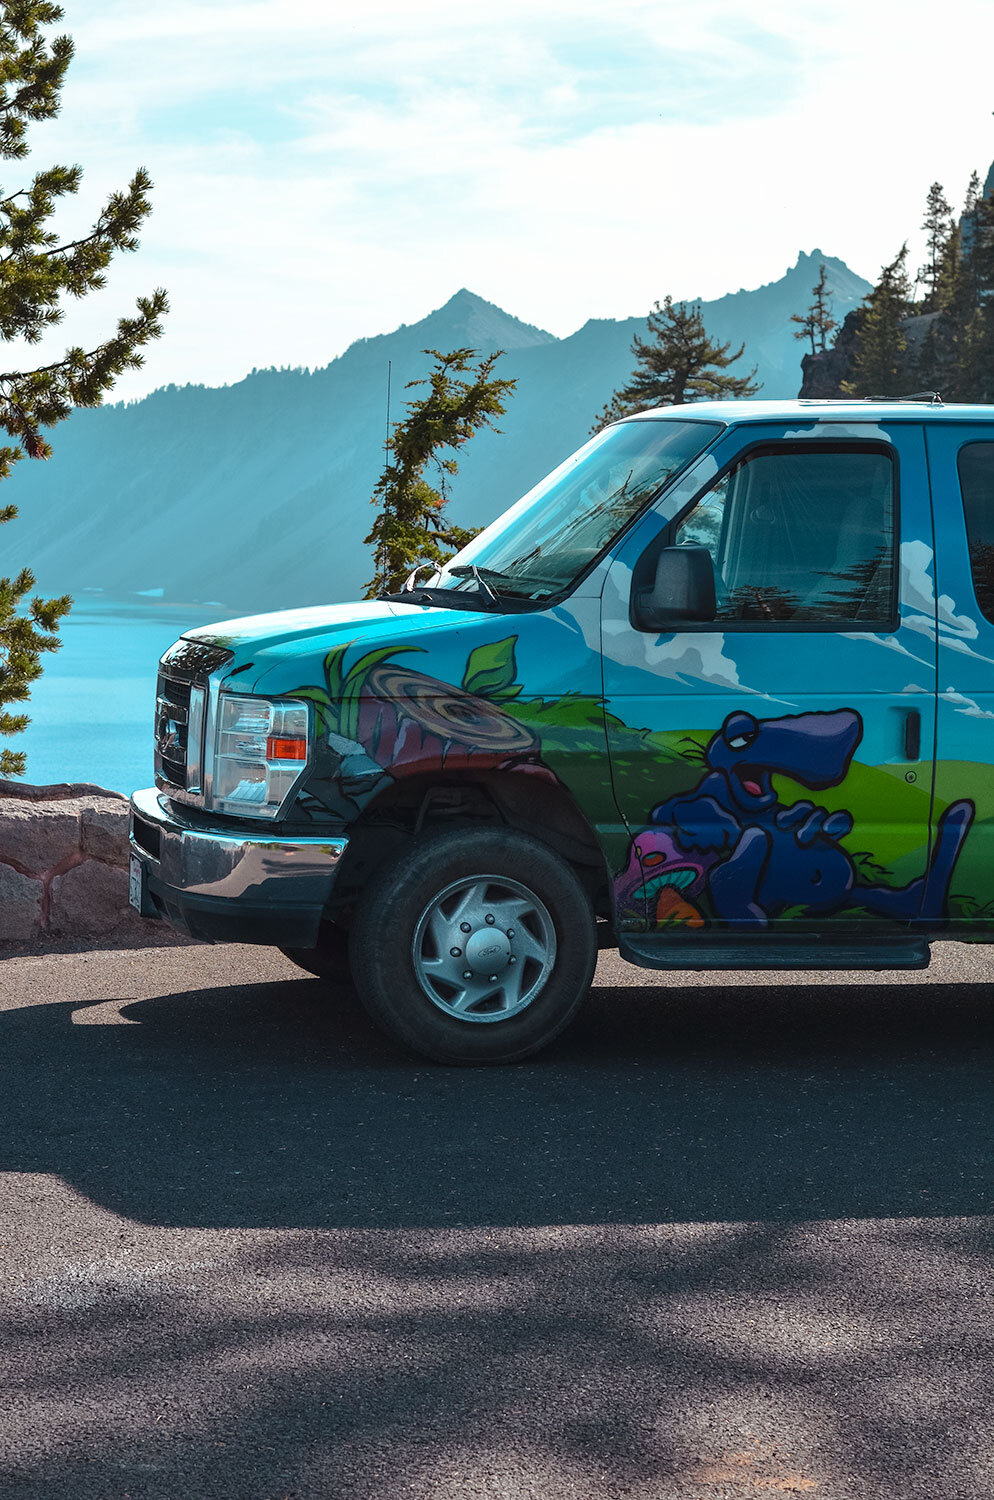
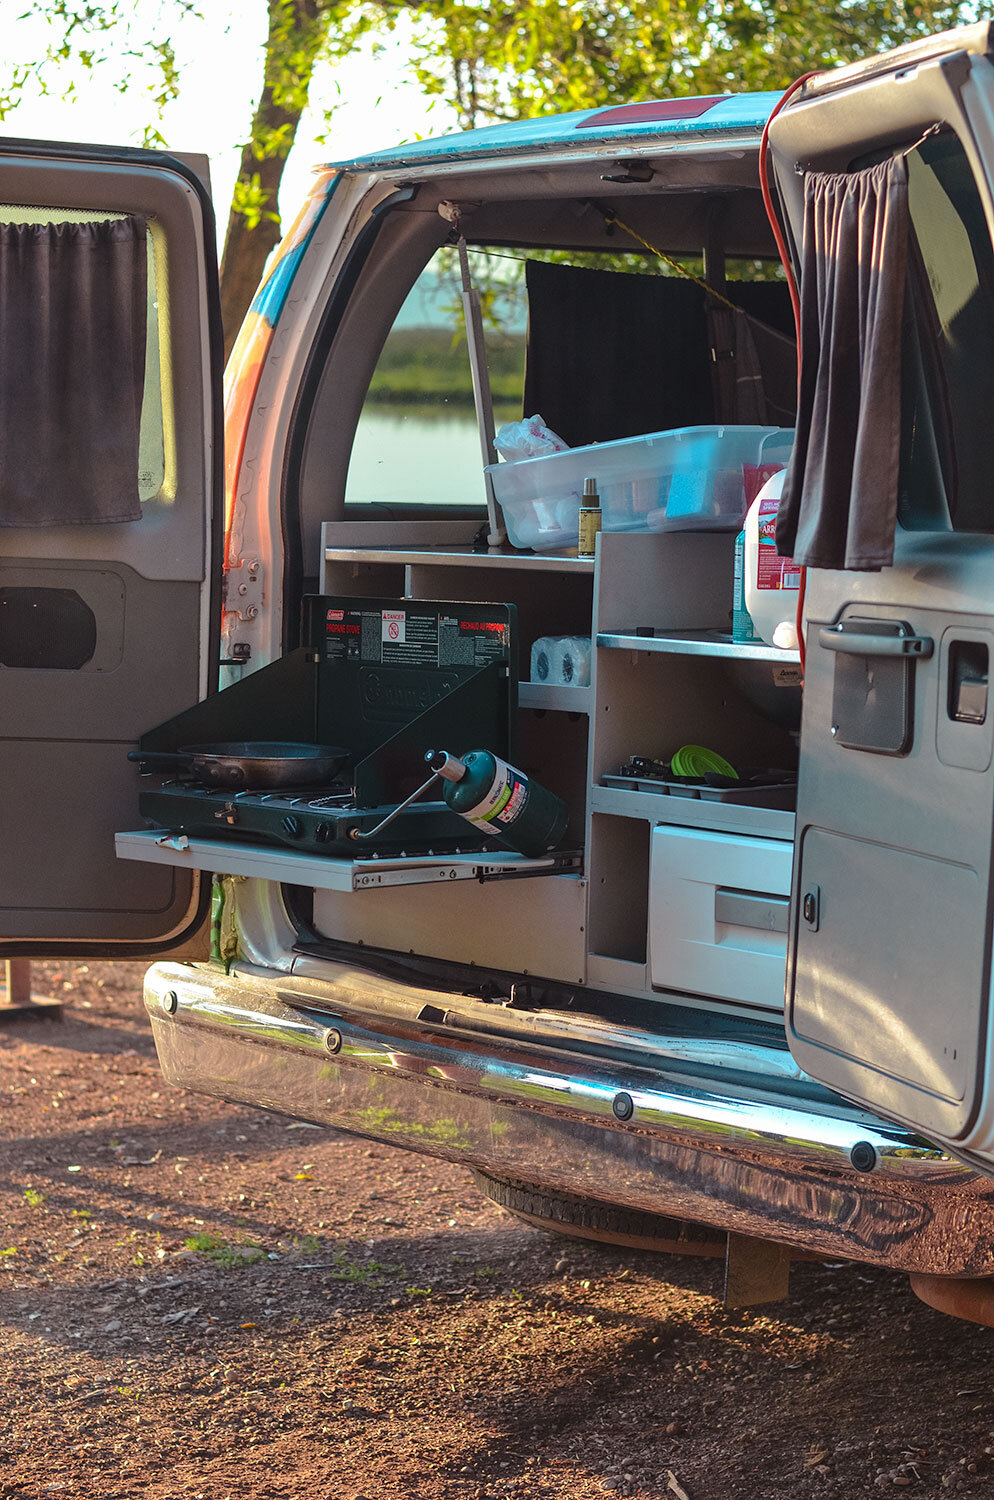
Before we get started on our road trip, let me spill the beans on the camper van company that I used. Since this was a one-way road trip, I went with Escape Campervans. After shopping around and speaking with friends that have rented a camper van in the past, this was the best option for us. We were able to pick up the camper van in Seattle and drop it off in Los Angeles. For two people, the Mavericks was the best choice to rent in my opinion. This model included a functional kitchen, “dining room” table and benches that converted into a big comfy queen-sized bed, and seats/sleeps up to 5 people. Bedding, basic kitchen essentials, lawn chairs, and curtains for privacy are included. Information on this specific model is here.
One Week Itinerary
Day 1: Seattle, WA
Day 2: Mt. Rainer, WA and Cannon Beach, OR
Day 3: Portland and Crater Lake, OR
Day 4: Redwoods National Park and Fort Bragg, CA
Day 5: San Francisco, CA
Day 6: Carmel-By-The-Sea, Big Sur, Pfeiffer Beach, CA
Day 7: Los Angeles, CA
We stopped at many other spots along the way, so here are the google map locations that you can use when planning your one-week road trip!
Day 1
When planning a road trip on the PCH, I highly recommend driving from north to south because your vehicle is closer to the ocean. That is why our road trip begins in Seattle! Spent the entire day in Seattle, and I am so glad we did! There are so many things that you can do, especially during the summertime!
Seattle deserves a separate blog post on its own, but to recap the day:
Pike Place Market - First place to visit to beat the crowd. Grab a coffee at the first Starbucks and eat breakfast by sampling everything from the smoked salmon to the famous clam chowder. This is also where we grabbed food provisions to stock the camper van.
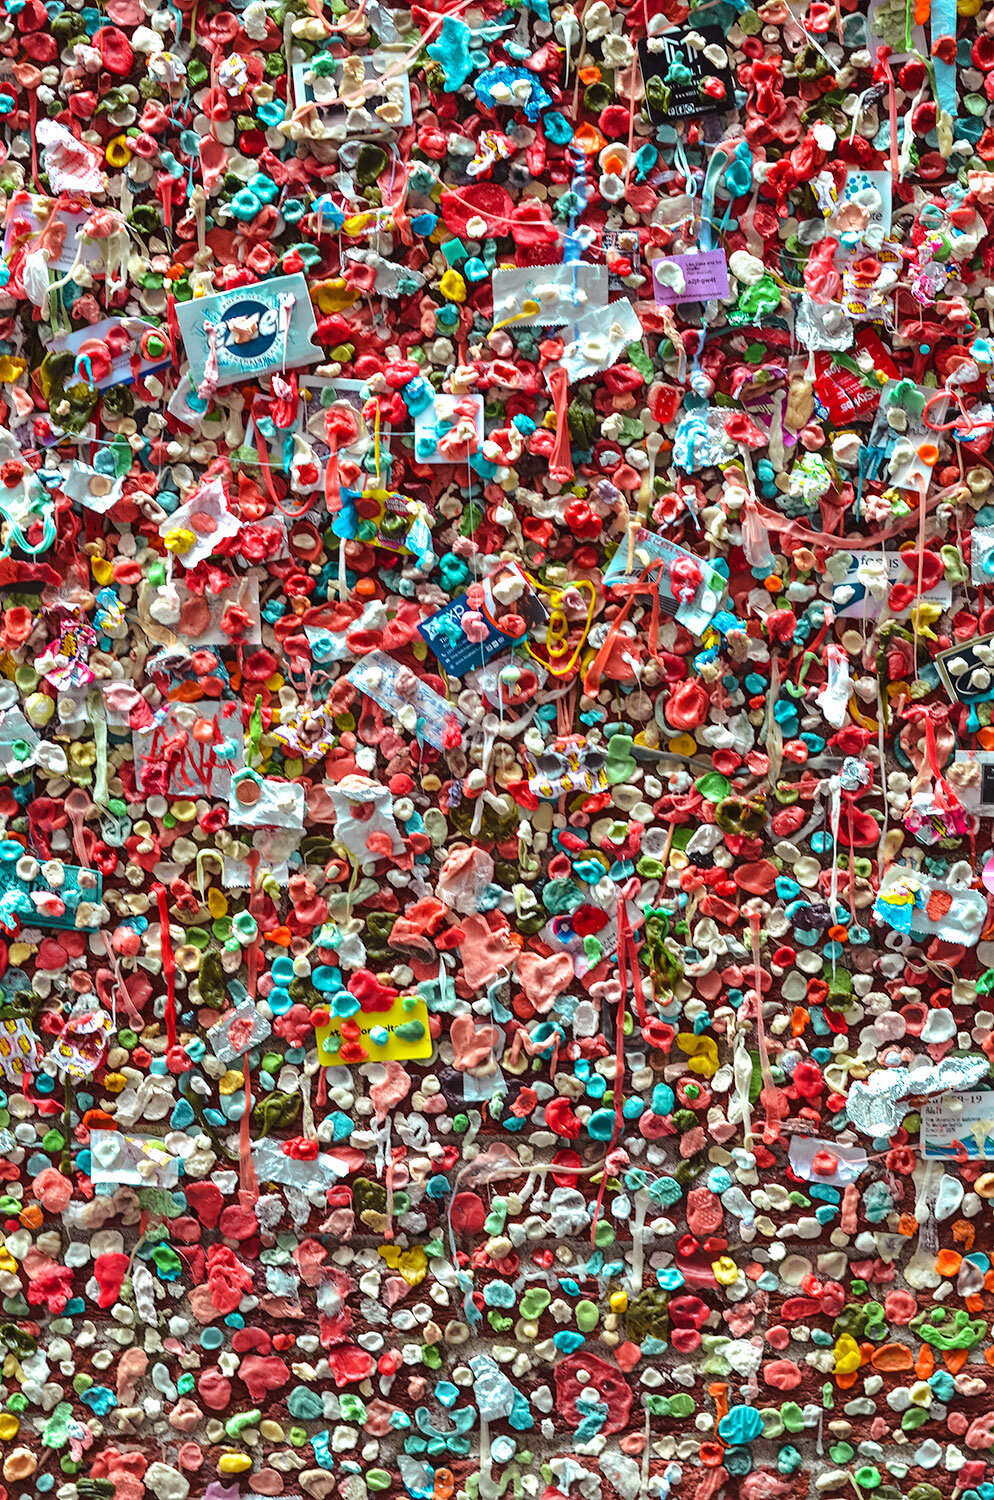
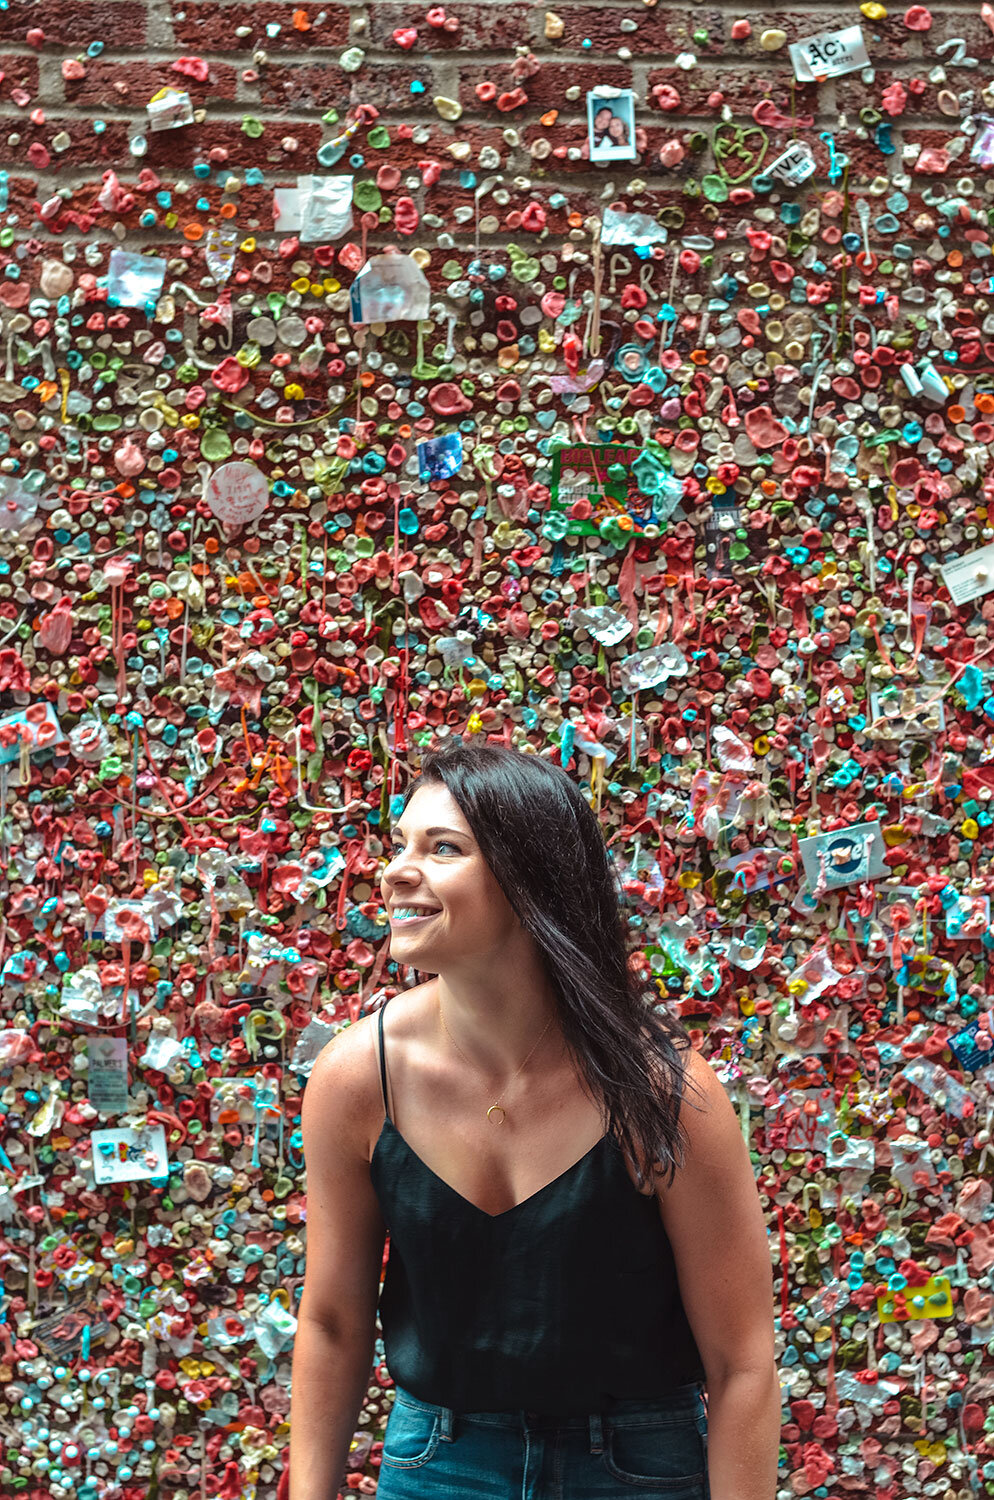
Gum wall at Pike Place - I’m sure you will have gum on hand since you have been eating seafood all morning. Located right below Pike Place Market, can’t miss it!
The afternoon was spent grabbing the camper van and shopping for provisions.
Salty’s on Alki: Amazing views of downtown and great seafood! You need to make dinner reservations beforehand if you want a table! Time to kill before your dinner reservation? Alki Beach is the perfect spot to walk along the water, watch beach volleyball games, or to watch the most picturesque sunsets.
Frankie & Jo’s ice cream: Why not end a perfect day with the best plant-based ice cream you have ever eaten!


Day 2
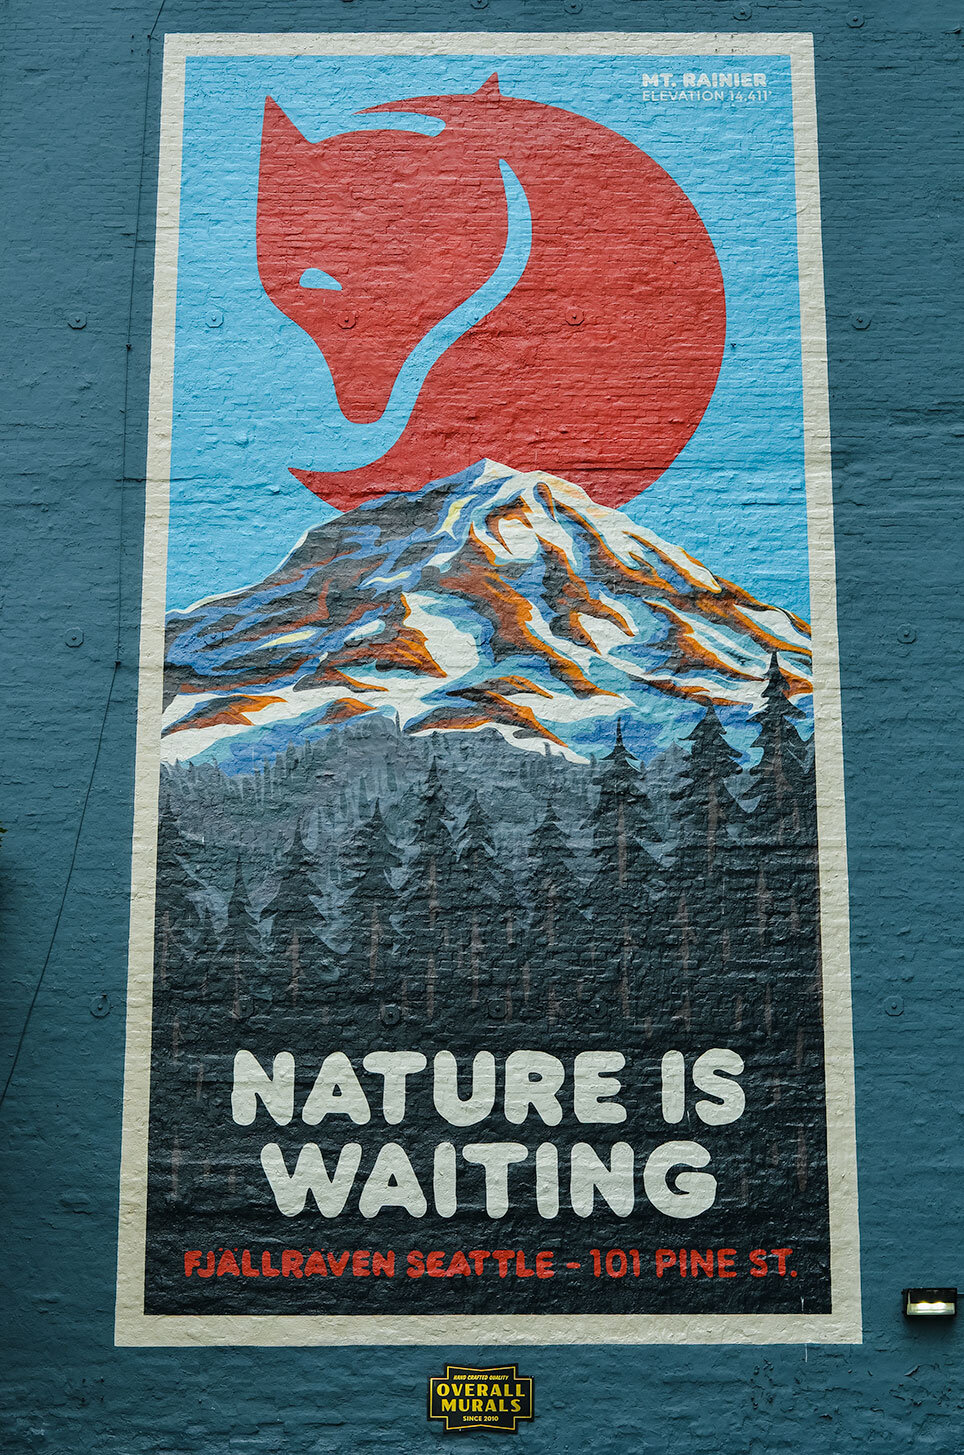
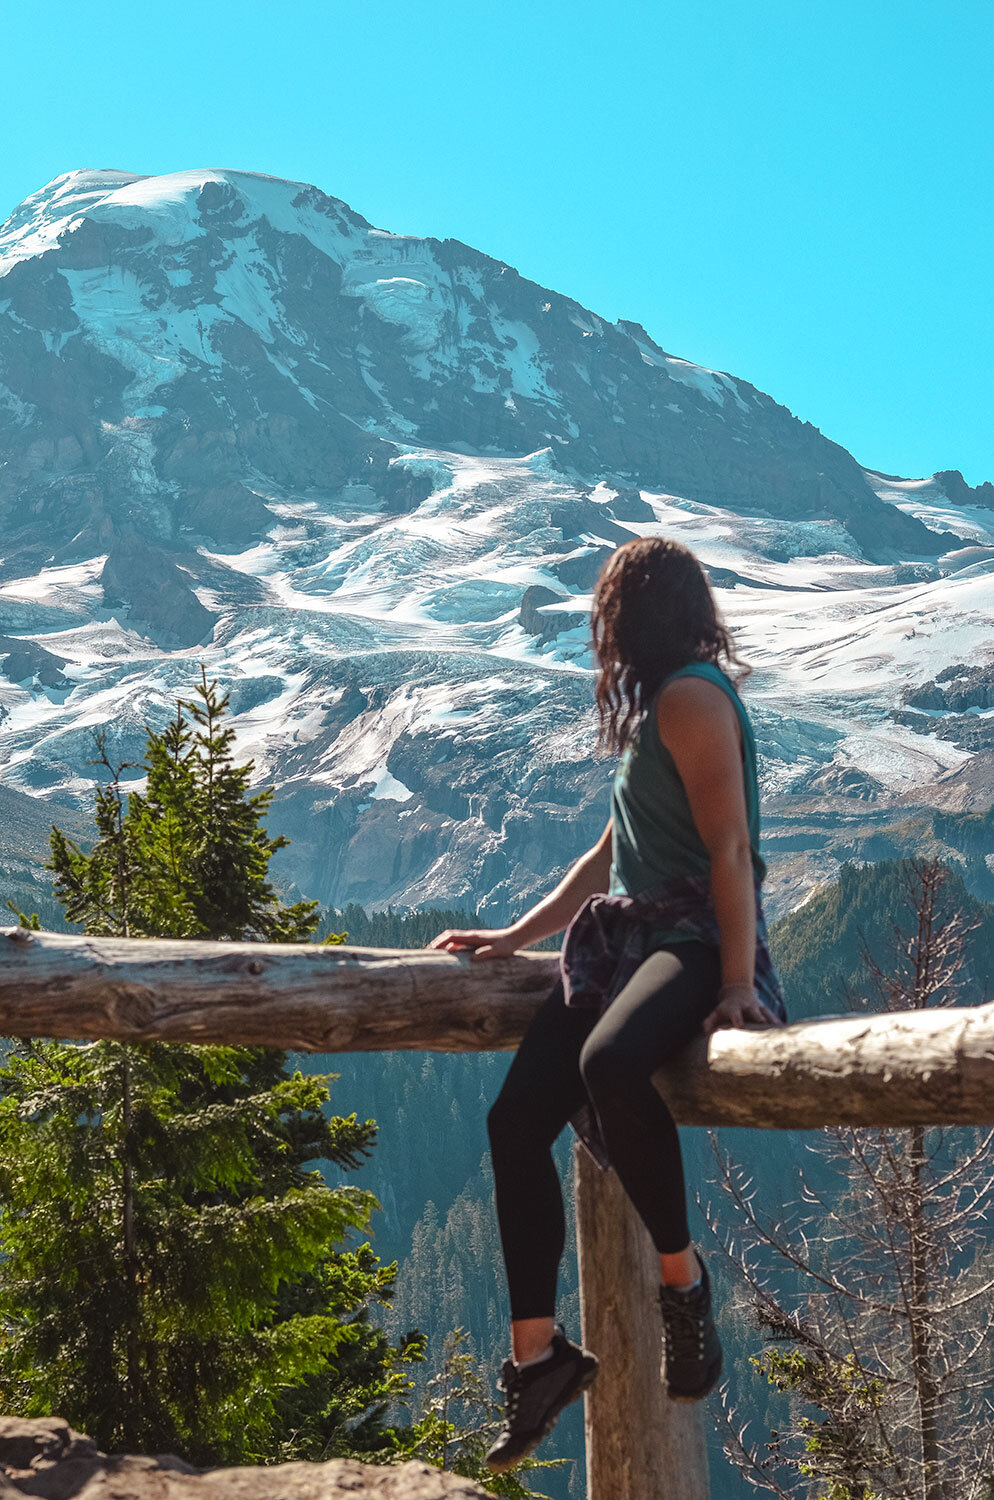
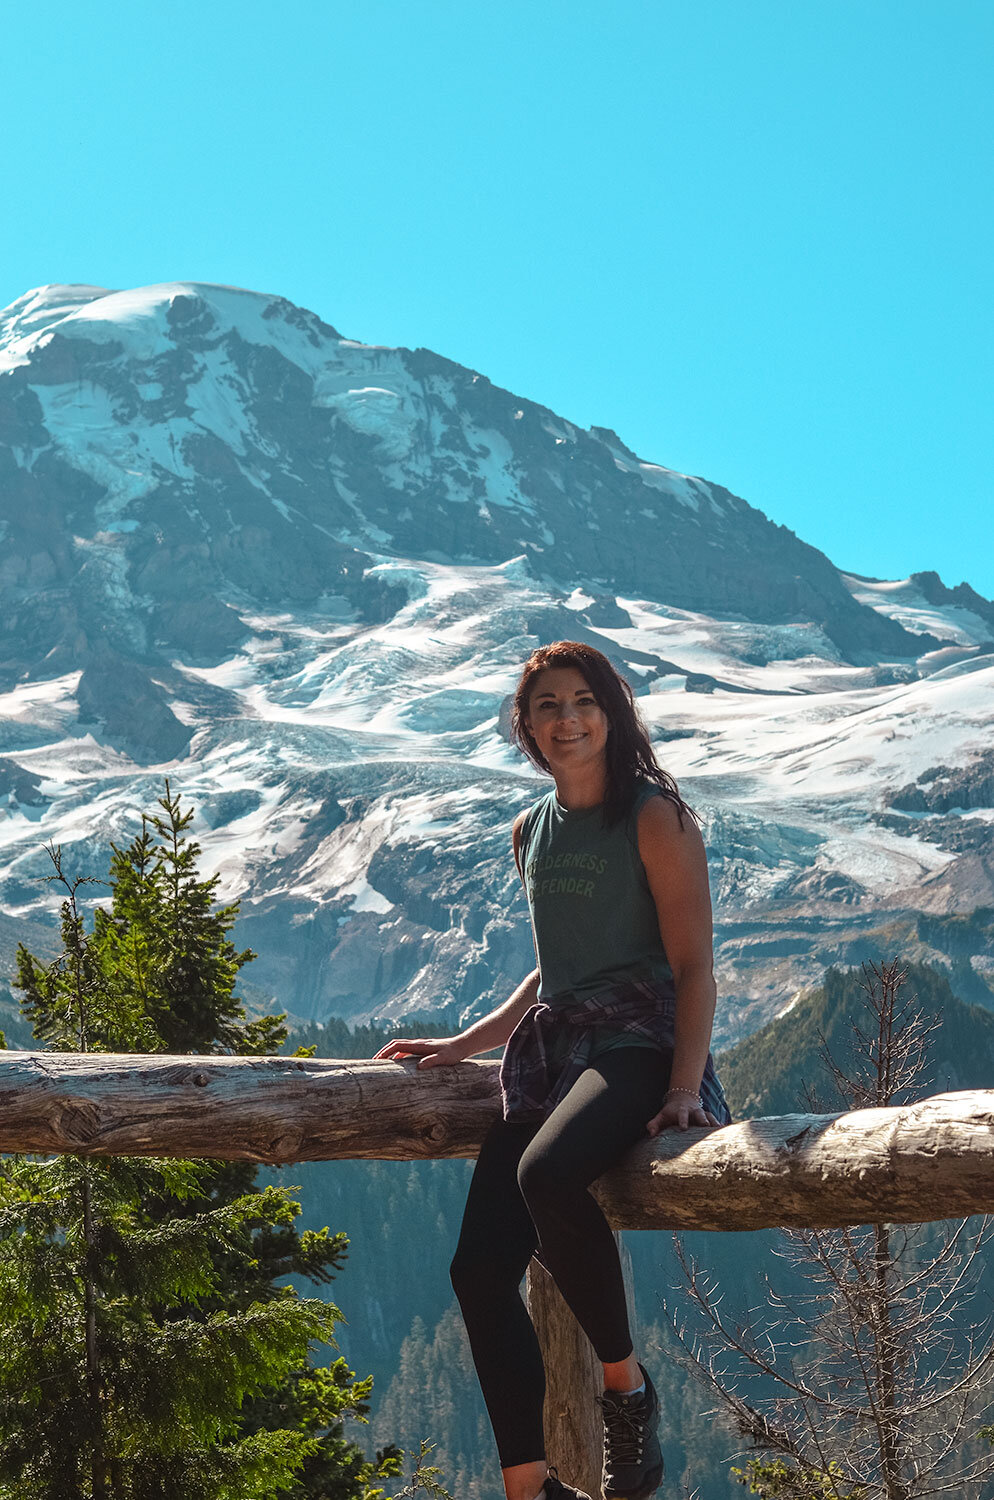
Now that we got the city life behind us, why not let our hair down and officially start this road trip, shall we!? About two hours south of Seattle is our first stop, Mt. Rainier National Park. Get ready for big mountain snow capped views because Mt. Rainier does not disappoint! Fingers crossed the weather cooperates for your visit though!
Regardless of what time of the year it is, dress appropriately, as there will be snow in the mountains. Fun fact: Mount Rainier is actually a volcano standing 14,411 feet in elevation. Great spot for hiking, picnicking, and snowshoeing. If you want to make a full day here, the park offers great lodging accommodations. We made reservations to camp inside the park but had to cancel due to temporary closures so make sure you check on park alerts.

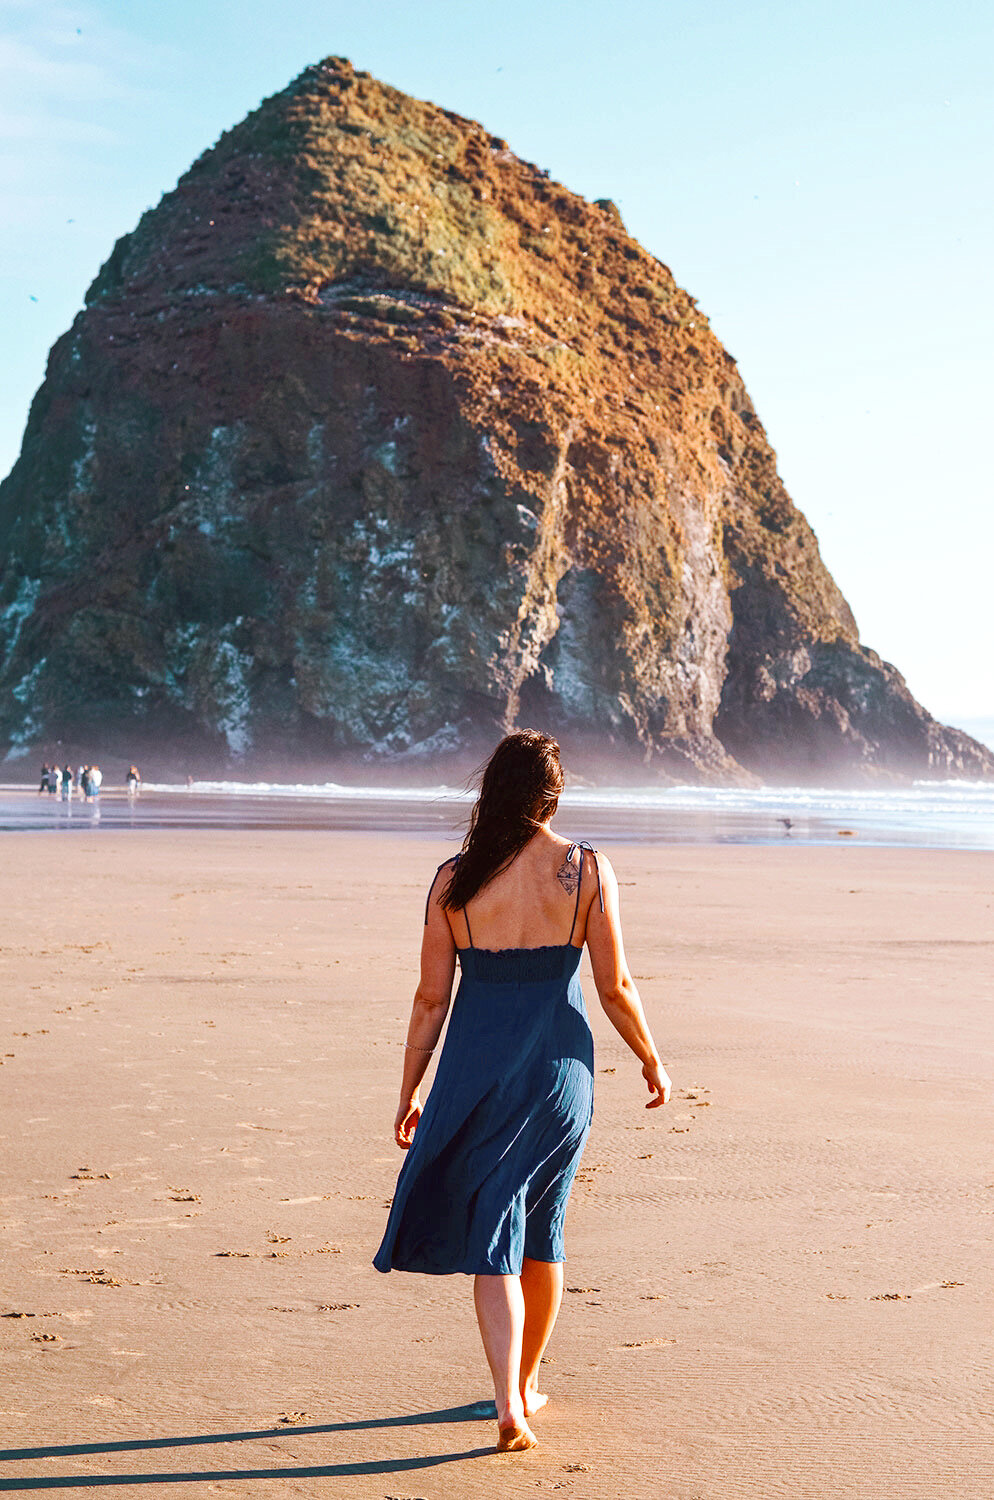
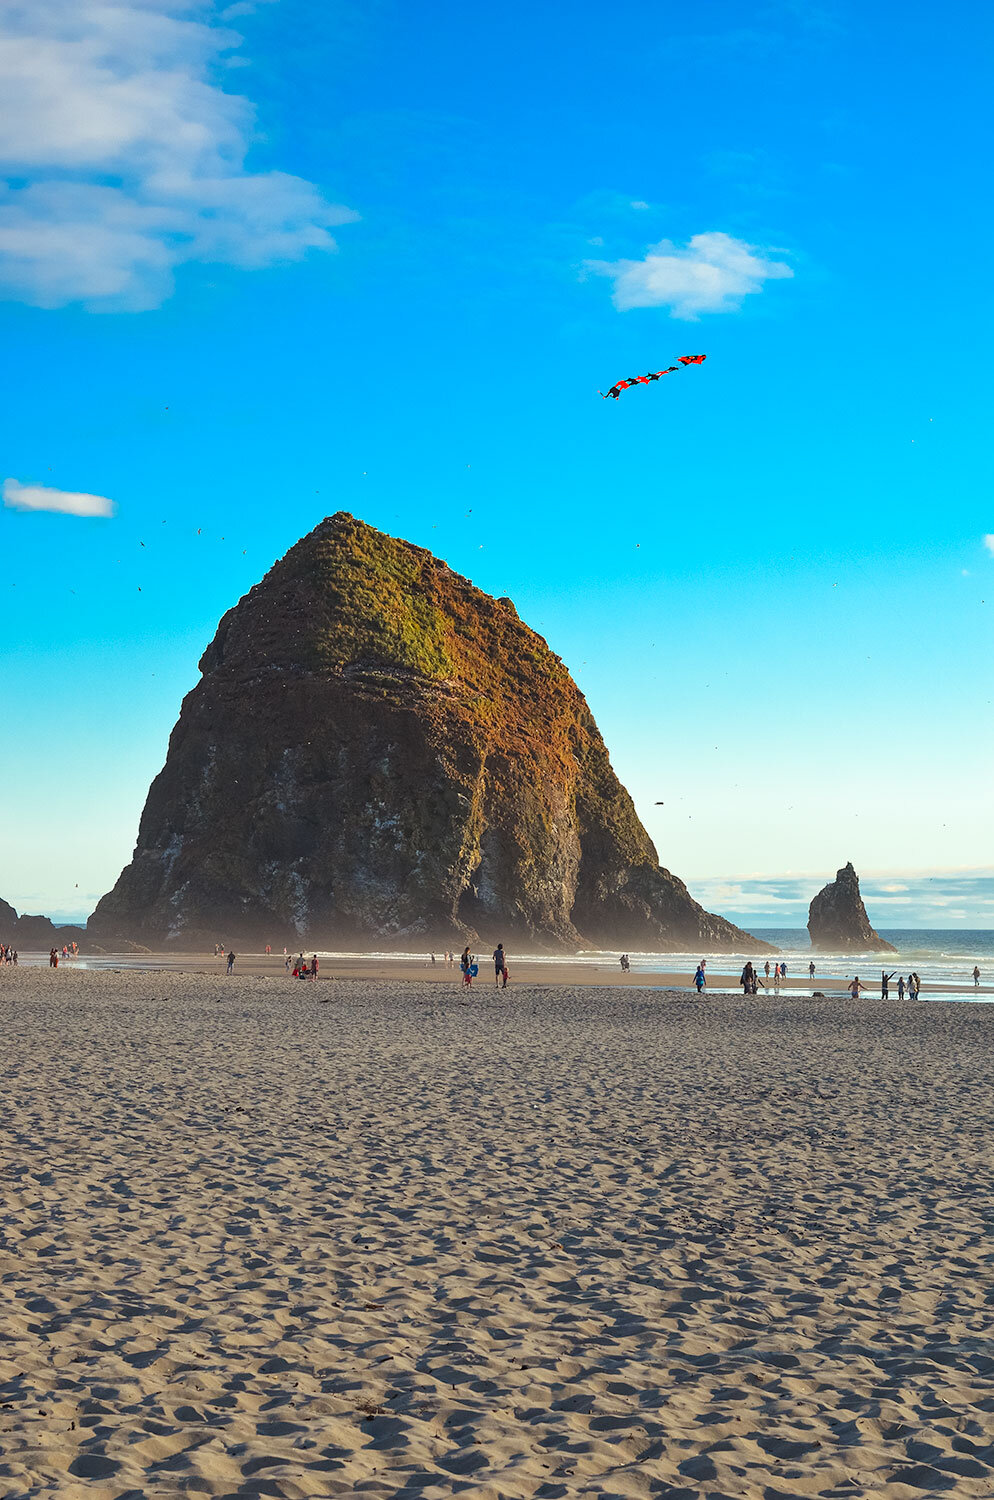
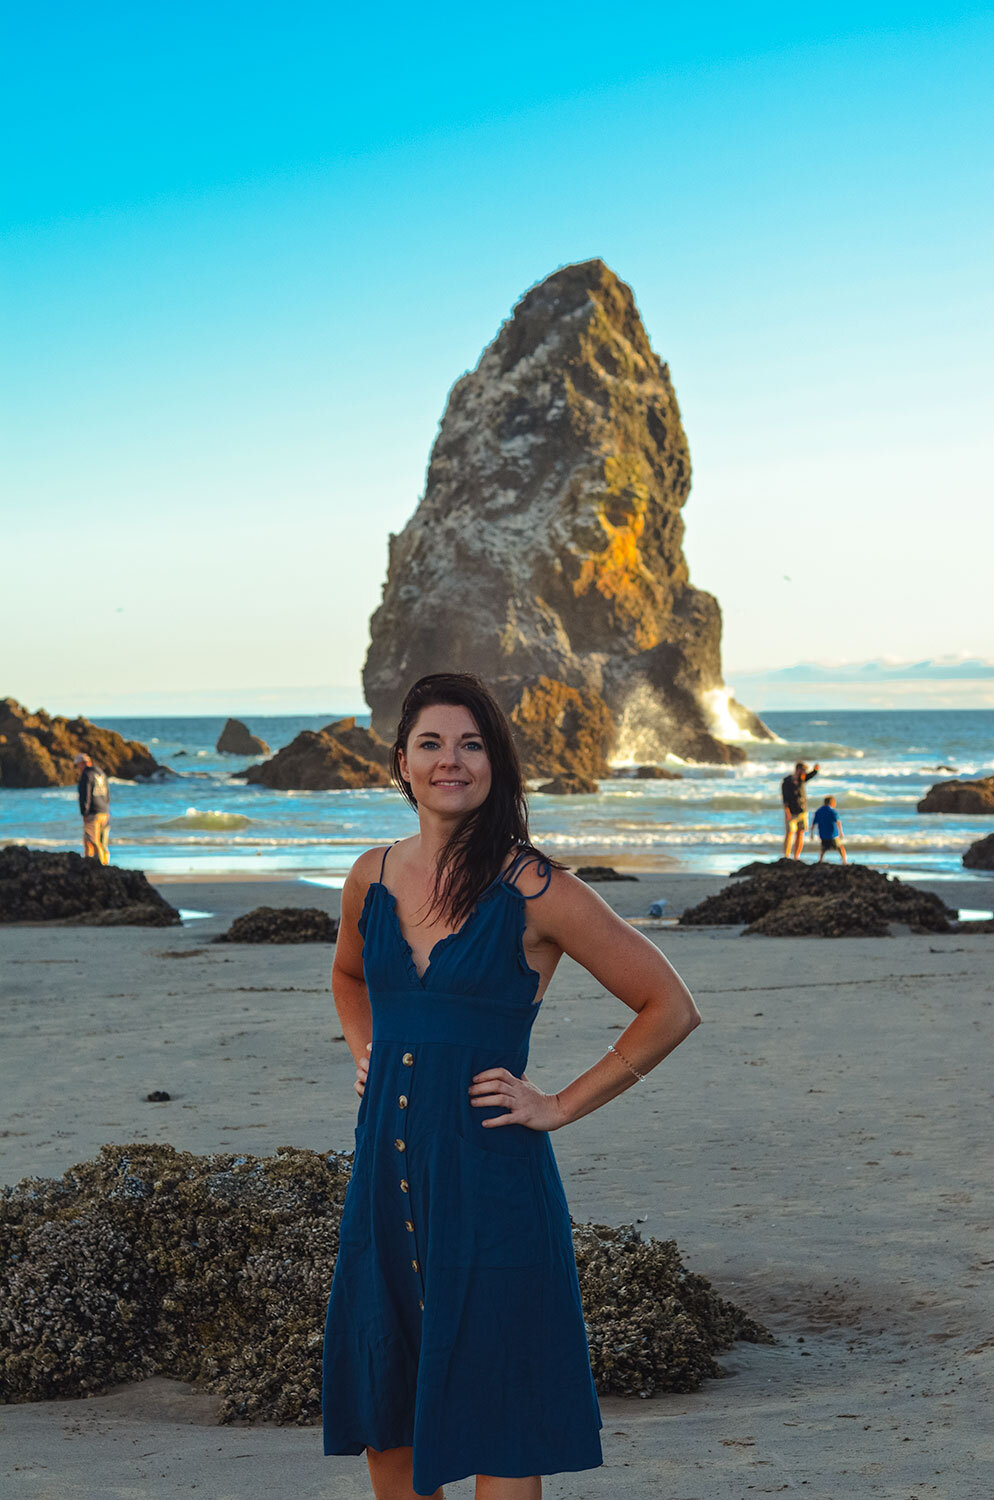
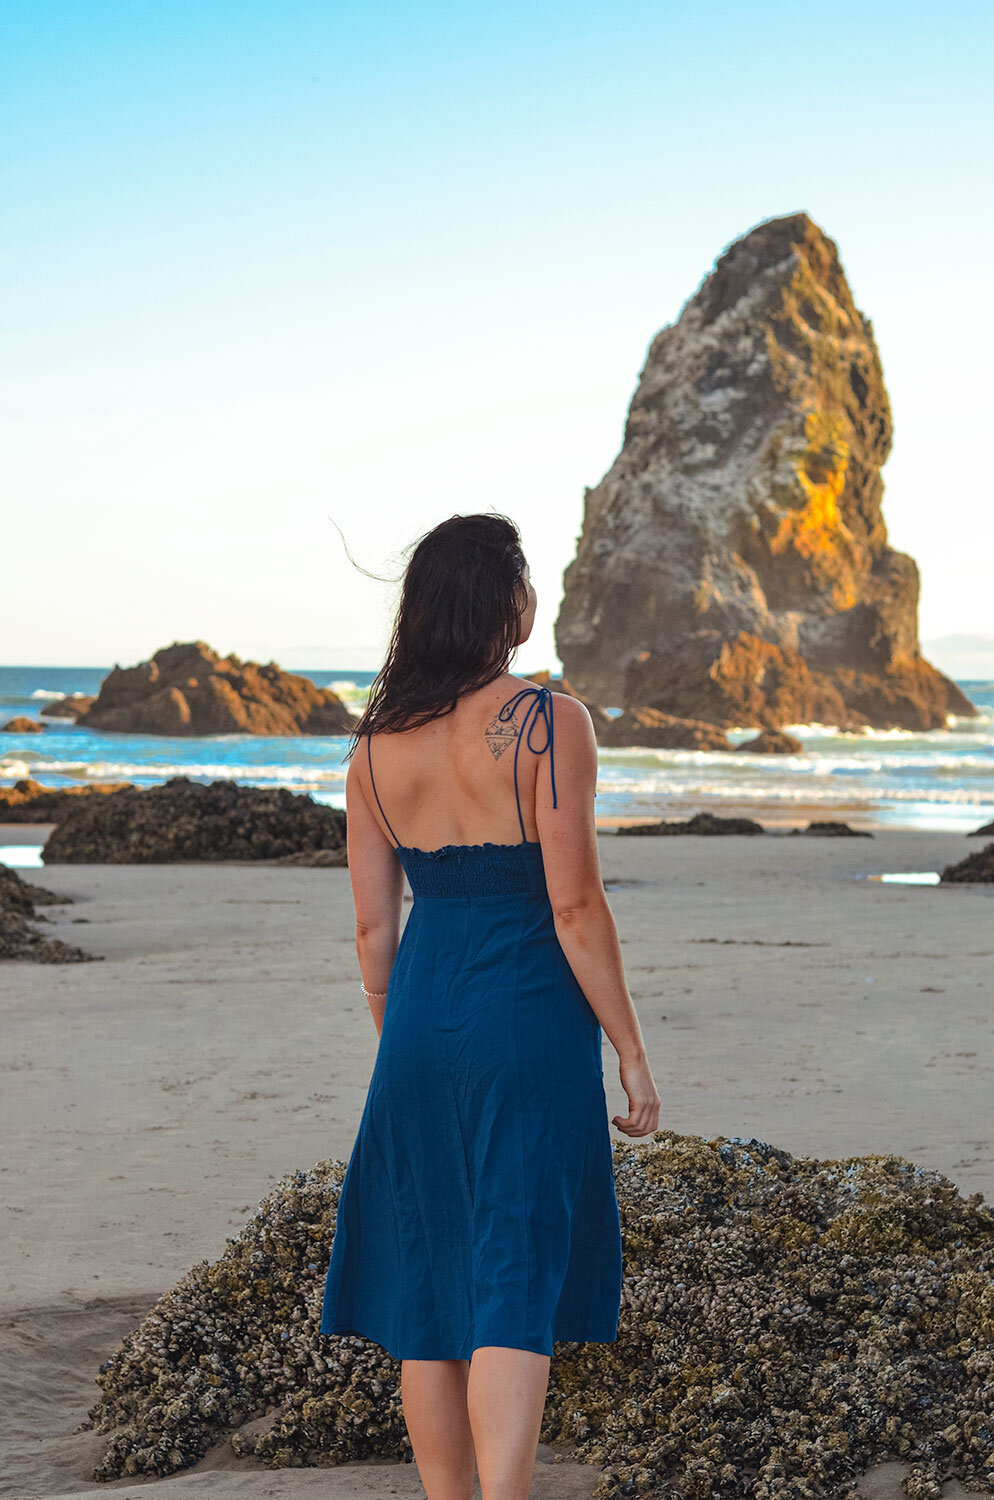
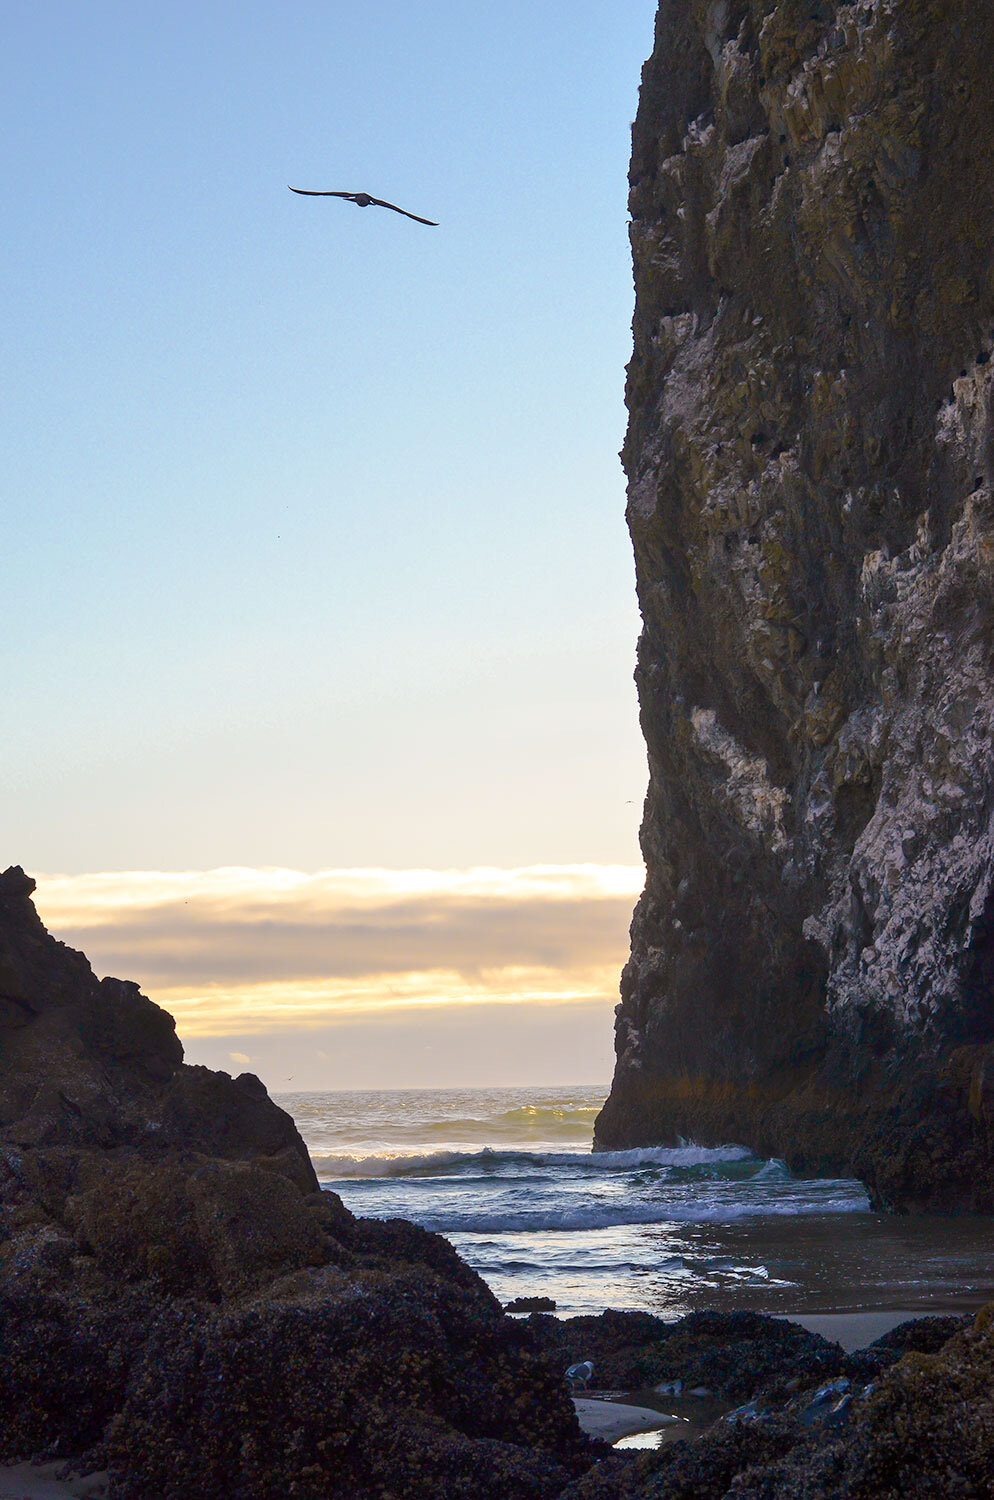
Due to the campsite cancellation in Mt. Rainier, we had to get back on the road and drive south to Cannon Beach which takes about five hours. Cannon Beach is a quaint town located on the beautiful Oregon Coast. To be honest, other than seeing Big Sur, it was my favorite beach of all time and possibly a future place to live!
If you bypass Mt. Rainier, it’s about 4 hours from Seattle and 1.5-hour drive to Portland (where we will be in the morning!). Unfortunately, we only had the evening in this area so the only thing that made sense during the sunset hour is to check out Haystack Rock aka “Goonies Rock”! There are many RV/camping options around the area. We camped at this spot for the night.
Goonies Never Say Die.


Day 3
Unless you want to get morning views in Cannon Beach, we are driving to Portland, baby! Honestly, you could do both since Portland is less than two hours from the coast! I wish we had a few days in the city because like their slogan “Keep Portland Weird”, the city did not disappoint! But if you only have half a day, here are a few things you must do:
Grab a donut or two at Voodoo Donut.
Wash your donut down with a delicious coffee brew at Stumptown.
Stroll around downtown and visit Powell’s Books, Portland Saturday Markets, and Japanese Gardens.
Nosh on amazing Thai food from Pok Pok (make reservations beforehand or you will wait in line!)
Back on the road again. (Did I mention that you will be driving a lot!) This time, we are heading to Crater Lake National Park. We are packing this road trip full of experiences so taking travel time into account, we have two hours of hiking time at Crater Lake. Luckily, Crater Lake is very accessible and you can drive around the perimeter of the lake (Rim Drive). Fun fact: Crater Lake is one of the deepest lakes in the USA and quite possibly the most pristine on Earth! The lake is fed entirely by rain and snow (not from rivers), making the water as blue and clear as it’s going to get!
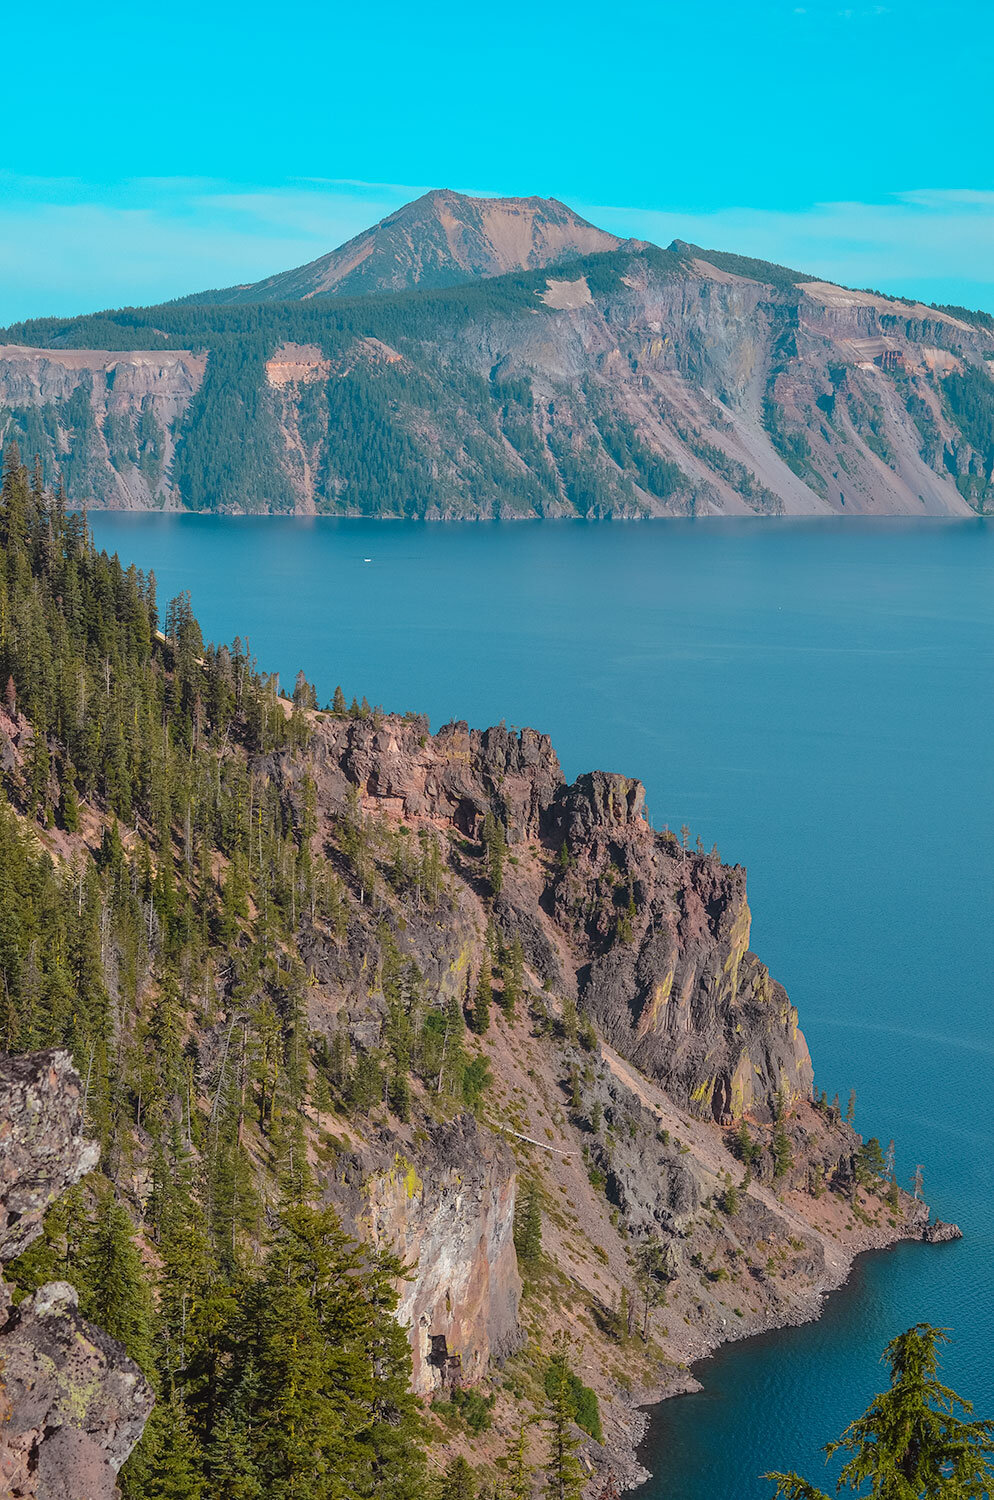

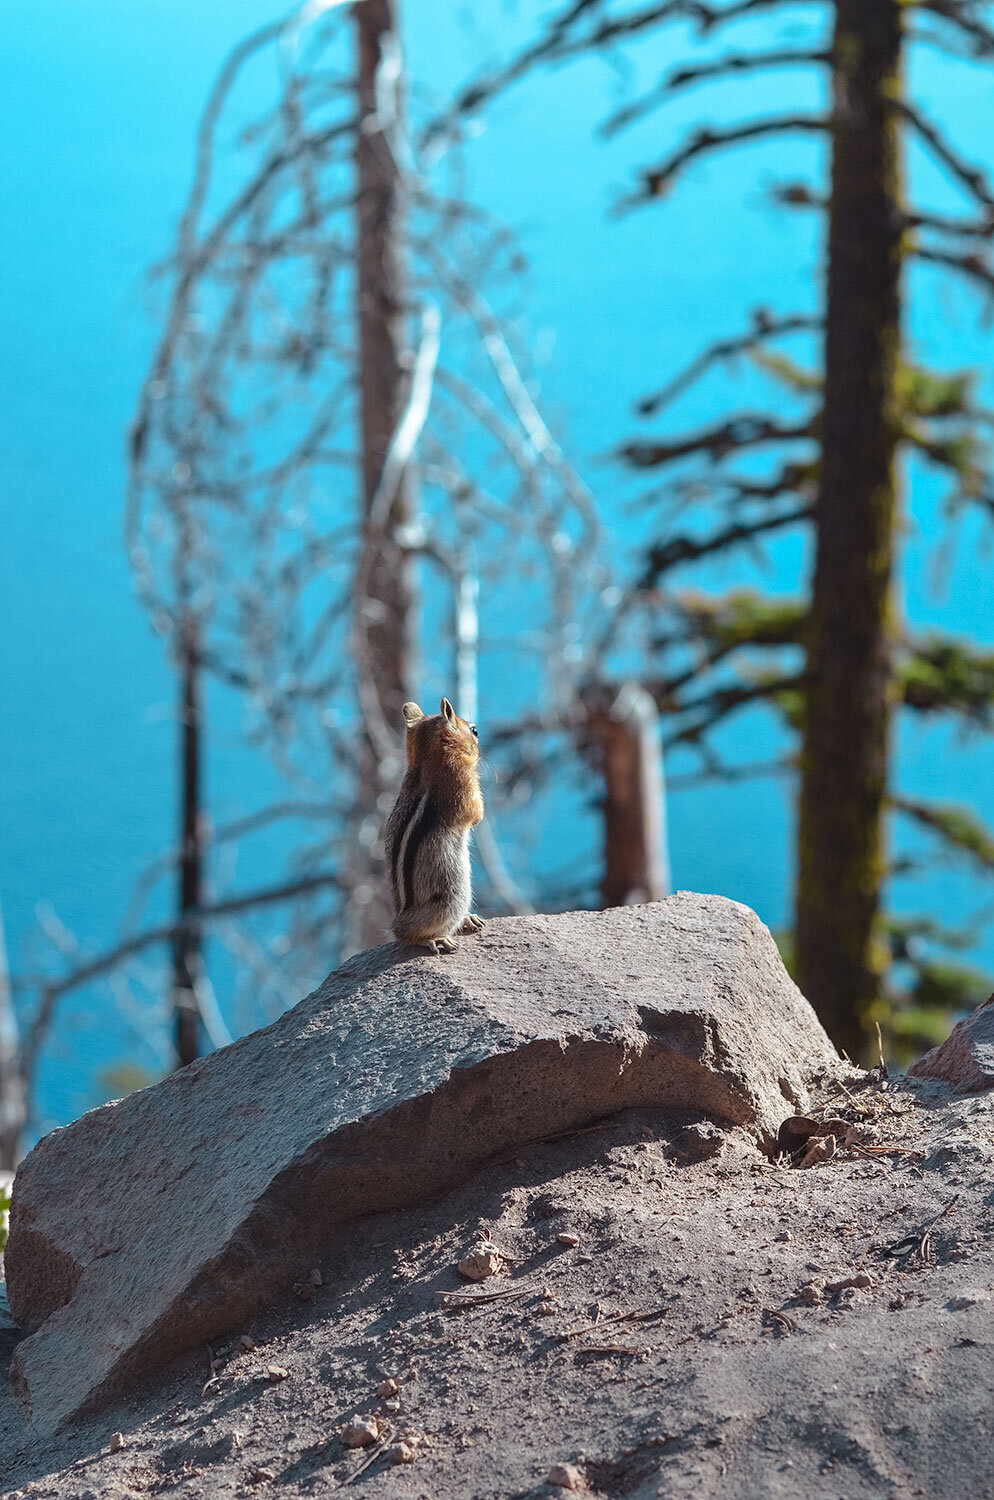

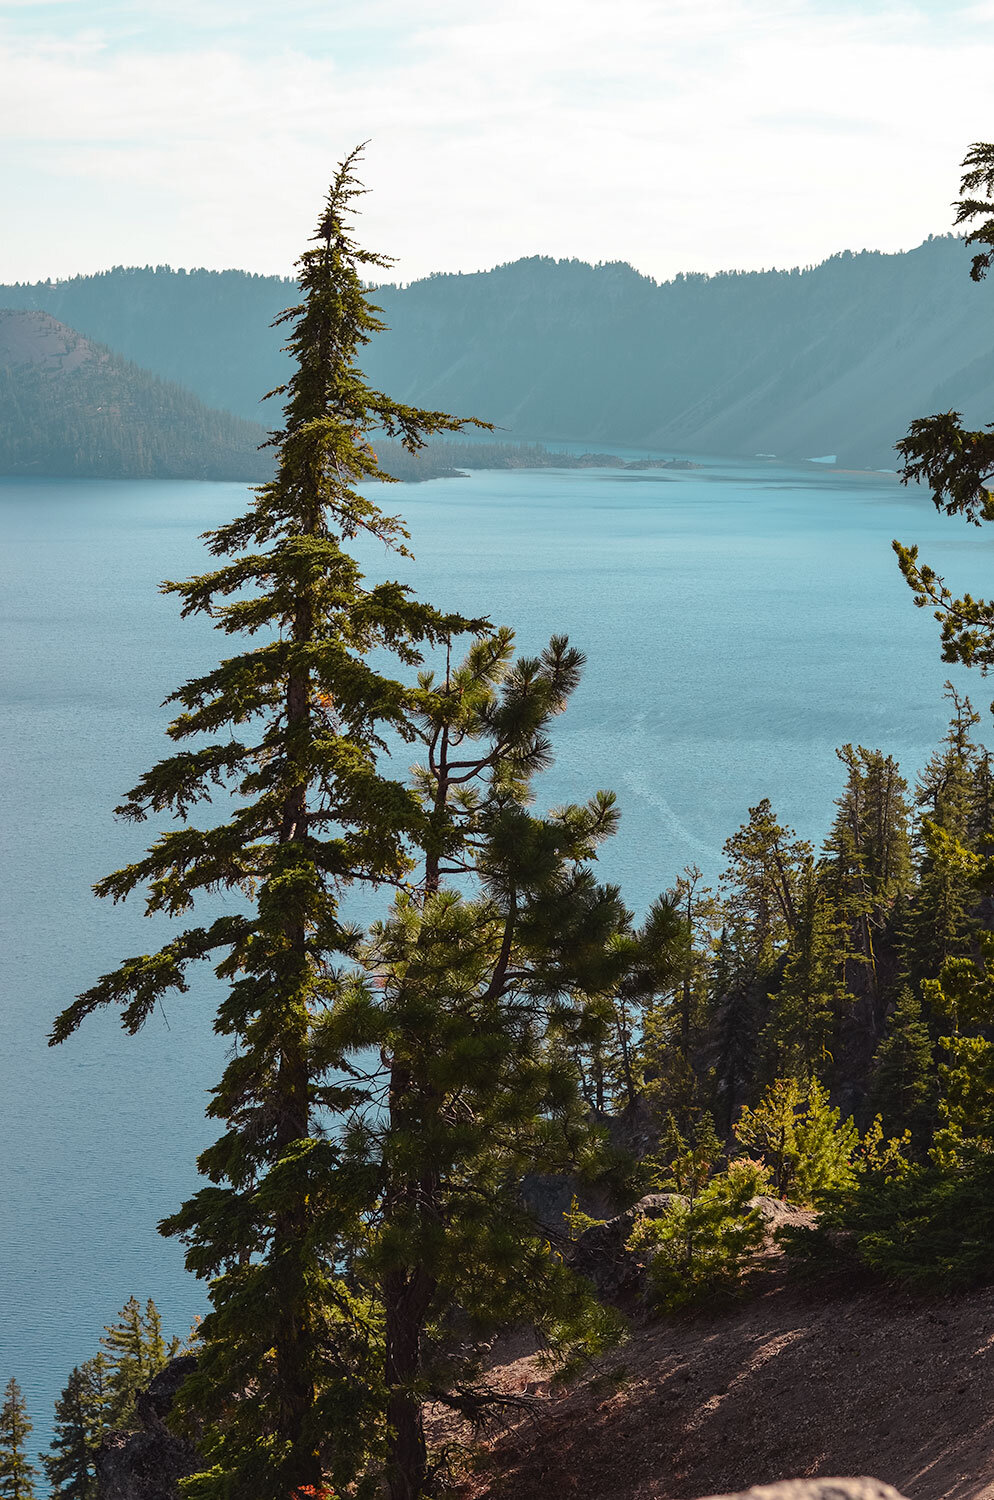
Want to see the clear waters yourself? Hike the 1.1 mile Cleetwood Cove trail that will give you access to the shore. You can also take a boat tour around the lake. Make sure you make reservations in advance! This area offers great RV spots. We stayed here for the night - favorite RV spot!
Tip: Make sure you check to see if the park is open since the park’s roads, trails, and facilities are closed seasonally due to snow.
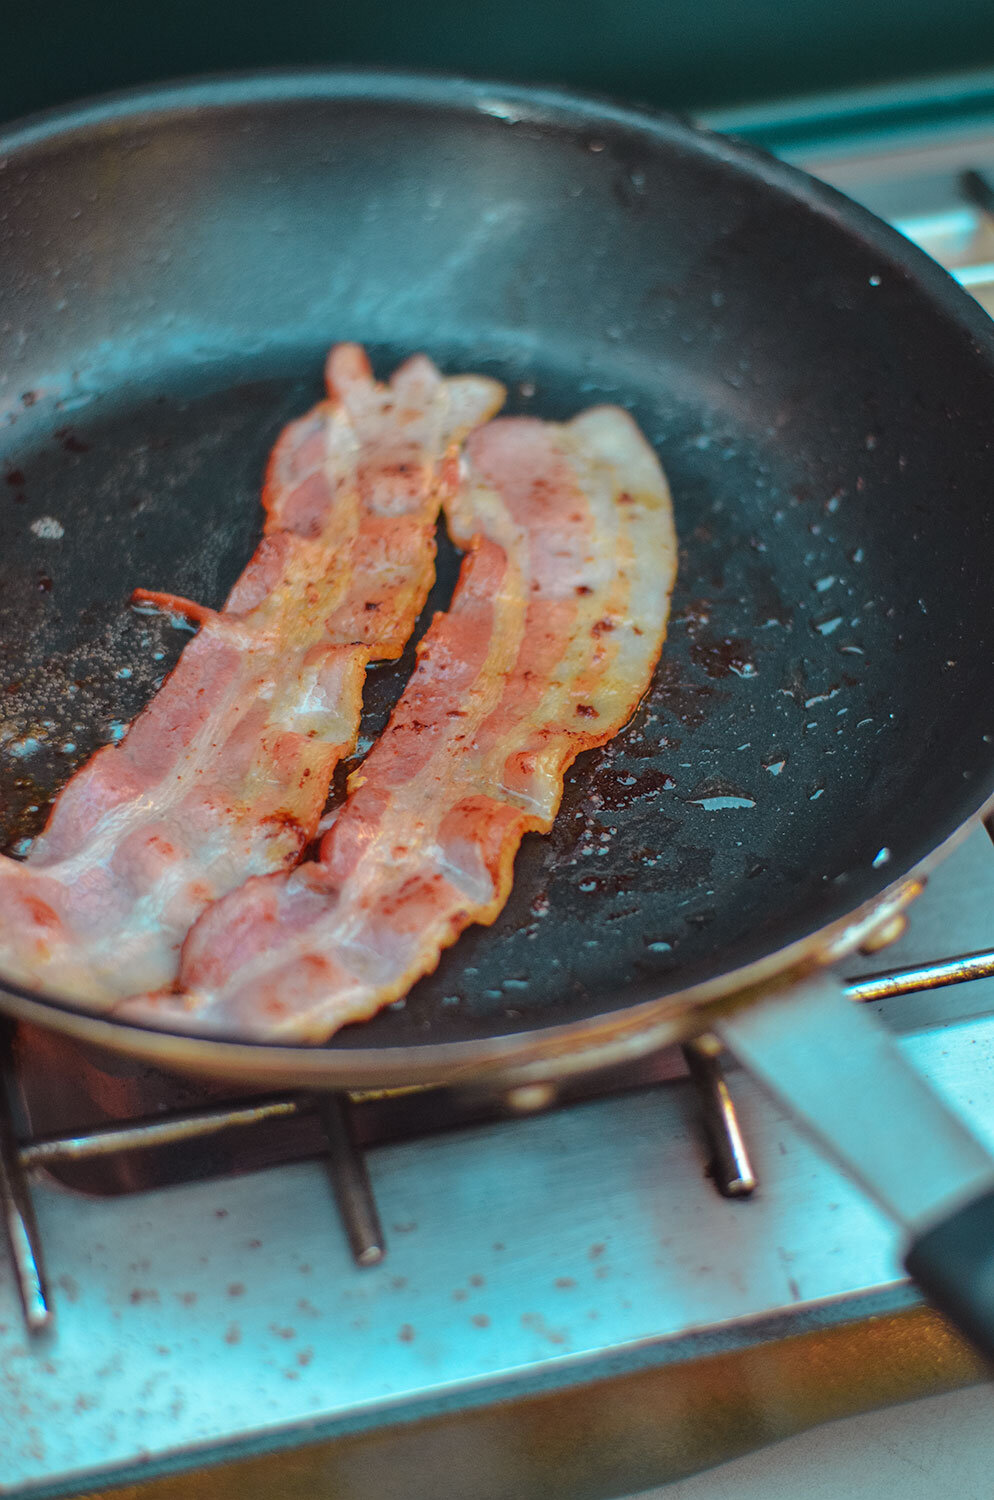
Bonus Tip: If you decide to park by a stagnant lake or dense forest of trees during the summer, make sure you purchase bug spray or a mosquito net! When we opened the back of the van to cook, a swarm of mosquitoes came charging in. Needless to say, we became close friends for the entire week! Here is a great post on proper mosquito netting for your camper van!
Day 4
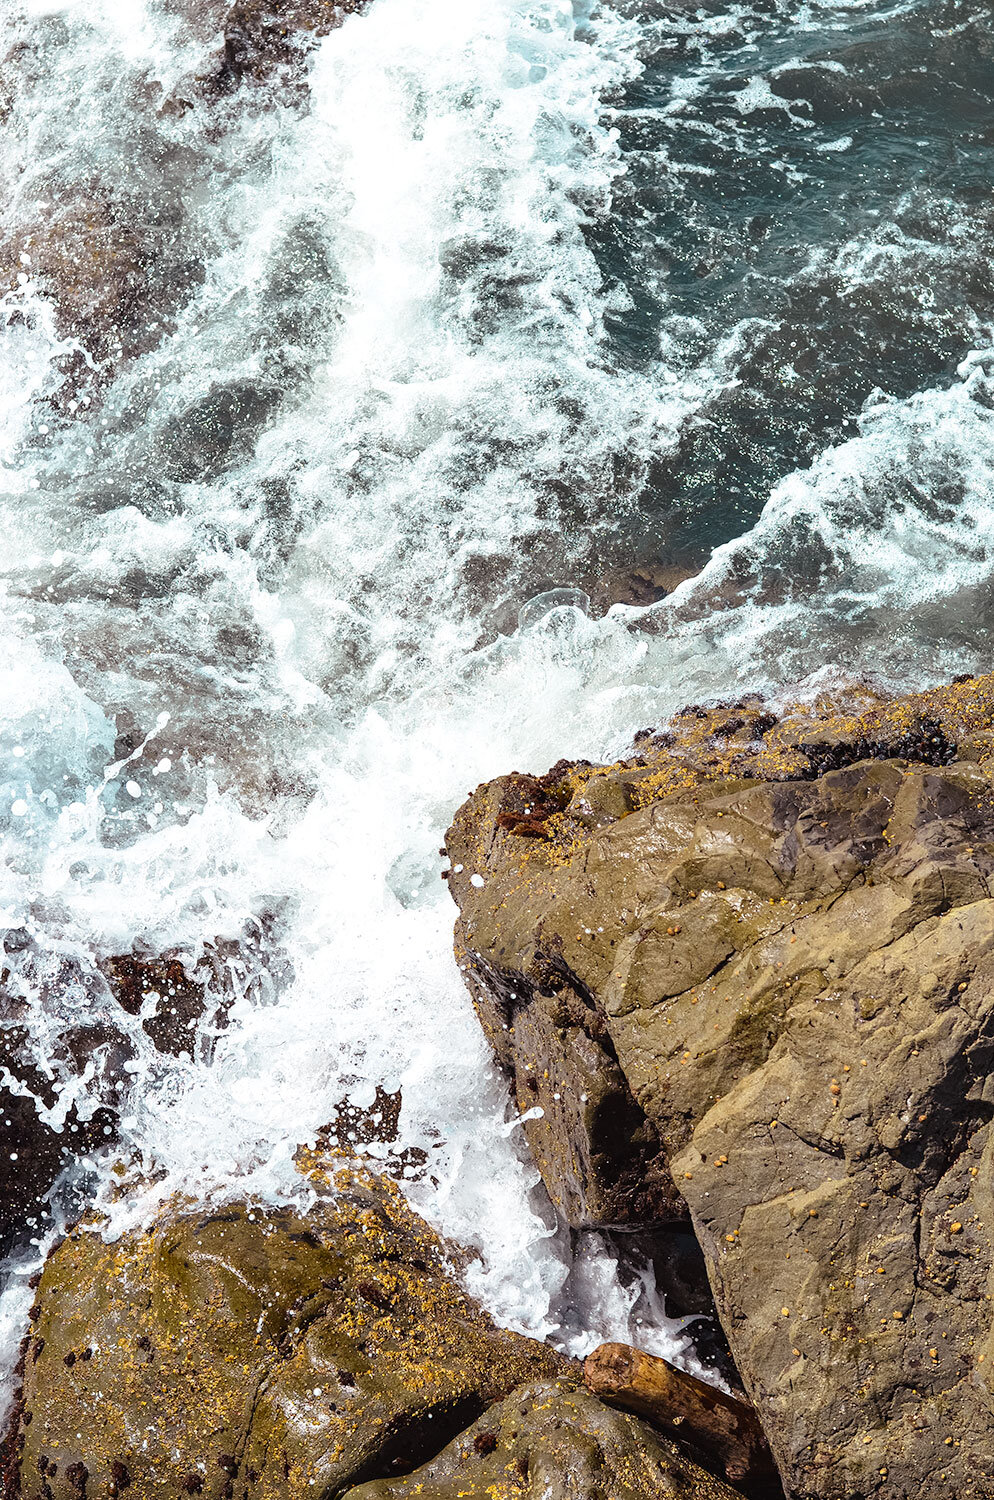
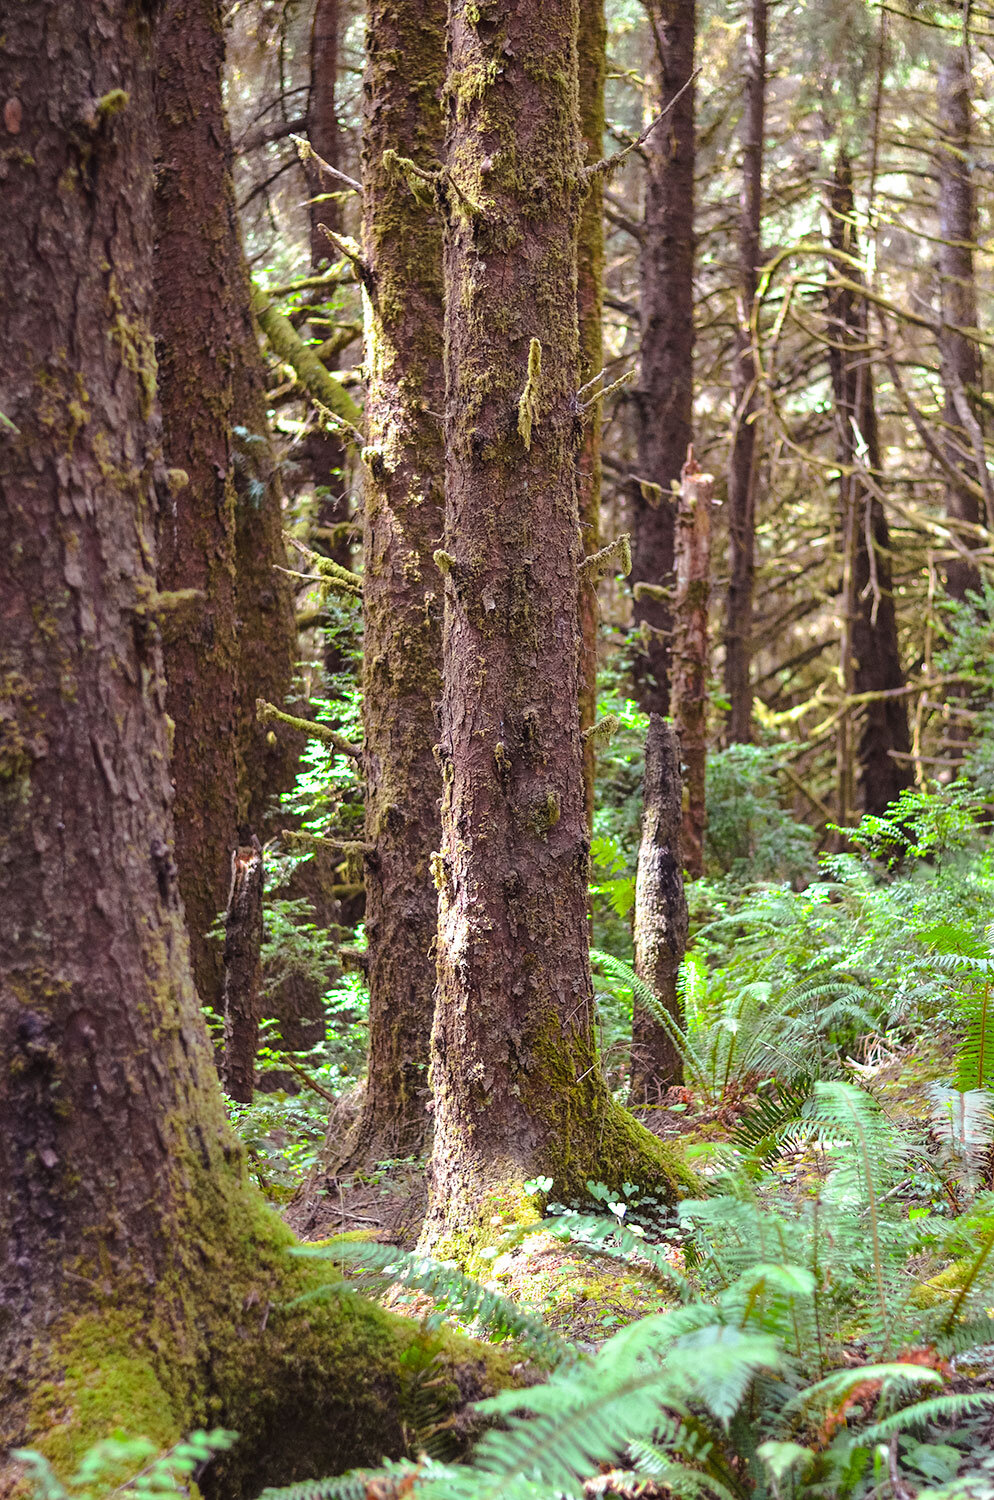
Just below the Oregon border is the Redwood National and State Parks. They are made up of the National Park, Jedediah Smith Redwoods State Park, Del Norte Coast Redwoods State Park, and Prairie Creek Redwoods State Park (check out this map to see their locations.) Since the parks are spread out, the struggle was real as far as which one to visit.
Well, I’m a coastal girl so Del Norte Coast it is! Here are things to do in the park:
Hike Damnation Creek Trail (4-mile hike) - This hike is great for the adventurer since it’s challenging but very rewarding! The ability to see the Redwoods along the coast is a combination you can’t beat!
Hike to Hidden Beach, which is a secluded beach, lined with tide pools, piles of driftwood and weathered rock formations.
If you are traveling with family, visit the Trees of Mystery and soar through the trees.

Next stop, Prairie Creek! Like Del Norte Coast, you get a mixture of redwood and beaches, but one thing that sets this park apart from the rest is their Roosevelt Elk. We had the chance to spot some Elk on the Elk Prairie Trail (2.8-mile hike).
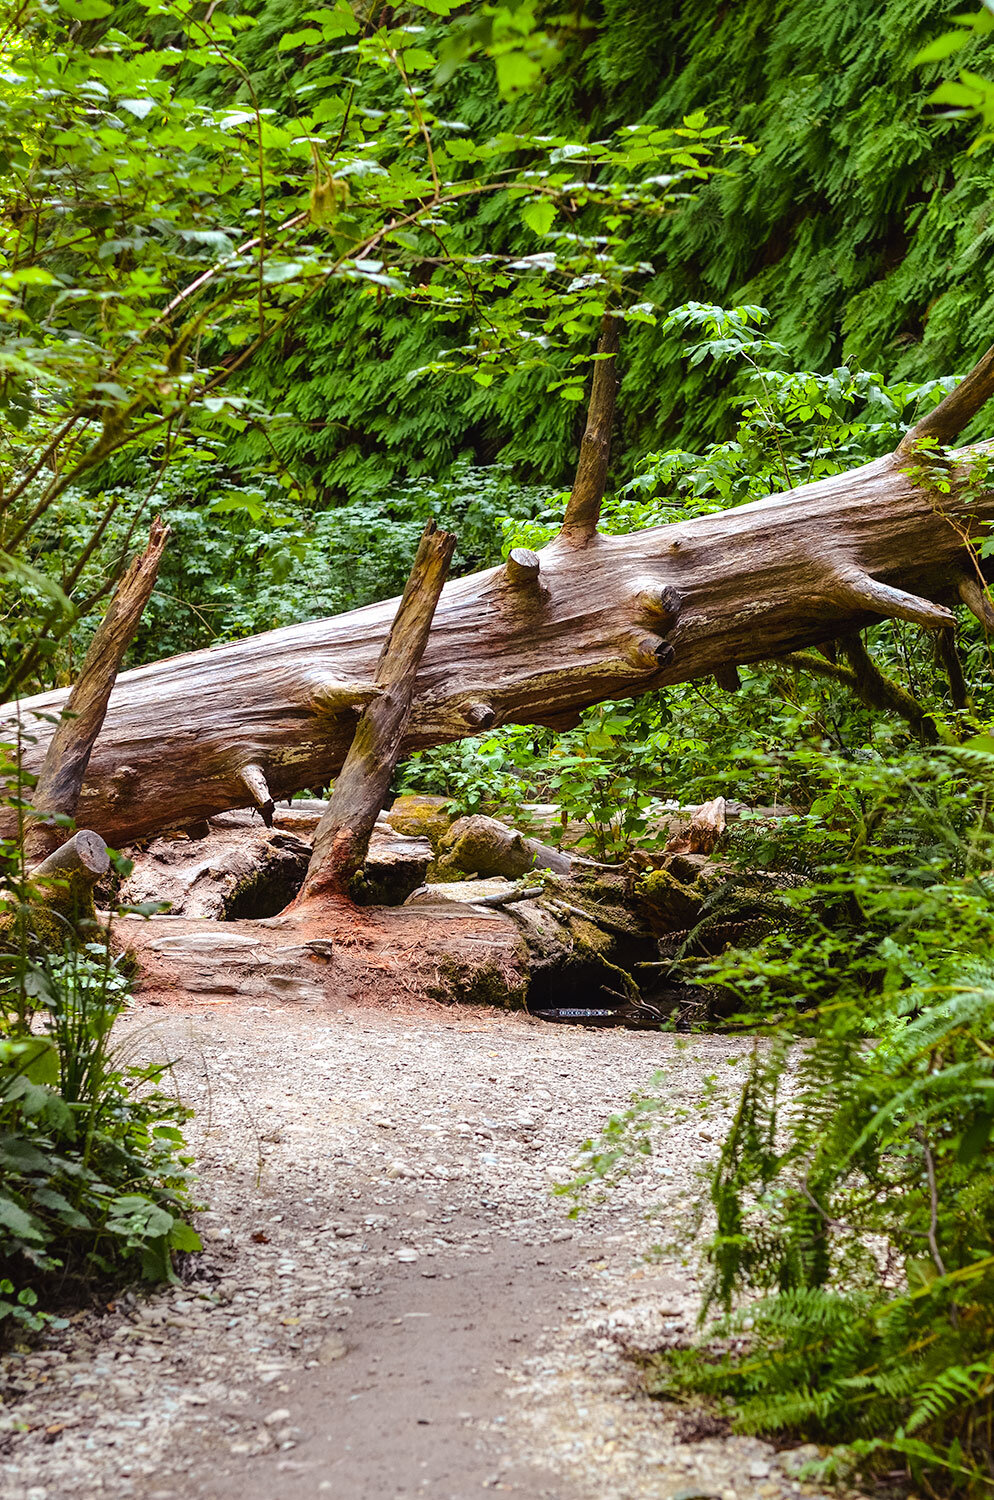
Another thing you must do is explore the beautiful Fern Canyon. Fun fact: Portions of The Lost World: Jurassic Park were filmed in Fern Canyon!
If you have more time in this park, I highly suggest hiking the Miner’s Ridge and James Irvine Trail (12.4-mile hike) It takes about five hours to complete but if you want to see the best views of Fern Canyon and Gold Bluffs Beach, then this is the hike for you!
Like most of the locations we have visited thus far, you could easily spend a week/weekend visiting all the parks. But alas, we have a lot of miles to get through so to end the day, we are heading four hours down the coast to Fort Bragg! Since we got in late, we passed by Glass Beach on the way to our RV spot for the night.


Part 2 will include the second half of the itinerary, essentials for first-timers, and the best road trip apps/resources!

Fresh and Easy Ceviche: 2-Ways
This is sad to say, but my first experience eating ceviche was about six months ago when trying out a new Peruvian restaurant with a girlfriend. She ordered ceviche for the table and after having one bite, I was blown away! Why haven’t I had this before!? It seems like I was doing a disservice to my taste buds for not having it sooner!
So instead of dragging her to this restaurant to help translate that, “I need ceviche!”, I just make it at home! And you can, too! Ceviche is actually very easy to make.
Fresh and Easy Ceviche: 2-Ways - Salmon Mango and Spicy Jalapeno Shrimp Ceviche are tasty dishes that can be served over nachos, tostadas, avocado boats, or with chips!

This is sad to say, but my first experience eating ceviche was about six months when I was trying out a new Peruvian restaurant with a girlfriend. She ordered ceviche for the table and after having one bite, I was blown away! Why haven’t I had this before!? It seems like I was doing a disservice to my taste buds for not having it sooner!


So instead of dragging her to the restaurant every time I need translating: “I need ceviche!”, I just make it at home! And you can, too! Ceviche is actually very easy to make.
The ingredients for ceviche:
Raw fresh fish (snapper, sea bass, halibut, mahi-mahi, tilapia, shrimp, salmon, octopus)
Citrus juice (lemon, lime, oranges)
Salt
Add-ins: mango, red onion, avocado, cilantro, jalapeno, tomatoes
To show how easy it is to make ceviche, I have provided 2-ways that you can make ceviche as well as 3-ways to serve it. You can serve ceviche over nachos, tostadas, avocados or with chips; the possibilities are endless!

Ceviche pairs perfectly with a margarita or a Paloma, just saying! ;)

If you try this recipe, let us know! Leave a comment, rate it, and don’t forget to tag a photo to #fromtherootsblog on Instagram. We love seeing what you come up with!
Fresh and Easy Ceviche: 2-Ways - Salmon Mango and Spicy Jalapeno Shrimp Ceviche are tasty dishes that can be served over nachos, tostadas, avocado boats, or with chips!
Ingredients
Salmon Mango Ceviche
1 lb raw salmon (skinless and cubed)
1 fresh mango (diced)
1 cup lime juice from 6 limes
2 roma tomatoes (diced)
½ red onion (diced)
¼ bunch cilantro (chopped)
1 large avocado (cubed)
1 small shallot (minced)
½ tsp pink himalayan salt
Spicy Jalapeno Shrimp Ceviche
1 lb shrimp (raw or cooked) peeled, deveined, and diced
1 cup lime juice from 6 limes
2 roma tomatoes (diced)
½ red onion (diced)
¼ bunch cilantro (chopped)
1 large avocado (cubed)
1 large jalapeno (diced)
1 small shallot (minced)
½ tsp pink himalayan salt
Directions
Add chopped shrimp or salmon to a large bowl and stir in 1 cup of freshly squeezed lime juice, ½ tsp salt, and minced shallots. Refrigerate and marinate. See Notes for marinating times.
Dice remaining ingredients: avocado, tomato, red onion, jalapeno, mango, and cilantro.
Once the seafood is done marinating, stir in the diced ingredients.
Season with salt and pepper and serve over nachos, tostadas, avocado boats, or with chips!
Notes
Spicy mayo to go over nachos? ¼ cup mayonnaise + 2 tsp sriracha + ½ tsp lime + 1 tsp water.
Feel free to sub shrimp or salmon for ahi tuna and diced cucumber to the ceviche.
Marinating times:
1 ½ - 2 hours for raw shrimp and up to 30 minutes for cooked shrimp
30 min to 1 hour for raw salmon

The Best Gluten-Free Skillet Cornbread
During the first few weeks of quarantine, I was a baking machine. I created all the things, paleo banana nut bread, muffins, cookies, sourdough bread, you name it! It was so bad, I had to start freezing the leftovers because my fridge couldn’t handle it!
I was also creating recipes using ingredients from my pantry. Like most, I wasn’t sure if the grocery stores were going to be closed or only provide limited ingredients so I got creative in the fast! But since I’m cooking for one, having a one-pot meal goes a long way!
The BEST gluten-free skillet cornbread made with just 10 ingredients! Fluffy, perfectly sweet, crumbly and so tasty!

During the first few weeks of quarantine, I was a baking machine. I created all the things, paleo banana nut bread, muffins, cookies, sourdough bread, you name it! It was so bad, I had to start freezing the leftovers because my fridge couldn’t handle it!

I was also creating recipes using ingredients from my pantry. Like most, I wasn’t sure if the grocery stores were going to be closed or only provide limited ingredients so I got creative in the fast! But since I’m cooking for one, having a one pot meal goes a long way!

But this recipe, I was completely fine with that! Using all my canned items to make chili (I never make chili the same so sorry if I can’t provide a chili recipe! haha) I also made skillet cornbread, and oh boy, was it good!

Growing up, my mom would make cornbread using Jiffy cornbread mix. It was my favorite version because I would rather have a sweeter cornbread than savory. Though, I do love adding fun add-on ingredients like minced jalapenos or green chilies to give it a kick!

So if you are #teamjiffy, then you will love this recipe! Enjoy as a side with your fall and winter recipes or as an appetizer!
If you try this recipe, let us know! Leave a comment, rate it, and don’t forget to tag a photo to #fromtherootsblog on Instagram. We love seeing what you come up with!
The BEST gluten-free skillet cornbread made with just 10 ingredients! Fluffy, perfectly sweet, crumbly and so tasty!
Ingredients
1 cup yellow cornmeal
1 cup gluten-free 1 to 1 baking flour (or paleo baking flour)
¾ cup unsweetened plant based milk
¼ cup cup organic cane sugar
¼ cup extra virgin olive oil
2 eggs room temperature; lightly beaten
1 Tbsp grass fed butter or coconut oil
1 tsp apple cider vinegar or lemon juice
1 ½ tsp baking powder
½ tsp baking soda
¼ tsp pink Himalayan sea salt
Directions
In a liquid measuring cup, measure out milk and add 1 tsp apple cider vinegar or lemon juice. Mix until combined and set aside. How to create “buttermilk” plant-based way!
Preheat the oven to 375 degrees. In a 9 inch cast iron skillet, melt 1 Tbsp grass fed butter or coconut oil on the stove top. Make sure the melted butter has coated the bottom and sides of the skillet. Set aside to cool.
Add dry ingredients to a large mixing bowl and whisk to combine.
In a medium mixing bowl, mix the oil, “buttermilk” mixture, and whisked eggs until combined.
Slowly pour the liquid mixture into the dry mixing bowl and whisk until fully combined.
The batter should be thick but pour-able. Add more cornmeal or flour if too wet or almond milk if too thick in 1 Tbsp amounts.
Pour batter into the prepared oiled skillet, lightly sprinkle some sugar over batter, and bake on a center rack for 25-30 minutes, or until the edges are light golden brown and a toothpick inserted into the center comes out completely clean.
Let cool completely in the pan for 10-15 minutes - set on a wire rack to speed the cooling process. To remove, run a dull knife around the edges to loosen, then slice and serve.
Serve with butter, maple syrup, or honey.
Store covered at room temperature for 2-3 days, or in the refrigerator for 3-4 days. Freeze up to a month.
Notes
Like a spicy kick in your cornbread? Feel free to mince in 1 jalapeno or green chilis to the batter.
I have not tested this recipe with other sweeteners such as coconut sugar or maple syrup so if you try to sub sugar out, the texture and flavor may be off.
Here are the brands I use for this recipe: GF 1 to 1 baking flour, yellow cornmeal, and paleo baking flour, organic cane sugar

Energizing Morning Smoothie Bowl
"Everybody's working for the weekend..." Now, every day feels like the weekend! At least working from home it has! On a Saturday, I would spend extra time in the morning to create a nourishing meal as I would lounge around with a cup of coffee in hand. Well, since it is getting warmer here in Kentucky, I’ve been making refreshing smoothie bowls that double as my morning cup of coffee!
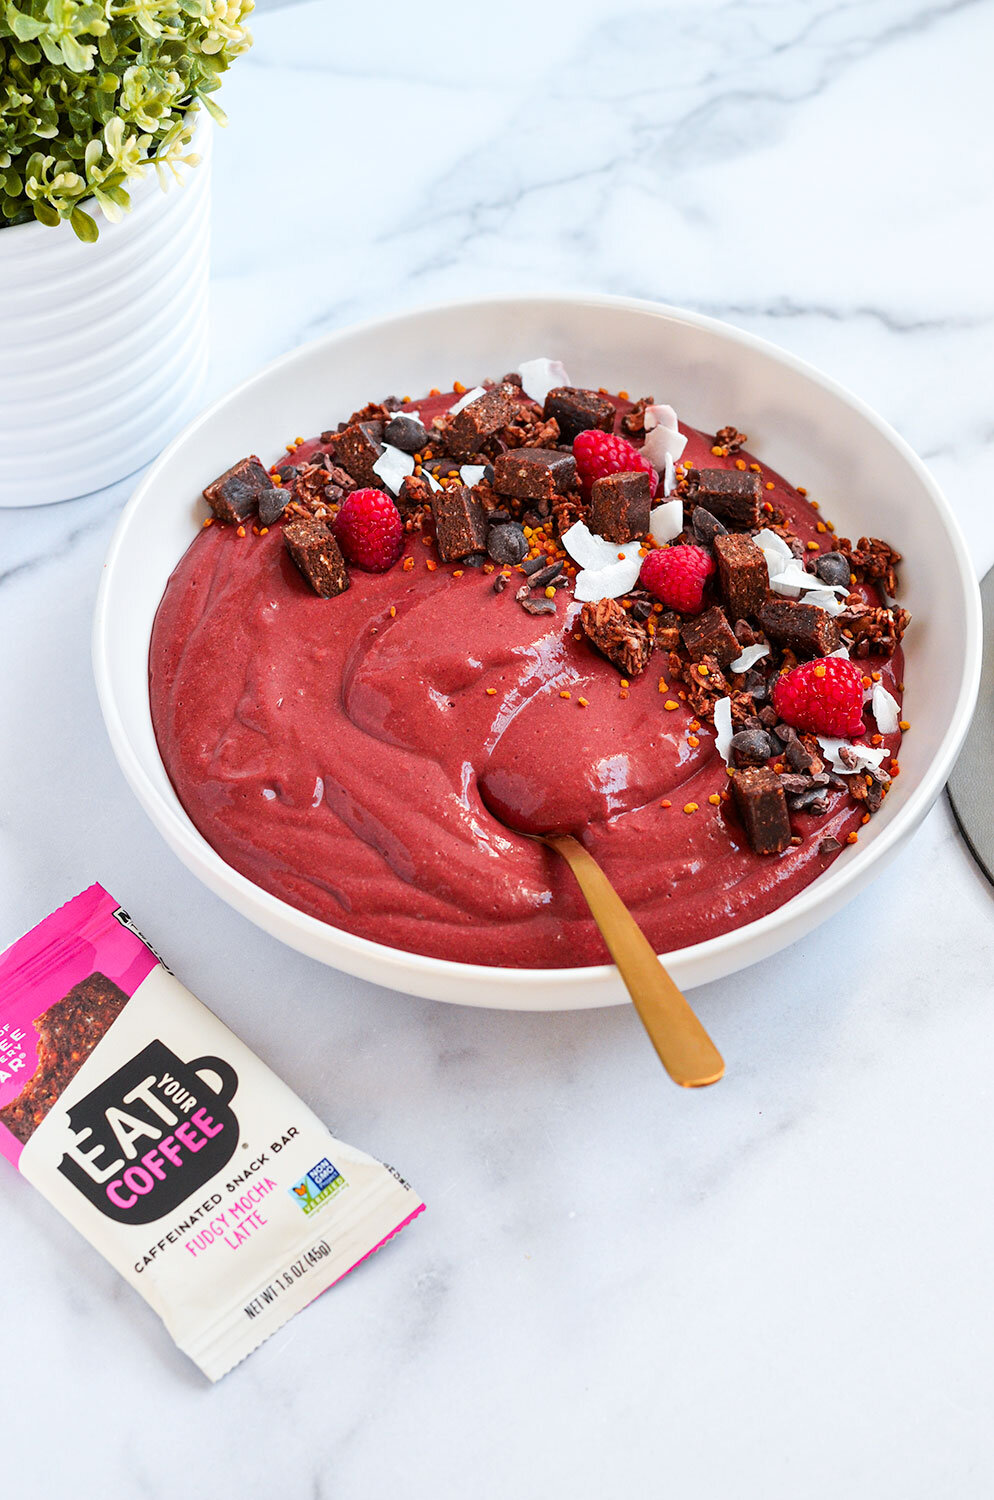
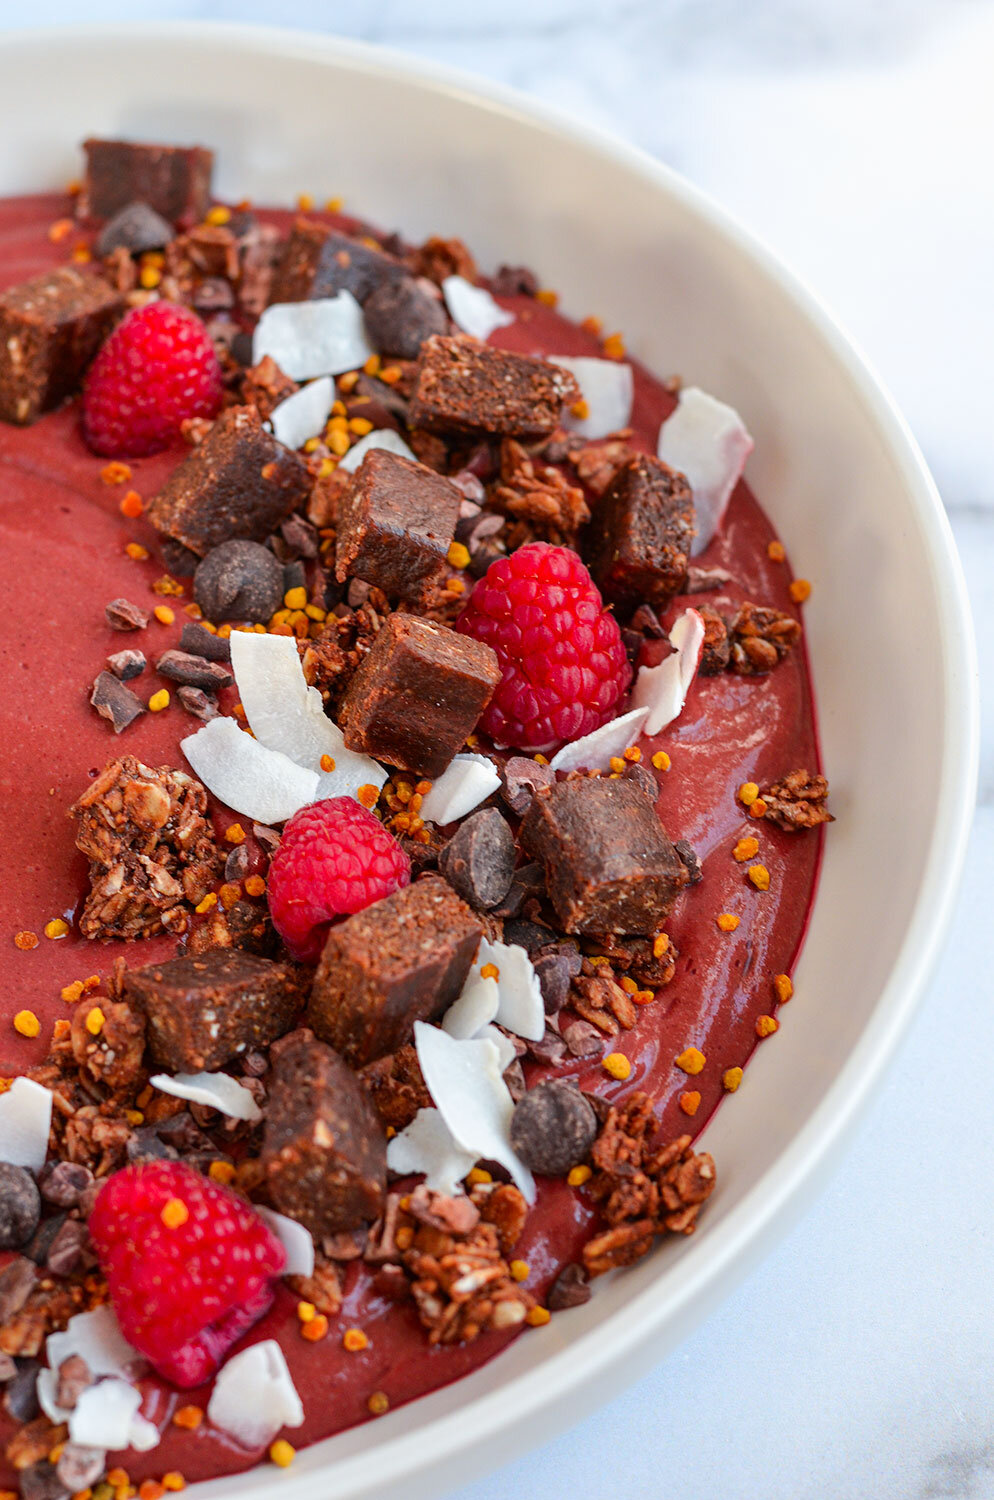
Energizing Morning Smoothie Bowl - A fun and healthy “create your own” smoothie bowl made with nourishing ingredients that will get you pumped for the day!

"Everybody's working for the weekend..." Now, every day feels like the weekend! At least working from home it has! On a Saturday, I would spend extra time in the morning to create a nourishing meal as I would lounge around with a cup of coffee in hand. Well, since it is getting warmer here in Kentucky, I’ve been making refreshing smoothie bowls that double as my morning cup of coffee!
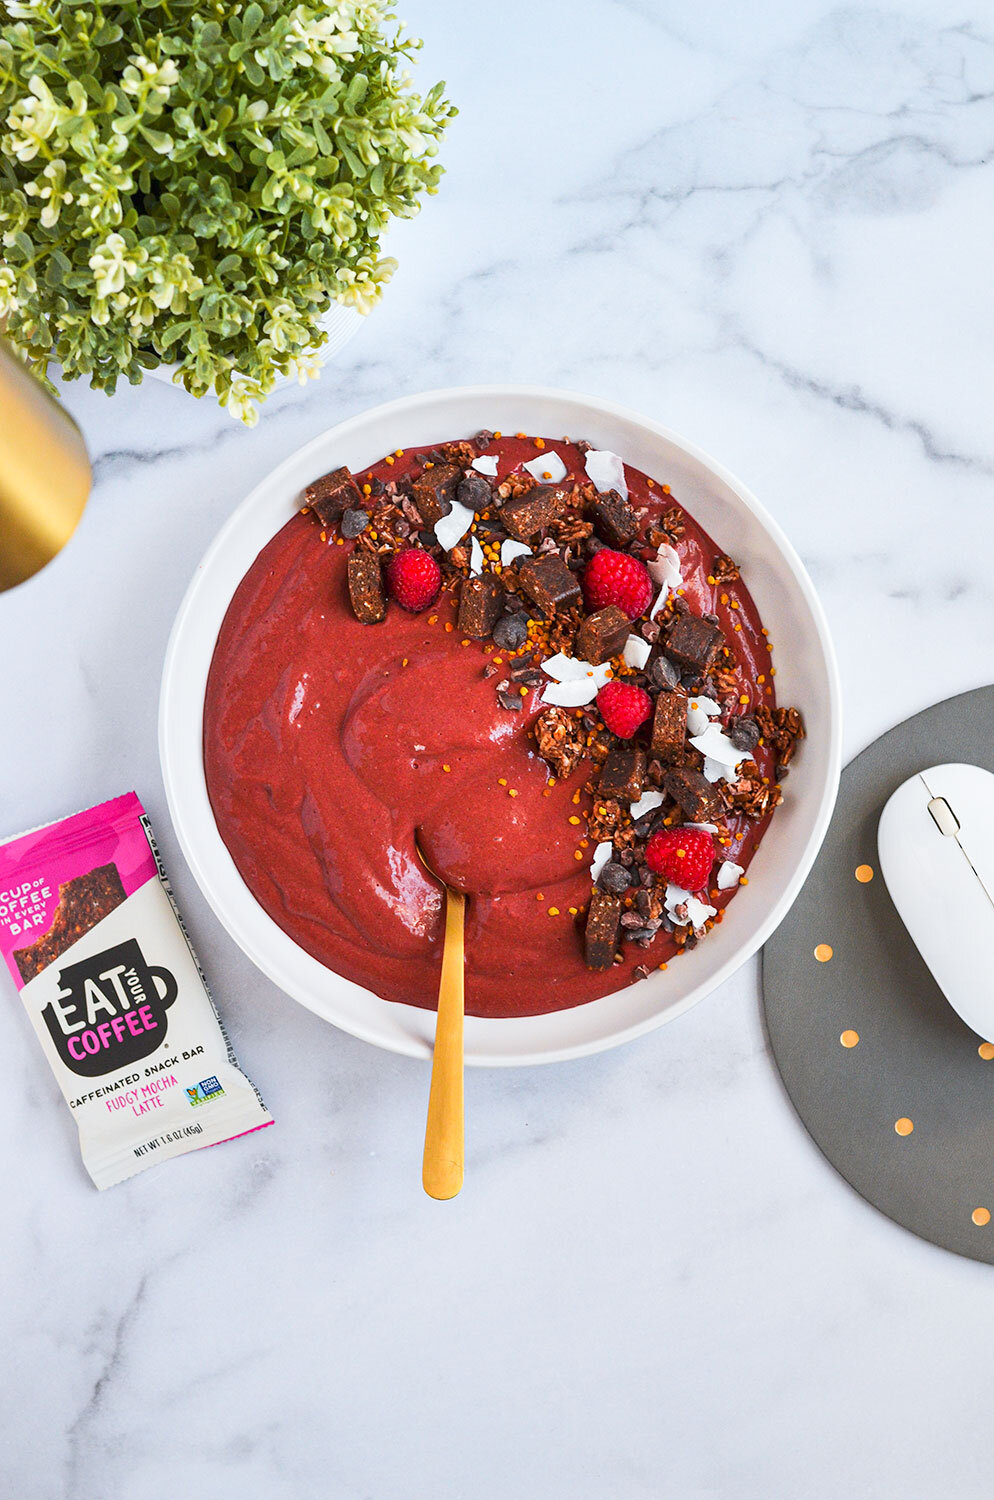
Smoothie bowls are great for breakfast, post-workout meals, or for that 3pm slump since we are elevating our smoothie bowl with caffeinated bar bites! I love using Eat Your Coffee caffeinated bar bites for this recipe. Chocolate mocha flavor pairs perfectly with the subtle berry chocolate flavor from the smoothie bowl. Just add other fun toppings that add texture and variety like coconut flakes, granola bits, and dark chocolate chips.
If you are wanting to try Eat Your Coffee out for yourself, use code: ROOTS20 for 15% off your first order + free shipping.

If you don’t have these bars on hand but still want that caffeine boost, that’s okay! You can also use a single serving of instant coffee, or replace half the milk mixture with room temperature coffee or cold brew.
If preparing a nourishing and caffeinated smoothie bowl doesn’t get you going while #workingfromhome, here are some tips for successfully working from home:
Getting dressed every day. Okay, some most of the time, I am going back into yoga pants but at least make an effort to change into something different.
Create an office environment. It’s getting warmer outside so why not work outside or work in a space where you have a view with natural lighting.
Work around your ebbs and flows. In the morning, I tackle the highest priorities on my list because that is when I’m most productive.
Movement. I sprinkle multiple breaks throughout the day by taking my dogs out for a walk, light stretching, and quick 20 minute workouts.
What are ways that you stay productive while working from home? If you try this recipe, let us know! Leave a comment, rate it, and don’t forget to tag a photo to #fromtherootsblog on Instagram. We love seeing what you come up with!
Energizing Morning Smoothie Bowl - A fun and healthy “create your own” smoothie bowl made with nourishing ingredients that will get you pumped for the day!
Ingredients
1 large ripe banana (frozen)
1/2 medium ripe avocado (fresh or frozen)
1 large handful choice of greens
1 cup unsweetened plant-based milk
Add-Ins
1 scoop plain or flavored protein powder/collagen powder
1/2 tsp adaptogen of choice (maca, ashwagandha, etc)
1/2 cup frozen berries
1 Tbsp nut butter or seeds of choice (hemp, flax, chia, etc)
Toppings
Chia seeds, coconut flakes, dark chocolate chips, bee pollen, caffeinated energy bar bites, granola pieces
Instructions
To a high-speed blender, add all the ingredients, including any desired add-ins, and blend until creamy and smooth. If the smoothie is too thick for your taste, add more milk or water to thin. If too thin, add more frozen fruits or ice cubes.
Taste and adjust flavor as needed. Top with your favorite toppings, and enjoy!
Notes
If you don’t have these bars on hand but still want that caffeine boost, that’s okay! You can also use a single serving of instant coffee, or replace half the milk mixture with room temperature coffee or cold brew.

Carrot Cake Smoothie
Carrot cake has got to be in my top 5 of favorite cakes. From the spices of cinnamon to the crunchy textures of nuts and carrots, there is nothing that will stand in the way of me and carrot cake.
That’s why I love recipe testing with carrot cake ingredients. One of the most popular recipes on the blog are these carrot cake pancakes. The post also includes a fun waffle variation if you are team #waffles.
But this smoothie version really takes the cake! (no pun intended)
Carrot Cake Smoothie - Oatmeal smoothie based that provides one serving of veggies, plus fiber and protein. Perfect for breakfast, or as a pre/post-workout shake!

Carrot cake has got to be in my top 5 of favorite cakes. From the spices of cinnamon to the crunchy textures of nuts and carrots, there is nothing that will stand in the way of me and carrot cake.
That’s why I love recipe testing with carrot cake ingredients. One of the most popular recipes on the blog are these carrot cake pancakes. The post also includes a fun waffle variation if you are team #waffles.
But this smoothie version really takes the cake! (no pun intended)

On the fact that you just might have all the ingredients on hand! So if you are wanting something quick to make for breakfast or fuel before or after your workout, this recipe is for you!
The only thing I will mention is that if you do not have a high-powered blender, like a Vitamix, then you may need to do some prep work before blending. You will need to finely grate the raw carrots before adding to the blender, that is all!
If you try this recipe, let us know! Leave a comment, rate it, and don’t forget to tag a photo to #fromtherootsblog on Instagram. We love seeing what you come up with!
Carrot Cake Smoothie - Oatmeal smoothie based that provides one serving of veggies, plus fiber and protein. Perfect for breakfast, or as a pre/post-workout shake!
Ingredients
1 cup raw carrots
1 cup plant-based milk
¼ cup gluten-free rolled oats
½ frozen banana
1 Tbsp almond butter
1 Tbsp hemp seeds
½ tsp vanilla extract
½ tsp ground cinnamon
Boosters
1 scoop unflavored or vanilla-flavored collagen peptides or protein powder
Toppings
Chopped pecans, hemp seeds, cinnamon, carrot flakes, and coconut flakes
Directions
Add all ingredients to a high powered blender. Feel free to add any optional add-ins to your smoothie if you’d like. Blend until smooth. Serves 1.
Notes
You need a high powered blender for this recipe. If you do not have a high powered blender, finely grate carrots before adding to a normal blender.
To make it sweeter, add the other half of frozen banana or pure maple syrup, honey.
Add ½ cup ice cubes to keep the smoothie cold and thick.