Sort by Category
- October 2025
- September 2025
- August 2025
- June 2025
- August 2024
- July 2024
- June 2024
- May 2024
- February 2024
- January 2024
- December 2023
- November 2023
- October 2023
- September 2023
- August 2023
- July 2023
- March 2023
- February 2023
- January 2023
- December 2022
- November 2022
- October 2022
- September 2022
- August 2022
- June 2022
- May 2022
- April 2022
- March 2022
- February 2022
- January 2022
- December 2021
- November 2021
- October 2021
- September 2021
- August 2021
- July 2021
- June 2021
- May 2021
- April 2021
- March 2021
- February 2021
- January 2021
- December 2020
- November 2020
- October 2020
- September 2020
- August 2020
- July 2020
- June 2020
- May 2020
- April 2020
- March 2020
- February 2020
- January 2020
- December 2019
- November 2019
- October 2019
- September 2019
- August 2019
- July 2019
- June 2019
- May 2019
- April 2019
- March 2019
- February 2019
- January 2019
- December 2018
- November 2018
- October 2018
- September 2018
- August 2018
- July 2018
- June 2018
- May 2018
- April 2018
- March 2018
- February 2018

Healthy Sweet Potato Casserole
Let’s be honest, the only time I think about eating sweet potato casserole is during Thanksgiving; amiright?! Like a complete cooked turkey, it seems like sweet potato casserole only falls within a Thanksgiving side dish category.
Maybe after you make this, you can see that this side dish can be made year-round! I’m thankful for that because when recipe testing a month before Thanksgiving, I was glad this could be eaten with most any dishes. For example, we had this casserole with my pecan crusted spiced salmon and broccolini and it was amazing!
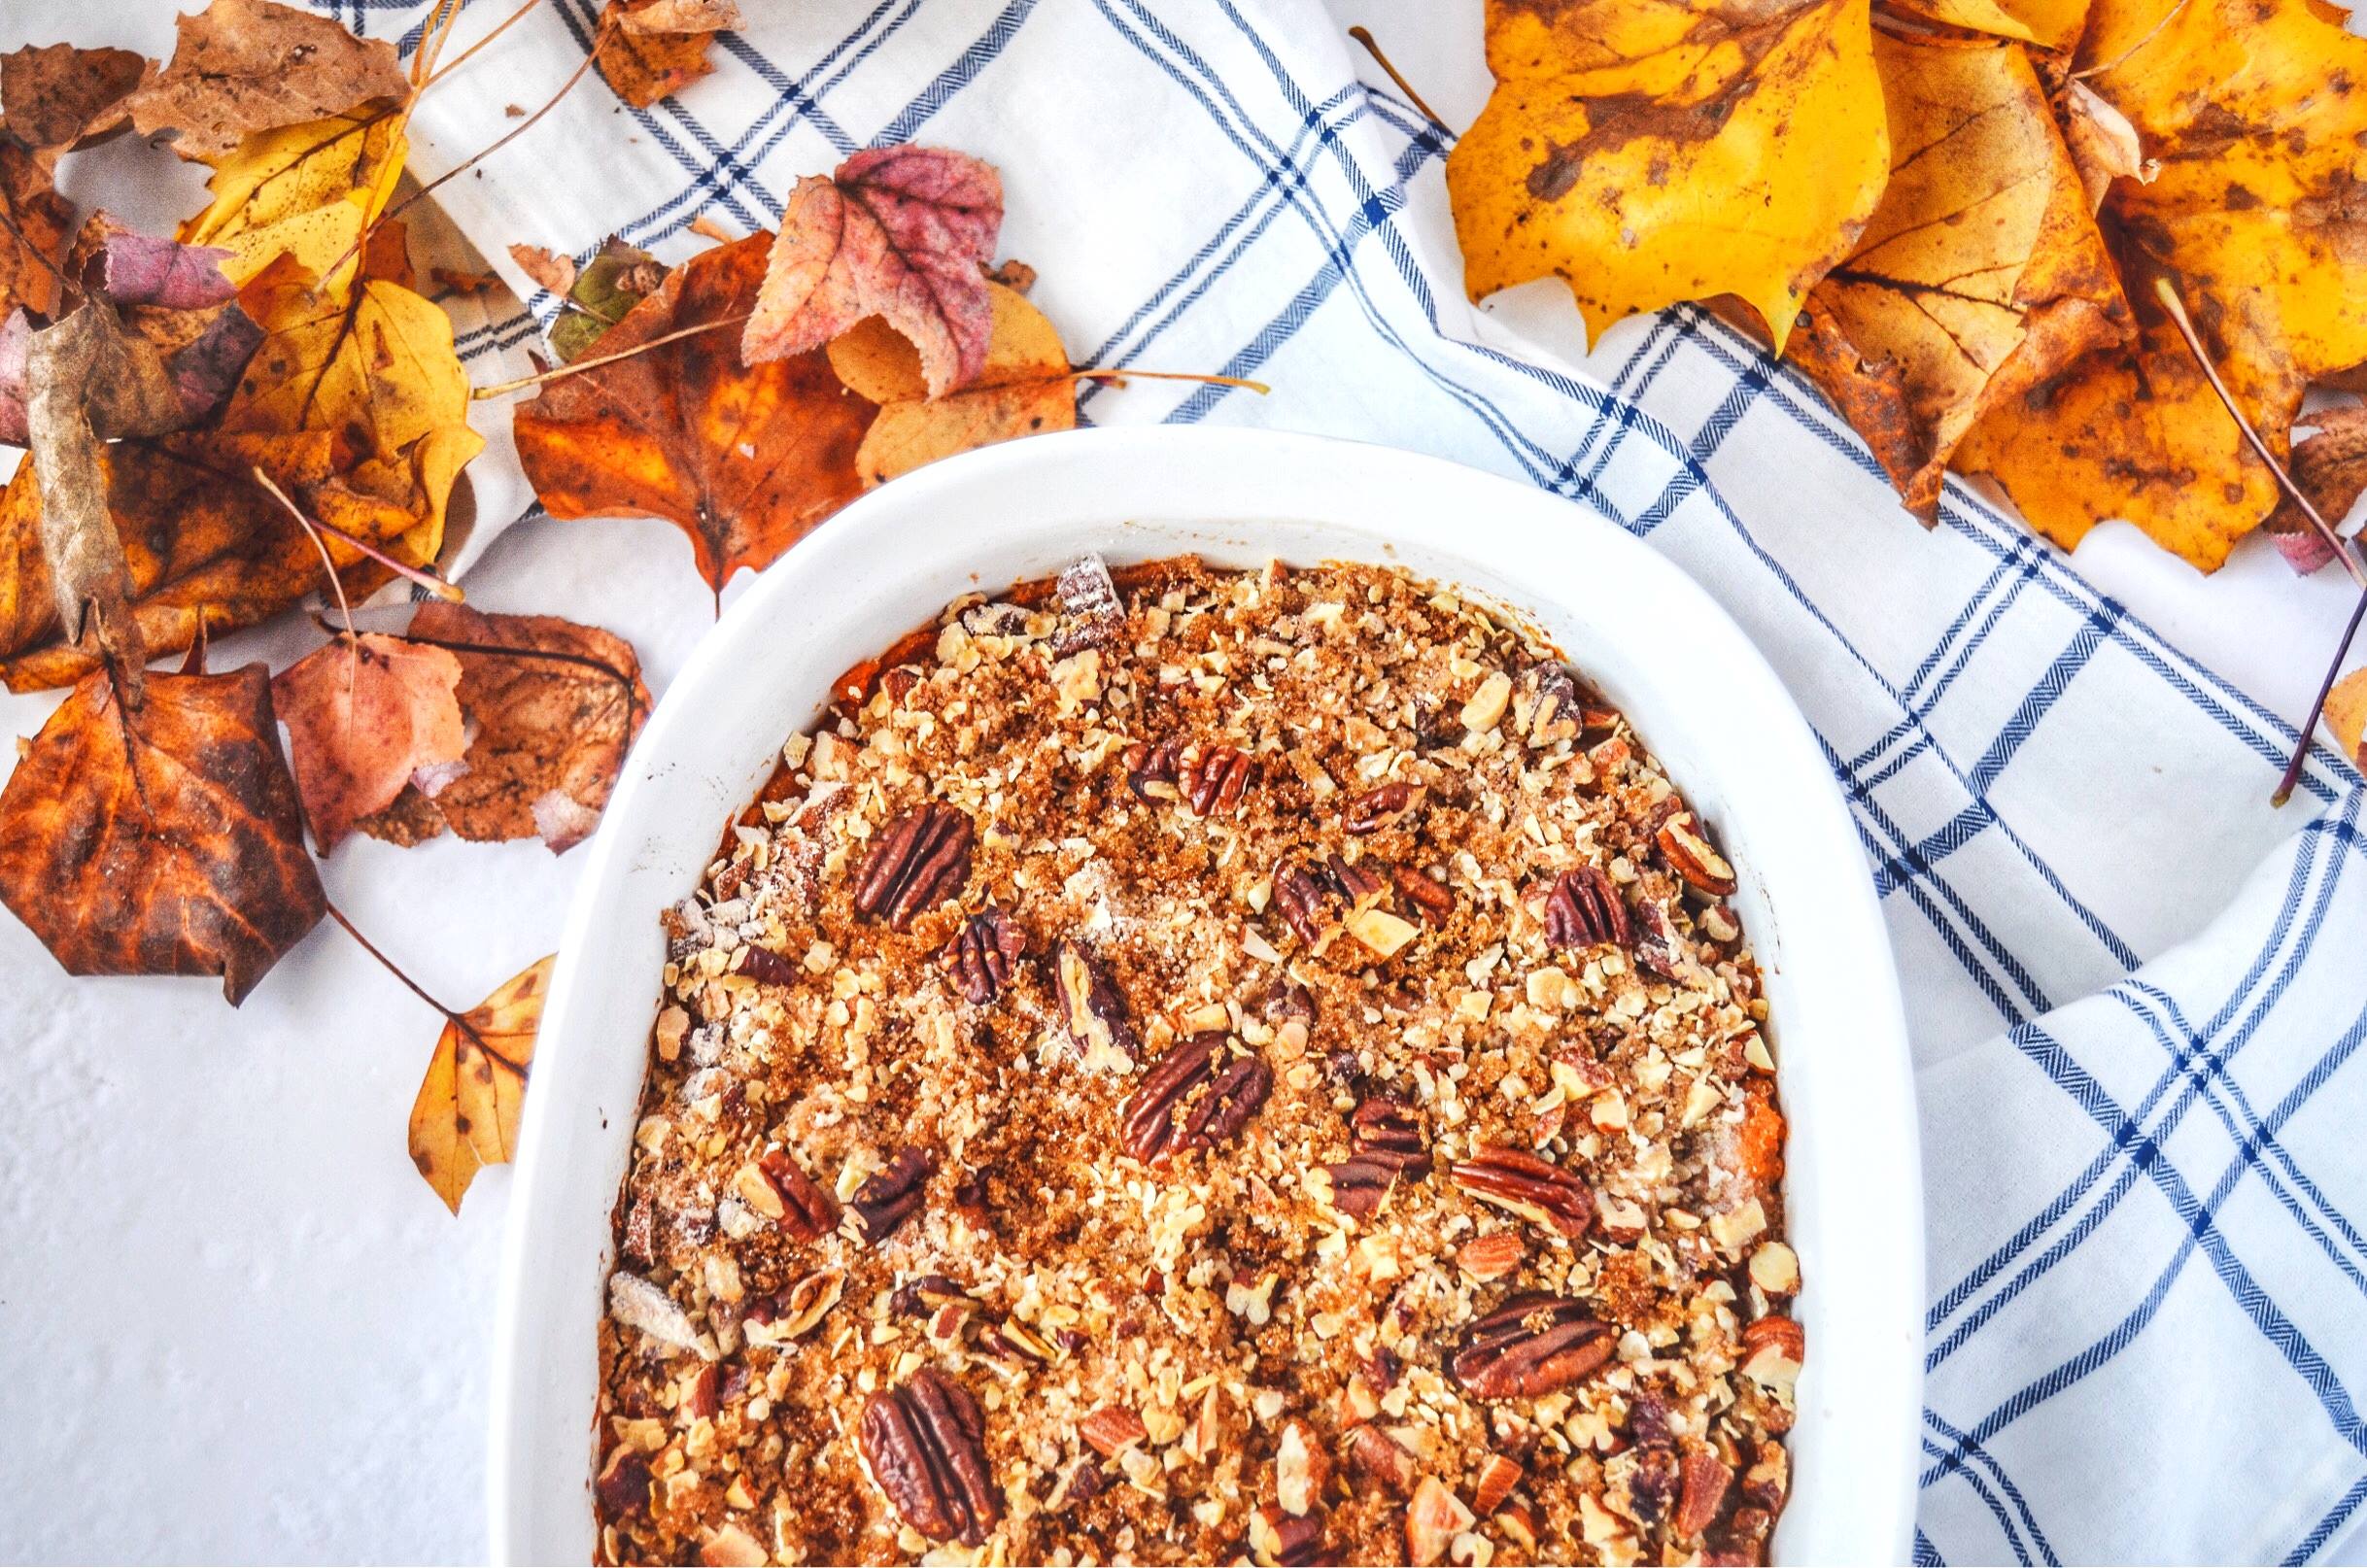
Perfect for the holidays or as a side dish! Bonus - vegan, gluten-free and naturally lower in sugar.

Let’s be honest, the only time I think about eating sweet potato casserole is during Thanksgiving; amiright?! Like a complete cooked turkey, it seems like sweet potato casserole only falls within a Thanksgiving side dish category.

Maybe after you make this, you can see that this side dish can be made year-round! I’m thankful for that because when recipe testing a month before Thanksgiving, I was glad this could be eaten with most any dishes. For example, we had this casserole with my pecan crusted spiced salmon and broccolini and it was amazing!

When it comes to sweet potato casserole, I have noticed the toppings can fall within two categories: marshmallows or with a crunchy texture. I fall in the crunchy texture category 100%! Personally, I am not the biggest fan of marshmallows (I know, I know -- crazy, right?). If you enjoy marshmallows, you can still go that route.

What I love about this recipe and what sets this casserole apart from the rest is the secret ingredient: oranges. After watching Samin Nosrat’s Salt Fat Acid Heat on Netflix, she made a good point that many Thanksgiving dishes lack acid which is why cranberry sauce is often served. With that in mind, I knew I needed to change that! I’m so glad I did because the orange zest and juices completely elevate the spices and sweetness in the sweet potatoes perfectly!

The rest of the ingredients are pretty standard for a traditional sweet potato casserole sans butter and heaping cups of sugar. To make them naturally sweeter without adding so much sugar, I simply baked the sweet potatoes instead of boiling them to maintain their natural sweetness.
With Thanksgiving in mind, I would bake the sweet potatoes a day before the big day so that when you are at the point of cooking all your casseroles/side dishes, you will just need to prepare the mixture and topping and pop them in the oven 23-30 minutes. It’s that easy.
If you try this recipe, let us know! Leave a comment, rate it, and don’t forget to tag a photo to #fromtherootsblog on Instagram. We love seeing what you come up with!
Healthy Sweet Potato Casserole with a crunchy nut topping - Perfect for the holidays or as a side dish! Bonus - vegan, gluten-free and naturally lower in sugar.
ingredients
3 large sweet potatoes
1 cup plant based milk
1/4 cup orange juice (1/2 orange)
Zest of 1/2 orange
1 tsp cinnamon
1 tsp vanilla extract
1/4 tsp nutmeg
1/4 tsp allspice
2-4 Tbsp pure maple syrup
1/2 tsp salt
Crunchy Nut Topping
1/2 cup chopped pecans
1/4 cup chopped almonds
1/3 cup GF old fashioned oats (regular is fine)
1/3 cup GF all purpose flour (regular is fine)
1/2 cup light organic brown sugar (coconut sugar is fine)
4 Tbsp cubed coconut oil
instructions
Preheat oven to 400 degrees.
Use a fork to poke holes in sweet potatoes and place potatoes on a foil-lined baking sheet.
Roast for about 45 min to an hour or until fork tender. Allow potatoes to cool for 5-10 minutes before discarding the skin.
Lower oven temperature to 350 degrees while potatoes are cooling. Spray an 8x8 inch pan or a 1 ½ quart to 2-quart oven safe baking dish with nonstick cooking oil. Set aside for later.
Place sweet potato flesh in a large bowl and add milk, seasonings, orange juice and zest, and maple syrup. Use an electric mixer or potato masher to beat mixture until smooth and creamy.
Pour mixture into a prepared baking pan and smooth top.
To make the crunchy nut topping: Whisk together nuts, oats, flour, sugar and oil.
Sprinkle topping all over the sweet potato mixture.
Bake for 25-30 minutes or until the top is golden brown. Remove from oven and let cool for 5-10 minutes.
Notes
You can make this casserole ahead of time! Cover and place in the fridge. When ready, bake as directed.
If you do not have coconut oil, you can use vegan or regular butter.
Don’t make the mistake I did and use quick oats! First bake is crunchy but reheating will make the topping mushy so use old fashioned oats!
I love using Spice Islands seasonings for this recipe, particularly their ground saigon cinnamon!

Chai Latte Donut Holes
Starting out as a new blogger, it can be easy to follow seasonal trends. For example, my Instagram feed was filled with pumpkin spice this and pumpkin spice that for a month! Now, in all genuineness, I truly love pumpkin and all things pumpkin spice, but I know not everyone feels the same way!
So I went back to what life was like before pumpkin spice, chai spice! When I was in school, I would have collections of chai teas from coconut chai teas to dark chocolate cayenne chai tea; I was obsessed! Now that I have perfected the chai spice mix, I think this nostalgia will never leave!
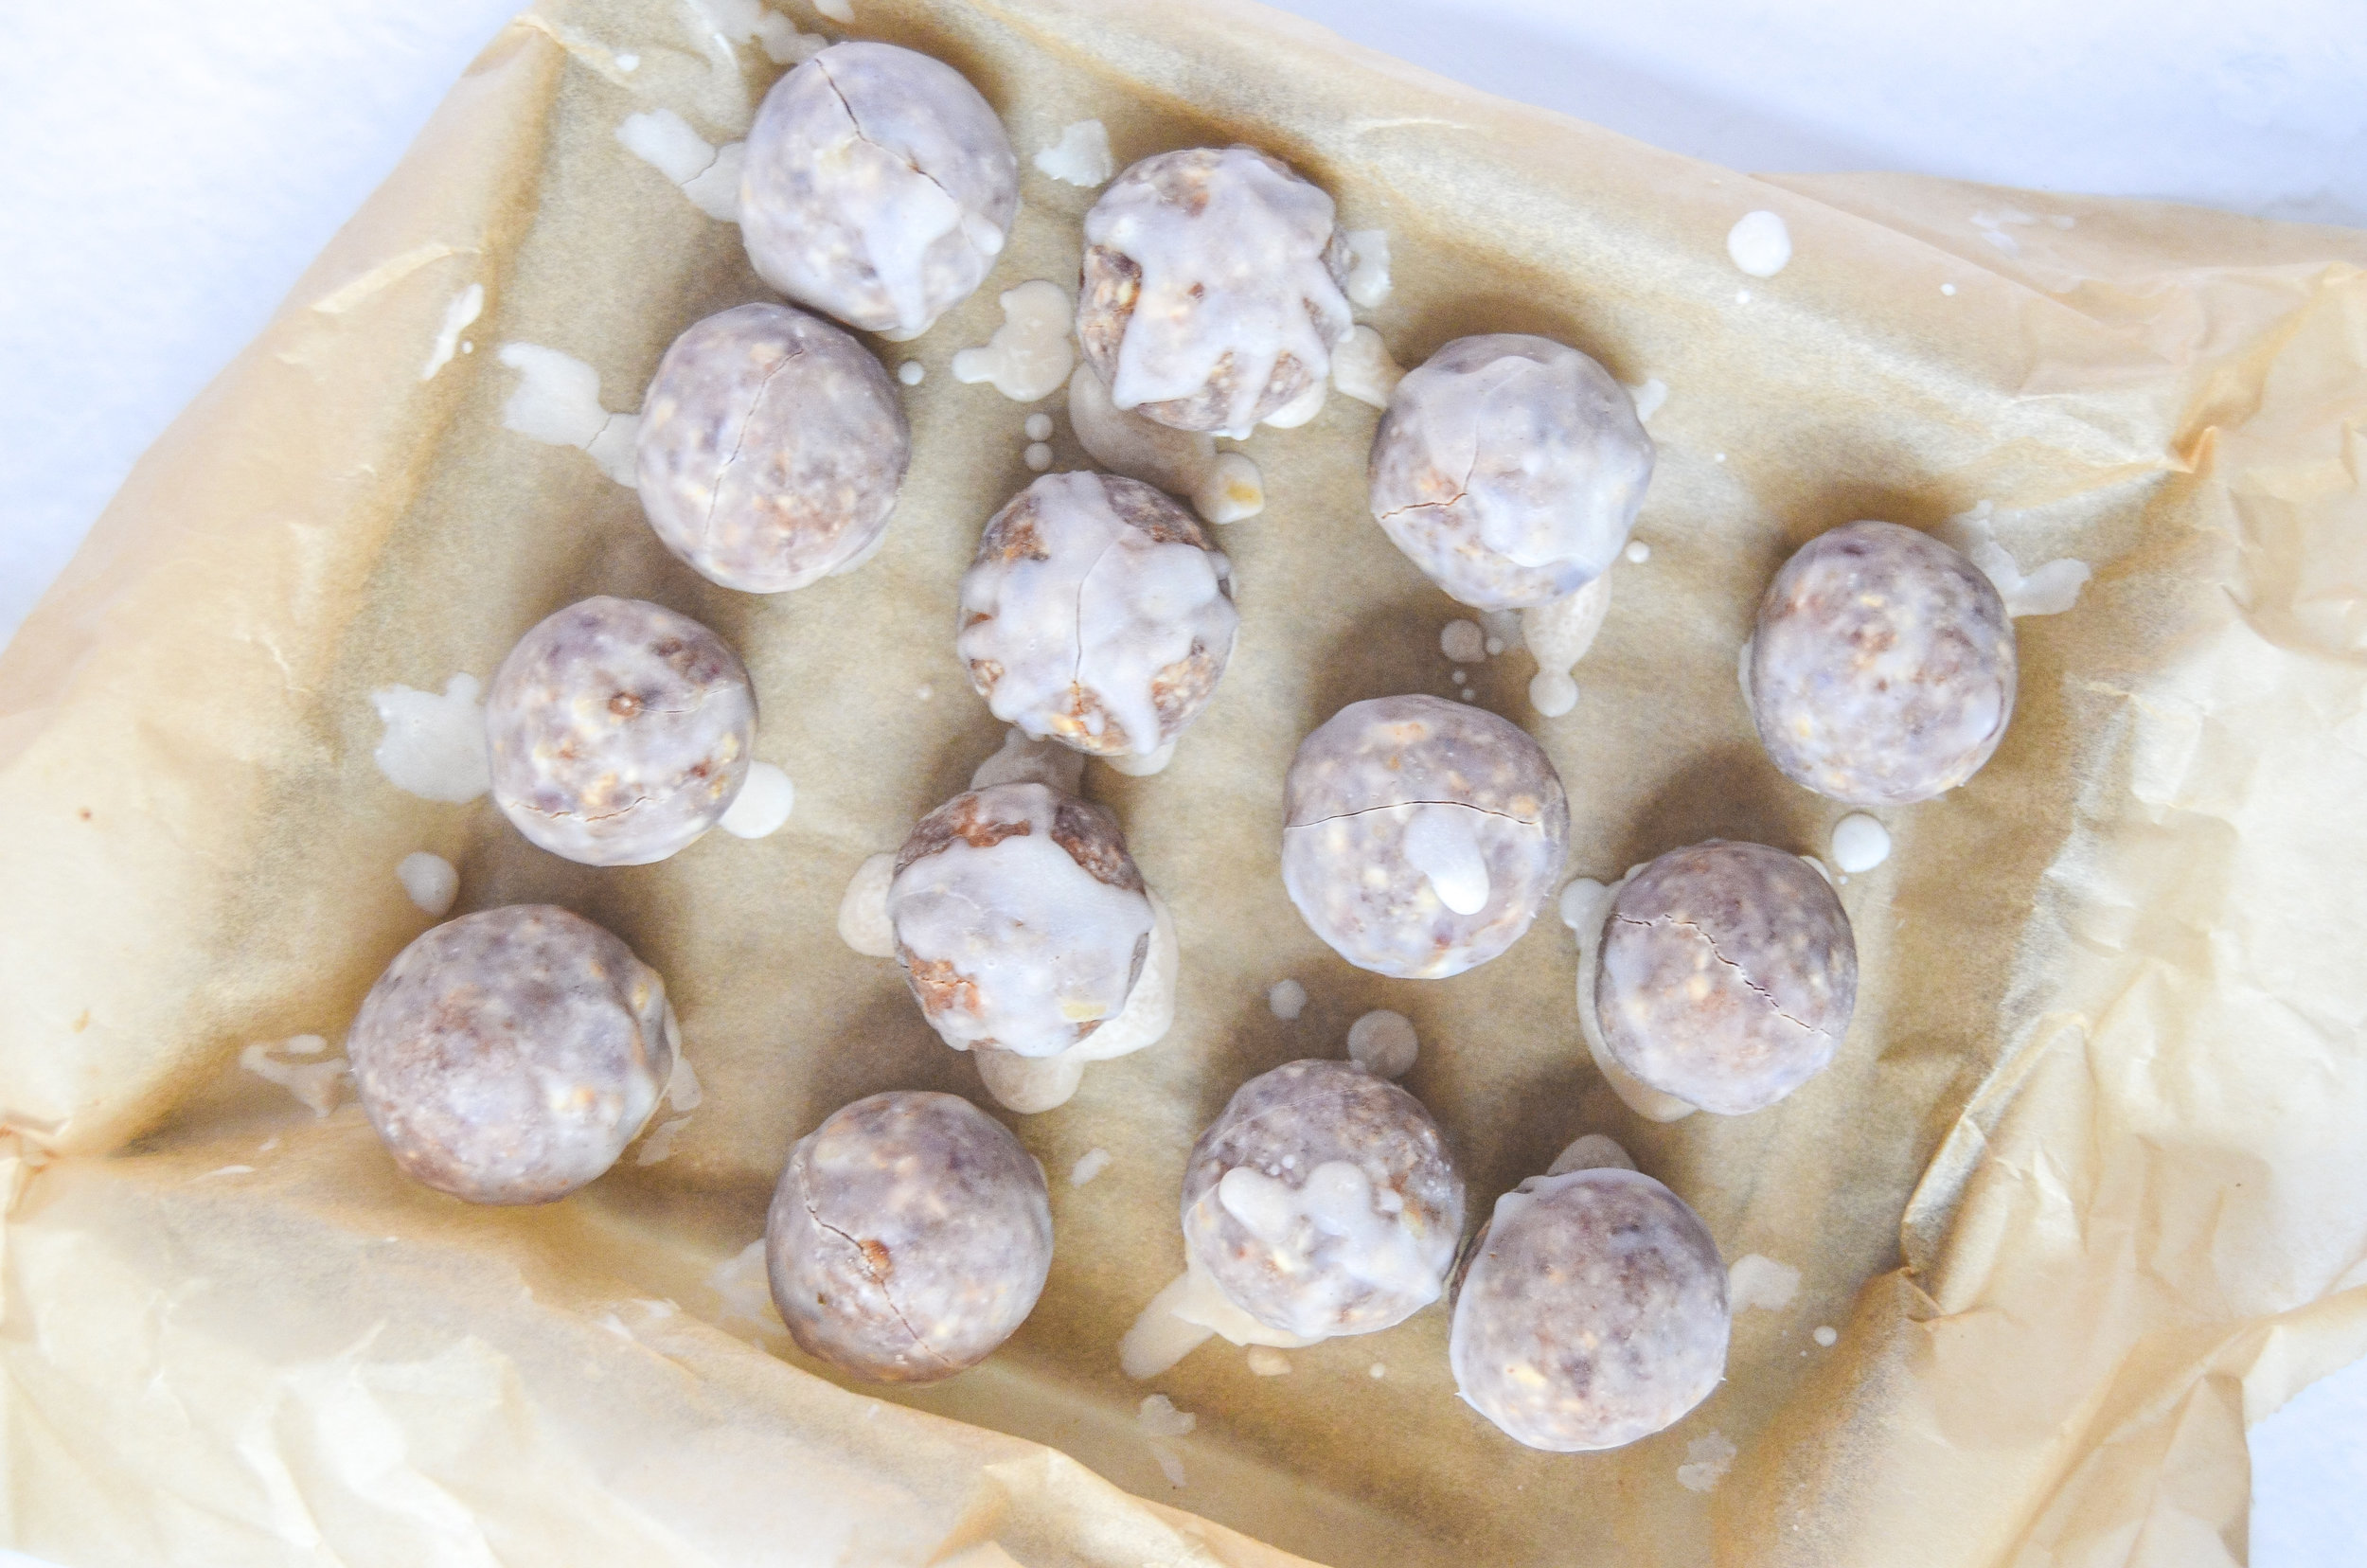
Made with nutrient dense filling and a coconut butter glaze, you will soon fall in love with a healthier take on donut holes...bonus - no bake!

Starting out as a new blogger, it can be easy to follow seasonal trends. For example, my Instagram feed was filled with pumpkin spice this and pumpkin spice that for a month! Now, in all genuineness, I truly love pumpkin and all things pumpkin spice, but I know not everyone feels the same way!
So I went back to what life was like before pumpkin spice, chai spice! When I was in school, I would have collections of chai teas from coconut chai teas to dark chocolate cayenne chai tea; I was obsessed! Now that I have perfected the chai spice mix, I think this nostalgia will never leave!

I’m chasing rabbits here, the focus lies on these chai latte donut holes that are out of this world! Probably my favorite “energy balls” to date! The reason why they are called donut holes is because of the mouthwatering glaze! The glaze is made with coconut butter and coconut oil that hardens at room temperature. It provides the perfect shine while cracking just as you take a bite!

The “donut holes” are made with nutrient dense ingredients that are nothing like a real donut. Unlike a fried donut hole, you will feel satisfied eating one or two. Bonus, these donut holes are naturally sweetened with medjool dates!
The DIY chai spice mix really takes you down chai latte heaven in these bad boys. With a cup of coffee or tea, these chai latte donut holes are the perfect match!

If you try this recipe, let us know! Leave a comment, rate it, and don’t forget to tag a photo to #fromtherootsblog on Instagram. We love seeing what you come up with!
ingredients
Donut Holes
1/2 cup walnuts
1/2 cup cashews
1/2 cup almond flour
1 cup pitted dates (about 12)
1 tsp chai spice mix
2 tsp vanilla extract
2 Tbsp water
Glaze
1 Tbsp coconut butter
2 Tbsp coconut oil
1 Tbsp maple syrup
pinch of cinnamon
instructions
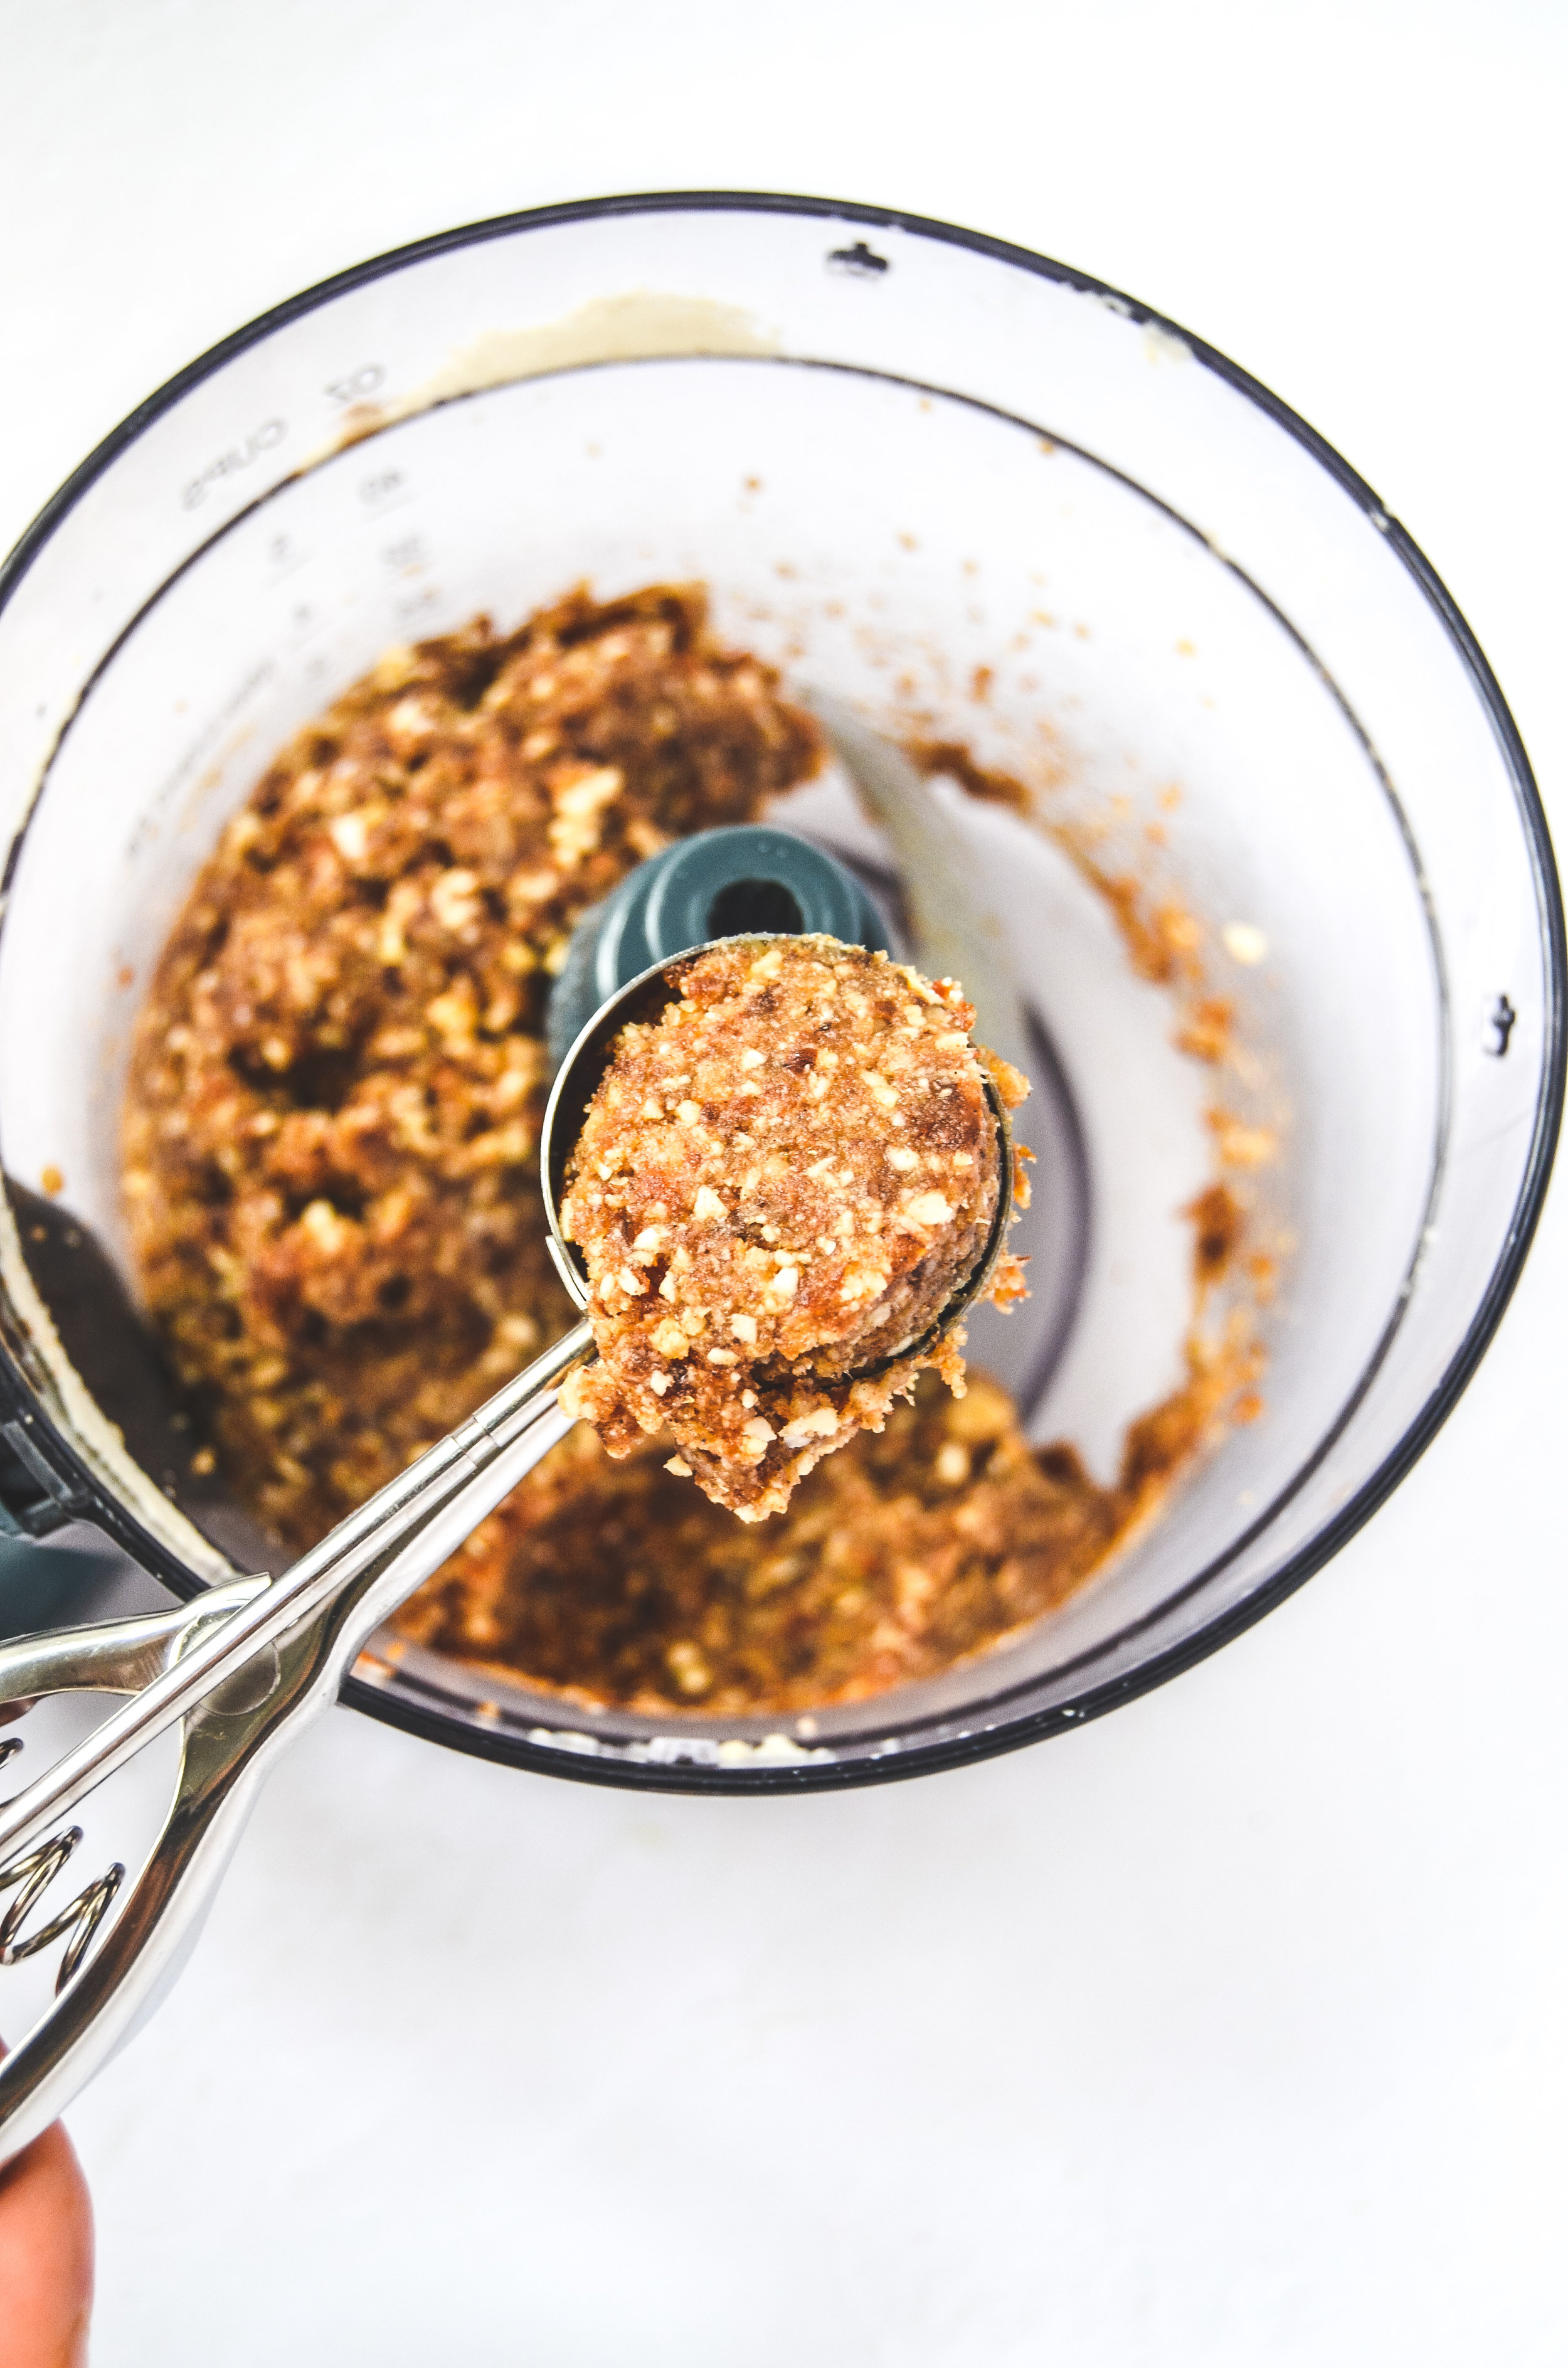
In a food processor, add all donut hole ingredients and pulse until desired consistency (picture for reference). You should blend until a tacky dough forms. You may need to add more water if the mixture is too dry.
With a tablespoon or cookie scooper, scoop about 1 Tbsp per ball to create 14 round balls.
Place balls onto a parchment lined baking sheet and put in the freezer for up to 10 minutes.
While the balls are in the freezer, make the glaze by adding all ingredients to a small bowl and warm in the microwave in 30-second increments until mixture is melted. (separation is natural - just stir well before glazing).
Take the balls out of the freezer and roll each ball into the glaze mixture using a spoon. Place back onto the parchment paper and put back into the freezer for 30 minutes.
Repeat the previous step again and put back in the freezer for 30 minutes or until glaze is set. You can repeat this step up to three times (or until mixture is used up) but I have found the glaze is perfect in two rounds.
Store donut holes in a storage container for up to two weeks or freezer for up to 1 month.
Notes
Even though the glaze is the best part, the chai latte donut holes will still taste just as good if you omit the glaze; they will just be chai latte balls!
If you would like a single serving amount of chai mix and pushed for time, simply add 1 tsp cinnamon, scant ¼ tsp cardamom, ¼ tsp ginger and a pinch of cloves. Just start slow with each seasoning and taste as you go since these spices are naturally strong.
With that said, if using chai is new to you or you're worried about the donut holes being too spicy, start by adding a ½ tsp of chai spice mix and gradually increase to the desired flavor.

DIY Chai Spice Mix
It never dawned on me that I needed to make my own chai spice mix until I strolled past every grocery store’s herb and spice section to find no chai mix in sight! Now, sure there is chai spice powder and chai tea but there are times that I would just like to have the seasoning.
A must-have pantry staple that’s perfect for tea, baking, and other recipes.

It never dawned on me that I needed to make my own chai spice mix until I strolled past every grocery store’s herb and spice section to find no chai mix in sight! Now, sure there is chai spice powder and chai tea but there are times that I would just like to have the seasoning.

The perfect chai spice mix can enhance so many traditional recipes that you may not have thought of. For example, add a teaspoon or two of chai spice mix to plain pancake batter and you my friend, will have chai spiced pancakes!

This mix is also great to have on hand if you would like to make a latte, chai latte donut holes or to add to most recipes like pancakes, oatmeal, donuts, bread or vegetables like sweet potatoes...the possibilities are endless!
Seasonings that are used in this chai spice are quite traditional so feel free to mix things up if you would like! For this recipe, I used cinnamon, ginger, cloves, nutmeg, allspice, and cardamom.

You can add all the spices to a mortar and pestle to make sure the seasonings are fully incorporated and nicely grounded or you can simply mix all ingredients using a small whisk or spoon. Funnel seasonings into a spice jar and store in a dry place until ready to use!


To make a chai spice latte:
Add 1 cup plant-based milk, 1/2 cup water, 1 black tea teabag, ½ tsp chai spice mix, 1 Tbsp honey and simmer in a small saucepan for 5 minutes. Add a cinnamon stick and star anise to really enhance the flavors! Discard tea bag, optional cinnamon stick and star anise, and pour into a mug and enjoy!
If you try this recipe, let us know! Leave a comment, rate it, and don’t forget to tag a photo to #fromtherootsblog on Instagram. We love seeing what you come up with!

ingredients
3 tsp ground cinnamon
1 1/2 tsp cardamom
1 1/2 tsp ground ginger
1 tsp allspice
1/2 tsp cloves
1/4 tsp nutmeg
instructions
Add all ingredients to a mortar and pestle or small bowl and combine until fully combined.
Transfer to a spice jar and store in a dry place until ready to use!
Notes: ⅛ tsp black pepper (optional for spicier flavor)
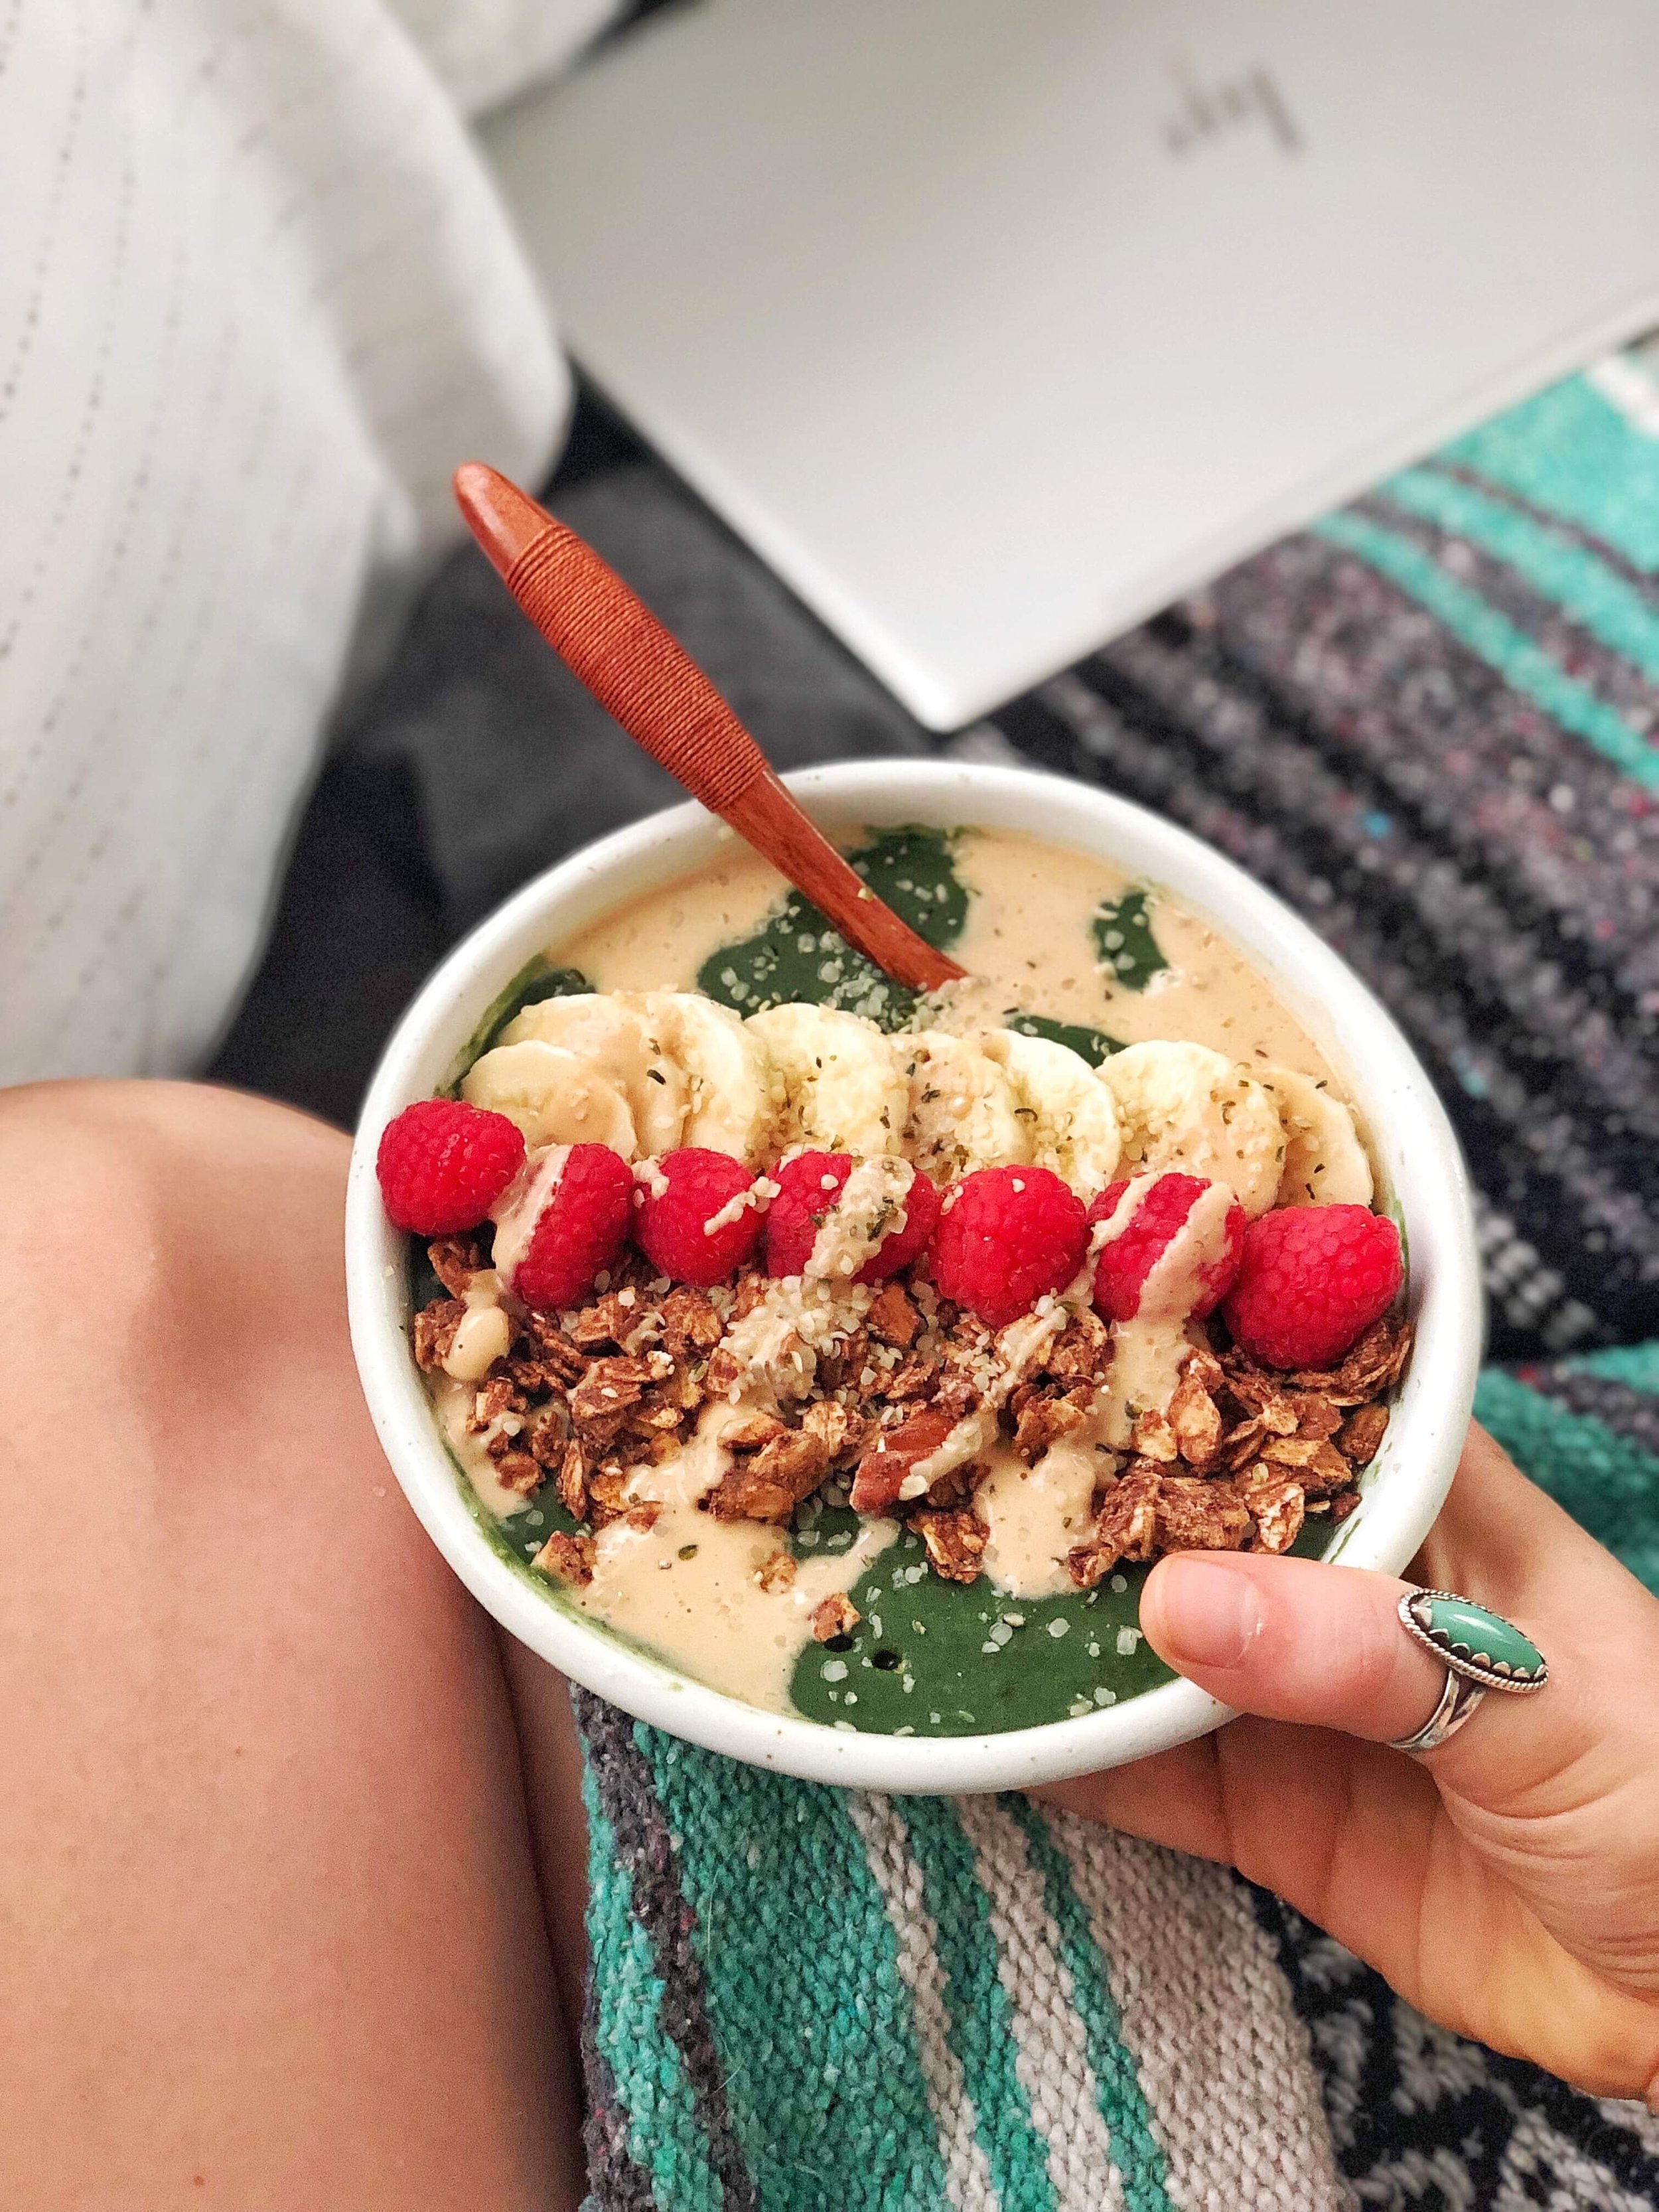
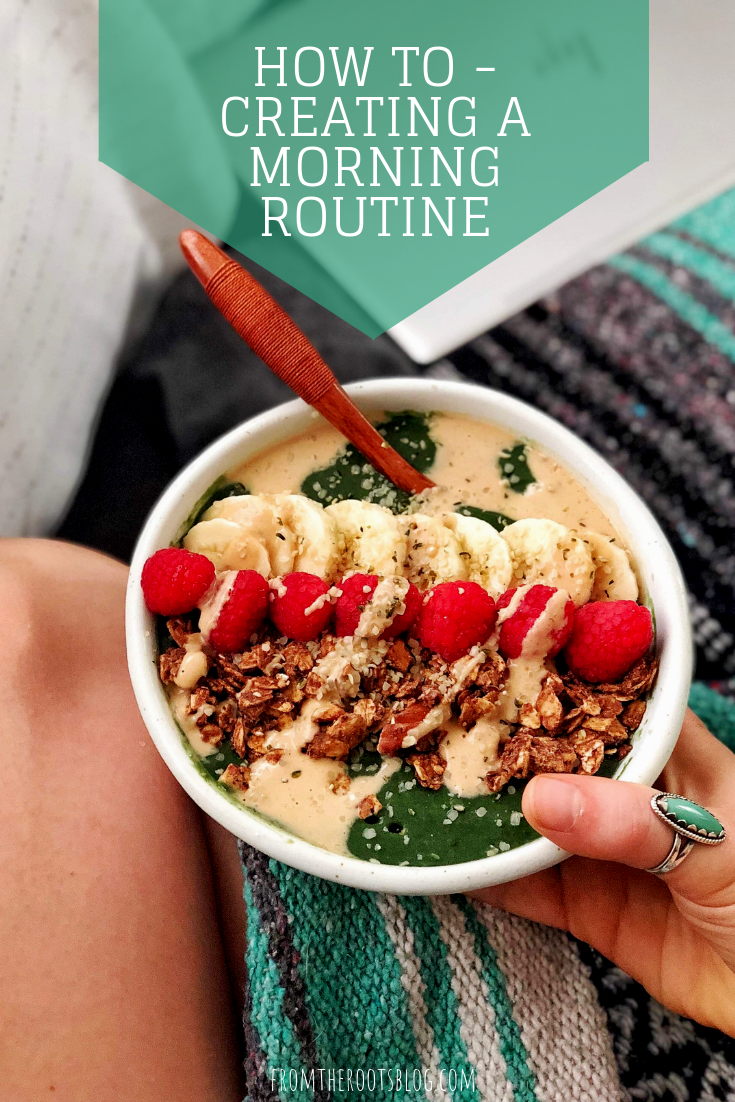
How To - Creating A Morning Routine
A great article I read recently explained that the first three hours of your day will make or break the rest of your day. This makes sense since our brain and energy levels are most vulnerable in the morning after being well rested.
When I was in college, I would use this time to do most of my studying since I was more awake and susceptible. Now that I am working and taking classes again, I take about an hour and a half getting ready/commuting to work. As soon as I get to work at 8AM, I tackle the most important tasks. By 11AM, my mind is ready for a break. From the time I am awake until 11 AM, I completely unplug from social media. This has become a vital non-negotiable since I can get VERY easily distracted.
Everyone has their unique constraints so I would encourage you to find a way to apply this in your life. Dedicating the first 90 minutes of your work day completing tasks at the top of your list will make the rest of your day easier. I like to think of the analogy “eat the frogs first”. “Frogs” are basically the things you don’t want to do, but actually need to do. This analogy along with the first three hours of your day not only improves your efficiency and time management skills but also leaves you free to do the things that you enjoy doing for the rest of your day.
#protectyourmornings
One thing I know for sure is if my morning routine before going to work is not smooth, then the tone for the rest of my day is off. To help create a morning routine for you I have laid out what my morning routine looks like plus things that I have done/have seen work for others.
TBH, my morning routine isn’t exactly Instagram worthy with drawn-out yoga sessions and meditation breathing exercises. I do not work from home and have a long commute to work so this routine is very cut and dry. But I am showing this because most people out there follow a limited morning routine before work.

My morning routine changes seasonally so at this moment, my routine looks a little like this:
6:15AM - “Rise and shine, give God the glory, glory children of the Lord!” My mother used to sing this every morning so it just sticks. This is the time where I only go on my phone to turn the alarm off (no morning technology), snuggle with Rory and Emmy and do morning stretches.
6:20AM - Take the dogs out to go to the bathroom. I use this time to start drinking my liter of water (recommend getting a hydro flask so that you wake up with fresh cold water) and get my legs moving while soaking up the morning air.
6:45AM - Getting ready. I am a morning shower girl so I will shower, start my skincare routine, apply makeup, fix hair and put on clothes related to that day.
7:15AM - Smoothie time! I usually whip up my morning green smoothie or PB&J protein smoothie bowl and put it in a glass mason jar to bring to work. If smoothies aren’t your thing, try a quinoa bowl, eggs with sweet potato waffles, or overnight oats. While that is blending, I start my cup of coffee and put it in my Yeti cup so that it is still hot by the time I get to the office. Lately, I have been adding almond milk creamer, MCT oil, and collagen peptides in my coffee. I get my lunch box packed which consists of a meal prepped lunch, smoothie jar, snacks like an apple and almonds, homemade kombucha, and water.
* Elevated coffee + morning green smoothie is key in keeping me full and energized for the rest of the day!
+7:30AM - Give Rory and Emmy a little treat, xoxo’s, and head out of the door!
You might look at this morning routine and think, “this seems pretty standard”. Well, not only is this routine standard but there is a lot involved that takes place before the morning starts. Dedicated planning takes place beforehand so that I don’t feel rushed in such a short amount of time. Things like having my water bottle ready, lunch meal preps, and setting the coffee timer to maximize my time getting ready. If I neglect any of these things then I will feel rushed leaving the door and I’ll go in to work frazzled and anxious.
Starting your day off on a healthy start also plays a key role in optimizing your morning! Drinking water and getting your greens in first thing in the morning sets you up for success. There are other things that are healthy/stress-free that can inspire your morning routines. Let’s talk about things that you could look into more.
Tips for Creating A Morning Routine:
Set your alarm 15 minutes earlier than usual so that you have more time to practice your morning routine without rushing or use this time to pray, stretch, journal, meditate, etc.
Drink water! My teeth are super sensitive so I do this every other morning but lemon water is great first thing in the morning.
Set your intention for the day. This practice is used in meditation but if that seems overwhelming, just simply give yourself a few minutes to tune into yourself and to set an intention.
Schedule your morning routine the night before. This is a great practice if you are new to setting a morning routine or if you have a week or day that you know will be busy.
Meal prep! If you haven’t noticed from my blog, I am a huge meal-prep advocate. This helps so much in cutting time out of your morning to prepare breakfast, lunches, and snacks.
Stretch! It’s a great way to increase flexibility, increase blood flow to your muscles, and reduce stress and body ache. Here is a link for simple stretching movements and ROMWOD which is a great mobility program.
Sweat it out! If you are a morning person or who has more time in the morning then workout! Working out first thing in the morning is great to release those endorphins, boost your metabolism, and you will most likely be more focused and alert the rest of the day! Due to my schedule, I work out at night but my Saturday morning workouts are my most favorite because of these reasons!
Eat breakfast! When we are sleeping, our metabolic rate runs slowly and at a conservative rate, but once we are awake, our bodies need to break out of a fasting metabolic state. Eating a healthy breakfast that’s nutrient dense like whole grains, vegetables, and lean proteins will keep our metabolism healthy!
Take it one item at a time. As you are creating a morning routine, take things one a time so that you don’t feel overwhelmed. Drinking a liter of water, dedicating 5 minutes to stretching, and meal prepping was not an overnight success for me. You have to be consistent, intentional, and forgiving but you will get it!
I hope that sharing my personal routine and providing informative research about the a.m. will help and encourage you to cultivate your own morning routine. I would love to hear about your morning routines and what you have found really helped you!
To keep you motivated and alert here is a From the Roots Morning Routine music playlist:
https://open.spotify.com/user/sonymusic/playlist/68gThuZOHUfzo4f5r4nXg4

Spookylicious Green Smoothie
Halloween is my Christmas! Hands down! You know that movie, Halloweentown? It is my dream goal to live in Halloween Town where it’s Halloween every day! Wouldn’t that be amazing!?
Any-who, because of my love for Halloween, this recipe was a lot of fun creating!
If you remember anything from my morning green smoothie, this is exactly the same recipe but with fun Halloween garnishes and a small craft project.
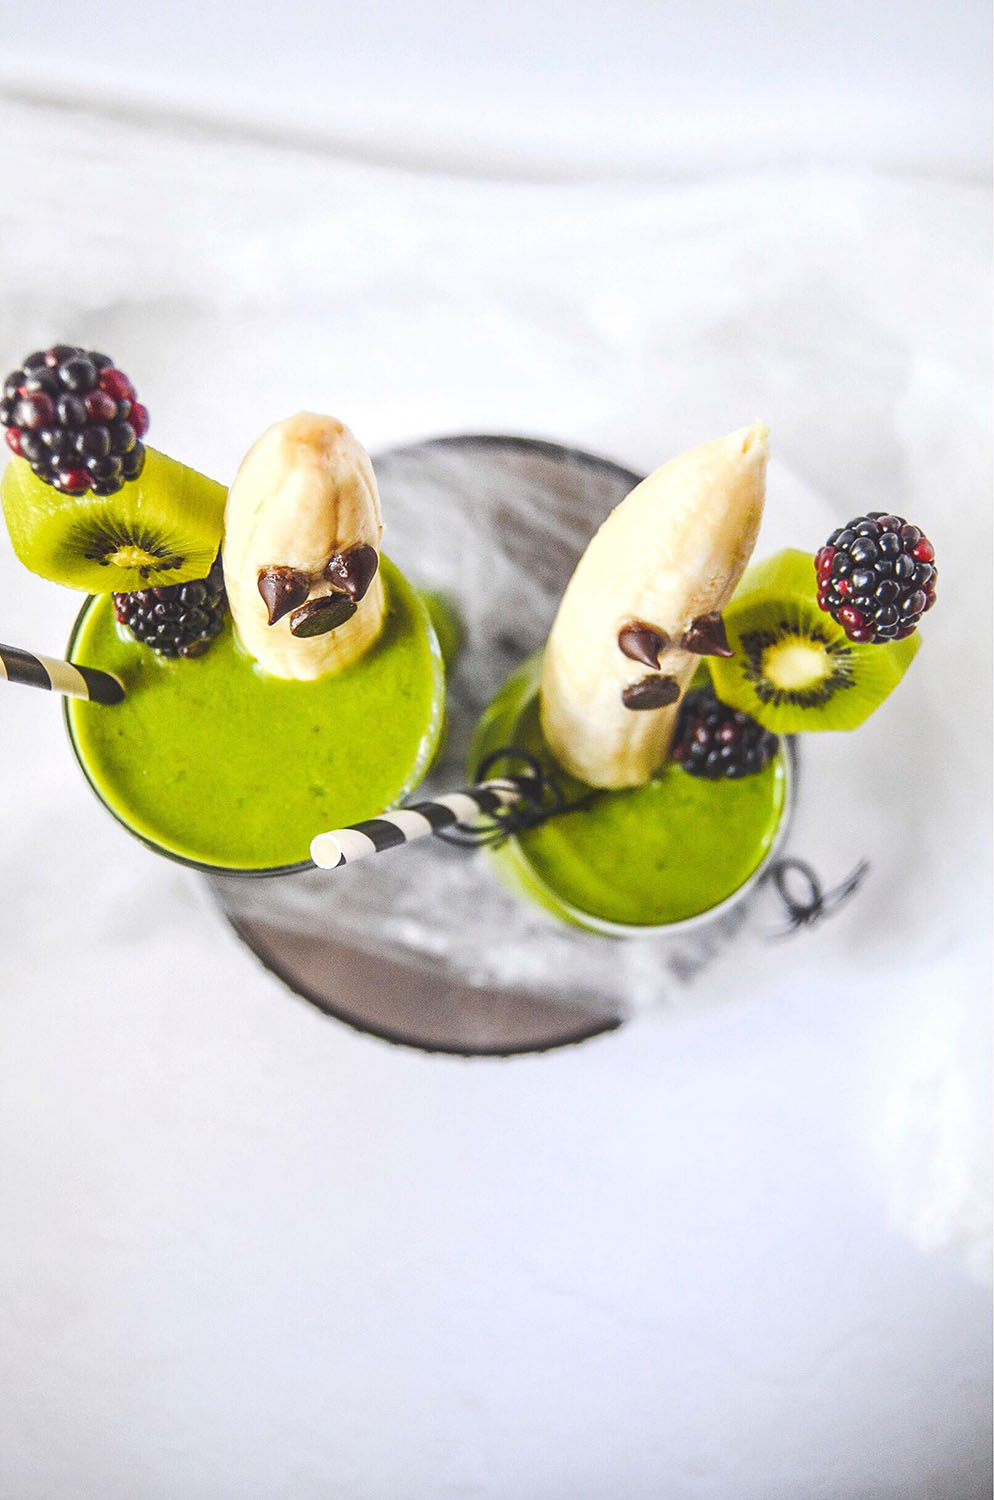
Spooky take on the classic morning green smoothie - behold the Spookylicious Green Smoothie!

Halloween is my Christmas! Hands down! You know that movie, Halloweentown? It is my dream goal to live in Halloween Town where it’s Halloween every day! Wouldn’t that be amazing!?
Any-who, because of my love for Halloween, this recipe was a lot of fun creating!
If you remember anything from my morning green smoothie, this is exactly the same recipe but with fun Halloween garnishes and a small craft project.

Notice the Frankenstein faces on the glass? I did that using just a Sharpie retractable-fine point marker. What I love about using a Sharpie pen is that if you make a mistake on the glass, you can wash it off easily with a little soap and water. You can also check out this link for other ways to clean your glass.

The Halloween garnishes are just as easy as the Frankenstein art. You can choose whatever fruit you would like but for the fruit kabobs, I used kiwi and blackberries. Blackberries reminded me of little brains and I love the contrasting colors in the kiwi with the smoothie color. The fruits should go through a wooden kabob with no problem, I would just recommend cutting your kiwi at least 1” in length so the kiwi doesn’t tear apart.

This next part is my favorite -- banana ghosts! I usually tell you to use a ripe banana in all my recipes but for this, you need to use a green to yellow banana. The banana needs to be firm so that it’s easier to handle and that it doesn’t fall off the kabob. Instead of using sugar eyes, I used dark chocolate chips for the eyes and mouth. You should have no problem inserting the chocolate chip directly into the banana. If you do, you could probably use melted dark chocolate or peanut butter as a sticking agent.