Sort by Category
- October 2025
- September 2025
- August 2025
- June 2025
- August 2024
- July 2024
- June 2024
- May 2024
- February 2024
- January 2024
- December 2023
- November 2023
- October 2023
- September 2023
- August 2023
- July 2023
- March 2023
- February 2023
- January 2023
- December 2022
- November 2022
- October 2022
- September 2022
- August 2022
- June 2022
- May 2022
- April 2022
- March 2022
- February 2022
- January 2022
- December 2021
- November 2021
- October 2021
- September 2021
- August 2021
- July 2021
- June 2021
- May 2021
- April 2021
- March 2021
- February 2021
- January 2021
- December 2020
- November 2020
- October 2020
- September 2020
- August 2020
- July 2020
- June 2020
- May 2020
- April 2020
- March 2020
- February 2020
- January 2020
- December 2019
- November 2019
- October 2019
- September 2019
- August 2019
- July 2019
- June 2019
- May 2019
- April 2019
- March 2019
- February 2019
- January 2019
- December 2018
- November 2018
- October 2018
- September 2018
- August 2018
- July 2018
- June 2018
- May 2018
- April 2018
- March 2018
- February 2018
Banana Nut Muffins
Muffins are a staple at my house! Not only are they great as a carb source for breakfast, but they are great as a grab and go snack! What I just now realized is that I have more muffin recipes on the blog than anything else!
Another realization is that I have not one but two banana style recipes. The infamous paleo banana nut bread naturally sweetened with just bananas and 5-ingredient banana bread muffins that is also in the Nourished Cookbook!
I may be mildly obsessed…
Banana Nut Muffins - Light, fluffy, gluten-free and dare I say moist and delicious!
Muffins are a staple at my house! Not only are they great as a carb source for breakfast, but they are great as a grab and go snack! What I just now realized is that I have more muffin recipes on the blog than anything else!
Another realization is that I have not one but two banana style recipes. The infamous paleo banana nut bread naturally sweetened with just bananas and 5-ingredient banana bread muffins that is also in the Nourished Cookbook!
I may be mildly obsessed…
But this recipe variation in particular is my pantry/fridge clean out - banana nut recipe. Why? Because the ingredients are so practical!
I typically have all of these ingredients in my fridge or pantry and do not realize it until some bananas are looking a little brown and I need to think fast on my feet!
Don’t have overripe bananas but need them fast to make this recipe!?
The fastest way to ripen bananas for baking is to just bake them! Simply preheat your oven to 400 degrees F, place your bananas on a baking sheet, and bake them for five minutes, until they’re browned. That’s it!
If you try this recipe, let us know! Leave a comment, rate it, and don’t forget to tag a photo to #fromtherootsblog on Instagram. We love seeing what you come up with!
Banana Nut Muffins - Light, fluffy, gluten-free and dare I say moist and delicious!
Servings: 12 muffins | Prep Time: 5 min | Cook Time: 20 min
Ingredients
1 ½ cups 1:1 gluten-free flour
3 medium overripe bananas, mashed
1 tsp baking powder
1 tsp baking soda
½ tsp salt
1 tsp cinnamon
1 tsp pumpkin spice seasoning
1 egg, room temperature
½ cup coconut oil or grass-fed butter, melted
¼ cup maple syrup
2 Tbsp coconut milk or milk of choice
¼ - ½ cup coconut sugar (depending on your sweet level)
1 tsp vanilla extract
½ cup walnuts, chopped
Directions
Preheat the oven to 375 degrees F and line a muffin tin with muffin cups or spray tin with oil spray.
Mash the bananas with a fork or meat masher in a mixing bowl. Add all the wet ingredients (egg, oil, syrup, milk, vanilla) and coconut sugar to the mixing bowl and whisk together until combined.
In a separate bowl, add the dry ingredients (flour, baking soda and powder, salt, spices) and whisk together until combined. Add your dry ingredients into the wet ingredients and whisk together until batter is thick yet pourable. Add the chopped walnuts and fold in until combined.
Evenly divide the batter between 12 muffin cups. Sprinkle a little extra chopped nuts on top.
Bake the muffins for 20-22 minutes or until a toothpick comes out clean and they’re lightly golden on top. Enjoy!
Notes
Don’t have overripe bananas? That’s okay! Simply, preheat your oven to 400 degrees F, place your bananas on a baking sheet, and bake them for 5 minutes, until they’re browned. That’s it!
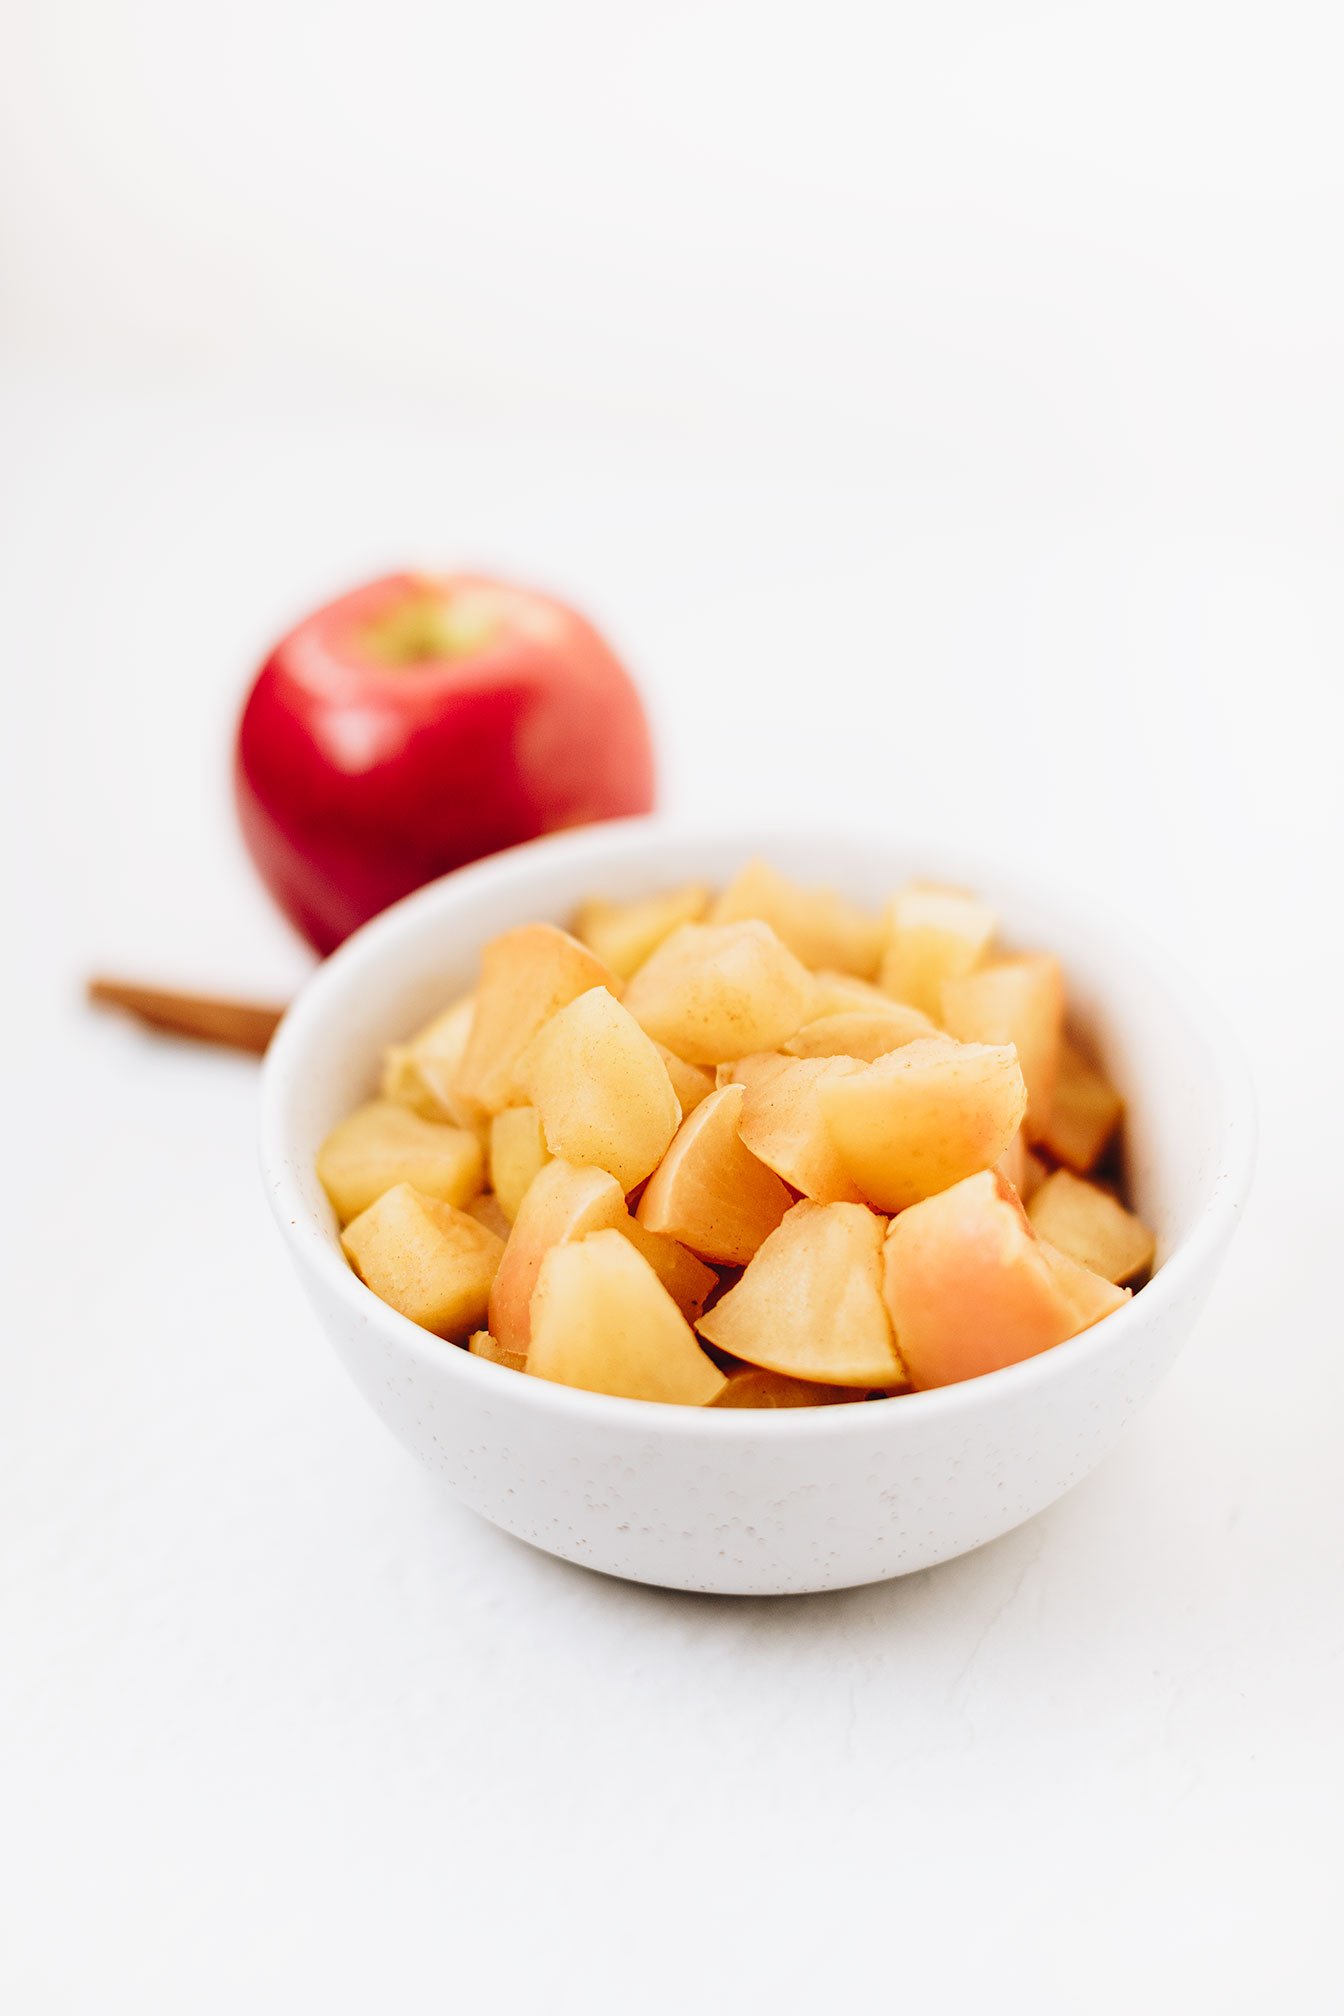
Gut Nourishing Stewed Apples
Need a gastrointestinal support that is affordable, tastes heavenly, and will make your house smell like a freshly baked apple pie?
Then look no further, because this stewed apple recipe checks all the boxes!
I can’t take all the credit - this simple recipe that I’m sure you have made before but not realizing it’s magical GI powers, came from Dr. Tom O’Bryan - leading expert on gluten and Autoimmune disease. Essentially, this recipe is applesauce, but cooked in such a way as to really bring out the pectin from the apple skins, which is a wonderful prebiotic, and very nourishing for the microbiome.
Need a gastrointestinal support that is affordable, tastes heavenly, and will make your house smell like a freshly baked apple pie?
Then look no further, because this stewed apple recipe checks all the boxes!
I can’t take all the credit - this simple recipe that I’m sure you have made before but not realizing it’s magical GI powers, came from Dr. Tom O’Bryan - leading expert on gluten and Autoimmune disease. Essently, this recipe is applesauce, but cooked in such a way as to really bring out the pectin from the apple skins, which is a wonderful prebiotic, and very nourishing for the microbiome.
Apples contain pectin which has many health benefits. When cooked, the pectin inside the skin is easily accessible to the microbiome in the colon and helps to repopulate beneficial flora and helps heal leaky gut. When taken daily (at least 2 large spoonfuls daily) many clients of mine have noticed regular bowel movements and less bloating.
Pair stewed apples with plain greek or coconut yogurt, oatmeal, smoothie, or with a meal. My go-to dinner lately has been adding a dollop of stewed apples over grilled pork chops with a side of baked sweet potato and kerry gold butter. Delicious!
Last thing, apples are considered a high FODMAP food, so if you are sensitive, this may not be the best food first prebiotic approach for you!
If you try this recipe, let us know! Leave a comment, rate it, and don’t forget to tag a photo to #fromtherootsblog on Instagram. We love seeing what you come up with!
Prep Time: 10 Min | Cook Time: 10 min
Ingredients
4 organic apples, washed, seeded, chopped, but not peeled!
Filtered water
2 Tbsp ground cinnamon
2 Tbsp raisins (optional, sweet preference)
Directions
Add apples, cinnamon, and optional raisins to a saucepan and barely cover with filtered water. Bring to a boil ~ about 8-10 minutes.
As the mixture is boiling, watch the apple skins. When the skins begin to take on a sheen, the apples are done. Turn off the heat.
If there is water leftover, you can drain it or I personally use it to make adrenal cream cider!
Eat 2-4 spoonfuls daily to support your gut lining and microbiome - enjoy!
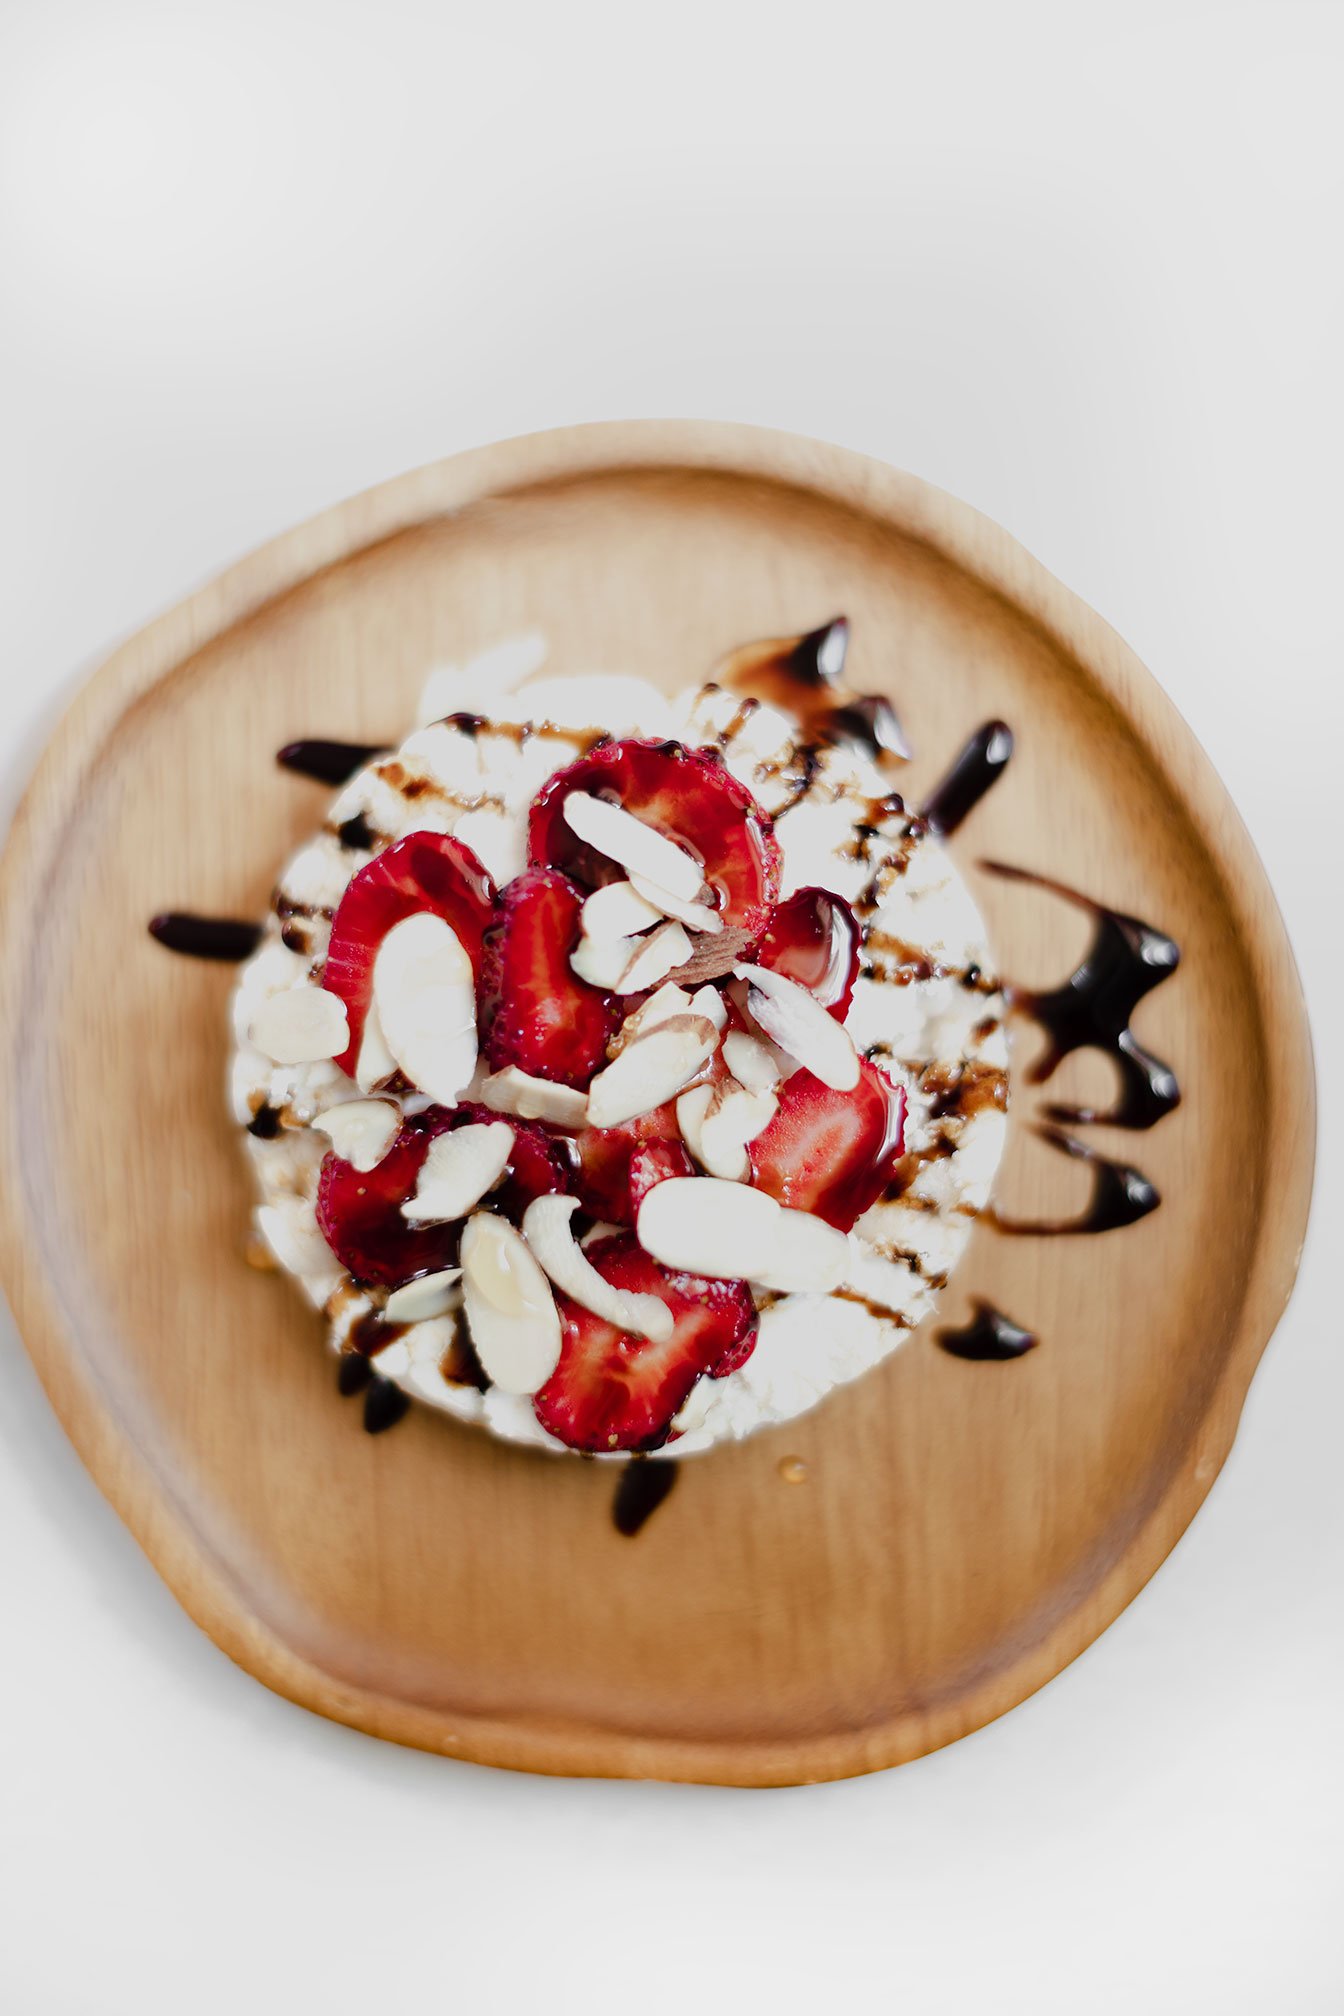
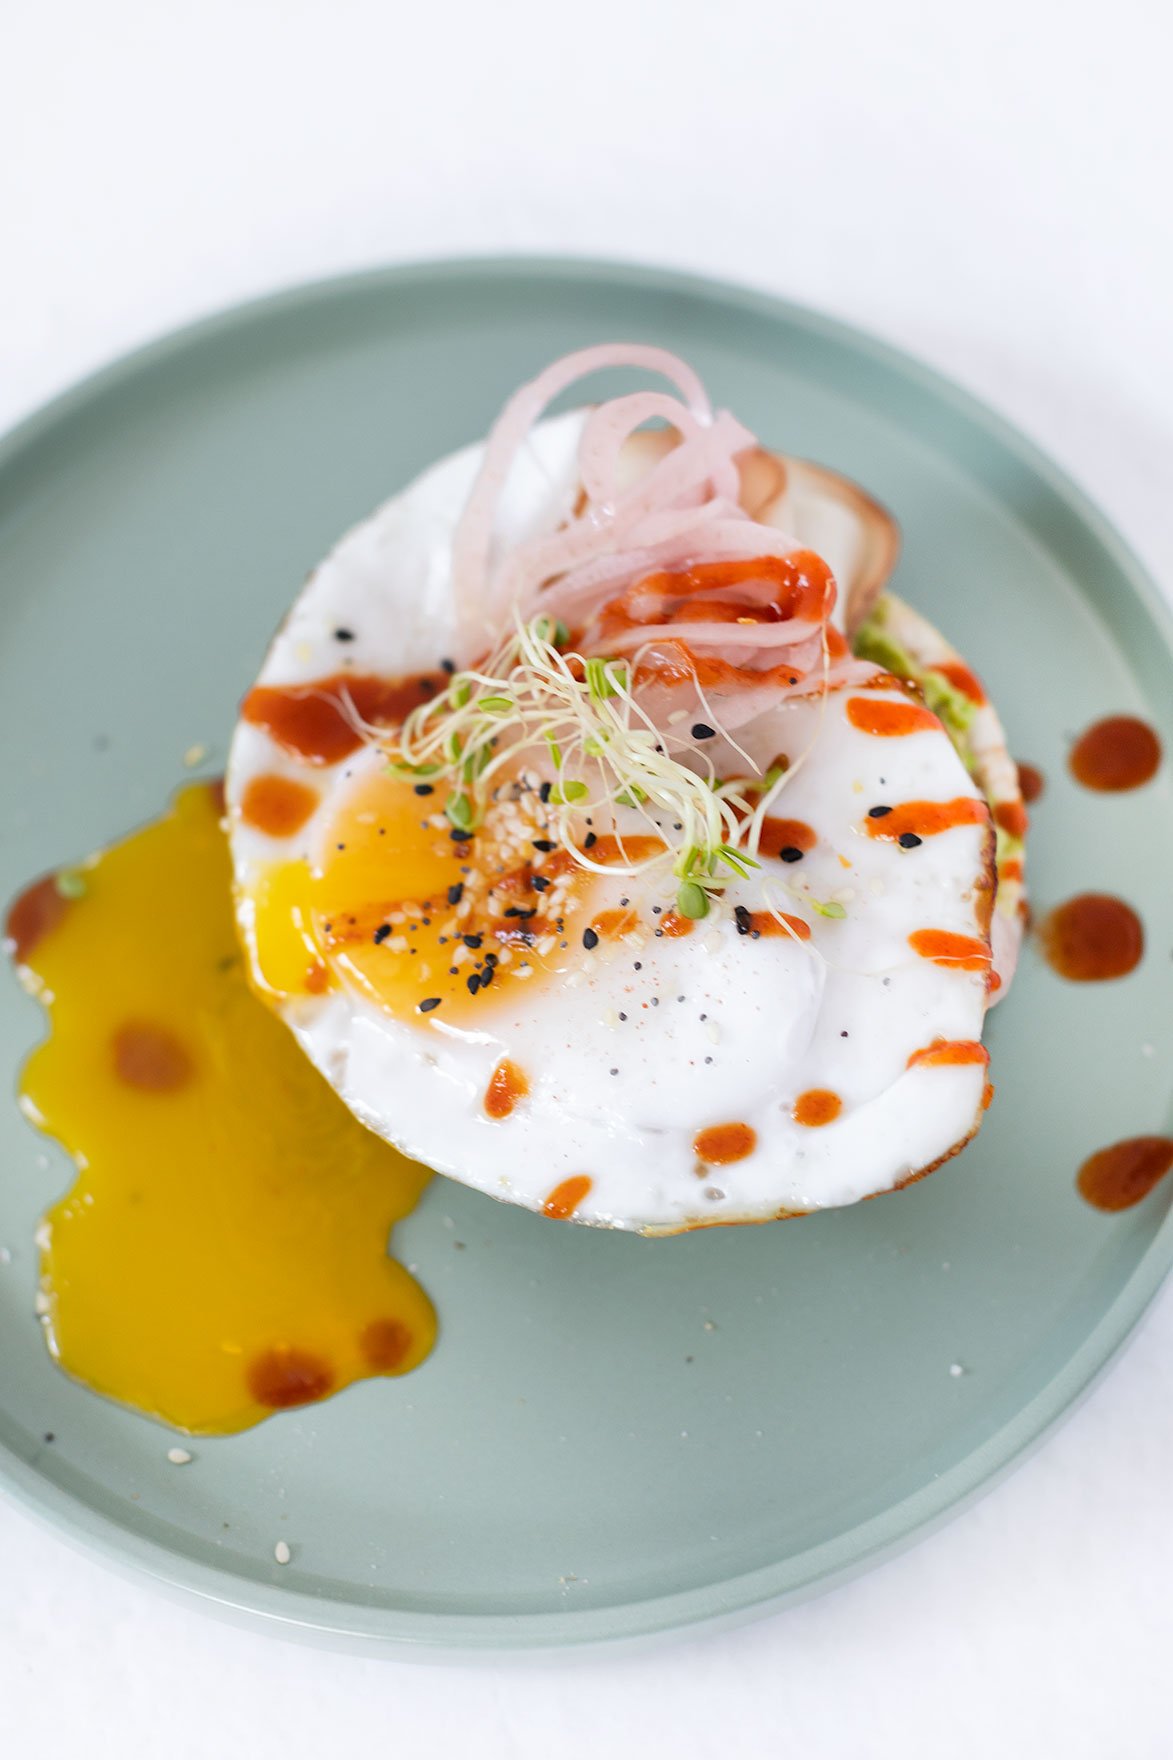
Balanced Rice Cake Snack Combos
As someone who follows more foodie accounts than a normal person should, I usually try to spot major food trends so that I can “beautify” or rather “healthify” for my clients. Hence, healthy crispy chicken salad, crunchwrap supreme, catfish nuggets, and Reese's peanut butter cup to name a few.
But a recipe trend I want to highlight today is an actual health trend that started in the low fat craze of the 1990’s - the rice cake!
If you have ever tasted a plain rice cake on its own - there is literally no flavor. Made with puffed rice pressed together into a cake with maybe a hint of salt. That’s it. And since this started in the 90’s, everyone wanted to swap out bread and crackers for this low calorie substitute.
So are these flavorless, crunchy snacks good for your health? Since plain rice cakes are essentially rice and air, they don’t really have an impressive nutrient profile. They are low in essential vitamins and minerals, basically fat-free and contain very little protein or fiber. Some benefit is that most rice cakes are typically gluten-free and made with whole grains.
But eaten on its own, eating multiple servings in one sitting or choosing a sweet-flavored variety that contains added sugar may raise your blood sugar. As said before, rice cakes are mostly carbs, so combining them with protein, healthy fat and fiber can balance their potential effect on your blood sugar.
Try pairing rice cakes with:
A nut butter, cottage cheese or yogurt with fruit slices
Caprese style (tomato slices, basil, and mozzarella)
White bean spread with veggie slices
Tuna or chicken salad
Avocado toast style (mashed avocado, fried egg, EBTB)
Bagel and lox style (cream cheese or goat cheese, smoked salmon, sliced veggies, fresh dill and lemon)
Turkey sandwich style (pickles, sliced turkey meat, avocado, sprouts)
More rice cake combo inspo on our TikTok!
If you want more balanced meals and snack inspo, check out the Nourished Roots Meal Prep Program!
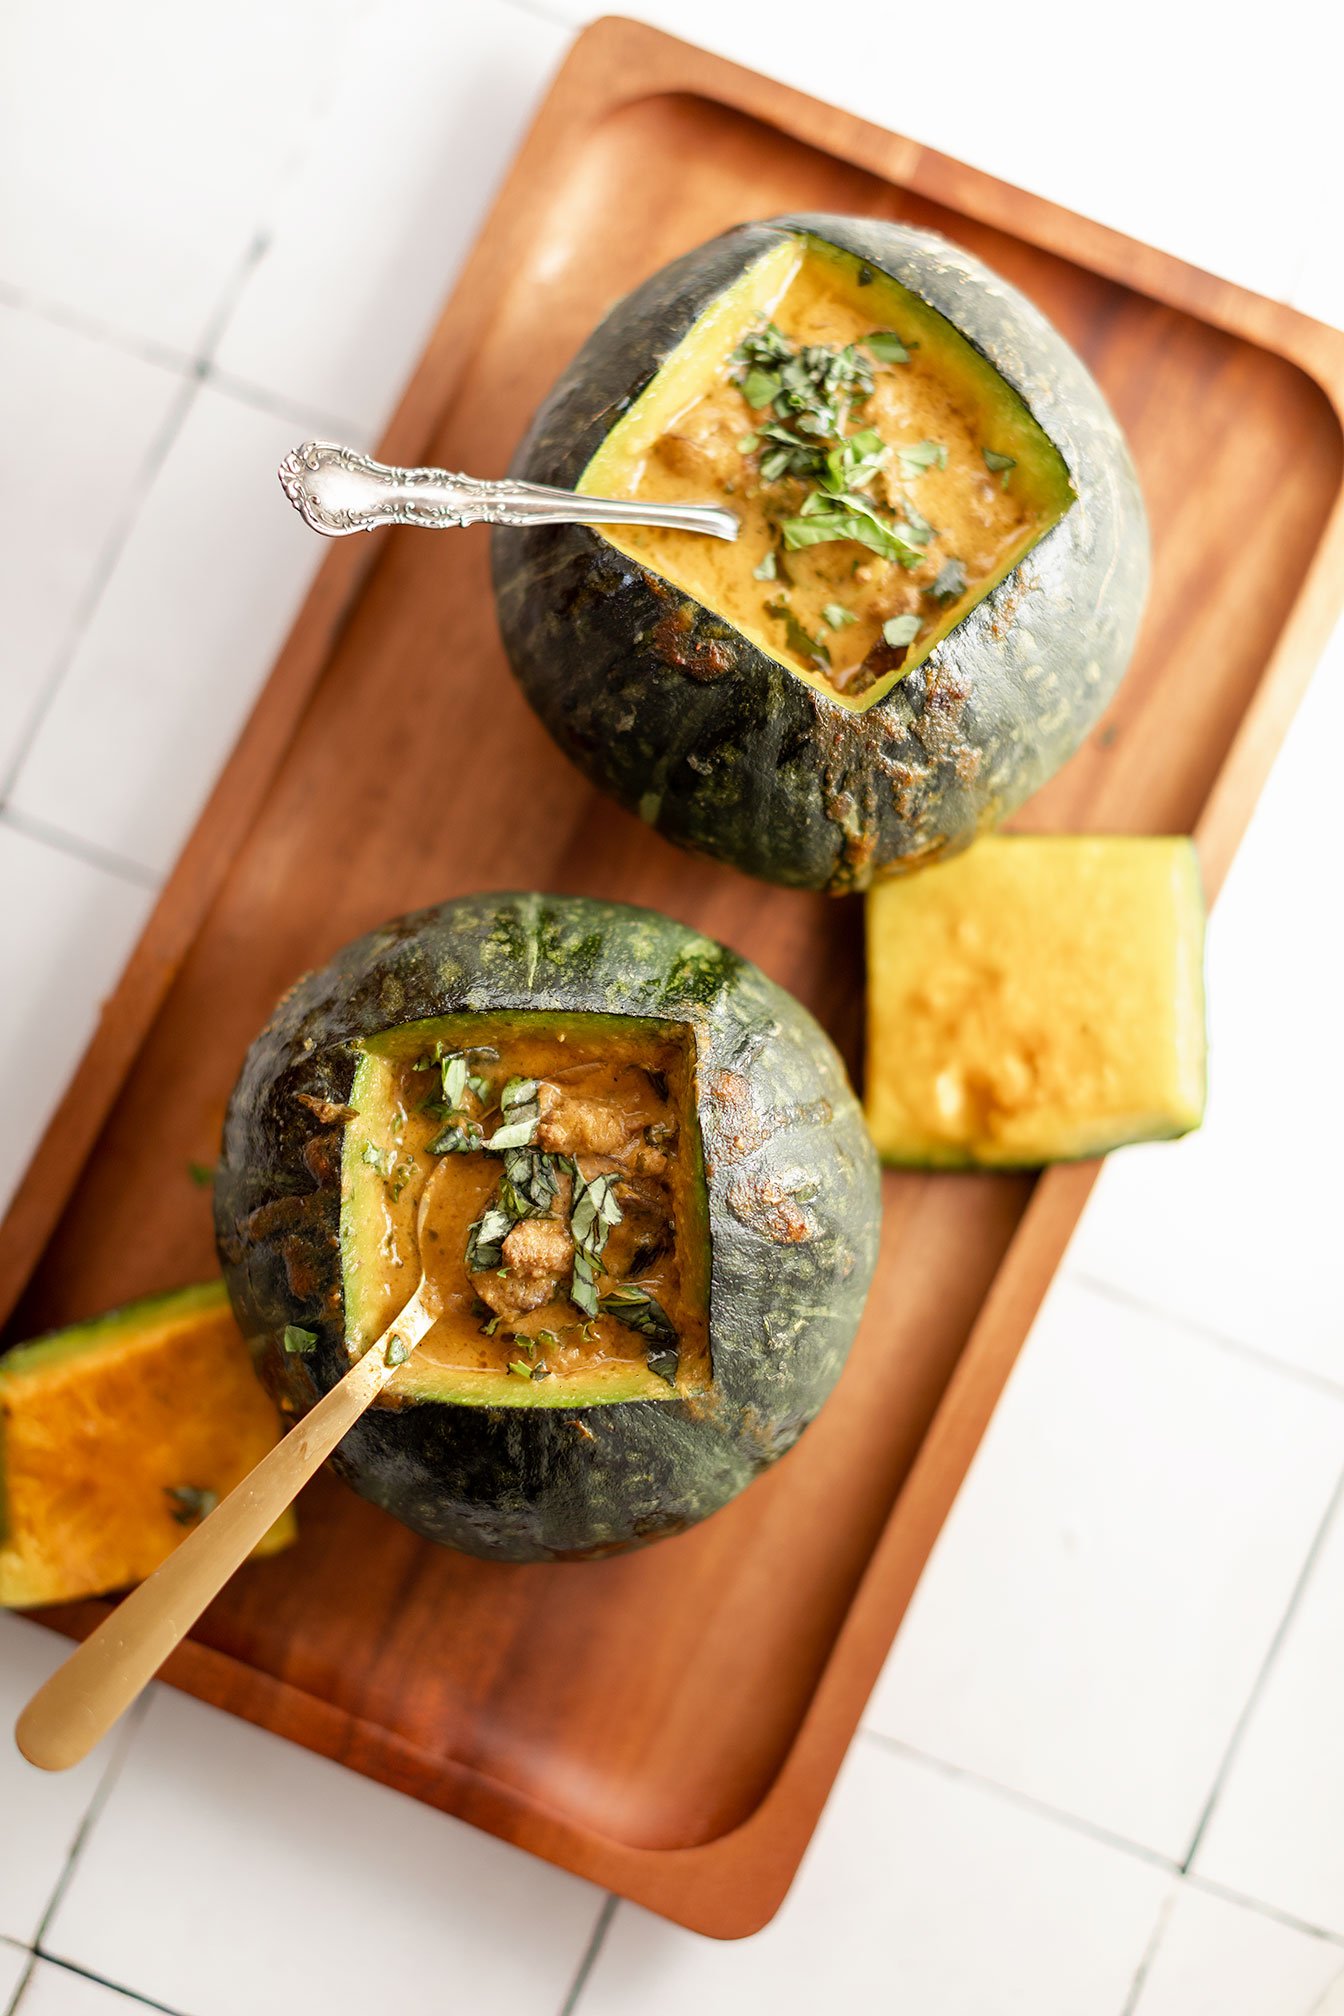
Lamb Stew Squash Bowl
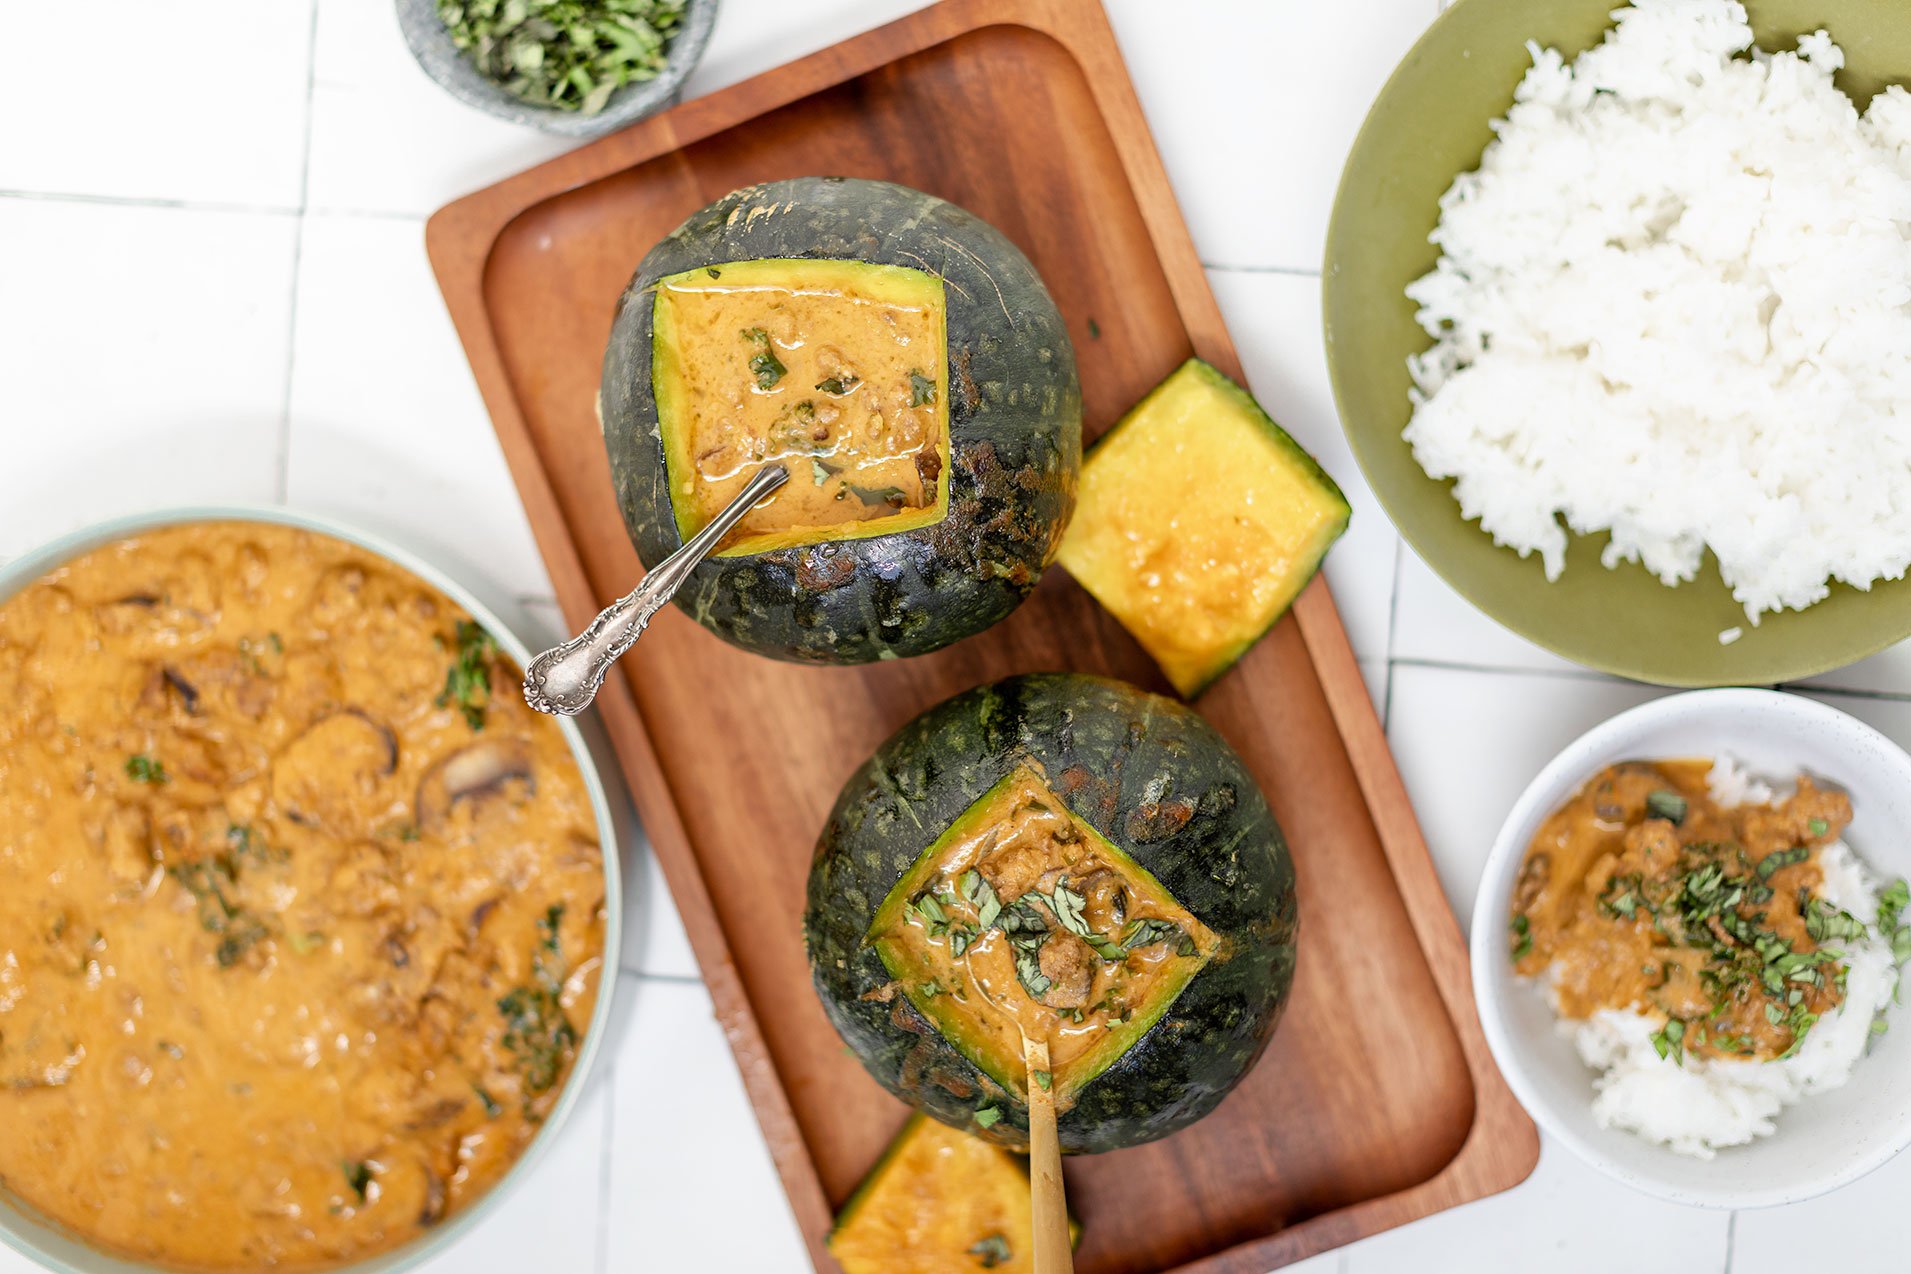
that can also be served with a side of rice.
Lamb stew squash bowl has got to be the epitome of winter comfort. There is nothing like spending an hour or two in the kitchen creating a comfort dish and sharing it with your loved ones. Especially when you are using seasonal ingredients that are not only nourishing for the body, but for the soul.
For this recipe, I used kabocha squash as they are the perfect “bowl” size for this dish but you can also use: pumpkin, acorn, butternut, delicata, or even zucchini. Random thought but if you have a large family or fun gathering, using a large pumpkin for this dish would definitely be the star on the table as well as a crowd pleaser!
Nourishing and hearty lamb stew squash bowl that can also be served with a side of rice.
Lamb stew squash bowl has got to be the epitome of winter comfort. There is nothing like spending an hour or two in the kitchen creating a comfort dish and sharing it with your loved ones. Especially when you are using seasonal ingredients that are not only nourishing for the body, but for the soul.
For this recipe, I used kabocha squash as they are the perfect “bowl” size for this dish but you can also use: pumpkin, acorn, butternut, delicata, or even zucchini. Random thought but if you have a large family or fun gathering, using a large pumpkin for this dish would definitely be the star on the table as well as a crowd pleaser!
Squash not accessible or not keen on squash? Feel free to prepare a side of rice, quinoa or roasted sweet potatoes to go with the stew!
Now that we are on the stew topic, I could literally drink this smooth, creamy flavor bomb of a stew just on its own! I’m telling you, there is nothing like roasting your veggies prior to blending into a cream sauce. Just saying!
If you try this recipe, let us know! Leave a comment, rate it, and don’t forget to tag a photo to #fromtherootsblog on Instagram. We love seeing what you come up with!
Nourishing and hearty lamb stew squash bowl that can also be served with a side of rice.
Servings: 4-6 | Prep Time: 20 min | Cook Time: 1 hour
Ingredients
1 lb ground lamb or meat of choice
2 small kabocha squash or squash / pumpkin of choice
1 8 oz container baby bella mushrooms, sliced
2 cups kale or collard greens, shredded
1 can coconut milk, unsweetened
1 onion
2 large tomatoes
6 cloves garlic
1 .5 oz organic fresh basil (small container)
1 Tbsp favorite go-to seasoning
1-2 Tbsp grass-fed butter
Kosher salt and pepper
Directions
Preheat the oven to 400 degrees.
Clean out both squash and line the inside and lid with butter, set aside.
Slice tomatoes and onion in half, and place on a cookie sheet with crushed cloves of garlic. Drizzle oil and kosher salt and cook in the oven for 25 minutes.
While the tomato mixture is cooking, crumble ground meat in a large skillet over medium heat. Add the seasoning and saute until the lamb meat is fully cooked. Set aside but keep rendered fat in the skillet.
After the roasted veggies have cooled down, remove the outer skin from the onion and transfer everything to a blender. Add in the coconut milk and basil and blend until smooth. Taste test and add additional salt if needed.
Add mushrooms and kale to the skillet with reserved lamb fat and set over medium heat. Saute for about 5 minutes and pour in the blended cream mixture and cooked lamb meat. Remove from heat and transfer the mixture into your buttered squashes.
Place filled squash bowls on a cookie sheet with the lids on top and cook in the oven for 25 minutes.
At this time, if you have leftover lamb stew, feel free to make a side of steamed rice.
Remove from the oven and garnish with basil chiffonade and enjoy! Don’t forget to scrape the inside of your squash as you eat!
Massaged Kale Salad
If you are wanting to level up your salad game, then you need to hop on the massaged kale train! This leafy green is absolutely packed with vitamins like A, C, and K, fiber forward, antioxidants and a powerful anti-inflammatory food. But if you are not familiar with eating kale, it can be a tough food to swallow - no pun intended!
Level up your salad game using massaged kale!
If you are wanting to level up your salad game, then you need to hop on the massaged kale train! This leafy green is absolutely packed with vitamins like A, C, and K, fiber forward, antioxidants and a powerful anti-inflammatory food. But if you are not familiar with eating kale, it can be a tough food to swallow - no pun intended!
Luckily for you, using the massaging technique, will have you eating and loving the vegetable in no time.
Kale, being a cruciferous veggie, has a rough texture by nature so to help physically break down the kale to make it easier to digest, we use the massaging method.
Massaging prior to eating is like pre-digesting the kale. All you have to do is give your kale some love by using your hands.
We do this by massaging oil + salt + lemon juice in the kale to help break down the tough, fibrous content in the kale. The kale will visually change before your eyes into a vibrant green and will feel softer in texture.
A bonus about using this method is that it will stay in the refrigerator for a good week even after massaging - unlike other more delicate leafy greens which tend to wilt and become soggy after chopping. Kale will keep its soft but chewy texture without becoming mushy.
That is why, in my new cookbook: The Nourished Cookbook, I show you many ways in how you can add massaged kale into your nourish bowls! It’s a great non-starchy carbohydrate source to batch cook and to pair with so many other base meals! Here are some other massaged kale salad recipes on the blog: Fall Harvest Grain Bowl, Summer Burger Salad, Winter Pear Salad with Citrus Dijon Vinaigrette, and Butternut Squash, Kale, and White Bean Lasagna Soup.
If you try this recipe, let us know! Leave a comment, rate it, and don’t forget to tag a photo to #fromtherootsblog on Instagram. We love seeing what you come up with!
Level up your salad game using massaged kale!
Servings: 4-6 | Prep time: 10 min | Cook time: N/A
Ingredients
4 cups or 3 handfuls of organic raw kale
1-2 tsp olive or avocado oil
Juice of ½ lemon
1 tsp sea salt
Directions
Wash kale thoroughly to remove dirt and de-stem kale leaves. Transfer to a large bowl. Add in the lemon juice and salt. Lightly pour oil onto your hands to coat.
Using a massaging action (similar to kneading bread dough), start to tear the leaves apart and massage. Continue massaging for about 2-5 minutes or until the kale turns a vibrant green and the leaves are soft.
Notes
Can be used as a side dish, a salad base, or as a topping of your choice for a complete meal in a bowl.


