Sort by Category
- December 2025
- November 2025
- October 2025
- September 2025
- August 2025
- June 2025
- August 2024
- July 2024
- June 2024
- May 2024
- February 2024
- January 2024
- December 2023
- November 2023
- October 2023
- September 2023
- August 2023
- July 2023
- March 2023
- February 2023
- January 2023
- December 2022
- November 2022
- October 2022
- September 2022
- August 2022
- June 2022
- May 2022
- April 2022
- March 2022
- February 2022
- January 2022
- December 2021
- November 2021
- October 2021
- September 2021
- August 2021
- July 2021
- June 2021
- May 2021
- April 2021
- March 2021
- February 2021
- January 2021
- December 2020
- November 2020
- October 2020
- September 2020
- August 2020
- July 2020
- June 2020
- May 2020
- April 2020
- March 2020
- February 2020
- January 2020
- December 2019
- November 2019
- October 2019
- September 2019
- August 2019
- July 2019
- June 2019
- May 2019
- April 2019
- March 2019
- February 2019
- January 2019
- December 2018
- November 2018
- October 2018
- September 2018
- August 2018
- July 2018
- June 2018
- May 2018
- April 2018
- March 2018
- February 2018
Fig, Vanilla & Orange Energy Balls
This fall inspired fig, vanilla and orange energy balls are a fresh flavor twist on the classic fig newton bar!
Classic fig newton inspired energy balls were developed for some friends that are hiking the Grand Canyon rim to rim.
Key points that had to be achieved for this recipe:
1| to provide energy
2| clean carbohydrate source
3| fig newton-like flavor that tastes good!
And that is how these fig, vanilla and orange energy balls came about! So if you are hiking the Grand Canyon rim to rim or just simply about to start a workout, need an afternoon snack pick me up or a healthy dessert alternative, then you are at the right place!
If you try this recipe, let us know! Leave a comment, rate it, and don’t forget to tag a photo to #fromtherootsblog on Instagram. We love seeing what you come up with!
This fall inspired fig, vanilla and orange energy balls are a fresh flavor twist on the classic fig newton bar!
18-24 balls | Prep Time: 10 Min | Cook time: N/A
Ingredients
1 cup dried figs
½ cup medjool dates
½ cup pecans
½ cup almonds
½ cup walnuts
1 tsp vanilla extract
¼ cup ground cinnamon
Zest of orange
Splash or two of orange juice
Directions
Place all ingredients in a food processor and pulse on high to combine. You may need to stop in between to scrape down the sides of the processor with a rubber spatula.
Blend and pulse for about 2-3 minutes, until the mixture starts to clump. Depending on how fresh your dates or figs are, you may need to add 1 Tbsp increments of water to help break down the mixture.
Using a cookie scooper or 1 Tbsp measuring spoon, scoop mixture out and roll into balls. Store in an airtight container in the fridge for up to two weeks. Can store in the freezer for up to 3 months.
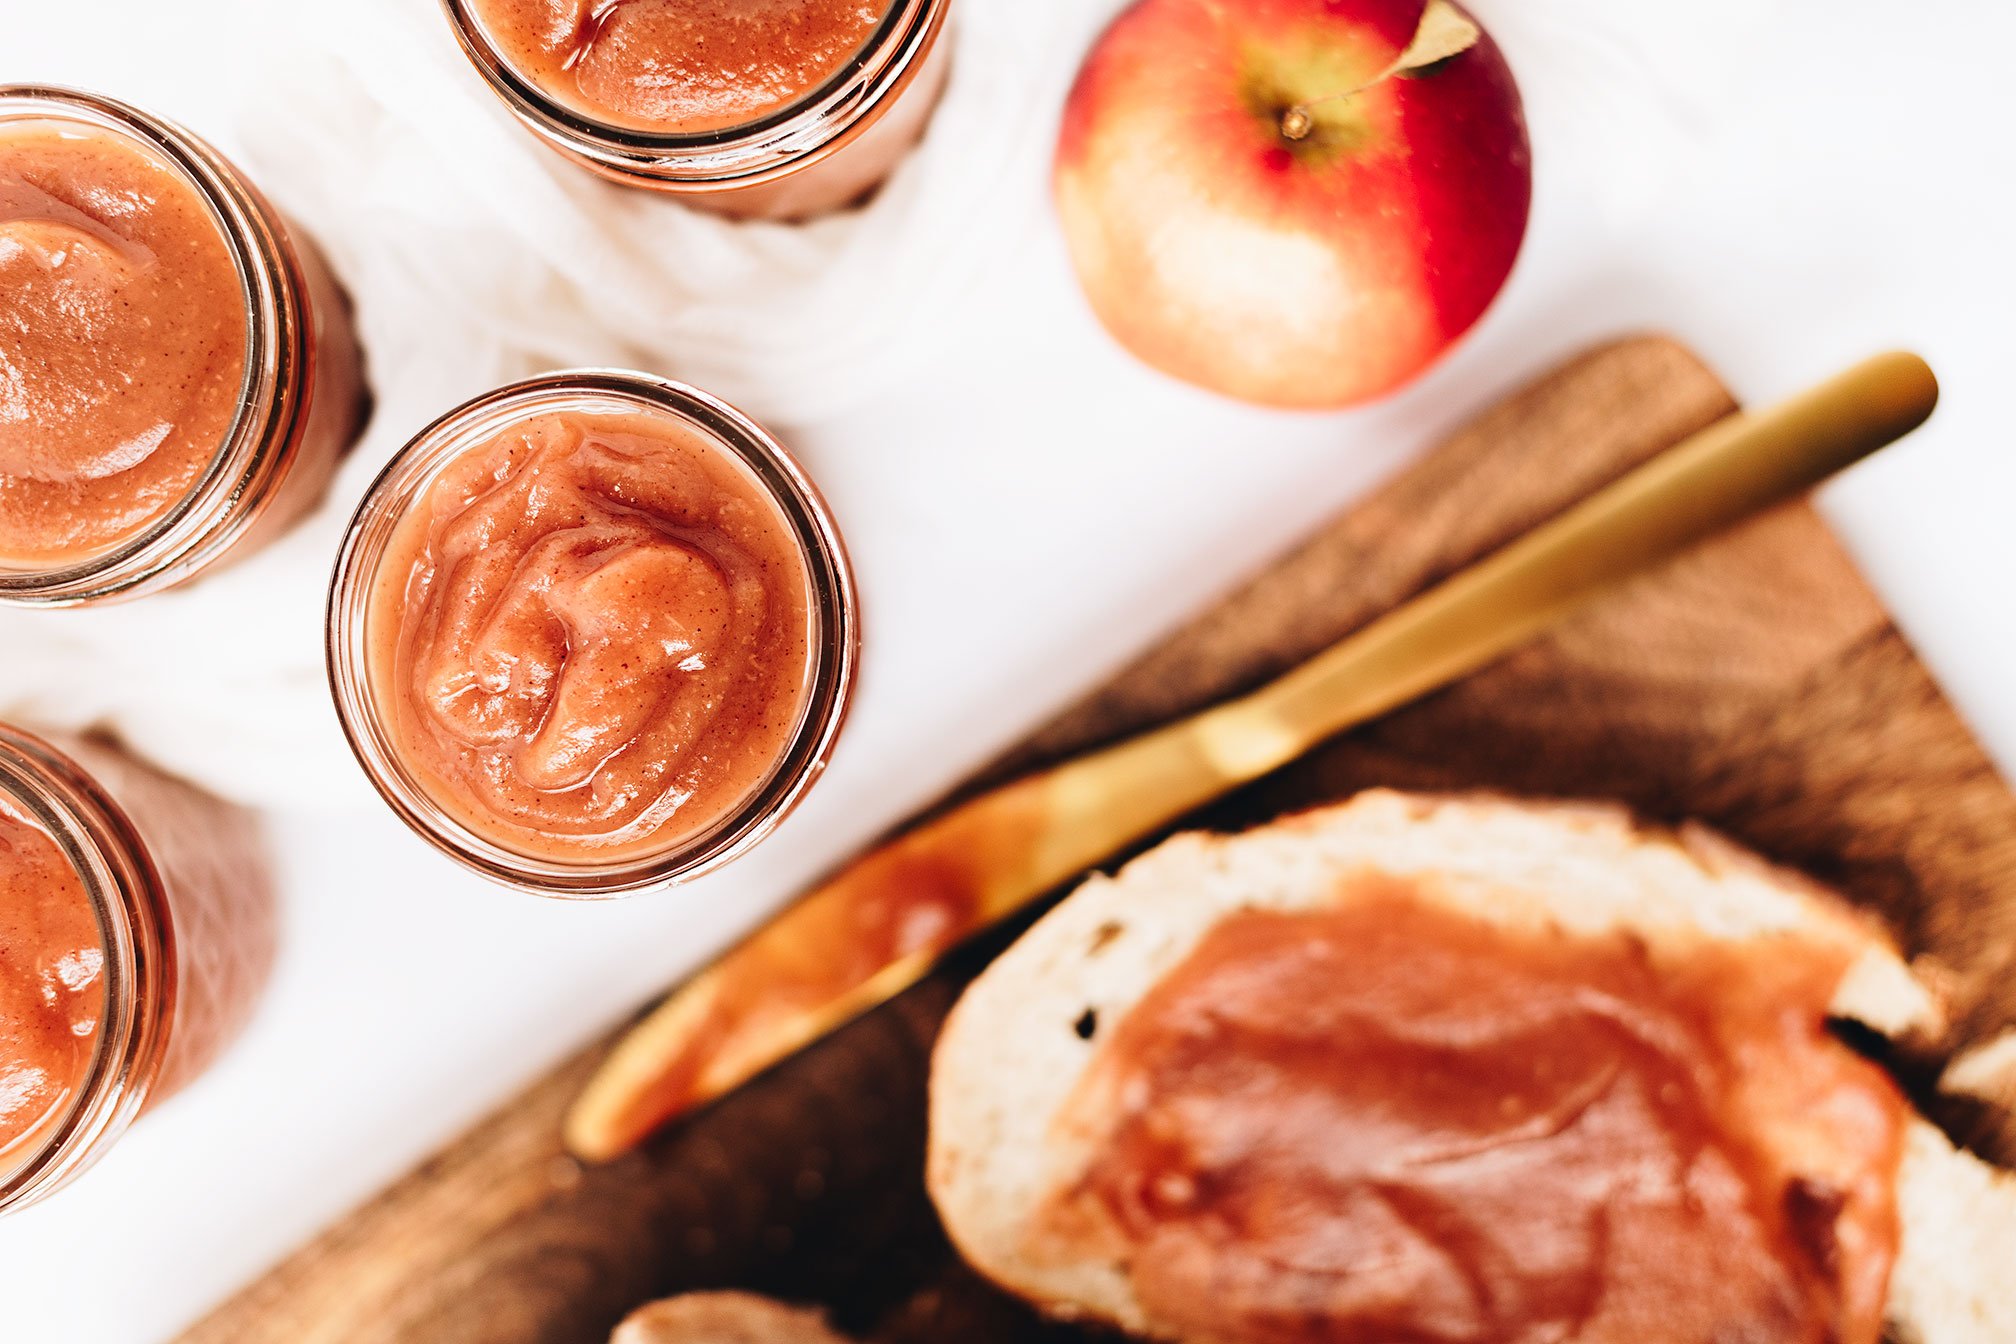
Apple Butter
So before the fall season comes to an end, it’s time to take all the apples from orchard picking or local farmer’s market visits to make a big batch of homemade apple butter!
For this recipe, I visited Mercier Orchards in Blue Ridge, Georgia and chose a combination of Crimson Crisp and Pink Lady for this recipe. If you don’t have an orchard to visit or not sure what type of apple works well for apple butter, you want to look for something sweet, not tart like: gala, jonagold, Mcintosh, honeycrisp, fuji or evercrisp.
Get all the fall feels with this homemade Instant Pot Apple Butter Recipe!
If you can’t already tell by the amount of apple recipes on the blog or through my social media, I am mildly obsessed with apples! There is nothing like biting into a honeycrisp after a workout or eating homemade chicken salad and getting a sweet apple crunch in every bite!
So before the fall season comes to an end, it’s time to take all the apples from orchard picking or local farmer’s market visits to make a big batch of homemade apple butter!
For this recipe, I visited Mercier Orchards in Blue Ridge, Georgia and chose a combination of Crimson Crisp and Pink Lady for this recipe. If you don’t have an orchard to visit or not sure what type of apple works well for apple butter, you want to look for something sweet, not tart like: gala, jonagold, Mcintosh, honeycrisp, fuji or evercrisp.
If you are wanting naturally sweet apple butter, then your best option is to choose these apple options within season as they are pretty sweet on their own and pack a major flavor! But in this recipe, I have added a natural sweetener like pure maple syrup in case you would like a tad bit more sweetness.
I love spreading my apple butter on homemade sourdough bread, cornbread muffins, waffles, pancakes, or even meats like pork chops. You can add it to your yogurt, kefir, smoothie, oatmeal - just about anything and everything!
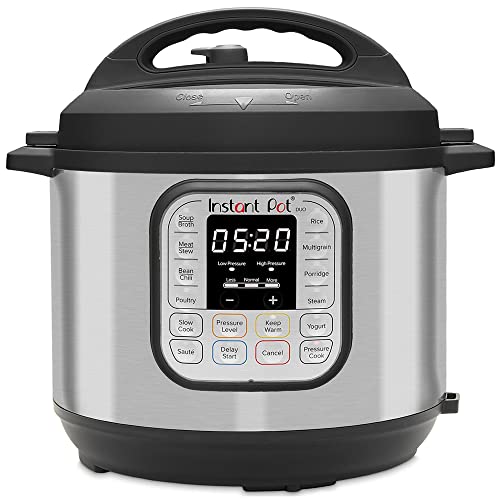
I’m all about efficiency so I made this recipe using an Instant Pot. But if you don’t have an Instant Pot, crockpot or stove top will do just fine! You just want to make sure that the apples cook down enough until most of the liquid has evaporated. The process of cooking past the apple sauce stage, creates the smooth jam or butter like consistency, rather than applesauce.
If you try this recipe, let us know! Leave a comment, rate it, and don’t forget to tag a photo to #fromtherootsblog on Instagram. We love seeing what you come up with!
Get all the fall feels with this homemade Instant Pot Apple Butter Recipe!
Cook Time: 1.5-2 hrs | Prep Time: 10 min | Serving: 4 pints apple butter
Ingredients
4.5 - 5 lb apples, cored and diced (not peeled!)
1 Tbsp apple pie seasoning
1-2 tsp ground cinnamon
¼ cup pure maple syrup (depending on sweetness level)
Juice of 1 lemon
1 tsp vanilla extract
½ cup filtered water
Directions
In a large bowl, place sliced and cored apples, seasonings, sweetener, lemon juice, vanilla extract and water and stir until well combined.
Transfer to your Instant Pot and secure the lid, seal the valve. Cook for 20 minutes on high pressure, then allow a full natural release. Remove the lid.
Using an immersion blender (or transfer batches in a regular blender), blend the contents until smooth. Taste test for desired sweetness/tart level. (i.e. want more tartness, add 1 tsp increments lemon juice, sweetness - 1 Tbsp increments of sweetener, spice - 1 tsp increments seasonings). Add the contents back into Instant Pot and press Saute. Allow to cook for 30-60 minutes while stirring frequently until the apple butter has thickened and darkened to desired consistency.
Press Cancel on the Instant Pot, then allow the apple butter to cool completely before transferring to large mason jars. Store in the refrigerator for up to 3 weeks. Freeze for up to 6 months. (Make sure you sharpie today’s date on the jar!)
SHOP OUR FAVORITE TOOLS + INGREDIENTS FOR THIS RECIPE!
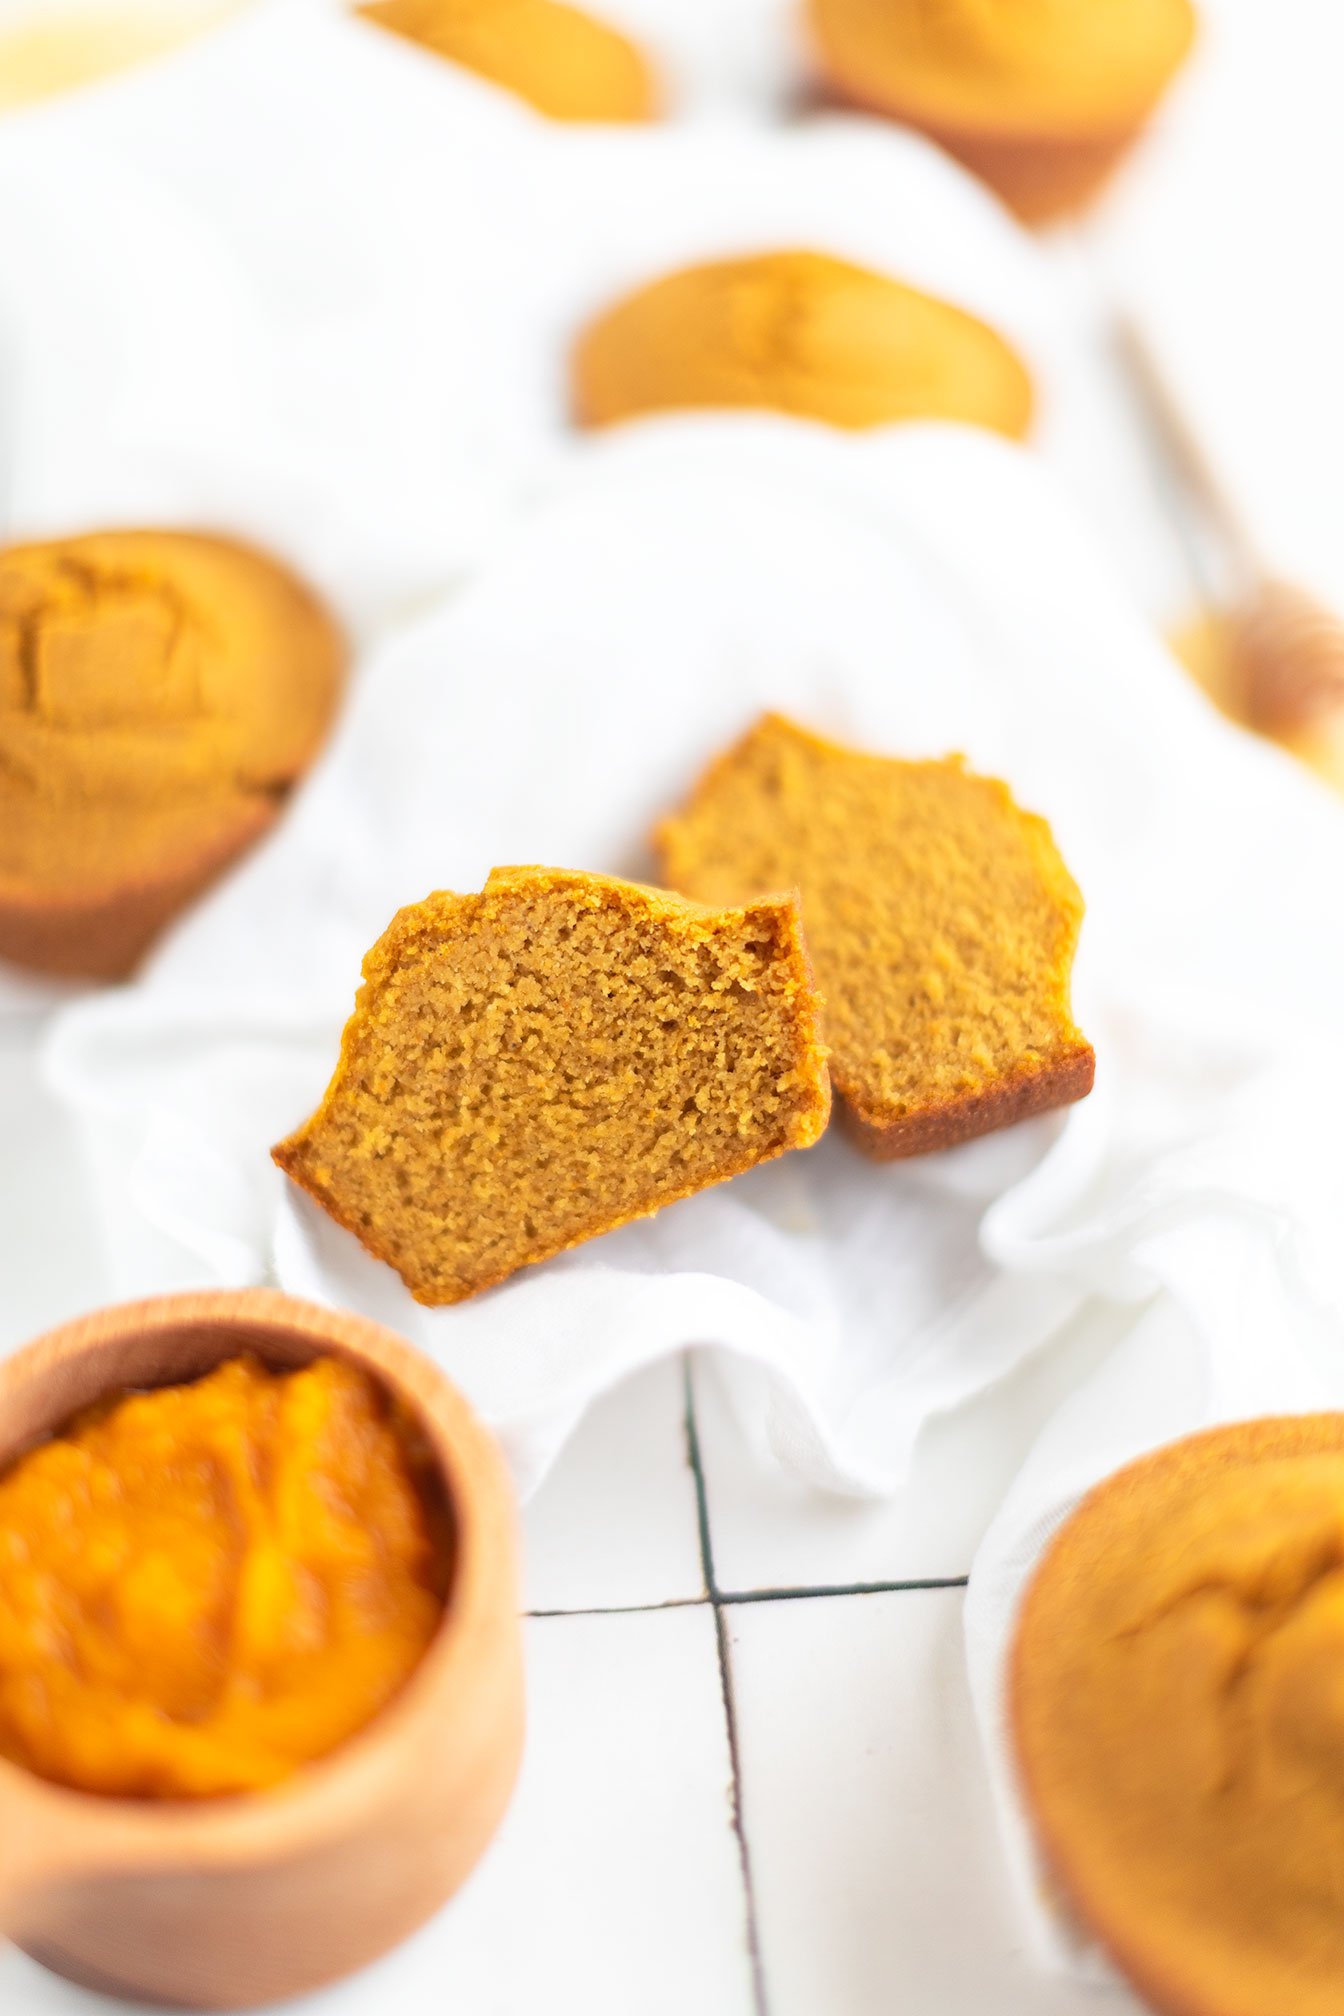
Pumpkin Cornbread Muffins
Another cornbread recipe!? Yes ma’am! This time, we are just going straight into a muffin tin vs cast iron skillet. Why? Well...I tend to just eat straight out of the skillet in one sitting so individually portioned muffins are what I need in life. Haha
Muffins are fun, in general though! But now that I’m thinking about it, I believe I have more muffin recipes on the blog than anything else! Enough small talk, let’s just dive right into this recipe!
I do have to preface by saying that if you don’t like the taste of pumpkin or team no #psl, then please don’t leave! Haha I want to assure you that these pumpkin cornbread muffins actually don’t taste like pumpkin. If anything, they taste more like a jiffy style cornbread flavor. The sole reason pumpkin puree is used in this recipe is because of texture and nutrients!
Pumpkin Cornbread Muffins - The ultimate cozy accompaniment to soups, stews, chilis, and more! (gluten and dairy-free)
Another cornbread recipe!? Yes ma’am! This time, we are just going straight into a muffin tin vs cast iron skillet. Why? Well...I tend to just eat straight out of the skillet in one sitting so individually portioned muffins are what I need in life. Haha
Muffins are fun, in general though! But now that I’m thinking about it, I believe I have more muffin recipes on the blog than anything else! Enough small talk, let’s just dive right into this recipe!
I do have to preface by saying that if you don’t like the taste of pumpkin or team no #psl, then please don’t leave! Haha I want to assure you that these pumpkin cornbread muffins actually don’t taste like pumpkin. If anything, they taste more like a jiffy style cornbread flavor. The sole reason pumpkin puree is used in this recipe is because of texture and nutrients!
Though I love my gluten-free cornbread skillet recipe, and yes, these are gluten-free as well. This cornbread recipe just might have that one beat! The pumpkin puree adds a new level of fluffy texture while elevating the flavors! And yes, there is a small amount of pumpkin spice seasoning in the batter, but again, it just elevates the corn flavor in the cornbread which makes it completely neutral if that makes sense.
So feel free to eat these classic with a pad of grass-fed butter and honey, or accompany to comfort dishes like chicken zoodle soup, creamy tomato pesto soup, butternut squash, kale, and white bean lasagna soup, veggie beef stew, or mexican harvest turkey chili.
If you try this recipe, let us know! Leave a comment, pin it, and don’t forget to tag a photo to #fromtherootsblog on Instagram. We love seeing what you come up with!
Pumpkin Cornbread Muffins - The ultimate cozy accompaniment to soups, stews, chilis, and more! (gluten and dairy-free)
Prep Time: 10 min Cook Time: 20 min Serving Size: 12 standard muffins/ 6 large muffins
Ingredients
1 cup gluten-free cornmeal
¾ cup gluten-free 1-to-1 baking flour
¾ cup plant based milk (or your favorite)
½ cup pumpkin puree (not pie filling)
¼ cup coconut sugar
¼ cup avocado oil
2 eggs, room temperature and lightly beaten
1 tsp apple cider vinegar
1 ½ tsp baking powder
½ tsp baking soda
½ tsp pumpkin spice seasoning
¼ tsp pink himalayan sea salt
Directions
In a liquid measuring cup, measure out milk and add the 1 tsp apple cider vinegar or lemon juice. Mix until combined and set aside. This is how to create “buttermilk” the plant-based way!
Preheat the oven to 375 degrees.
In a large bowl, combine cornmeal, flour, sugar, baking powder, baking soda, spice seasoning and salt. Whisk to combine. Whisk in the rest of the wet ingredients (ie “buttermilk”, pumpkin, lightly beaten eggs, and oil). Stir until combined and no dry clumps remain.
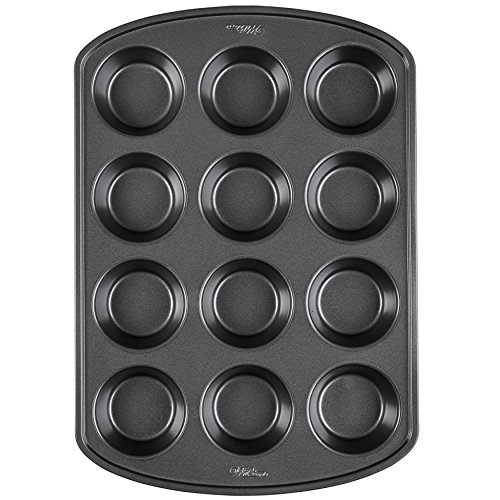
Scoop batter into a standard 12-cup muffin tin or a large 6-cup muffin tin (spray or grease if not nonstick).
Bake for 15-20 minutes, or until cooked through (a toothpick inserted in the center of a muffin and it comes out clean) and slightly golden.
Allow to cool slightly, then serve warm with a pad of grassfed butter and/or honey.
Notes
Like a spicy kick in your cornbread muffins? Feel free to mince 1 jalapeno or green chilis and add to batter.
Shop our favorite tools + ingredients for this recipe!
Mexican Harvest Turkey Chili
Okay, I know I just posted a cozy stew recipe last week but as I get older, the need for comfort fall foods (soups, stews, chili’s) has increased so sorry, not sorry! I have needs too, haha!
Just like the veggie beef stew, this chili recipe is a simple and easy way to load up on things healthy while being super affordable.
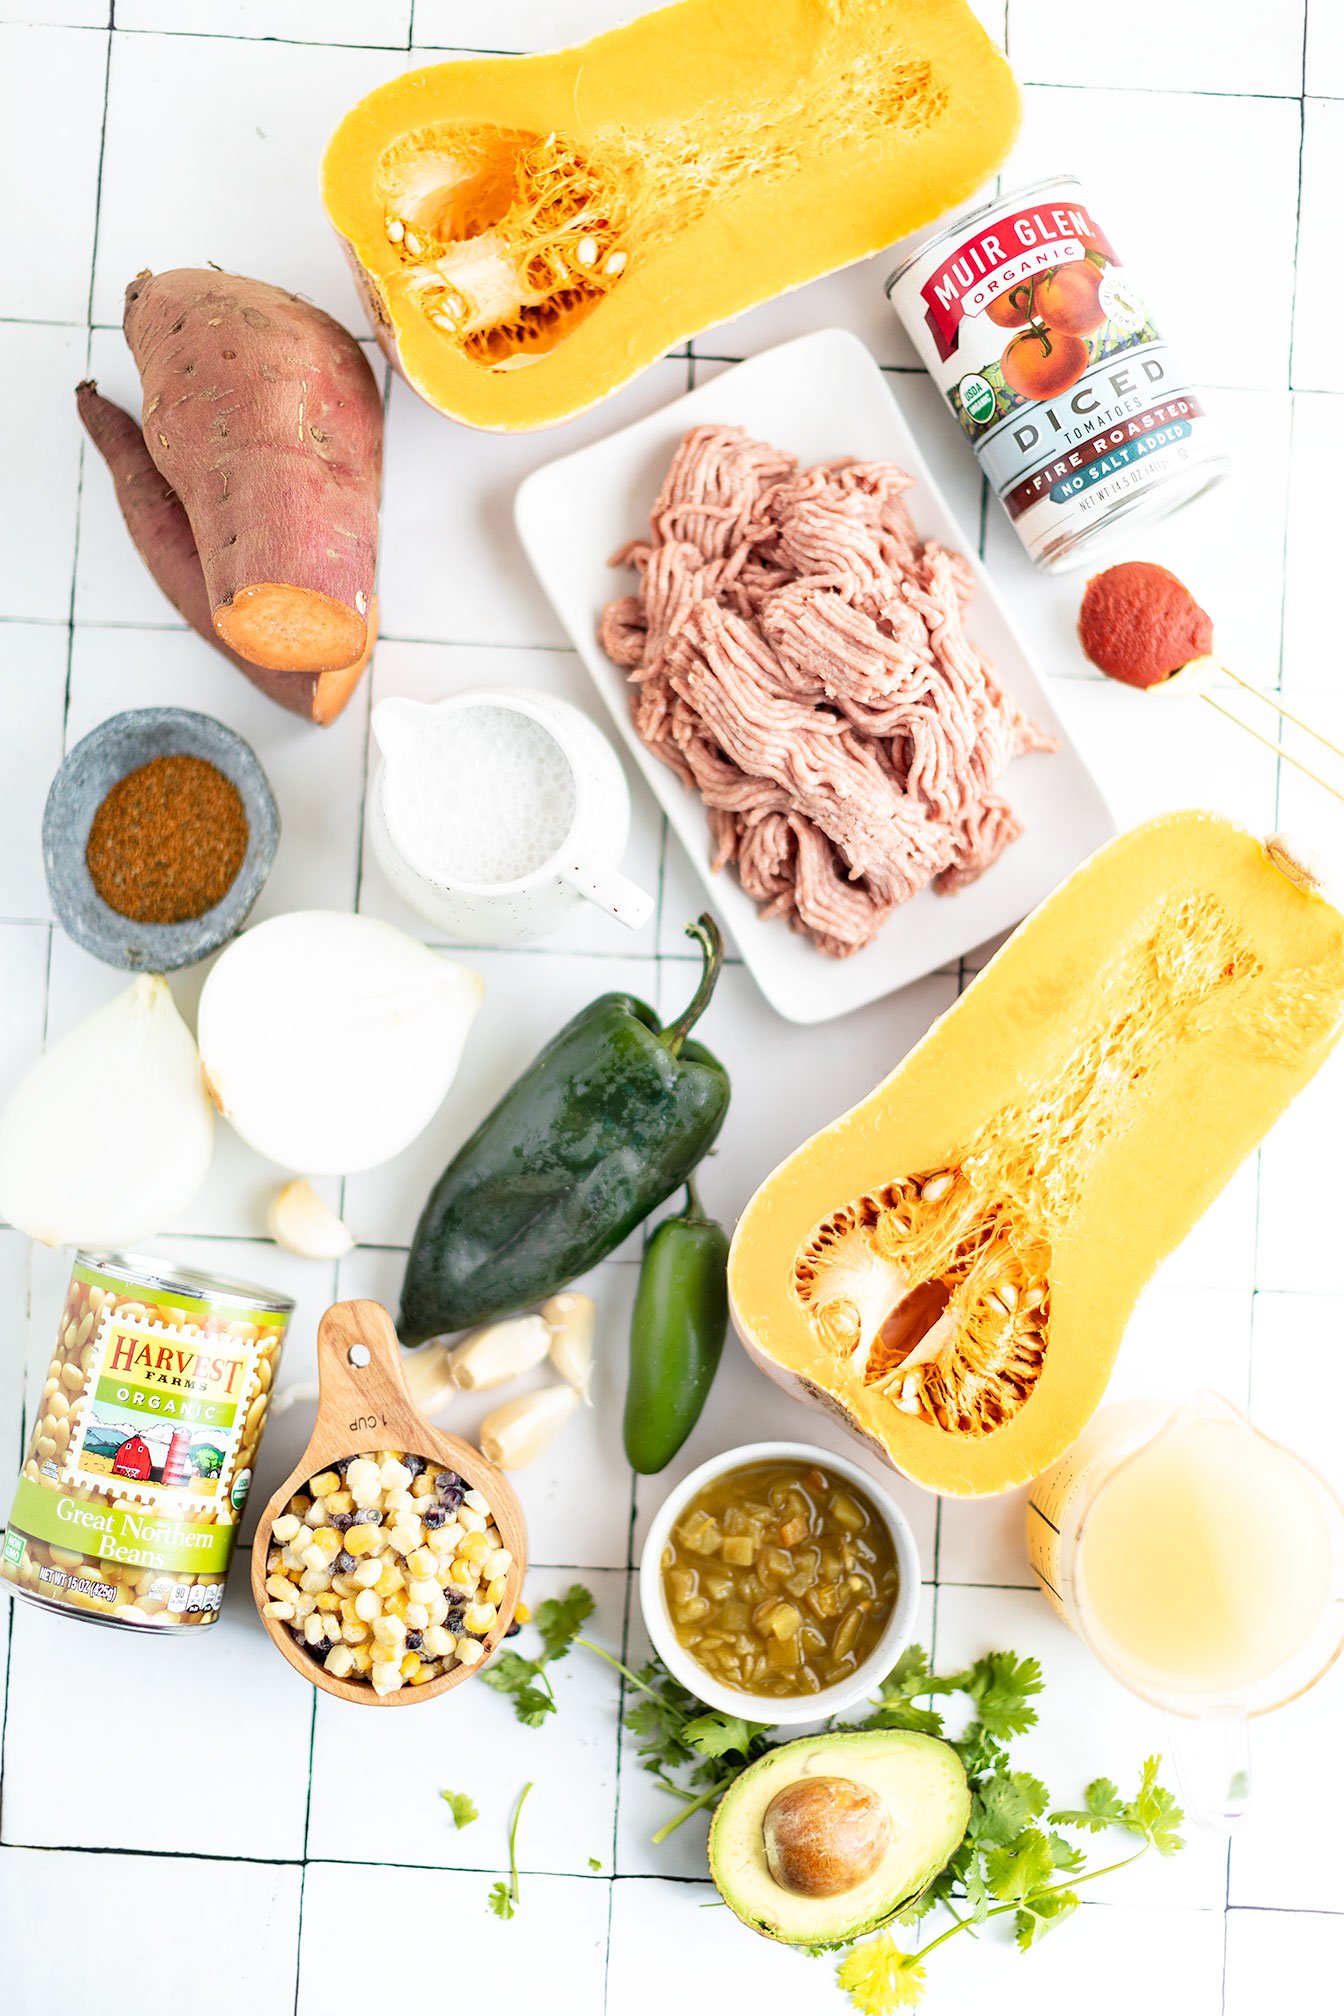
Harvest vegetables like butternut squash, yams, sweet potatoes, onions, garlic, pumpkin while adding a Mexican twist that also includes harvest ingredients like green chilies, poblano peppers, fire roasted tomatoes, beans, and corn - you are truly getting the best of both worlds!
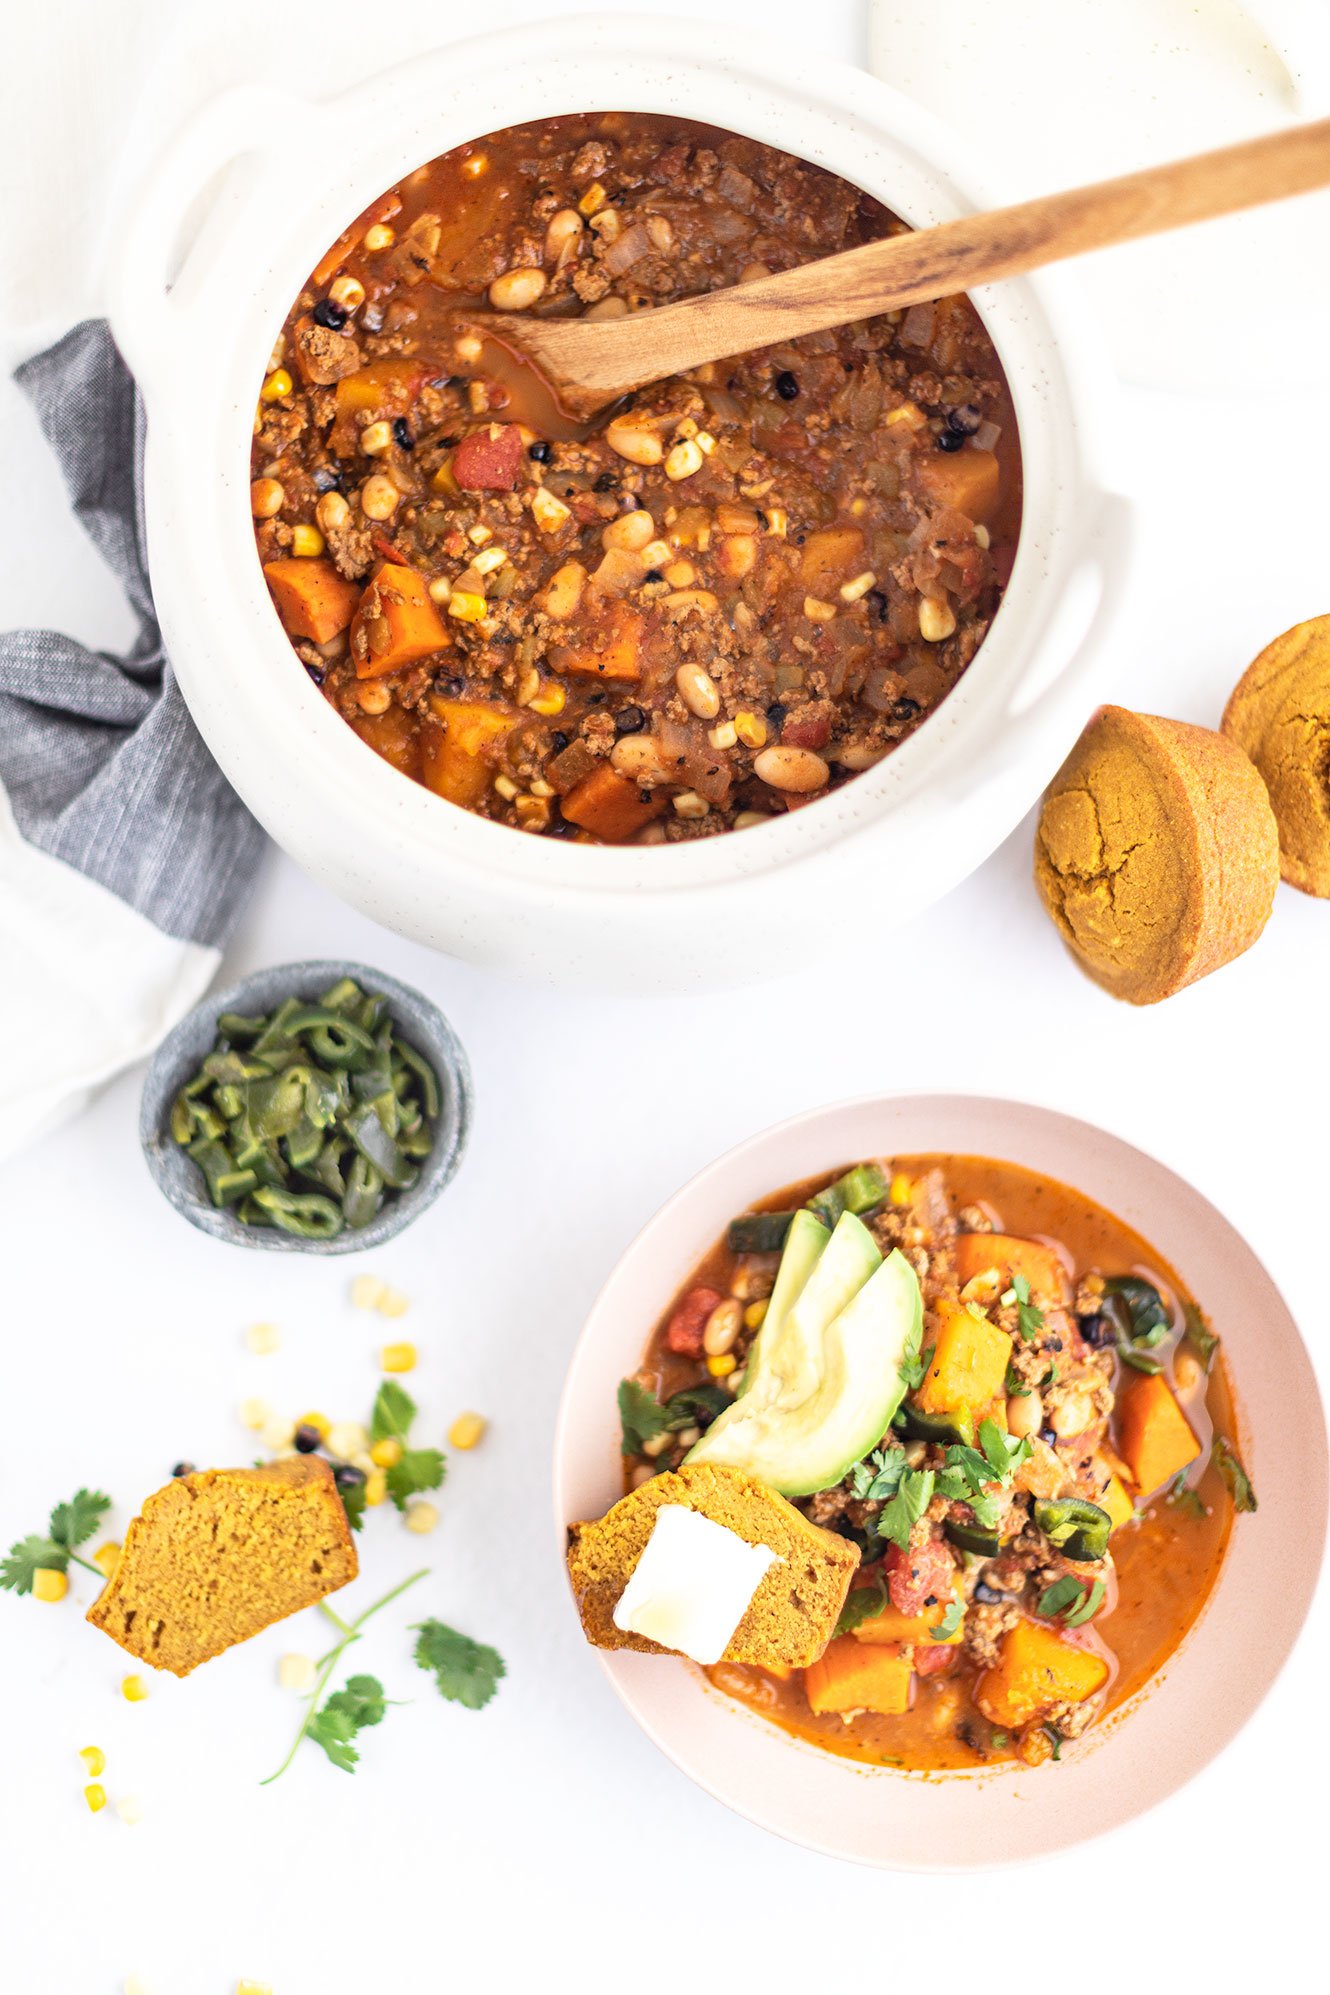
Mexican Harvest Turkey Chili - A simple to make healthy and hearty recipe that is packed with flavorful and seasonal ingredients. (gluten and dairy-free)
Okay, I know I just posted a cozy stew recipe last week but as I get older, the need for comfort fall foods (soups, stews, chili’s) has increased so sorry, not sorry! I have needs too, haha!
Just like the veggie beef stew, this chili recipe is a simple and easy way to load up on things healthy while being super affordable.
Harvest vegetables like butternut squash, yams, sweet potatoes, onions, garlic, pumpkin while adding a Mexican twist that also includes harvest ingredients like green chilies, poblano peppers, fire roasted tomatoes, beans, and corn - you are truly getting the best of both worlds!
When it comes down to flavor, this chili recipe is a perfect balance of sweet, savory, and spicy. But if you lean more towards spicy, you can refer to the notes section at the bottom.
Now, let’s talk about garnishes and sides! For this recipe, I used chopped cilantro, extra roasted poblano slices, pickled jalapeno slices, and avocado. Feel free to follow the same vibe or add plain greek yogurt, green onions, tortilla chips or sliced corn tortilla strips, cotija, lime juice or roasted pepitas!
Pumpkin cornbread muffins are the star side dish for this chili recipe (recipe coming this week!). In the meantime, you can most definitely use the best gluten-free skillet cornbread recipe (*cough*) add sliced jalapenos to the batter!
If you try this recipe, let us know! Leave a comment, rate it, and don’t forget to tag a photo to #fromtherootsblog on Instagram. We love seeing what you come up with!
Mexican Harvest Turkey Chili - A simple to make healthy and hearty recipe that is packed with flavorful and seasonal ingredients. (gluten and dairy-free)
Prep Time: 15 min Cook Time: 45 min Total servings: 6-8
Ingredients
1lb ground turkey
3 cups total (butternut squash, yams, and/sweet potatoes)
peeled, seeded, cut into ½ inch cubes
2 cups low sodium chicken bone broth
1 can (4 oz) green chilies
1 can fire roasted tomatoes, with liquid
1 can northern beans, drained and rinsed
1 medium white onion, diced
1 poblano pepper
1 cup corn (fresh or frozen)
3-5 cloves garlic, minced
¼ cup pumpkin puree
1-3 Tbsp taco seasoning of choice
1 Tbsp tomato paste
S+P
Garnish: jalapeno slices, avocado, cilantro
Directions
Preheat the oven to 425 degrees and line a baking sheet with parchment paper or silicone mat.
Depending on if you are using butternut squash, yams and/or sweet potatoes (I did 1 ½ cup each butternut squash and yam cubes) arrange in a single layer on a prepared baking sheet. Drizzle or spray cooking oil (I like using avocado or coconut oil) over cubes, season with salt, pepper, and cinnamon (optional but so worth it!) and toss to coat. Make room on the baking sheet for the poblano pepper and bake for 20-25 minutes until veggie cubes are tender.
While the veggies are roasting in the oven, heat cooking oil in a large pot over medium high heat.
Add onion and garlic and cook for about 2-4 minutes until fragrant.
Add in the ground turkey, salt and pepper and stir to break it up into small pieces, mixing with the sauteed onion and garlic.
Once turkey is cooked through, add the fire roasted tomatoes, green chilies, tomato paste, broth, pumpkin puree, and spices and stir to combine. Bring to a simmer and cover the pot for 20 minutes.
At this point, the roasted veggies and pepper should be done. Transfer roasted vegetables to the chili pot along with the beans and allow the poblano pepper to cool before handling.
Once roasted poblano pepper is cooled (the skin should appear blackened and blistered) carefully peel away or rub off and discard the charred skins. Cut the stem off, de-seed, chop and add to the chili pot.
Add the frozen corn to the pot and continue to simmer until liquid has reduced to desired “chili” consistency. At this point you will want to adjust salt and pepper to taste.
Serve warm with favorite garnishes and serve with cornbread!
Notes
1| You can really play with the produce in this chili recipe! For example, choose butternut squash, yams, sweet potatoes or a combo - I just use whatever is leftover from batch cooking! Not a northern beans fan? Try pinto, garbanzo, black beans or tri-beans instead.
2| Need more spice? Play around with pepper of choice or add a spicy taco seasoning blend, hot sauce or add jalapenos to your cornbread if adding on the side.
Veggie Beef Stew
Wouldn’t it be nice to have a fire kindling in the background, snuggled with your dog on the couch with a heavy blanket and warm bowl of stew in hand? Goals, right?
Well, I can’t promise the fire or the dog but what I can promise you is a super easy but satisfying bowl of veggie beef stew. If anything, as you prepare all the ingredients and throw it into an Instant Pot or slow cooker, you can chop up some wood and steal your neighbors dog if you want to get the full ambiance! Haha
Just like the ultimate fall scene, so is this recipe because while it may look rich and hearty (and it is) it’s actually super cheap to make!
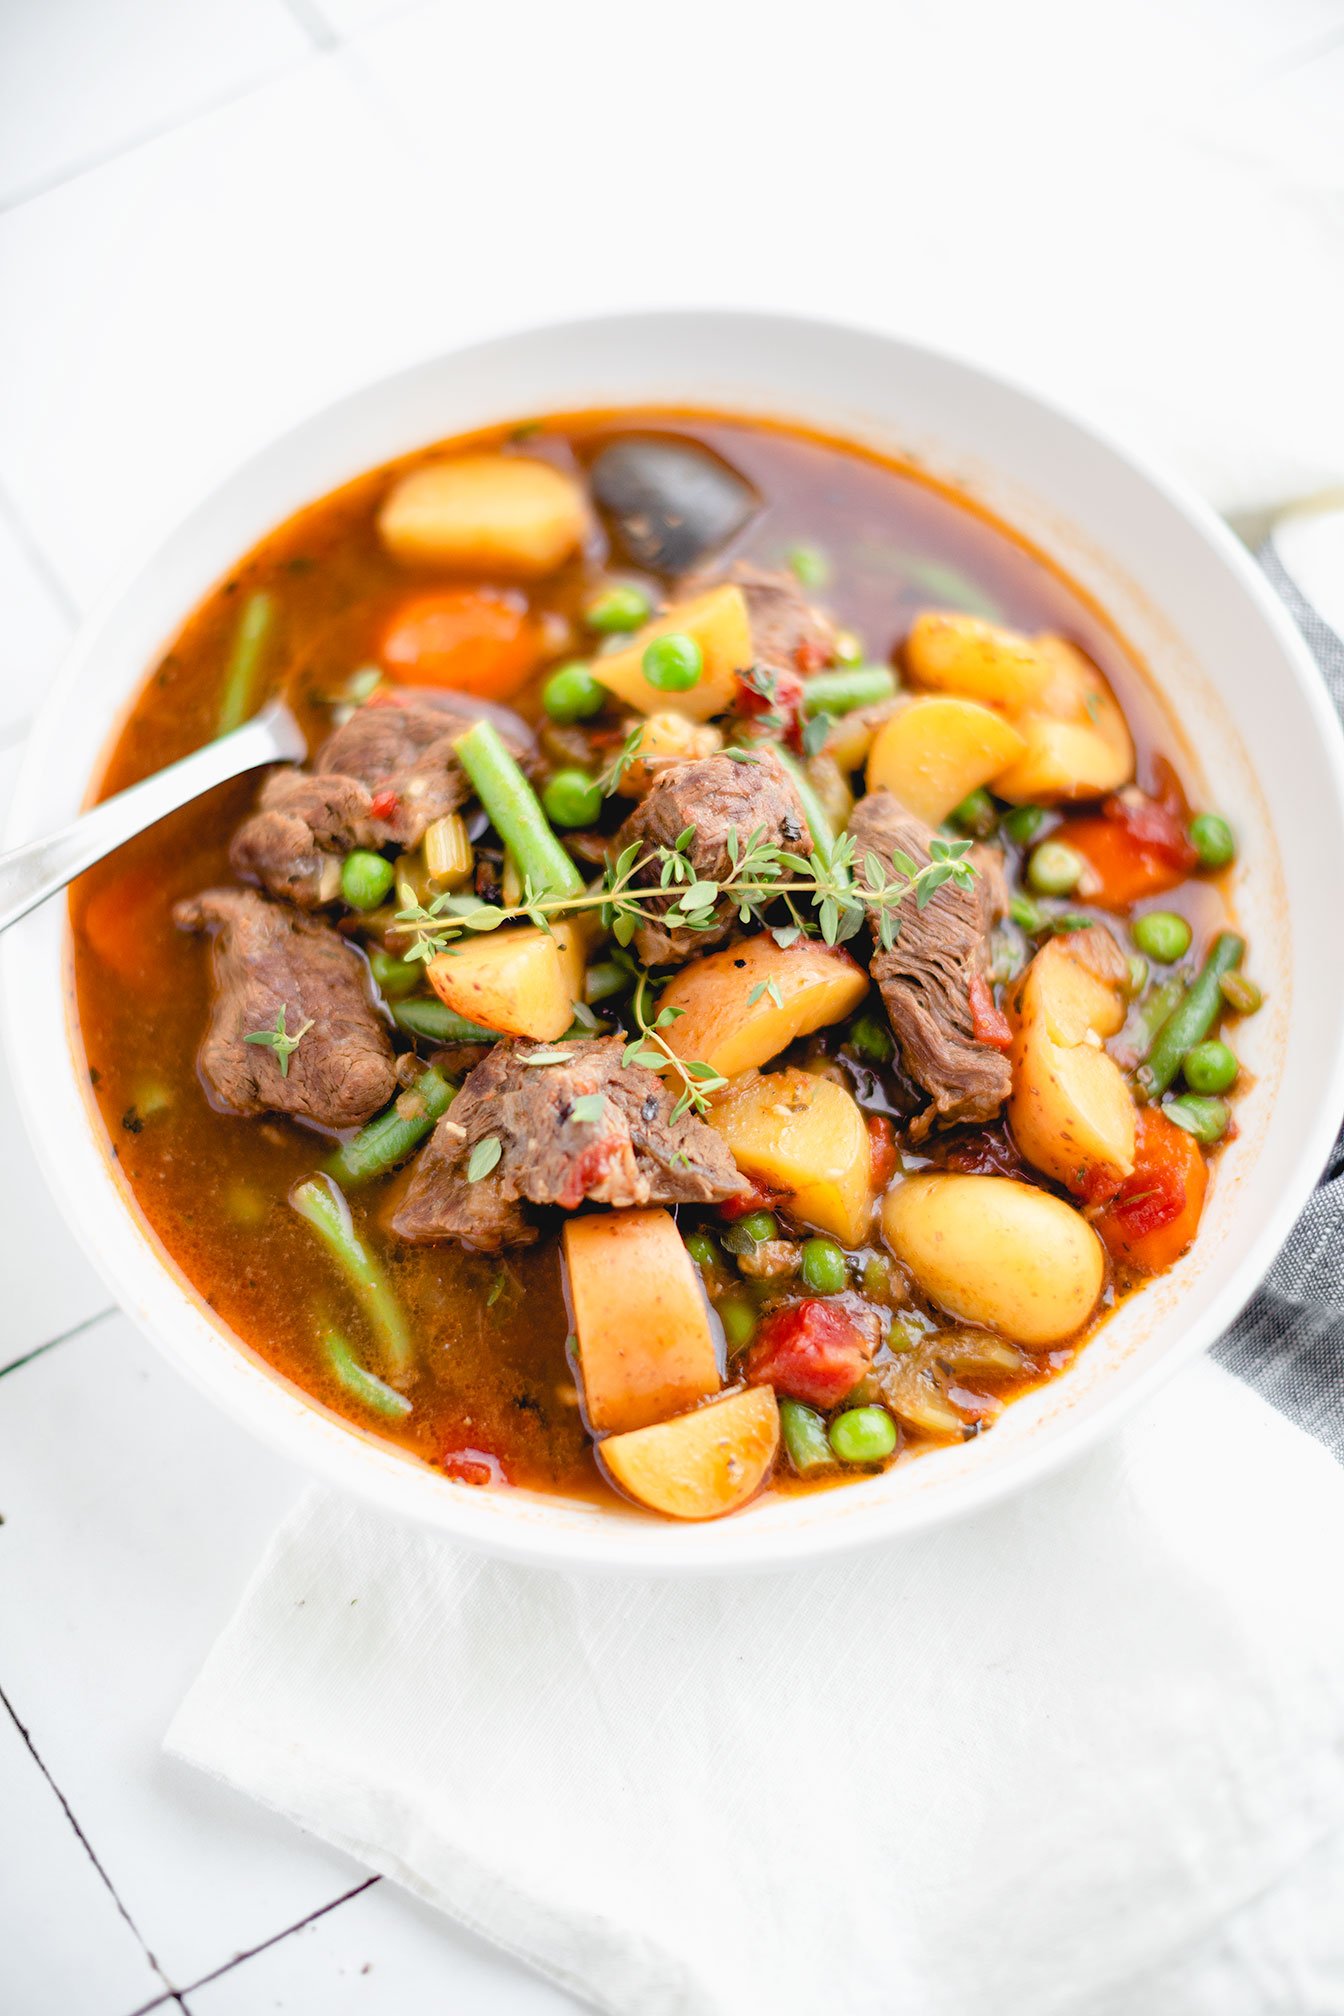
Veggie Beef Stew - Super satisfying soup that is cozy-comfy when you are short on time. You can use either an Instant Pot or slow cooker. Gluten-free, dairy-free, paleo and whole 30 friendly.
Wouldn’t it be nice to have a fire kindling in the background, snuggled with your dog on the couch with a heavy blanket and warm bowl of stew in hand? Goals, right?
Well, I can’t promise the fire or the dog but what I can promise you is a super easy but satisfying bowl of veggie beef stew. If anything, as you prepare all the ingredients and throw it into an Instant Pot or slow cooker, you can chop up some wood and steal your neighbors dog if you want to get the full ambiance! Haha
Just like the ultimate fall scene, so is this recipe because while it may look rich and hearty (and it is) it’s actually super cheap to make!
Beef stew meat is usually the cheaper meat and the rest of the ingredients are fresh or frozen produce so another win! With that said, this recipe is perfect for that week day meal or when you are too tired to make something while costing you pennies to make.
And if you really want to level up the comfort, serve with fresh sourdough bread or gluten-free skillet cornbread.
If you try this recipe, let us know! Leave a comment, rate it, and don’t forget to tag a photo to #fromtherootsblog on Instagram. We love seeing what you come up with!
Veggie Beef Stew - Super satisfying soup that is cozy-comfy when you are short on time. You can use either an Instant Pot or slow cooker. Gluten-free, dairy-free, paleo and whole 30 friendly.
Prep: 15 min Cook: 30 min Serving: 6
Ingredients
1.5 lbs beef stew meat (or beef chuck roast cut into chunks)
3 medium carrots, peeled and sliced
3 stalks of celery, sliced
1 medium yellow onion, diced
3-5 cloves garlic, minced
1 lb small potatoes, cubed
1 cup peas (fresh or frozen)
1 cup green beans (fresh or frozen)
1 can (14 oz) fire roasted tomatoes (with liquid)
4 cups beef bone broth
2 tsp salt, pepper
1 tsp thyme
1 tsp italian seasoning
1 bay leaf
Cooking fat of choice
Directions
Select “saute” on the Instant Pot and add 1 tbsp cooking oil (ie grass fed butter, coconut oil, avocado oil, olive oil). Season meat with salt and pepper and add it to the Instant Pot - searing all sides of meat until it’s brown.
Cancel the “saute” setting and add the rest of the ingredients minus frozen peas and green beans to the pot and stir until combined.
Turn the setting to “pressure cook” or “stew” and set for 30 minutes or “high pressure” for 20 minutes. Once it’s done, allow 10 minutes for natural release before flipping to “venting” position to release any remaining pressure.
Press “cancel” then select the “saute” setting and add peas and green beans and cook for about 5-7 minutes.
Take bay leaf out, season with additional salt and pepper to taste, and garnish with fresh thyme.
Notes
Don’t have an Instant Pot but have a slow cooker? You can still make this recipe! Add all ingredients to a slow cooker and set on low for 6-8 hours. Add the frozen green beans and peas 30 minutes before serving. Add more broth if needed.


