Sort by Category
- December 2025
- November 2025
- October 2025
- September 2025
- August 2025
- June 2025
- August 2024
- July 2024
- June 2024
- May 2024
- February 2024
- January 2024
- December 2023
- November 2023
- October 2023
- September 2023
- August 2023
- July 2023
- March 2023
- February 2023
- January 2023
- December 2022
- November 2022
- October 2022
- September 2022
- August 2022
- June 2022
- May 2022
- April 2022
- March 2022
- February 2022
- January 2022
- December 2021
- November 2021
- October 2021
- September 2021
- August 2021
- July 2021
- June 2021
- May 2021
- April 2021
- March 2021
- February 2021
- January 2021
- December 2020
- November 2020
- October 2020
- September 2020
- August 2020
- July 2020
- June 2020
- May 2020
- April 2020
- March 2020
- February 2020
- January 2020
- December 2019
- November 2019
- October 2019
- September 2019
- August 2019
- July 2019
- June 2019
- May 2019
- April 2019
- March 2019
- February 2019
- January 2019
- December 2018
- November 2018
- October 2018
- September 2018
- August 2018
- July 2018
- June 2018
- May 2018
- April 2018
- March 2018
- February 2018
Cauliflower Alfredo Sauce
If you are looking for a dairy-free version of the traditional alfredo sauce then look no further! Made with whole food ingredients that most will have on hand. All you need is a strong blender that will create this creamy velvety sauce texture, that’s it!
Cauliflower Alfredo Sauce is a creamy dairy-free, gluten-free healthier version as compared with the original recipe.
If you are looking for a dairy-free version of the traditional alfredo sauce then look no further! Made with whole food ingredients that most will have on hand. All you need is a strong blender that will create this creamy velvety sauce texture, that’s it!
I love mixing my sauce with pasta noodles, chicken, veggies, or use as pizza sauce!
If you are looking for a more cheesier vegan or dairy-free sauce, check out my favorite spicy vegan cheese sauce recipe.
If you try this recipe, let us know! Leave a comment, rate it, and don’t forget to tag a photo to #fromtherootsblog on Instagram. We love seeing what you come up with!
Cauliflower Alfredo Sauce is a creamy dairy-free, gluten-free healthier version as compared with the original recipe.
Ingredients
3 cups (packed) boiled cauliflower
½ cup plant based milk
½ cup chicken or veggie stock
½ cup cashews (soaked and drained)
2 Tbsp nutritional yeast
4 cloves minced garlic
½ white onion
Juice of 1 lemon
1 tsp grass fed or vegan butter
1 tsp salt
¼ tsp black pepper
Directions
Bring a large pot of water to a boil. Add the cauliflower and cook for about 8-15 minutes or until cauliflower is fork tender. Reserve 1 cup of boiling water.
In a large skillet, heat butter over medium heat. Sauté minced garlic and diced onions until soft and fragrant. Season with salt and pepper.
Drain the cauliflower and transfer to a blender. Add the sautéed garlic and onions, milk, stock, cashews, nutritional yeast, and lemon juice. Blend until the sauce is smooth and creamy, about 1 minute. If the sauce looks too thick or dry, slowly add the reserved boiling water. Season with more salt and pepper for desired taste.
Serve with cooked pasta and enjoy!
Notes
Store any leftovers in an airtight container. Will last 4-5 days in the fridge.
Freezer friendly! Since there is no dairy in the mixture, you can freeze the alfredo sauce once it’s cooled down.
Use the sauce with pasta, chicken, vegetables, or even as a pizza sauce!
Tropical Papaya Chia Pudding
During the summertime, I want to eat all the tropical fruits - mango, dragon fruit, coconut, guava, pineapple, you name it!
But one of my favorite tropical fruits that I can’t seem to get enough of these days are papayas! Now, I have noticed that people don’t typically put papaya in their grocery cart. They either have no clue what to do with them or they don’t want to buy a large semi-expensive fruit and worry if they will like the taste or not. Well, I am here to give you the low down on this sweet tropical “nectar of the gods” fruit while providing my favorite go-to breakfast recipe!
Tropical Papaya Chia Pudding - A simple and nutritious breakfast escape! Meal prep, blood sugar stabilizer, and healthy fat friendly!
During the summertime, I want to eat all the tropical fruits - mango, dragon fruit, coconut, guava, pineapple, you name it!
But one of my favorite tropical fruits that I can’t seem to get enough of these days are papayas! Now, I have noticed that people don’t typically put papaya in their grocery cart. They either have no clue what to do with them or they don’t want to buy a large semi-expensive fruit and worry if they will like the taste or not. Well, I am here to give you the low down on this sweet tropical “nectar of the gods” fruit while providing my favorite go-to breakfast recipe!
Before I unpack the nutritional value, papaya - when eating ripe, is sweet and has a flavor comparable to a melon. If you pick unripe papaya, you may have little to no flavor at all.
Tip: Papaya is fully ripe when it is bright yellow so look for papayas that are mostly yellow and a little green to fully ripen at home from the grocery store! Also look for firm, smooth skin, and heavy for their size.
Now that you know how to pick ripe papayas, here are the nutrition facts:
Immune system booster as it contains an absorbent amount of vitamin C.
When eating a balanced amount, papaya has a hypoglycemic effect on the body which decreases blood glucose levels.
Plays a major role in fighting inflammation as it contains the enzyme, papain, which is a group of proteins that help regulate inflammation.
Bloating or constipation issues? The high fiber and water content help to improve digestion by reducing bloating and easing constipation while encouraging regular bowel activity.
So now that we have established that papayas are pretty amazing, let’s dive into my go-to breakfast recipe - chia pudding! Even though we know that papaya is a fruit, it still contains an adequate amount of natural sugar. So to make sure we are balancing our blood sugar for the morning, we are pairing this fruit with protein and healthy fats that come from the chia pudding mixture. You can use any chia pudding recipe as the base for this recipe, but I like to #levelup with canned coconut milk, vanilla extract, and fresh ginger! The ginger is my favorite part if you like a more Thai inspired dish but if you don’t, that’s okay! Keep it simple with just vanilla extract.
If you try this recipe, let us know! Leave a comment, rate it, and don’t forget to tag a photo to #fromtherootsblog on Instagram. We love seeing what you come up with!
Tropical Papaya Chia Pudding - A simple and nutritious breakfast escape! Meal prep, blood sugar stabilizer, and healthy fat friendly!
Ingredients
4 Tbsp chia seeds
½ cup of canned coconut milk
1 tsp vanilla extract
1 tsp freshly grated ginger (optional)
½ cup papayas (diced)
Garnish
Shredded coconut flakes, fresh lime, bee pollen, raspberries, honey
Directions
Soak the chia seeds with minced ginger (optional), vanilla, and milk for at least an hour or overnight - stirring occasionally until a gel forms. You can make your chia seed pudding thicker or thinner by reducing/adding liquid. You can also use your favorite plant-based milk for this recipe as well!
Pour the chia seed pudding into 2 serving glasses, top with diced papayas and top with the garnishes.
Store in the fridge as a leftover, enjoy chilled or at room temperature. Great for breakfast, dessert, or a snack!
Notes
Don’t have papaya? That’s okay! Use whatever tropical fruit that pairs well with ginger like mangoes, pineapple, kiwi. This recipe is very versatile and any fruit/topping combination will work as long as you have the chia pudding ratio right!
Need more protein? Add a scoop of collagen peptides to the mixture and add ¼ cup more milk to the mixture. You can also drizzle nut butter over chia pudding when ready to eat.
Classic Healthy Chicken Salad
Make your busy life manageable with this quick and healthy classic chicken salad that is sure to fill you up and save you time and money!When I worked at a spa in West Georgia, I would grab lunch at Chicken Salad Chick and get their amazing chicken salad that was quick and super refreshing. Sometimes, I would indulge and get the not-so-healthy chicken salad options. Nonetheless, everything was amazing and I miss it dearly! Now that I live in Kentucky where unfortunately Chicken Salad Chicken does not exist, I make my own chicken salad at home, saving time and money. With this recipe, all is good in the world!
My healthy take on the classic chicken salad is loaded with nutrient dense fruits and veggies as well as healthy fats that will keep you full all day long without weighing you down!
Make your busy life manageable with this quick and healthy classic chicken salad that is sure to fill you up and save you time and money!When I worked at a spa in West Georgia, I would grab lunch at Chicken Salad Chick and get their amazing chicken salad that was quick and super refreshing. Sometimes, I would indulge and get the not-so-healthy chicken salad options. Nonetheless, everything was amazing and I miss it dearly! Now that I live in Kentucky where unfortunately Chicken Salad Chicken does not exist, I make my own chicken salad at home, saving time and money. With this recipe, all is good in the world!
My healthy take on the classic chicken salad is loaded with nutrient dense fruits and veggies as well as healthy fats that will keep you full all day long without weighing you down!There are many ways to prepare chicken salad, but for this recipe, I have found that red onions, carrots, granny smith apples, sunflower seeds, and grapes are the perfect classic combination. As far as seasonings go, I keep it simple but use fresh herbs like dill and smoked paprika which I believe separates my classic chicken salad from the rest!
You can use whatever creamy component you prefer depending on your allergies/preferences. I have tested this recipe with avocados, vegan mayonnaise, and greek yogurt, so you are good on all fronts if you would like to change things up. Additionally, you can either shred the chicken or dice them. I prefer dicing as it saves a little bit of time and I appreciate the texture. Now, onto the recipe!
This recipe makes 4-6 servings and is a good choice if you want to meal prep it for the week. I like to use chicken salad for sandwiches, pairing it with tomato slices, mixed greens, alfalfa sprouts, and pickles on 100% whole grain bread. You can also add it to a salad or even have it as a snack with crackers!
If you try this recipe, let us know! Leave a comment, rate it, and don’t forget to tag a photo with #fromtherootsblog on Instagram. We love seeing what you come up with!
My healthy take on the classic chicken salad is loaded with nutrient dense fruits and veggies as well as healthy fats that will keep you full all day long without weighing you down!
INGREDIENTS
1 lb boneless skinless chicken breast
1 Tbsp coconut oil
1 Tbsp poultry and citrus seasoning
1/2 lemon with zest
1/2 small red onion (diced)
1/2 granny smith apple (diced)
1 cup fresh dill (chopped) (less or more depending on preference)
2 carrots (shredded)
1/4 cup raw sunflower seeds
1/2 cup grapes (halved)
1 tsp smoked paprika
1 tsp garlic powder
1/2 cup vegan mayonnaise (I use Primal Kitchen or Just Mayo) (or use greek yogurt or ripe avocado)
Garnish
Micro greens, pickles, alfalfa sprouts, mixed greens, slices of tomato
DIRECTIONS
Heat 1 Tbsp coconut oil in a skillet over medium-high heat. Prep chicken by seasoning with poultry and citrus seasoning and s&p.
Grill chicken on both sides for about 3-5 minutes or until brown and completely cooked through. Remove chicken from skillet; let chicken rest and cool.
Add the remainder of the ingredients to a large bowl.
Dice chicken after it has cooled (or shred with two forks if you prefer!)
Add chicken to large bowl with the rest of the ingredients and mix until fully combined.
Store in an airtight container and keep in the fridge for up to one week.
NOTES
If you are using avocados in place of mayonnaise, the fridge life will be shorter as avocados brown in the fridge.
You can cut down the time to make this salad even faster by using rotisserie chicken instead of grilling chicken as well as purchase pre-shredded carrots instead of shredding by hand.
I have recently noticed that Walmart does not carry the organic poultry and citrus seasoning anymore so I have used this brand instead.
Avocado Deviled Eggs
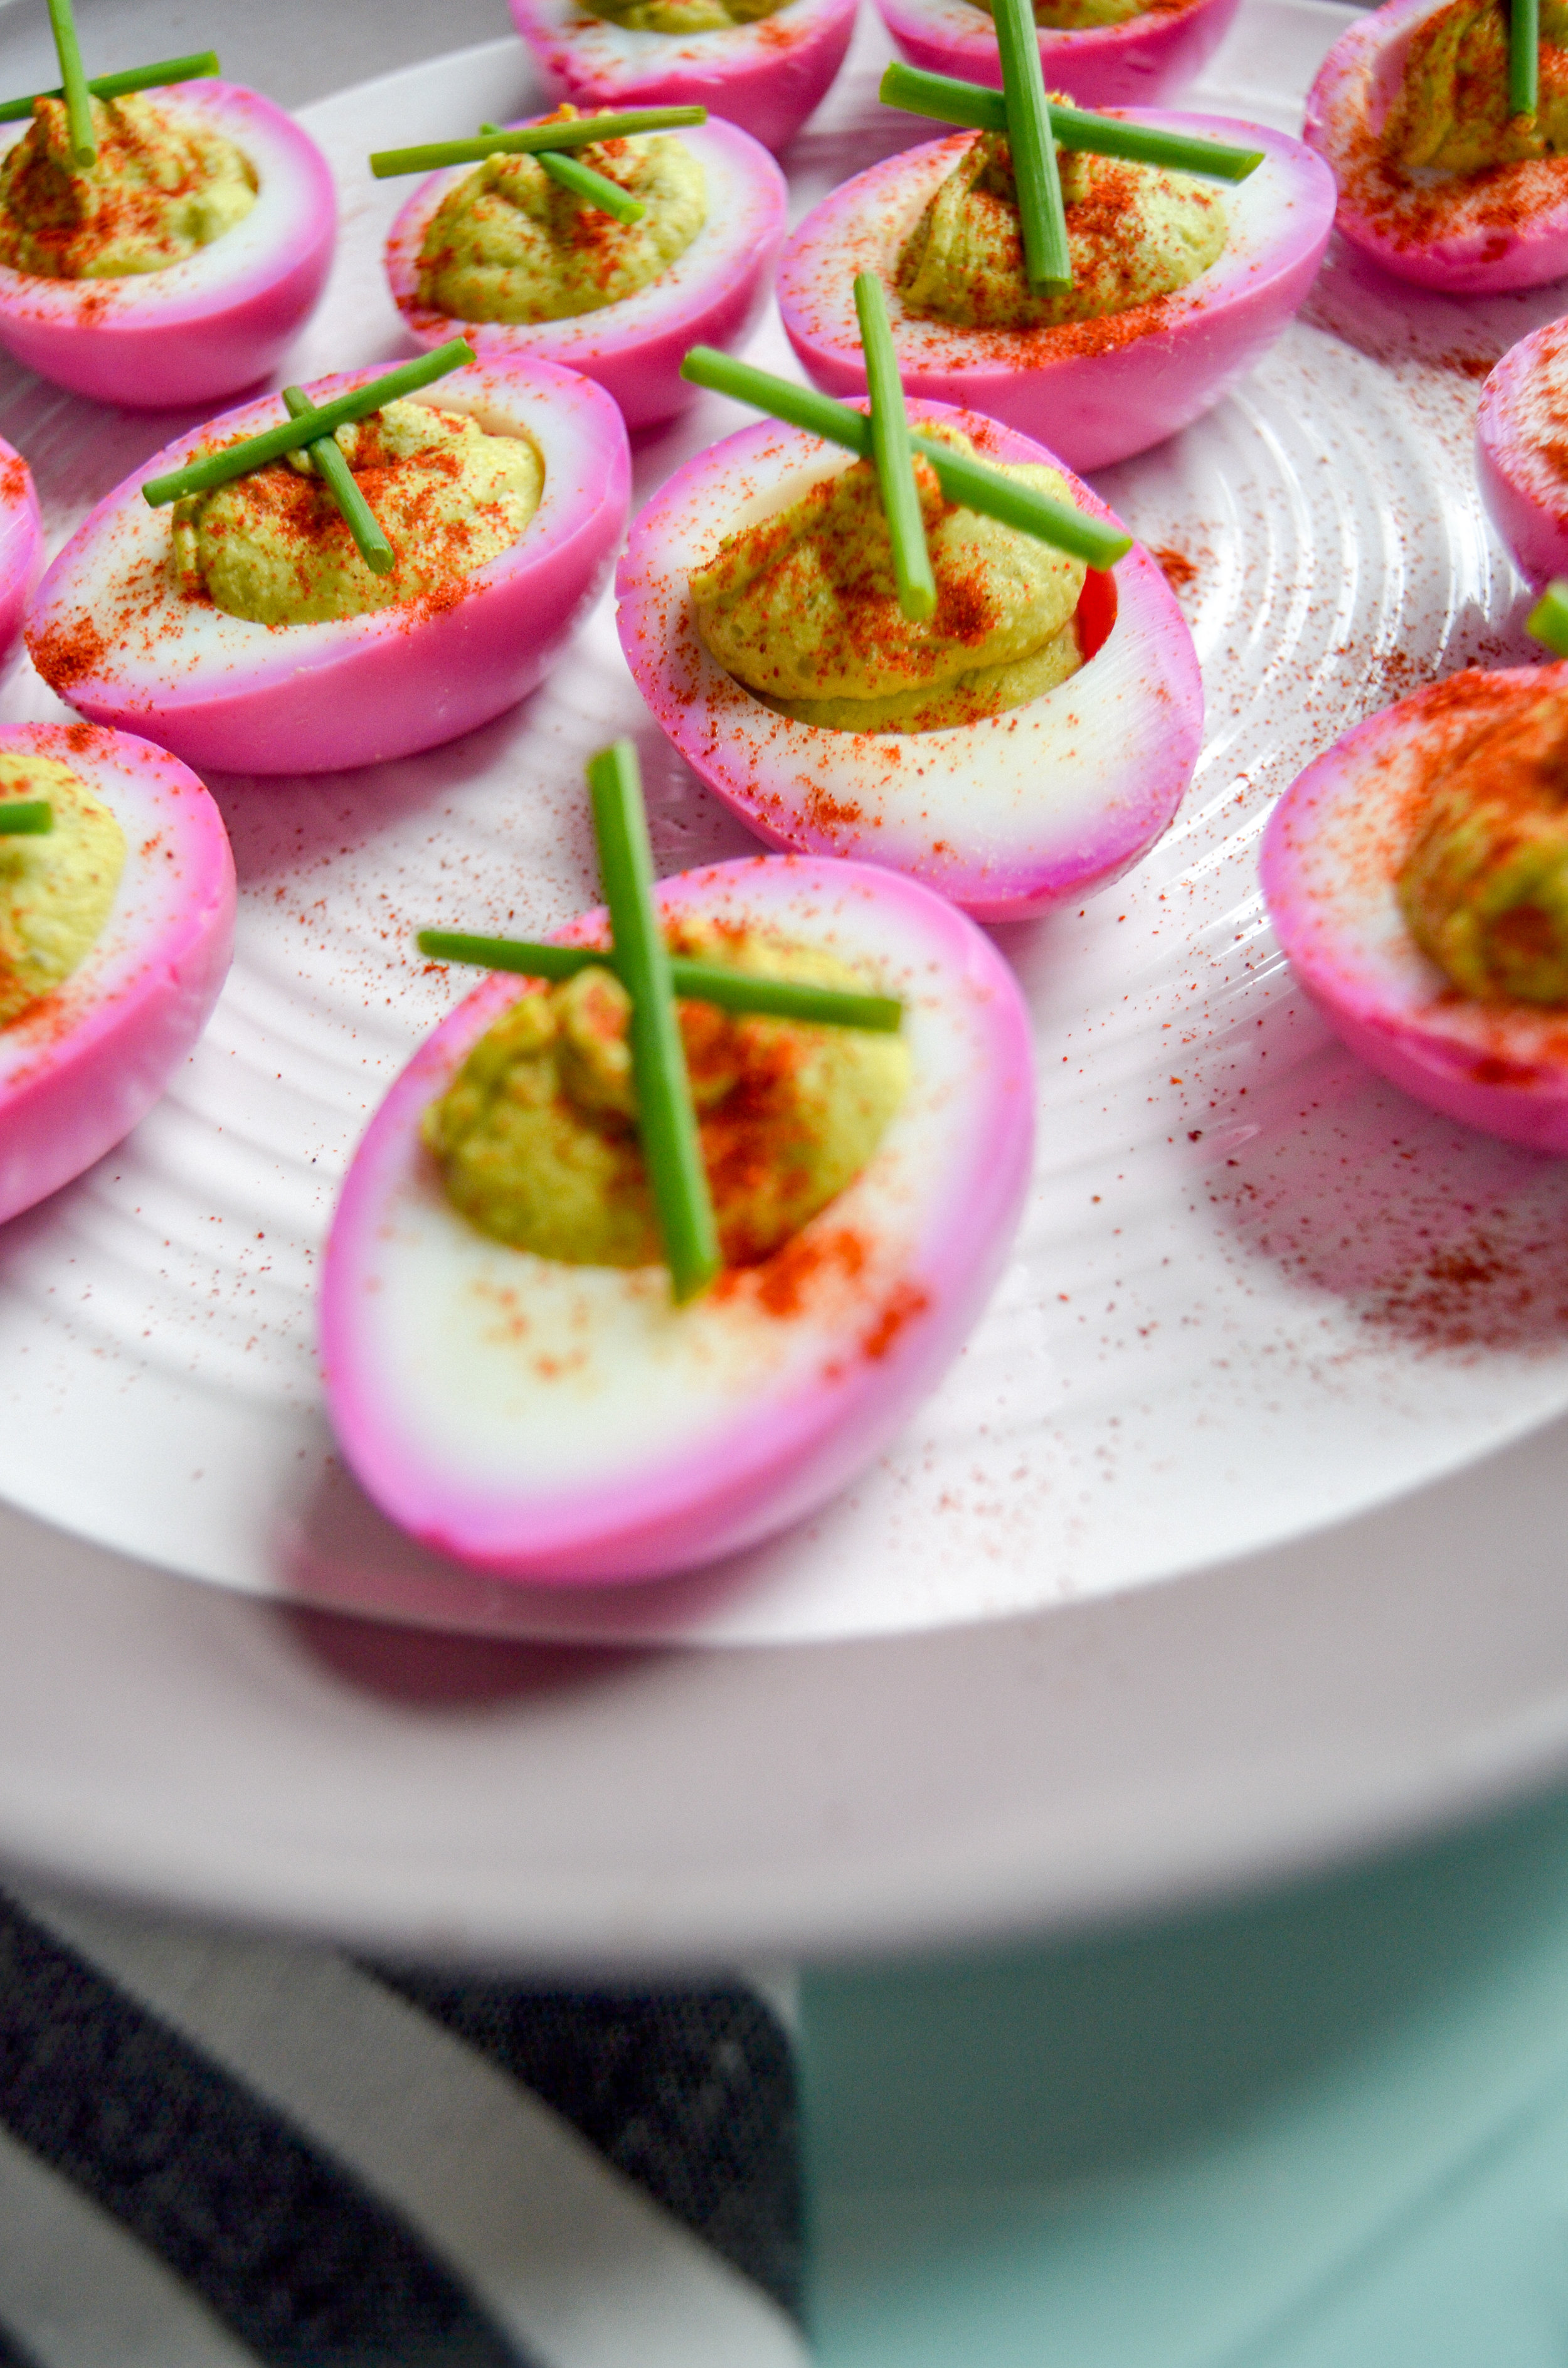
They’re perfect for Easter or for an upgraded snack. Sprinkle with chives or dill and smoked paprika for garnish!
Growing up as a child, my mother would make deviled eggs for every occasion; Christmas, Easter, you name it! But since I live in a different state from her, it looks like it's up to me to continue the tradition in my home! This recipe will be similar to my mother’s recipe but tweaked so it’s healthier for you.
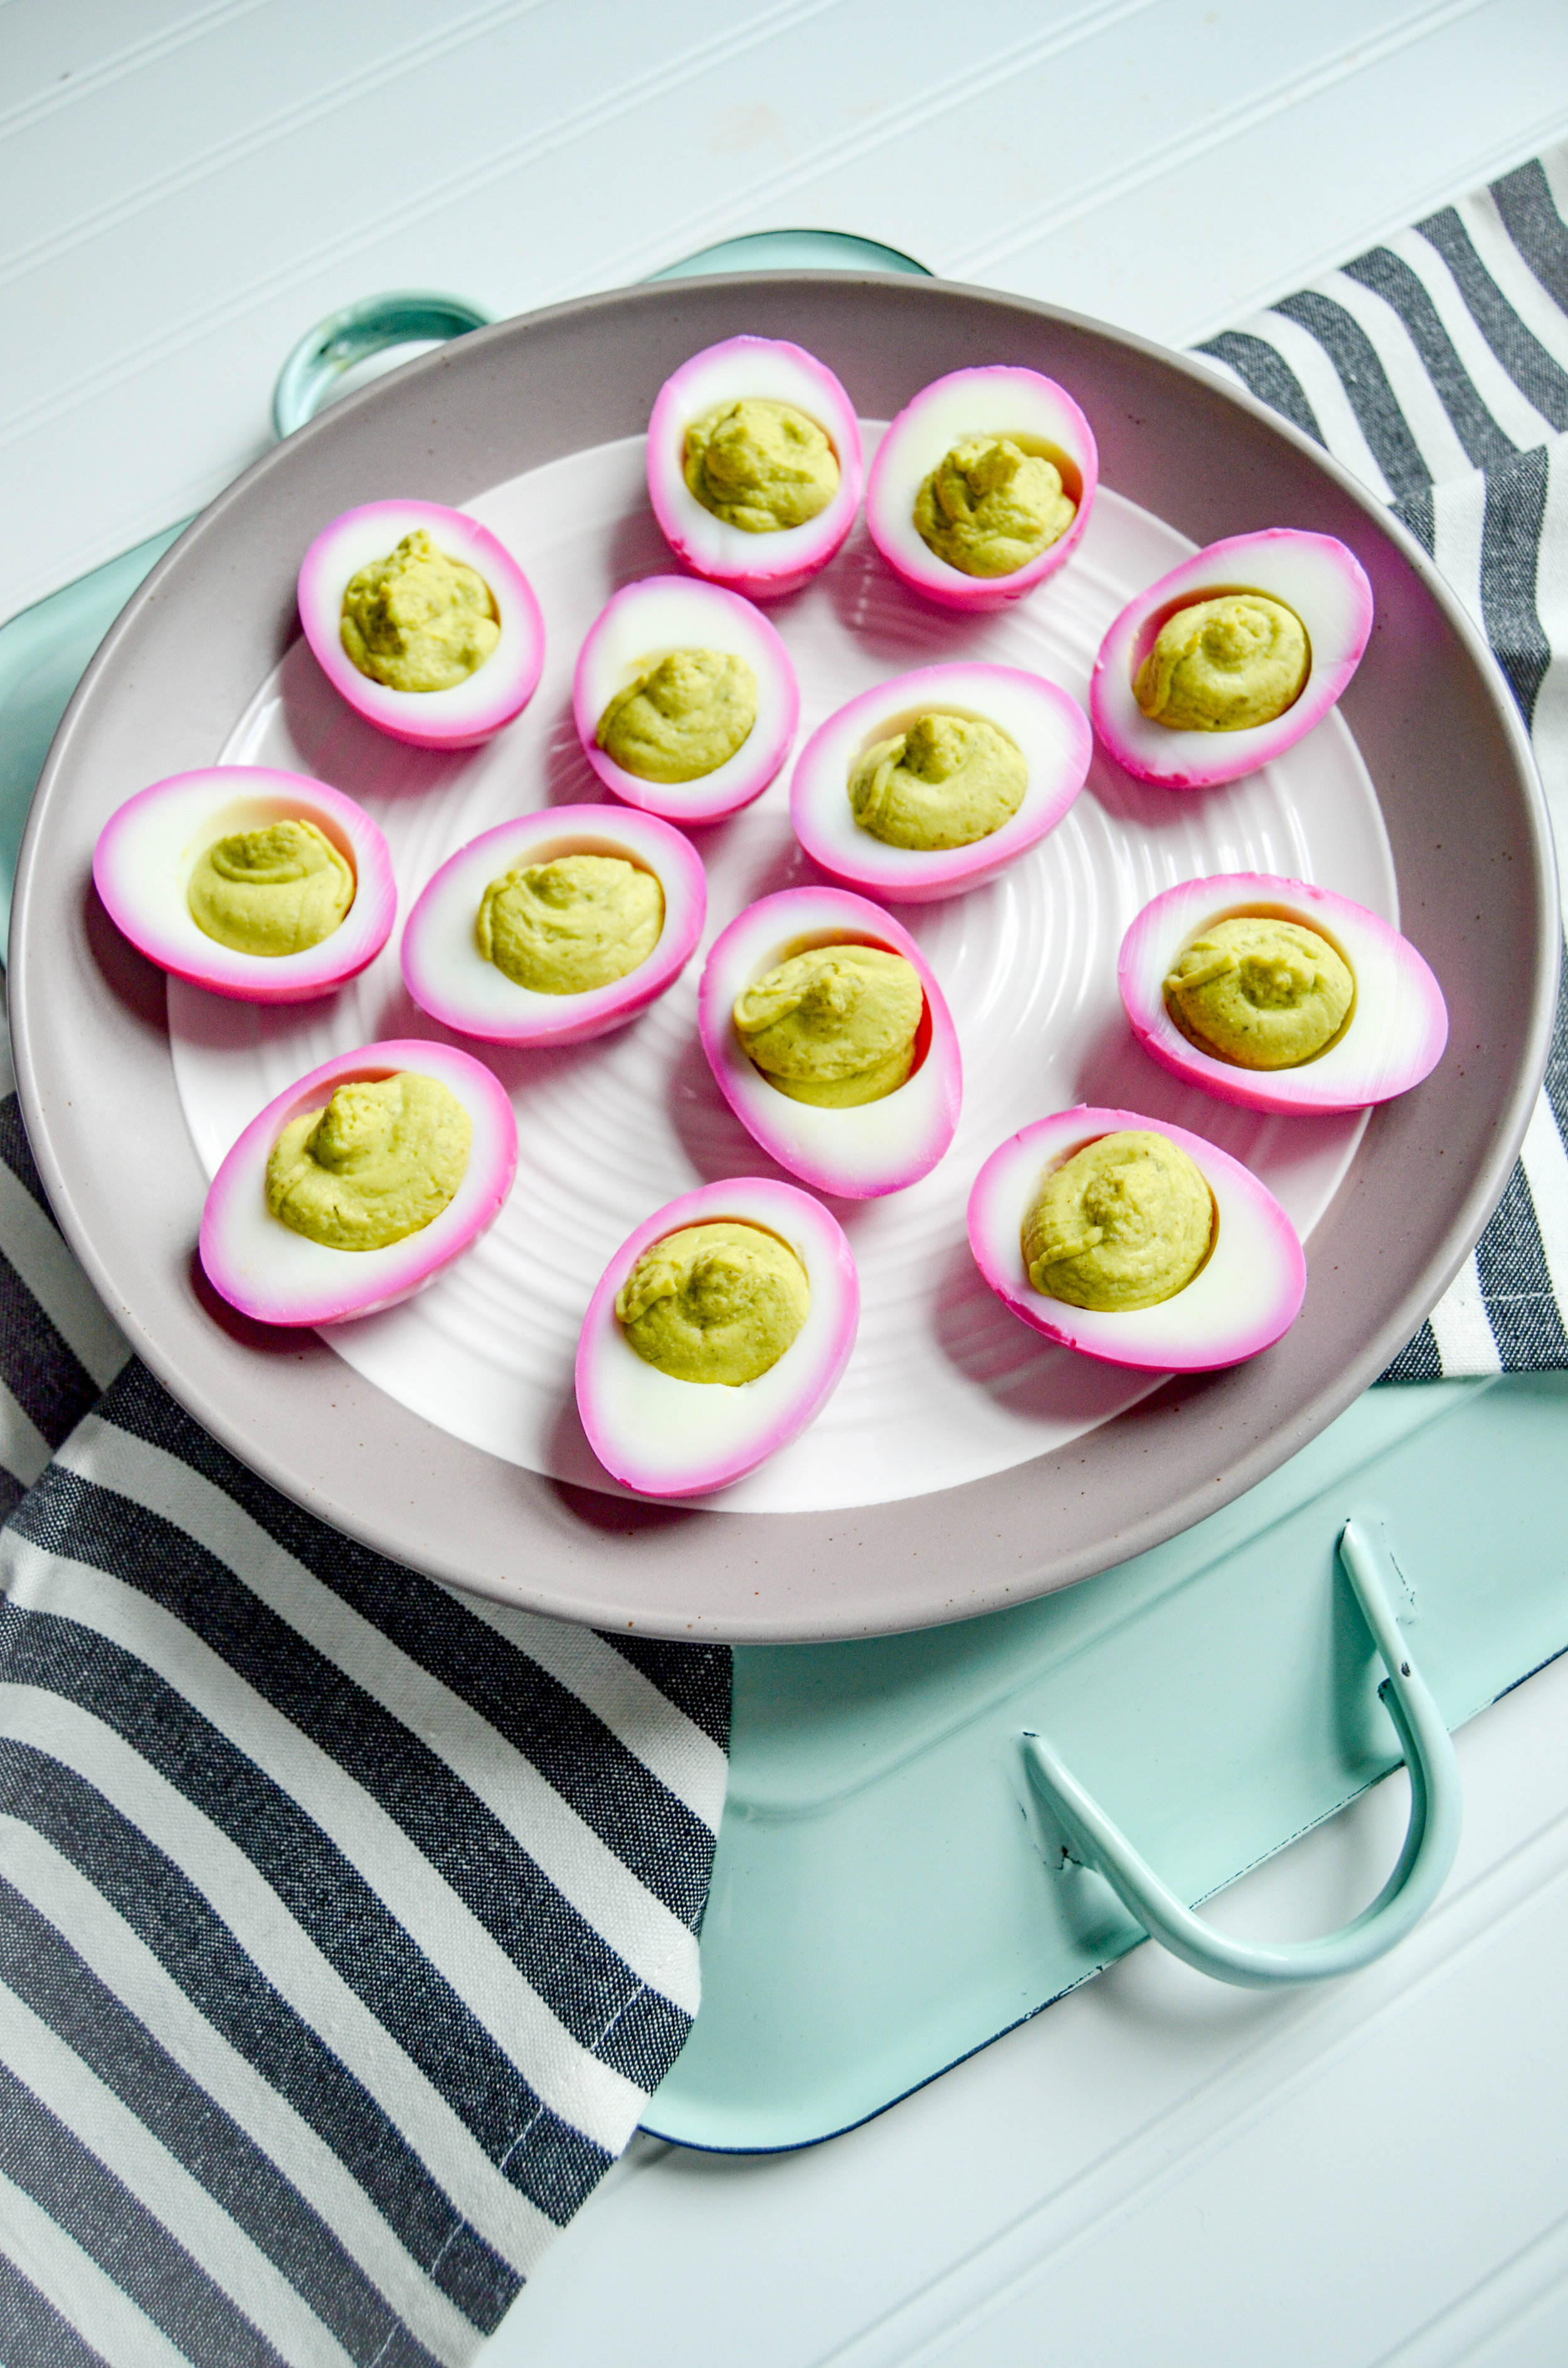
Made with avocado instead of mayonnaise, these healthy avocado deviled eggs are just as creamy and delicious without the guilt.
They’re perfect for Easter or for an upgraded snack. Sprinkle with chives or dill and smoked paprika for garnish!
Growing up as a child, my mother would make deviled eggs for every occasion; Christmas, Easter, you name it! But since I live in a different state from her, it looks like it's up to me to continue the tradition in my home! This recipe will be similar to my mother’s recipe but tweaked so it’s healthier for you.
Eggs can get a bad reputation with the fat content but eggs actually contain healthy fats that are essential to overall health. Eggs are also a great source of protein as one whole egg contains six grams of protein. They are great from a culinary standpoint to help emulsify sauces or dressings and important in baking to add structure, leavening, and to enhance flavor.
Speaking of healthy fats, a great whole food alternative to mayonnaise is using avocado instead! An avocado provides just a quarter of the calories mayo does along with healthy fats, fiber, and important vitamins like folate and Vitamin C.
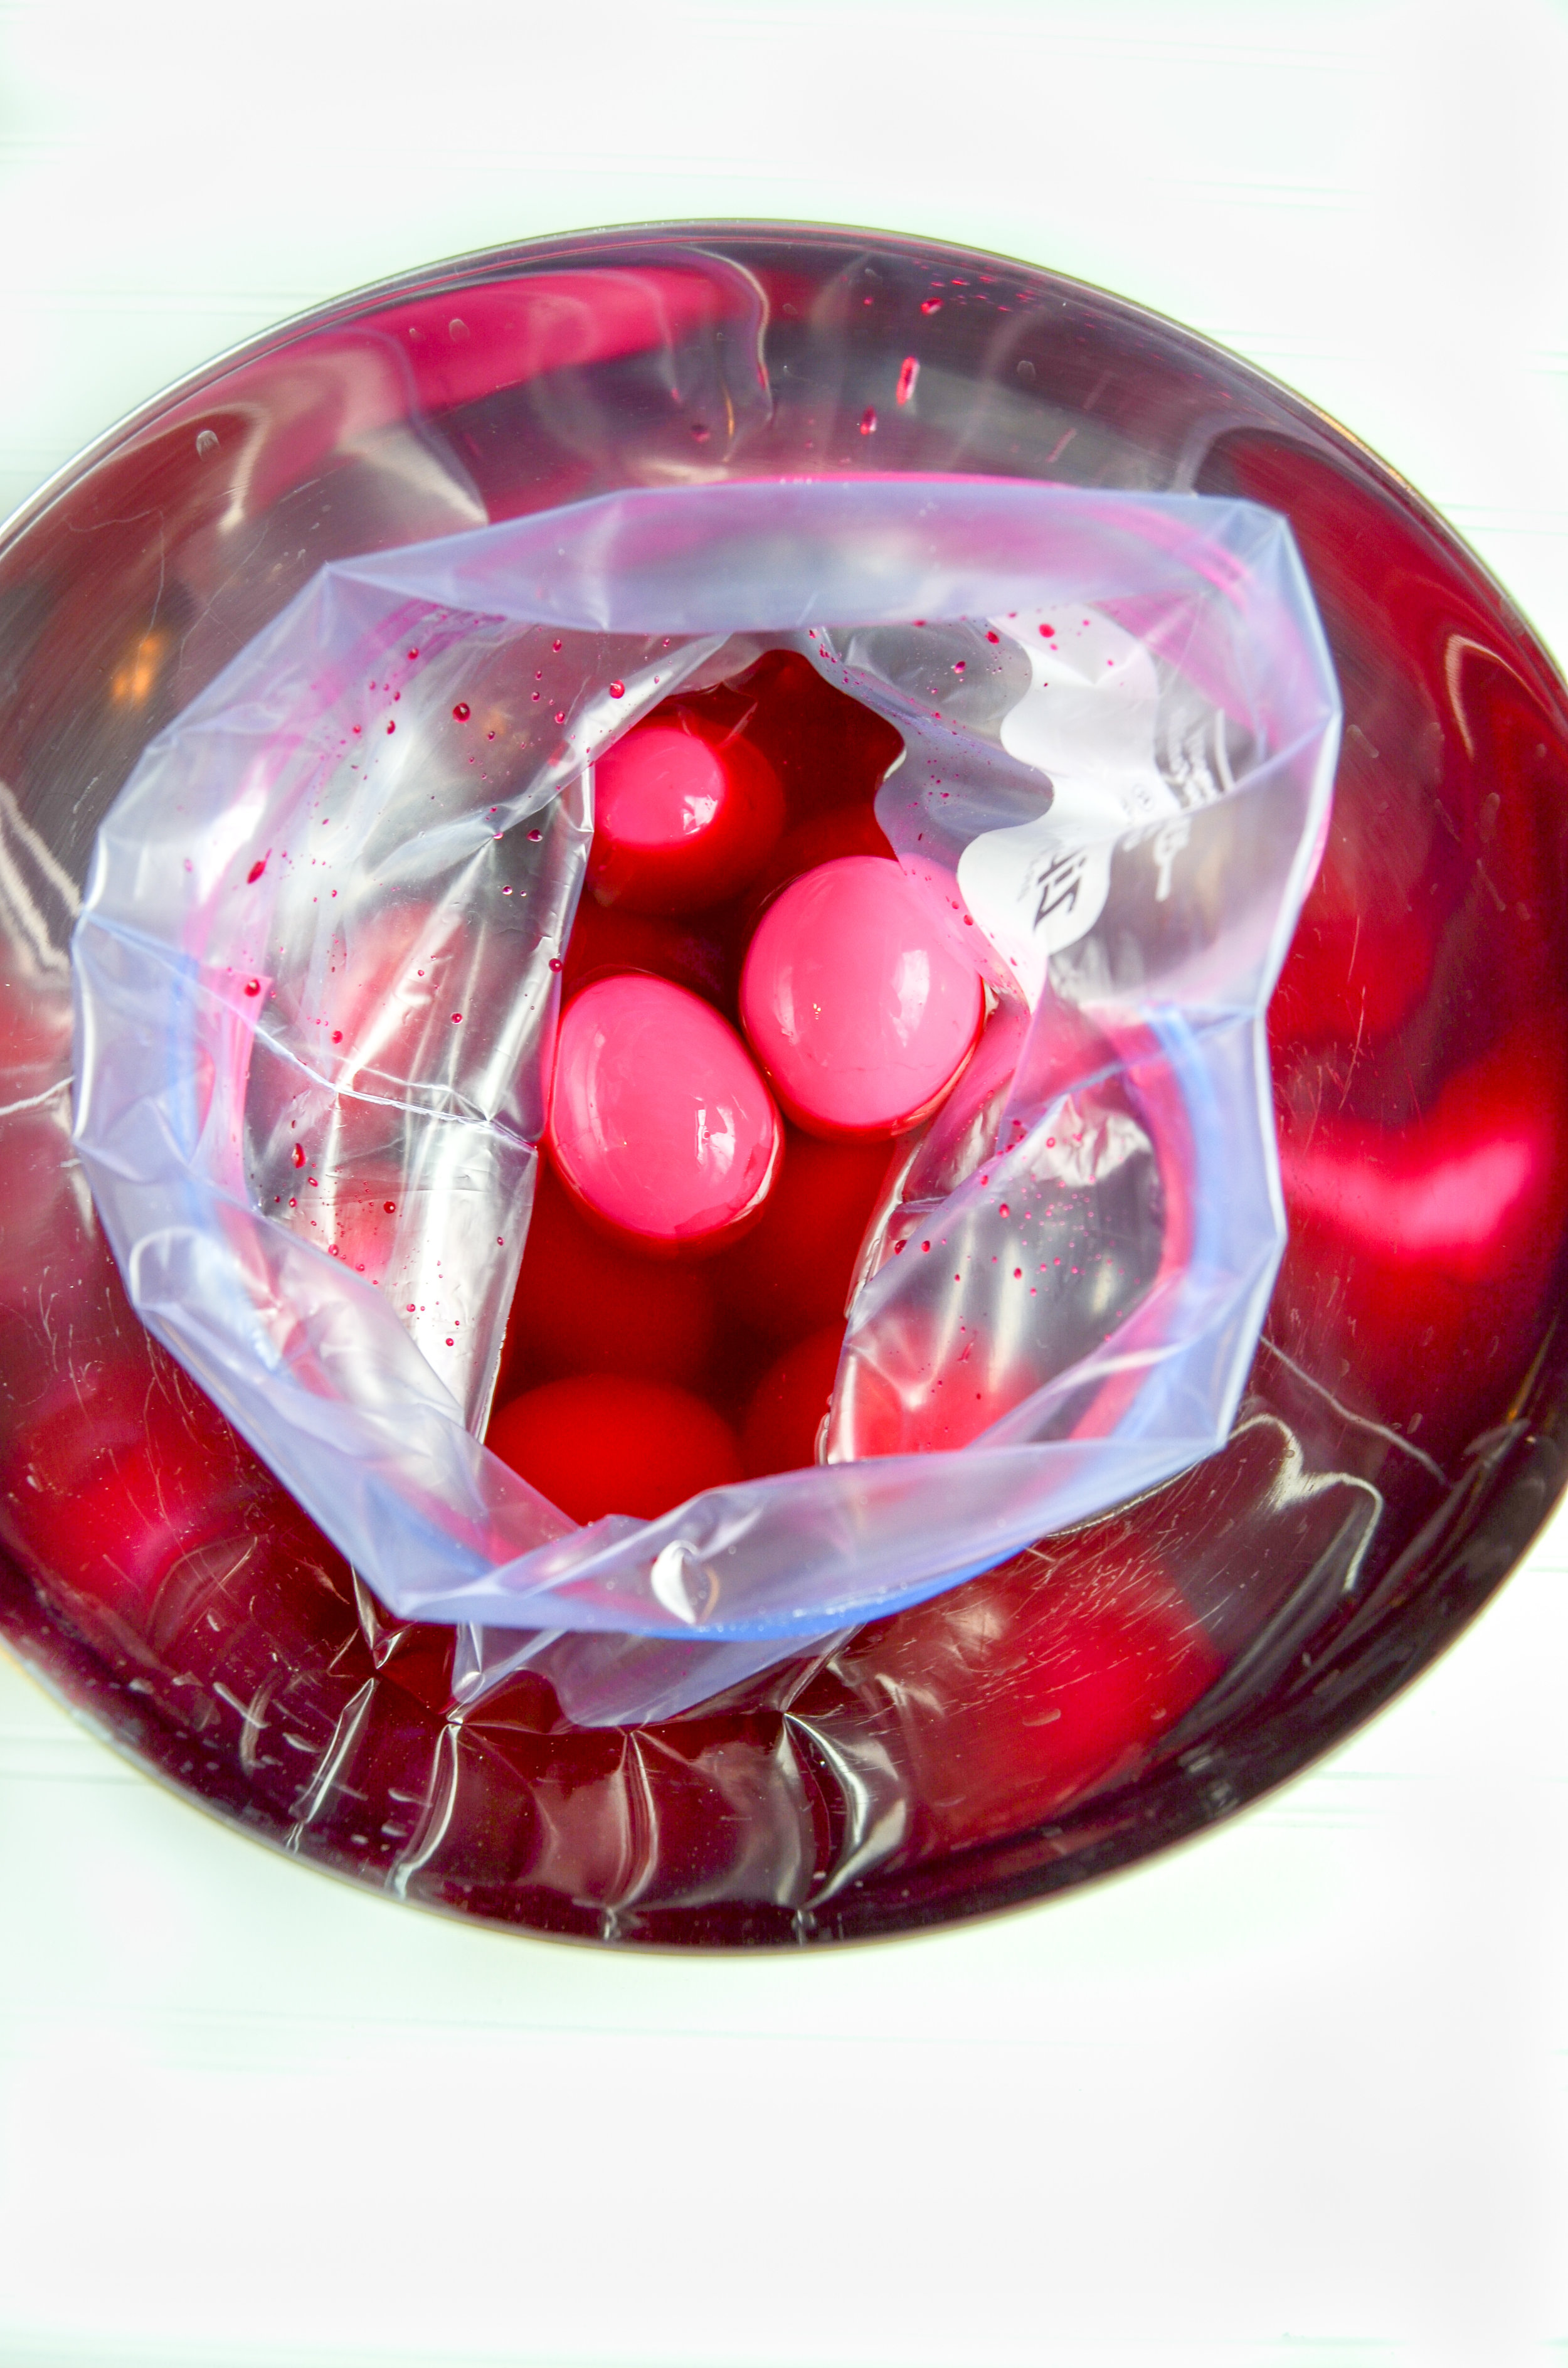
Since I absolutely love deviled eggs, I thought I would kick up the game a little bit. You can completely omit this part (why would you!?) but these eggs are beet-dyed! Dying the eggs are merely for presentation. The beet dying process does not affect flavor at all! If you would like to give your eggs this pretty color, check out the Created by Diane blog post on beet dying. I followed her foolproof method but used the juice from my Refrigerator Pickled Beets recipe instead, to cut out some steps.
Enjoy these not so devilish eggs as a quick protein snack or as an appetizer to share this Easter holiday, picnic or barbecue.
If you try this recipe, let us know! Leave a comment, rate it, and don’t forget to tag a photo with #fromtherootsblog on Instagram. We love seeing what you come up with!
Made with avocado instead of mayonnaise, these healthy avocado deviled eggs are just as creamy and delicious without the guilt.
INGREDIENTS
1 dozen, 12 fresh eggs
1 large ripe avocado
2 Tbsp minced sweet pickles (bread and butter pickles or gherkins)
2 Tbsp dijon mustard
1/2 tsp celery salt
1/4 tsp garlic powder
Garnish
smoked paprika, chives or fresh dill
DIRECTIONS
To hard boil the eggs: Place 12 eggs in a large saucepan with cold water until eggs are fully covered. Set the oven on medium heat and let the water boil gradually (this prevents the eggs from cracking if set on high). Once boiling, cover with a lid and sit on the back burner for about 11-13 min (depending on the size of your egg). When the eggs are cooked, immediately transfer eggs to an ice cold water bath to stop the cooking process. Gently crack shells to remove the egg.
To beet dye eggs: Place de-shelled eggs in a large ziploc bag and place bag in a bowl to keep the ziploc bag upright. Pour beet juice from (pickled beets recipe) and dilute with water until all eggs are covered. (or use beet mixture from (Created by Diane). Place in fridge for at least 1 hour. Rinse the beet juice off the eggs using a strainer and pat dry
Slice eggs in half and remove eggs yolks saving 4 egg yolks (8 halves) and add to a bowl. Discard or keep remaining yolks for another dish.
For this filling: add avocado, pickles, dijon mustard and seasonings to the bowl with yolks and mash until fully incorporated. Adjust seasonings to taste. It is best to use the back of a fork for easy mashing.
To serve: place filling in a ziploc bag and cut one corner to squeeze the filling into the hollowed part of the egg. Sprinkle with smoked paprika and top with chopped fresh chives or dill.
Store in an airtight container for up to 1 week and enjoy!
NOTES
The egg and avocado mixture should fill exactly 24 halved eggs but just in case you might have used a small avocado, add more egg yolk to the mixture to ensure you have enough filling for 24 halved eggs.
Carrot Cake Pancakes with Cinnamon Cashew Cream Cheese
Carrot cake has got to be in my top 5 favorite cakes.
From the spices of cinnamon and nutmeg to the textures of walnuts and carrots, there is nothing that will stand in the way of me and carrot cake.
Nothing.
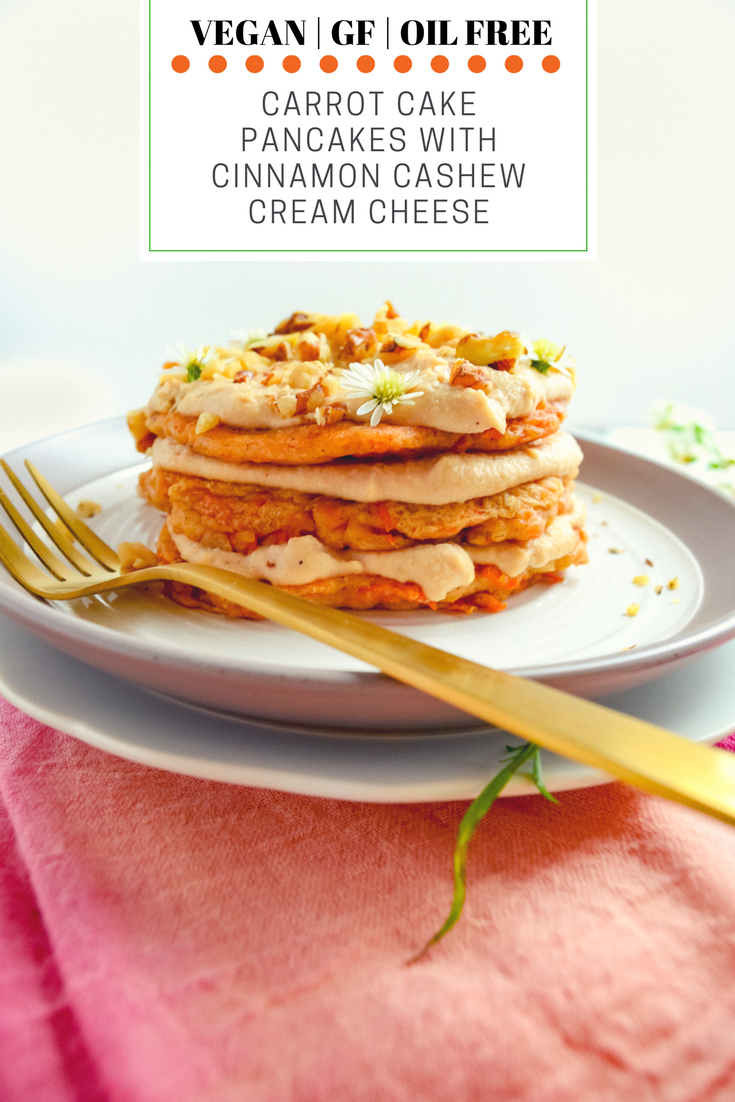
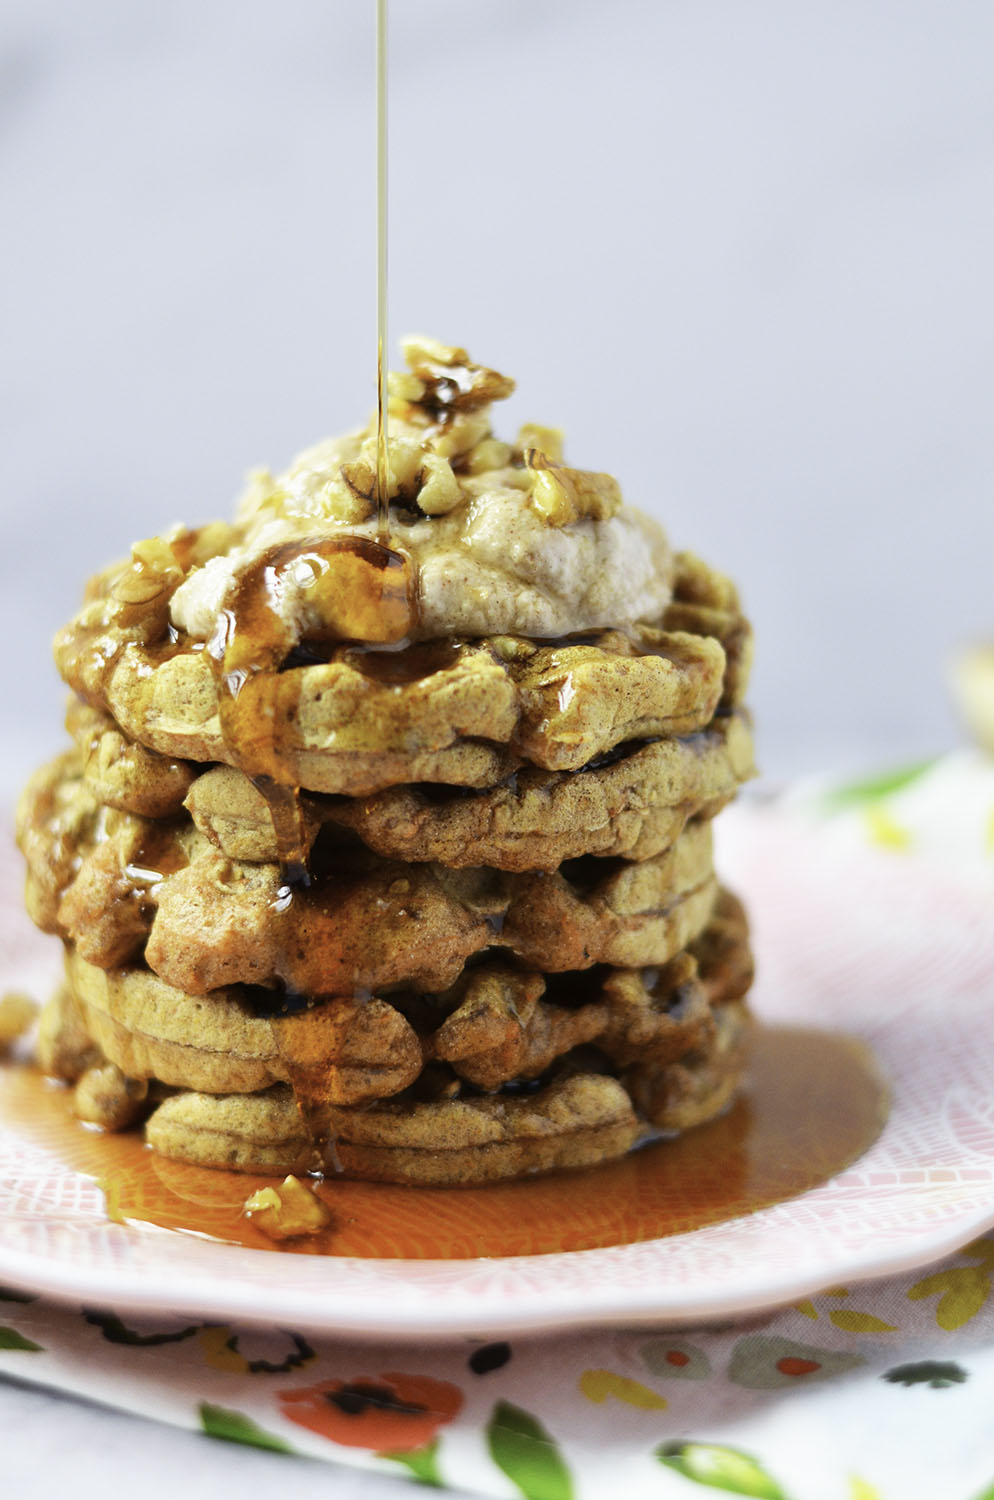
A healthy take on the classic carrot cake, made into pancakes that are sure to please everyone! I pair it with an irresistible cinnamon cashew cream cheese that you can’t help but lick right out of the bowl! Best of all, these pancakes are oil-free, gluten-free, and entirely vegan.
Carrot cake has got to be in my top 5 favorite cakes.
From the spices of cinnamon and nutmeg to the textures of walnuts and carrots, there is nothing that will stand in the way of me and carrot cake.
Nothing.
That is why I have decided to try and incorporate carrot cake into my life in an innovative and healthy way. Now that I’m getting older, I am more aware of how many sticks of butter it takes to achieve the perfect taste of carrot cake. After experimenting, I have found a way to not only indulge my desires completely guilt-free but to also do it for breakfast.
You’ll need a few key ingredients for that classic carrot cake taste, such as carrots, of course! I prefer starting with fresh carrots so I can medium grate them to get more of a crunchy texture, but if you prefer to have a well-blended batter then you can finely grate your carrots or put them in a processor. Be sure to pat your grated carrots with paper towels or a kitchen towel to absorb excess liquid so it doesn’t make your batter too liquidy.
Another key ingredient is the spices. Now, you can go about this either two ways: You can mix a ratio of cinnamon, ginger, and nutmeg, or you can simply use a pumpkin pie spice mix. Both seem equal in flavor, I just had leftover pumpkin pie spice from the fall days and I basically use it in all my pancake batters!
Prepping for the pancake batter is a breeze. Just add your dry ingredients to your wet ingredients and then use a spatula to fold in the walnuts and grated carrots. It is important that you let your batter rest for at least 10 minutes so that the starch molecules in the flour can absorb the liquid in the batter. This causes them to swell and gives the batter a thicker, more viscous consistency. This allows time for the air bubbles to slowly work their way out.
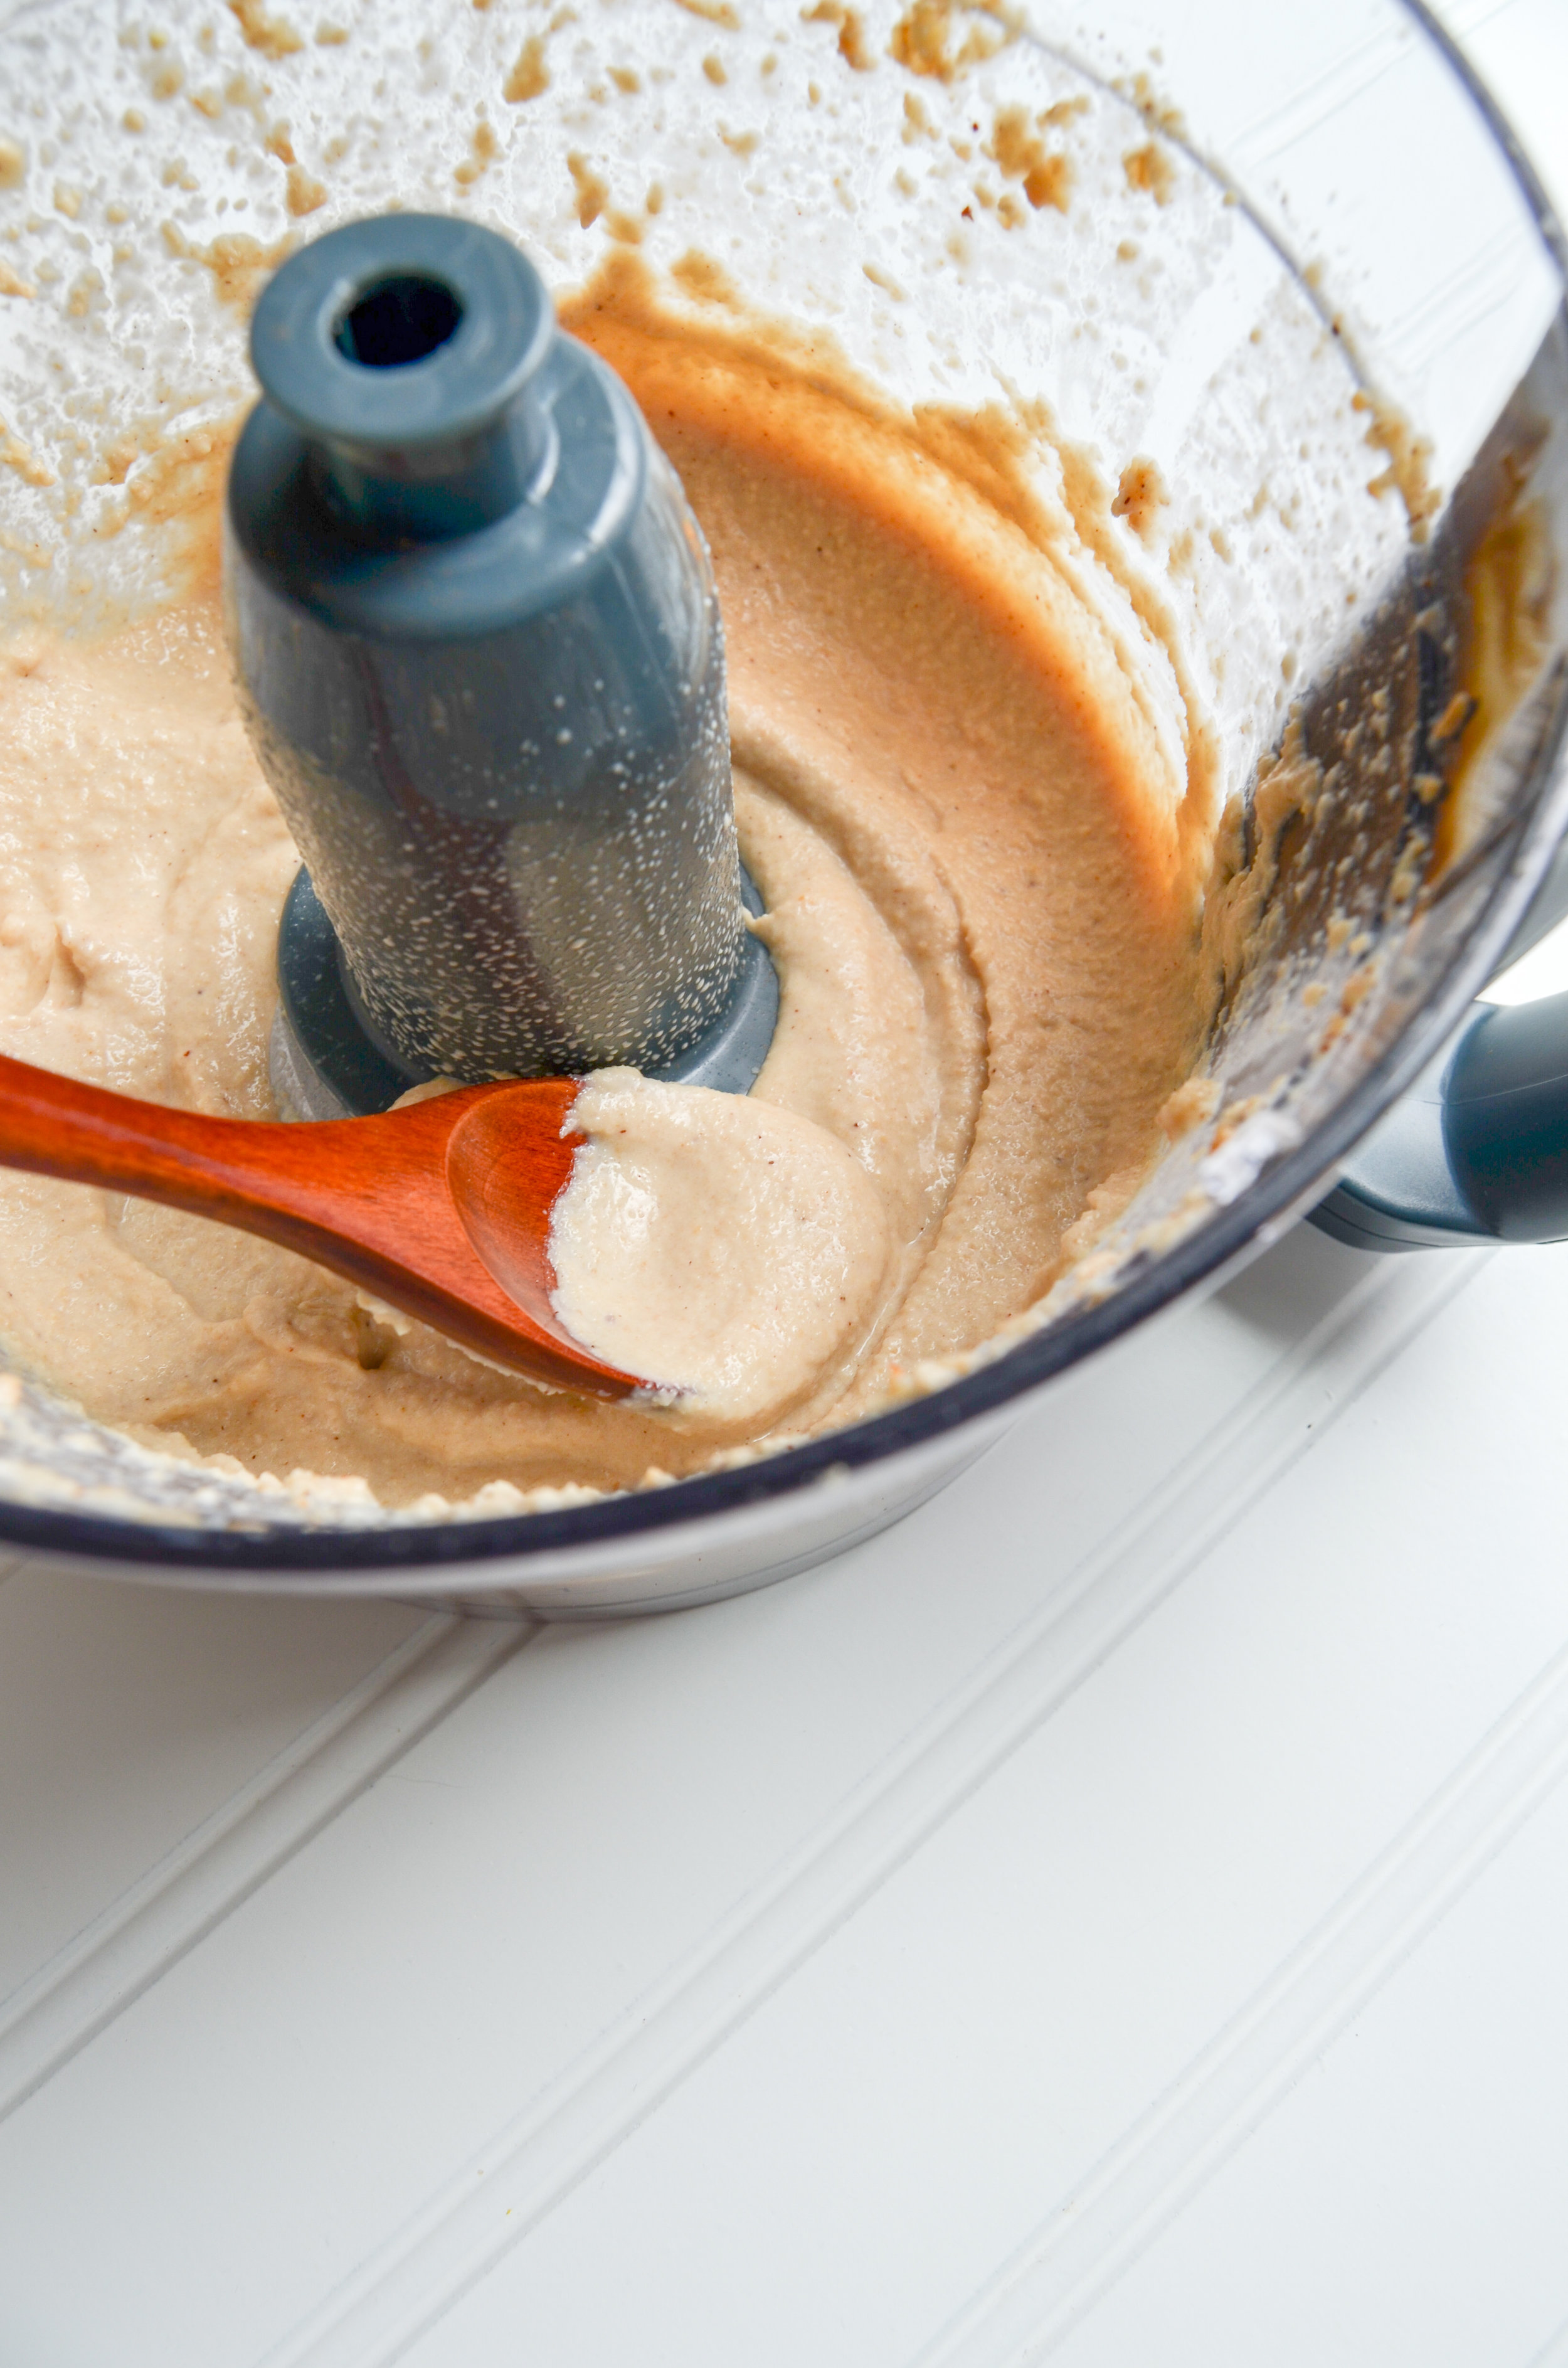
Now, onto my favorite part… The cinnamon cashew cream cheese! It really takes the cake in this recipe (no pun intended)! The cashew cream cheese tastes almost like confectioners sugar to me. It has the perfect amount of sweetness thanks to the pure maple syrup. It’s so addicting that I will literally make an extra batch of this and sneak it in the fridge to take a spoonful (or three) out of the jar when I need to satisfy my sweet tooth!
*Updated - You can make this recipe into waffles! (notes below)
If you try this recipe, let us know! Leave a comment, rate it, and don’t forget to tag a photo with #fromtherootsblog on Instagram. We love seeing what you come up with!
Vegan, gluten free and oil free take on a classic carrot cake pancake that is sure to please everyone! Paired with an irresistible cinnamon cashew cream cheese that you can’t help but lick right out of the bowl!
INGREDIENTS
Carrot Cake Pancakes
1/2 cup chopped raw walnuts
1 cup (loosely packed) shredded carrots ((2 medium carrots))
1 cup non dairy milk ((I used unsweetened almond milk))
1 tsp baking powder
1/2 tsp baking soda
2 tsp pumpkin pie spice mix or (2 tsp cinnamon, 1/2 tsp ginger and 1/4 tsp ground nutmeg)
1/4 cup applesauce unsweetened
1 tsp vanilla extract
1/2 cup almond flour (not almond meal)
1 cup GF baking flour
1 Tbsp sweetener of choice (I used pure maple syrup)
Dash of salt
Cinnamon Cashew Cream Cheese
3/4 cup raw cashews drained (soaked overnight with warm water)
1 1/2 Tbsp pure maple syrup
1/4 cup non dairy milk (I used unsweetened almond milk)
squeeze of small lemon wedge
1/2 tsp cinnamon
DIRECTIONS
To prepare the batter, in a medium bowl, add both flours, baking powder, baking soda, spices, and a dash of salt. In a separate bowl, add applesauce, milk, vanilla, and sweetener and mix until combined. Add your dry ingredients to your liquid ingredients and mix until combined.
Gently fold in the walnuts and carrots and let the batter sit for at least 10 minutes.
Lightly coat your skillet with vegan butter or coconut oil over medium heat. When the skillet is hot, add about ¼ cup of the pancake mixture to the pan. Cook for 2-3 min or until the bottom of the pancake is brown and bubbles have formed on the outside. Flip and cook for 2-3 min or until brown and fully cooked through.
While pancakes are cooking, add cashews, maple syrup, milk, lemon and cinnamon to a processor and pulse on high for about 4 minutes or until mixture is smooth and creamy in texture. Add additional maple syrup for a sweeter taste.
Layer pancakes with cream cheese and top with walnuts and maple syrup!
Make sure to grease your skillet in between batches as well as to keep a consistent strain of heat. If you let your skillet get too hot, then the pancakes will be crispy and brown on the outside but mushy and raw on the inside.
Since the pancakes are vegan, an egg is not present, so let your batter rest is key to get that perfect fluffy texture.
If you are short on time, you can actually boil the cashews! Just cover cashews with water in a small saucepan and boil over medium-high heat. As soon as the water boils, turn the oven off and let the cashews sit in the saucepan covered for 1 hour.
NOTES
Ingredients trusted brands: GF Baking Flour, Almond Flour, and Pumpkin Pie Spice
Can be easily made into waffles! If eggs are not an issue, I would recommend substituting applesauce for 1 egg and omitting almond flour.


