Sort by Category
- May 2026
- March 2026
- December 2025
- November 2025
- October 2025
- September 2025
- August 2025
- June 2025
- August 2024
- July 2024
- June 2024
- May 2024
- February 2024
- January 2024
- December 2023
- November 2023
- October 2023
- September 2023
- August 2023
- July 2023
- March 2023
- February 2023
- January 2023
- December 2022
- November 2022
- October 2022
- September 2022
- August 2022
- June 2022
- May 2022
- April 2022
- March 2022
- February 2022
- January 2022
- December 2021
- November 2021
- October 2021
- September 2021
- August 2021
- July 2021
- June 2021
- May 2021
- April 2021
- March 2021
- February 2021
- January 2021
- December 2020
- November 2020
- October 2020
- September 2020
- August 2020
- July 2020
- June 2020
- May 2020
- April 2020
- March 2020
- February 2020
- January 2020
- December 2019
- November 2019
- October 2019
- September 2019
- August 2019
- July 2019
- June 2019
- May 2019
- April 2019
- March 2019
- February 2019
- January 2019
- December 2018
- November 2018
- October 2018
- September 2018
- August 2018
- July 2018
- June 2018
- May 2018
- April 2018
- March 2018
- February 2018

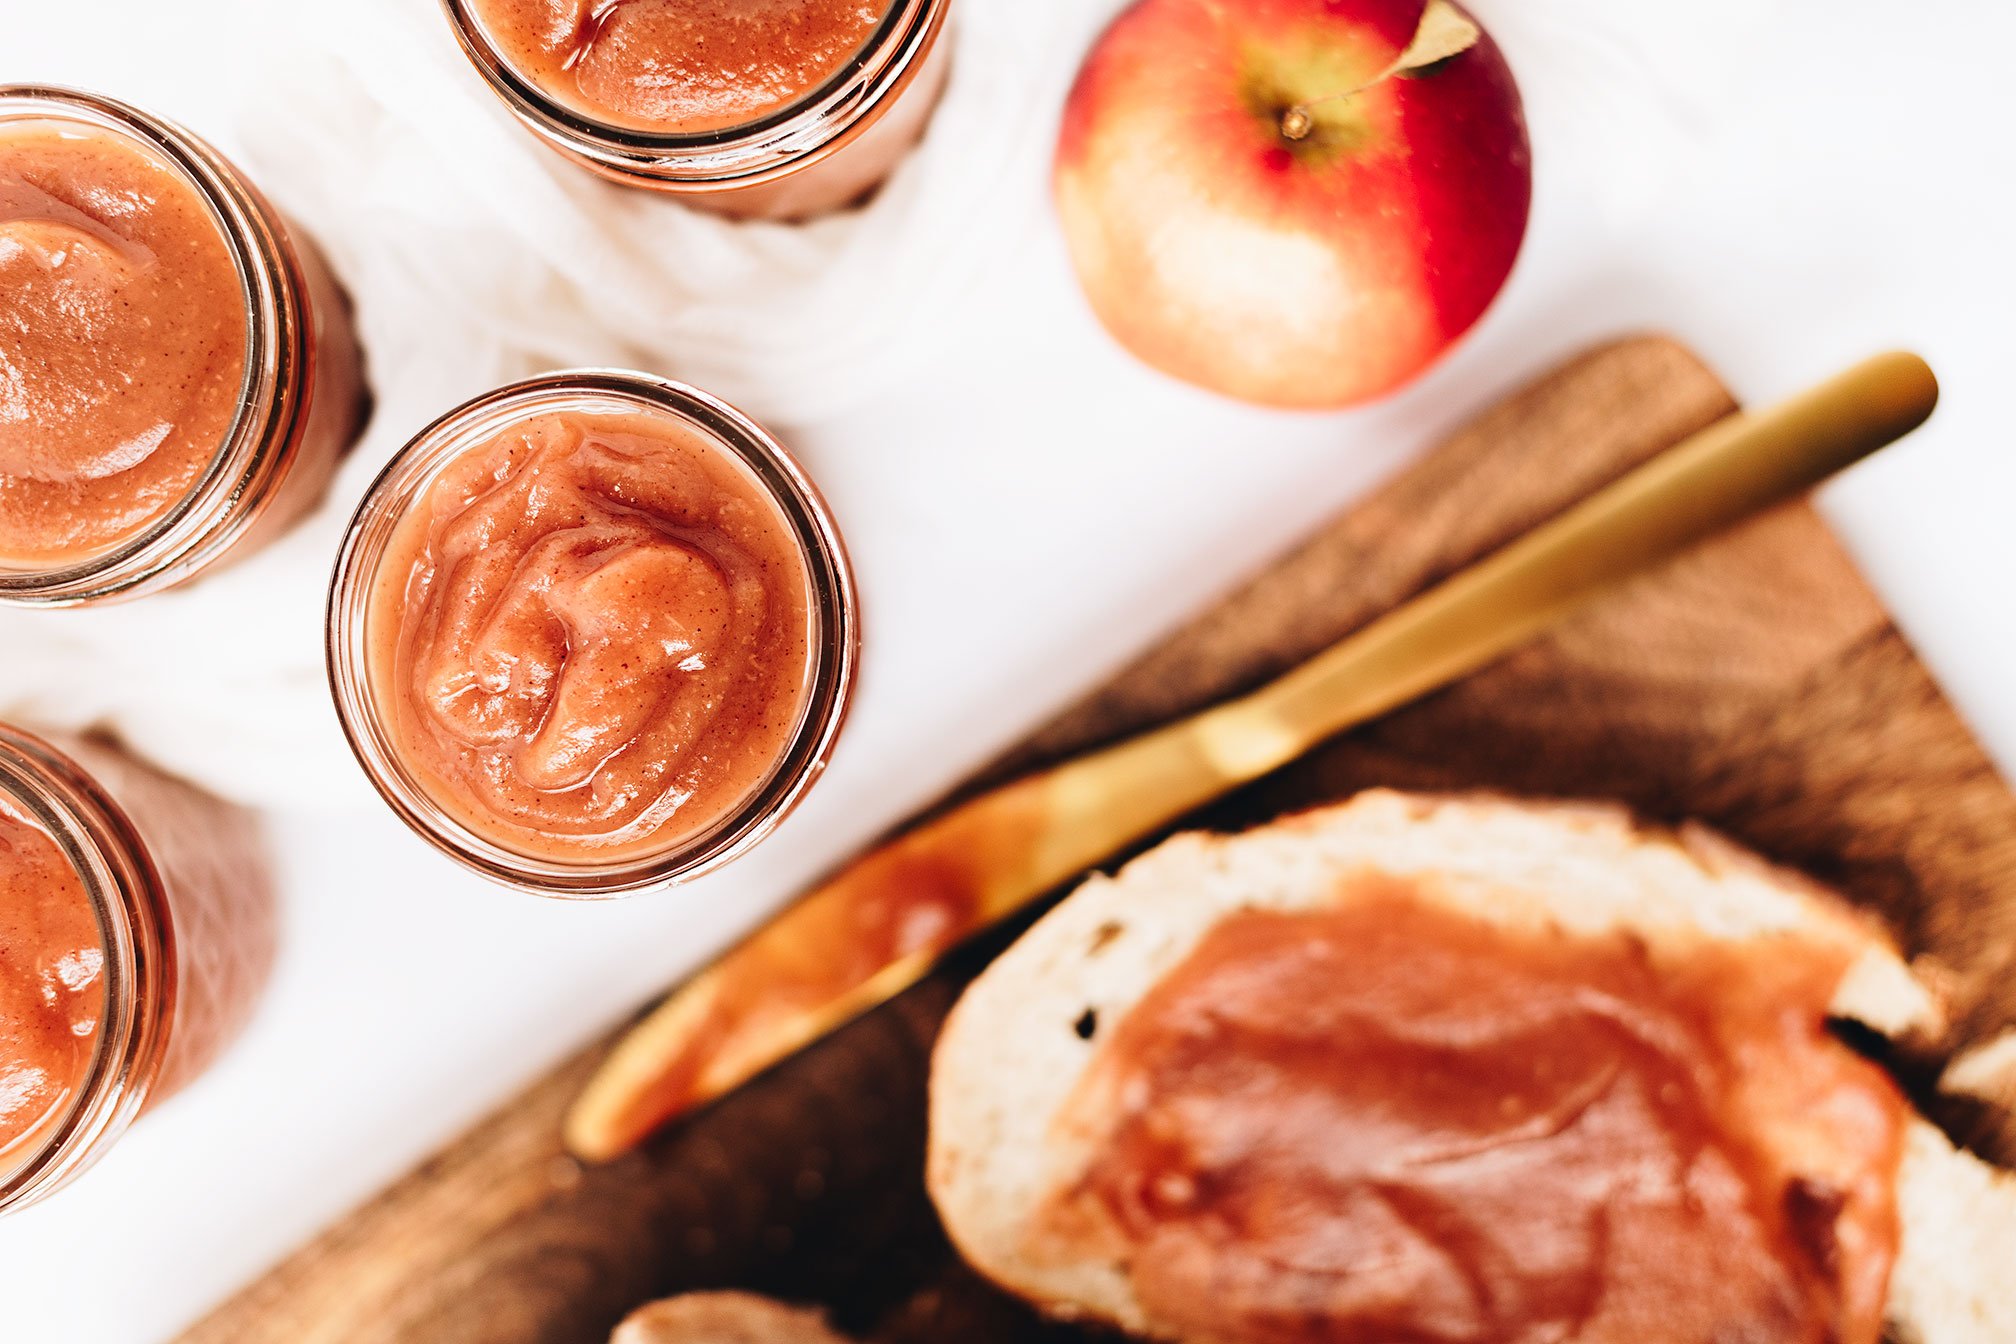
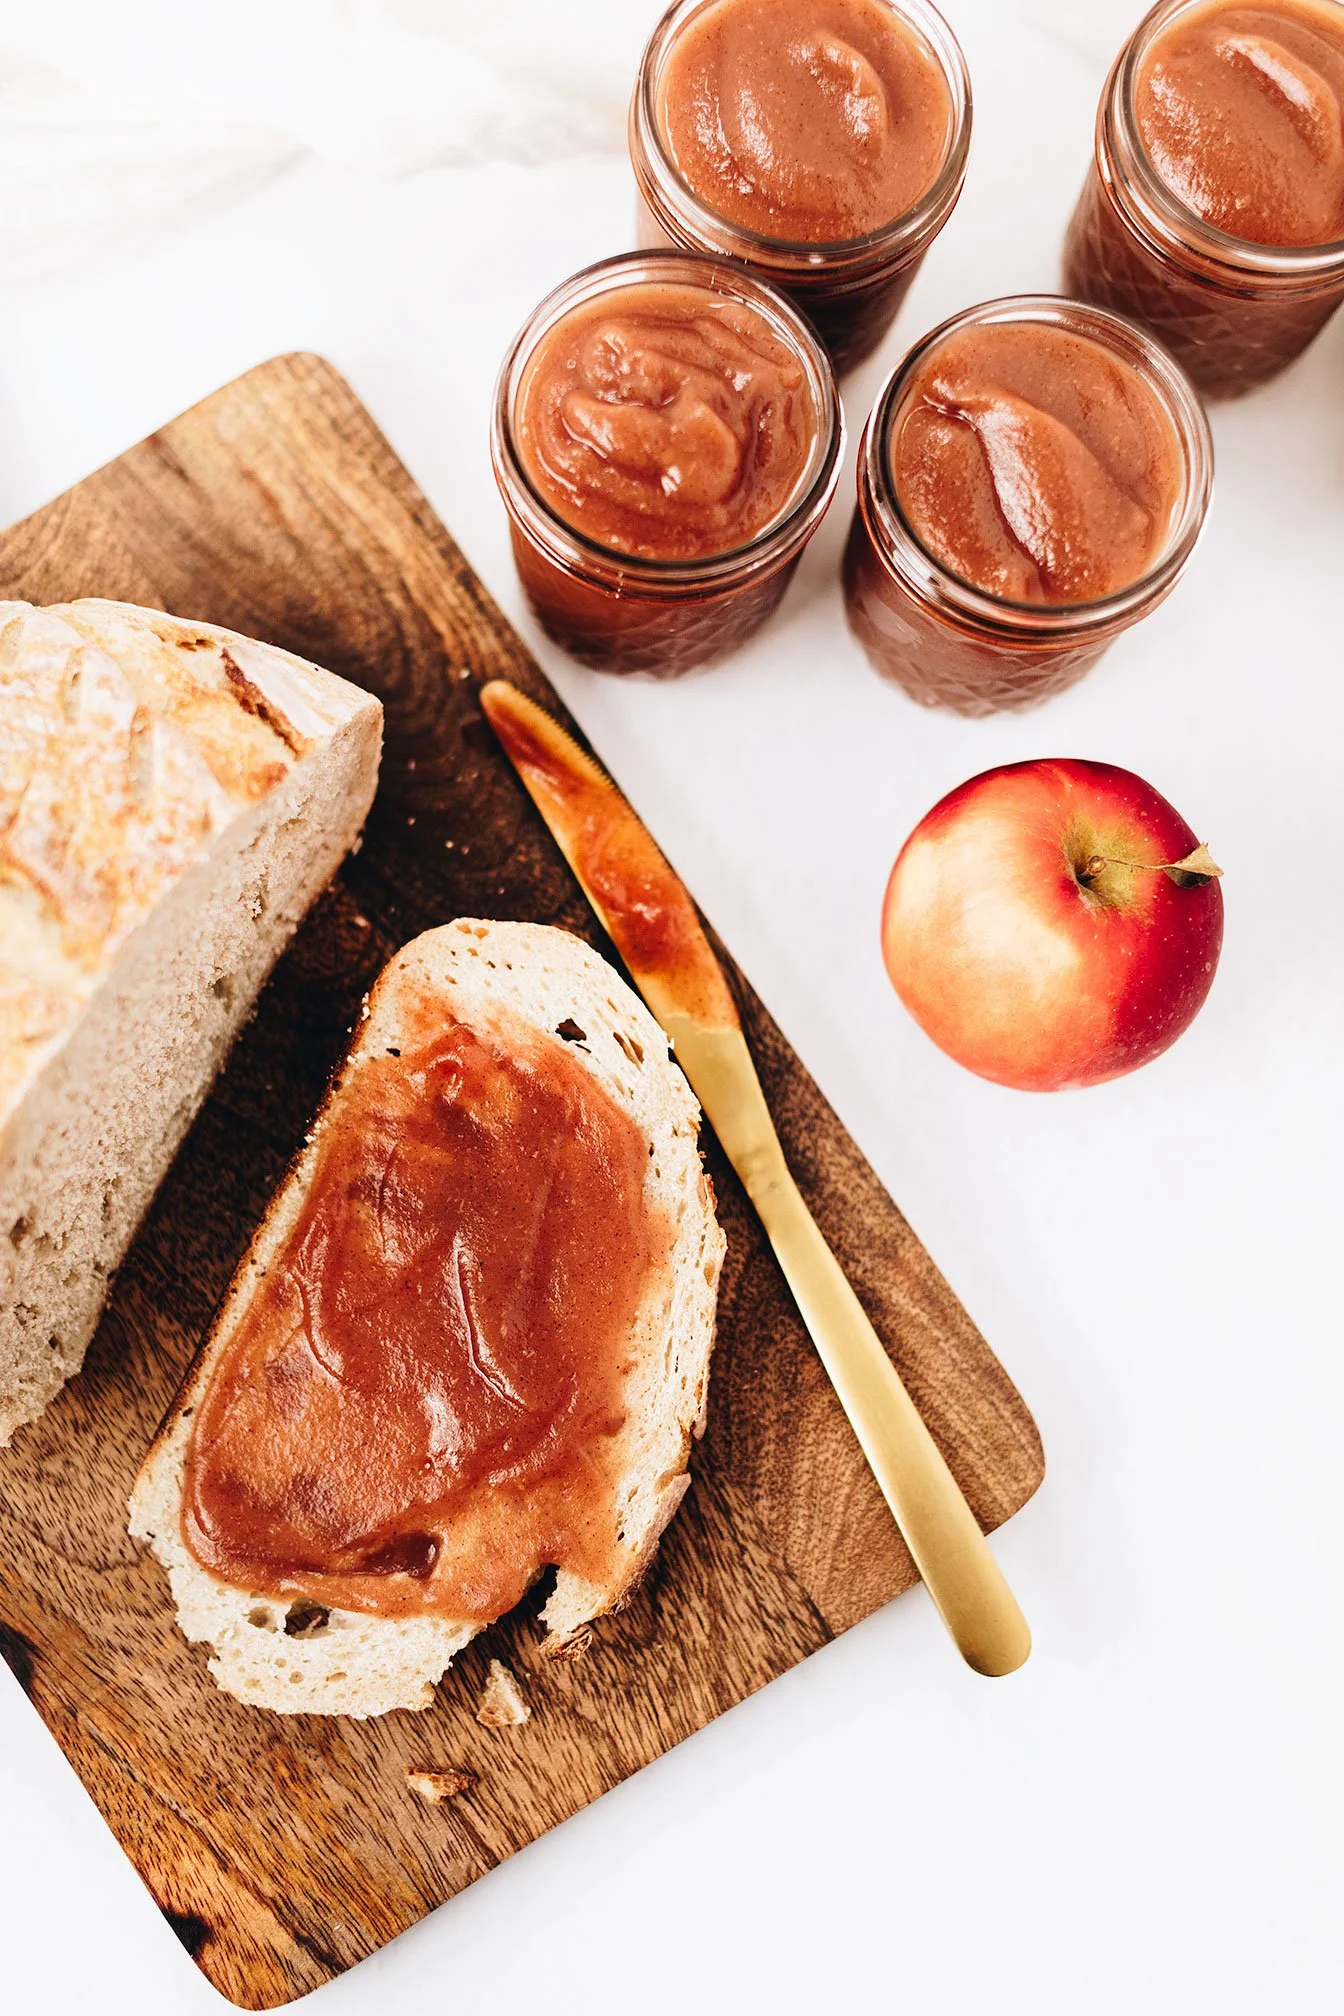
Apple Butter
So before the fall season comes to an end, it’s time to take all the apples from orchard picking or local farmer’s market visits to make a big batch of homemade apple butter!
For this recipe, I visited Mercier Orchards in Blue Ridge, Georgia and chose a combination of Crimson Crisp and Pink Lady for this recipe. If you don’t have an orchard to visit or not sure what type of apple works well for apple butter, you want to look for something sweet, not tart like: gala, jonagold, Mcintosh, honeycrisp, fuji or evercrisp.
Get all the fall feels with this homemade Instant Pot Apple Butter Recipe!
If you can’t already tell by the amount of apple recipes on the blog or through my social media, I am mildly obsessed with apples! There is nothing like biting into a honeycrisp after a workout or eating homemade chicken salad and getting a sweet apple crunch in every bite!

So before the fall season comes to an end, it’s time to take all the apples from orchard picking or local farmer’s market visits to make a big batch of homemade apple butter!
For this recipe, I visited Mercier Orchards in Blue Ridge, Georgia and chose a combination of Crimson Crisp and Pink Lady for this recipe. If you don’t have an orchard to visit or not sure what type of apple works well for apple butter, you want to look for something sweet, not tart like: gala, jonagold, Mcintosh, honeycrisp, fuji or evercrisp.


If you are wanting naturally sweet apple butter, then your best option is to choose these apple options within season as they are pretty sweet on their own and pack a major flavor! But in this recipe, I have added a natural sweetener like pure maple syrup in case you would like a tad bit more sweetness.
I love spreading my apple butter on homemade sourdough bread, cornbread muffins, waffles, pancakes, or even meats like pork chops. You can add it to your yogurt, kefir, smoothie, oatmeal - just about anything and everything!

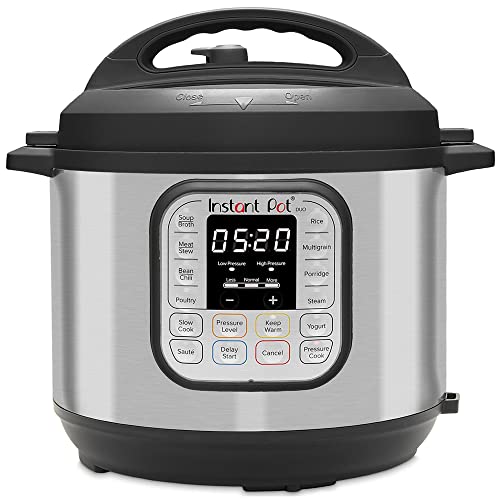
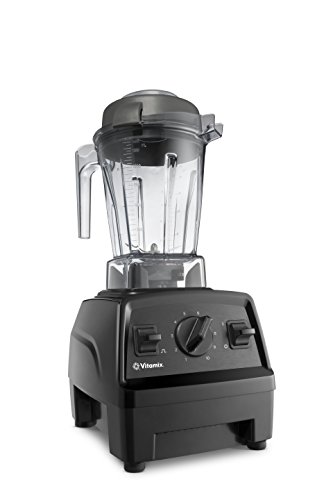
I’m all about efficiency so I made this recipe using an Instant Pot. But if you don’t have an Instant Pot, crockpot or stove top will do just fine! You just want to make sure that the apples cook down enough until most of the liquid has evaporated. The process of cooking past the apple sauce stage, creates the smooth jam or butter like consistency, rather than applesauce.
If you try this recipe, let us know! Leave a comment, rate it, and don’t forget to tag a photo to #fromtherootsblog on Instagram. We love seeing what you come up with!
Get all the fall feels with this homemade Instant Pot Apple Butter Recipe!
Cook Time: 1.5-2 hrs | Prep Time: 10 min | Serving: 4 pints apple butter
Ingredients
4.5 - 5 lb apples, cored and diced (not peeled!)
1 Tbsp apple pie seasoning
1-2 tsp ground cinnamon
¼ cup pure maple syrup (depending on sweetness level)
Juice of 1 lemon
1 tsp vanilla extract
½ cup filtered water
Directions
In a large bowl, place sliced and cored apples, seasonings, sweetener, lemon juice, vanilla extract and water and stir until well combined.
Transfer to your Instant Pot and secure the lid, seal the valve. Cook for 20 minutes on high pressure, then allow a full natural release. Remove the lid.
Using an immersion blender (or transfer batches in a regular blender), blend the contents until smooth. Taste test for desired sweetness/tart level. (i.e. want more tartness, add 1 tsp increments lemon juice, sweetness - 1 Tbsp increments of sweetener, spice - 1 tsp increments seasonings). Add the contents back into Instant Pot and press Saute. Allow to cook for 30-60 minutes while stirring frequently until the apple butter has thickened and darkened to desired consistency.
Press Cancel on the Instant Pot, then allow the apple butter to cool completely before transferring to large mason jars. Store in the refrigerator for up to 3 weeks. Freeze for up to 6 months. (Make sure you sharpie today’s date on the jar!)
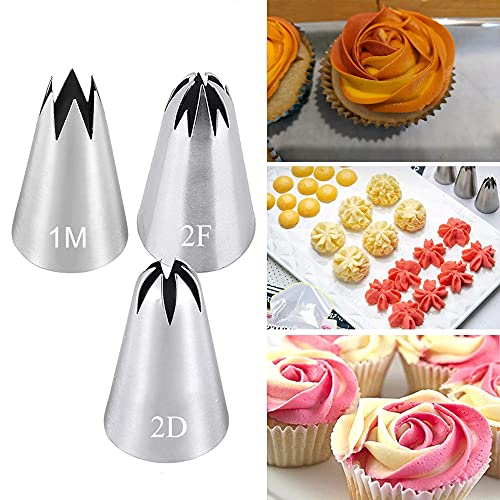
SHOP OUR FAVORITE TOOLS + INGREDIENTS FOR THIS RECIPE!


White Chocolate Double Strawberry Blondies
I wanted to squeeze in one late summer recipe before moving on to fall recipes so I thought these white chocolate double strawberry blondies would be the perfect finisher!
When I was in Las Vegas last month for a personal training conference, I so happily indulged in a strawberry shortcake milkshake in between sessions! It was truly amazing! Layers of ice cream, strawberry drizzle, and garnished with an entire slice of strawberry cake and a classic strawberry shortcake ice cream bar - the inner child in me was truly content!
These White Chocolate Double Strawberry Blondies are a fun way to elevate the classic blondie while being gluten-free, naturally sweetened, and dairy-free friendly.

I wanted to squeeze in one late summer recipe before moving on to fall recipes so I thought these white chocolate double strawberry blondies would be the perfect finisher!
When I was in Las Vegas last month for a personal training conference, I so happily indulged in a strawberry shortcake milkshake in between sessions! It was truly amazing! Layers of ice cream, strawberry drizzle, and garnished with an entire slice of strawberry cake and a classic strawberry shortcake ice cream bar - the inner child in me was truly content!

So, in like fashion, I had to create a healthier version that didn’t cause a major sugar crash in the middle of the day! Lol Almost felt like a hangover!
And I know what you might be thinking…how is a strawberry shortcake milkshake anything like a blondie? And you are totally right - there is no comparison, haha.

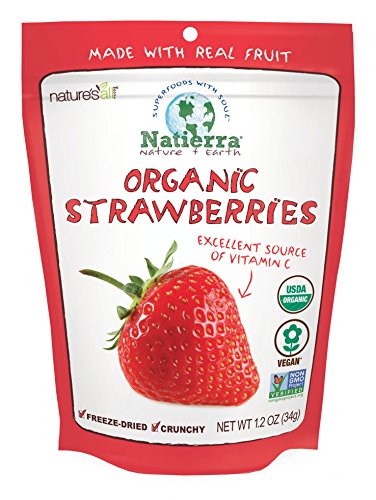
I don’t think it’s practical to recreate a layered milkshake - no matter how “healthy” I can make it, it would still be pretty dense! So to slim it down - this blondie contains two types of strawberries: fresh and freeze dried with white chocolate that cuts into the tartness of the strawberries all while salivating for more as I love pairing lemon with strawberries to provide a bright note at the end.
Bonus - Breaking freeze dried strawberries down to powder form creates the natural pink color in the blondie batter!

If you try this recipe, let us know! Leave a comment, rate it, and don’t forget to tag a photo to #fromtherootsblog on Instagram. We love seeing what you come up with!
These White Chocolate Double Strawberry Blondies are a fun way to elevate the classic blondie while being gluten-free, naturally sweetened, and dairy-free friendly.
prep time: 10 min | Cook Time: 25 min | Servings: 8
Ingredients
1 cup oat flour
½ cup GF baking flour
⅓ cup pure maple syrup
¼ cup drippy natural peanut butter
¼ cup plant based or regular milk
1 egg
2 tsp vanilla extract
½ tsp baking soda
¼ tsp baking powder
¼ tsp salt
2-4 Tbsp freeze dried strawberries (creates the pink color in batter)
½ cup white chocolate chips
½ cup sliced fresh strawberries
Juice of ½ lemon + zest
Optional garnish
Additional freeze dried strawberries
Directions
Preheat the oven to 350 degrees and line an 8x8 inch baking pan with parchment paper. *Tip - leave some of the paper hanging over the edges for easy removal.
In a food processor, pulse 2-4+ Tbsp freeze dried strawberries until you get a powder like consistency.
In a bowl, whisk the dry ingredients (flours, baking soda and powder, salt, freeze dried strawberry powder).
In a separate bowl, whisk the wet ingredients (maple syrup, peanut butter, milk, egg, vanilla extract, juice of ½ lemon and zest).
Stir the wet mixture into the dry mixture until well combined.
Fold in the white chocolate chips and strawberries until everything is combined - do not overmix! I stop as soon as I no longer see flour chunks in the batter. The batter should be a thick consistency.
Pour the batter into the prepared pan, smoothing out the top in an even layer.
Bake for 20-25 minutes, or until the edges are golden brown and the center is set and lightly golden. Resist the urge to overbake! *Hence, what makes a blondie a gooey blondie!
Remove from the oven and allow to cool in the pan before slicing into squares.
Notes
The more freeze dried strawberry powder you use, the more your batter will be pink! Just make sure that the batter doesn’t become too dry so may have to add 1 Tbsp of milk for desired batter consistency.
SHOP OUR FAVORITE TOOLS + INGREDIENTS FOR THIS RECIPE!


Prosciutto Wrapped Figs
Confession time: I don’t like figs, there I said it! Dried figs, sure. Fig newtons as a kid when that was the only snack you could find in the pantry, you bet. But fresh - you can forget it!
So when my personal training client handed me a bag of freshly picked figs, I had no idea what to do. But she entrusted me to create a recipe using them and I didn’t want to let her down! So not only does this recipe goes out to my client … you know who you are ;) This fig recipe also goes out to my newfound fresh fig taste buds!
The secret to enjoying fresh figs is wrapping them in prosciutto and roasting or air frying them. Having the addition of goat cheese and pistachio for added creaminess and texture doesn’t hurt either. And to take it to an even magical level, enhance the complexity in sweet, salty, and acid flavors with a drizzle of honey.
A sweet, salty and acidic appetizer or snack delight that features figs stuffed with goat cheese and pistachios, wrapped with prosciutto, and air fried or baked to tender goodness.

Confession time: I don’t like figs, there I said it! Dried figs, sure. Fig newtons as a kid when that was the only snack you could find in the pantry, you bet. But fresh - you can forget it!
So when my personal training client handed me a bag of freshly picked figs, I had no idea what to do. But she entrusted me to create a recipe using them and I didn’t want to let her down! So not only does this recipe goes out to my client … you know who you are ;) This fig recipe also goes out to my newfound fresh fig taste buds!
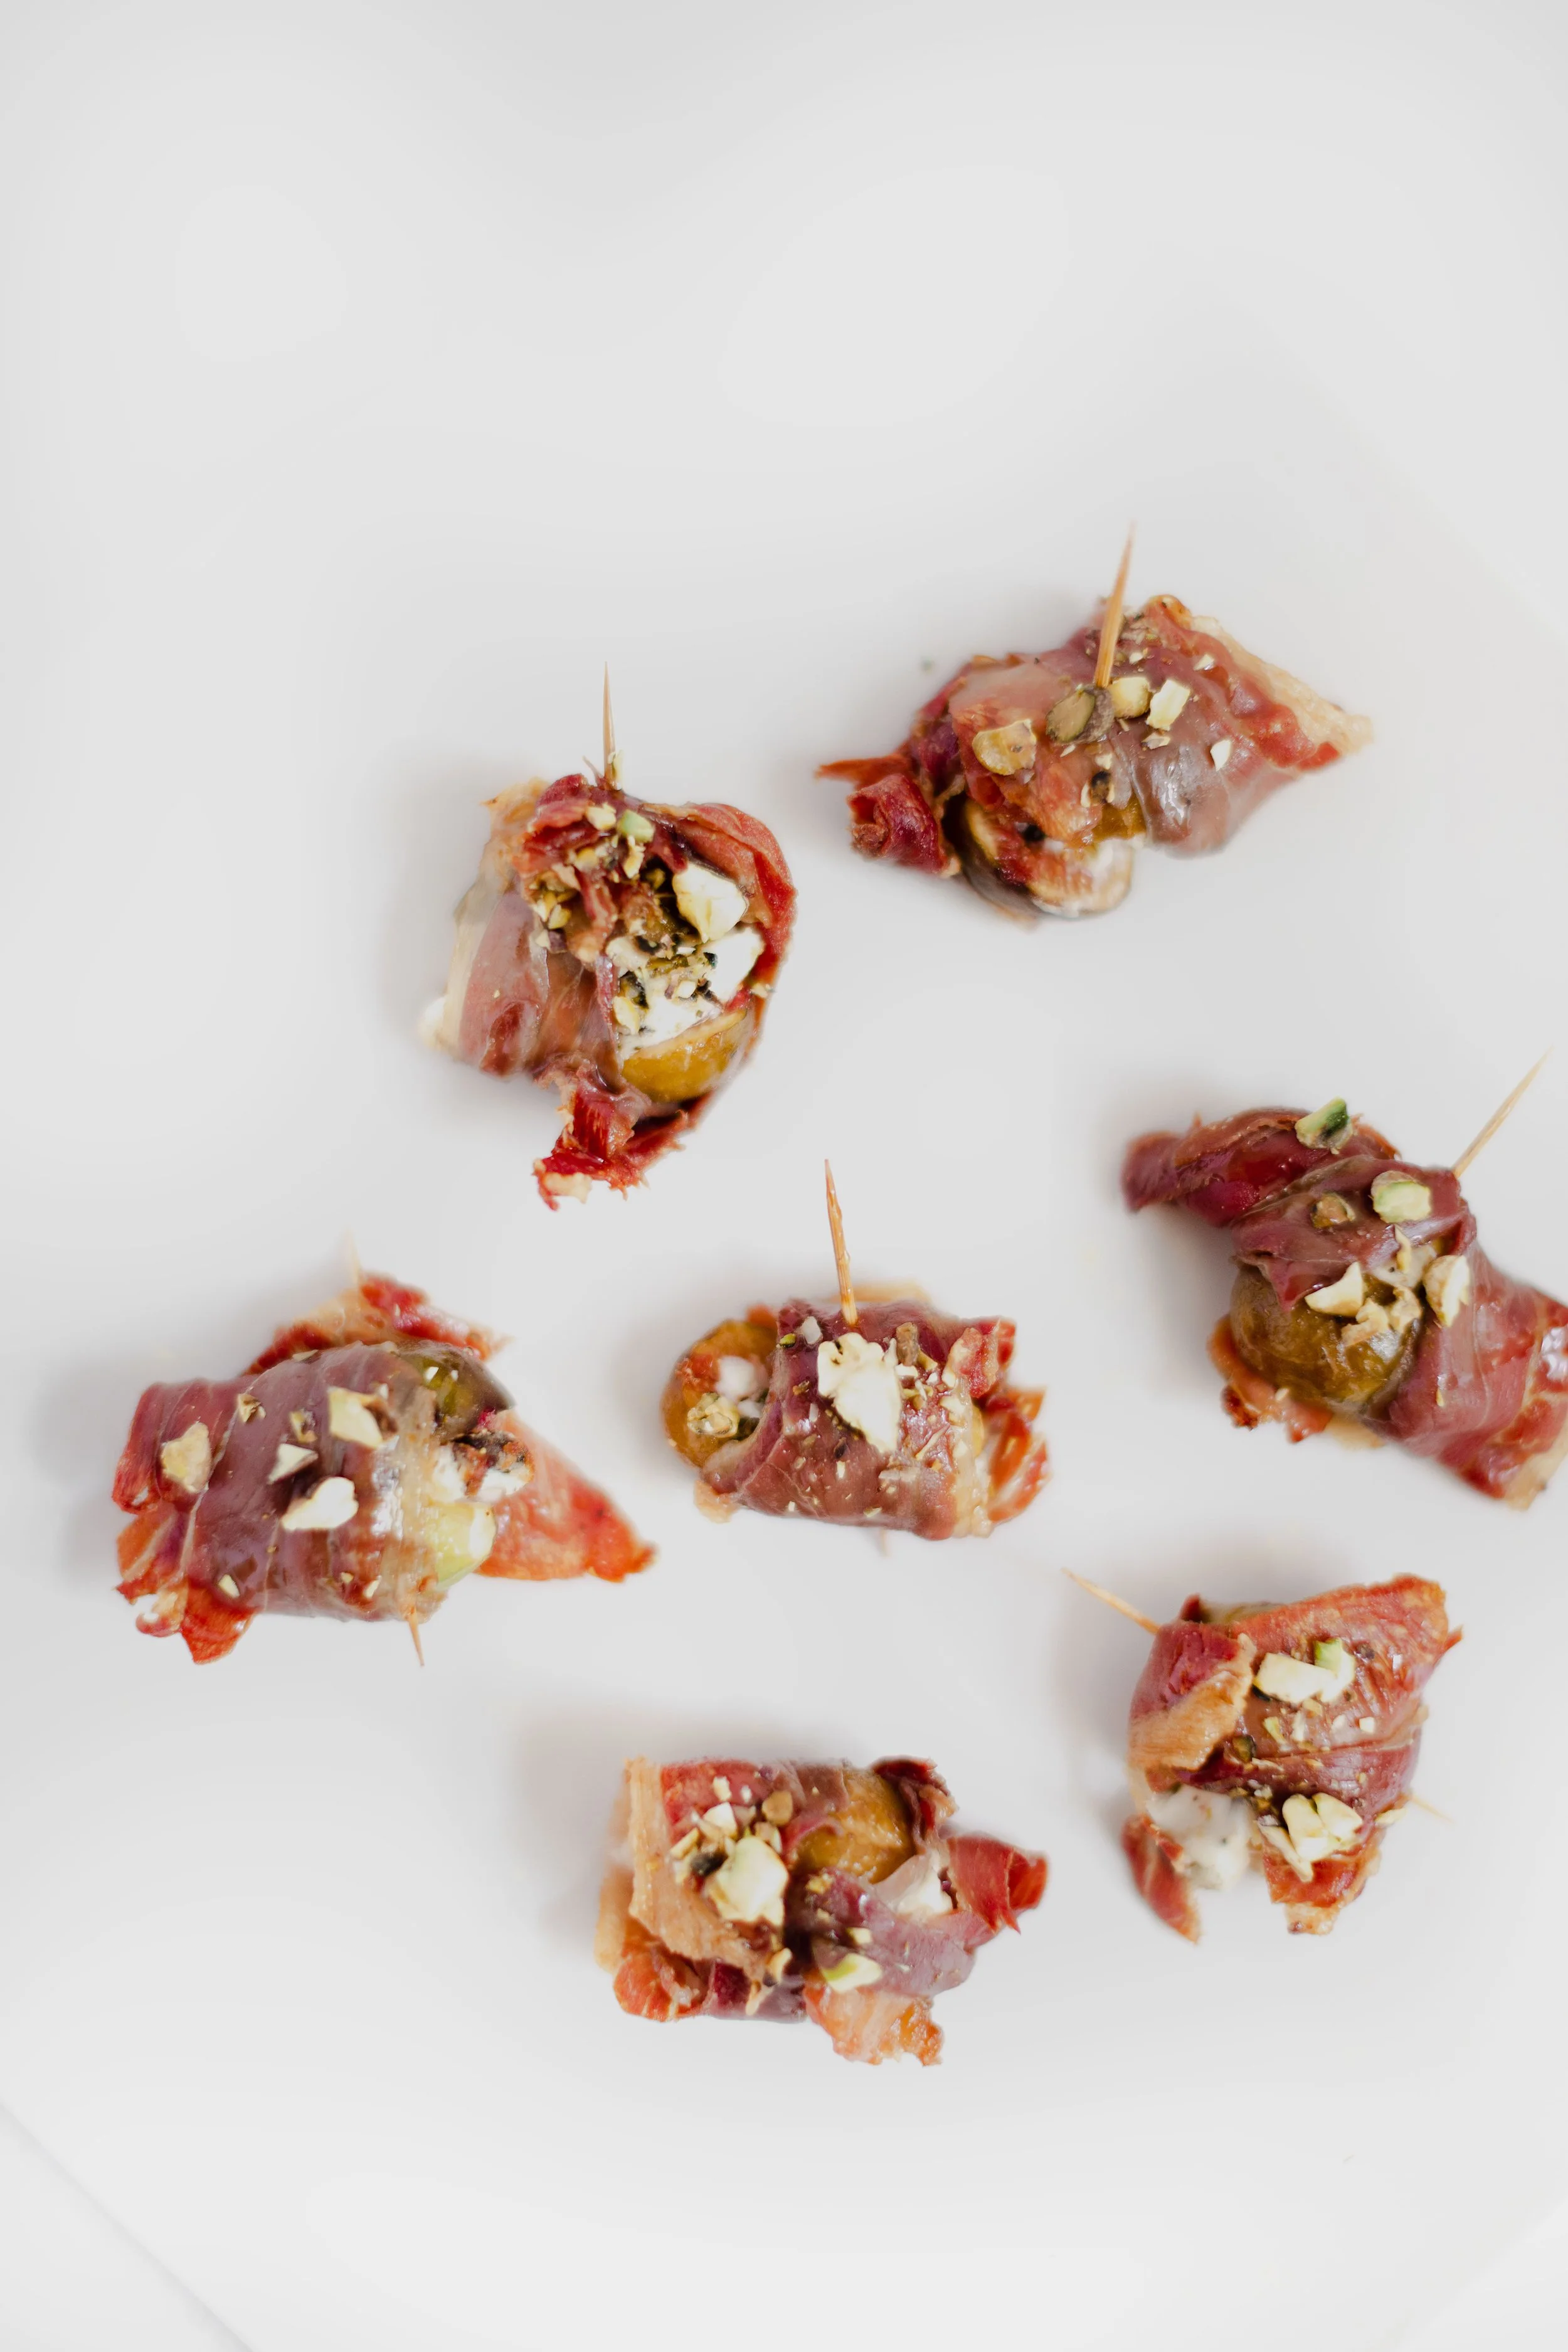
The secret to enjoying fresh figs is wrapping them in prosciutto and roasting or air frying them. Having the addition of goat cheese and pistachio for added creaminess and texture doesn’t hurt either. And to take it to an even magical level, enhance the complexity in sweet, salty, and acid flavors with a drizzle of honey.

It quite literally cannot get any better than this!
So if you are looking for a summer appetizer, macro balanced snack, or trying to figure out ways to use figs, then this is your recipe ladies and gentleman!


And feel free to switch out ingredients: figs for dates, goat cheese for blue cheese, pistachio for almonds, honey for balsamic glaze, prosciutto for bacon, air frying for baking…you get my drift ;)

If you try this recipe, let us know! Leave a comment, rate it, and don’t forget to tag a photo to #fromtherootsblog on Instagram. We love seeing what you come up with!
A sweet, salty and acidic appetizer or snack delight that features figs stuffed with goat cheese and pistachios, wrapped with prosciutto, and air fried or baked to tender goodness.
Servings: 4 | Prep Time: 4 min | Cook 5 min
Ingredients
8 figs
⅓ cup goat or blue cheese, softened
8 prosciutto slices
2 Tbsp raw pistachios, chopped
Garnish
Local honey and chopped pistachios
Directions
Cut the figs in half and set aside.
In a small bowl, mix softened goat cheese and chopped pistachios until well combined. Dollop a small amount on one fig half and place the other fig half on top like a sandwich. Repeat with the remainder of figs where you should have 8 fig sandwiches.
Wrap the prosciutto around each fig sandwich. The ends of the prosciutto should overlap. Place a wet toothpick through prosciutto wrapped fig so that it doesn’t fall apart.
If using an air fryer: preheat the air fryer to 400 degrees and cook for 5-7 minutes flipping halfway until prosciutto is crispy.
If using the oven: preheat oven to 400 degrees and line a baking sheet with parchment paper. Place in the oven on the top rack and roast for 8-10 minutes.
Garnish with honey drizzle and leftover chopped pistachios and enjoy!
SHOP OUR FAVORITE TOOLS + INGREDIENTS FOR THIS RECIPE!


Peanut Butter And Jelly Muffins
PB&J Muffins. Need I say more!?
I’m pretty biased when it comes to anything using peanut butter. *Cough Healthy Strawberry Brown Rice Krispie Treats, Healthy Reese’s Peanut Butter Eggs, Peanut Butter & Jelly Protein Smoothie Bowl, Chocolate Peanut Butter Granola and Berry Parfait, Raspberry Almond Thumbprint Cookies, and the list goes on…
Peanut Butter and Jelly Muffins - A healthy but flavorful take on the childhood PB&J sandwiches. Using one bowl, naturally sweetened and gluten-free!

PB&J Muffins. Need I say more!?
I’m pretty biased when it comes to anything using peanut butter. *Cough Healthy Strawberry Brown Rice Krispie Treats, Healthy Reese’s Peanut Butter Eggs, Peanut Butter & Jelly Protein Smoothie Bowl, Chocolate Peanut Butter Granola and Berry Parfait, Raspberry Almond Thumbprint Cookies, and the list goes on…


So it was surprising to me that I didn’t have this recipe posted until now! I have been making it for so many loved ones and it has become my nutrition clients’ (link) #1 breakfast and snack favorite, that I just assumed I already had the recipe posted. Haha.

But I can’t take all the credit for this masterpiece of a peanut butter and jelly muffin recipe. I have adapted this recipe from Minimalist Baker but have adjusted the ingredients just a smidge to make it more feasible and accessible for clients who would like to make these from home!


With that being said, if I recommend this recipe for a client that is dealing with blood sugar issues, then I usually tell them to opt out of the maple and/coconut sugar and to leave the extra garnishes off like the jelly/jam. And the muffins will STILL taste amazing.
This peanut butter and jelly muffin recipe will soon be in your go to muffin recipe arsenal. I Promise You!


If you try this recipe, let us know! Leave a comment, rate it, and don’t forget to tag a photo to #fromtherootsblog on Instagram. We love seeing what you come up with!
Peanut Butter and Jelly Muffins - A healthy but flavorful take on the childhood PB&J sandwiches. Using one bowl, naturally sweetened and gluten-free!
PREP TIME: 5 MIN | COOK TIME: 30 MIN | MAKES 12 Servings
Ingredients
¾ cup unsweetened applesauce
½ cup creamy or crunchy peanut butter
⅓ cup coconut sugar
¼ cup maple syrup
¼ cup unsweetened milk of choice
¼ cup coconut oil (melted)
2 eggs
1 tsp apple cider vinegar
1 ½ cup gluten-free flour blend
¾ cup gluten-free rolled oats
1 ½ tsp baking soda
½ tsp baking powder
¼ tsp sea salt
9-11 tsp naturally sweetened jam of choice
handful blueberries as garnish (optional)
Directions
Preheat the oven to 350 degrees and lightly grease or line a standard 12 count muffin tin.
In a large mixing bowl, whisk eggs and then add applesauce, peanut butter, coconut sugar, maple syrup, oil and milk and stir until combined and sugar crystals have dissolved.
Add baking soda, baking powder, and apple cider and whisk to combine.
Lastly, add the flour, oats, and salt and stir to combine. The batter should be scoopable, not pourable. If the batter isn’t on the thicker side, then slowly add in more flour.
Pour batter into muffin tins about ¾ full and top with ½ to 1 tsp jam and ¼ tsp more peanut butter. Swirl jam and peanut butter using a toothpick, making sure you don’t get too close to the edges or it will cause seeping when baking and can get too browned. You can also garnish with blueberries and oats on top or create an oat streusel topping!
Bake for 26-32 minutes or until a toothpick when inserted comes out clean. Allow to cool in tin for 20 minutes before allowing them to cool a second time on a wire rack. May need to loosen muffins from the pan by sliding a butter knife around the edges.
Enjoy immediately after! Can keep at room temperature for several days and freezer friendly.
SHOP OUR FAVORITE TOOLS + INGREDIENTS FOR THIS RECIPE!


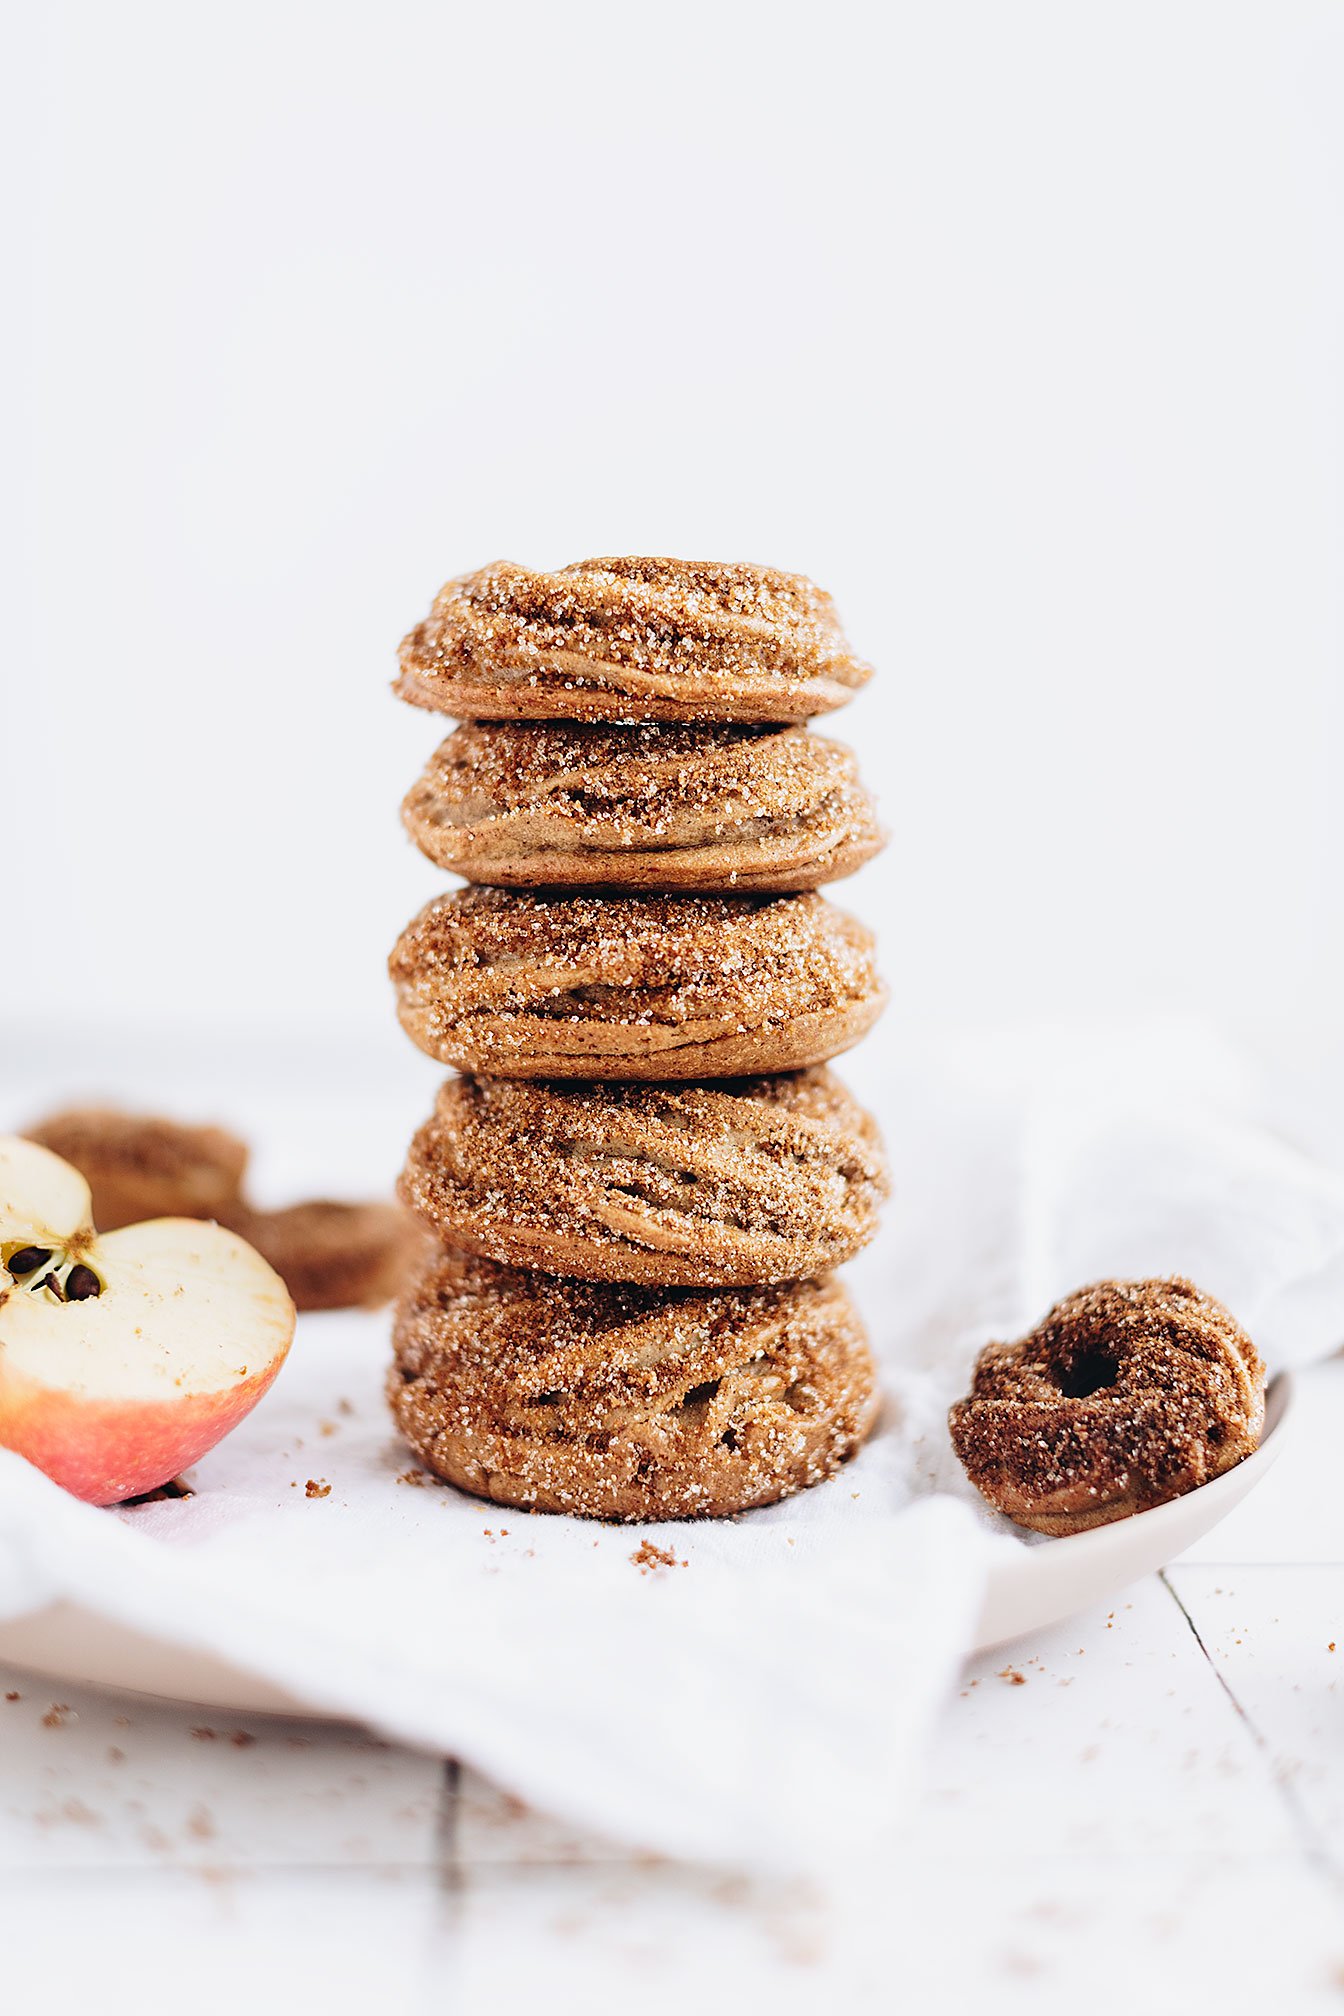
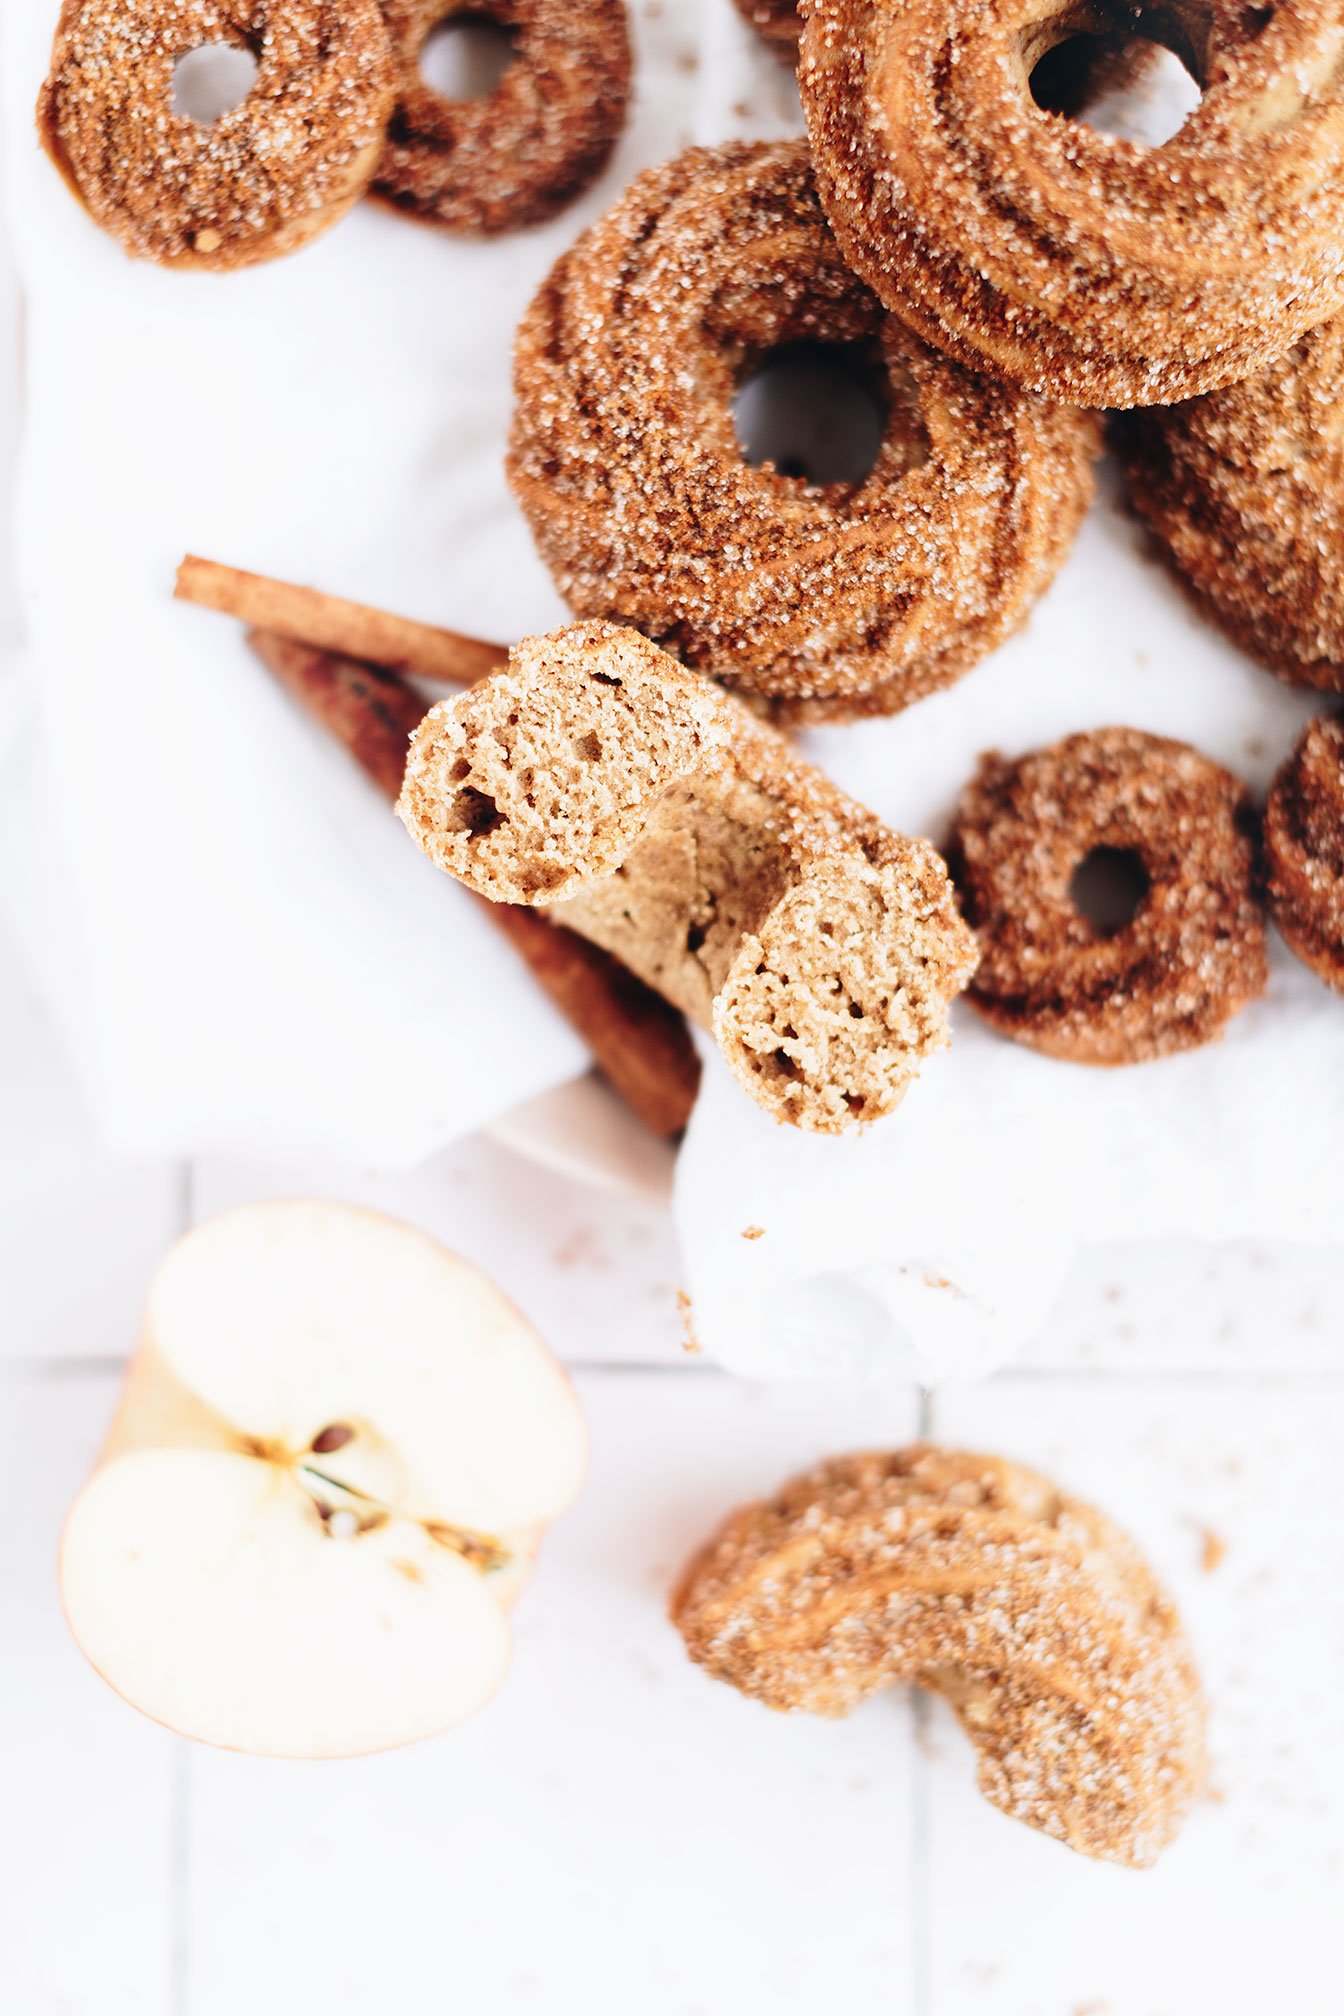
Apple Cider Churro Donuts
Last week, we had a local event in the area where business fronts downtown Hartwell would open their doors for women to shop, receive discounts in store all while enjoying delicious fall treats! In my office building, the chiropractor made warm apple cider, chocolate hummus, and goat cheese stuffed dates with chopped pistachios. So good!
Running on the apple cider train, I decided in my dreams that I should make some sort of apple cider donut! Haha, I swear, pressure to recipe development is where it’s at for me! As you can tell in the pictures, I have cute mini donuts sprinkled in and that is because my initial thought was to use them as a garnish for the apple cider!
Now, if you decide to use the apple cider churro donuts as a garnish for your apple cider or apple cider mimosas, then please take pictures and share - It would just be the cutest thing!
Apple Cider Churro Donuts - Apple cider meets churros - this healthier, baked not fried, donut is a delicious treat to bake during the fall season! Gluten-free, dairy-free, refined sugar free, nut-free, and paleo friendly.

Last week, we had a local event in the area where business fronts downtown Hartwell would open their doors for women to shop, receive discounts in store all while enjoying delicious fall treats! In my office building, the chiropractor made warm apple cider, chocolate hummus, and goat cheese stuffed dates with chopped pistachios. So good!


Running on the apple cider train, I decided in my dreams that I should make some sort of apple cider donut! Haha, I swear, pressure to recipe development is where it’s at for me! As you can tell in the pictures, I have cute mini donuts sprinkled in and that is because my initial thought was to use them as a garnish for the apple cider!

Now, if you decide to use the apple cider churro donuts as a garnish for your apple cider or apple cider mimosas, then please take pictures and share - It would just be the cutest thing!


Okay, I digress again. The reason why I added churro to the recipe name is not because these are made in the traditional sense as they are baked, not fried, but the cinnamon sugar topping! And bonus, if you decide to use a piping bag to fill in the donut pans then they create a natural churro design which is super fun and holds more cinnamon sugar topping. And who doesn’t want more of that!?

If you would like to see the kitchen equipment and ingredients I used to make this recipe, then scroll down below for the links!
So while it is still fall season and you have apple cider and all of your fall spices, then make a batch of these apple cider churro donuts!


I think I will make these for my niece and nephews for Thanksgiving breakfast this year :)
And hey, if you want to get super creative, here are some fun ways you can pair your donut with, if eating them on their own is not enough! Seasonal drinks like adrenal cream cider, coffee, hot cocoa, apple cider, turmeric latte, and chai tea, milk, ice cream (stop it!), dipped in nut butters, jams or the traditional churro style with chocolate sauce.

If you try this recipe, let us know! Leave a comment, pin it, and don’t forget to tag a photo to #fromtherootsblog on Instagram. We love seeing what you come up with!
Apple Cider Churro Donuts - Apple cider meets churros - this healthier, baked not fried, donut is a delicious treat to bake during the fall season! Gluten-free, dairy-free, refined sugar free, nut-free, and paleo friendly.
Prep Time: 15 min | Cook Time: 20 min | Servings: 12 large donuts
Ingredients
Donut Batter
2 cups gluten free 1-to-1 baking flour
¾ cup arrowroot flour
½ cup organic applesauce
⅓ cup coconut sugar
⅓ cup avocado or coconut oil
⅓ cup organic apple cider or apple juice
2 large eggs (room temperature)
1 Tbsp apple pie spice seasoning
2 tsp baking powder
1 tsp pure vanilla extract
½ tsp baking soda
¼ tsp sea salt
Avocado/coconut oil spray for donut pans
Churro Topping
3 Tbsp melted grass-fed butter, ghee, or coconut oil
3 Tbsp coconut sugar, maple sugar or date sugar
1 ½ tsp apple pie spice seasoning
Directions
Preheat the oven to 350 degrees and spray silicone donut pans for easy removal.
In a large mixing bowl, combine dry ingredients (ie both flours, sugar, apple pie spice, baking powder and soda, and salt). Set aside.
In a separate bowl, whisk together the eggs, oil, vanilla, applesauce, and apple cider/juice. Add the dry ingredients to the wet and stir well until fully combined. The batter should be scoopable, not pourable.
You can either spoon the batter or transfer batter into a piping bag and fill into the wells of the lightly greased donut pan to make 11-12 donuts - you might need to do this in 2 batches depending on the size of your donut pan.
Bake in the preheated oven for 18-20 minutes or until set and a toothpick, when inserted, comes out clean. Remove the pan from the oven and place it on a wire rack to cook for about 5 minutes. Once cooled, remove donuts from the pan and place on a wire rack to cool completely.
While the donuts are cooling, make the churro topping. Melt fat of choice in a small bowl. In a separate bowl, stir the sugar and apple pie spice seasoning. Brush the cooled donuts with the fat and either sprinkle with or dip donuts in the sugar mixture. Serve right away or store at room temperature for up to 3 days. Refrigerate or freeze to keep them longer.