Sort by Category
- May 2026
- March 2026
- December 2025
- November 2025
- October 2025
- September 2025
- August 2025
- June 2025
- August 2024
- July 2024
- June 2024
- May 2024
- February 2024
- January 2024
- December 2023
- November 2023
- October 2023
- September 2023
- August 2023
- July 2023
- March 2023
- February 2023
- January 2023
- December 2022
- November 2022
- October 2022
- September 2022
- August 2022
- June 2022
- May 2022
- April 2022
- March 2022
- February 2022
- January 2022
- December 2021
- November 2021
- October 2021
- September 2021
- August 2021
- July 2021
- June 2021
- May 2021
- April 2021
- March 2021
- February 2021
- January 2021
- December 2020
- November 2020
- October 2020
- September 2020
- August 2020
- July 2020
- June 2020
- May 2020
- April 2020
- March 2020
- February 2020
- January 2020
- December 2019
- November 2019
- October 2019
- September 2019
- August 2019
- July 2019
- June 2019
- May 2019
- April 2019
- March 2019
- February 2019
- January 2019
- December 2018
- November 2018
- October 2018
- September 2018
- August 2018
- July 2018
- June 2018
- May 2018
- April 2018
- March 2018
- February 2018

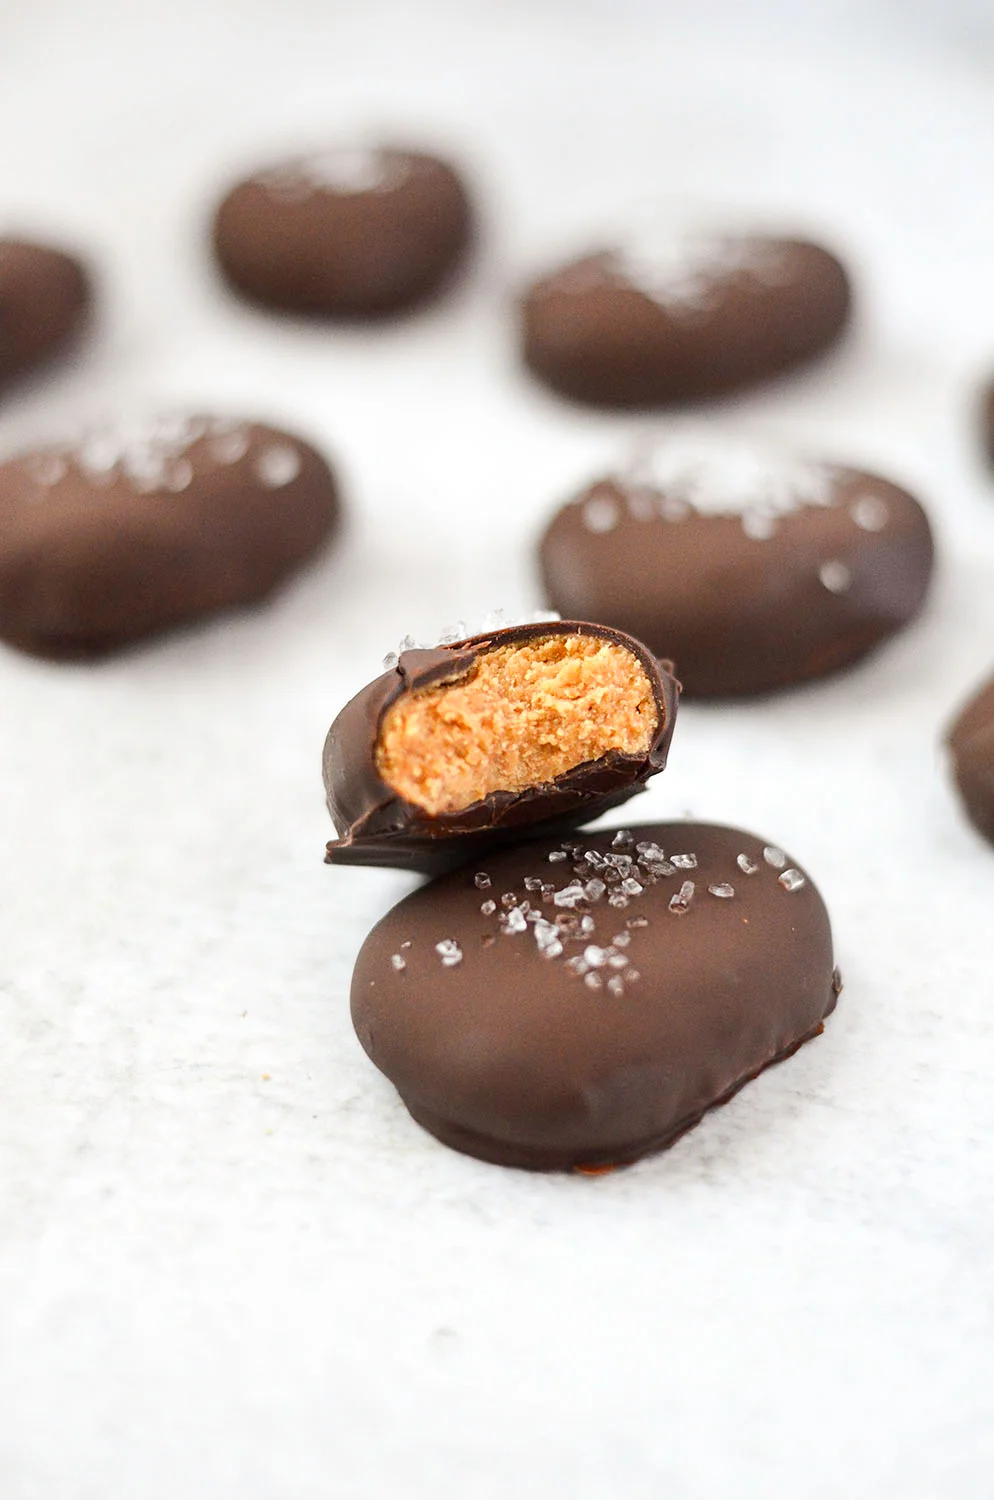
Healthy Reese's Peanut Butter Eggs
Growing up as a kid, Reese’s peanut butter eggs were always included in the Easter basket. Of course, there would also be a typical stuffed bunny or chick, a book or cute Easter pencils, and other candy (lots of it!) but the Reese’s eggs were my favorite.
I guess this recipe stems from nostalgia. As adults, we aren’t getting Easter baskets anymore. Instead, we may be the one putting them together! The good news is that I don’t have to wait around like I did as a child because I can now make them at home!
Healthy Reese’s Peanut Butter Eggs - Healthier version of the classic Reese’s peanut butter eggs sans refined sugar. Dairy-free, gluten-free, and vegan!

Growing up as a kid, Reese’s peanut butter eggs were always included in the Easter basket. Of course, there would also be a typical stuffed bunny or chick, a book or cute Easter pencils, and other candy (lots of it!) but the Reese’s eggs were my favorite

I guess this recipe stems from nostalgia. As adults, we aren’t getting Easter baskets anymore. Instead, we may be the one putting them together! The good news is that I don’t have to wait around like I did as a child because I can now make them at home!

What makes this situation better is that the recipe is made with only 5 ingredients. These healthy Reese’s peanut butter eggs are gluten-free, dairy-free, and vegan with no refined sugars!

I started recipe testing these back in February for an Easter post, but what I found is that these can be made any time of the year. You can definitely shape these into eggs for the Easter or simply make them into balls. Whatever you end up doing, you will soon find that these are super addicting!
I like to store the peanut butter eggs in the freezer for those random sweet tooth moments, but if you are eating them that week, then the fridge is fine too!


If you try this recipe, let us know! Leave a comment, rate it, and don’t forget to tag a photo to #fromtherootsblog on Instagram. We love seeing what you come up with!
Makes 8-9 eggs.
Ingredients
½ cup peanut butter
¼ cup coconut flour
2 Tbsp maple syrup
½ cup dark chocolate
1 Tsp coconut oil
Directions
In a small bowl, combine peanut butter, coconut flour, and maple syrup. The mixture should be firm and tacky. If the mixture is runny, slowly add more coconut flour.
Scoop out 1 tablespoon of the mixture. Form the egg shape by rolling a ball and then placing the ball onto a small baking sheet lined with parchment paper. Press down onto ball until flat, then shape the top part where it makes a point.
Transfer tray to the freezer for 10 minutes.
While the eggs are setting in the freezer, combine chocolate and coconut oil into a small bowl. Place the bowl in the microwave and melt chocolate in 30 second increments until smooth and melted.
Take the tray out of the freezer and use a fork to dip each egg into melted chocolate. Make sure the egg is fully coated. Transfer back to parchment lined baking sheet and top with coarse sea salt if desired.
Immediately place baking sheet back into the freezer for 30 minutes to 1 hour.
Store in freezer for long term or fridge if eating immediately to one week.
Notes
You can use honey instead of maple syrup if not vegan.
Feel free to try other types of nut/seeds butter for this recipe! Just make sure you slowly add in the coconut flour so that the mixture isn’t too runny or too dry.
If dairy isn’t an issue for you, you can sub out the dark chocolate for milk chocolate. I made these using milk chocolate for my husband and he says that it taste closer to Reese’s eggs.


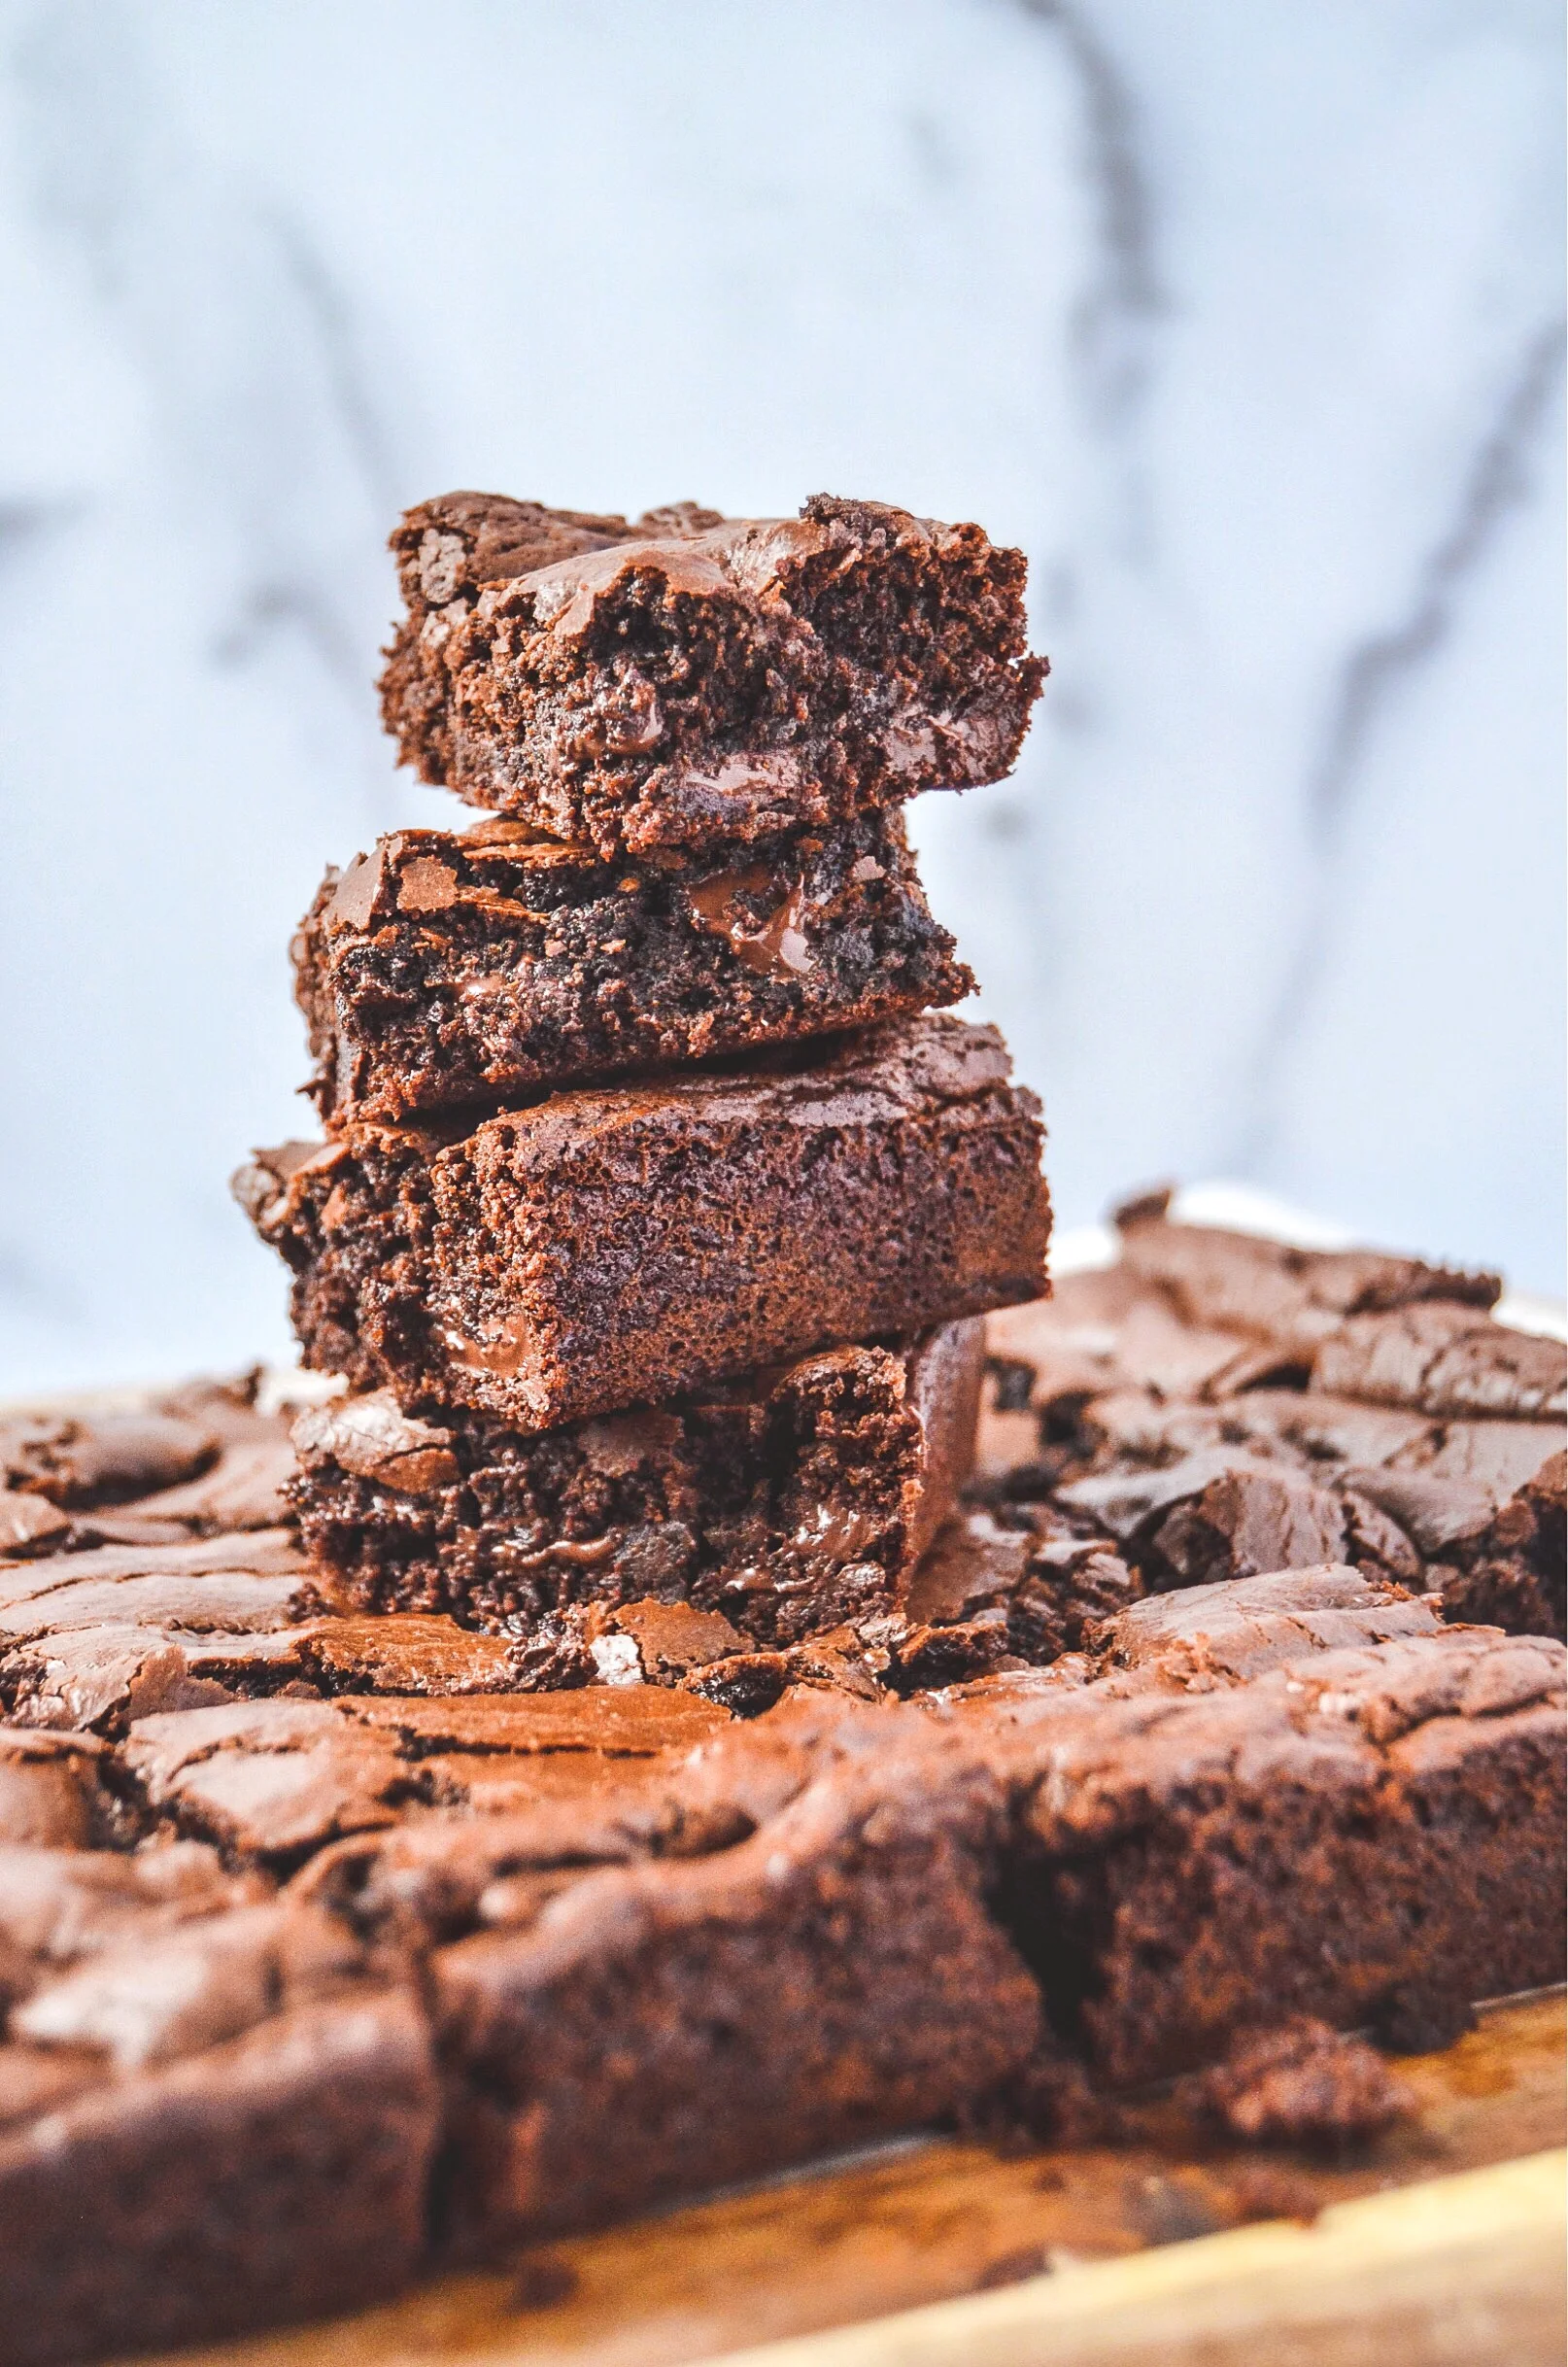
Fudgy Paleo Brownies
Growing up, brownies were my least favorite dessert. Maybe because the flavors were too rich or the texture was too dry, but nonetheless, I stopped eating them. Of course I would get the judgy looks and sneers but hey, they didn’t taste good to me! That is, until I had a fudgy vegan brownie at this bakery in Atlanta and I was floored! It was like the heavens opened up with arms wide open and sucked me in!
Foolproof staple brownie recipe that is also gluten-free, dairy-free, and nut-free!

Growing up, brownies were my least favorite dessert. Maybe because the flavors were too rich or the texture was too dry, but nonetheless, I stopped eating them. Of course I would get the judgy looks and sneers but hey, they didn’t taste good to me! That is, until I had a fudgy vegan brownie at this bakery in Atlanta and I was floored! It was like the heavens opened up with arms wide open and sucked me in!

Too much? Well, that’s how I feel about these brownies! Now, this recipe didn’t happen overnight (perfection doesn’t happen overnight). As a food blogger, sometimes recipes can be made simple and it just clicks. Other times, not so much.
This recipe did not instantly click. It started out as a Mexican hot chocolate cookie that had the batter of a brownie but baked similar to a cake and ultimately dried out after a day or two. But the flavor was there and that’s where I went. Long story short, here we are and I am so glad!
Adding a healthy twist to an old fashioned brownie can be cumbersome at times. Luckily, this brownie is free of everything “bad” yet it tastes just like your typical sugar-filled brownie. This way, we can still ride that amazing “sugar high” but not feel so bad.

How do we get there? Well, we adapt and understand the ingredients that we are using. For example, coconut flour is used to replace all-purpose white flour. Coconut flour absorbs liquid so we only use ¼ cup. Baking powder is a great leavening agent but since this is a paleo recipe, we use coconut sugar, eggs, and vanilla extract instead. This combination gets whipped until a “ribbon stage” is reached.

If you try this recipe, let us know! Leave a comment, rate it, and don’t forget to tag a photo to #fromtherootsblog on Instagram. We love seeing what you come up with!
Ingredients
2/3 cup coconut sugar
2 eggs
1 tsp vanilla extract
8 oz dark chocolate chunks
1/4 cup coconut oil
1/4 cup coconut flour
1/4 cup cocoa powder
1/2 tsp salt
1/2 tsp baking soda
1/2 cup dark chocolate chunk
instructions
Preheat oven to 350 degrees and line a 9x9 baking pan with parchment paper. Spray with a non-stick spray and set aside.
In a small saucepan or small bowl, melt 8 oz dark chocolate and oil in 30-second increments if using the microwave or low heat on stove top until smooth and glossy. Remove from heat and set aside to cool slightly.
Using a hand mixer or KitchenAid mixer, combine coconut sugar, eggs, and vanilla extract and whisk together until the mixture reaches the “ribbon stage” (when you lift the whisk, the mixture should stream down evenly in “ribbons”).
In a medium bowl, whisk dry ingredients (coconut flour, cocoa powder, salt, and baking soda)
With the mixer/hand mixer on low, add the melted chocolate and dry ingredients until fully combined. Fold in ½ cup dark chocolate chunks.
Pour batter into prepared pan and smooth the surface.
Bake for 17-20 minutes until edges are set and the inside is slightly underdone.
Let the brownies rest in the pan for 15-20 minutes. This is the hardest part but so worth it!
Store in fridge for up to a week or freezer for up to a month. I personally like making these to freeze so that I can have brownie bites for my ice cream!
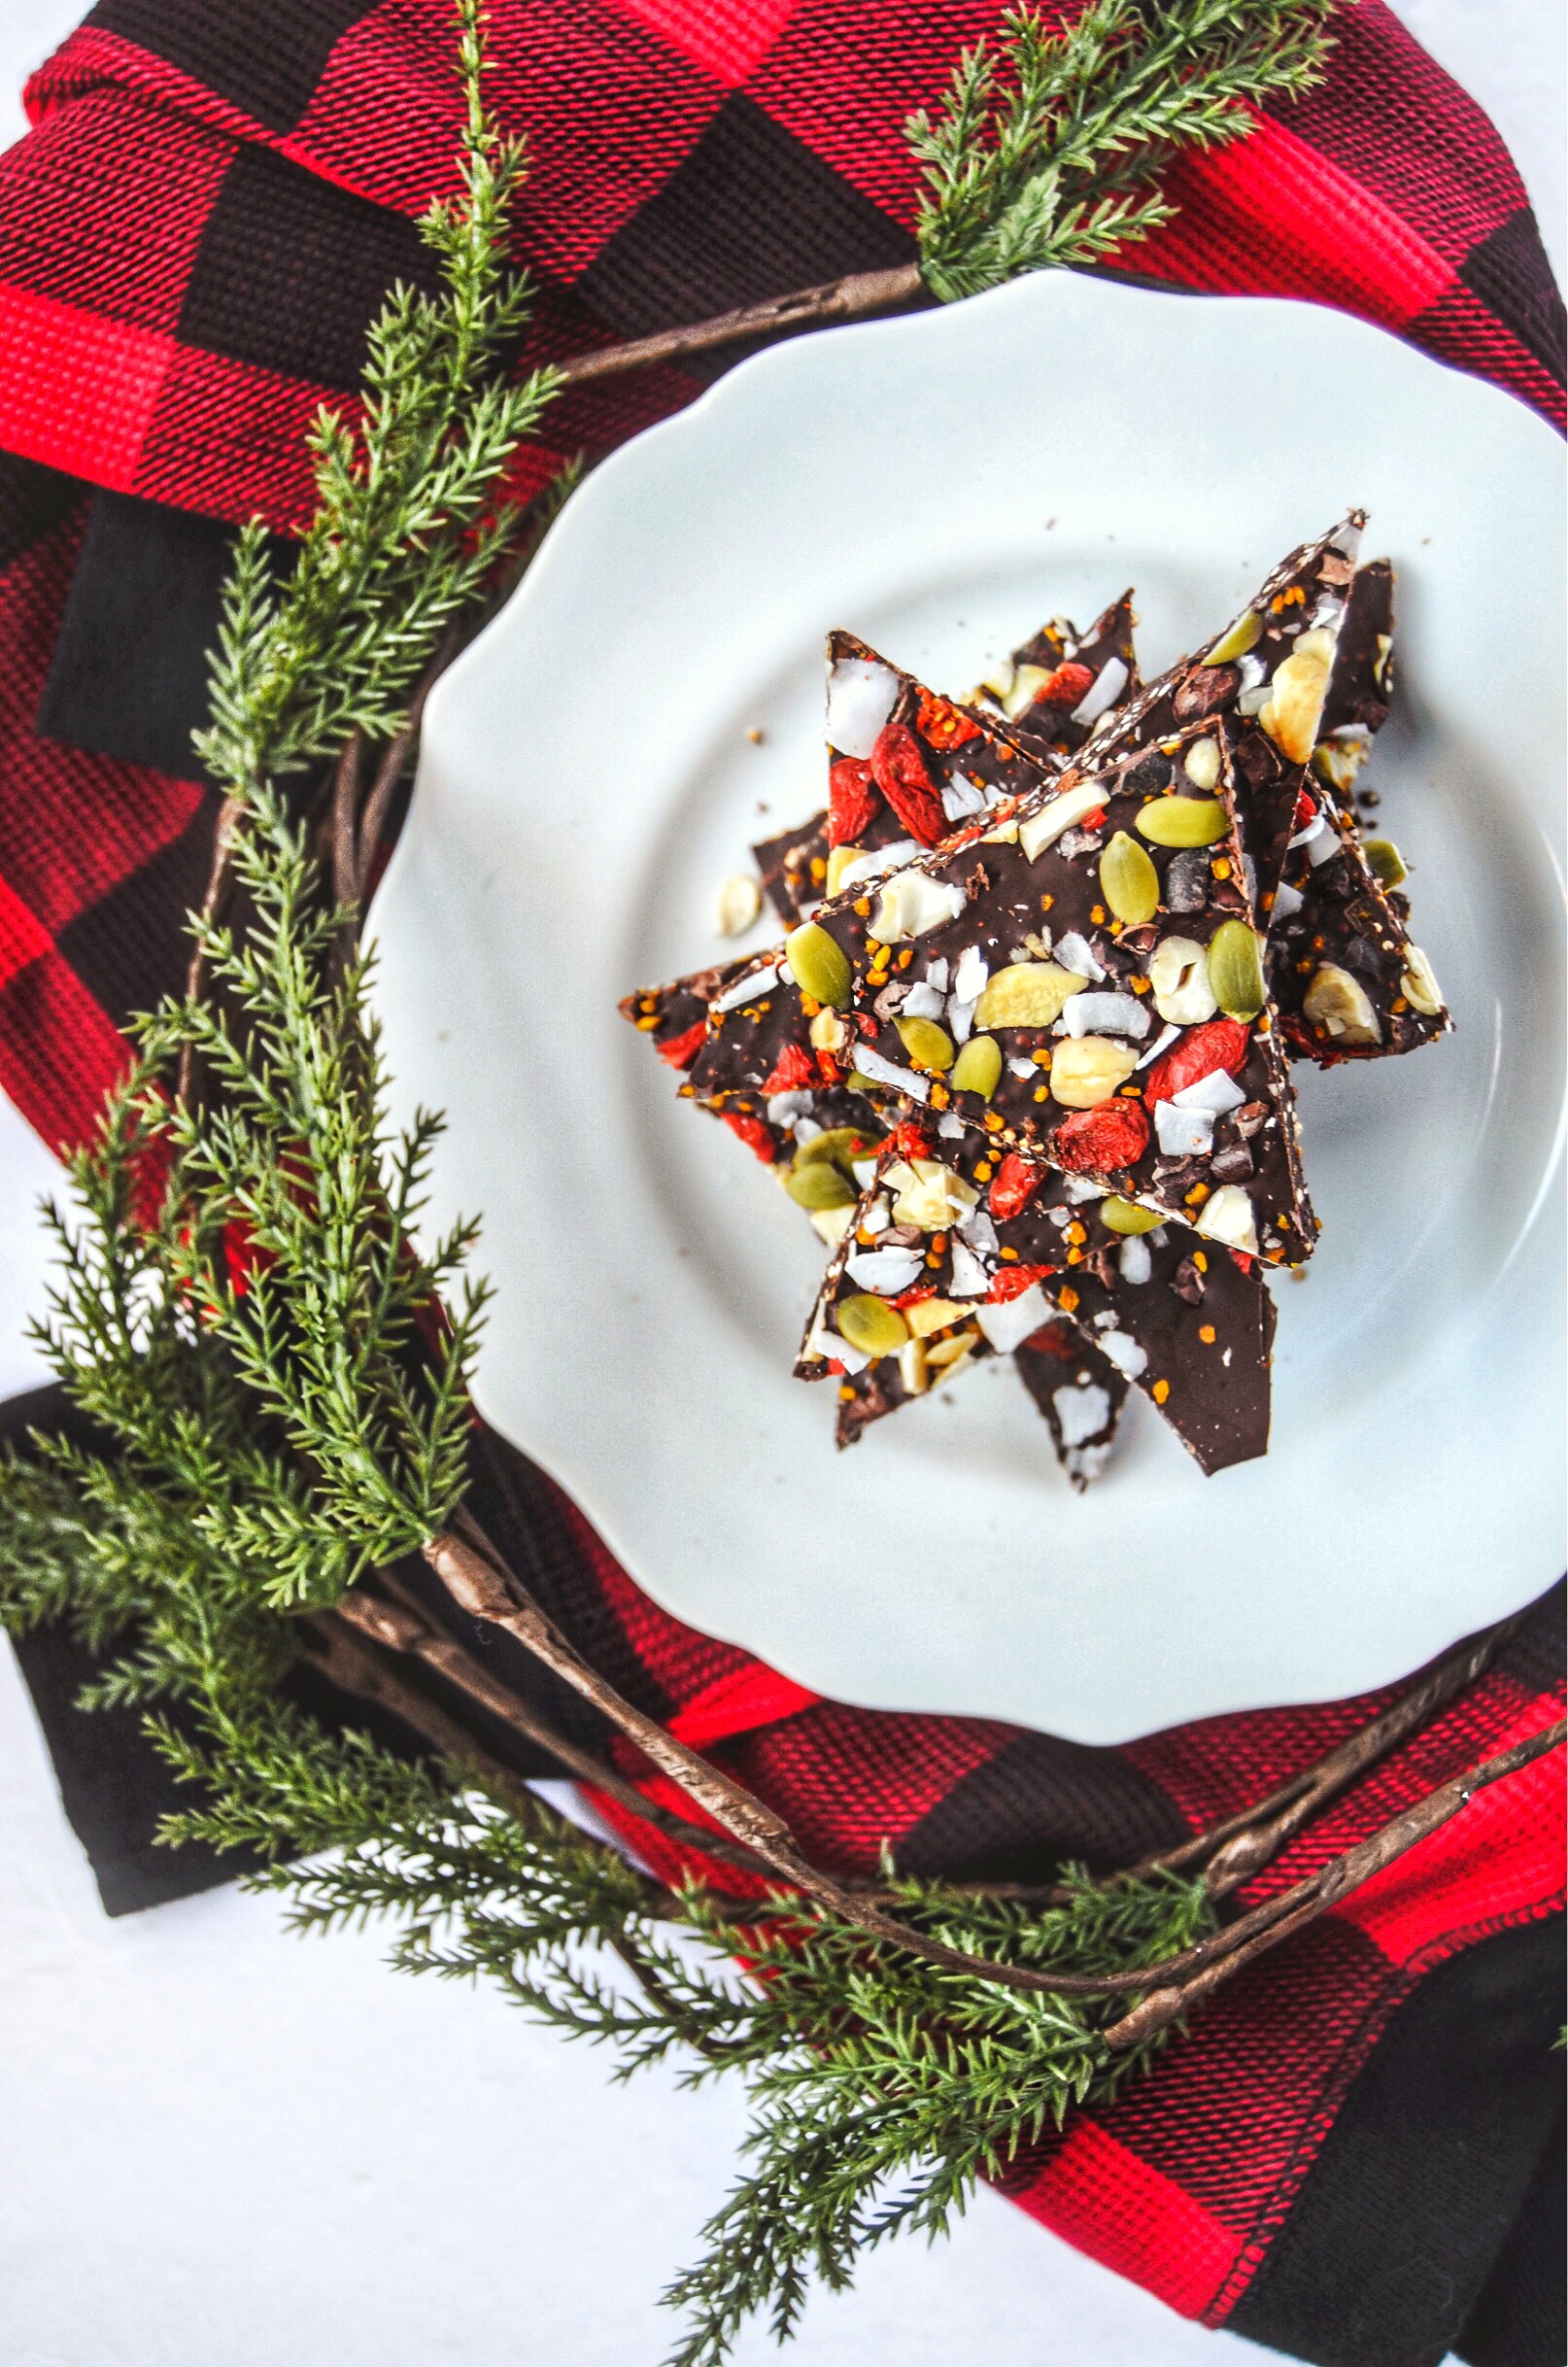
Superfood Dark Chocolate Bark
Any sweet tooth's out there?! Me, me, me!! My sweet tooth is bad, especially during the holidays. I’m all about balance and intuitive eating but when it comes to sweets, I have zero control! I work at a university so for the past two weeks there has been at least one sweet item in the break room. When my pants started to feel a little tighter than usual, I decided to put an end to it!
To satisfy my sweet tooth without feeling guilty, I created a superfood dark chocolate bark that is super easy to make and is loaded with all the good things, sans added sugar, dairy, and gluten.
A healthy chocolate treat that will satisfy any sweet tooth!

Any sweet tooth's out there?! Me, me, me!! My sweet tooth is bad, especially during the holidays. I’m all about balance and intuitive eating but when it comes to sweets, I have zero control! I work at a university so for the past two weeks there has been at least one sweet item in the break room. When my pants started to feel a little tighter than usual, I decided to put an end to it!
To satisfy my sweet tooth without feeling guilty, I created a superfood dark chocolate bark that is super easy to make and is loaded with all the good things, sans added sugar, dairy, and gluten.

The dark chocolate base is made with only 4 ingredients: dark chocolate, maca powder, quinoa, and MCT oil. Quality dark chocolate is quite nutritious as it contains high amounts of fiber, iron, magnesium, and copper. Not only is maca powder popular for increased energy levels and vitality, it provides a sweet “honeycomb” flavor to the chocolate.
Toasted quinoa provides a nutty crispy texture to your bark while providing high amounts of protein and fiber.


MCT oil is easily absorbed throughout the body providing your body an instant source of energy that can be converted into ketones to fuel your brain. I like using this brand: Sports Research

Not only is the base full of superfood ingredients, so are the toppings! I used a random mix of just about everything but you could use whatever you have in your pantry. For example, I used bee pollen, goji berries, cashews, cacao nibs, pepitas, and coconut flakes.

This bark is rather bitter but with a honeycomb undertone. If you prefer your bark a little sweeter, then gradually add 1 Tbsp of pure maple syrup or honey until desired sweet flavor. If you do not have MCT oil, you can use coconut oil instead. Coconut oil does not replace MCT oil as far as nutrition, it just provides an oily consistency that you need when melting the bark.

If you try this recipe, let us know! Leave a comment, rate it, and don’t forget to tag a photo to #fromtherootsblog on Instagram. We love seeing what you come up with!
Ingredients
1 bag (10 oz) organic dark chocolate
½ cup quinoa
2 Tbsp MCT oil (or coconut oil)
1 tsp maca powder
Toppings
Cashews, almonds, pistachios, goji berries, cacao nibs, bee pollen, chia seeds, coconut flakes
Directions
Preheat oven to 375 degrees
On a parchment paper lined baking sheet, spread quinoa in a single layer.
Toast quinoa in the oven for 5-7 minutes or until lightly brown and toasted.
While the quinoa is in the oven, melt chocolate by placing the chocolate in a microwave safe bowl and nuking the bowl in the microwave in 30 second increments.
When the chocolate is completely melted, add the toasted quinoa, MCT oil, and maca powder. Stir to combine.
Transfer chocolate mixture onto a parchment paper lined baking sheet. Spread chocolate using the back of a spoon to spread it out into a rough rectangle.
Scatter toppings over the chocolate while it is still warm. Feel free to get creative!
Place baking sheet in the fridge for up to 1 hour or until the chocolate has set.
Use a sharp knife to chop the slab into rough pieces.
Store in an airtight container in the fridge.

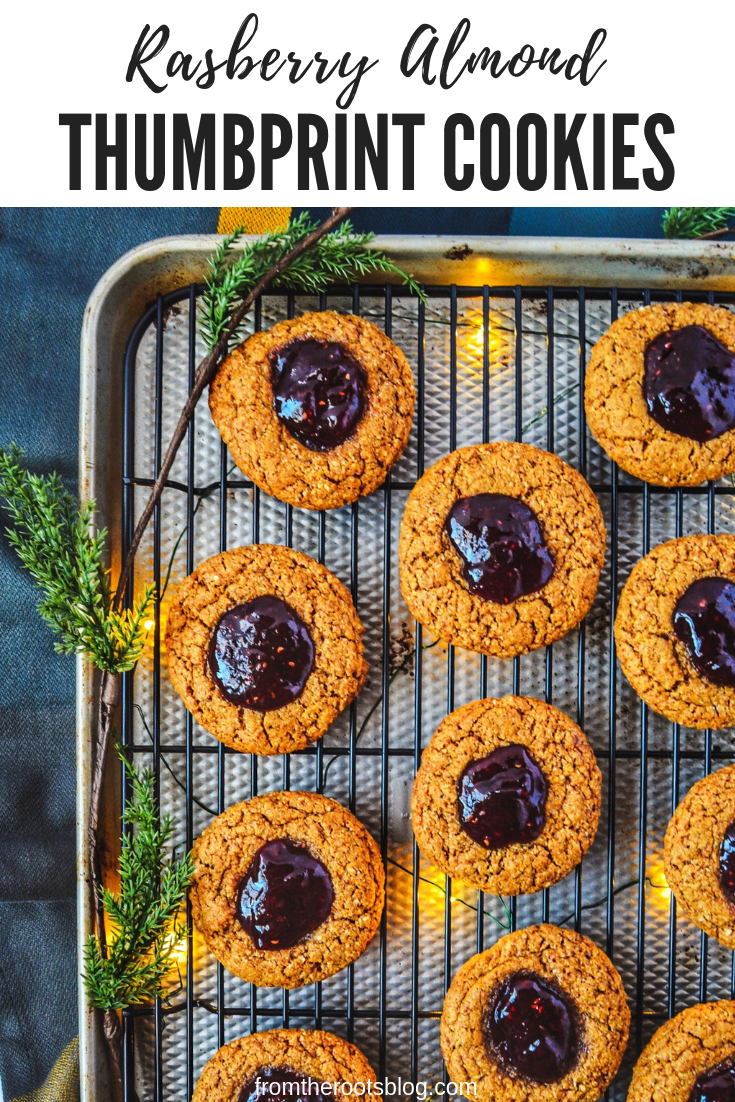
Raspberry Almond Thumbprint Cookies
I immediately think of thumbprint cookies when it comes to the holiday season. Thumbprint cookies alway seem to make an appearance around Christmas, and with good reason! The fruit jam on top of a soft, pillowy cookie is all I need to get my gears going for the holidays! Baking thumbprint cookies can also be a great family activity. The little ones can roll the dough into small balls and press their little thumbs into the dough creating a small well for the fruit preserves or jam.
My favorite organic fruit preserve is raspberry but you can choose any flavor. This recipe in particular is reminiscent of peanut butter and jelly sandwiches thanks to the almond flour, so pairing raspberry, grape, strawberry, blackberry, or blueberry preserve works great. I like using these fruit filling brands: Tiptree and Crofter’s
A healthy take on the classic holiday cookies that are gluten-free and dairy-free, with a soft and chewy texture!
I immediately think of thumbprint cookies when it comes to the holiday season. Thumbprint cookies alway seem to make an appearance around Christmas, and with good reason! The fruit jam on top of a soft, pillowy cookie is all I need to get my gears going for the holidays! Baking thumbprint cookies can also be a great family activity. The little ones can roll the dough into small balls and press their little thumbs into the dough creating a small well for the fruit preserves or jam.

My favorite organic fruit preserve is raspberry but you can choose any flavor. This recipe in particular is reminiscent of peanut butter and jelly sandwiches thanks to the almond flour, so pairing raspberry, grape, strawberry, blackberry, or blueberry preserve works great. I like using these fruit filling brands: Tiptree and Crofter’s

In addition to the almond flour, I also use gluten-free whole grain out flour. I use this brand but you could also ground your own oat flour by pouring oats into a processor or vitamix and blend until the oats turn into the consistency of flour.

If you try this recipe, let us know! Leave a comment, rate it, and don’t forget to tag a photo to #fromtherootsblog on Instagram. We love seeing what you come up with!
Ingredients
1 cup almond flour
½ cup GF whole grain oat flour
½ cup coconut sugar
¼ cup creamy almond butter
¼ cup melted coconut oil (room temp)
1 egg
1 tsp vanilla extract
¼ tsp baking soda
Filling
Fruit preserve or jam of choice such as raspberry, orange, strawberry, blackberry, grape, etc.
Directions
Preheat oven to 350 degrees.
In a medium bowl, mix coconut sugar, almond butter, coconut oil, egg, and vanilla extract until combined.
Add both flours and baking soda until combined.
Place cookie dough in the refrigerator to chill for at least 30 minutes.
Scoop about 1 Tbsp of dough and roll into balls. Place on a lined baking sheet about 2 inches apart.
Push your thumb in the center of each dough ball and dollop with raspberry preserve. Use enough to fill the well.
Place in the oven and cook for 12-15 minutes until cookies are lightly brown.
Let the cookies cool for 10 minutes on the baking sheet and then transfer to a rack to cool completely. Store in an airtight container at room temperature or in the refrigerator for longer storage.
Notes
Makes 12 cookies (1 Tbsp serving)
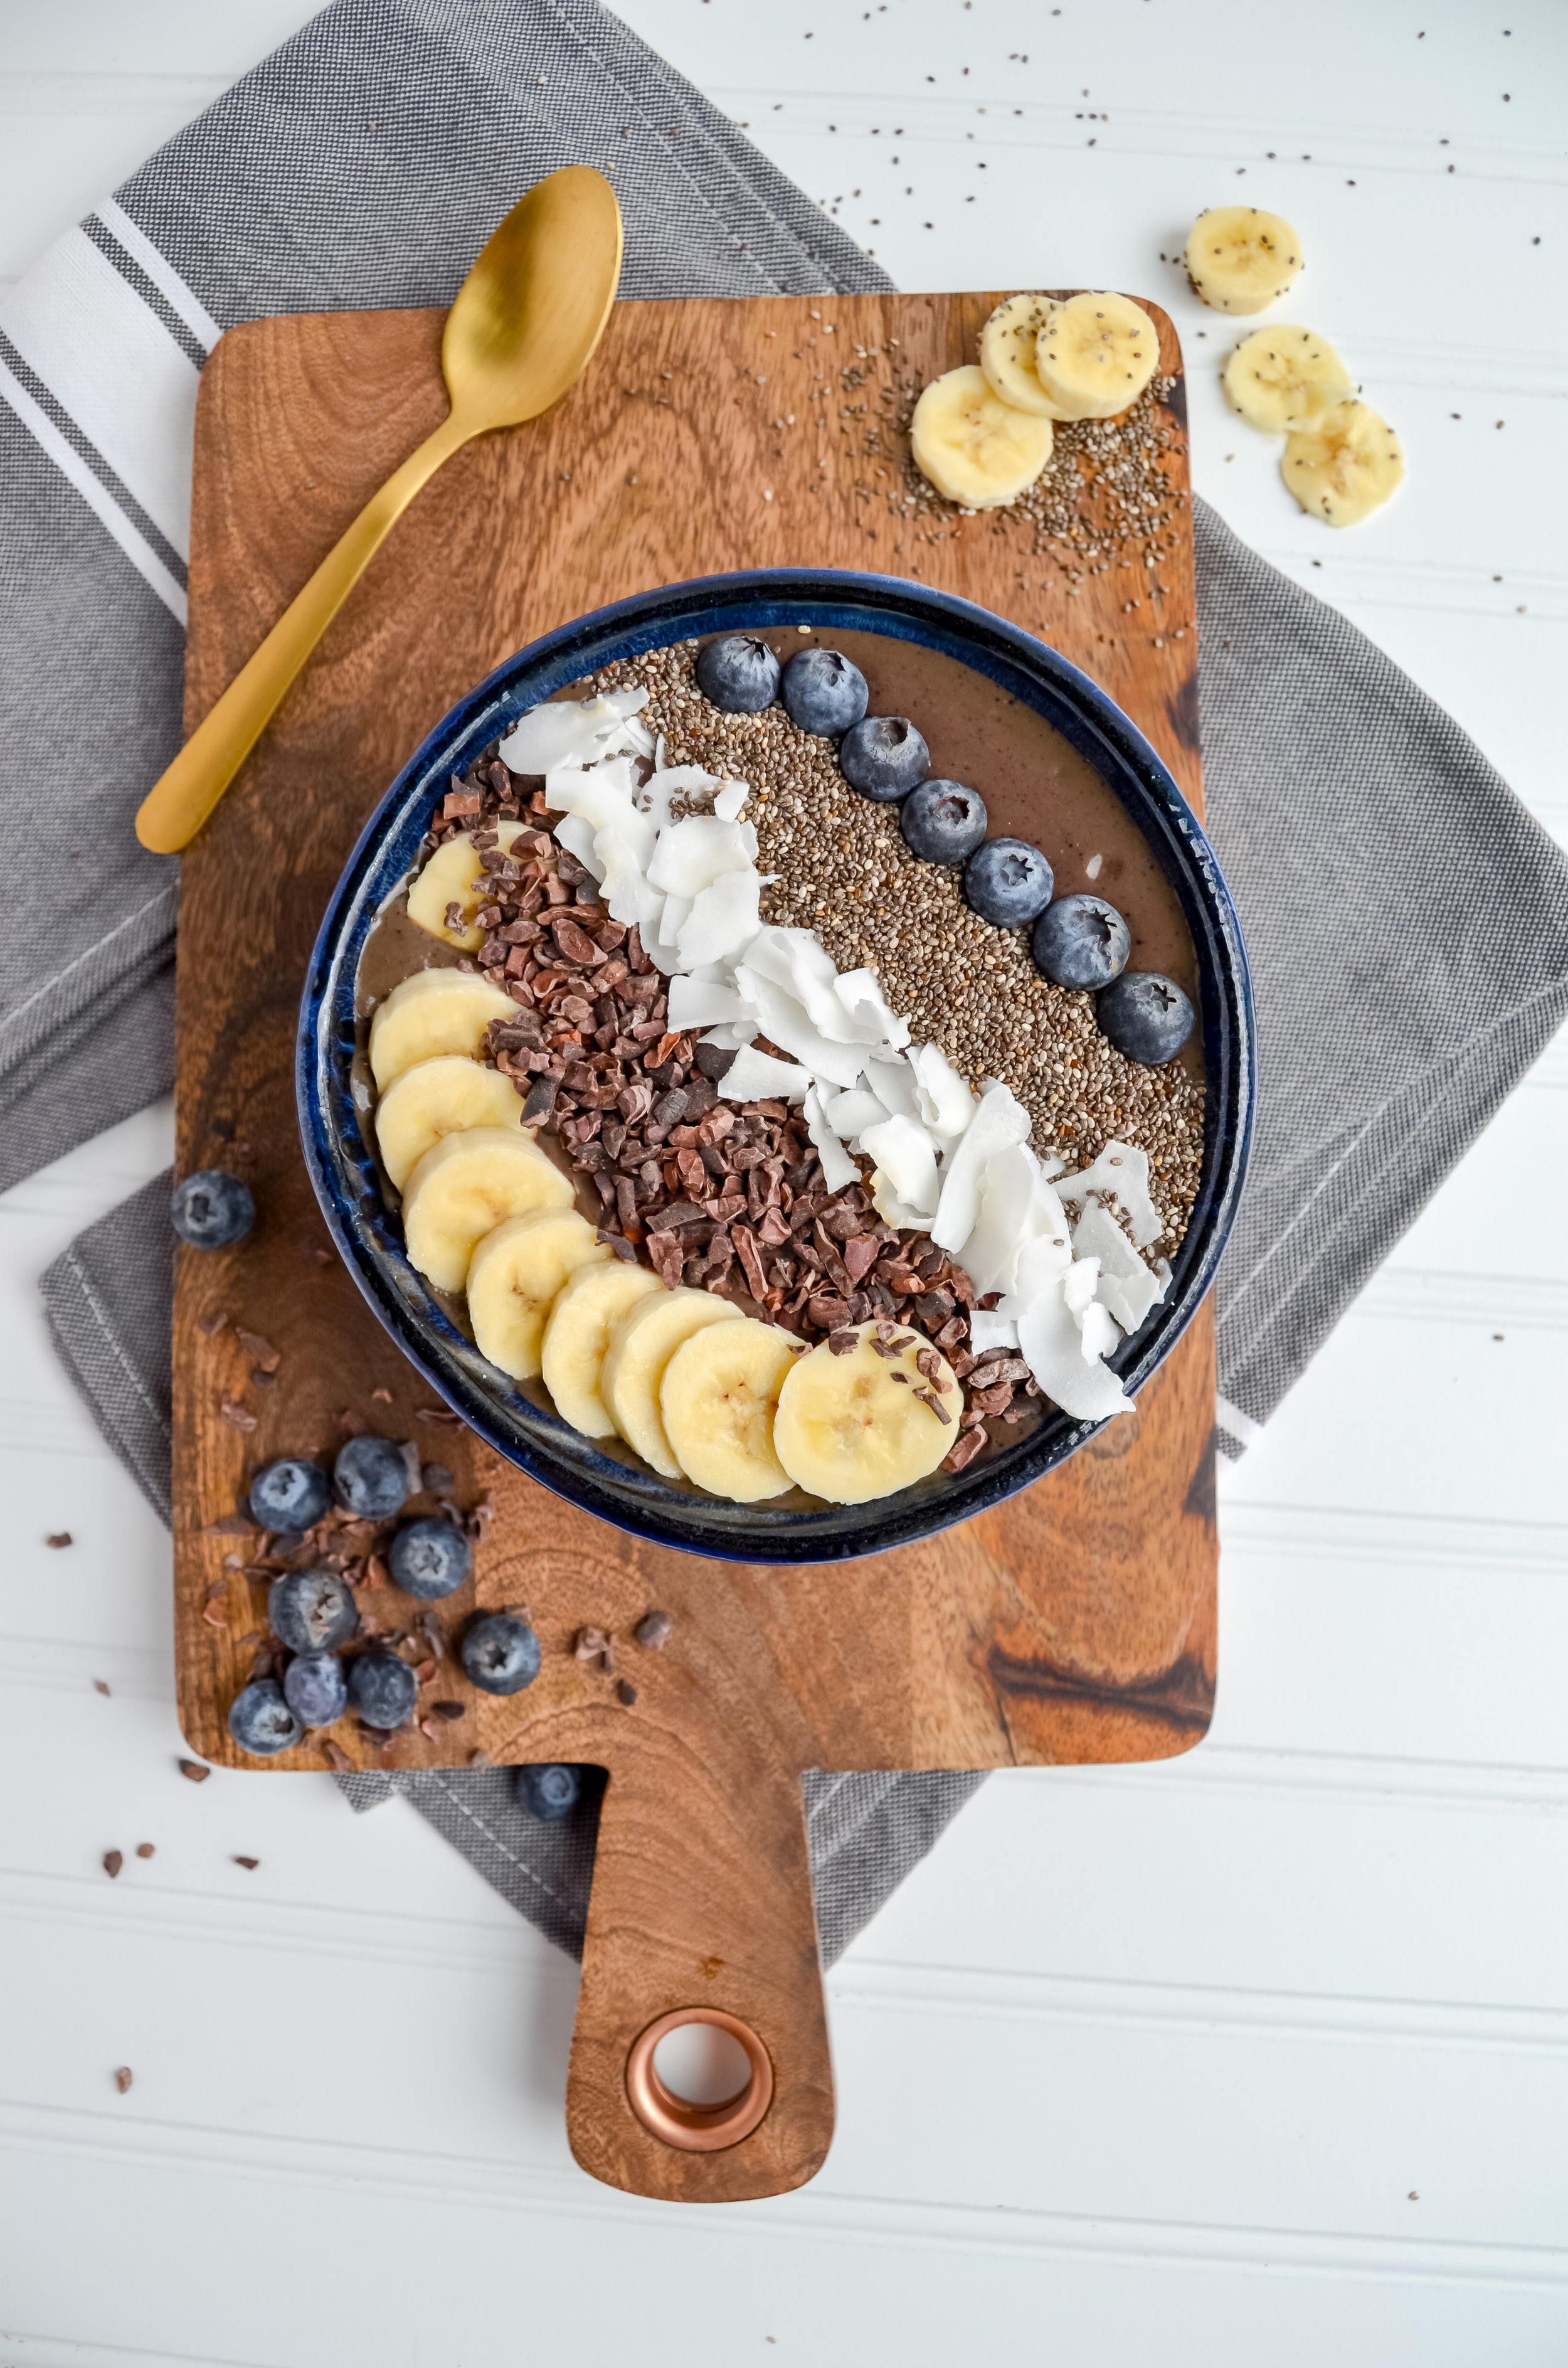
Chocolate Peanut Butter Granola and Berry Parfait
Breakfast is definitely my favorite meal of the day. The thought of breakfast literally gets me out of the bed in the morning! I leave the house early in the morning so that I can sit down at my desk at work to really enjoy it with a nice cup of coffee. I certainly do my best to find the joy in the little things!
Usually, I am more of a savory breakfast person. I prefer eggs, avocado toast or a breakfast skillet like my sweet potato hash breakfast skillet. Sometimes, though, you need to mix things up! What better way to “mix things up” than with layers of granola, berries, and yogurt?!
Chocolate peanut butter granola and berry parfaits are great for a healthy breakfast, snack, or dessert!
Breakfast is definitely my favorite meal of the day. The thought of breakfast literally gets me out of the bed in the morning! I leave the house early in the morning so that I can sit down at my desk at work to really enjoy it with a nice cup of coffee. I certainly do my best to find the joy in the little things!
Usually, I am more of a savory breakfast person. I prefer eggs, avocado toast or a breakfast skillet like my sweet potato hash breakfast skillet. Sometimes, though, you need to mix things up! What better way to “mix things up” than with layers of granola, berries, and yogurt?!


Still not convinced? Here are five reasons for you to prepare these parfaits!
With so few ingredients, you can easily incorporate them into your meal prep.
Parfaits are versatile -- switch out the ingredients depending on your mood, or season! I originally debut these on Instagram for 4th of July, hence the whole red, white, and blue theme, but you can easily make these for the fall if you do a simple switch! For example, for fall parfaits you could switch out the berries for apples and cinnamon. For the spring, use apricots with honey! The possibilities are endless.
Make these for breakfast, dessert, or as a snack. I won’t judge you if you make them for dinner, too.
They are easy to grab and take with you! Just prepare them in mason jars!
Impress your friends! Parfaits look adorable and most people don’t realize how little effort it takes to make them!

If you try this recipe, let us know! Leave a comment, rate it, and don’t forget to tag a photo to #fromtherootsblog on Instagram. We love seeing what you come up with!
Chocolate peanut butter granola and berry parfaits are great for a healthy breakfast, snack, or dessert! - GF/DF/Low sugar
INGREDIENTS
Chocolate Peanut Butter Granola
2 cups GF oats
1/4 cup sliced almonds
1/4 cup chopped pecans
1/4 cup flax seeds
1/4 cup oily peanut butter
2 Tbsp cacao powder
1-2 Tbsp pure maple syrup
Yogurt
2 cups plain greek yogurt or dairy free yogurt
1-2 Tbsp pure maple syrup or honey
Toppings
Assorted berries
DIRECTIONS
Preheat oven to 350 degrees.
Mix granola ingredients together and spread onto a sheet pan covered in parchment paper.
Bake for 15-20 minutes until crispy and the granola mix is dried out.
While the granola is cooling down, mix the sweetener into the yogurt until you reach the desired sweet taste.
In a mason jar or cup, do two layers of yogurt, granola, and berries. Enjoy!