Sort by Category
- May 2026
- March 2026
- December 2025
- November 2025
- October 2025
- September 2025
- August 2025
- June 2025
- August 2024
- July 2024
- June 2024
- May 2024
- February 2024
- January 2024
- December 2023
- November 2023
- October 2023
- September 2023
- August 2023
- July 2023
- March 2023
- February 2023
- January 2023
- December 2022
- November 2022
- October 2022
- September 2022
- August 2022
- June 2022
- May 2022
- April 2022
- March 2022
- February 2022
- January 2022
- December 2021
- November 2021
- October 2021
- September 2021
- August 2021
- July 2021
- June 2021
- May 2021
- April 2021
- March 2021
- February 2021
- January 2021
- December 2020
- November 2020
- October 2020
- September 2020
- August 2020
- July 2020
- June 2020
- May 2020
- April 2020
- March 2020
- February 2020
- January 2020
- December 2019
- November 2019
- October 2019
- September 2019
- August 2019
- July 2019
- June 2019
- May 2019
- April 2019
- March 2019
- February 2019
- January 2019
- December 2018
- November 2018
- October 2018
- September 2018
- August 2018
- July 2018
- June 2018
- May 2018
- April 2018
- March 2018
- February 2018
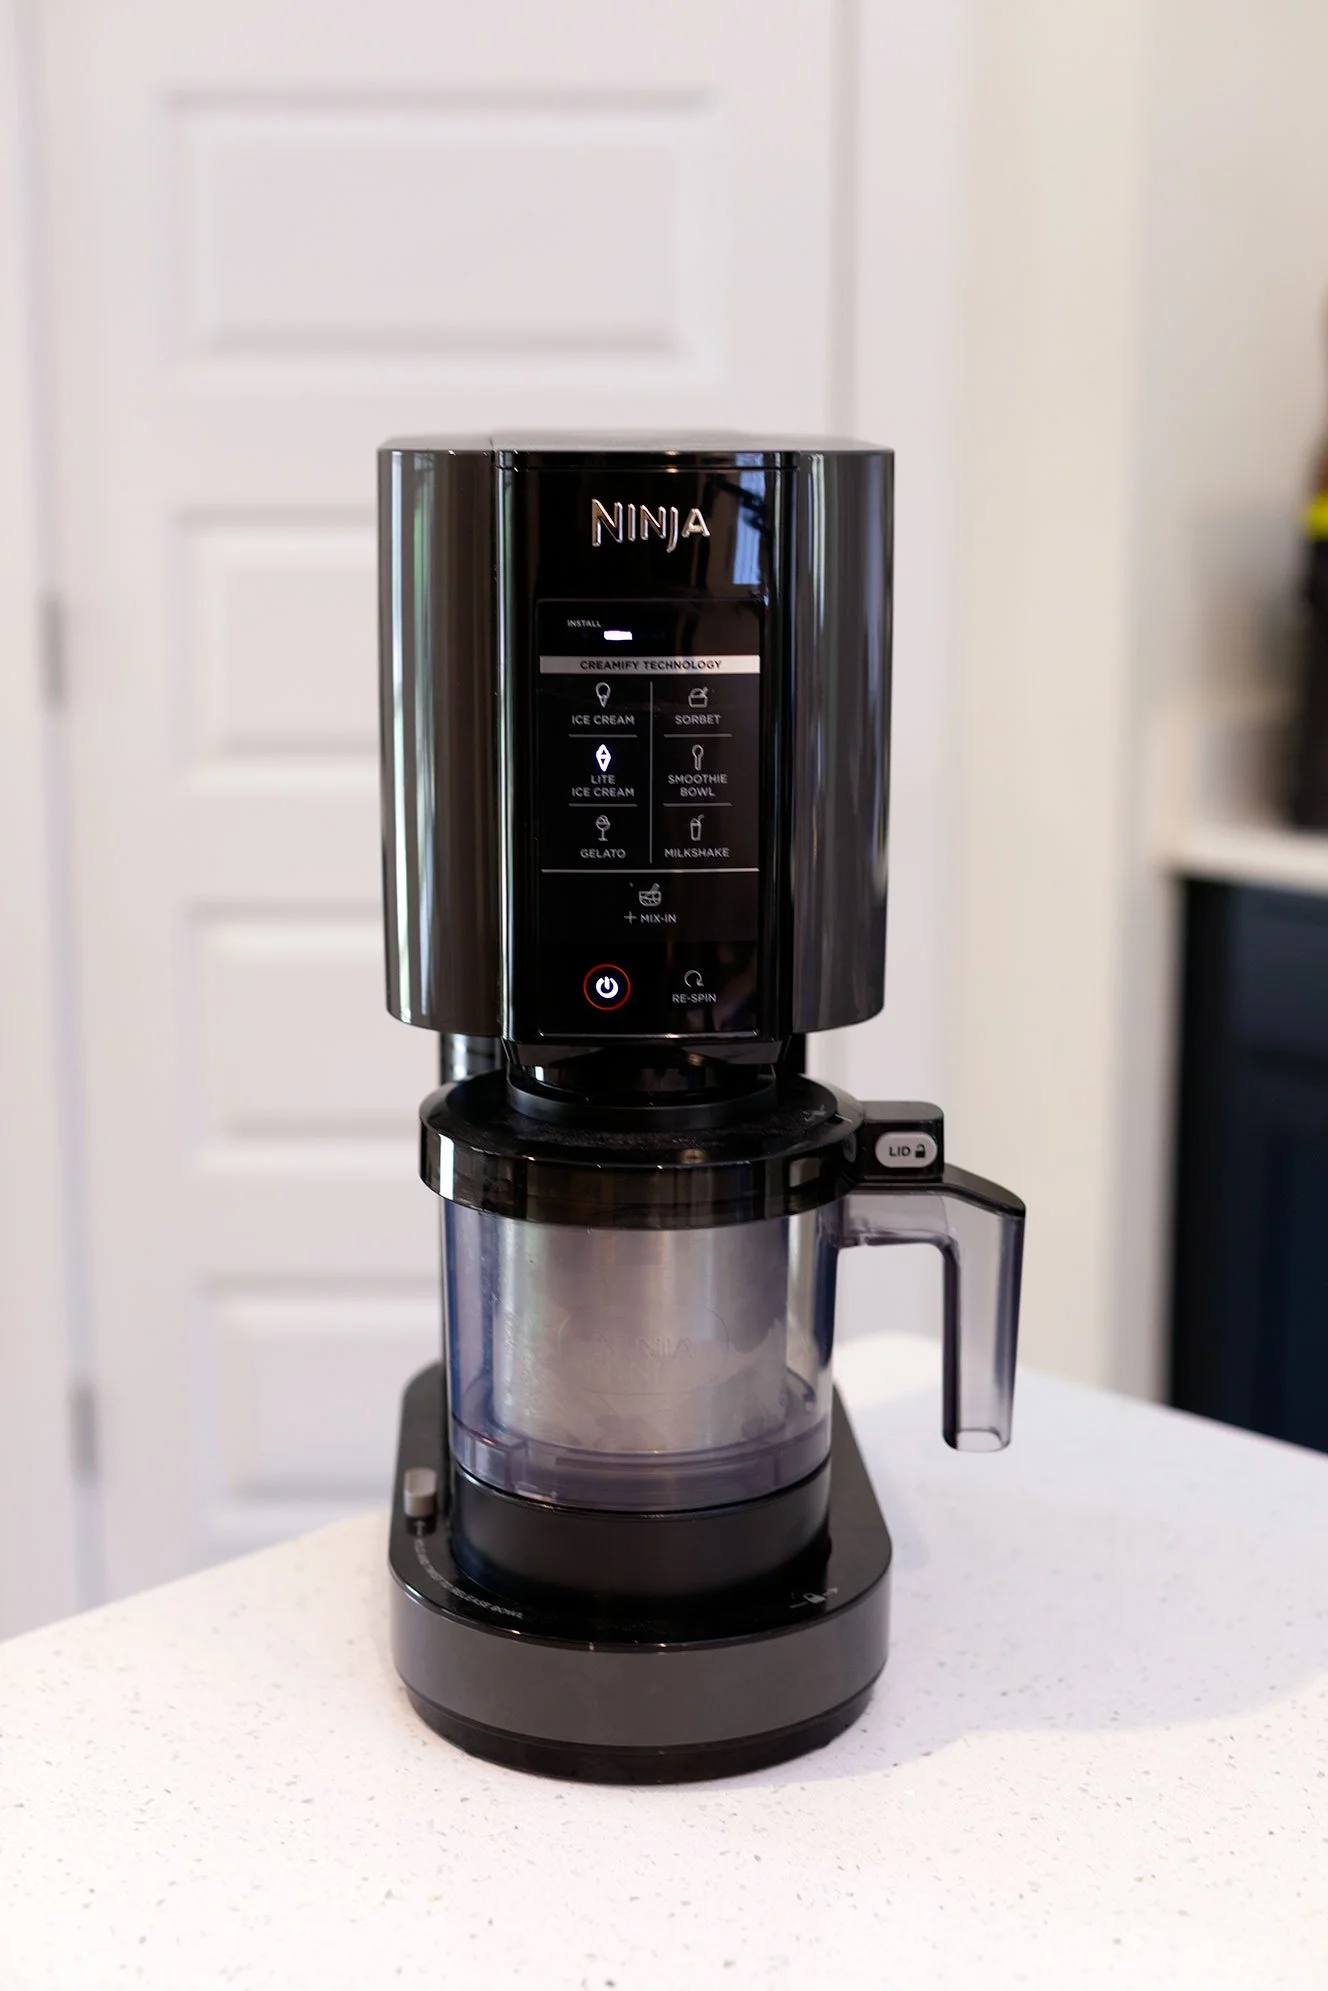
4 High-Protein Ninja Creami Recipes (Dairy-Free & Lactose-Free, Creamy + Gut-Friendly)
Creamy Ninja Creami protein ice cream without dairy or whey. 4 gut-friendly recipes with 30g+ protein—perfect for sensitive digestion.
If you’ve ever tried protein ice cream and ended up bloated, underwhelmed, or chewing on something icy… this is for you.
These Ninja Creami protein ice creams are:
Dairy-free or lactose-free friendly
Made with simple, clean ingredients
30g+ protein per serving (base recipes)
Single-serve (perfect for nightly cravings or post-workout)
Actually creamy—not icy
And most importantly—they’re easy on digestion.
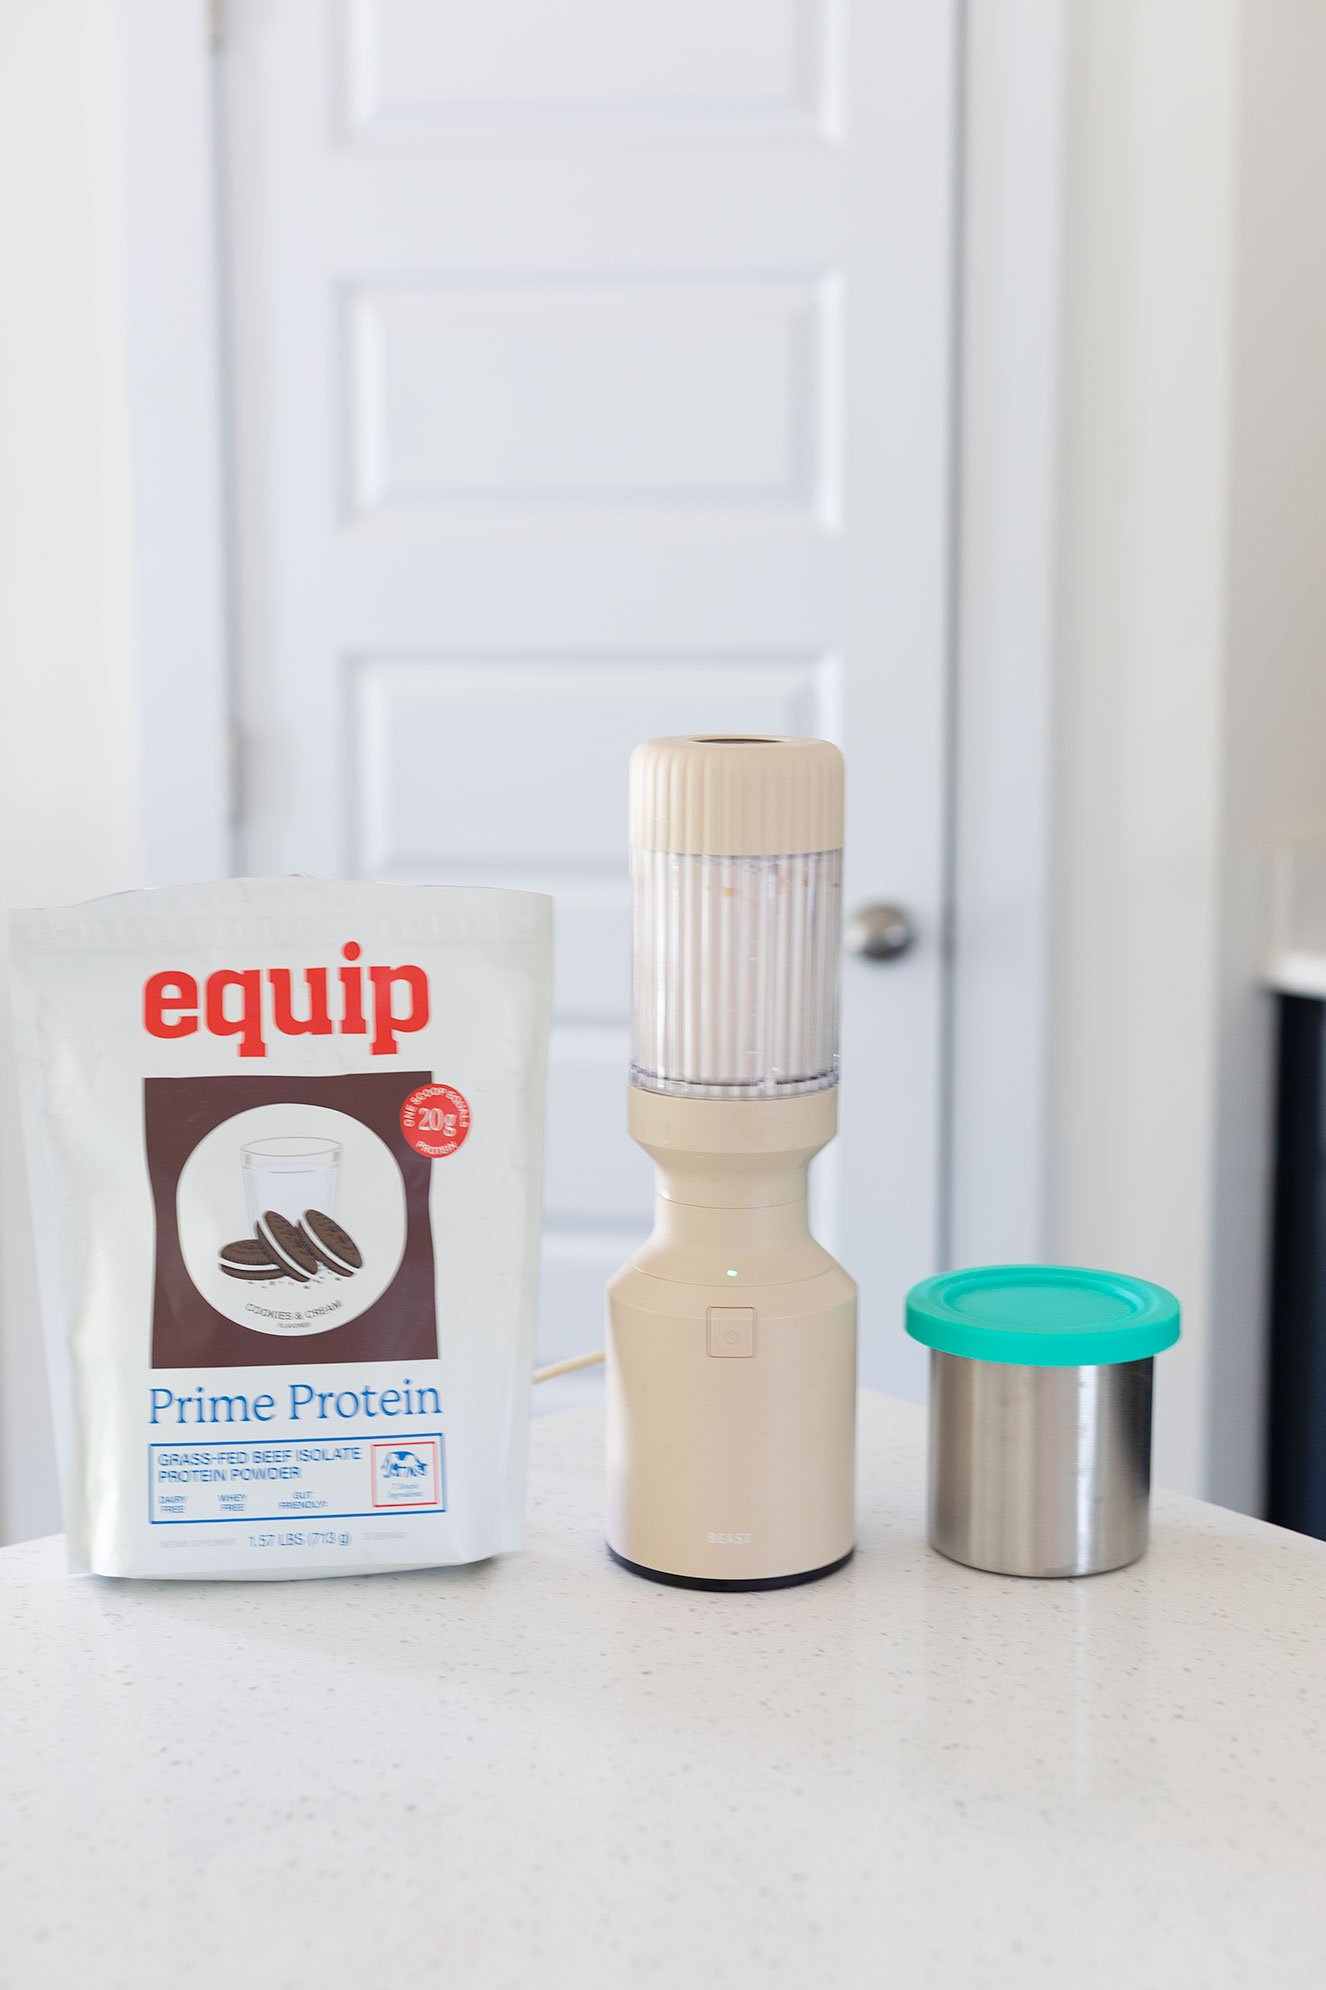

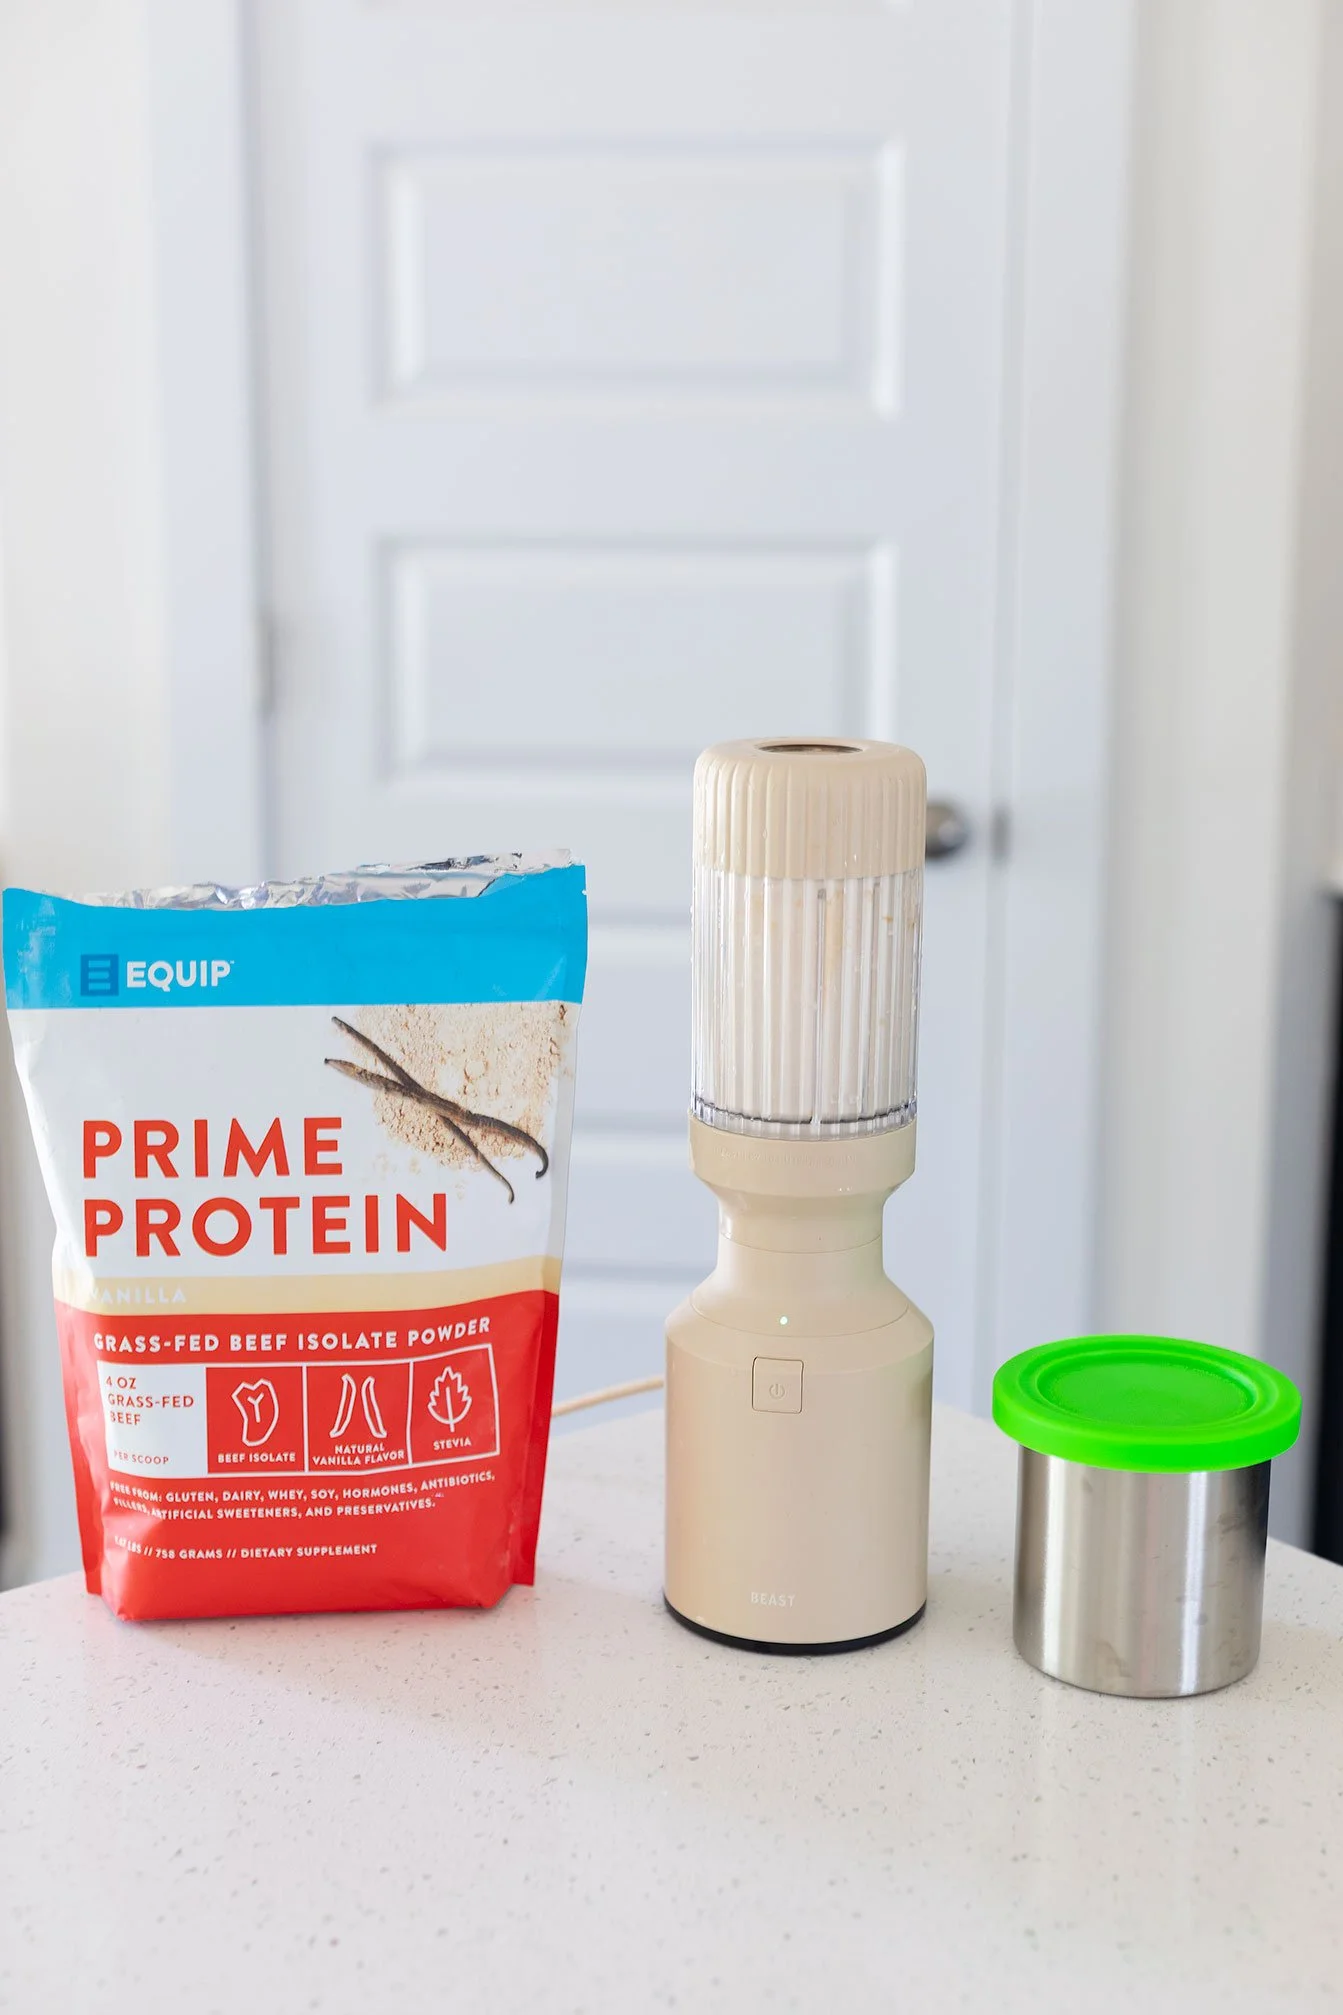
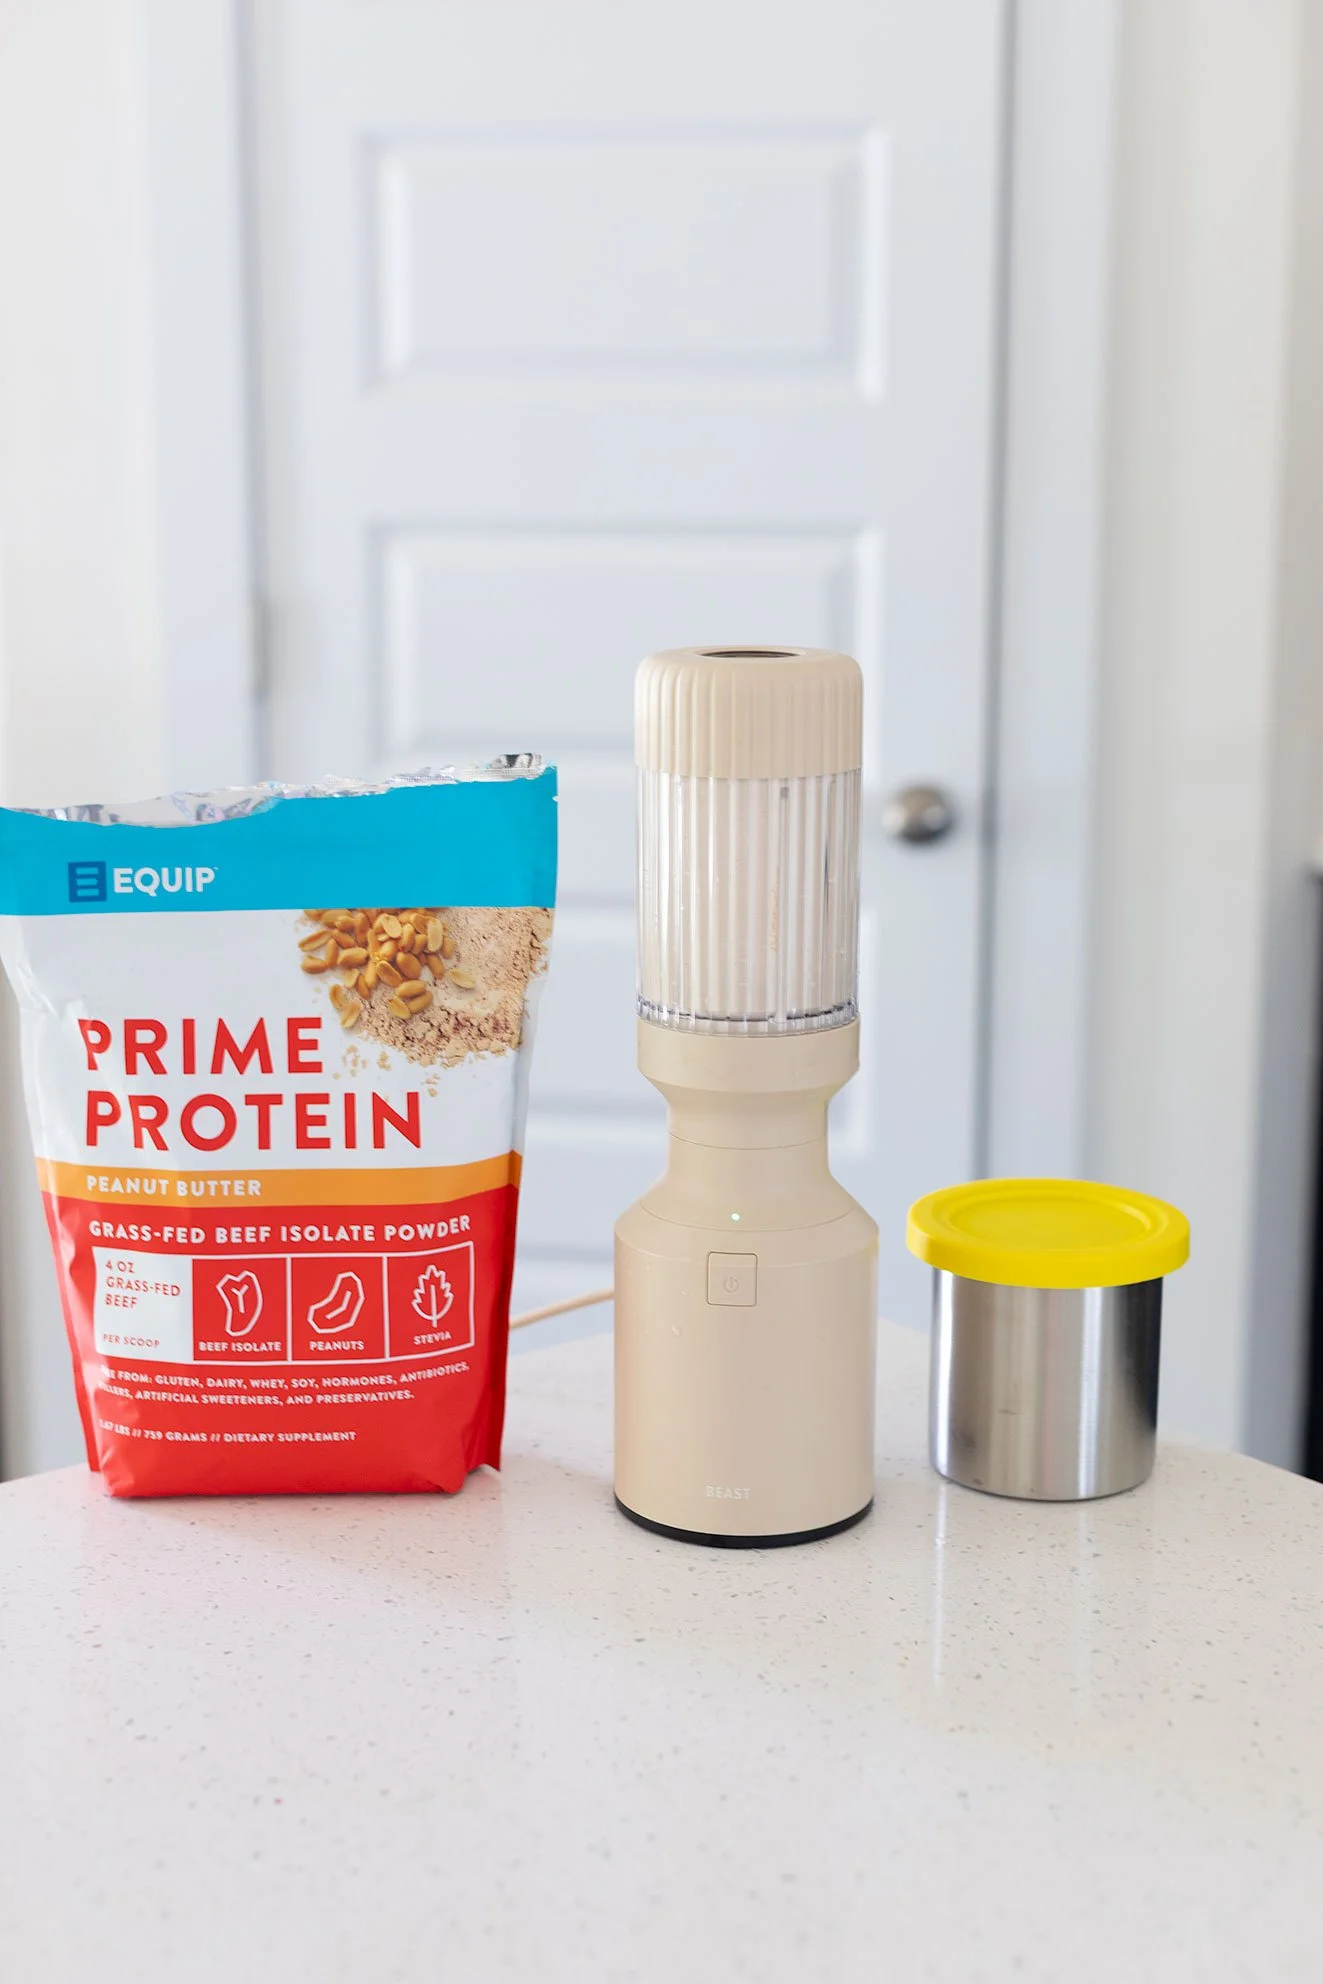
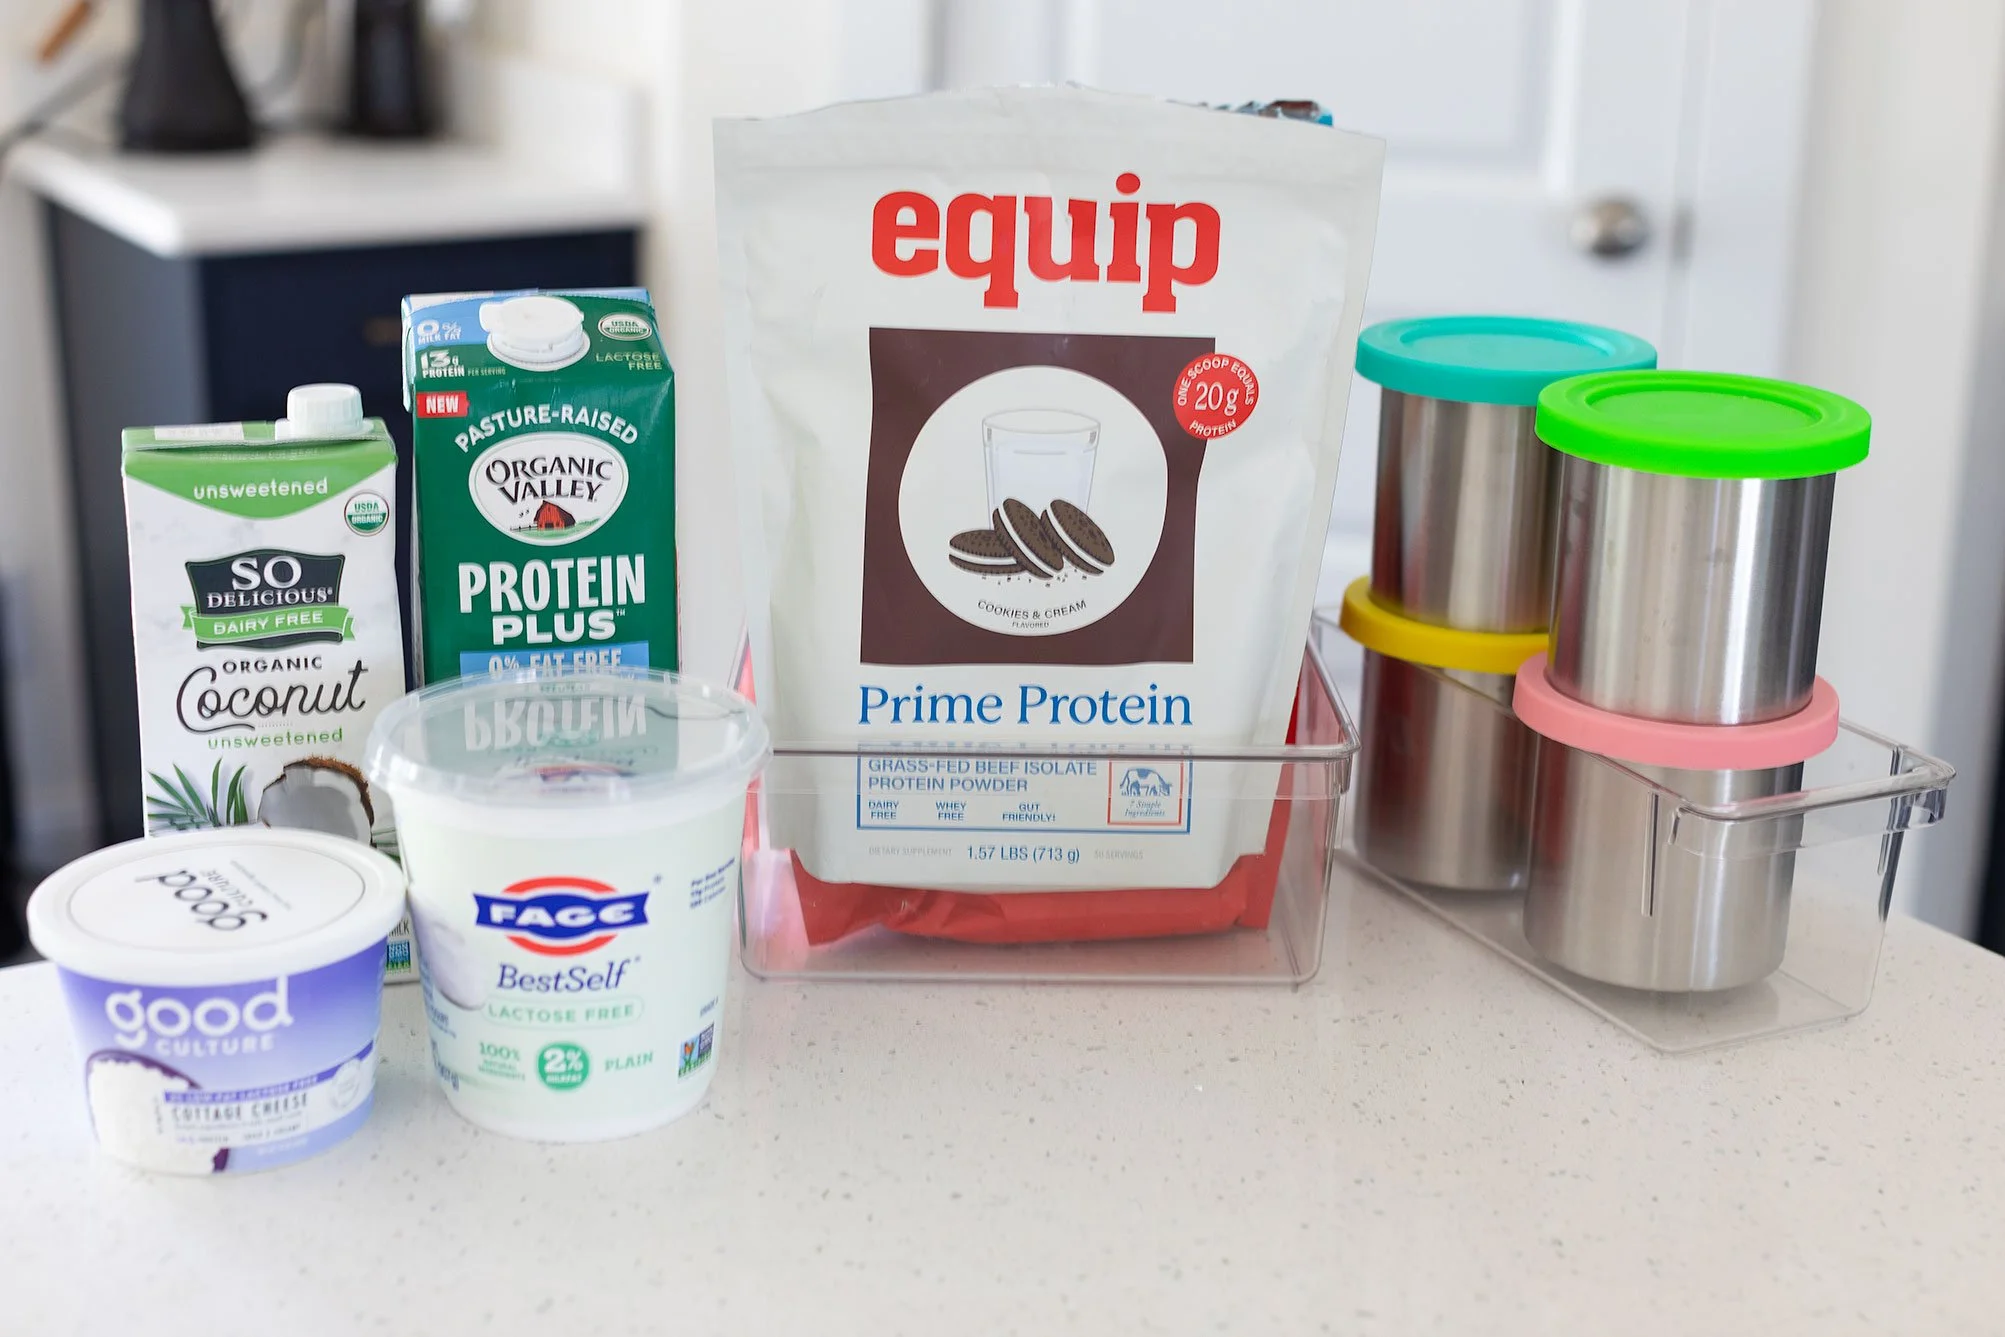
The Protein Powder That Makes the Difference
All of these recipes use Equip Foods protein powder—a whey-free, animal-based protein that tends to be much easier to digest compared to traditional whey.
If you’ve ever felt:
bloated after protein powder
heavy or sluggish
or like your stomach just doesn’t tolerate dairy well
This is a great alternative.
👉 Use code: ROOTS for a discount
A Quick Note on Protein Amount
I tested most of these with ½ scoop, and they still hit ~30g protein depending on the base.
½ scoop = better texture (less chalky)
1 scoop = higher protein, slightly thicker texture
👉 Recommendation:
Start with ½ scoop for texture
Increase to 1 scoop if prioritizing macros
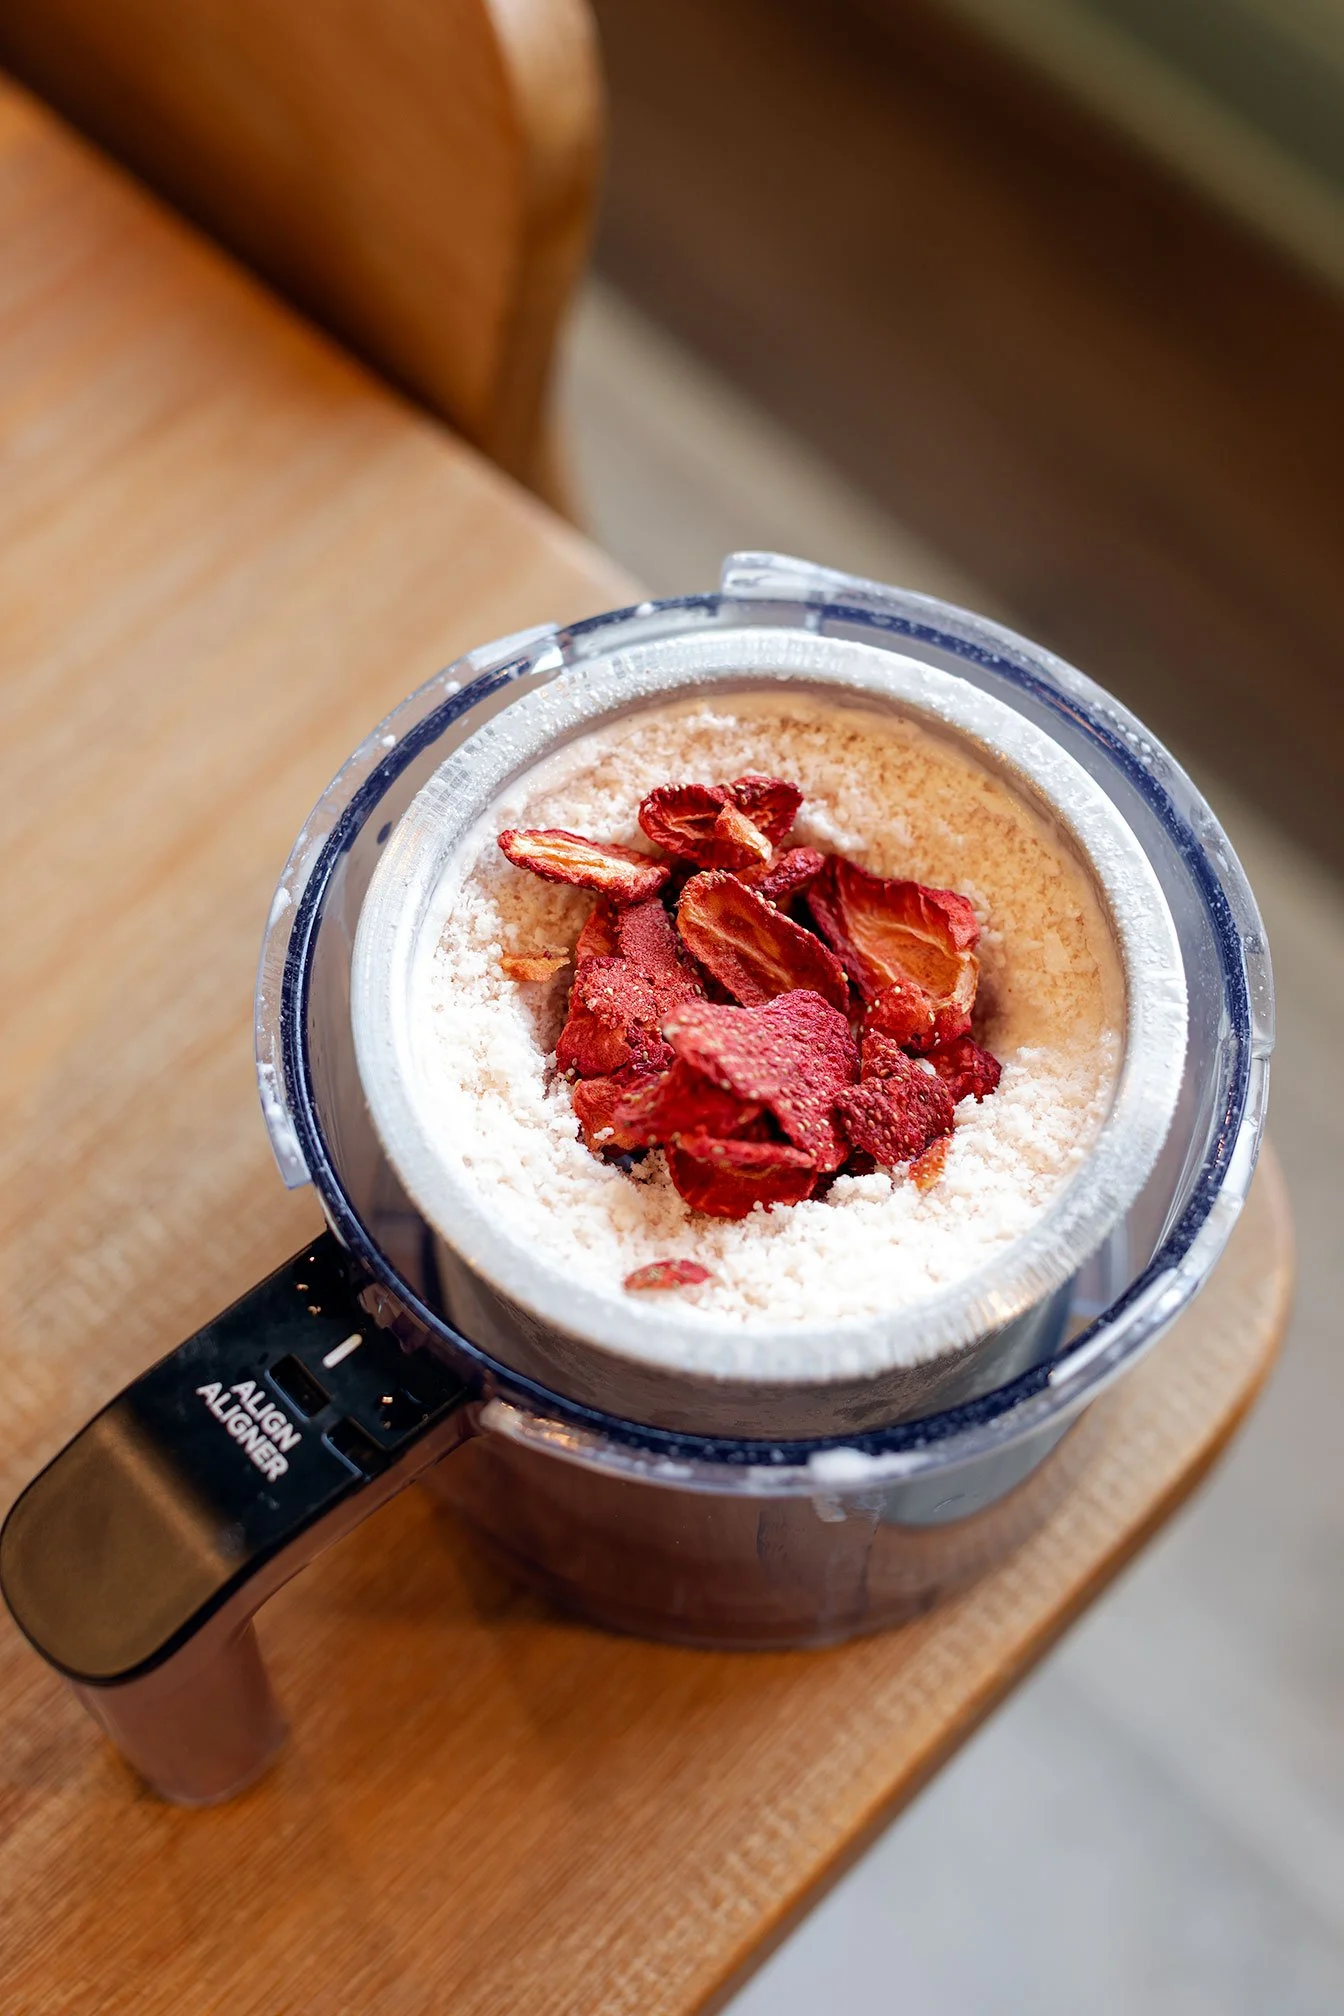
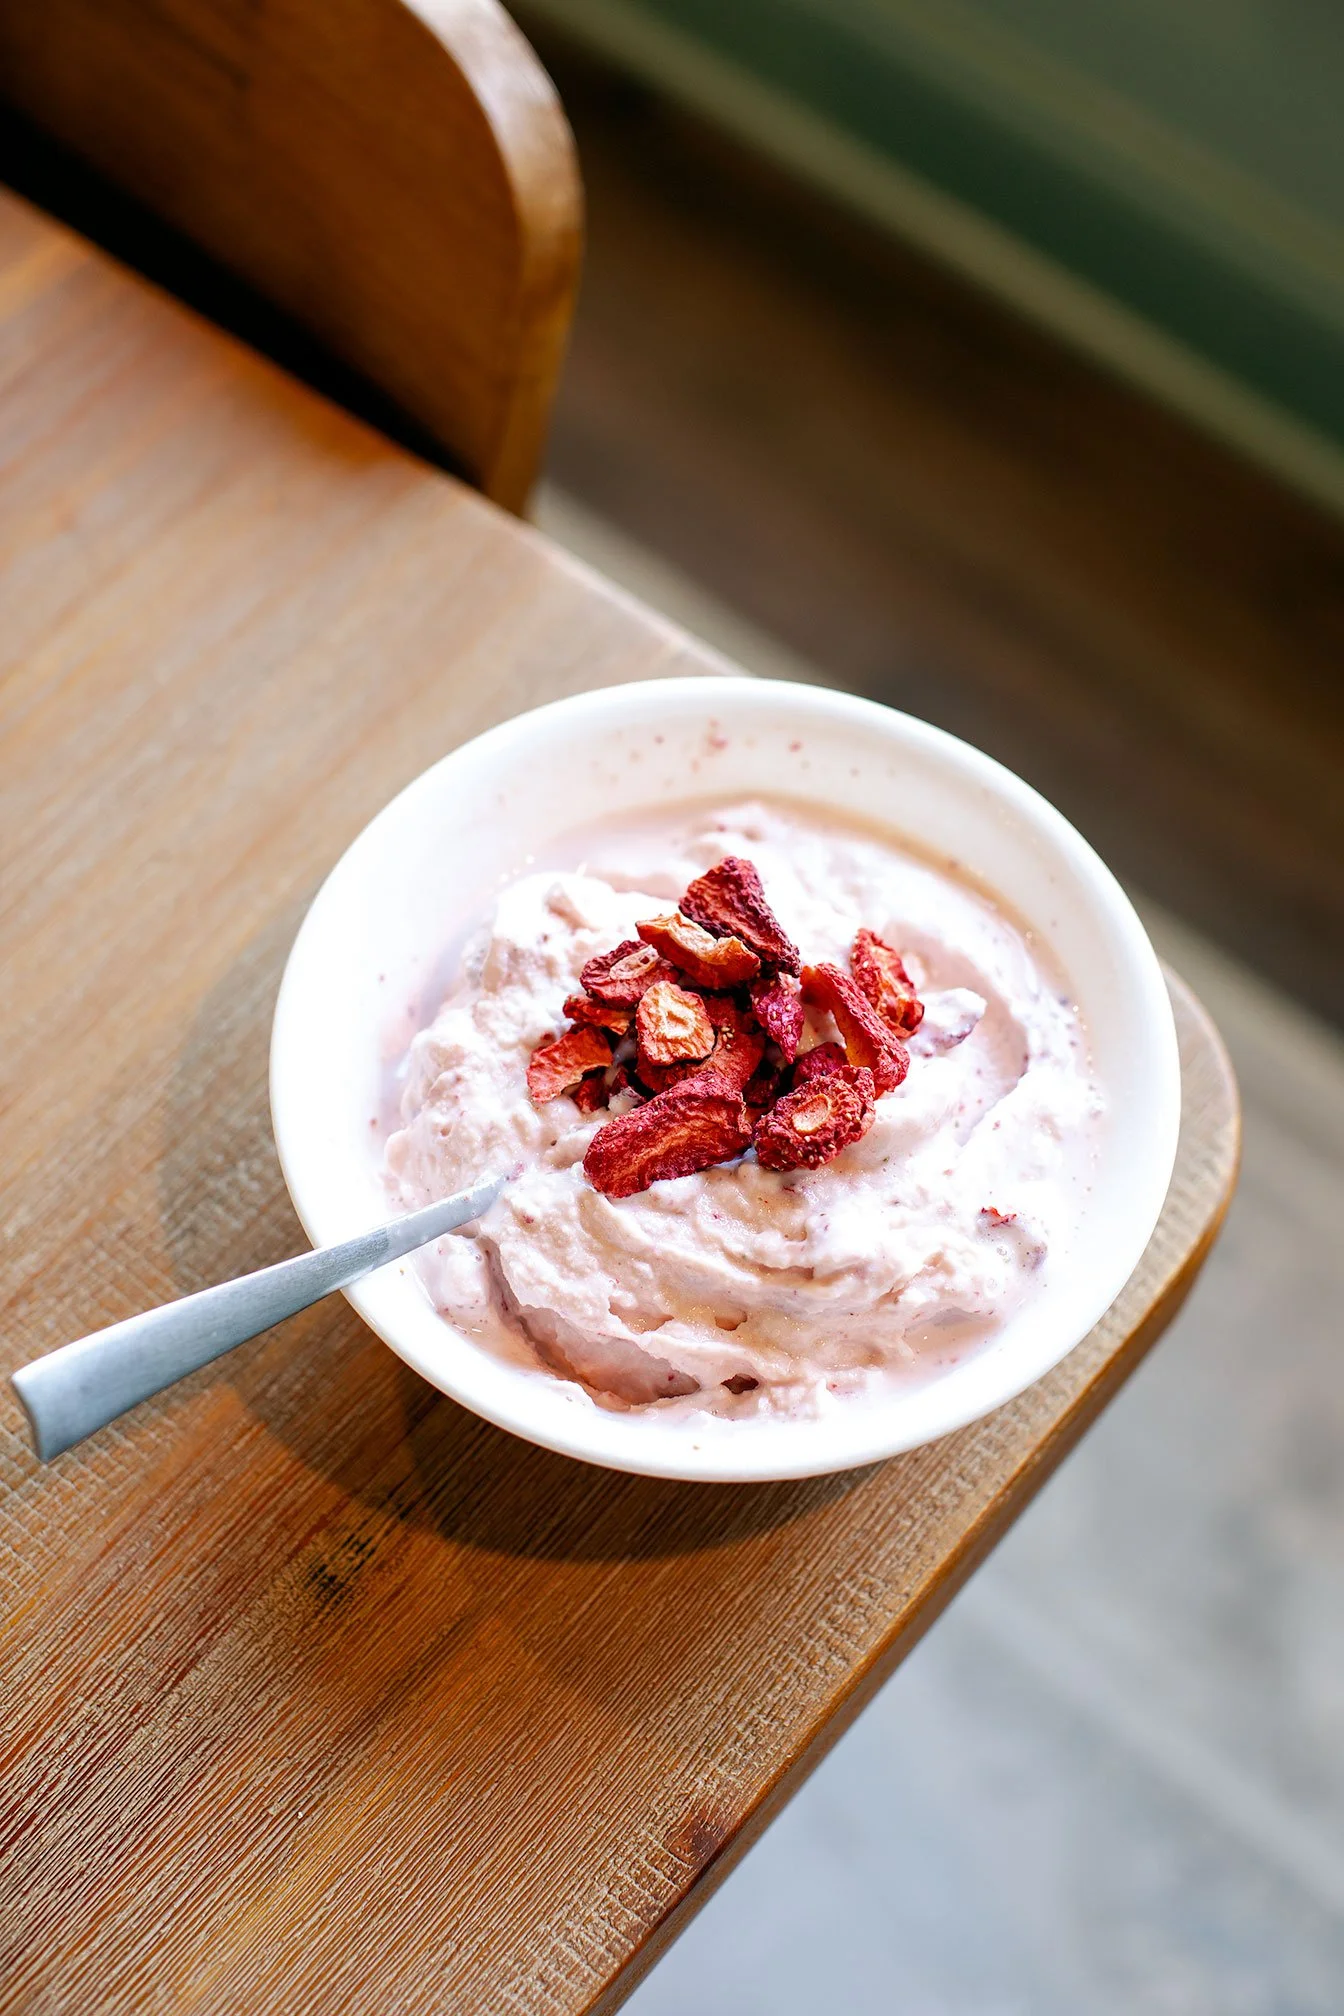
🍓 1. Strawberry Cream Protein Ice Cream (Lactose-Free Yogurt)
Light, creamy, slightly tangy + refreshing
Ingredients:
¾ cup lactose-free Greek yogurt
½ scoop strawberry Equip protein
¼ cup almond milk (or water)
Pinch sea salt
Mix-In:
⅓ cup dehydrated strawberries (or fresh strawberries)
Instructions:
Blend until smooth
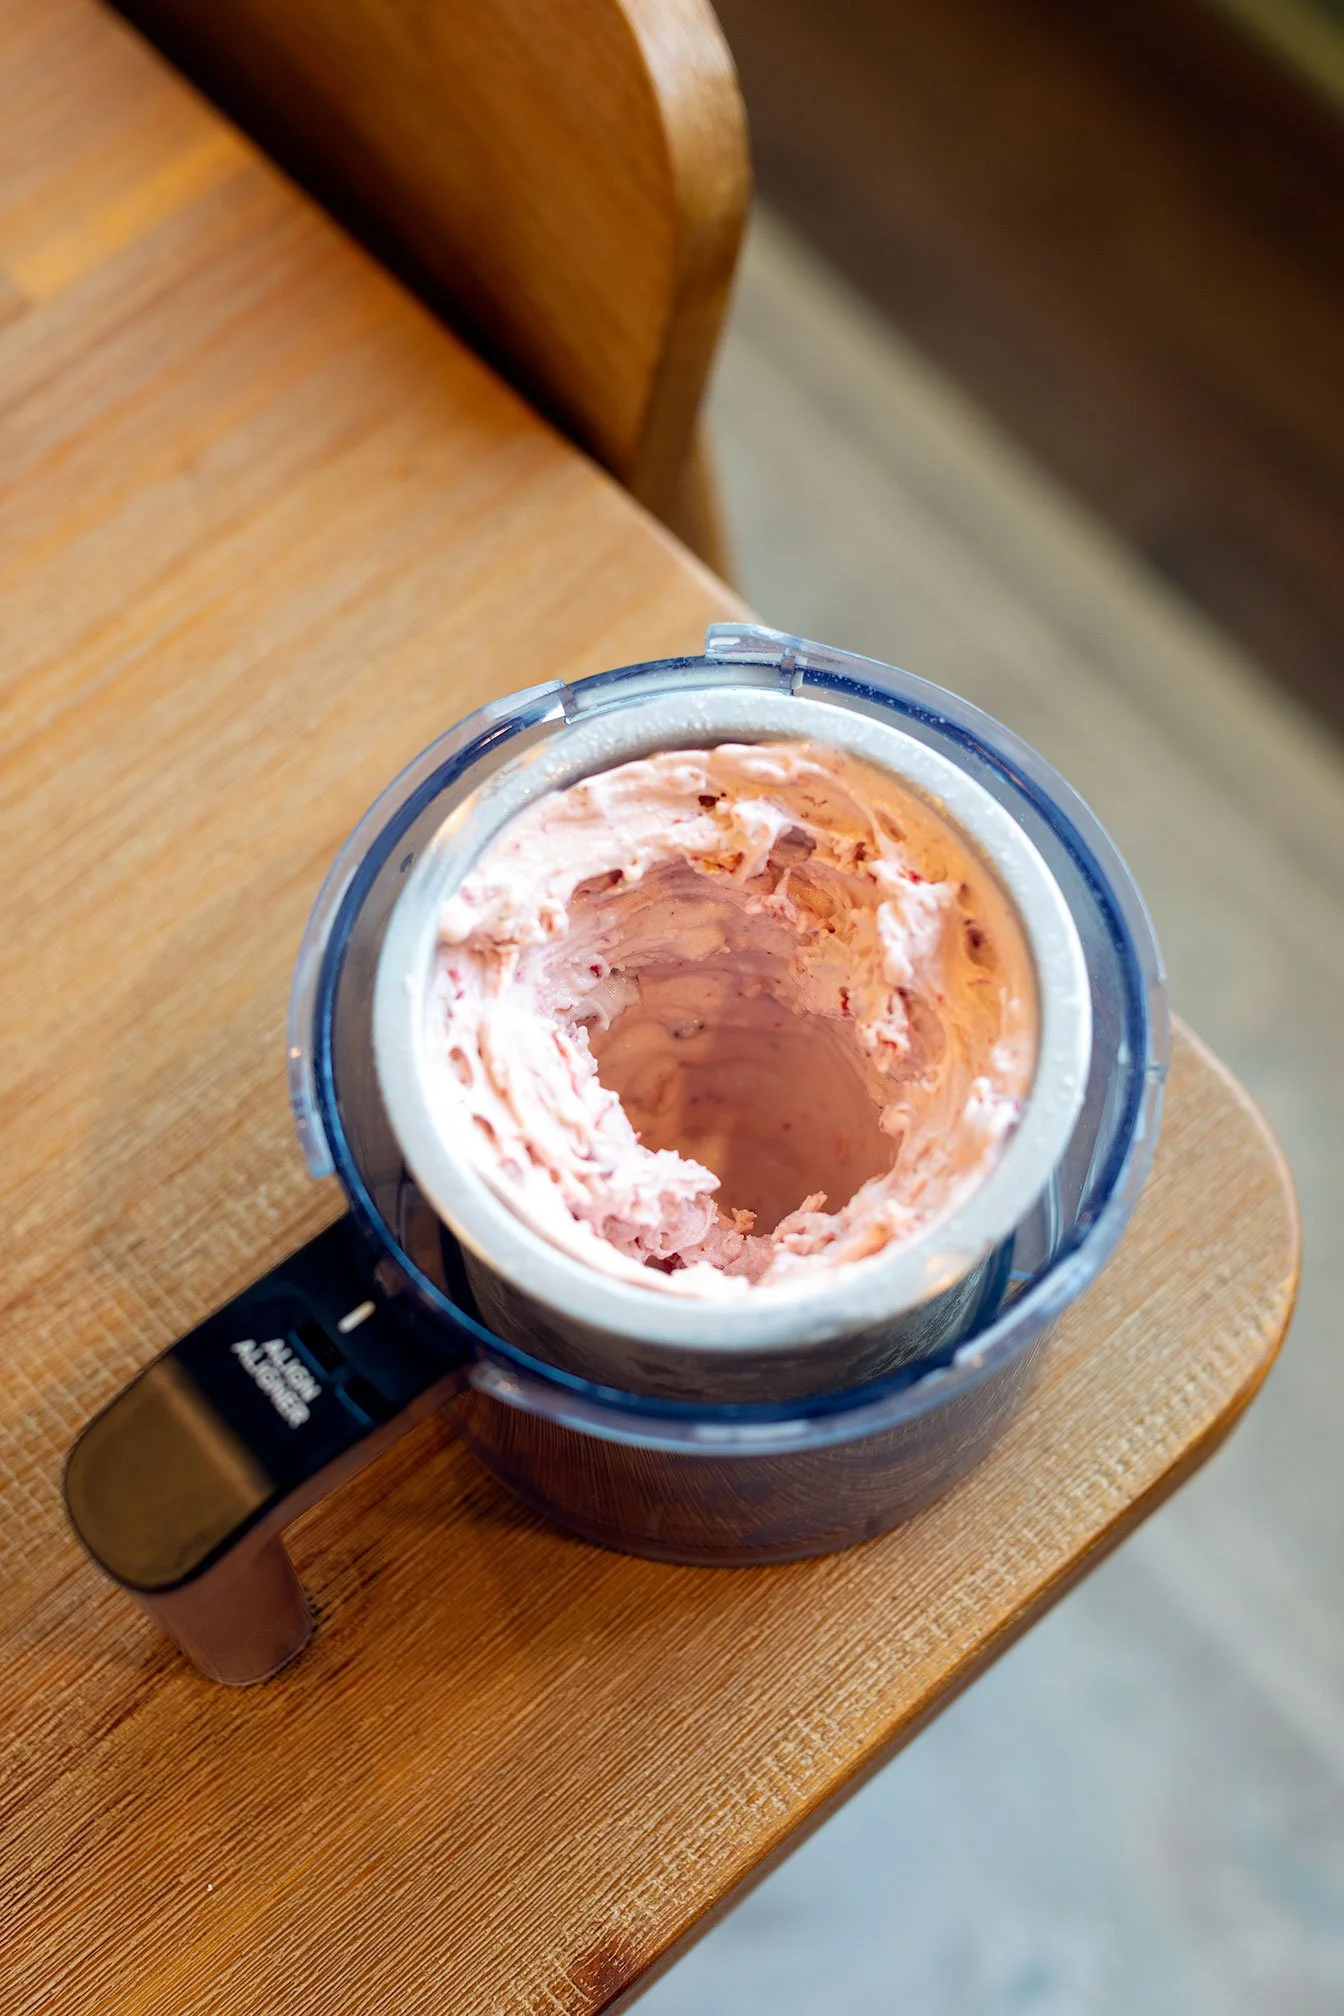
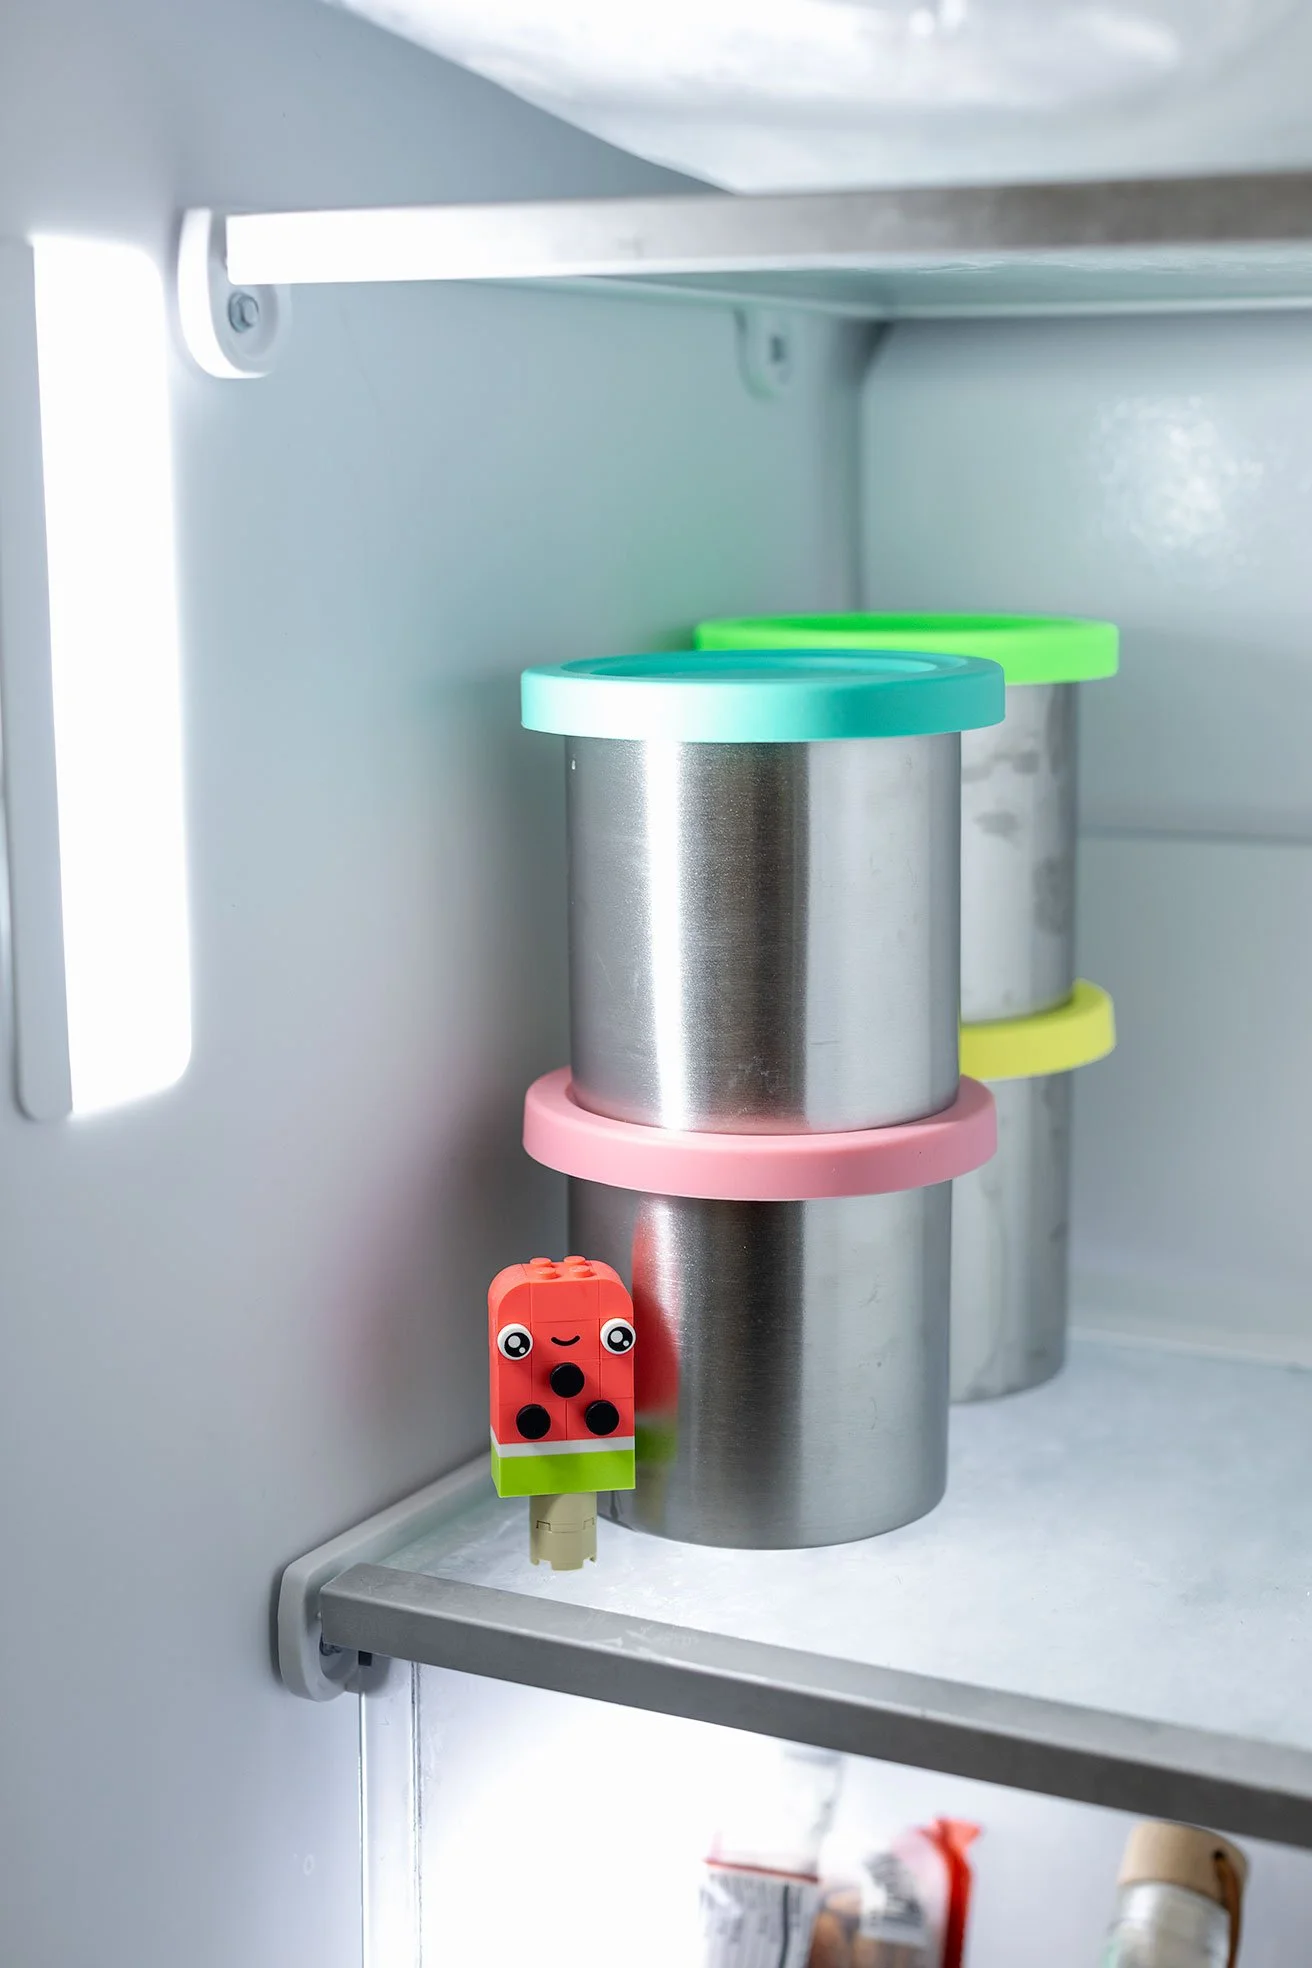
Freeze flat (8–12 hours)
Spin on Lite Ice Cream
Re-spin with splash of liquid if needed
Add strawberries → Mix-In cycle
Macros (base only, without toppings):
Calories: ~170–200
Protein: ~27–32g
Carbs: ~4–6g
Fat: ~2–3g
Macros will increase depending on fruit added
🍪 2. Cookies & Cream Protein Ice Cream (Cottage Cheese Base)
Thick, rich, with a slight cheesecake flavor
Ingredients:
¾ cup lactose-free cottage cheese
½ scoop cookies & cream Equip protein
2–3 tbsp almond milk (or water)
Pinch salt
Mix-In:
3 Siete double chocolate chip cookies (crushed) (gluten-free option)
Optional: extra crushed on top
Instructions:
Blend until completely smooth
Freeze flat
Spin → Re-spin
Add cookies → Mix-In
Macros (base only):
Calories: ~210–240
Protein: ~29–34g
Carbs: ~6–8g
Fat: ~6–8g
Toppings significantly increase carbs + fats (not fully included here)
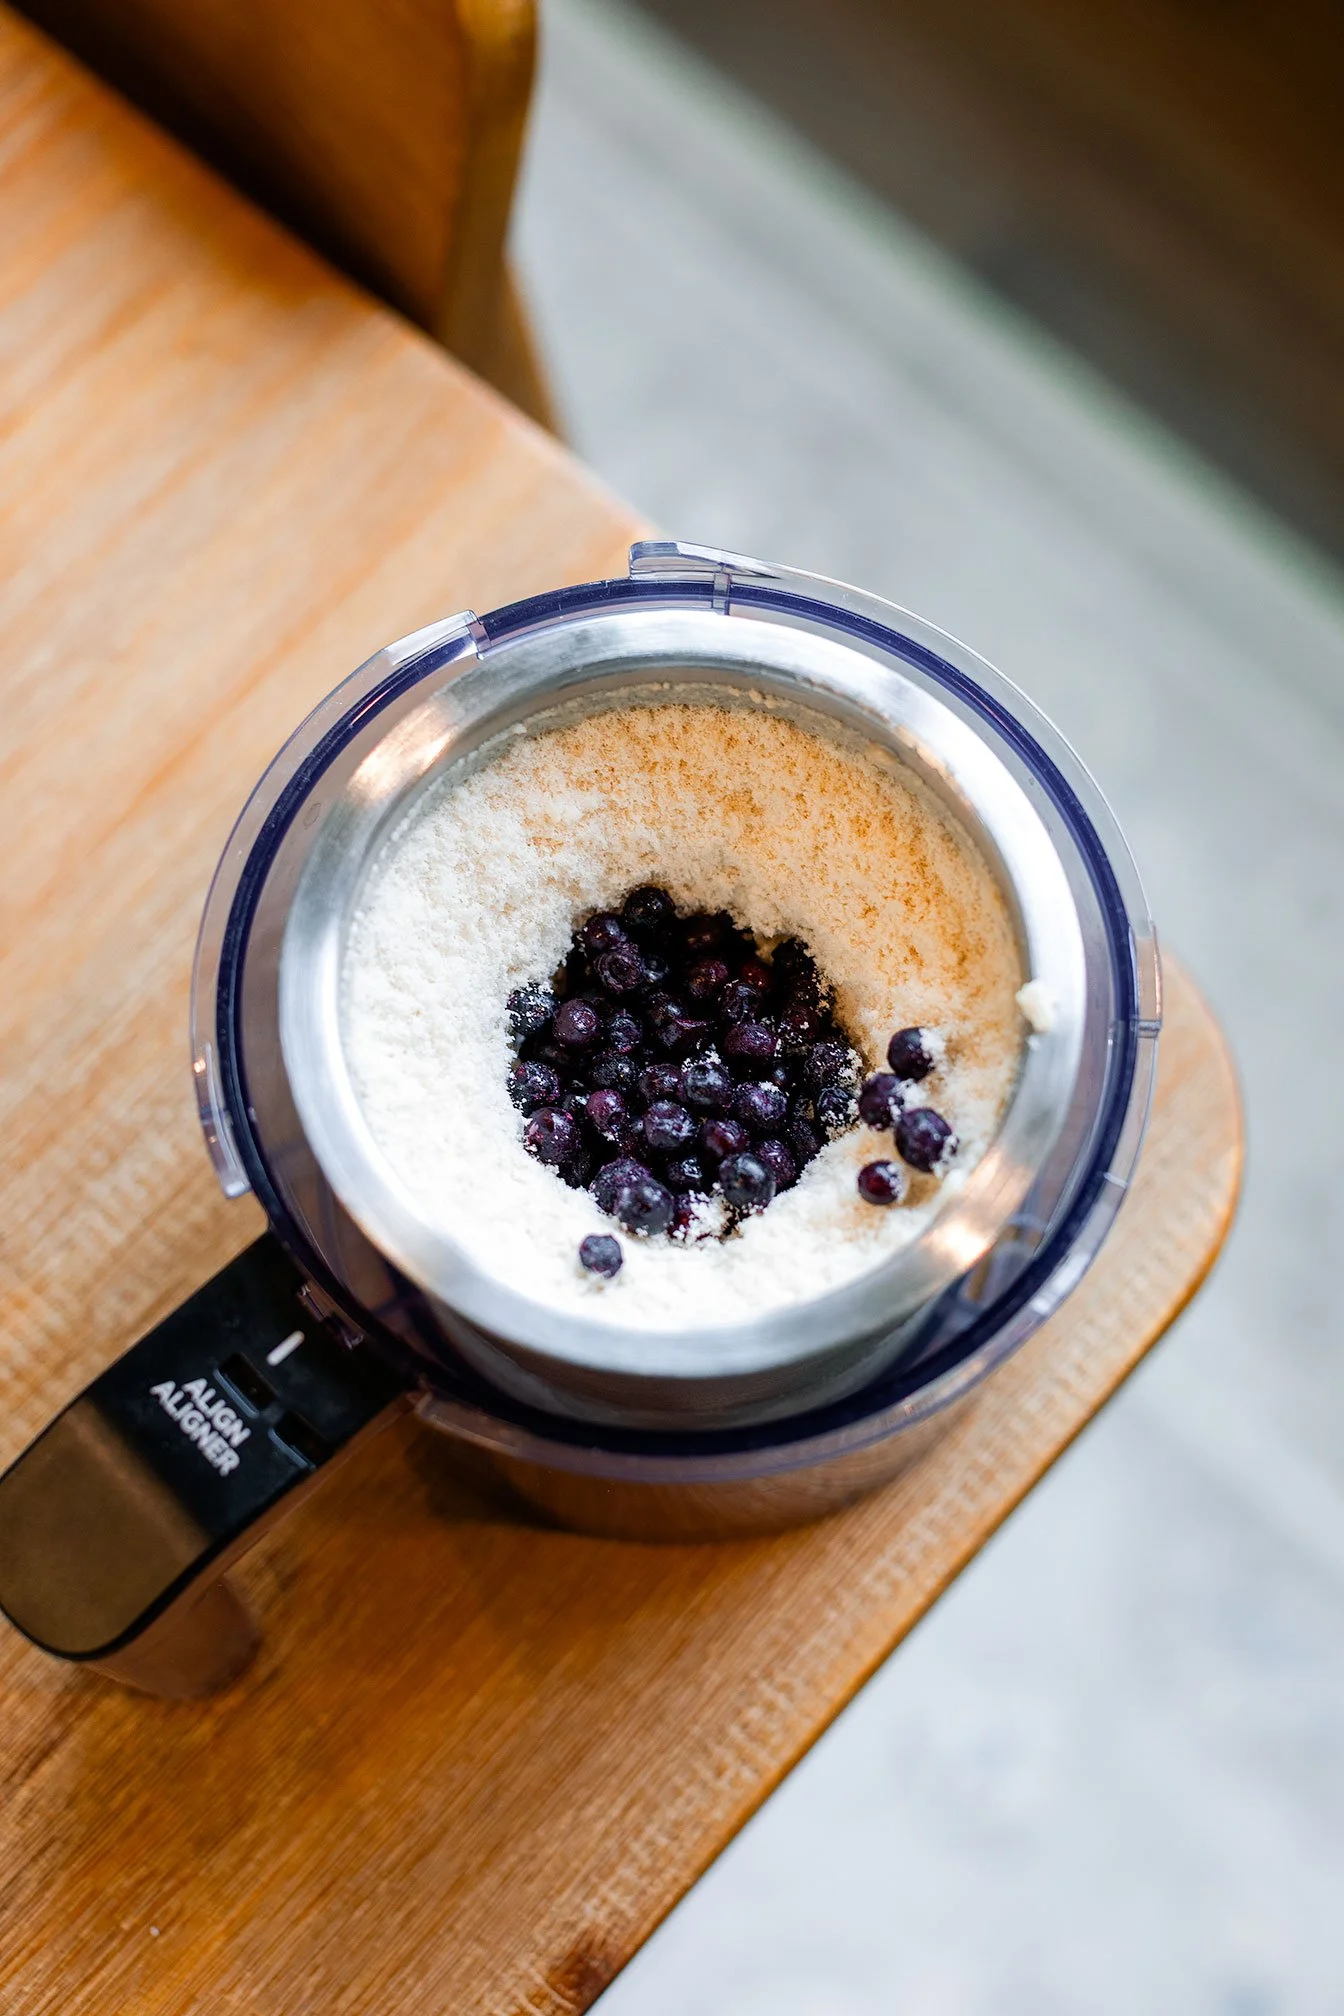
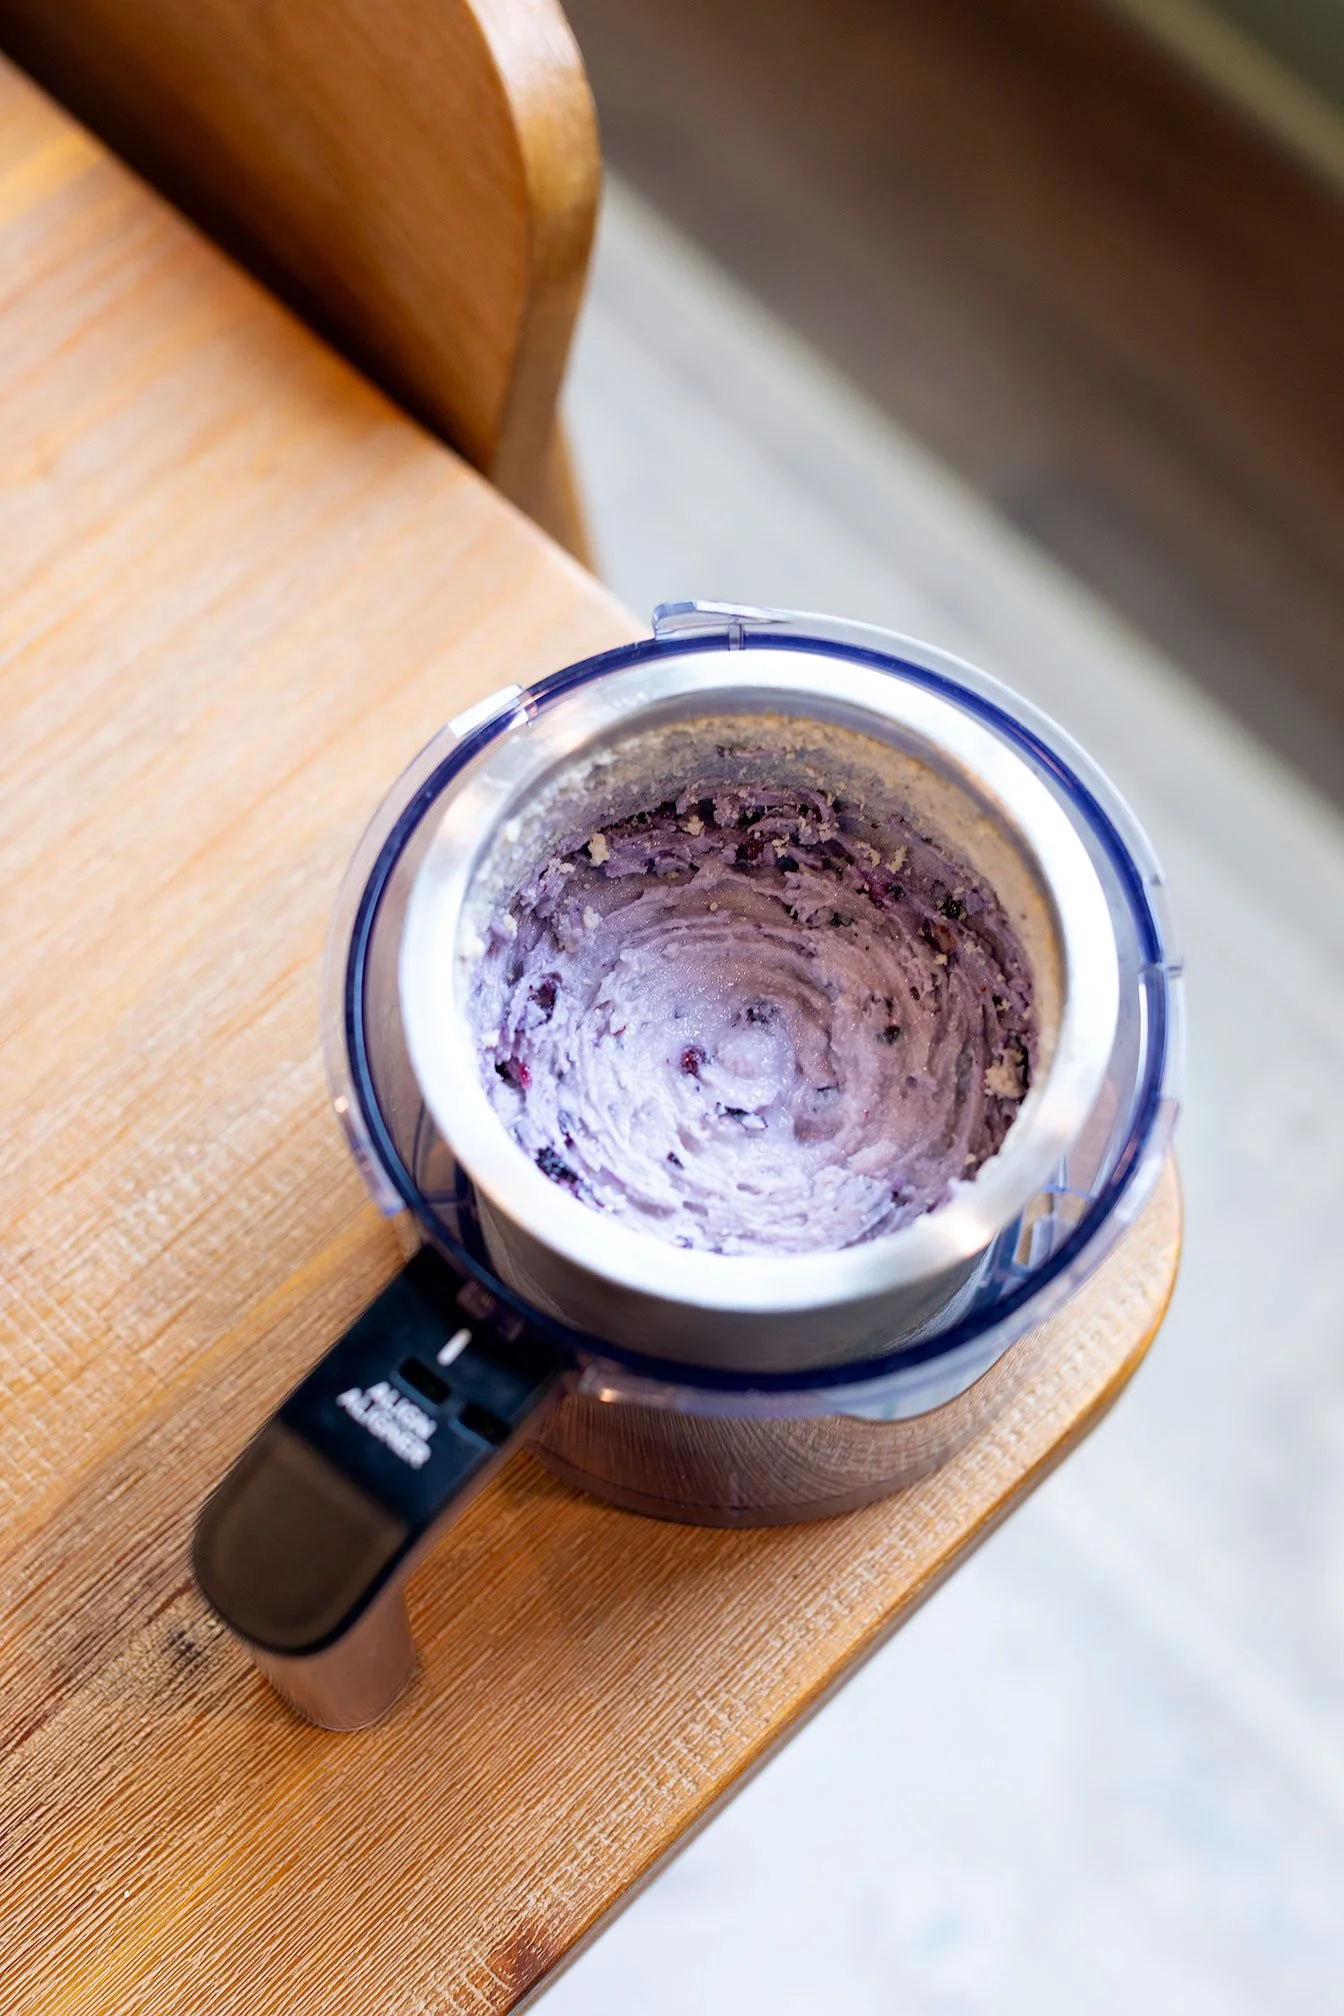
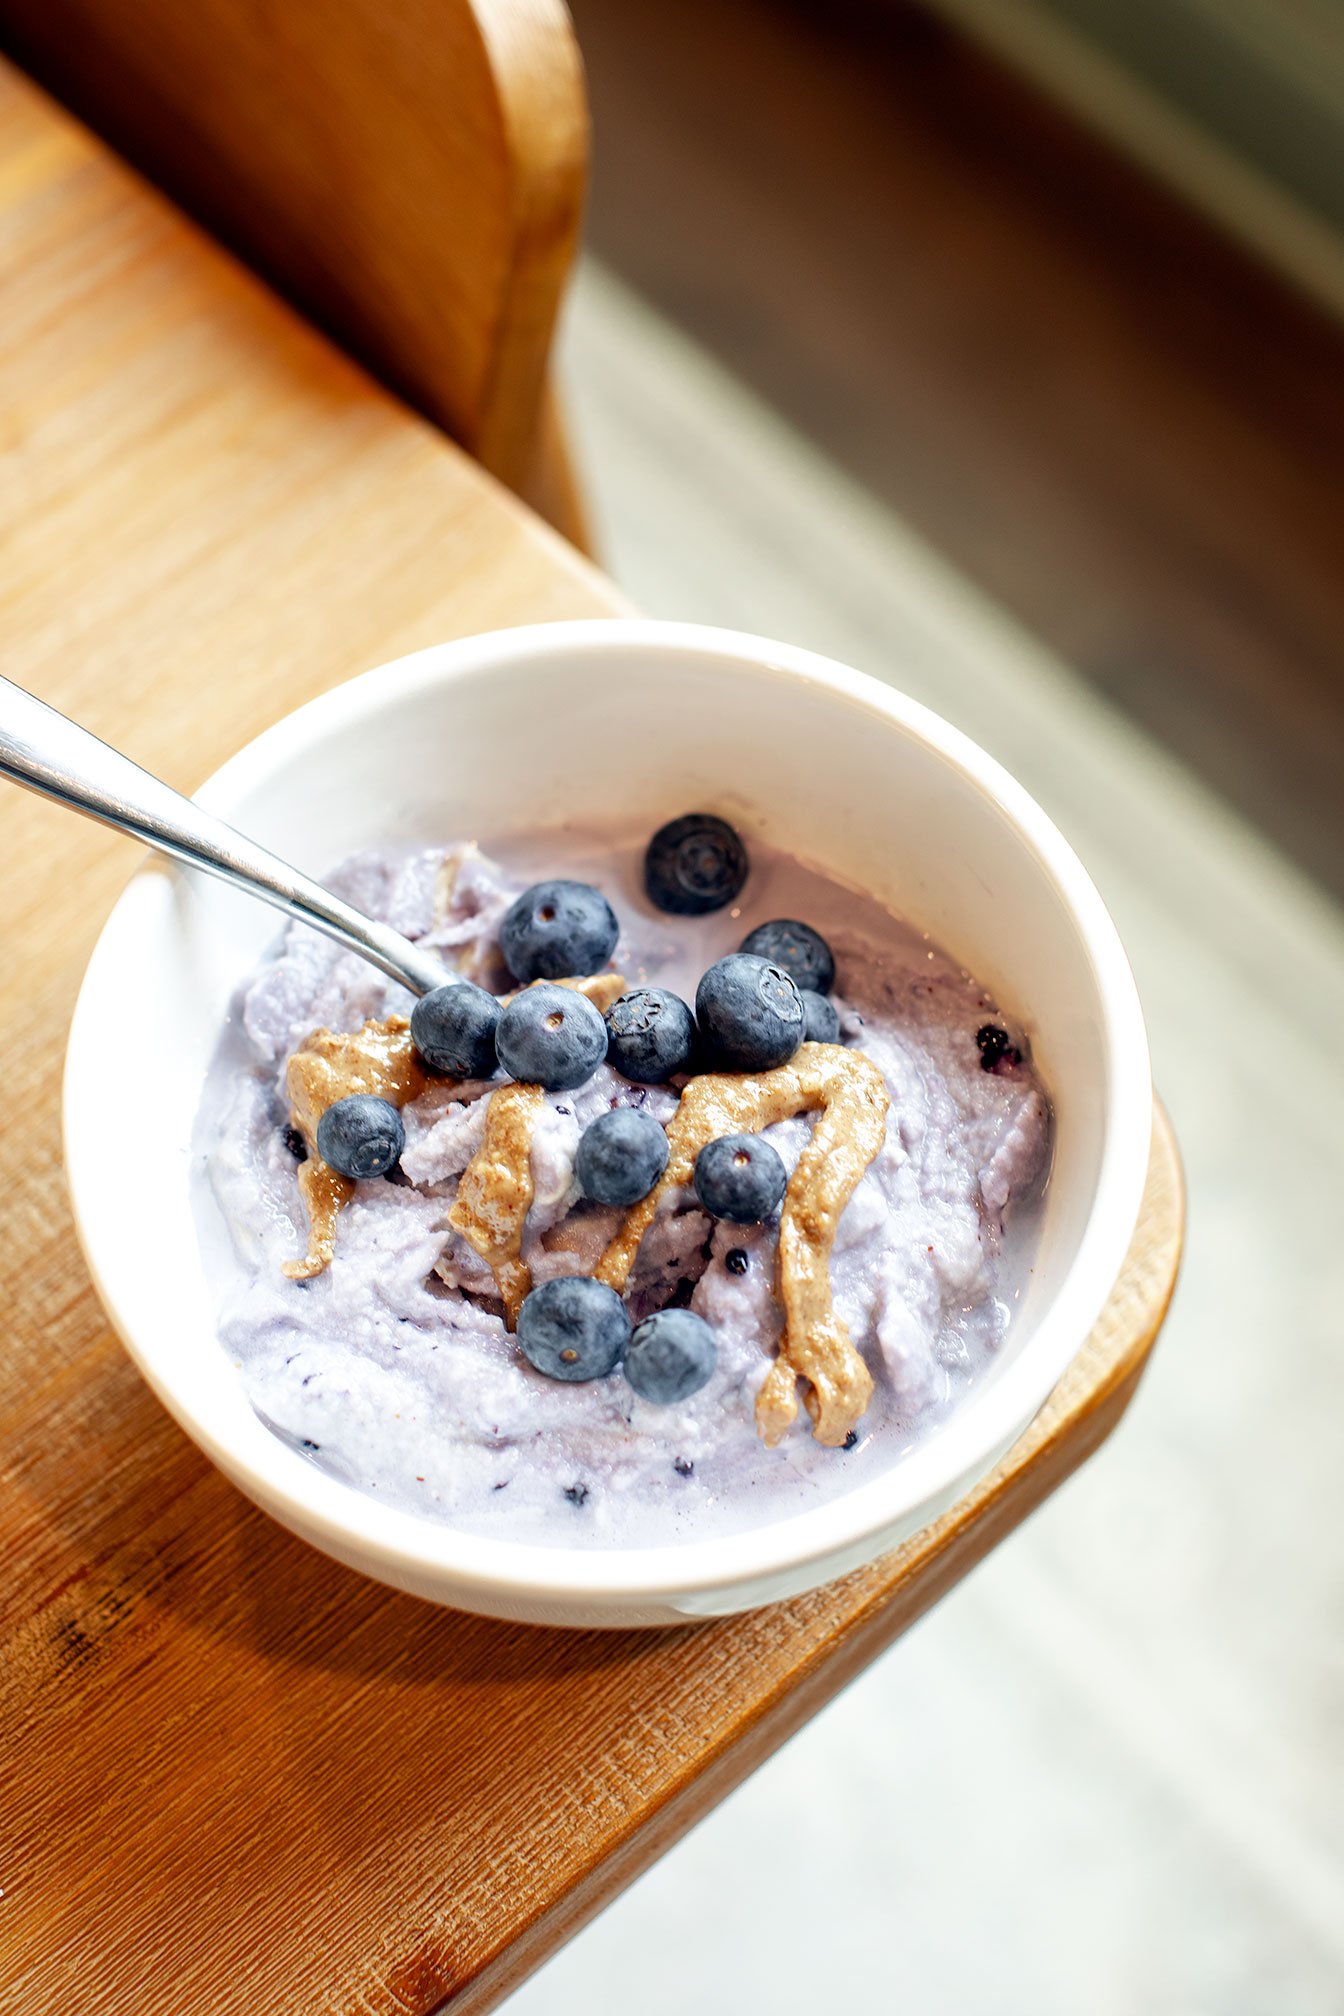
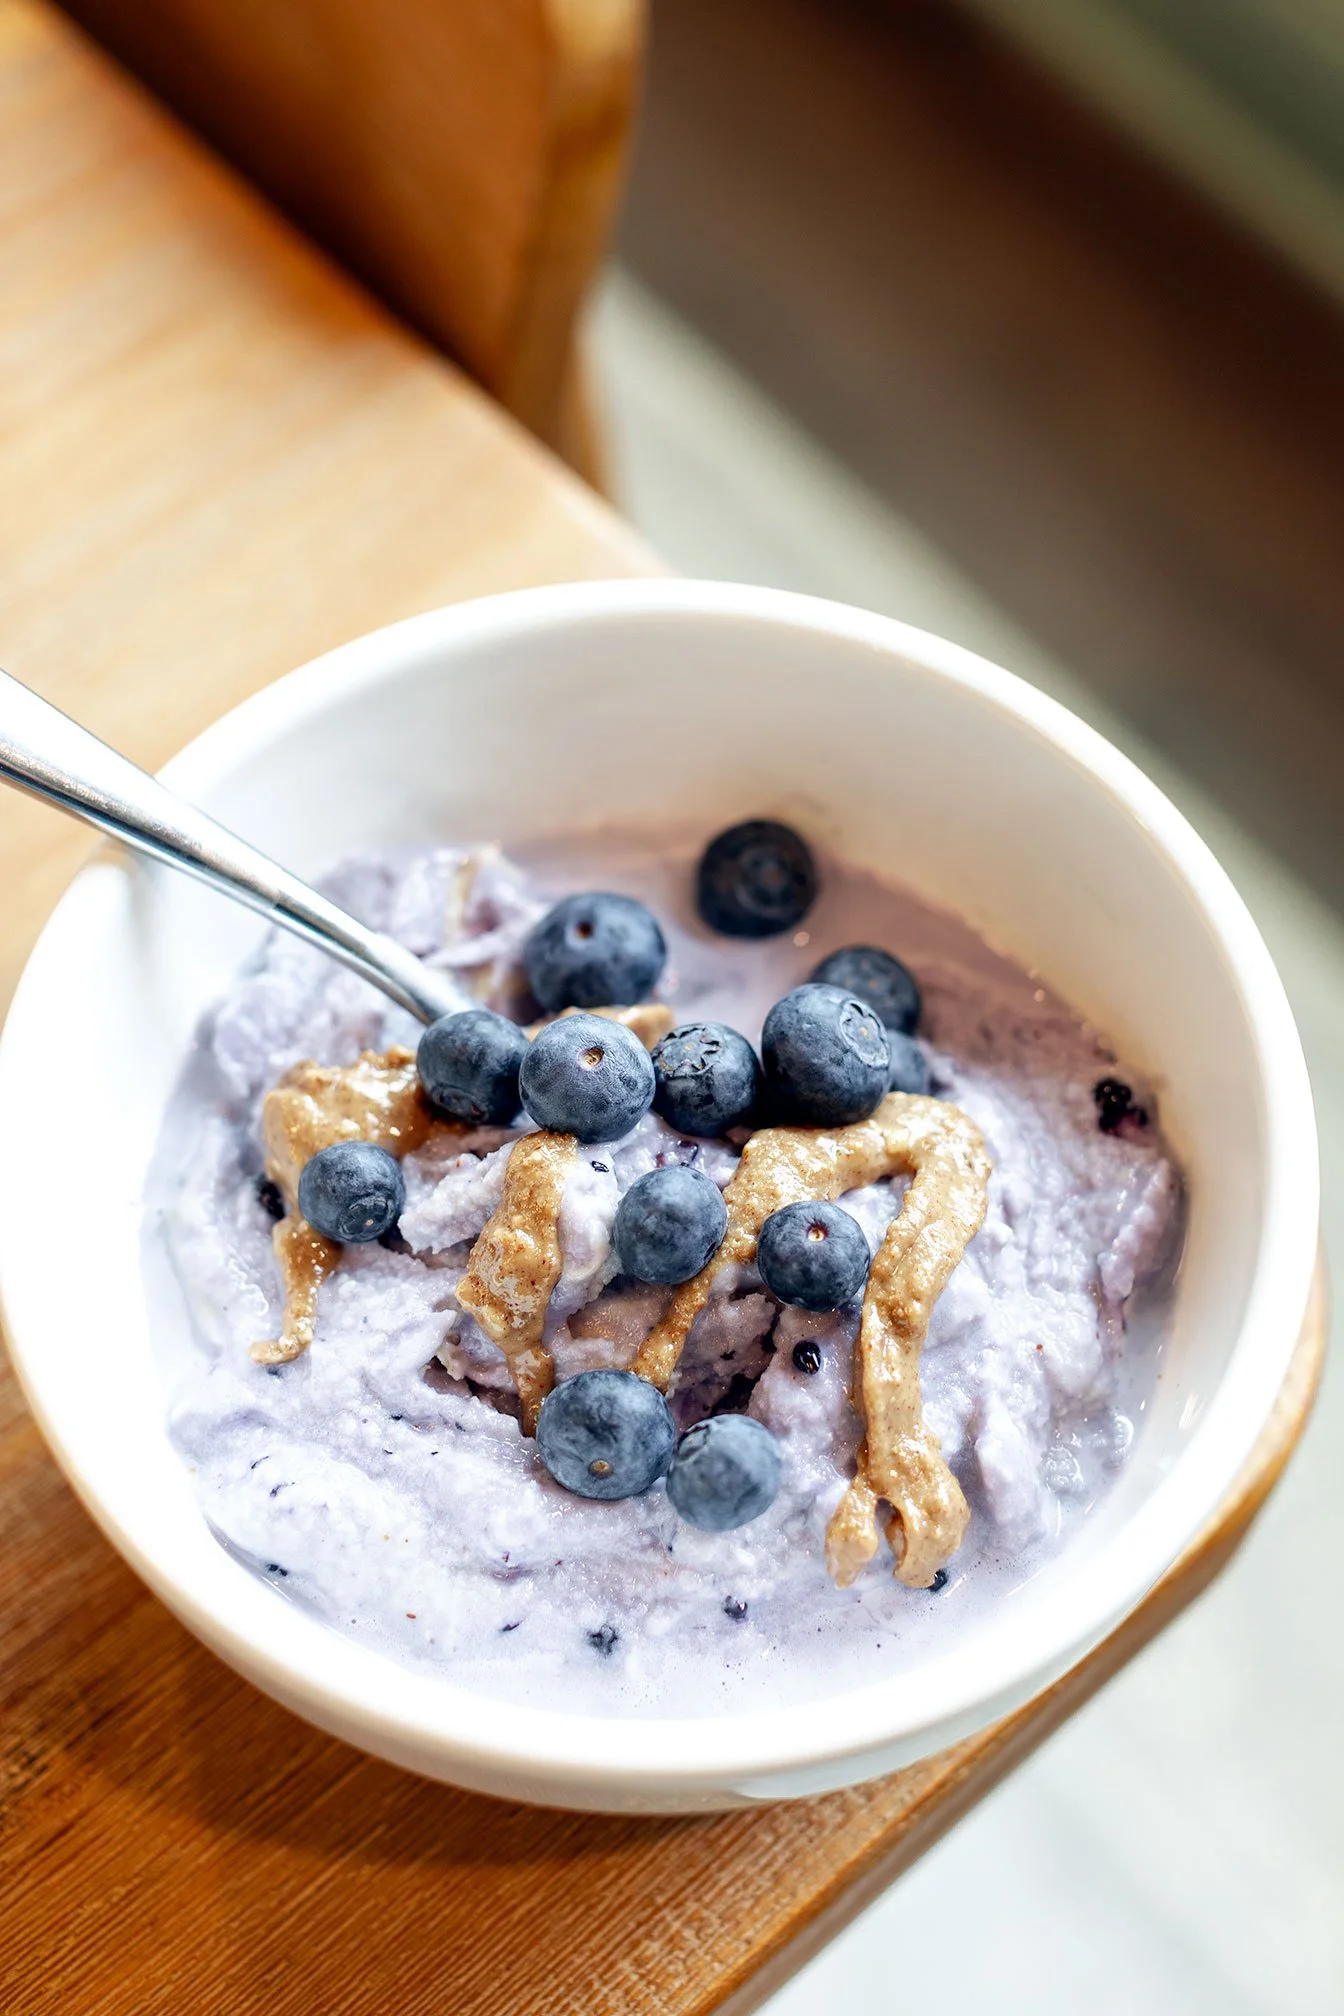
🥜 3. PB&J Protein Ice Cream (High-Protein Milk Base)
Smooth, balanced, and one of the easiest to digest
Ingredients:
¾ cup lactose-free high-protein milk
½ scoop peanut butter Equip protein powder
1 tbsp natural peanut butter
Pinch salt
Mix-In:
⅓ cup wild blueberries
Instructions:
Blend
Freeze
Spin → Re-spin
Add blueberries → Mix-In
Macros (base only):
Calories: ~260–290
Protein: ~27–32g
Carbs: ~9–11g
Fat: ~12–14g
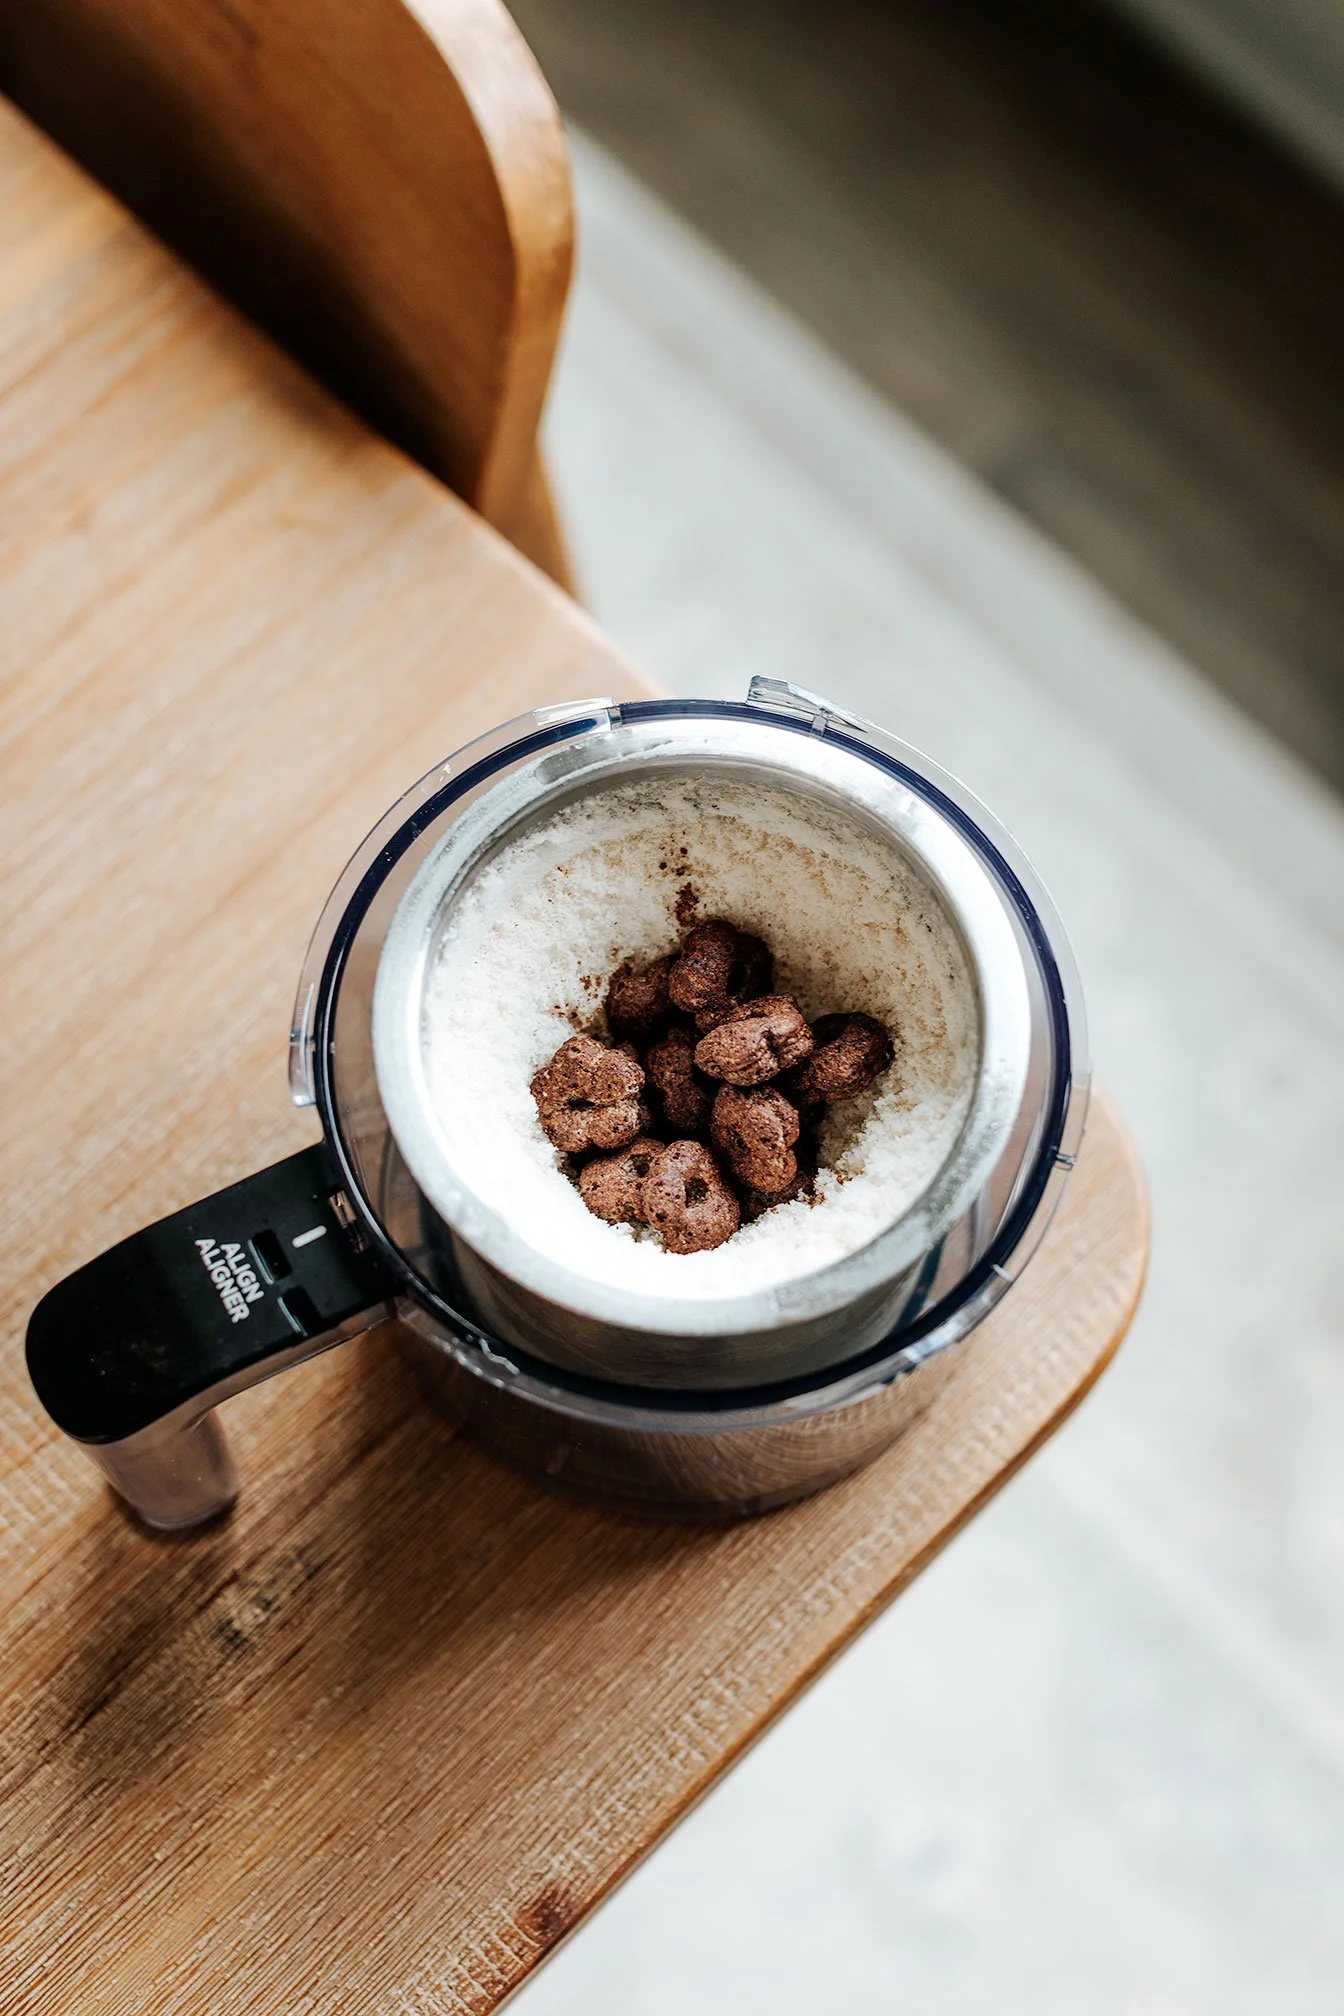
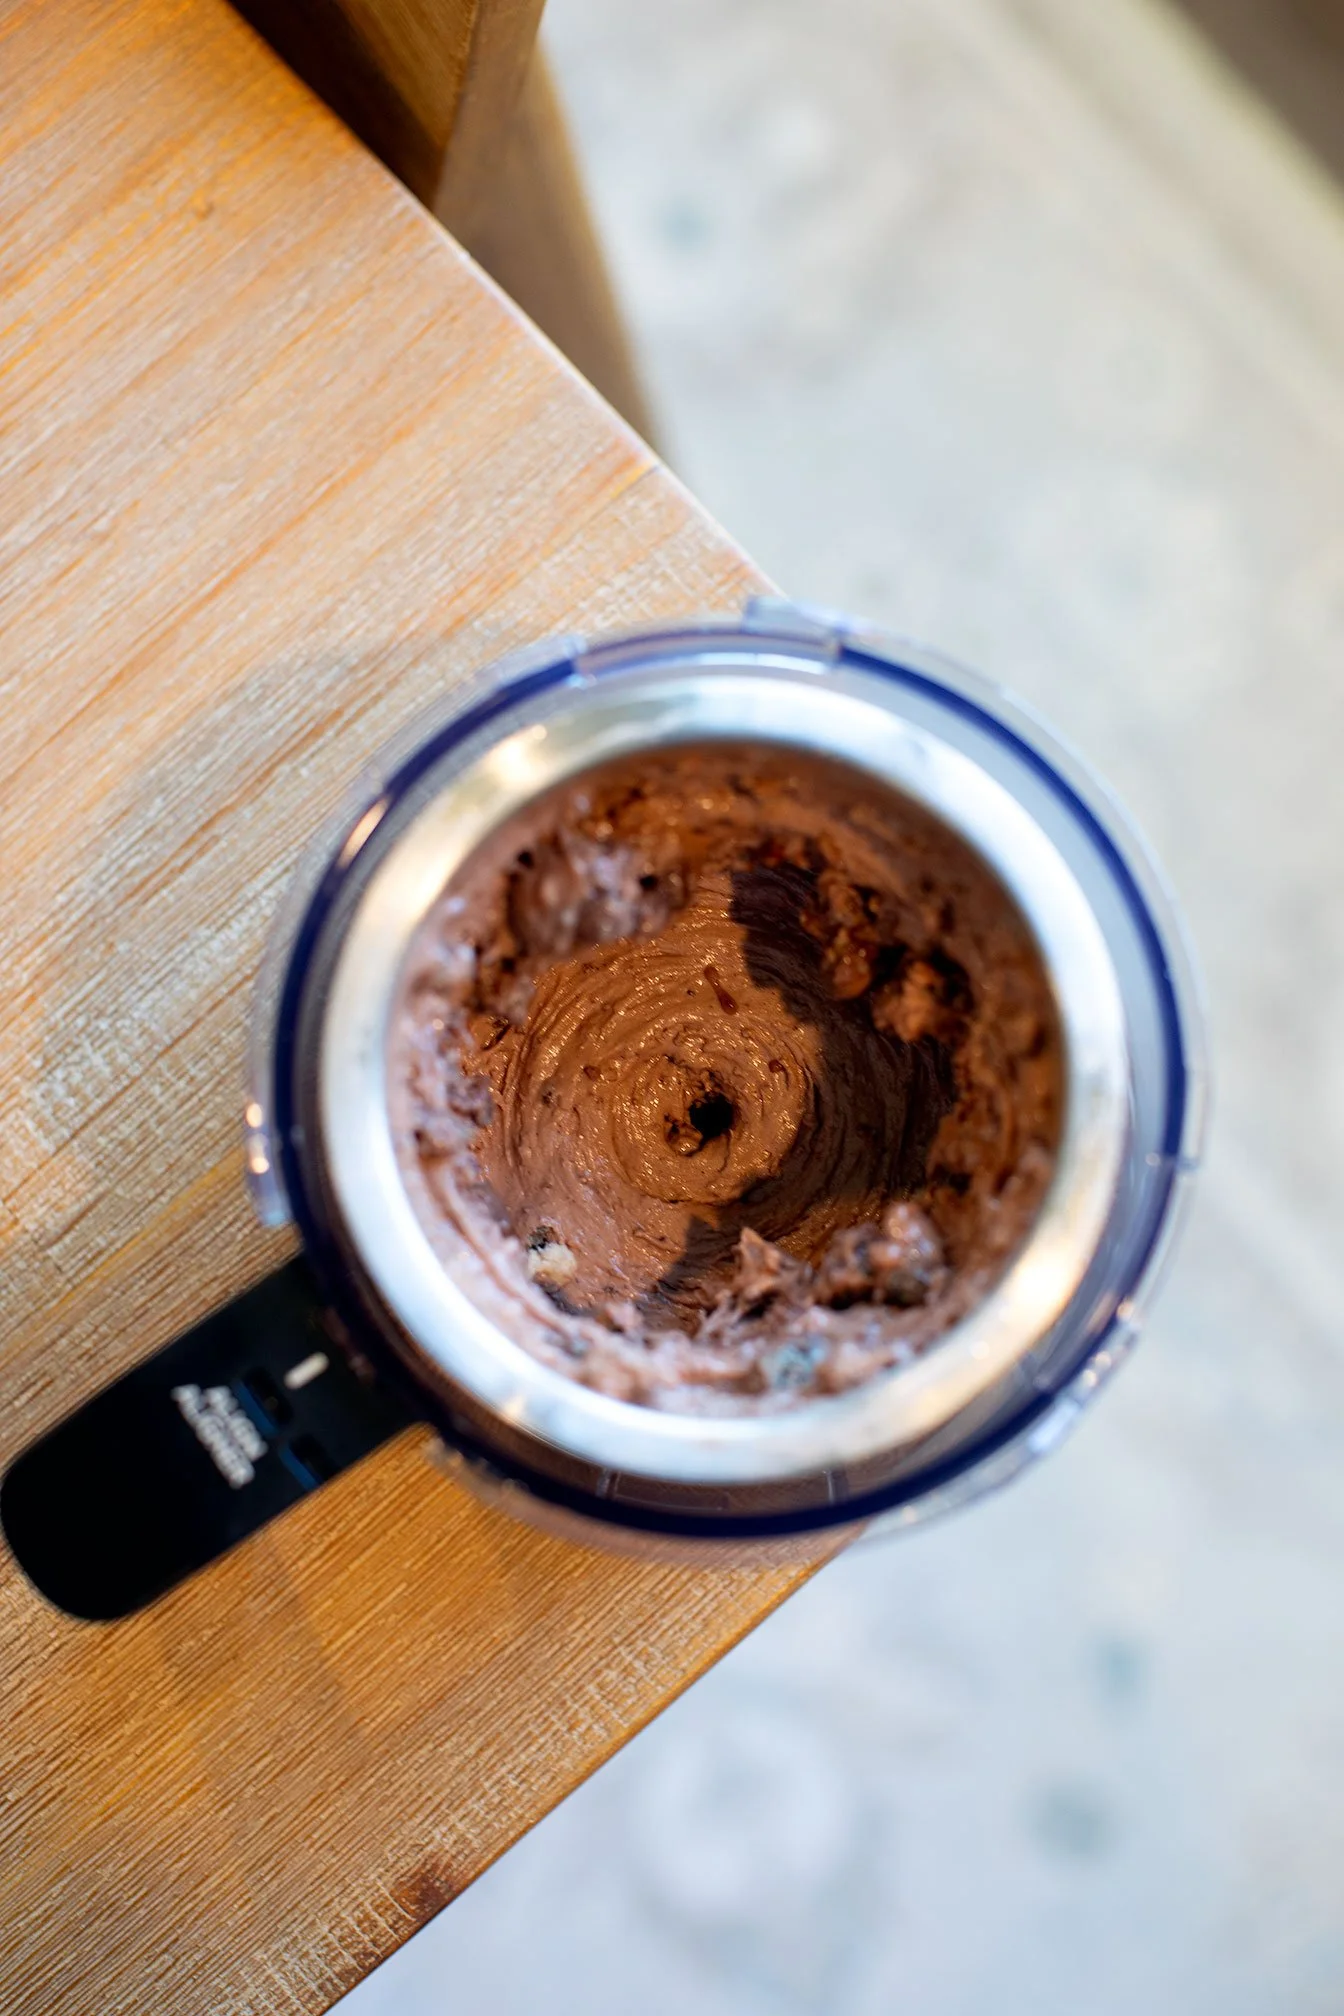
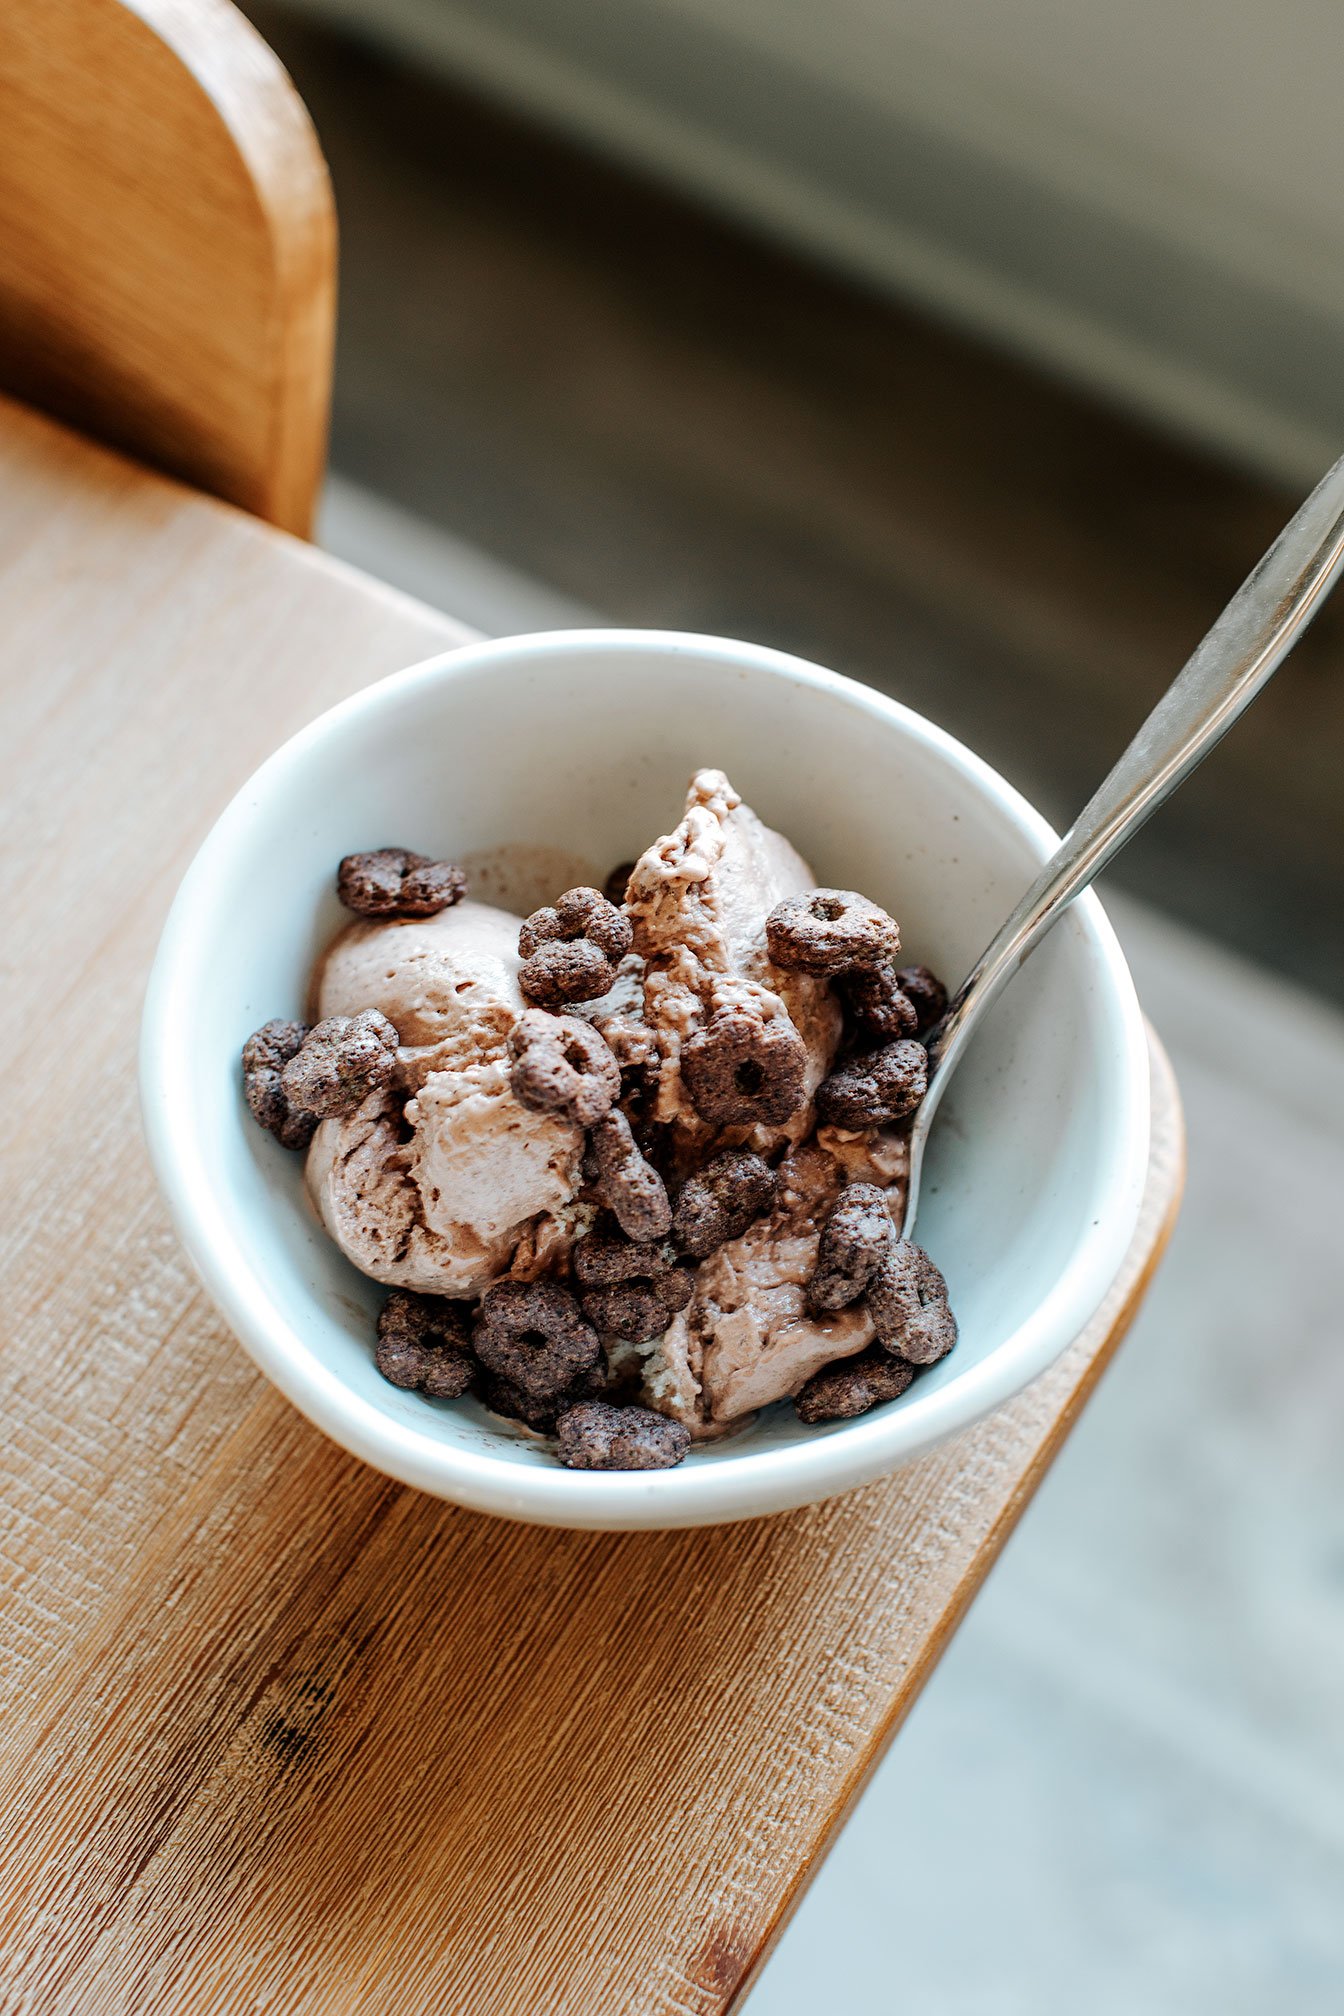
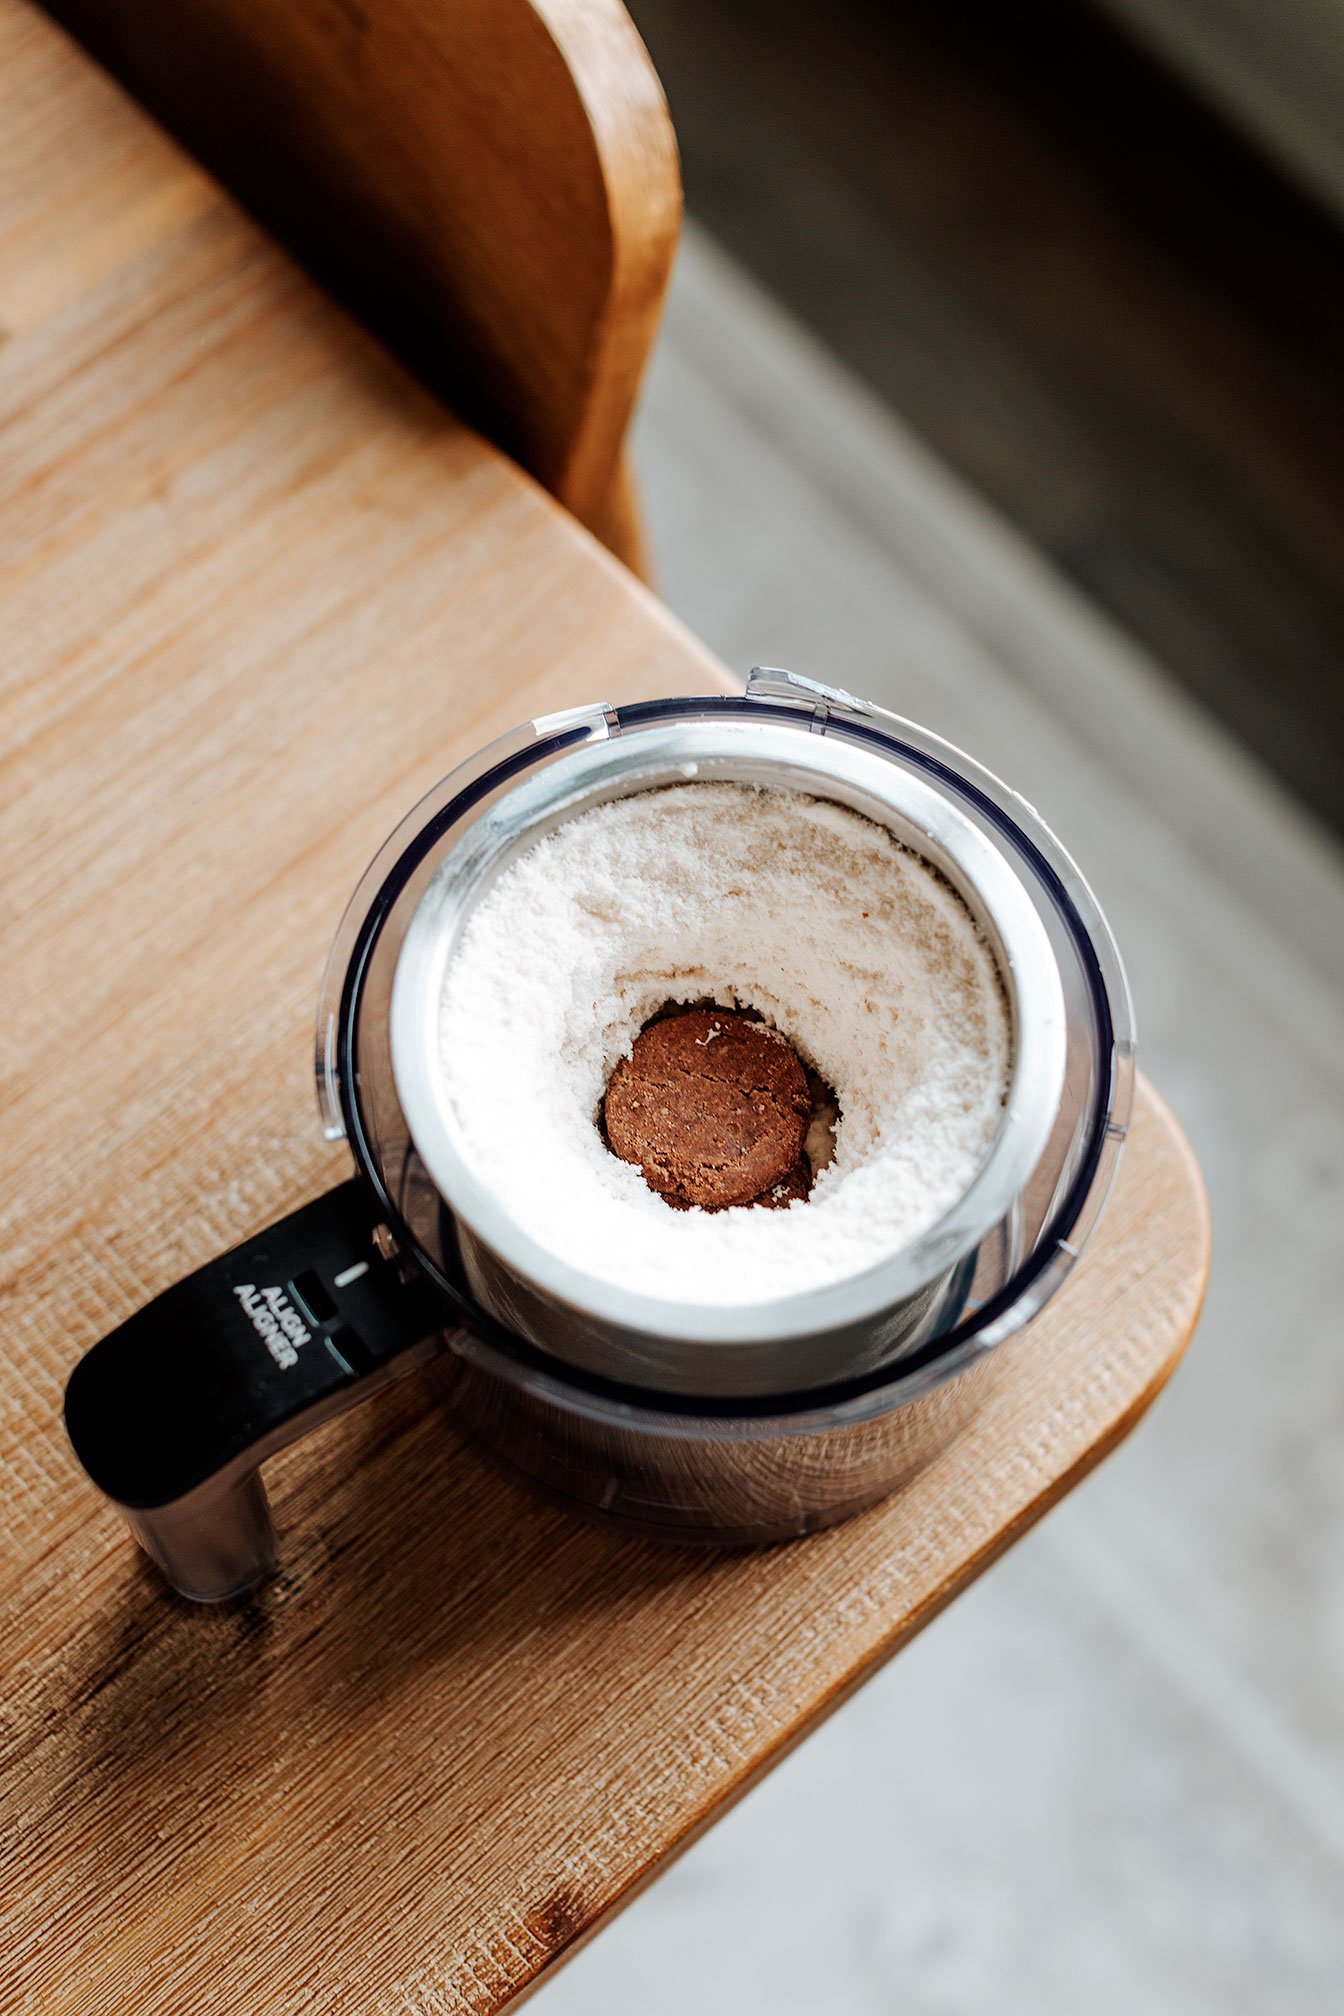
🍫 4. Chocolate Crunch Coconut Protein Ice Cream (Fully Dairy-Free)
Rich, creamy, and completely dairy-free
Ingredients:
¾ cup coconut milk (carton, unsweetened)
¼ cup almond milk
1 scoop vanilla Equip protein
1 tsp cocoa powder (or Redmond’s chocolate electrolyte powder)
Pinch salt
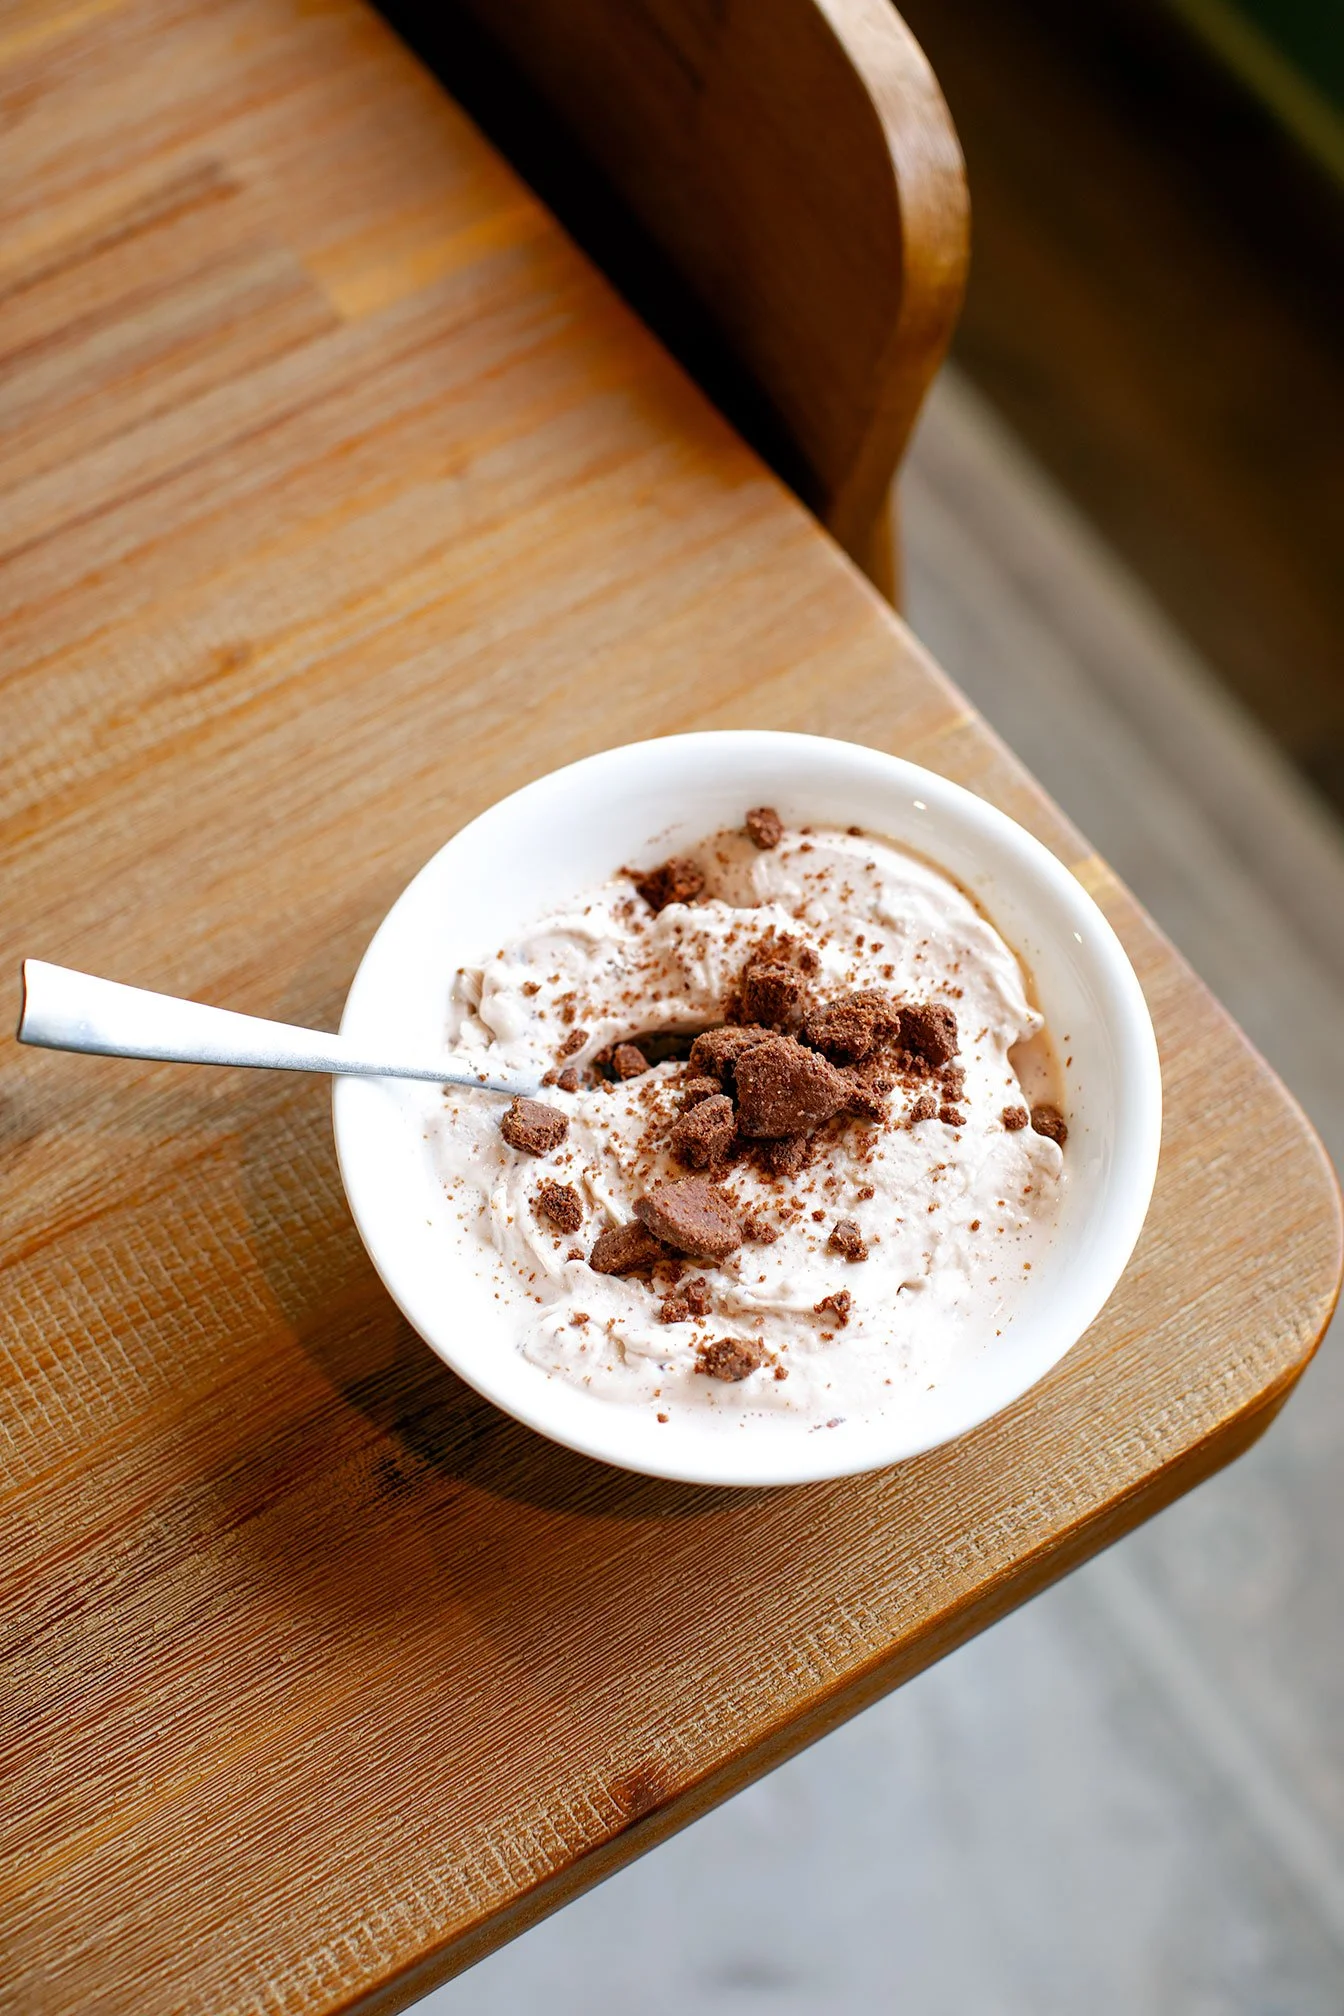
Mix-In:
⅓ cup Seven Sundays cocoa cereal
Instructions:
Blend
Freeze
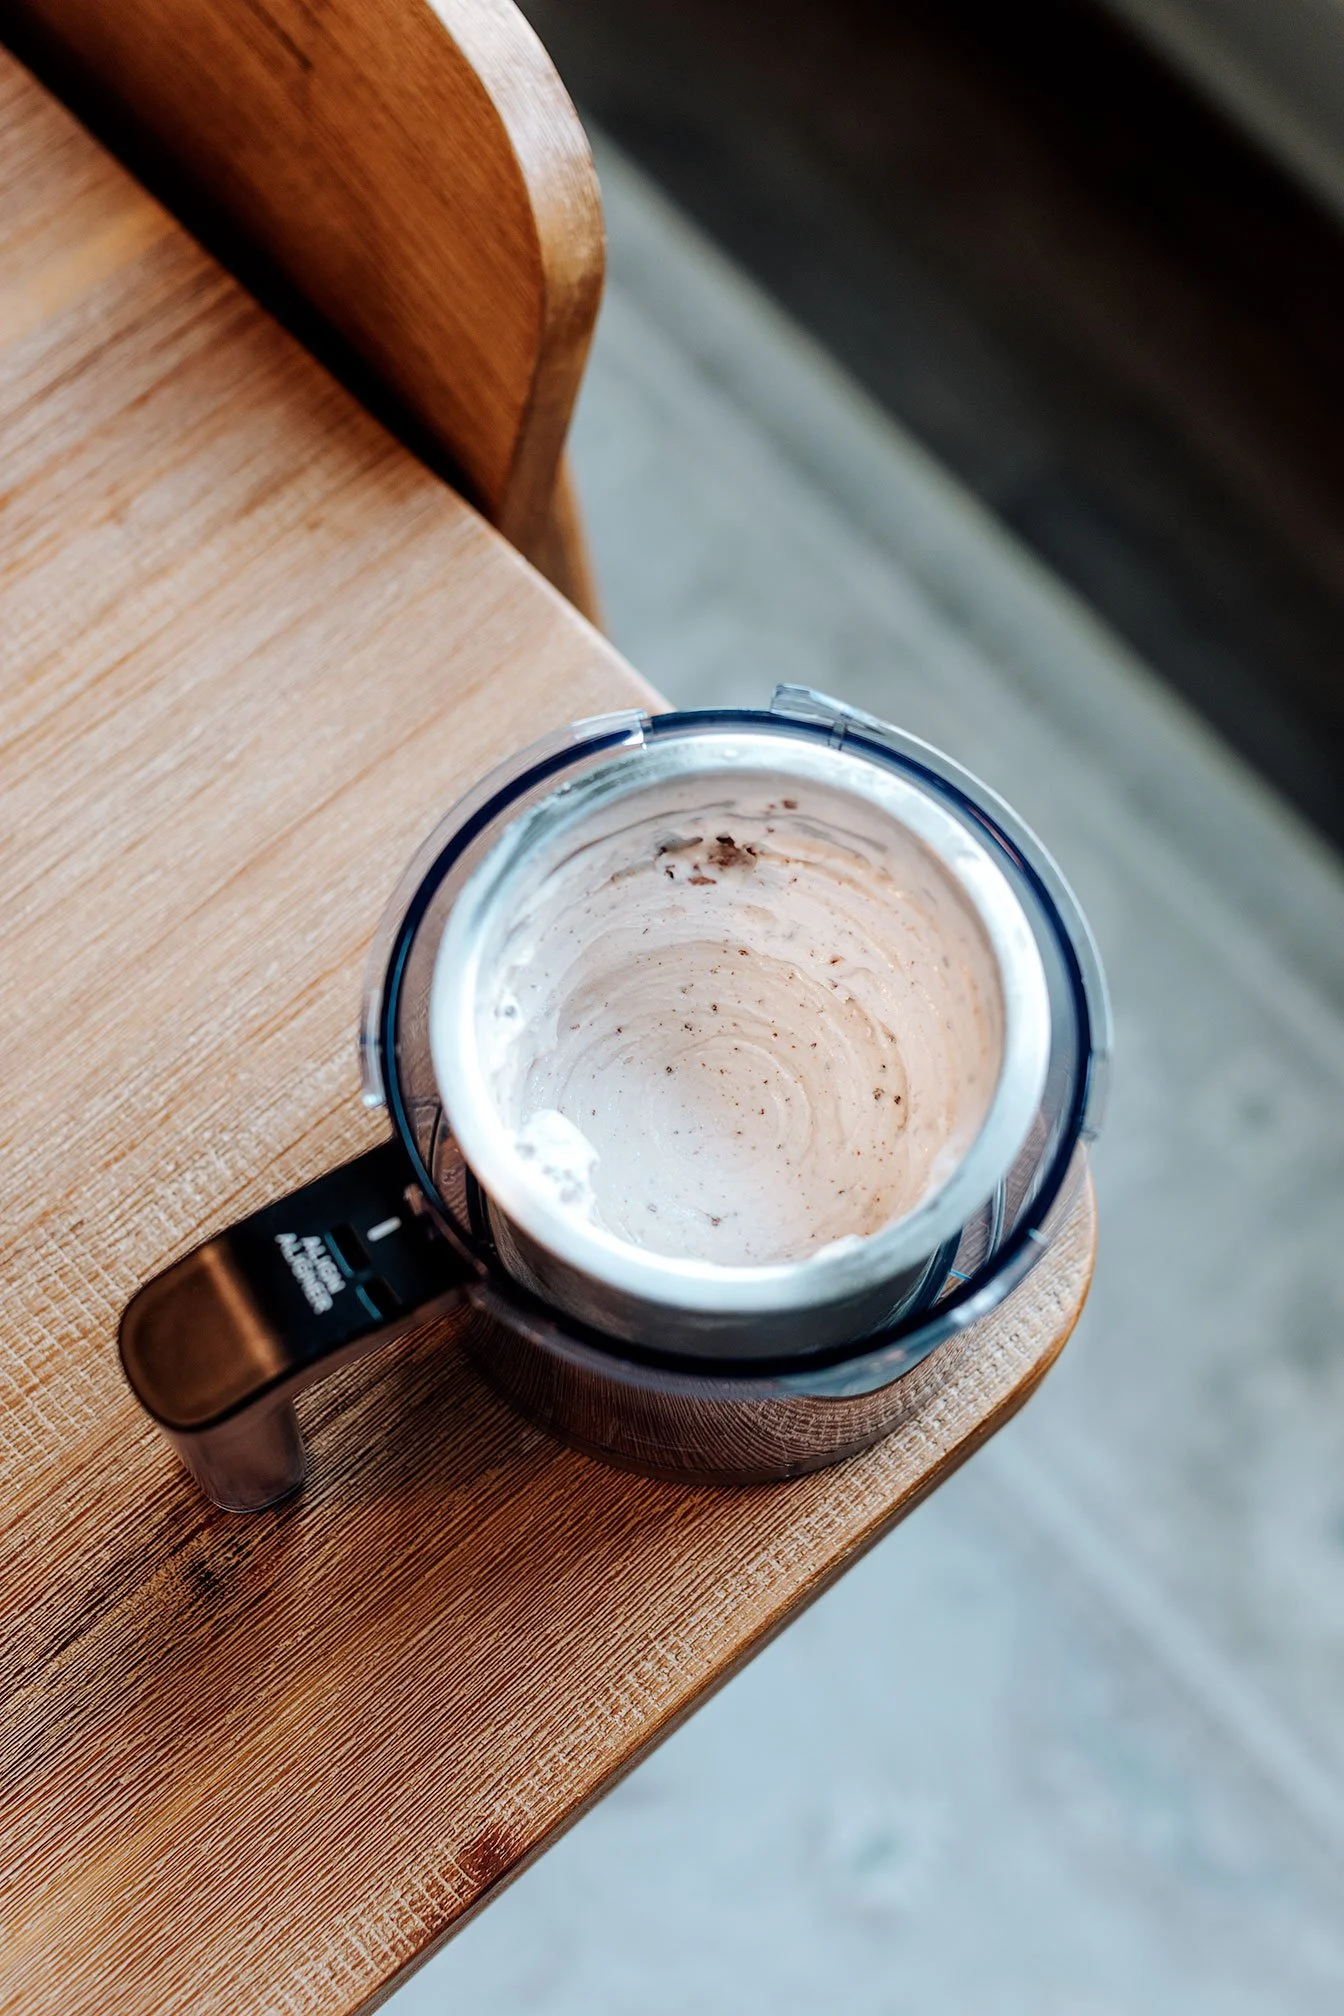
Spin → Re-spin
Add cereal → Mix-In
Macros (base only):
Calories: ~220–260
Protein: 30g+
Carbs: ~6–8g
Fat: ~9–12g

Texture Notes (From Testing)
All recipes turned out creamy after 1–2 re-spins
Cottage cheese base = slightly cheesecake-like flavor
Coconut milk (carton) = less heavy, still creamy
½ scoop protein = best texture overall
👉 If crumbly:
Add 1–2 tbsp liquid
Re-spin again
Sweetness Tip (Important)
These are intentionally lower sugar, so don’t expect them to taste like traditional ice cream right away.
I personally added:
~1 tbsp honey drizzle after spinning
You can also use:
Maple syrup
Stevia / monk fruit
Dates (blended in)
Adjust based on your goals.
Why This Works (Especially for Sensitive Digestion)
These recipes avoid:
Whey protein
Heavy cream
Artificial fillers
And instead use:
Lactose-free or dairy-free bases
Simple ingredients
Easily digestible protein
So you can still enjoy:
A nighttime sweet
A post-workout recovery option
Or just something fun
…without the usual side effects.
Final Thoughts
You don’t need to give up ice cream to feel good.
With the right ingredients and a few simple tweaks, you can have something that’s:
High protein
Gut-friendly
And actually satisfying
Want More Like This?
If you’re looking for:
Personalized macros
Gut-friendly nutrition strategies
HTMA-based support

Dark Chocolate Tahini Cookies
These gluten-free dark chocolate tahini cookies are made with almond flour, coconut flour, and rich tahini for the perfect crispy-outside, soft-inside texture. Naturally sweetened with coconut sugar and loaded with dark chocolate chunks—your new favorite healthy cookie!
These gluten-free dark chocolate tahini cookies are made with almond flour, coconut flour, and rich tahini for the perfect crispy-outside, soft-inside texture. Naturally sweetened with coconut sugar and loaded with dark chocolate chunks—your new favorite healthy cookie!

There’s something about the combination of dark chocolate and tahini that feels both nostalgic and elevated at the same time. I actually stumbled onto these cookies one cold afternoon when I was craving something cozy but didn’t want to make a full-on decadent dessert. I opened my pantry, spotted a jar of tahini I usually save for dressings, and thought… what if this could work in a cookie?
Spoiler: it absolutely works.
The earthy richness of tahini paired with sweet coconut sugar and melty dark chocolate creates this irresistible balance of nutty, toasty sweetness. And the texture? Chef’s kiss. Crispy around the edges, soft and almost brownie-like in the center — the kind of cookie that makes you pause mid–first bite.
These quickly became a go-to in our house, especially when I want something that feels indulgent but still uses simple, wholesome ingredients. If you love a bakery-style cookie with a little twist, you’re going to be obsessed with these Dark Chocolate Tahini Cookies. Serve them warm with a glass of cold milk and thank me later.

These cookies are the perfect mix of nutty, rich, and deeply chocolatey. The tahini adds a subtle sesame flavor that pairs so well with dark chocolate, while the almond and coconut flour combination creates crisp edges and a soft, chewy middle. They’re naturally gluten-free, sweetened with coconut sugar, and truly next-level with a sprinkle of flaky sea salt.
⬇️ 🎥 A YouTube video tutorial below if you want to watch the full step-by-step!
✨ If you try this recipe, make sure to tag me in your socials so I can cheer you on in the kitchen! Or leave feedback in the comments!
Dark Chocolate Tahini Cookies (Gluten-Free, Soft + Crispy!)
These gluten-free dark chocolate tahini cookies are made with almond flour, coconut flour, and rich tahini for the perfect crispy-outside, soft-inside texture. Naturally sweetened with coconut sugar and loaded with dark chocolate chunks - your new favorite healthy cookie!
Coconut flour behaves differently than most flours because it absorbs significantly more moisture. Small measurement differences can affect the dough texture, which is why the updated version includes additional guidance for best results.
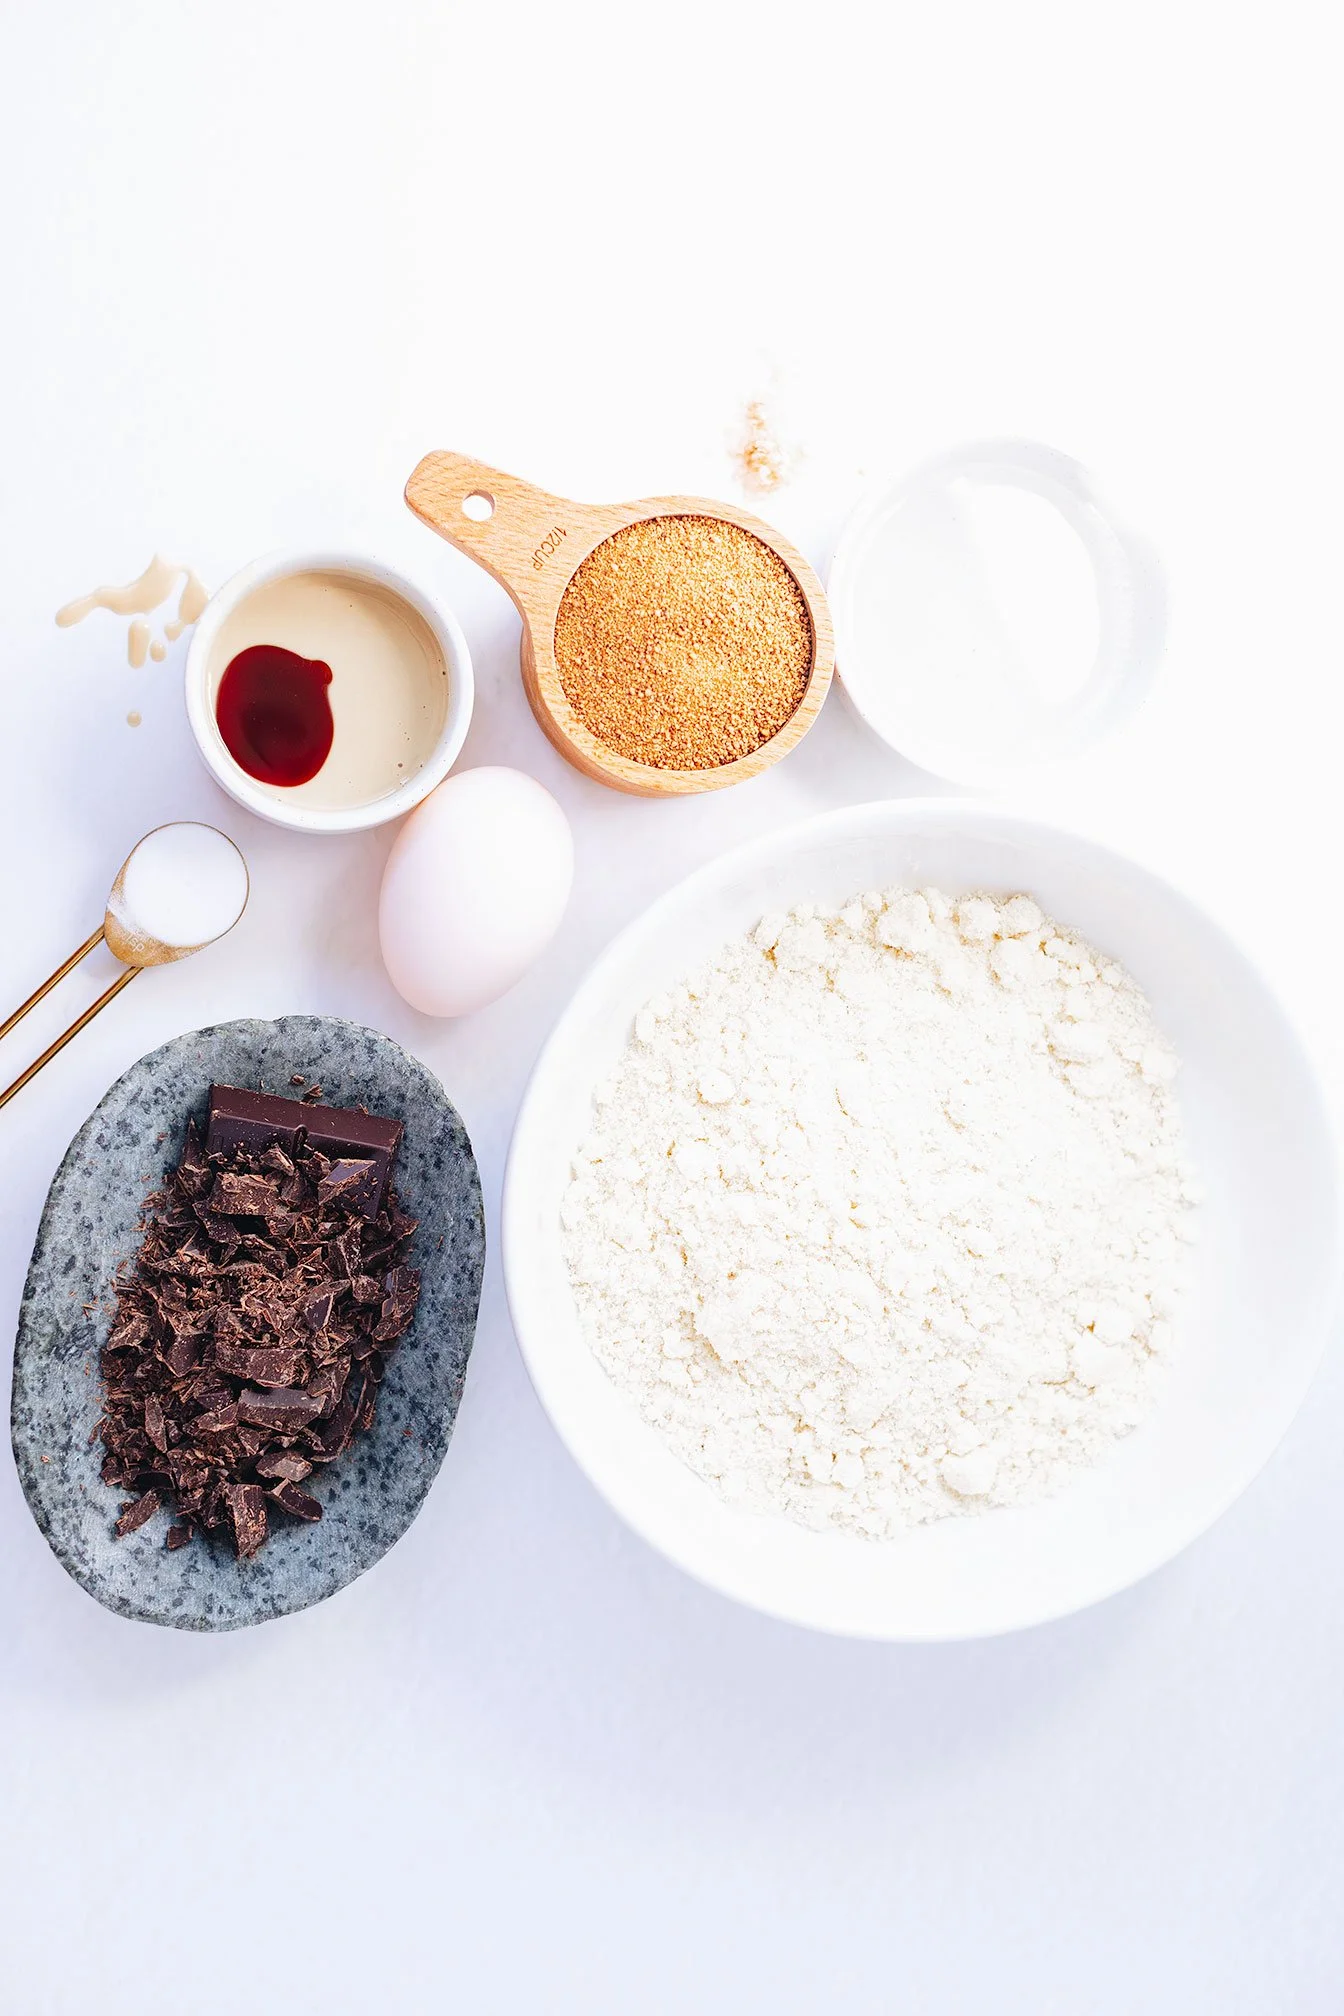
Ingredients
1 ¼ cups almond flour
¾ cup coconut flour (spooned and leveled, not packed)
2 tbsp arrowroot starch (optional but recommended for better texture)
⅓ cup coconut oil or grass-fed butter, melted and slightly cooled
½ cup coconut sugar
1 large egg, room temperature
¼ cup tahini (well stirred and pourable)
1 tsp vanilla extract
¾ tsp baking soda
2.1 oz dark chocolate bar, chopped or 1 cup dark chocolate chunks/chips
Flaky sea salt, for topping
Directions
Mix the dry ingredients
In a medium bowl, whisk together the almond flour, coconut flour, arrowroot starch (if using), coconut sugar, and baking soda.
Mix the wet ingredients
In another bowl, whisk together the melted coconut oil or butter, egg, tahini, and vanilla extract until smooth.
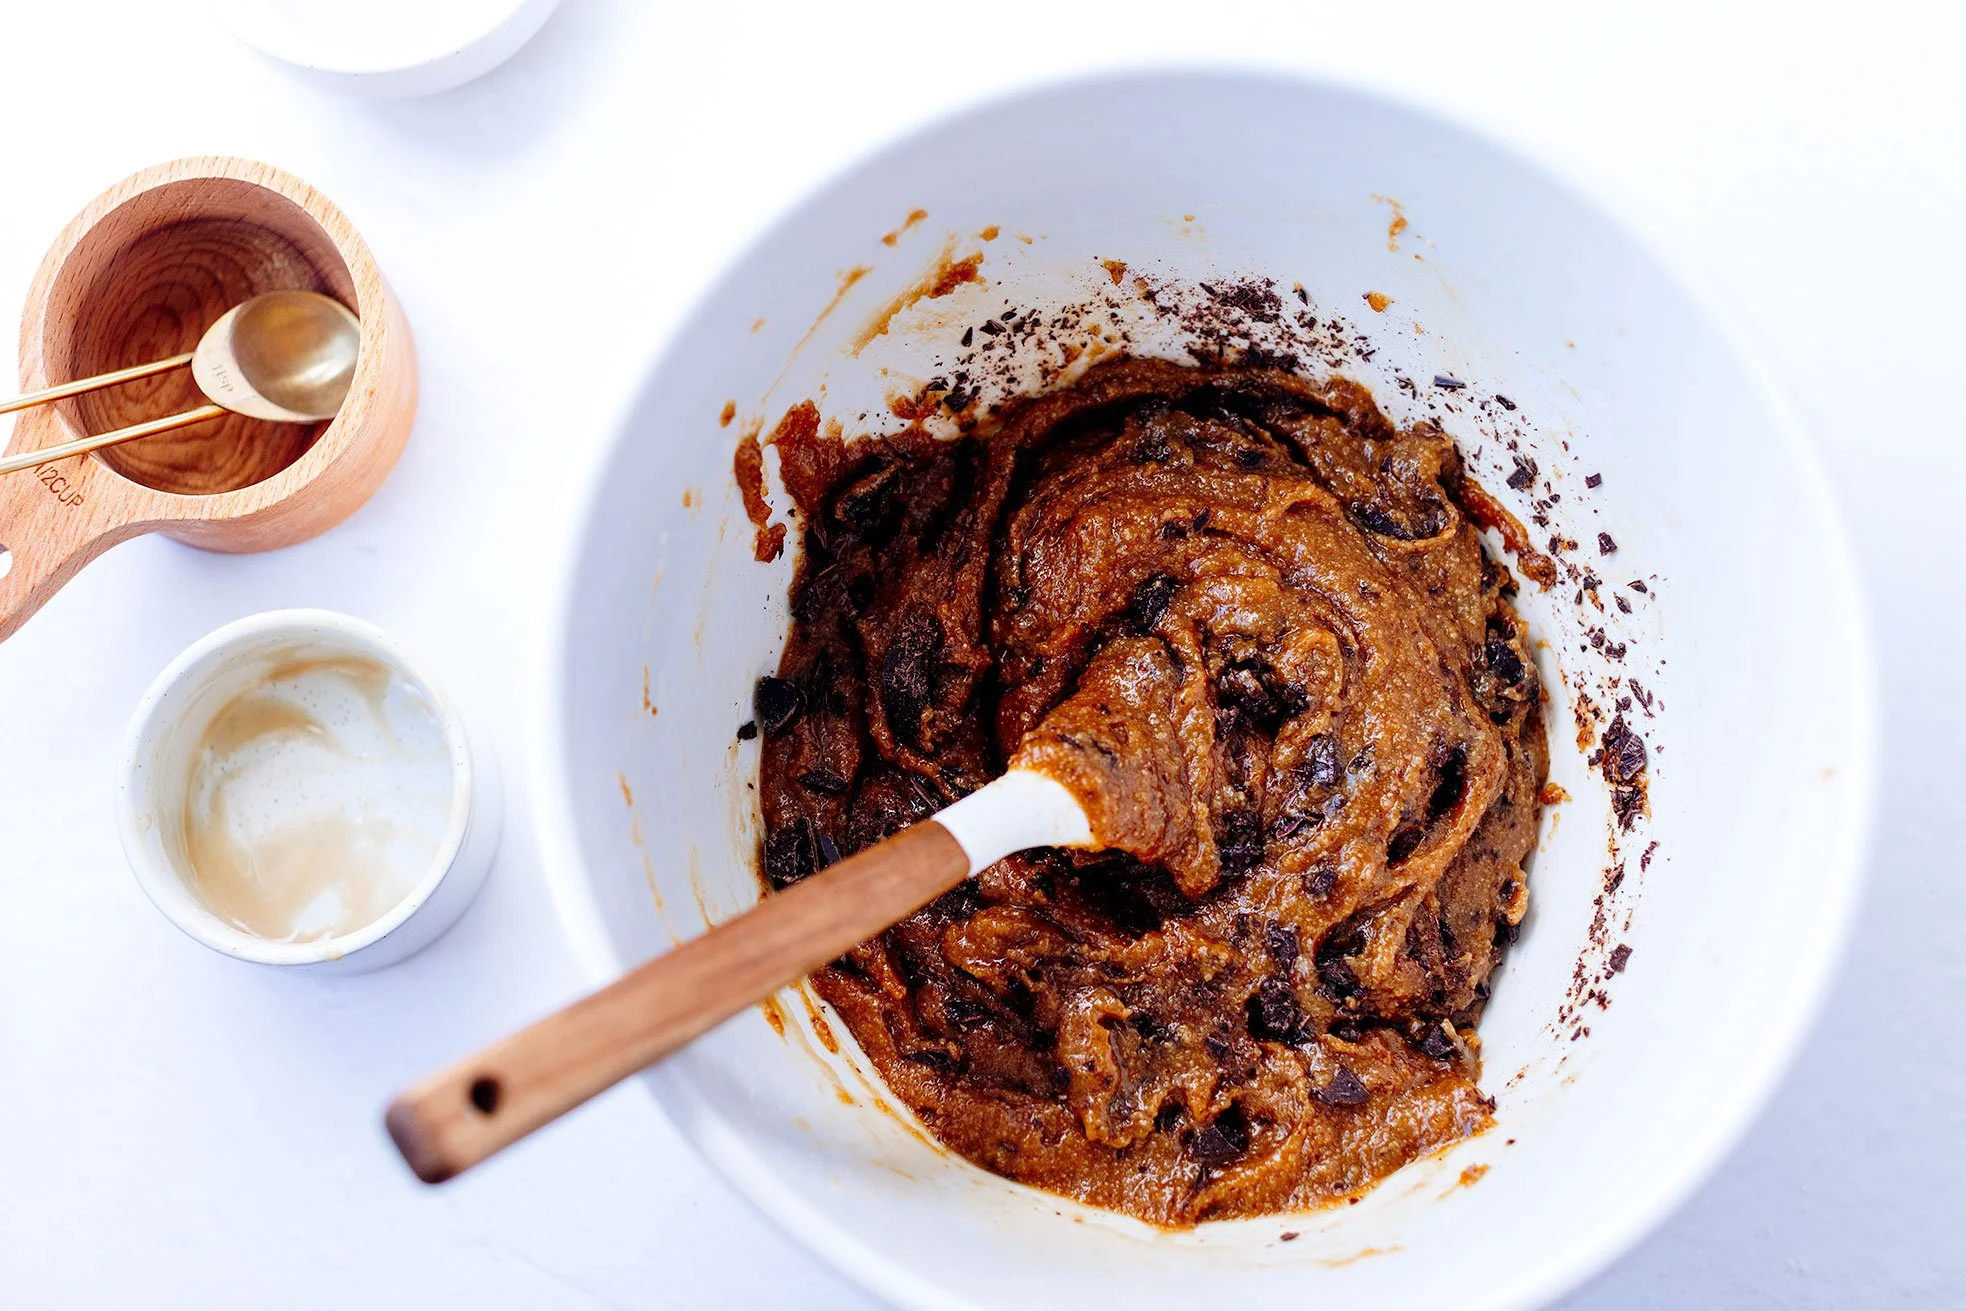
Combine
Pour the wet ingredients into the dry ingredients and stir until a thick dough forms. Fold in the chopped dark chocolate.
If the dough feels too crumbly to hold together, mix in 1–2 tablespoons of water or milk until it forms a scoopable dough.
Chill
Cover the dough and refrigerate for at least 1 hour (or up to overnight). Chilling helps the coconut flour fully hydrate and improves the texture of the cookies.
Bake
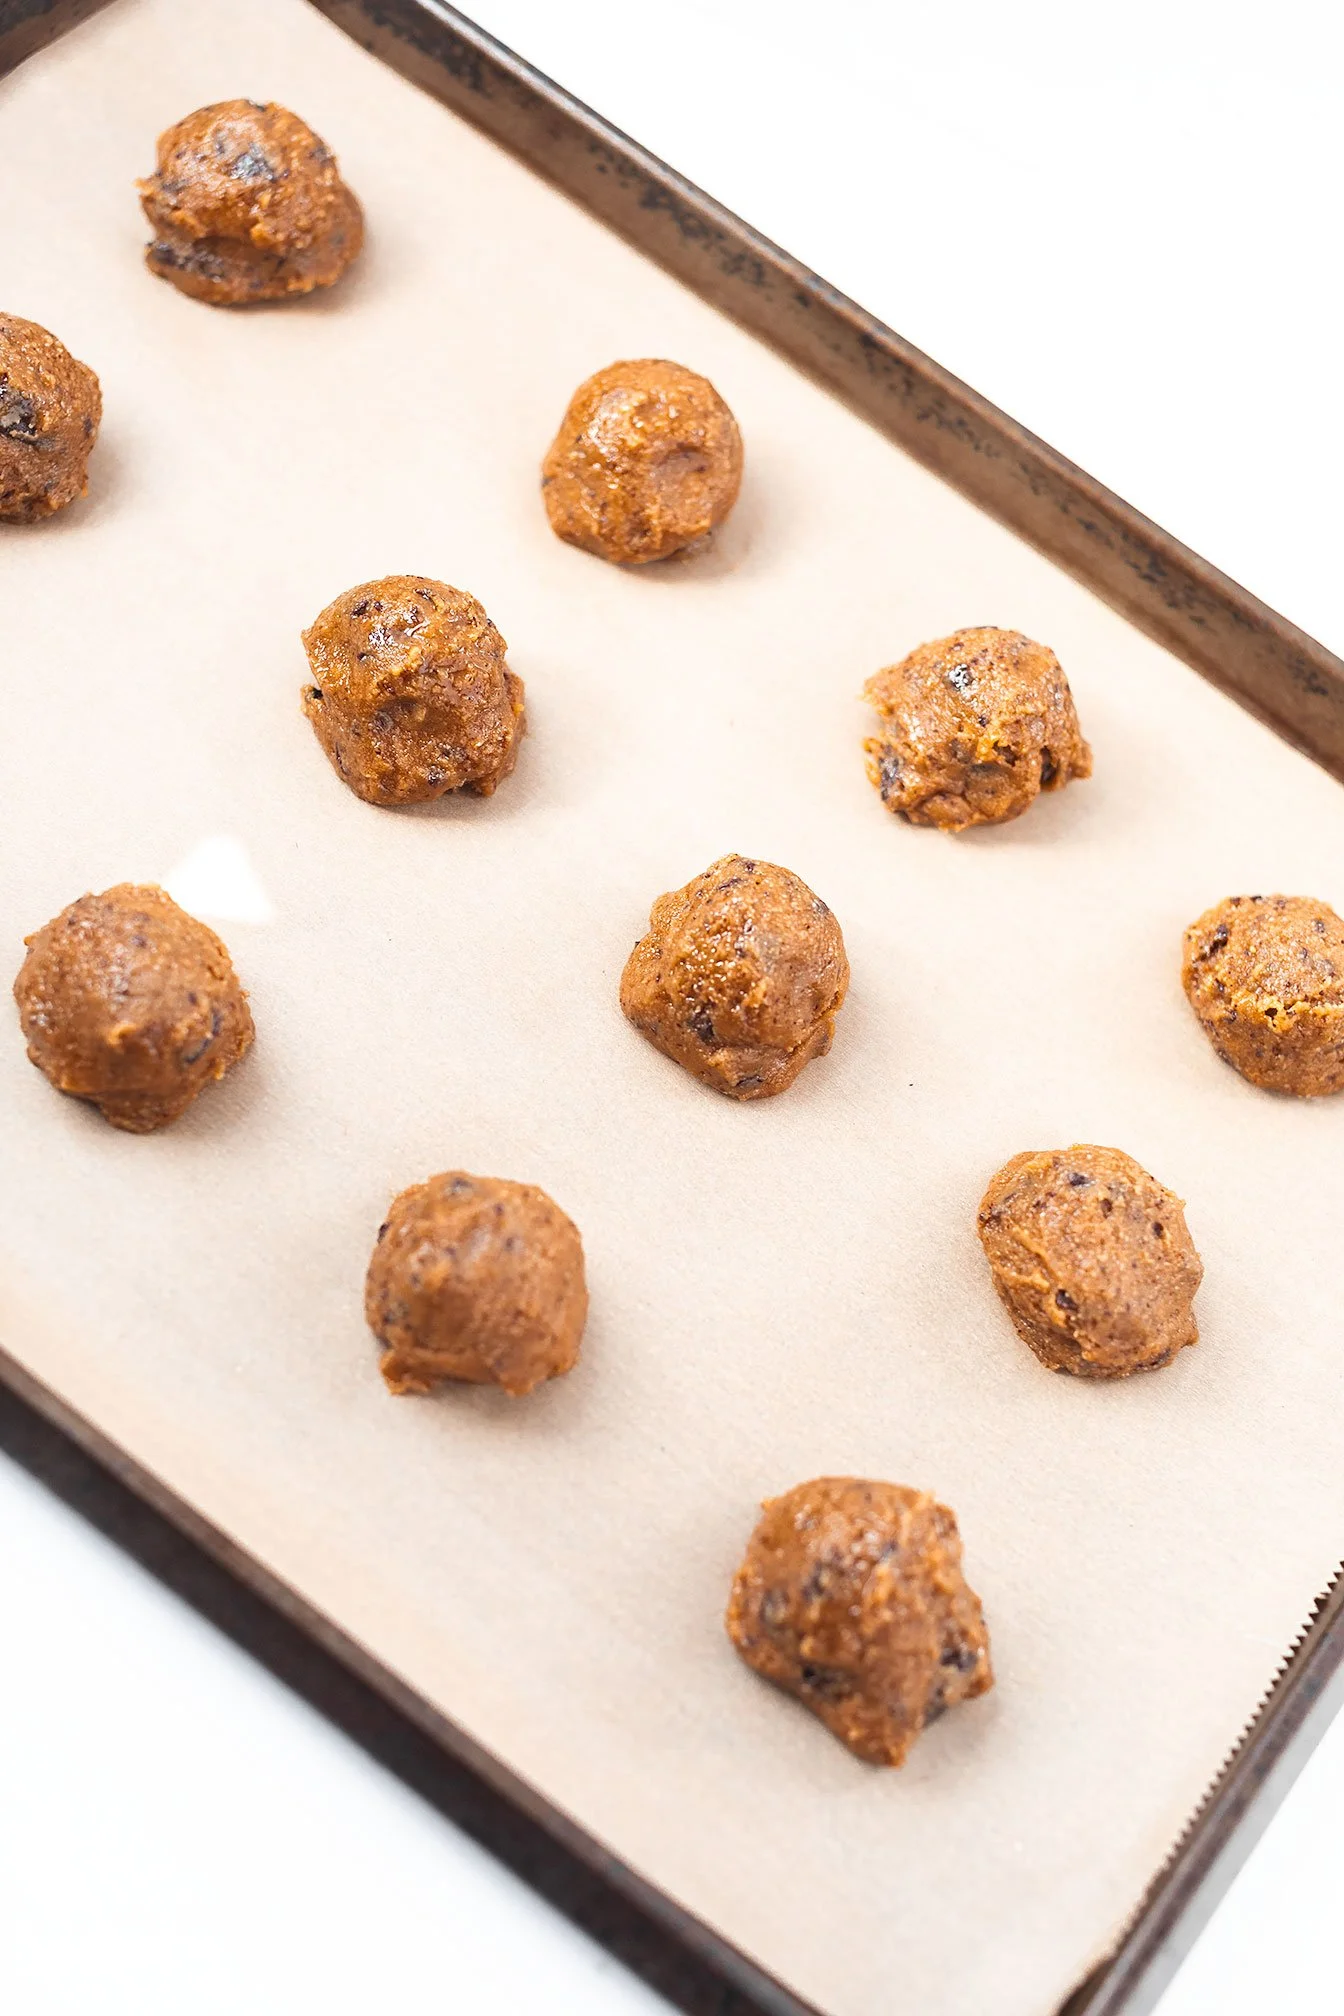
Preheat the oven to 350°F and line a baking sheet with parchment paper.
Scoop dough into balls (about 1–2 tablespoons each) and place on the baking sheet.
Because coconut flour cookies don’t spread much on their own, gently press each dough ball slightly to flatten.
Bake for 9–11 minutes, until the edges are lightly golden but the centers still look soft.
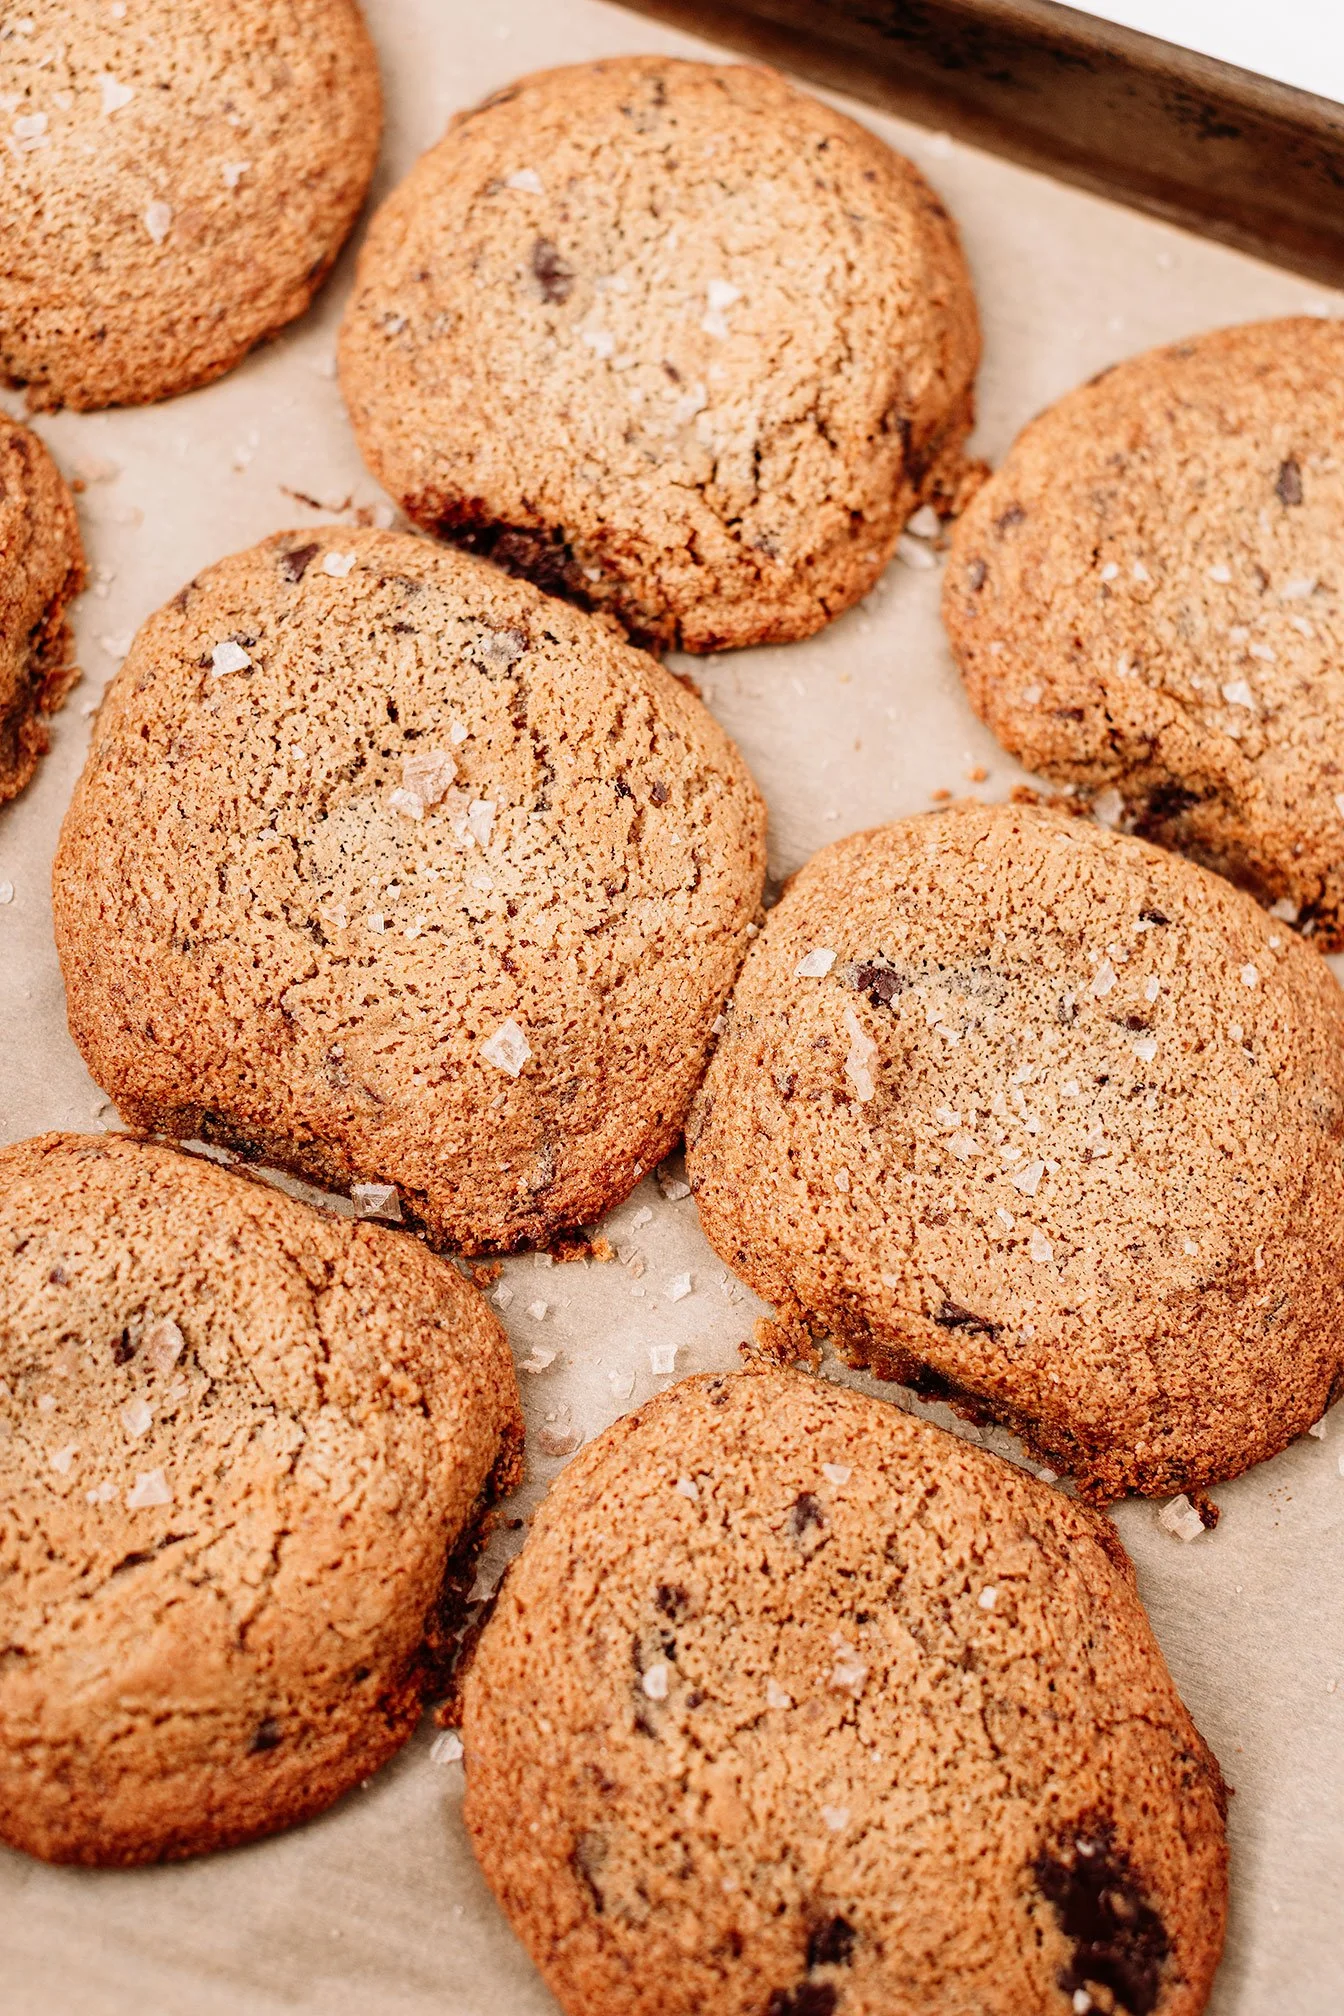
Finish + Serve
Immediately sprinkle the tops with flaky sea salt.
Let cookies cool on the tray for 10 minutes before transferring to a rack. This helps them set properly.
Enjoy warm with a cold glass of milk!
Notes
Coconut flour should be spooned into the measuring cup and leveled, not packed, since packing can make the dough dry.
Tahini should be well stirred so the oil is evenly incorporated.
Dough color may vary depending on the brand of tahini and coconut sugar used.
If the dough feels dry, adding 1–2 tablespoons of water or milk will bring it together.
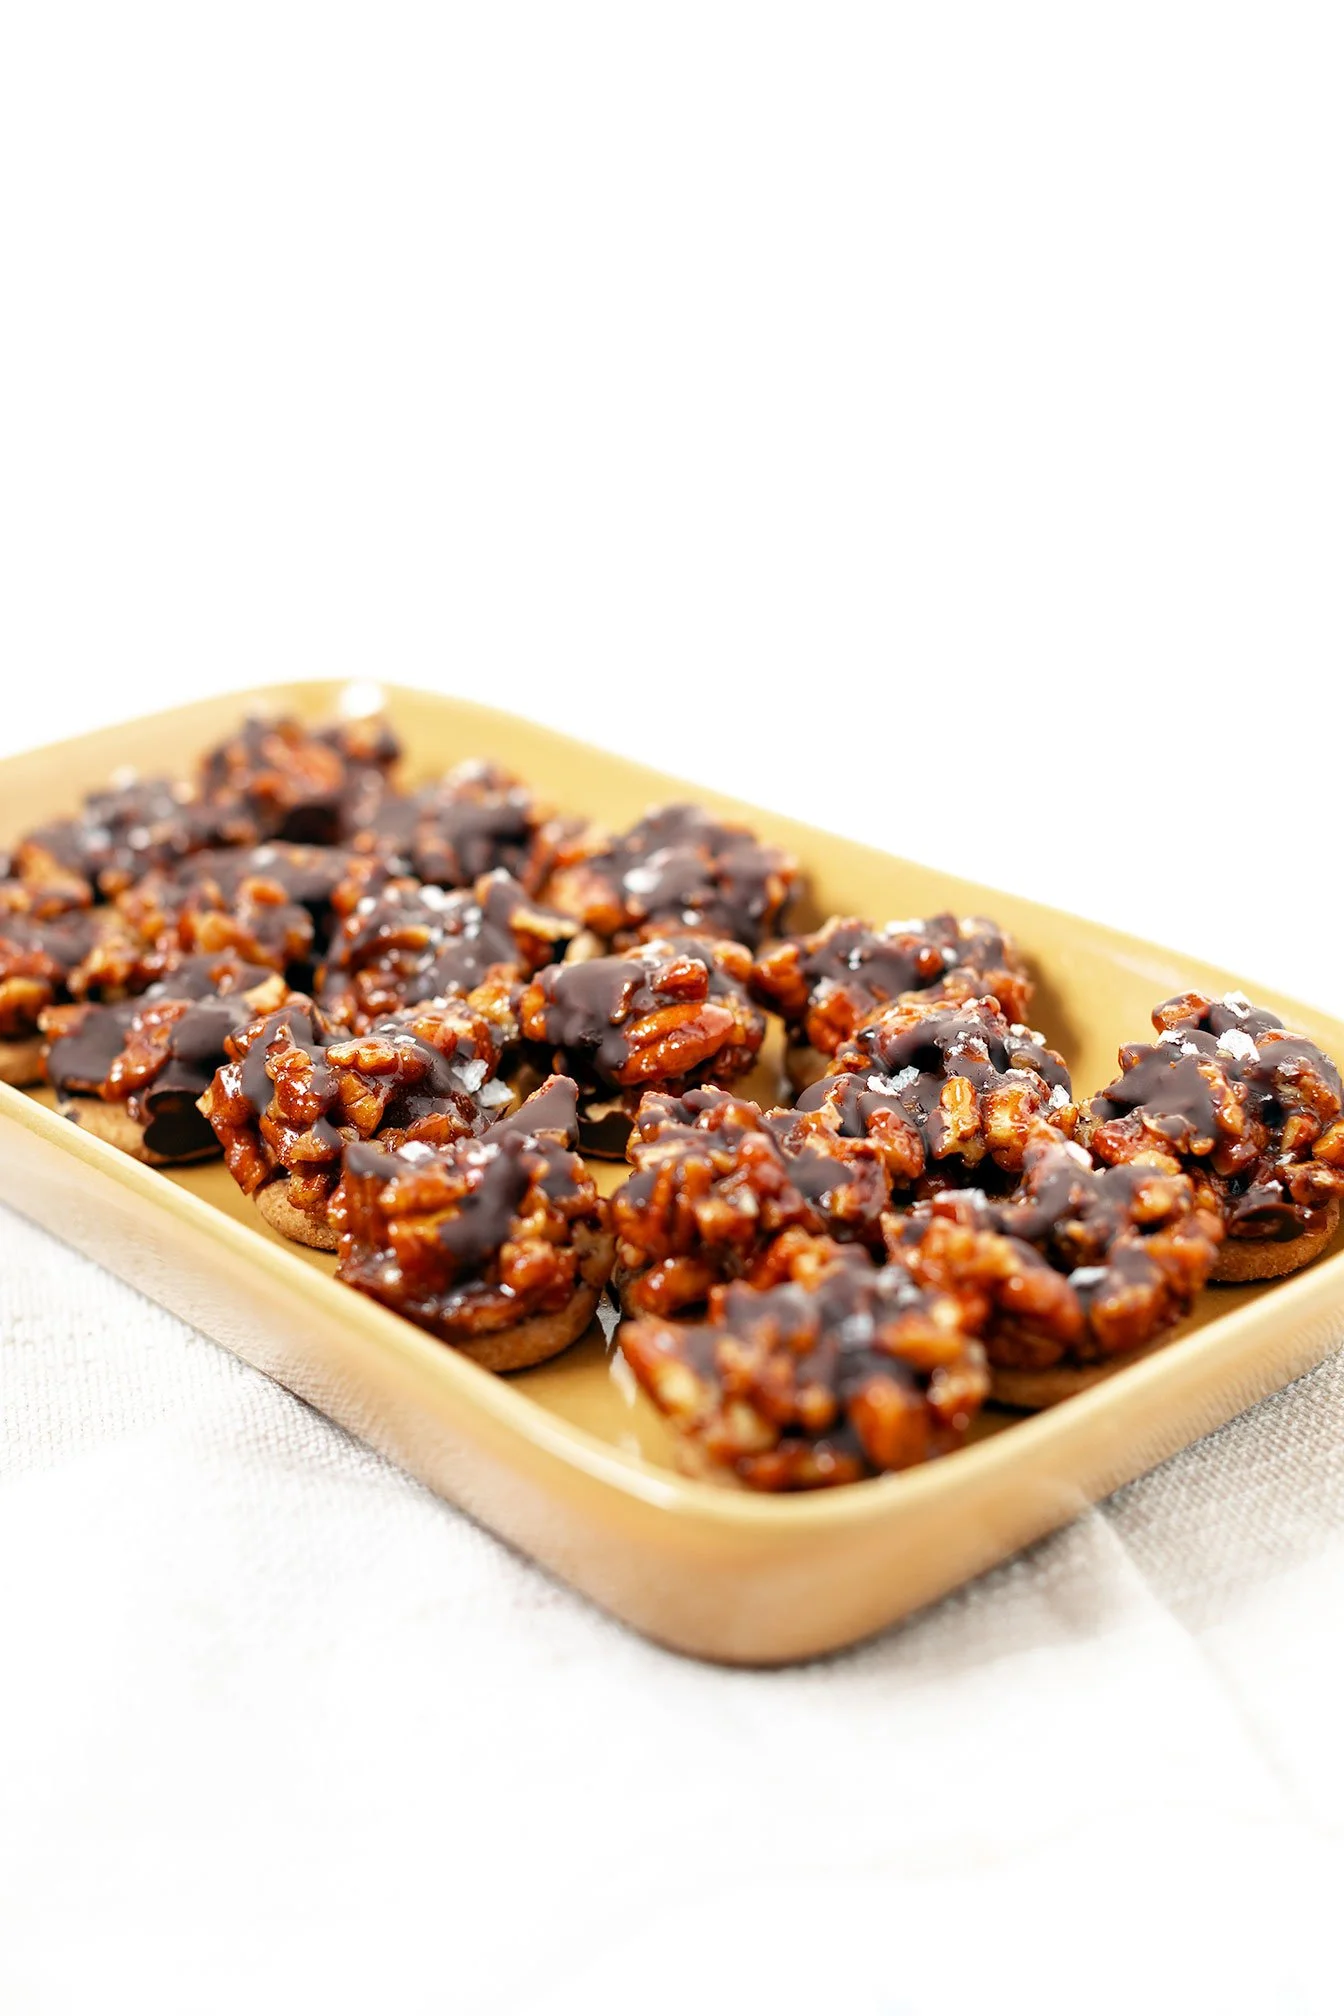
No-Bake Mini Pecan Pie Bites
These no-bake mini pecan pie cups are gluten-free, refined sugar-free, and made with Siete cookies. Quick, healthy-ish, and perfect for holiday desserts!
These no-bake mini pecan pie cups are gluten-free, refined sugar-free, and made with Siete cookies. Quick, healthy-ish, and perfect for holiday desserts!

If you love pecan pie but don’t love baking crust, rolling dough, or turning your kitchen into chaos… these No-Bake Mini Pecan Pie Cups are about to become your new obsession.
They’re:
✔ gluten-free
✔ refined sugar-free (sweetened with maple + date sugar)
✔ made in under 15 minutes
✔ no crust, no oven, no fuss
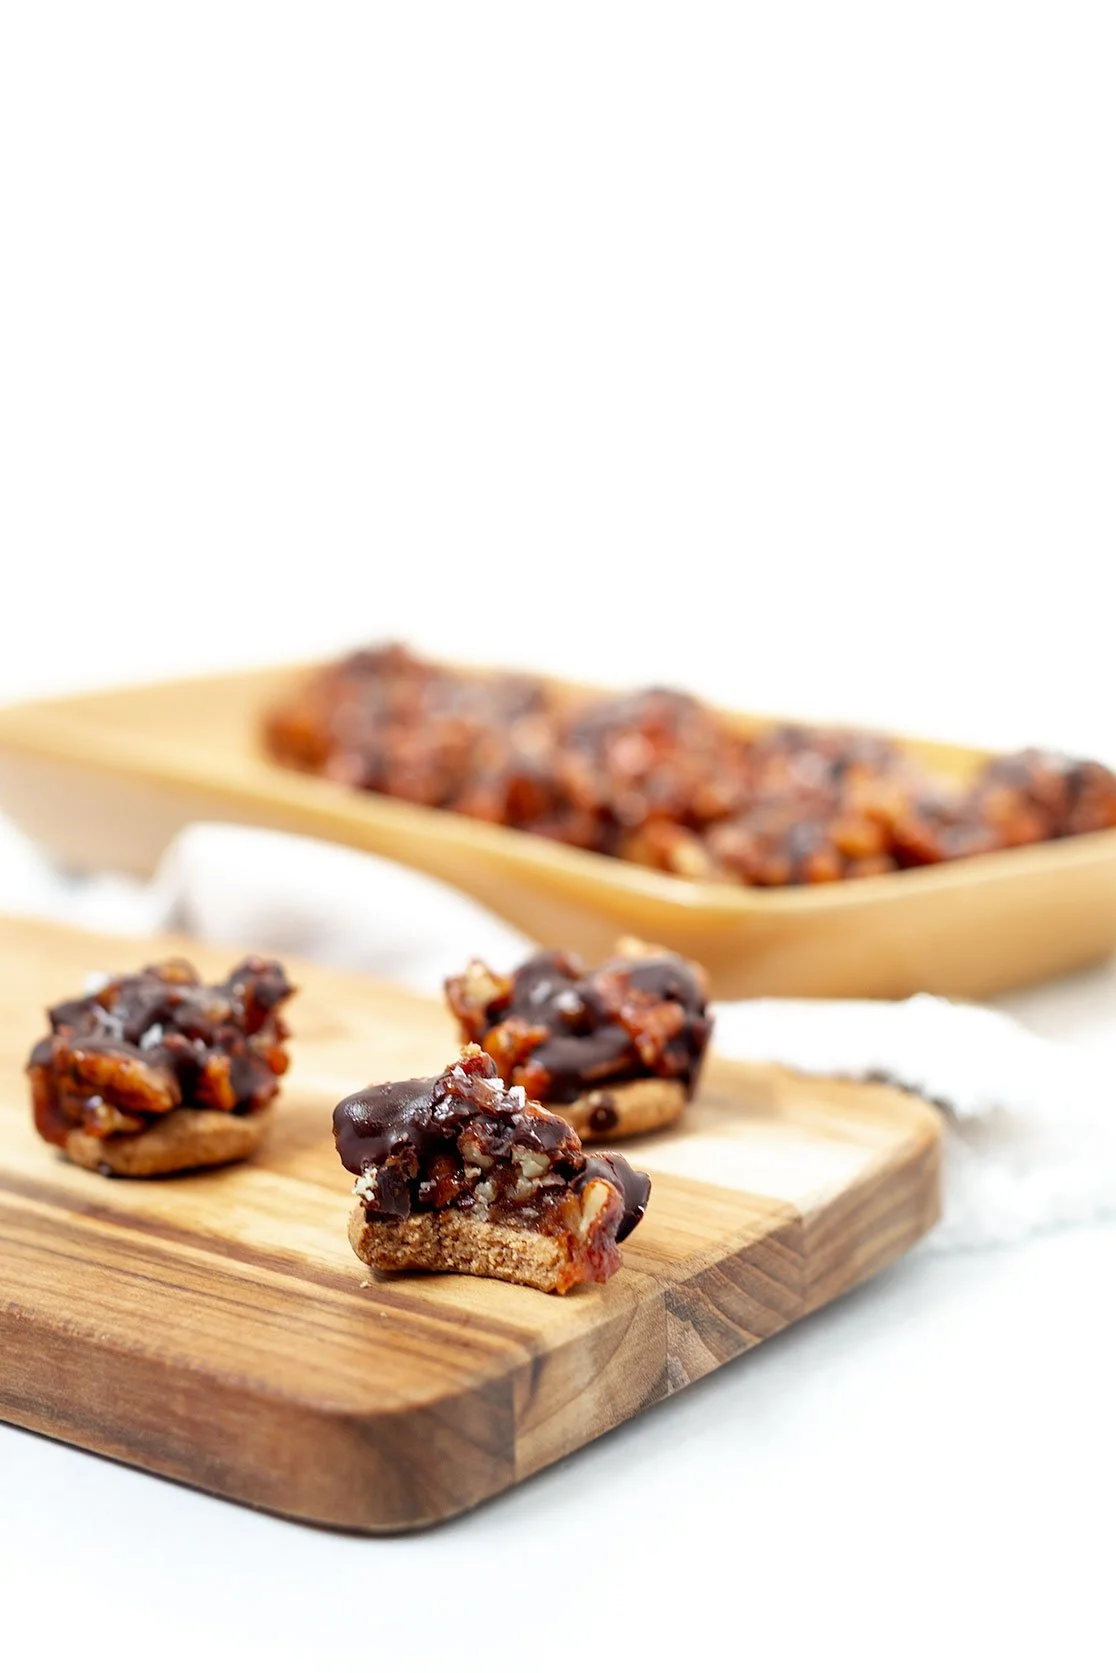
✔ perfectly sweet + salty + crunchy


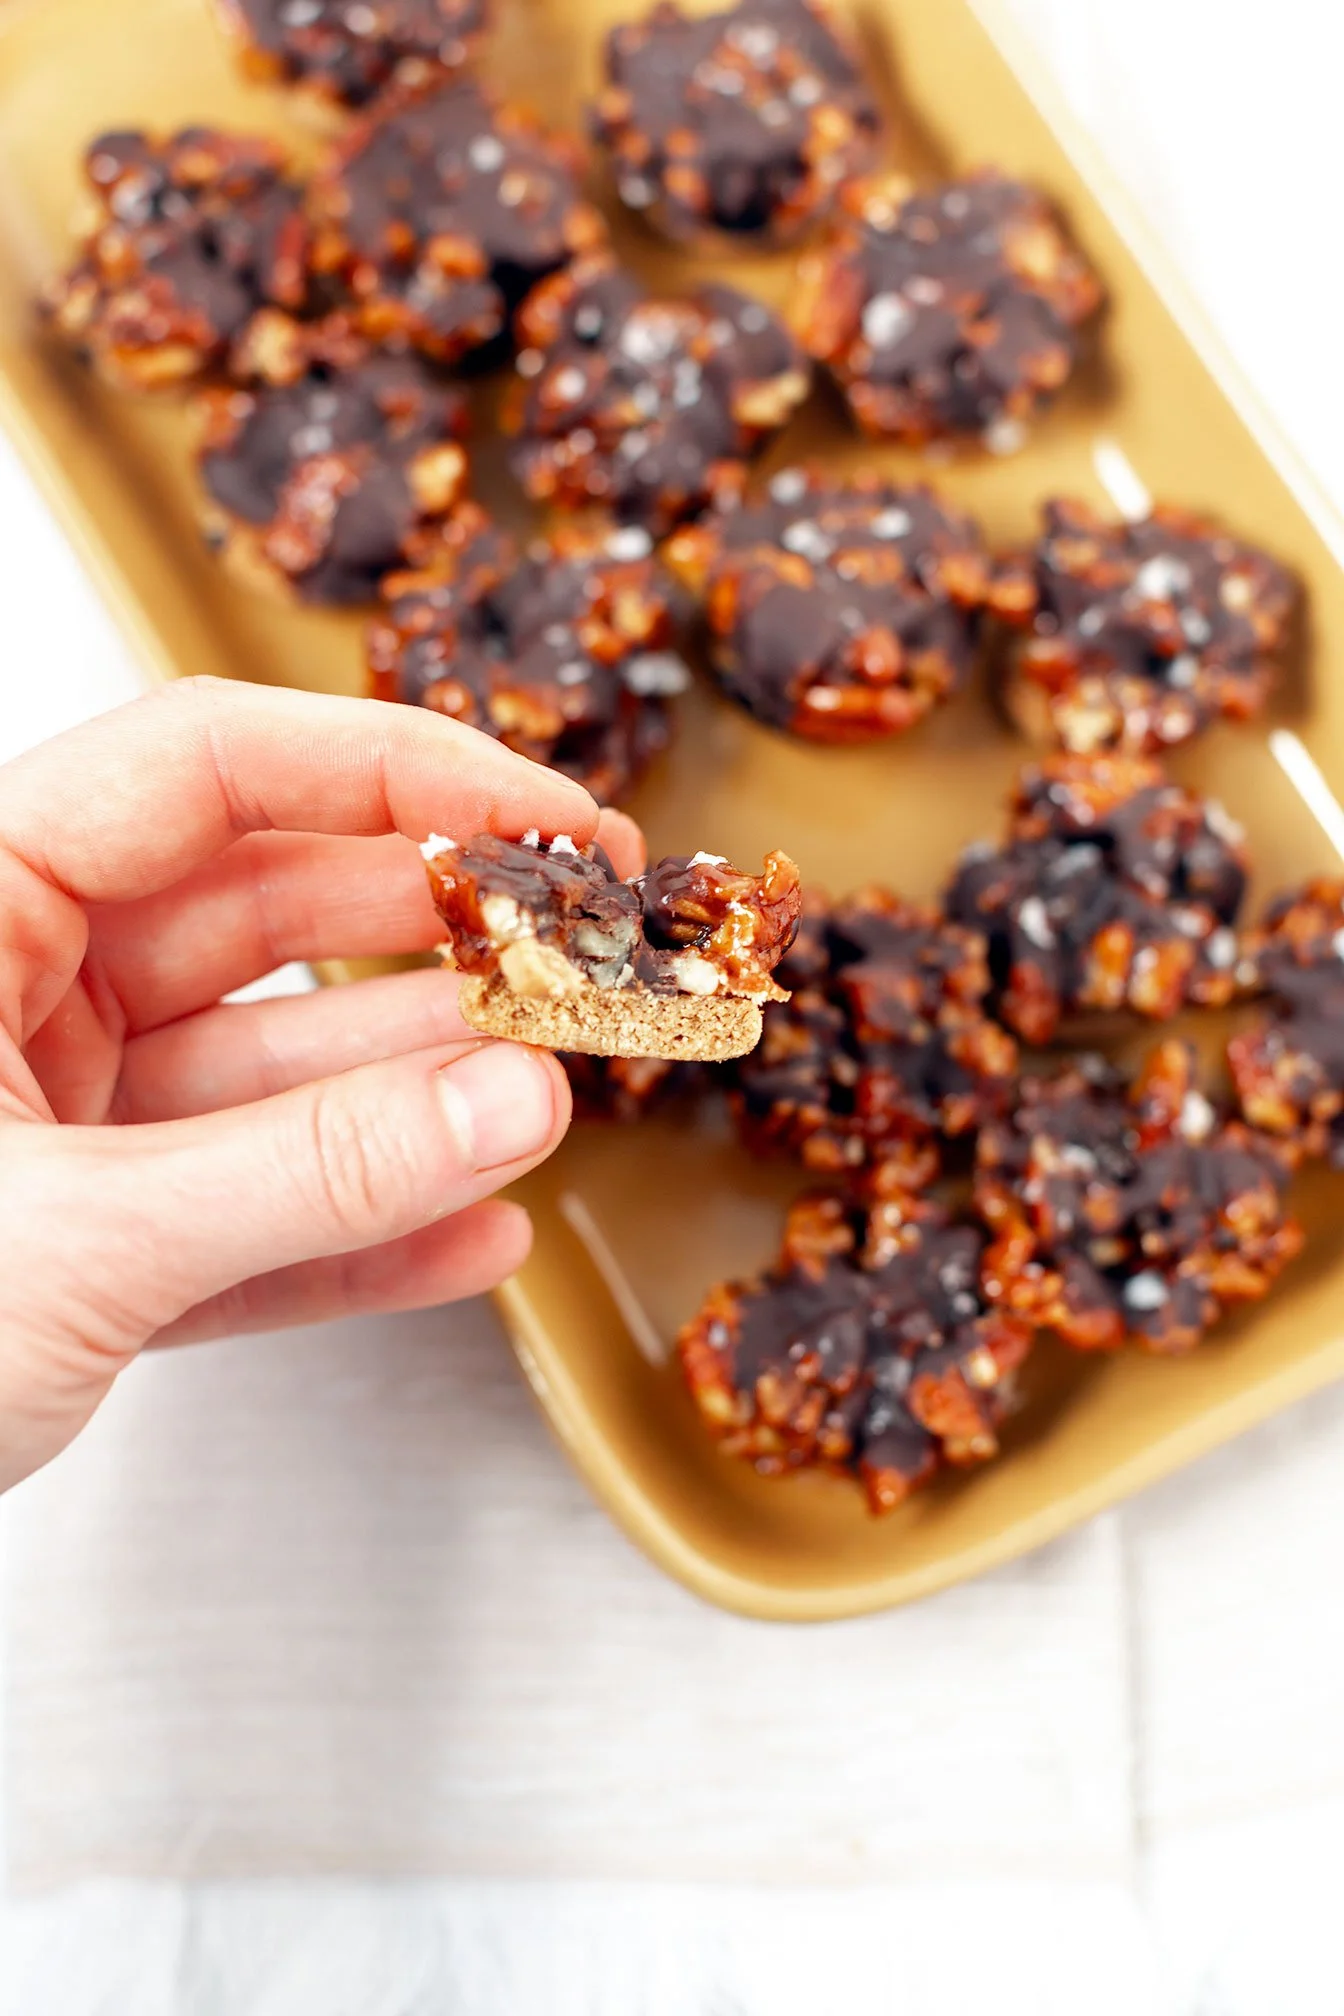
Instead of a traditional crust, these mini pies use Siete Mexican Shortbread Cookies as the base — which makes them buttery, crumbly, and naturally gluten-free without any extra work from you. Top them with a drizzle of chocolate and flaky sea salt and they taste like a gourmet holiday dessert with zero effort.

⬇️ 🎥 A YouTube video tutorial below if you want to watch the full step-by-step!
Storage Instructions (Food Safety-Friendly)
Refrigerator:
Store in an airtight container for up to 7 days. Because the filling contains butter and nuts, keeping them chilled preserves freshness and prevents oil separation.
Freezer:
Freeze in a sealed container for up to 3 months.
Let thaw at room temperature for 10–15 minutes before enjoying.
Recipe Notes + Brand Recommendations
Cookies: Siete Mexican Shortbread Cookies make the perfect gluten-free base. You can use my code ROOTS15 15% off.
Salt: I use flaky salt from Redmond Real Salt — code ROOTS15 works here too.
Chocolate: Hu Kitchen Sea Salt Dark Chocolate gives the best flavor for drizzling.
✨ If you try this recipe, make sure to tag me in your socials so I can cheer you on in the kitchen! Or leave feedback in the comments!
No-Bake Mini Pecan Pie Bites (Gluten-Free, Healthy-ish + SO Easy)
These no-bake mini pecan pie cups are gluten-free, refined sugar-free, and made with Siete cookies. Quick, healthy-ish, and perfect for holiday desserts!
Servings: 22 mini pies Prep: 10 MIN chill time: 20 MIN
Ingredients
Base
22 Siete Mexican Shortbread Cookies (1 per muffin cup; sometimes bags contain 20–22)
Pecan Pie Filling
2–4 Tbsp butter (use 4 tbsp for richer filling; 2 tbsp works if you prefer lighter)
½ cup maple syrup
⅔ cup date sugar
1 tsp vanilla extract
Generous pinch of cinnamon
Generous pinch of sea salt
1½ cups chopped pecans
Optional Chocolate Drizzle
½ bar Hu Kitchen Sea Salt Dark Chocolate
1–2 tsp coconut oil
Flaky sea salt (I use Redmond Real Salt)
Directions
Prepare the muffin tin.
Lightly spray a 24-count mini muffin tin with avocado oil. This helps the mini pies release easily, especially if adding chocolate.Add the cookie base.
Place one Siete Mexican Shortbread Cookie into each muffin cup. You should get 20–22 cookies per bag — either amount works.Toast pecans in butter.
In a medium skillet over medium-high heat, melt the butter. Add the chopped pecans and stir until they are fully coated and lightly toasted (1–2 minutes).Create the filling mixture.
Add the maple syrup and date sugar. Stir quickly and continuously to prevent burning. Once the mixture becomes glossy and sticky, immediately remove the skillet from heat.Add flavor.
Stir in vanilla, cinnamon, and a pinch of salt. Mix until everything is evenly combined.Fill the cups.
Using a 1 tablespoon scoop, spoon the warm pecan filling over each cookie. Work quickly before the mixture thickens.(Optional) Add chocolate drizzle.
Melt chocolate with coconut oil (microwave or double boiler). Drizzle over the top of each pecan pie cup and finish with flaky sea salt.Chill + remove.
Transfer the muffin tin to the fridge for 15–20 minutes to set.
Once firm, slide a thin knife around the edges to release (most should pop out easily, especially with the oil spray).Serve or store.
Enjoy immediately or store chilled — see storage notes above.
Note:
Date sugar is less refined and does not dissolve like traditional sugar. If you prefer a smoother, less grainy texture, you can reduce the date sugar to ⅓ cup. Using the full ⅔ cup creates a richer, more traditional sweetness with a slightly more textured filling. Adjust based on taste and texture preference.

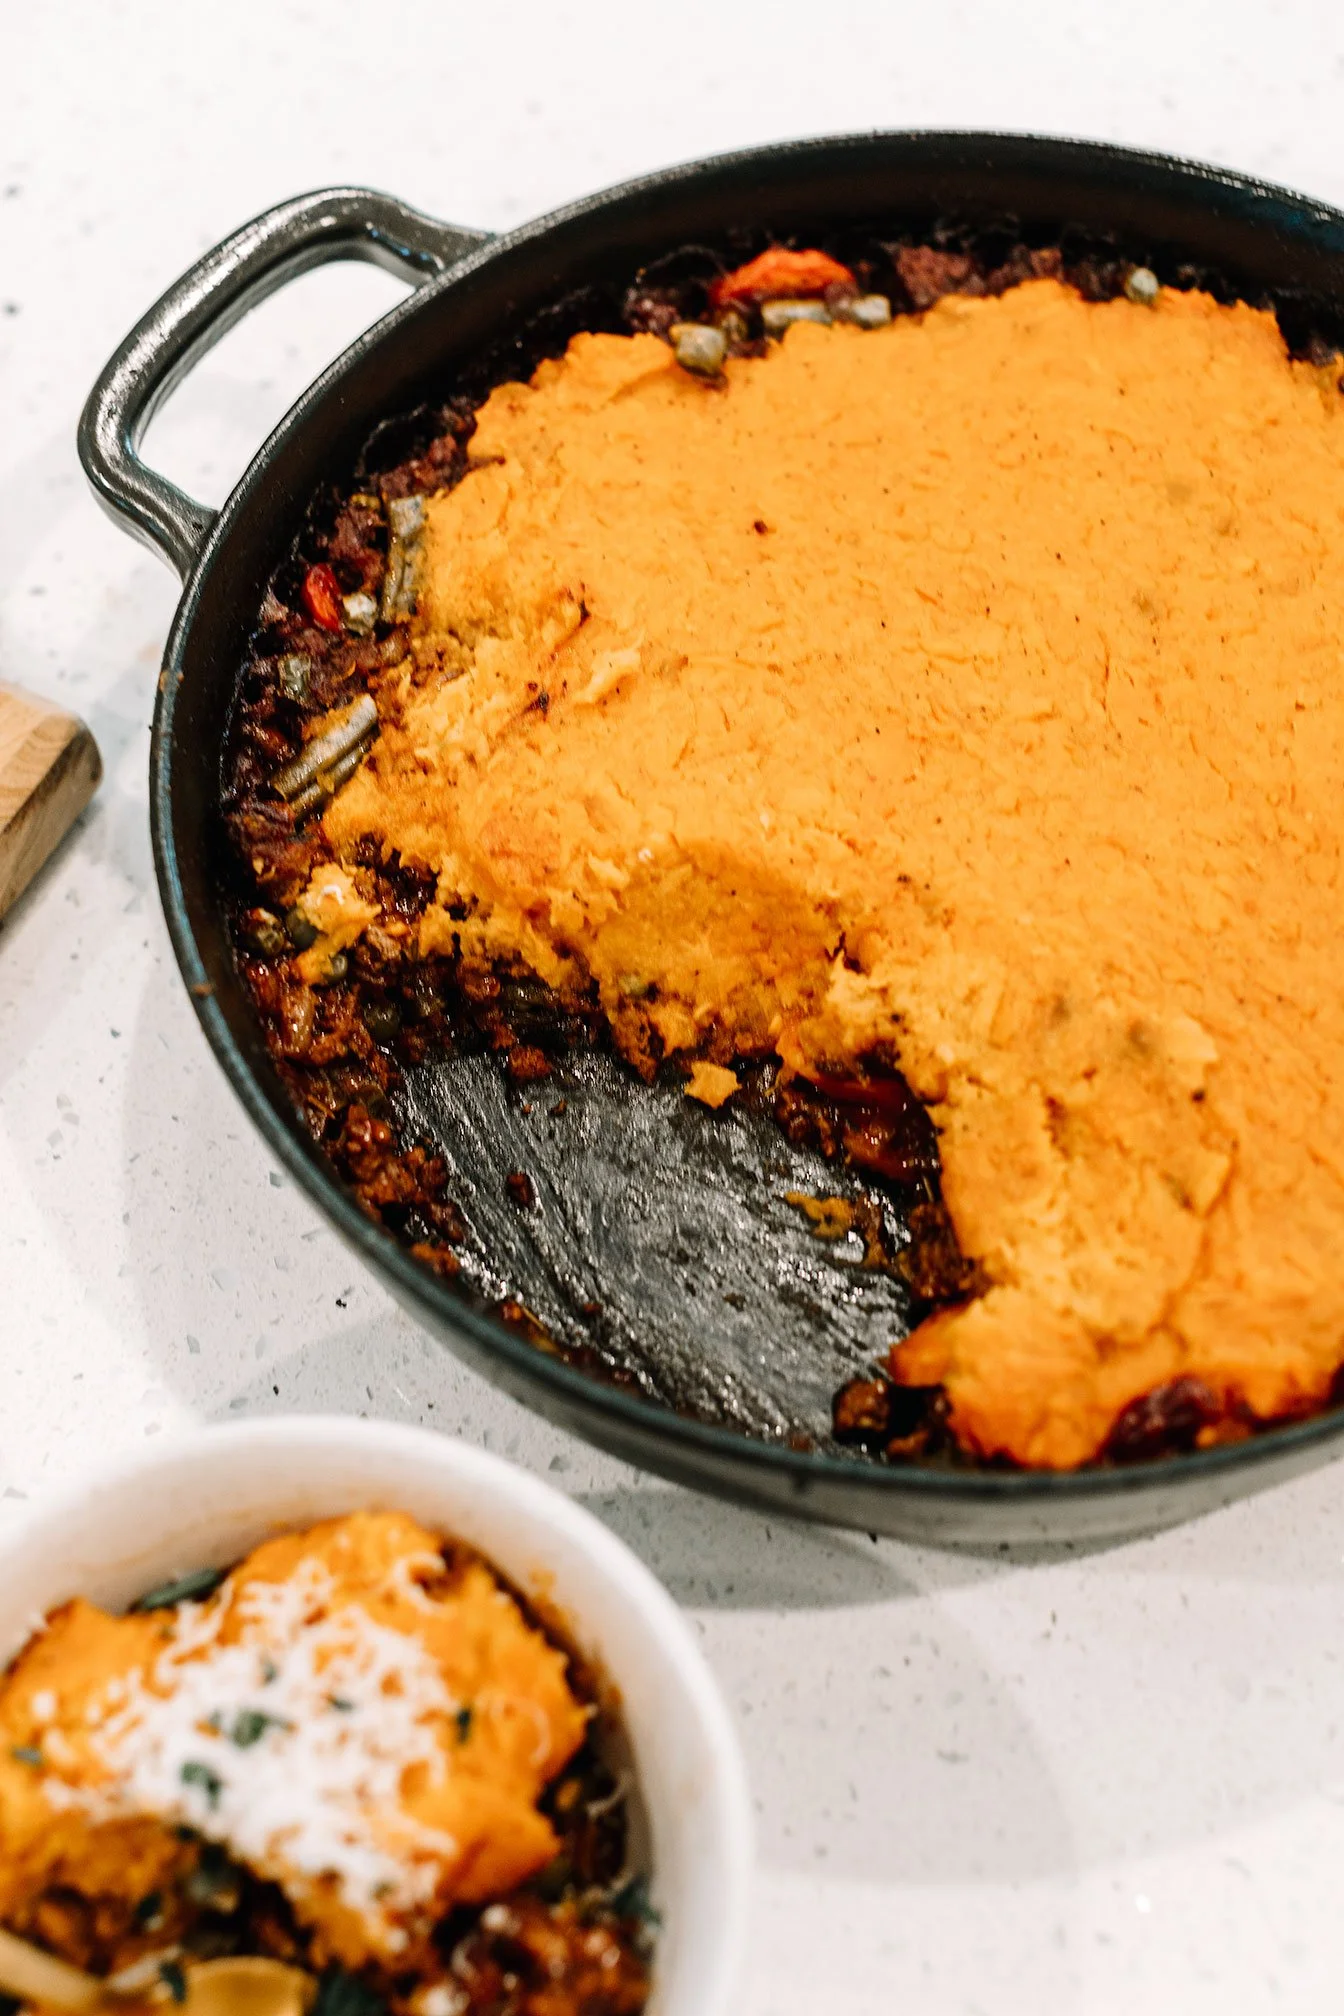
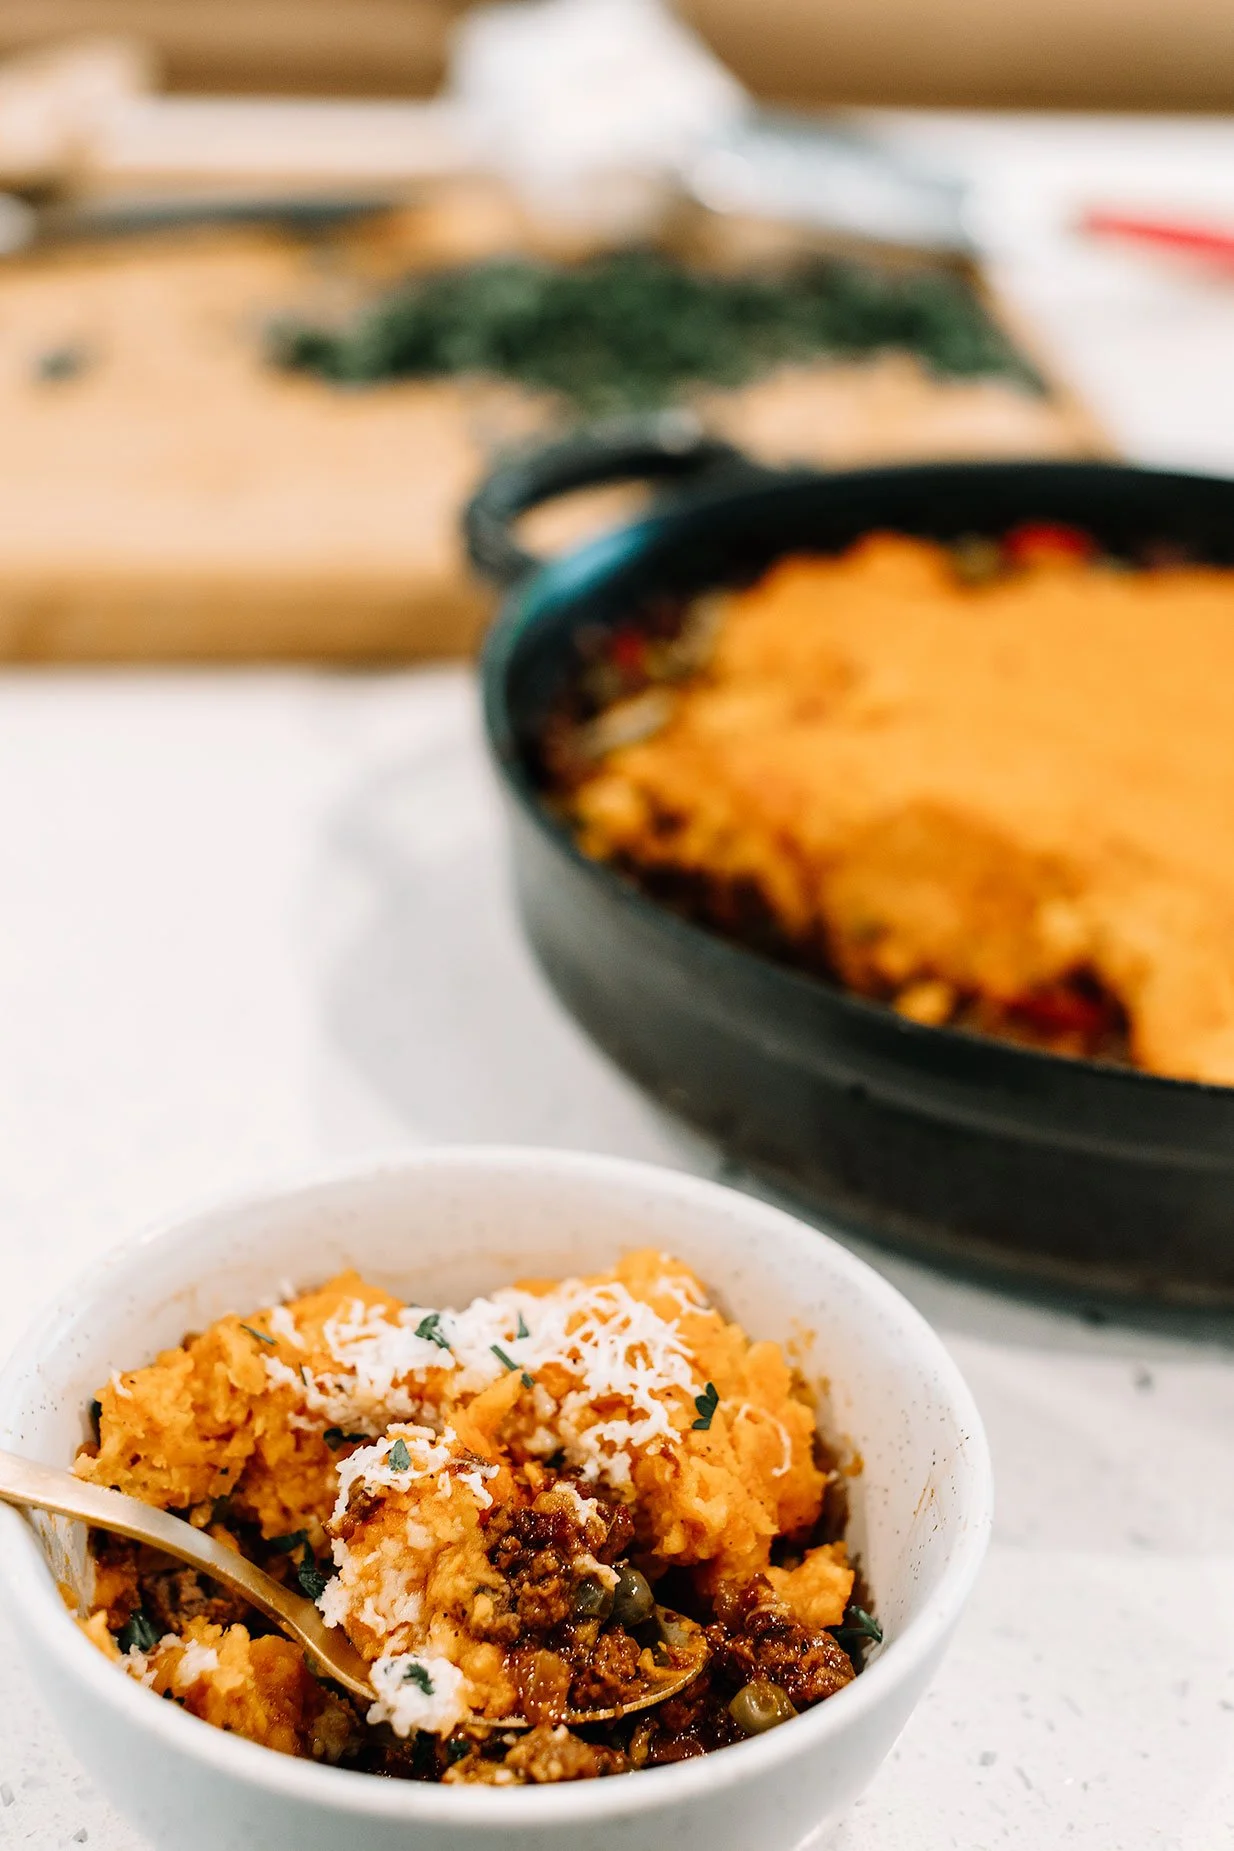
Healthy Sweet Potato Shepherd’s Pie (Technically Cottage Pie!)
This healthy sweet potato shepherd’s pie is gluten-free & dairy-free friendly! A cozy hormone-supporting meal, perfect for cycle syncing or family dinners.
This healthy shepherd’s pie (technically cottage pie!) uses ground beef, veggies, and a creamy sweet potato topping. Gluten-free & dairy-free friendly comfort food.

If you’re craving a warm, comforting meal that’s both nutrient-dense and family-approved, this Sweet Potato Shepherd’s Pie with ground beef and veggies is about to become a staple. It’s like shepherd’s pie meets a cozy fall casserole — but with a mineral-rich twist that supports hormone balance and energy.
This recipe is gluten-free and dairy-free friendly, making it perfect for anyone looking for a hearty, nourishing dinner without the heaviness of traditional casseroles.
💡 A quick note on naming: Traditionally, shepherd’s pie is made with lamb, while the beef version is technically called cottage pie. Since most people are more familiar with the term shepherd’s pie when it comes to beef, I’ve used that name here for easier recognition. But yes — if we’re being precise, this recipe is a cozy cottage pie with sweet potato topping.
🎥 Watch the Recipe in Action
I put together a quick reel walking you through this recipe step-by-step! Full disclosure: I filmed this during my period (hello, real life 👋), but that’s actually what makes this dish even more special — it’s loaded with nutrients that support your body during the menstrual phase.
Why This Recipe is Great for Your Menstrual Phase
If you’re into cycle syncing, you’ll love this:
Sweet potatoes are rich in slow-digesting carbs and vitamin A, which can help support stable energy and replenish nutrients lost during menstruation.
Beef and bone broth provide heme iron and zinc, helping to restore iron levels if you’re experiencing heavy bleeding.
Coconut aminos + veggies bring in minerals and antioxidants to fight fatigue and support detox pathways.

When you’re on your period, your body craves grounding, nourishing meals — and this casserole checks every box.
Tips for Success
Make ahead: Assemble the casserole up to 24 hours in advance, refrigerate, and bake when ready.
Customize your veggies: Don’t be afraid to toss in mushrooms, corn, or zucchini for extra variety.
Add protein variety: Swap ground beef for lamb or turkey depending on your taste (or hormone support needs).

Final Thoughts
This casserole is comfort food with purpose — warm, hearty, and designed to fuel your body through different phases of your cycle. Whether you’re deep into cycle syncing or just want a nutrient-dense dinner, it’s a dish worth bookmarking.
✨ If you try this recipe, make sure to tag me in your reel recreations so I can cheer you on in the kitchen!
Sweet Potato Shepherd’s Pie
This healthy shepherd’s pie (technically cottage pie!) uses ground beef, veggies, and a creamy sweet potato topping. Gluten-free & dairy-free friendly comfort food.
Servings: 4-6 Prep: 10 MIN Cook time: 40 MIN
Ingredients
Filling
1 white onion, diced
2 carrots, peeled and diced
4 cloves garlic, minced
2 Tbsp tomato paste
1 lb ground beef
½ cup beef bone broth
4 Tbsp coconut aminos (or 2 Tbsp Worcestershire + 2 Tbsp coconut aminos for less sweetness)
1 Tbsp Italian seasoning
1 tsp paprika
1 tsp salt
1 tsp black pepper
1 Tbsp arrowroot flour + 1 Tbsp water (slurry)
½ cup frozen peas
½ cup frozen green beans (or other mixed veggies on hand)
Mashed Sweet Potato Topping
2 large sweet potatoes, peeled and cubed
2 Tbsp grass-fed butter, ghee, or coconut oil
¼ cup milk of choice (dairy-free if preferred)
½ tsp garlic powder
¼ tsp smoked paprika
Salt and black pepper, to taste
Optional: shredded cheese for topping
For Serving
Fresh parsley, chopped
Directions
Prepare the Sweet Potatoes
Place peeled, cubed sweet potatoes in a large pot of salted water.
Bring to a boil and cook 12–15 minutes, until fork tender.
Drain, then mash with butter (or oil), milk, garlic powder, smoked paprika, salt, and pepper. Set aside.
Cook the Filling
Preheat oven to 375°F.
In a 12-inch oven-safe skillet (cast iron works well), sauté the onion in a little oil for 3–5 minutes until softened.
Add ground beef, garlic, and carrots. Cook 5–6 minutes, breaking up the beef, until browned.
Stir in tomato paste, coconut aminos (or Worcestershire + coconut aminos), Italian seasoning, paprika, salt, and pepper. Cook 2–3 minutes to deepen flavor.
Add bone broth, slurry, peas, and green beans. Stir well and simmer 2–3 minutes until sauce thickens.
Assemble & Bake
Spread the mashed sweet potatoes evenly over the filling.
If using cheese, sprinkle on top.
Bake uncovered for 25 minutes, until lightly golden.
Serve
Garnish with fresh parsley and serve warm.
✨ Notes & Tips
For a smoother topping, whip the sweet potatoes with a hand mixer.
Swap in ground turkey or lamb for variety.
Make ahead: Assemble the shepherd’s pie, cover, and refrigerate up to 24 hours. Bake as directed.

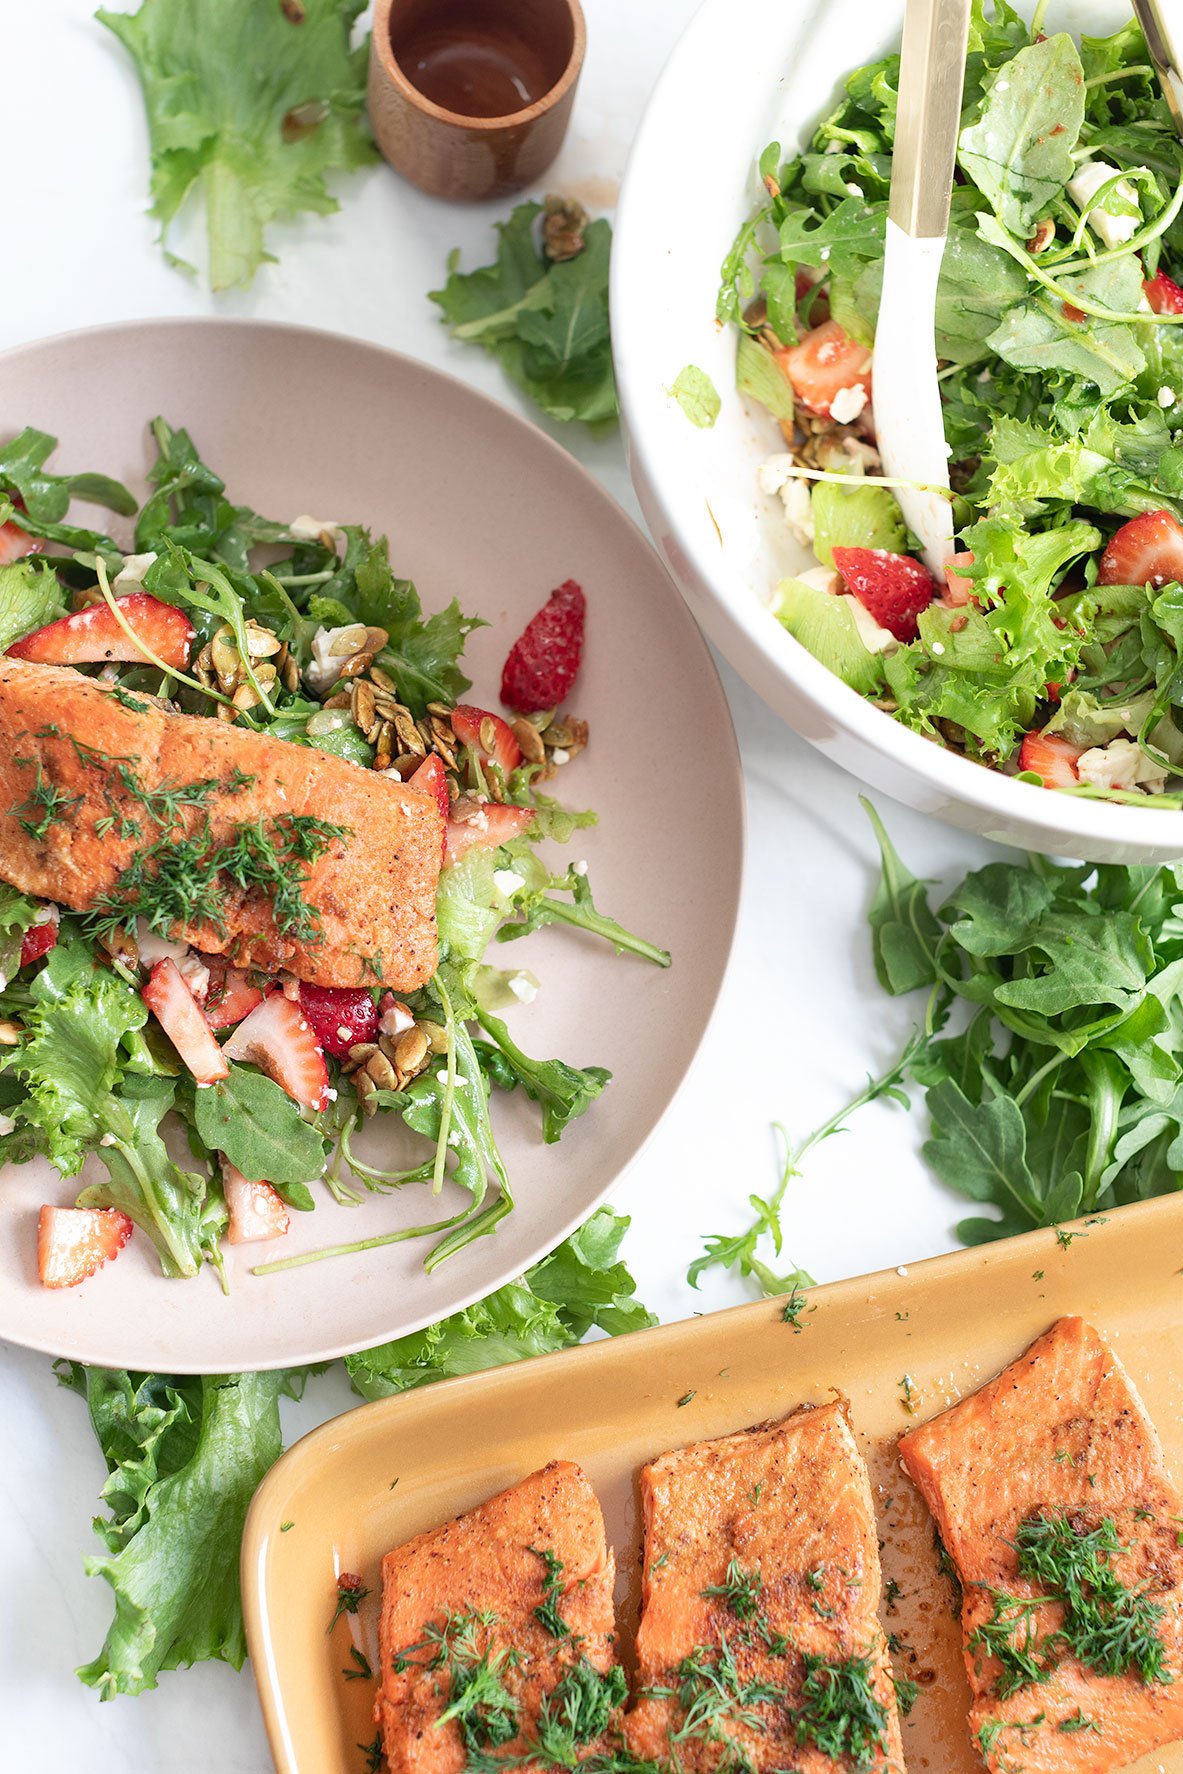
Strawberry Salmon Salad
Simple strawberry salmon salad requires less than six ingredients, your preferred salmon seasoning, and the option of homemade or store-bought dressing - perfect for effortless summer days!
Simple strawberry salmon salad requires less than six ingredients, your preferred salmon seasoning, and the option of homemade or store-bought dressing - perfect for effortless summer days!

I've been preparing this salad throughout the summer! Why? Because it's nutritious, rejuvenating, and incredibly simple to whip up. Everything can be ready in less than 30 minutes, making it an ideal choice for a quick weeknight dinner or for meal prepping for lunch.

TIPS ABOUT STRAWBERRY SALMON SALAD
Simplicity is key! This recipe is all about keeping things easy. I personally opt for my beloved strawberry vinaigrette from the store, but you can also whip up a speedy honey vinaigrette dressing from my alternative strawberry salad recipe.
This salad recipe is simple with just a few ingredients. If you feel like enhancing it, consider incorporating red onions, avocado, or substituting pepitas with pecans or almonds.
In this salad recipe, salmon takes the spotlight due to its quick cooking time and the avoidance of heating up the oven on a hot summer day. To ensure quality and sustainability, opt for wild-caught Alaskan or Sockeye salmon.
To transform this into a lunch meal prep, opt for glass containers when packing salads. This choice helps maintain freshness and prevents sogginess. I would also separate the ingredients like keep the salad undressed and dressing in a separate container and store the cooked salmon separately. (salmon refrigerate up to 3 days).

TO PREPARE THE EASIEST TOASTED HONEY PEPITAS
Heat a skillet over medium-high heat without adding any oil.
Spread pepitas in the skillet to form a single layer and shake occasionally.
Continue shaking until they turn golden brown (4-5 minutes). Transfer the toasted pepitas to a bowl to cool, then add a pinch of salt and 1 tablespoon of honey.
Stir until the seeds are well coated and set aside to cool.

Watch the video below to see how simple it is to prepare this salad!
If you try this recipe, let us know! Leave a comment, rate it, and don’t forget to tag a photo to #fromtherootsblog on Instagram. We love seeing what you come up with!
Simple strawberry salmon salad requires less than six ingredients, your preferred salmon seasoning, and the option of homemade or store-bought dressing - perfect for effortless summer days!
SERVINGS: 4 | PREP TIME: 10 MIN | COOK TIME: 15 MIN
Ingredients
2 - 4 salmon filets
1-2 Tbsp go to salmon seasonings*
4-8 cups favorite salad greens (I used half arugula half mixed)
1 cup strawberries, hulled and sliced
¼ cup pepitas
¼ cup crumbled feta
1 tbsp honey
¼ cup strawberry balsamic vinaigrette*
salt + pepper to taste
fresh dill for garnish, optional
Directions
Prepare Toasted Honey Pepitas:
1) Heat a skillet over medium-high heat without adding any oil. Spread pepitas in the skillet to form a single layer and shake occasionally. Continue shaking until they turn golden brown (4-5 minutes). Transfer the toasted pepitas to a bowl to cool, then add a pinch of salt and 1 tablespoon of honey. Stir until the seeds are well coated and set aside to cool.
To prepare the salmon:
1) Season your salmon with your favorite seasonings (refer to the notes below for my recommendations). Heat oil in a skillet over medium-high heat until it is hot and shimmering. Cook the salmon without moving it, skin side up, until it turns golden and crisp, approx. 4 minutes. Gently flip the fillets and lower the heat to medium. Cook until it reaches your desired level of doneness, around 4-5 minutes. Finally, transfer the salmon to a platter to cool.
Preparing the salad:
1) Coat the salad greens in dressing in a large mixing bowl. Add the remaining ingredients like toasted pepitas, feta, strawberries, salt, and pepper. Top it off with a salmon filet and savor the dish!
Notes:
Choose whatever greens you would like. I used arugula and mixed greens but you can also use spinach, butter lettuce, kale or romaine.
When it comes to my salmon, I favor a classic garlic powder, smoked paprika, salt, pepper and splash lemon juice and chopped fresh dill over. If you need more guidance, there are many salmon or fish focus seasonings that you can use.