Sort by Category
- October 2025
- September 2025
- August 2025
- June 2025
- August 2024
- July 2024
- June 2024
- May 2024
- February 2024
- January 2024
- December 2023
- November 2023
- October 2023
- September 2023
- August 2023
- July 2023
- March 2023
- February 2023
- January 2023
- December 2022
- November 2022
- October 2022
- September 2022
- August 2022
- June 2022
- May 2022
- April 2022
- March 2022
- February 2022
- January 2022
- December 2021
- November 2021
- October 2021
- September 2021
- August 2021
- July 2021
- June 2021
- May 2021
- April 2021
- March 2021
- February 2021
- January 2021
- December 2020
- November 2020
- October 2020
- September 2020
- August 2020
- July 2020
- June 2020
- May 2020
- April 2020
- March 2020
- February 2020
- January 2020
- December 2019
- November 2019
- October 2019
- September 2019
- August 2019
- July 2019
- June 2019
- May 2019
- April 2019
- March 2019
- February 2019
- January 2019
- December 2018
- November 2018
- October 2018
- September 2018
- August 2018
- July 2018
- June 2018
- May 2018
- April 2018
- March 2018
- February 2018
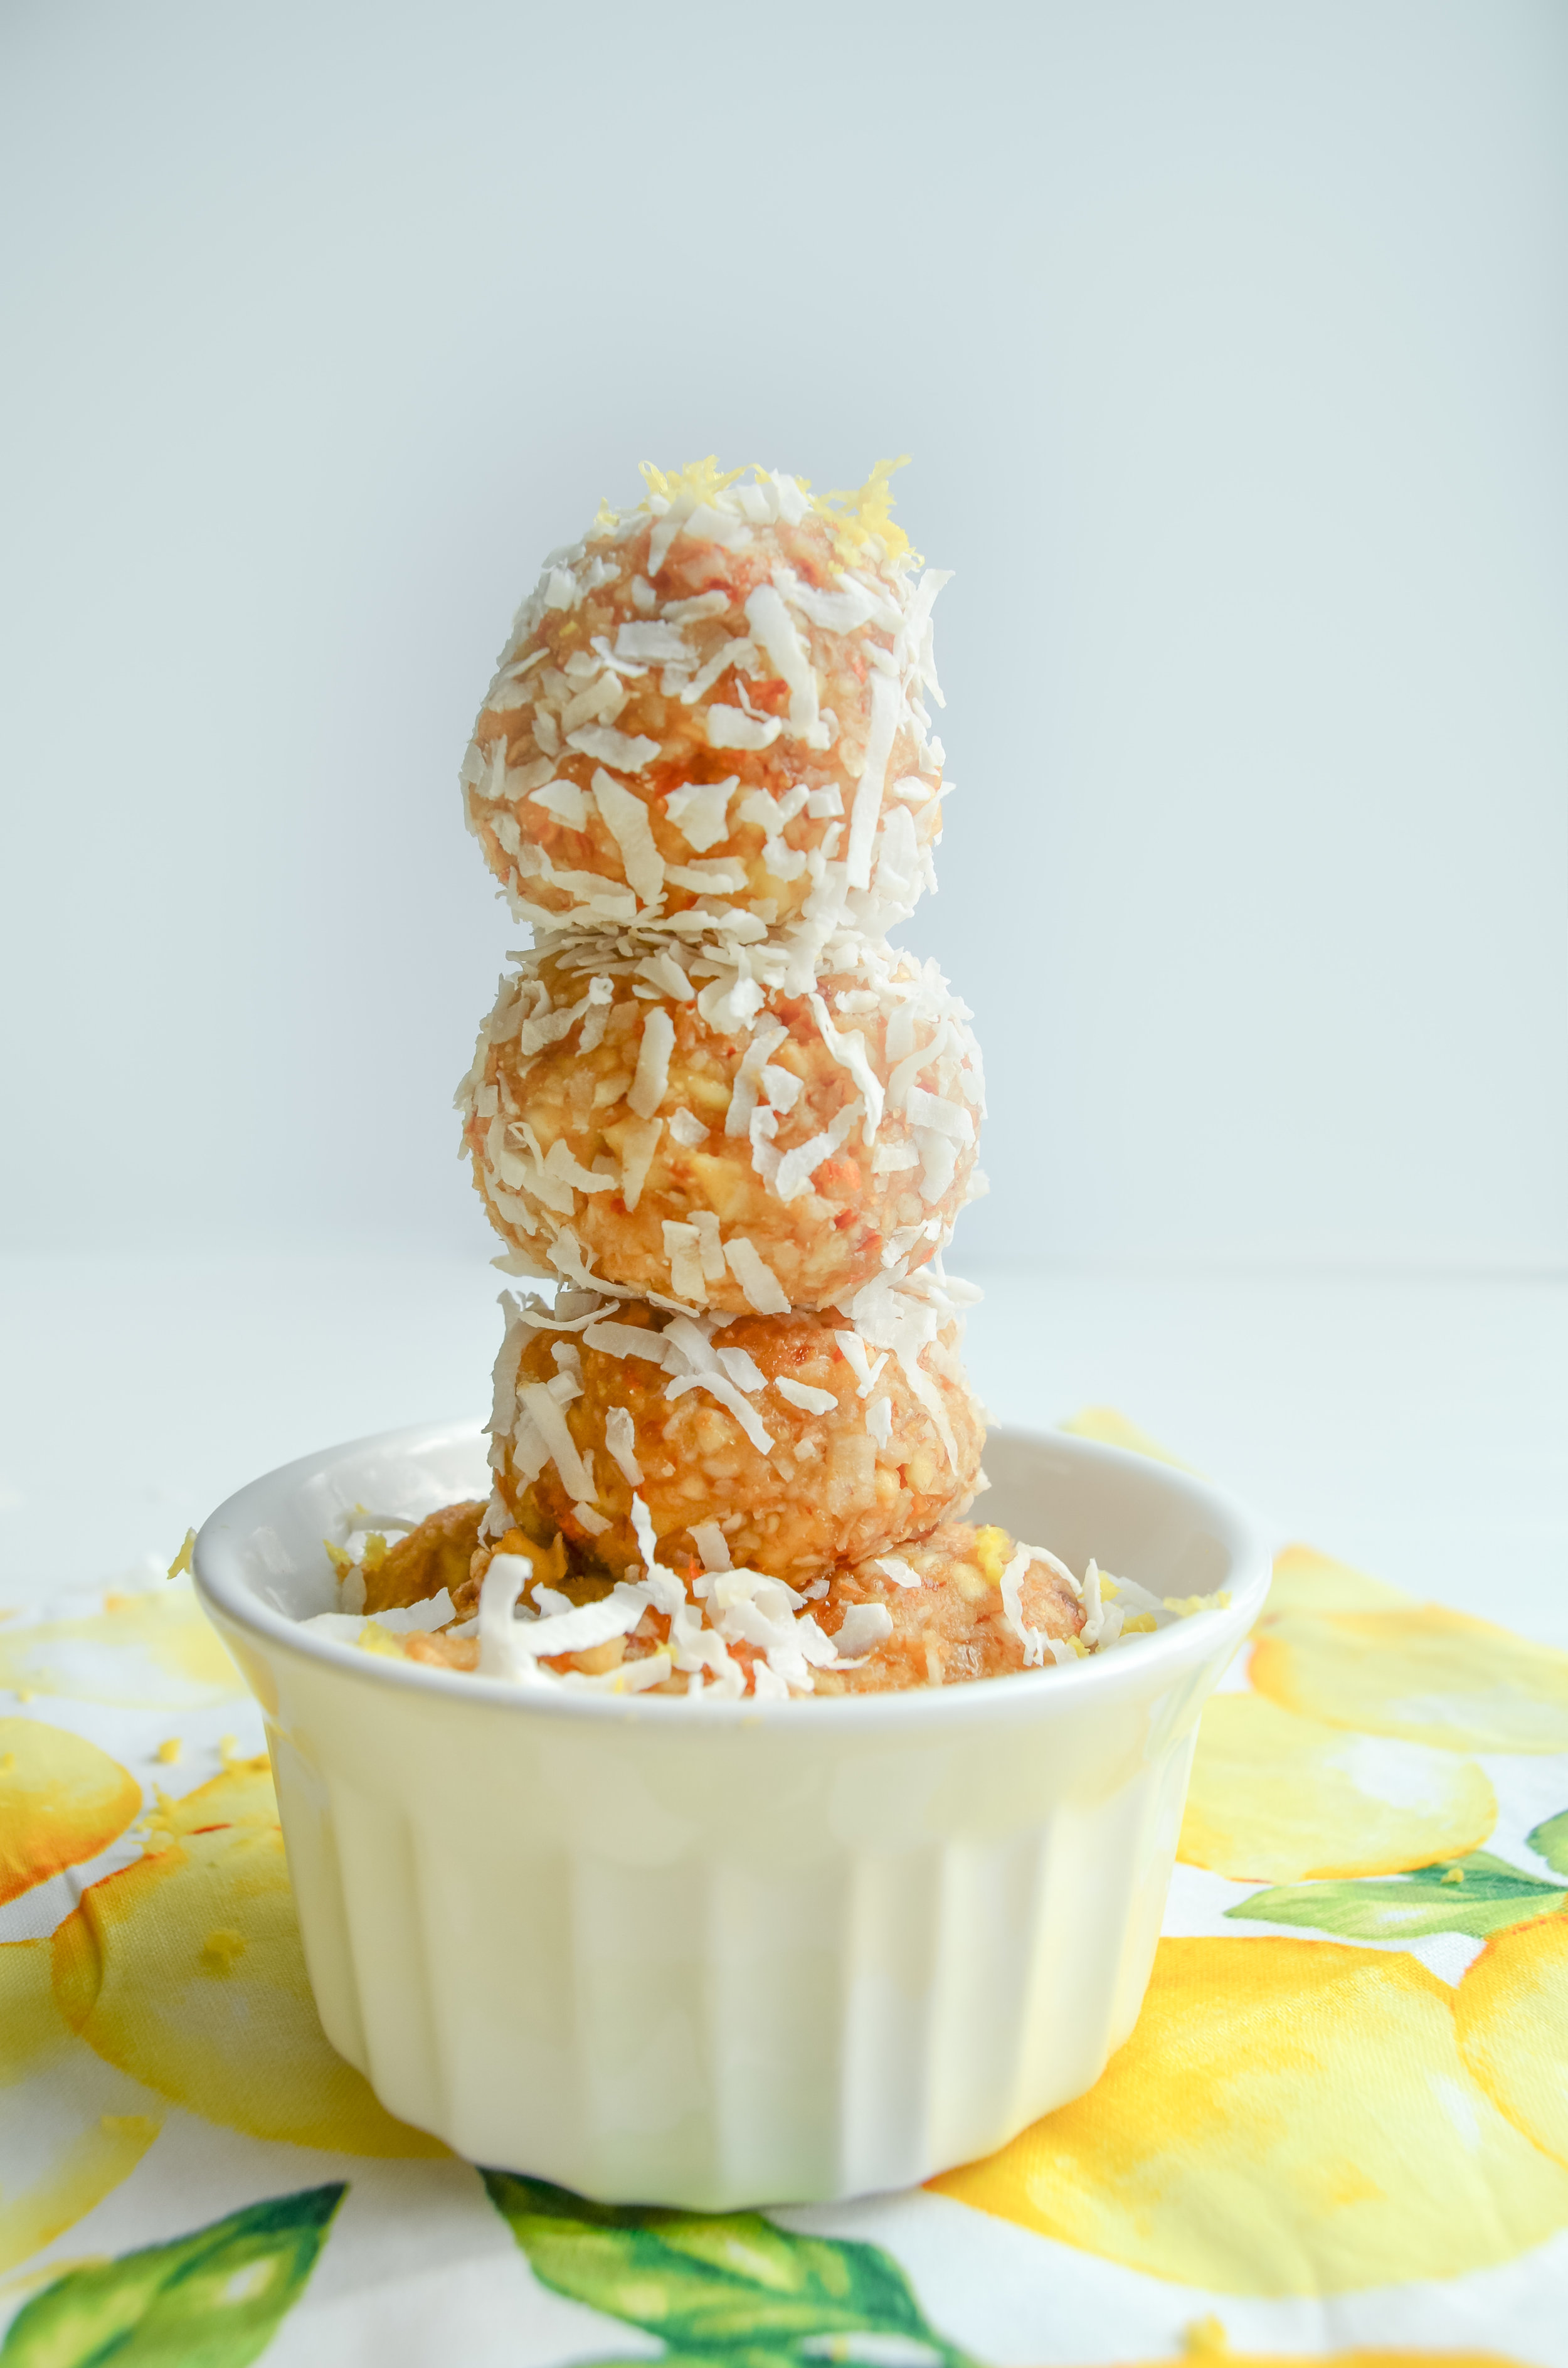
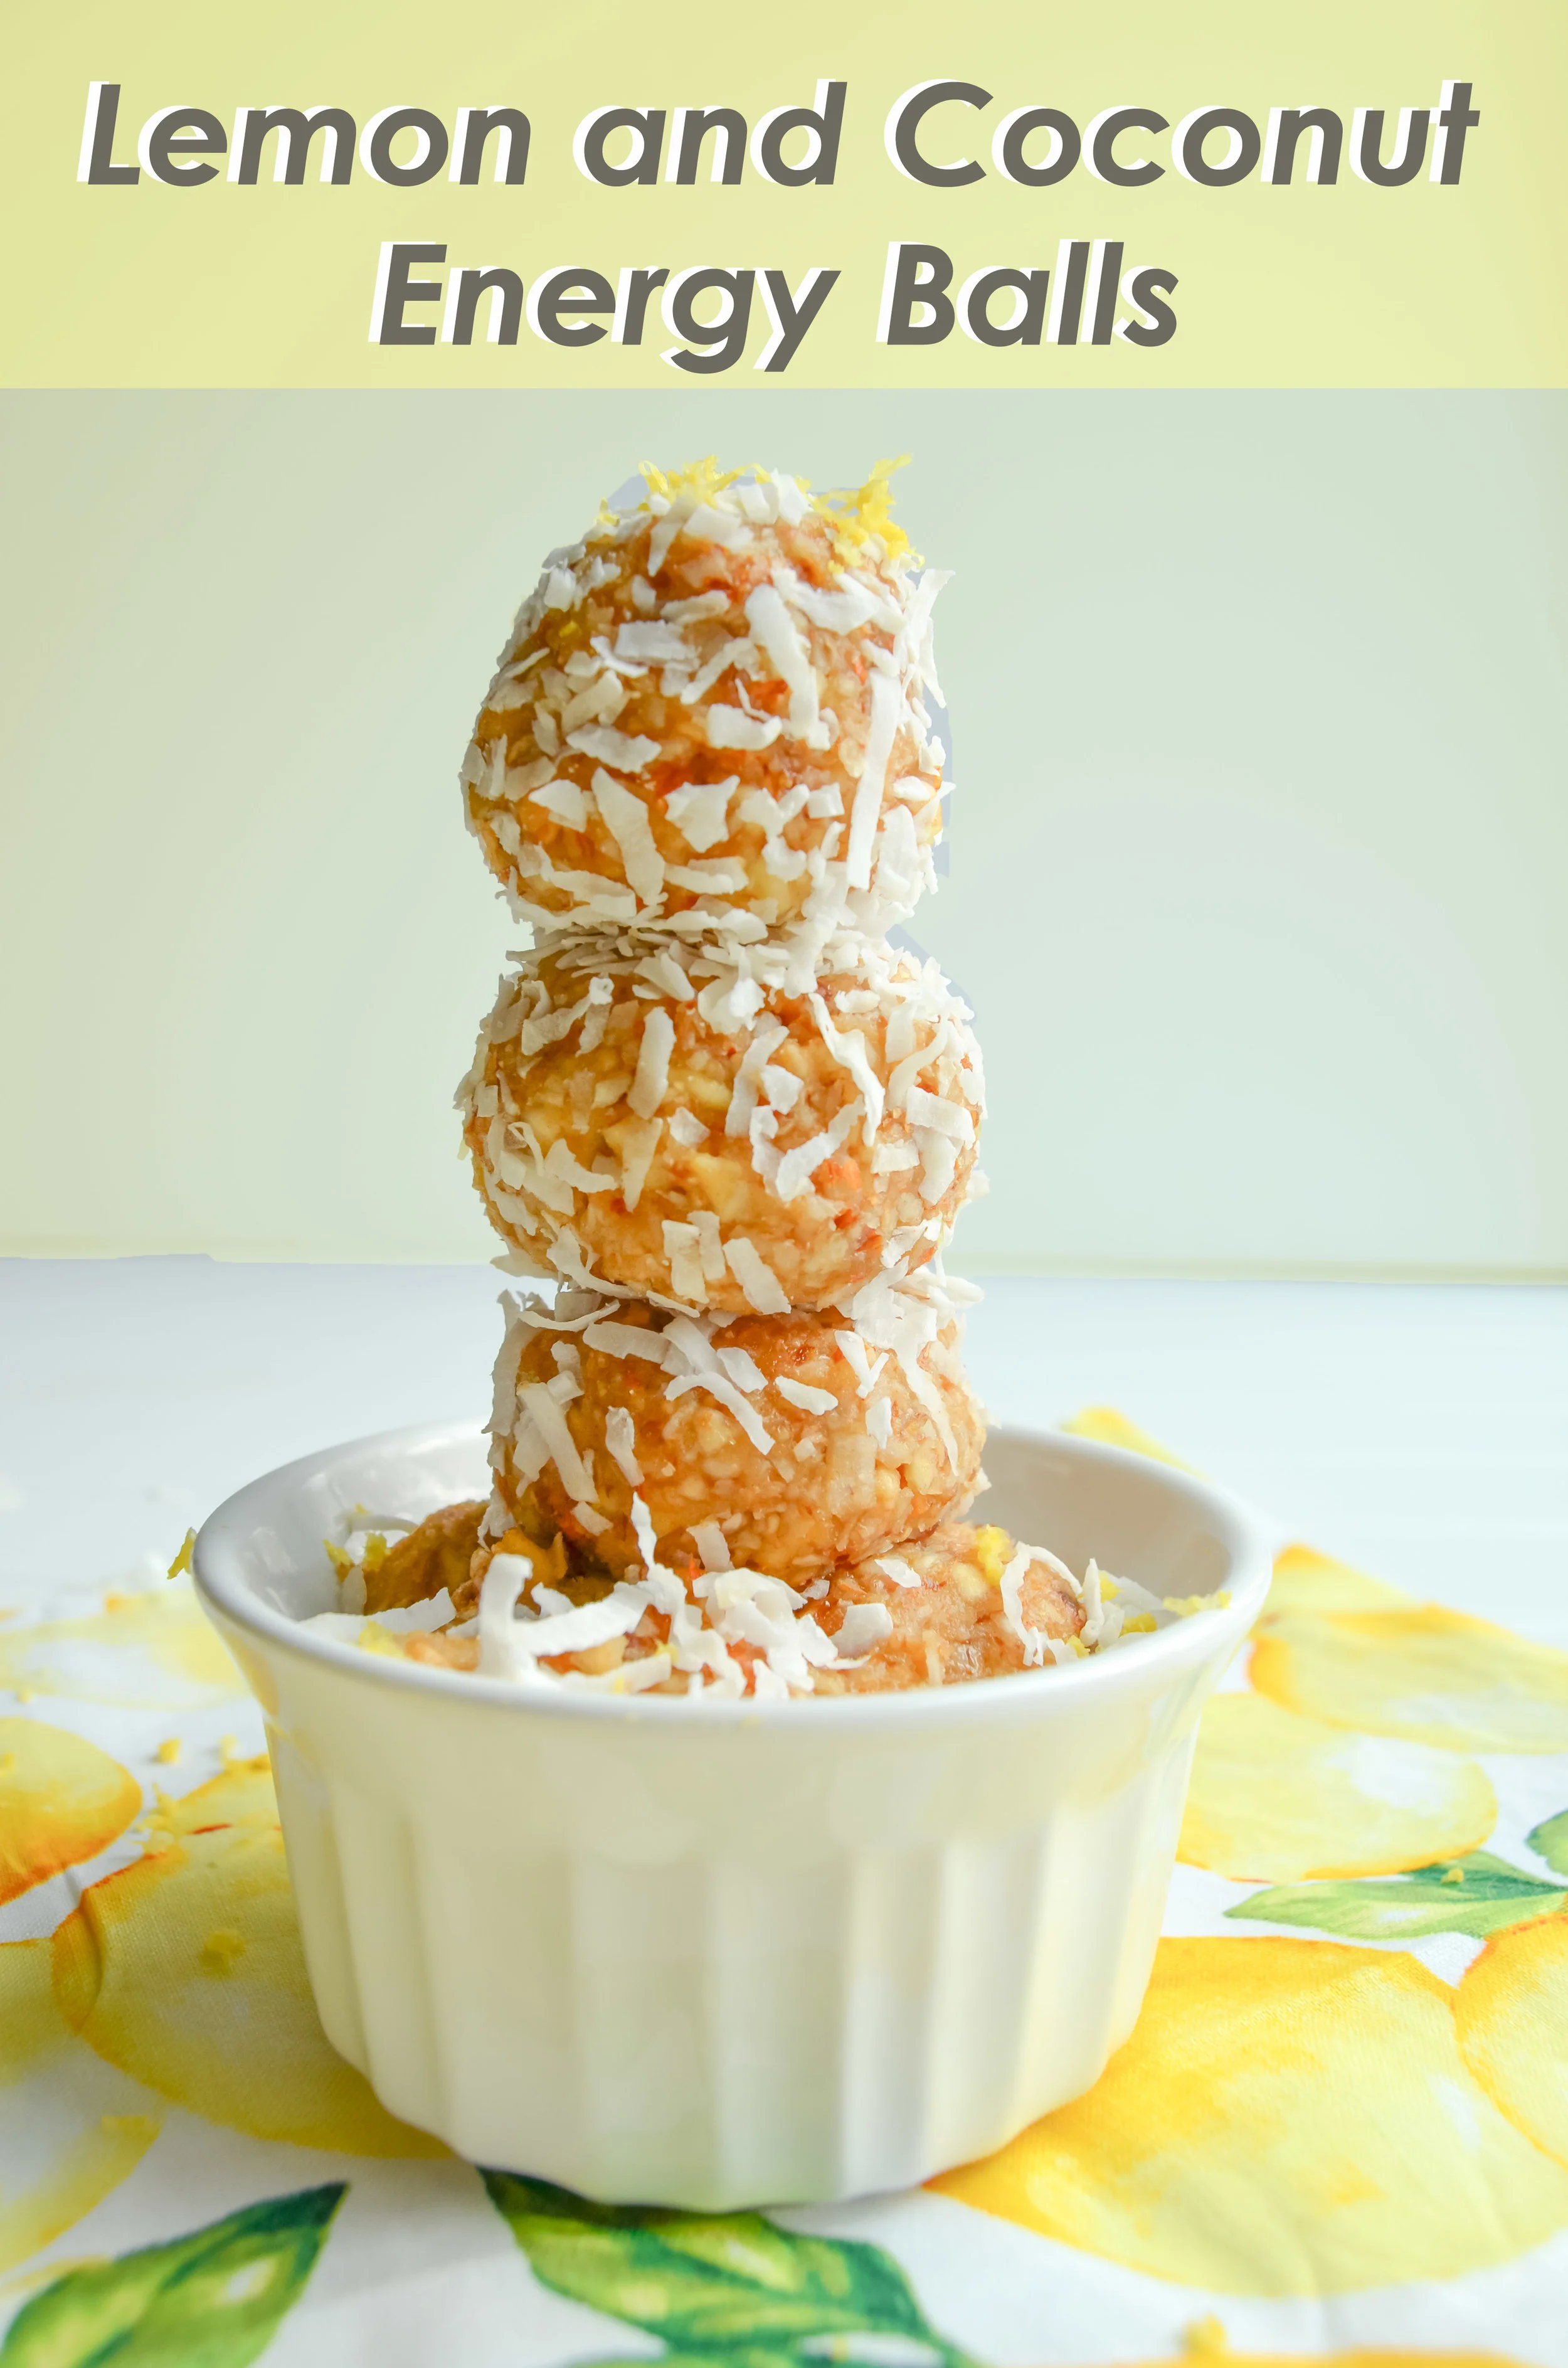
Lemon and Coconut Energy Balls
I have to be honest - life can be hard and stressful for me at times.
I juggle school, work, this food blog, and my personal life all while searching for grad schools. In everything I do, I strive to be intentional in every moment and hour in my life.For example, if I take a class and pass by the skin of my teeth then what have I gained from the experience? With every new practice, patience and persistence are tested as we don’t always get it right the first time. In the midst of the busy times, I have to continuously remind myself that this is only temporary and that I should be proud of myself for getting this far.
Filled with fiber, plant-based protein, and healthy fats, these are the perfect choice when you need a little pick-me-up snack! They are great to make as a “911 snack” as it only takes 5 minutes to make and uses only 6 ingredients!
I have to be honest - life can be hard and stressful for me at times.
I juggle school, work, this food blog, and my personal life all while searching for grad schools. In everything I do, I strive to be intentional in every moment and hour in my life.For example, if I take a class and pass by the skin of my teeth then what have I gained from the experience? With every new practice, patience and persistence are tested as we don’t always get it right the first time. In the midst of the busy times, I have to continuously remind myself that this is only temporary and that I should be proud of myself for getting this far.

As easy as it sounds to be intentional, you need the energy and willpower to actually do it! That’s why I lean on to these amazing lemon and coconut energy balls. Lemon and coconut is an excellent pairing as they are both sweet and refreshing. This flavor-packed combination is great with the caramel undertones of pitted dates; the creamy texture provided by cashews and almonds is also a big plus!


Cashews, almonds, and dates are magnesium-rich foods that actually boost energy and prevent inflammation. Magnesium is key in creating energy by activating ATP; (adenosine triphosphate) which is an energy carrying molecule found in the cells of your body. Ultimately, when you have an adequate amount of magnesium in your system, your body is primed to function at its peak.


Not only are these lemon and coconut energy balls great for providing energy and preventing inflammation, they’re nutrient and calorically dense. Filled with fiber, plant-based protein, and healthy fats, these are the perfect choice when you need a little pick-me-up snack! They are great to make as a “911 snack” as it only takes 5 minutes to make and uses only 6 ingredients! I recommend making a couple of batches so that you can store half in the fridge for immediate use throughout the week and the other half in the freezer for a later time.

If you try this recipe, let us know! Leave a comment, rate it, and don’t forget to tag a photo with #fromtherootsblog on Instagram. We love seeing what you come up with!

Filled with fiber, plant-based protein, and healthy fats, these are the perfect choice when you need a little pick-me-up snack! They are great to make as a “911 snack” as it only takes 5 minutes to make and uses only 6 ingredients!
INGREDIENTS
1 cup raw cashews
1 cup raw almonds
1/2 cup coconut flakes
1 Tbsp melted coconut oil
8 pitted dates
half one lemon *plus more for preference
Zest of one whole lemon *plus more for garnish
Dash pink Himalayan salt
DIRECTIONS
Soak dates in warm filtered water for at least 10 minutes
After dates have properly soaked, remove dates and set date water aside.
Blend all ingredients in a high-speed processor until desired texture. If the consistency seems dry, add a little bit of the reserved date water.
Scoop out about 1 tablespoon of the mixture, and form into balls.
Roll into your favorite toppings! I like to use lemon zest and coconut flakes.
NOTES
These can be stored in an airtight container in the fridge for up to two weeks or in the freezer for up to a month. Make large batches to store snacks ahead of time.
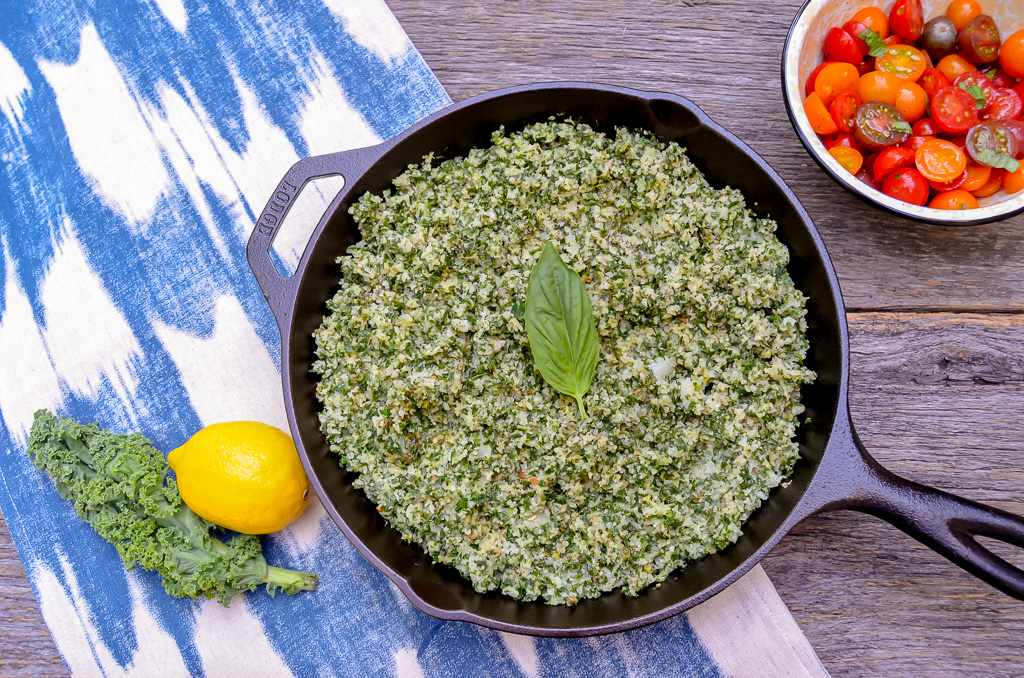
Kale and Pesto Cauliflower Rice
Cauliflower rice has become the new “it” vegetable. Not a day goes by where I don’t see a new cauliflower rice recipe being passed around by all the low-carb, veggie lovers. Even though it may seem like a trend, I am not so sure it will fade away anytime soon. I believe cauliflower rice is here to stay and I am perfectly okay with that! It has become a staple for my dinners as it lowers my carb intake. I also use cauliflower rice when I batch cook since it is so easy to prepare!
Cauliflower rice is cooked with kale and pesto for a low carb, gluten-free, easy and healthy dish!


Cauliflower rice has become the new “it” vegetable. Not a day goes by where I don’t see a new cauliflower rice recipe being passed around by all the low-carb, veggie lovers. Even though it may seem like a trend, I am not so sure it will fade away anytime soon. I believe cauliflower rice is here to stay and I am perfectly okay with that! It has become a staple for my dinners as it lowers my carb intake. I also use cauliflower rice when I batch cook since it is so easy to prepare!

So, what’s with the hype for this smelly vegetable? Here are some quick facts about cauliflower:
Cauliflower ranks one of the highest powerhouse vegetables according to the Centers for the Disease Control and Prevention’s Aggregate Nutrient Density Index (Ranks food based on nutrient content in relation to calorie total.)
The entire cauliflower (florets, leaves, and stalks) are edible!
Just one cup of cooked cauliflower can provide 73% of your daily recommended amount of vitamin C.
Great source of fiber!
Despite knowing how healthy it is to eat cauliflower, the taste sometimes discourages me from eating it. There is just something about the taste of plain cauliflower that my taste buds do not agree with which is why I have created this recipe in such a way that adds zest and boosts the nutritional value. The wonderful thing about cauliflower is that it’s a vegetable that will take on whatever flavor you add. In this cauliflower rice recipe, I have combined it with my quick and easy 5 ingredient pesto sauce. Kale is used to amp up the veggie and fiber intake, and finally, I add lemon to complement the pesto sauce and bring out the savory taste of kale.
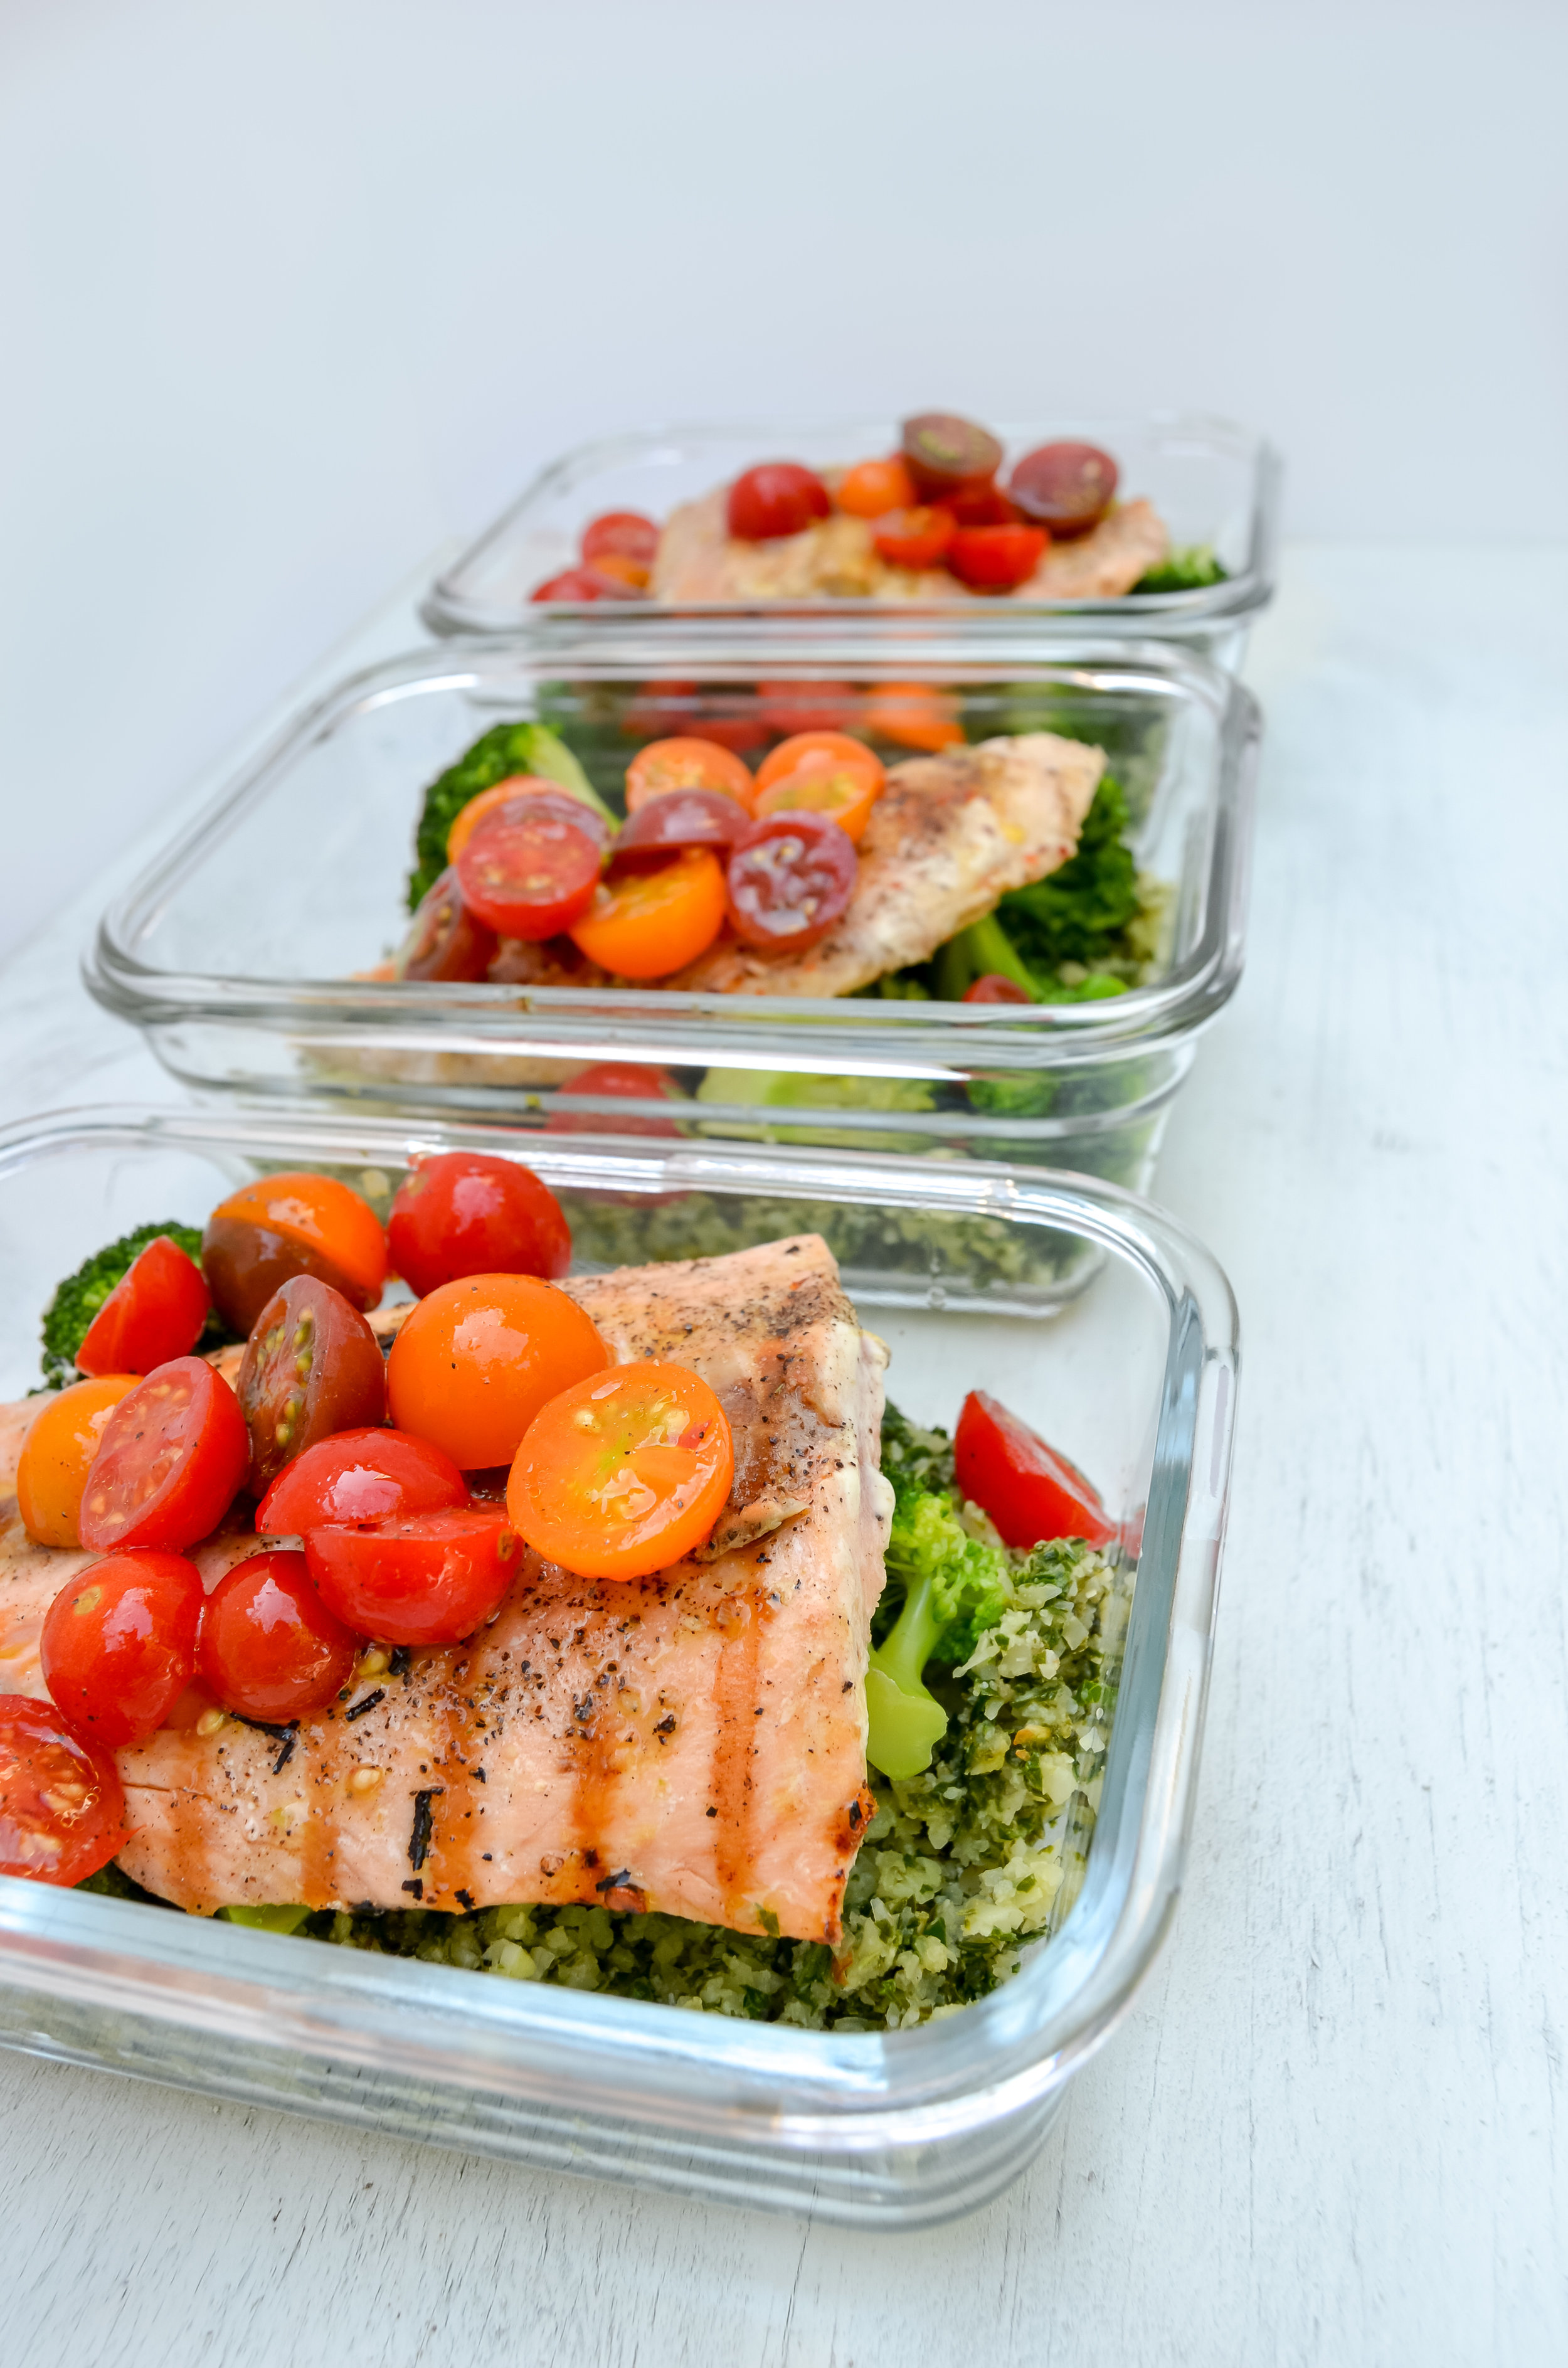
You can use cauliflower rice to substitute your typical heavy carb sides. Here, I have made kale and pesto cauliflower rice for dinner along with grilled chicken, roasted cherry tomatoes, and steamed broccoli.

Cauliflower rice is so easy and quick to make that I often prepare it when I batch cook on Sundays!

If you try this recipe, let us know! Leave a comment, rate it, and don’t forget to tag a photo with #fromtherootsblog on Instagram. We love seeing what you come up with!
Cauliflower rice is cooked with kale and pesto for a low carb, gluten-free, easy and healthy dish!
INGREDIENTS
1 cauliflower head ((or 16 oz bag frozen cauliflower rice))
1 large bunch fresh kale ((stem out))
1-3 Tbsp pesto (less or more depending on preference)
1 tsp coconut oil
1/2 lemon
DIRECTIONS
Begin by bringing about ¼ inch of water to a boil in a large frying pan.
Add ½ tsp fine sea salt and cauliflower florets* (or frozen cauliflower rice)
Cover and steam for about 3-8 minutes until desired tenderness
Drain the cauliflower rice and add back to the frying pan with 1 tsp of coconut oil on medium-high heat. Cook for about 5 minutes.
Add kale, pesto sauce, and S&P. Stir and cook for about 5-10 minutes until rice is crispy, kale has wilted and rice is fully coated with pesto sauce.
Take off heat and garnish with freshly squeezed lemon.
NOTES
*If using fresh cauliflower, cut into florets and then briefly pulse in the food processor until they are the size of grains of rice.
This recipe will make four servings. With that in mind, if you would like to use this in meal prep, divide up your protein, roasted cherry tomatoes with avocado oil and basil, and steamed broccoli.
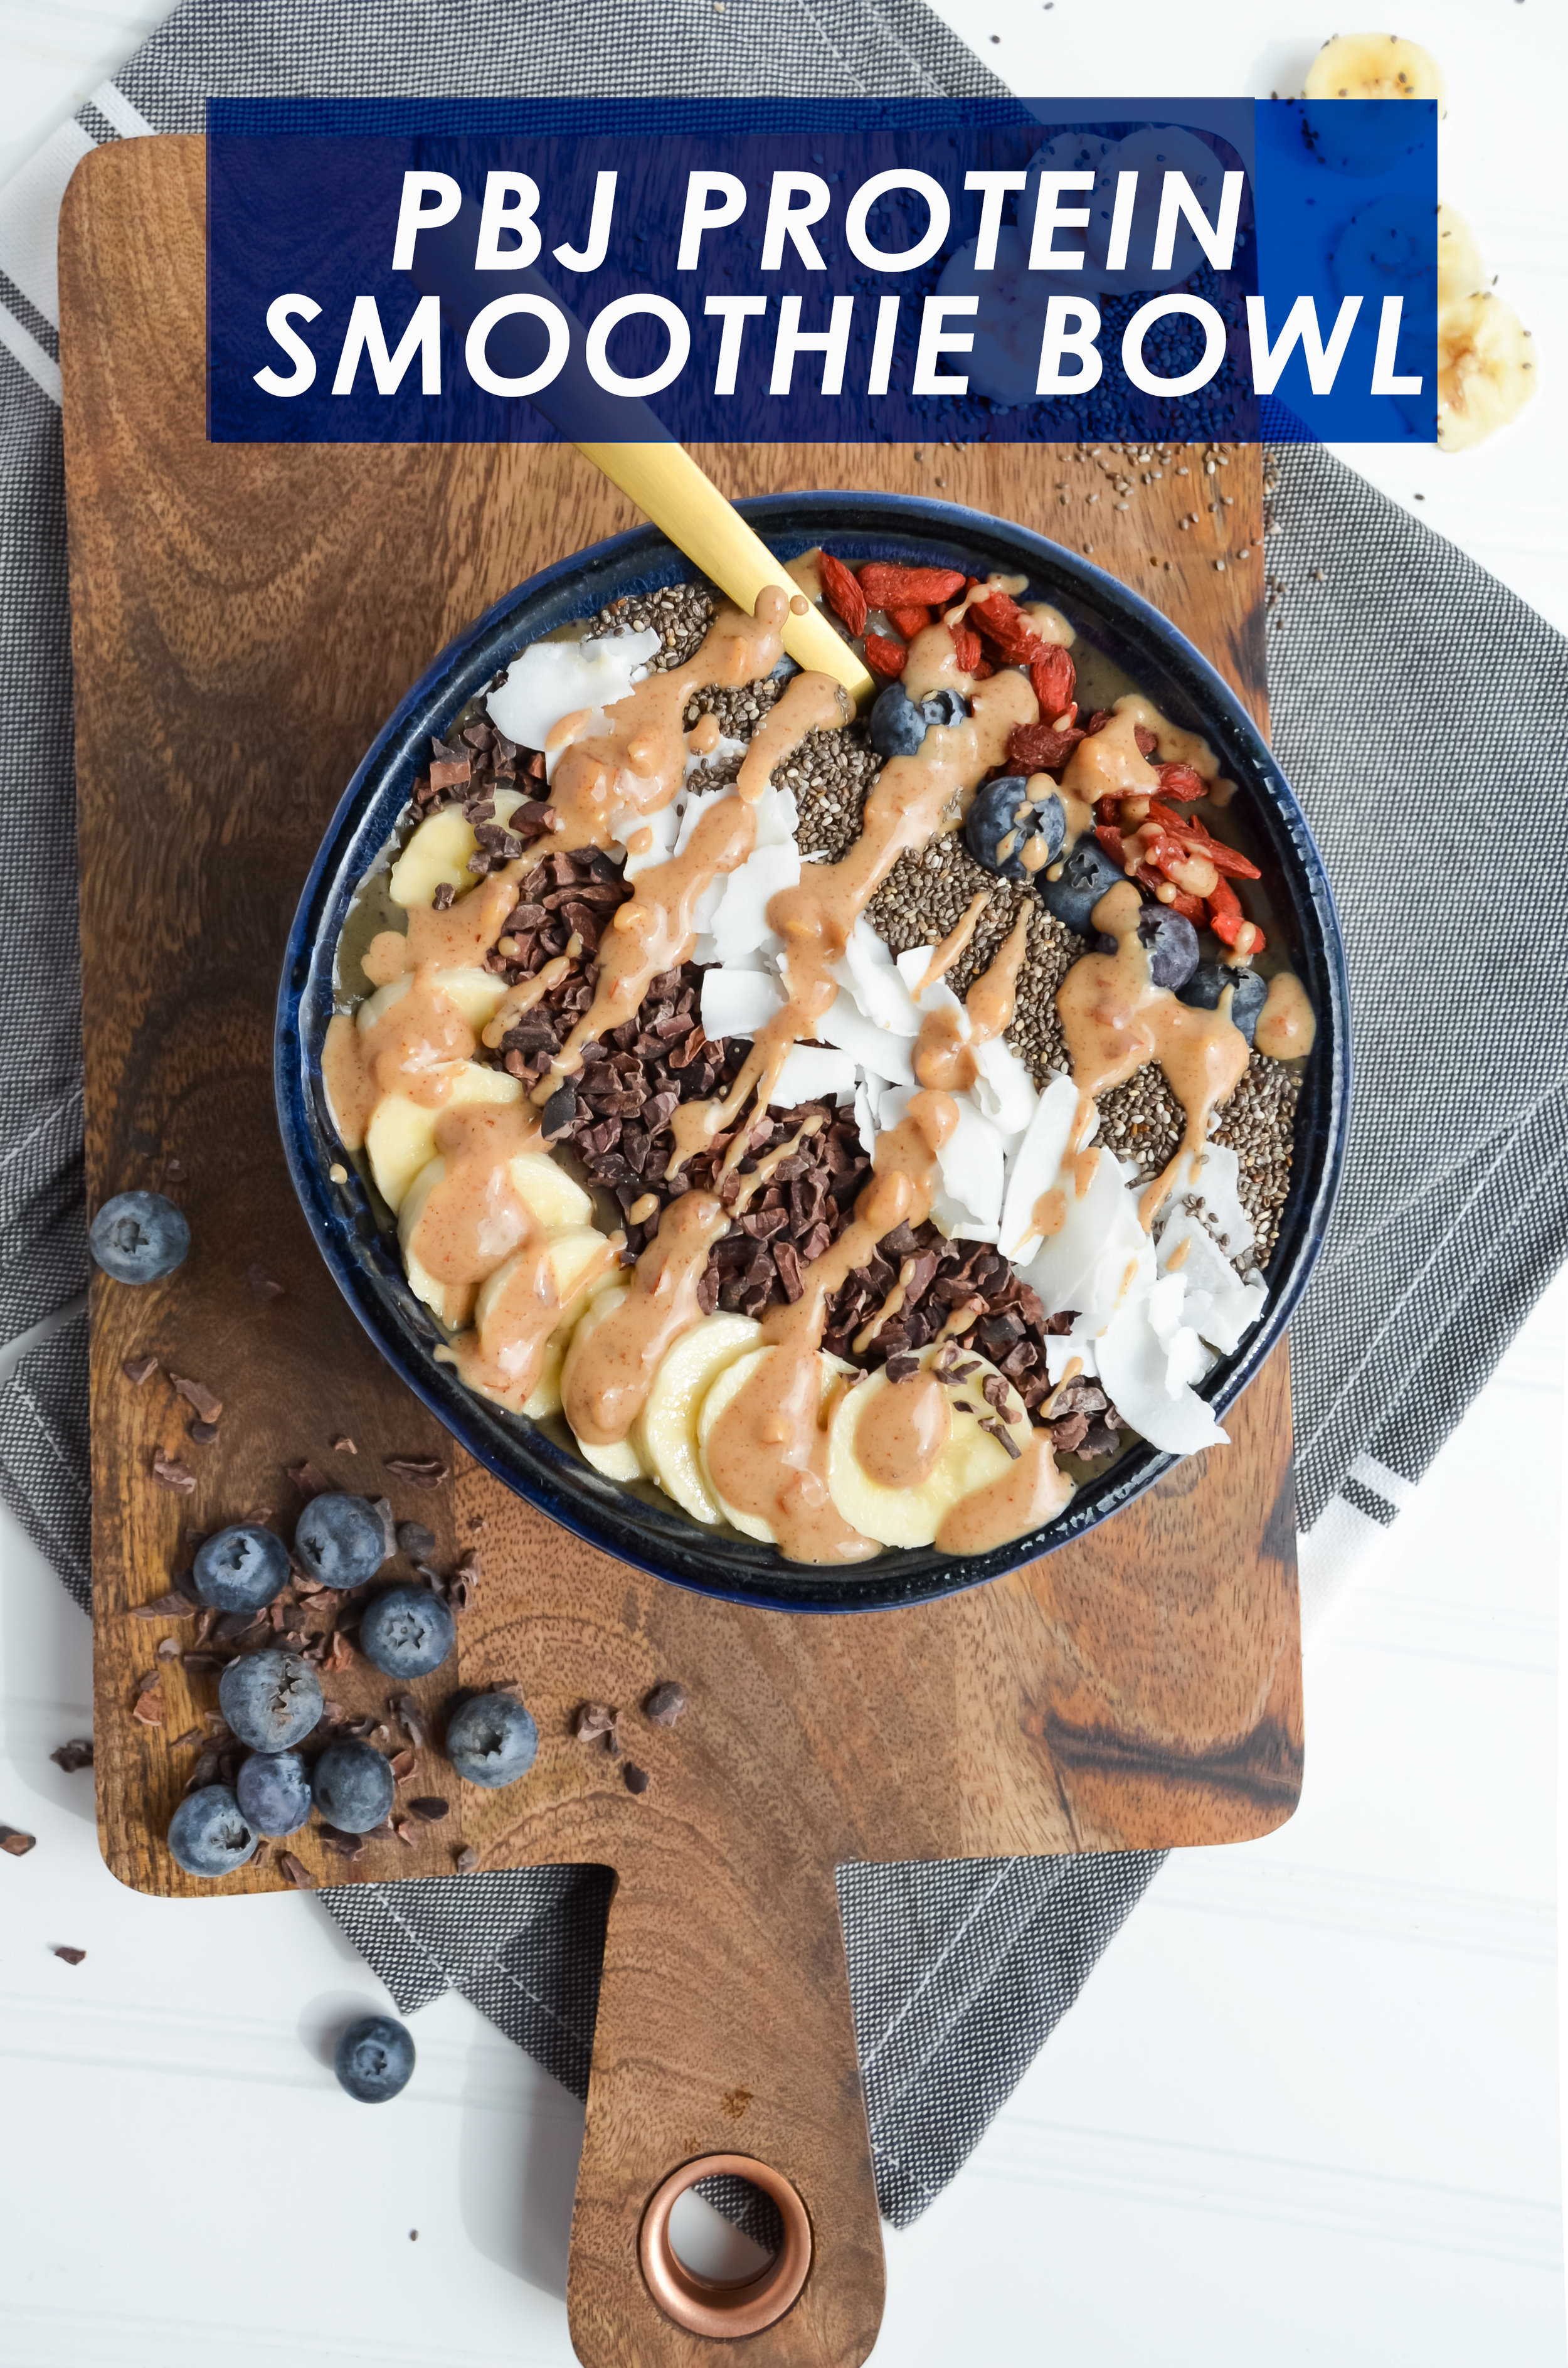
Peanut Butter & Jelly Protein Smoothie Bowl
HAPPY NATIONAL PEANUT BUTTER LOVER’S DAY.
Did you know there existed a day just for us peanut butter lovers? I certainly didn’t. There really is a national day for everyone!
In high school, a PB&J sandwich was my go-to meal as that was the only vegetarian option back in the day during lunch. Obviously, I am not a vegetarian anymore, but thinking about peanut butter and jelly sandwiches make me nostalgic and reminisce about the good ol’ days. It’s definitely a classic staple.
When I was in undergrad, I would go to Smoothie King to get the Peanut Power Plus Strawberry smoothie when I needed to satisfy my peanut butter craving. It was quick and convenient, not to mention that it also literally tasted just like a PB&J sandwich!
Creamy and nutritious protein smoothie bowl with spinach, banana, berries, protein powder and a secret ingredient! A healthy breakfast or great post-workout treat that tastes just like PB&J!

HAPPY NATIONAL PEANUT BUTTER LOVER’S DAY.
Did you know there existed a day just for us peanut butter lovers? I certainly didn’t. There really is a national day for everyone!
In high school, a PB&J sandwich was my go-to meal as that was the only vegetarian option back in the day during lunch. Obviously, I am not a vegetarian anymore, but thinking about peanut butter and jelly sandwiches make me nostalgic and reminisce about the good ol’ days. It’s definitely a classic staple.
When I was in undergrad, I would go to Smoothie King to get the Peanut Power Plus Strawberry smoothie when I needed to satisfy my peanut butter craving. It was quick and convenient, not to mention that it also literally tasted just like a PB&J sandwich!
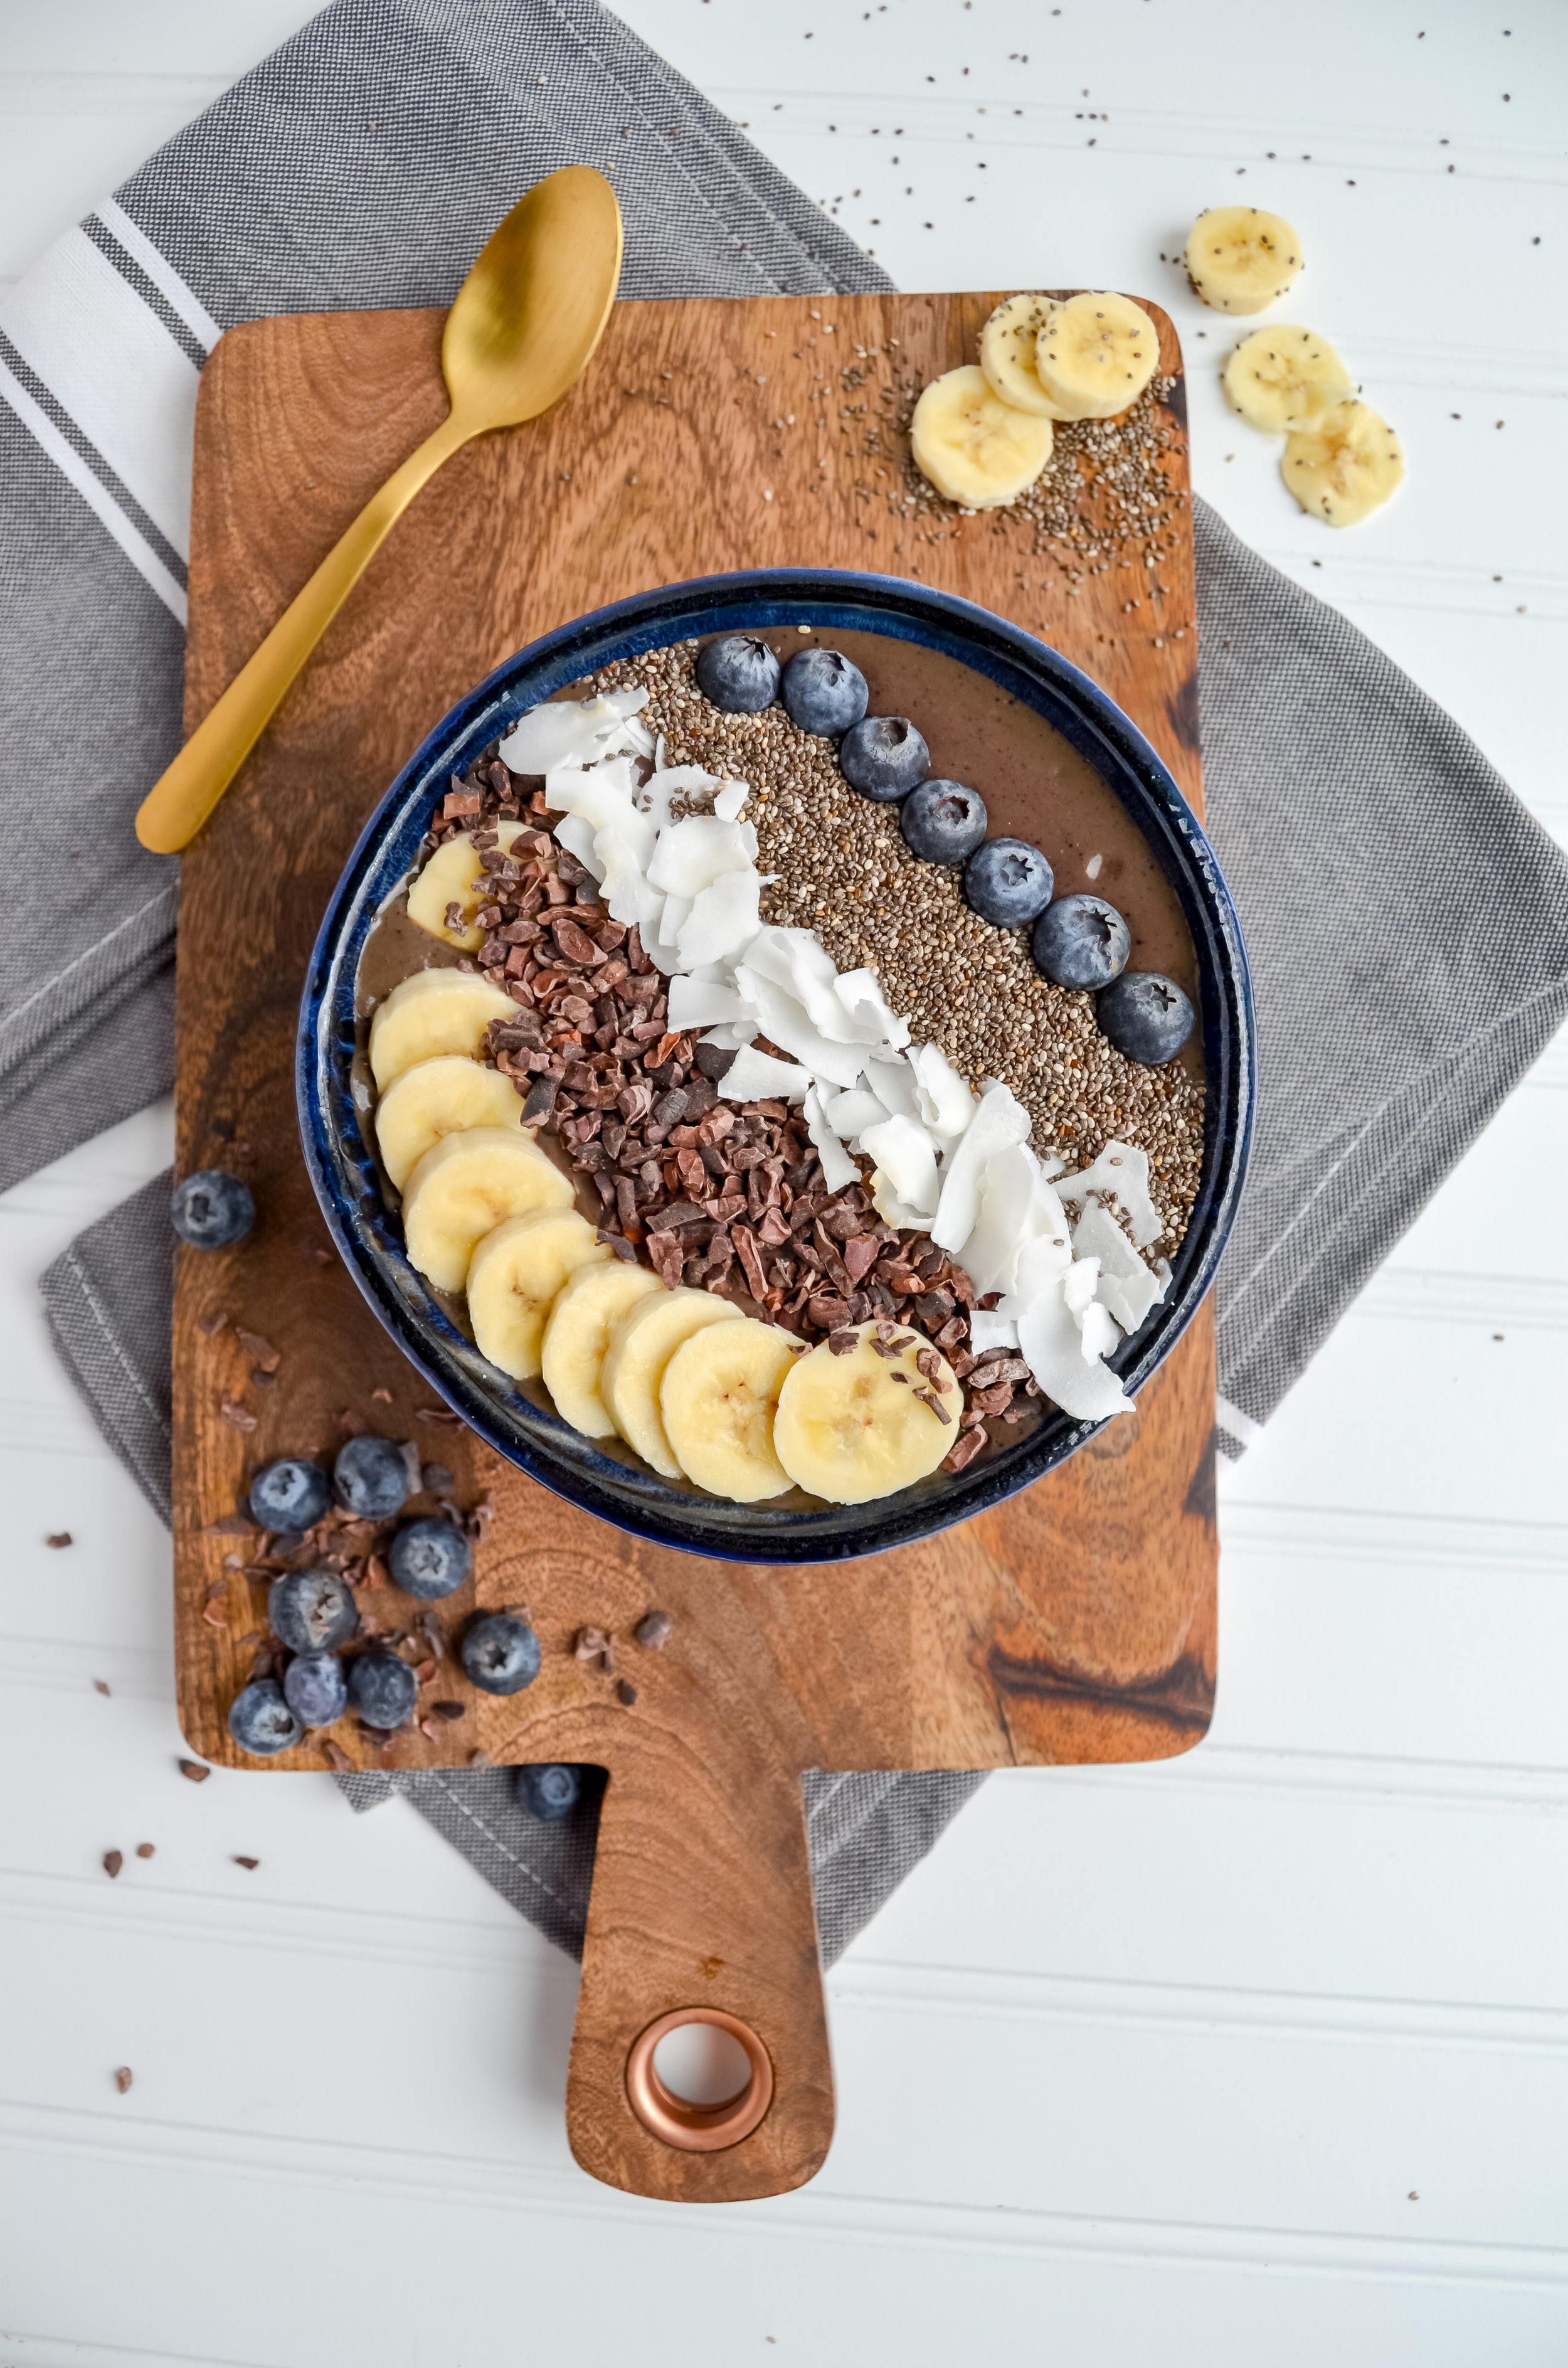
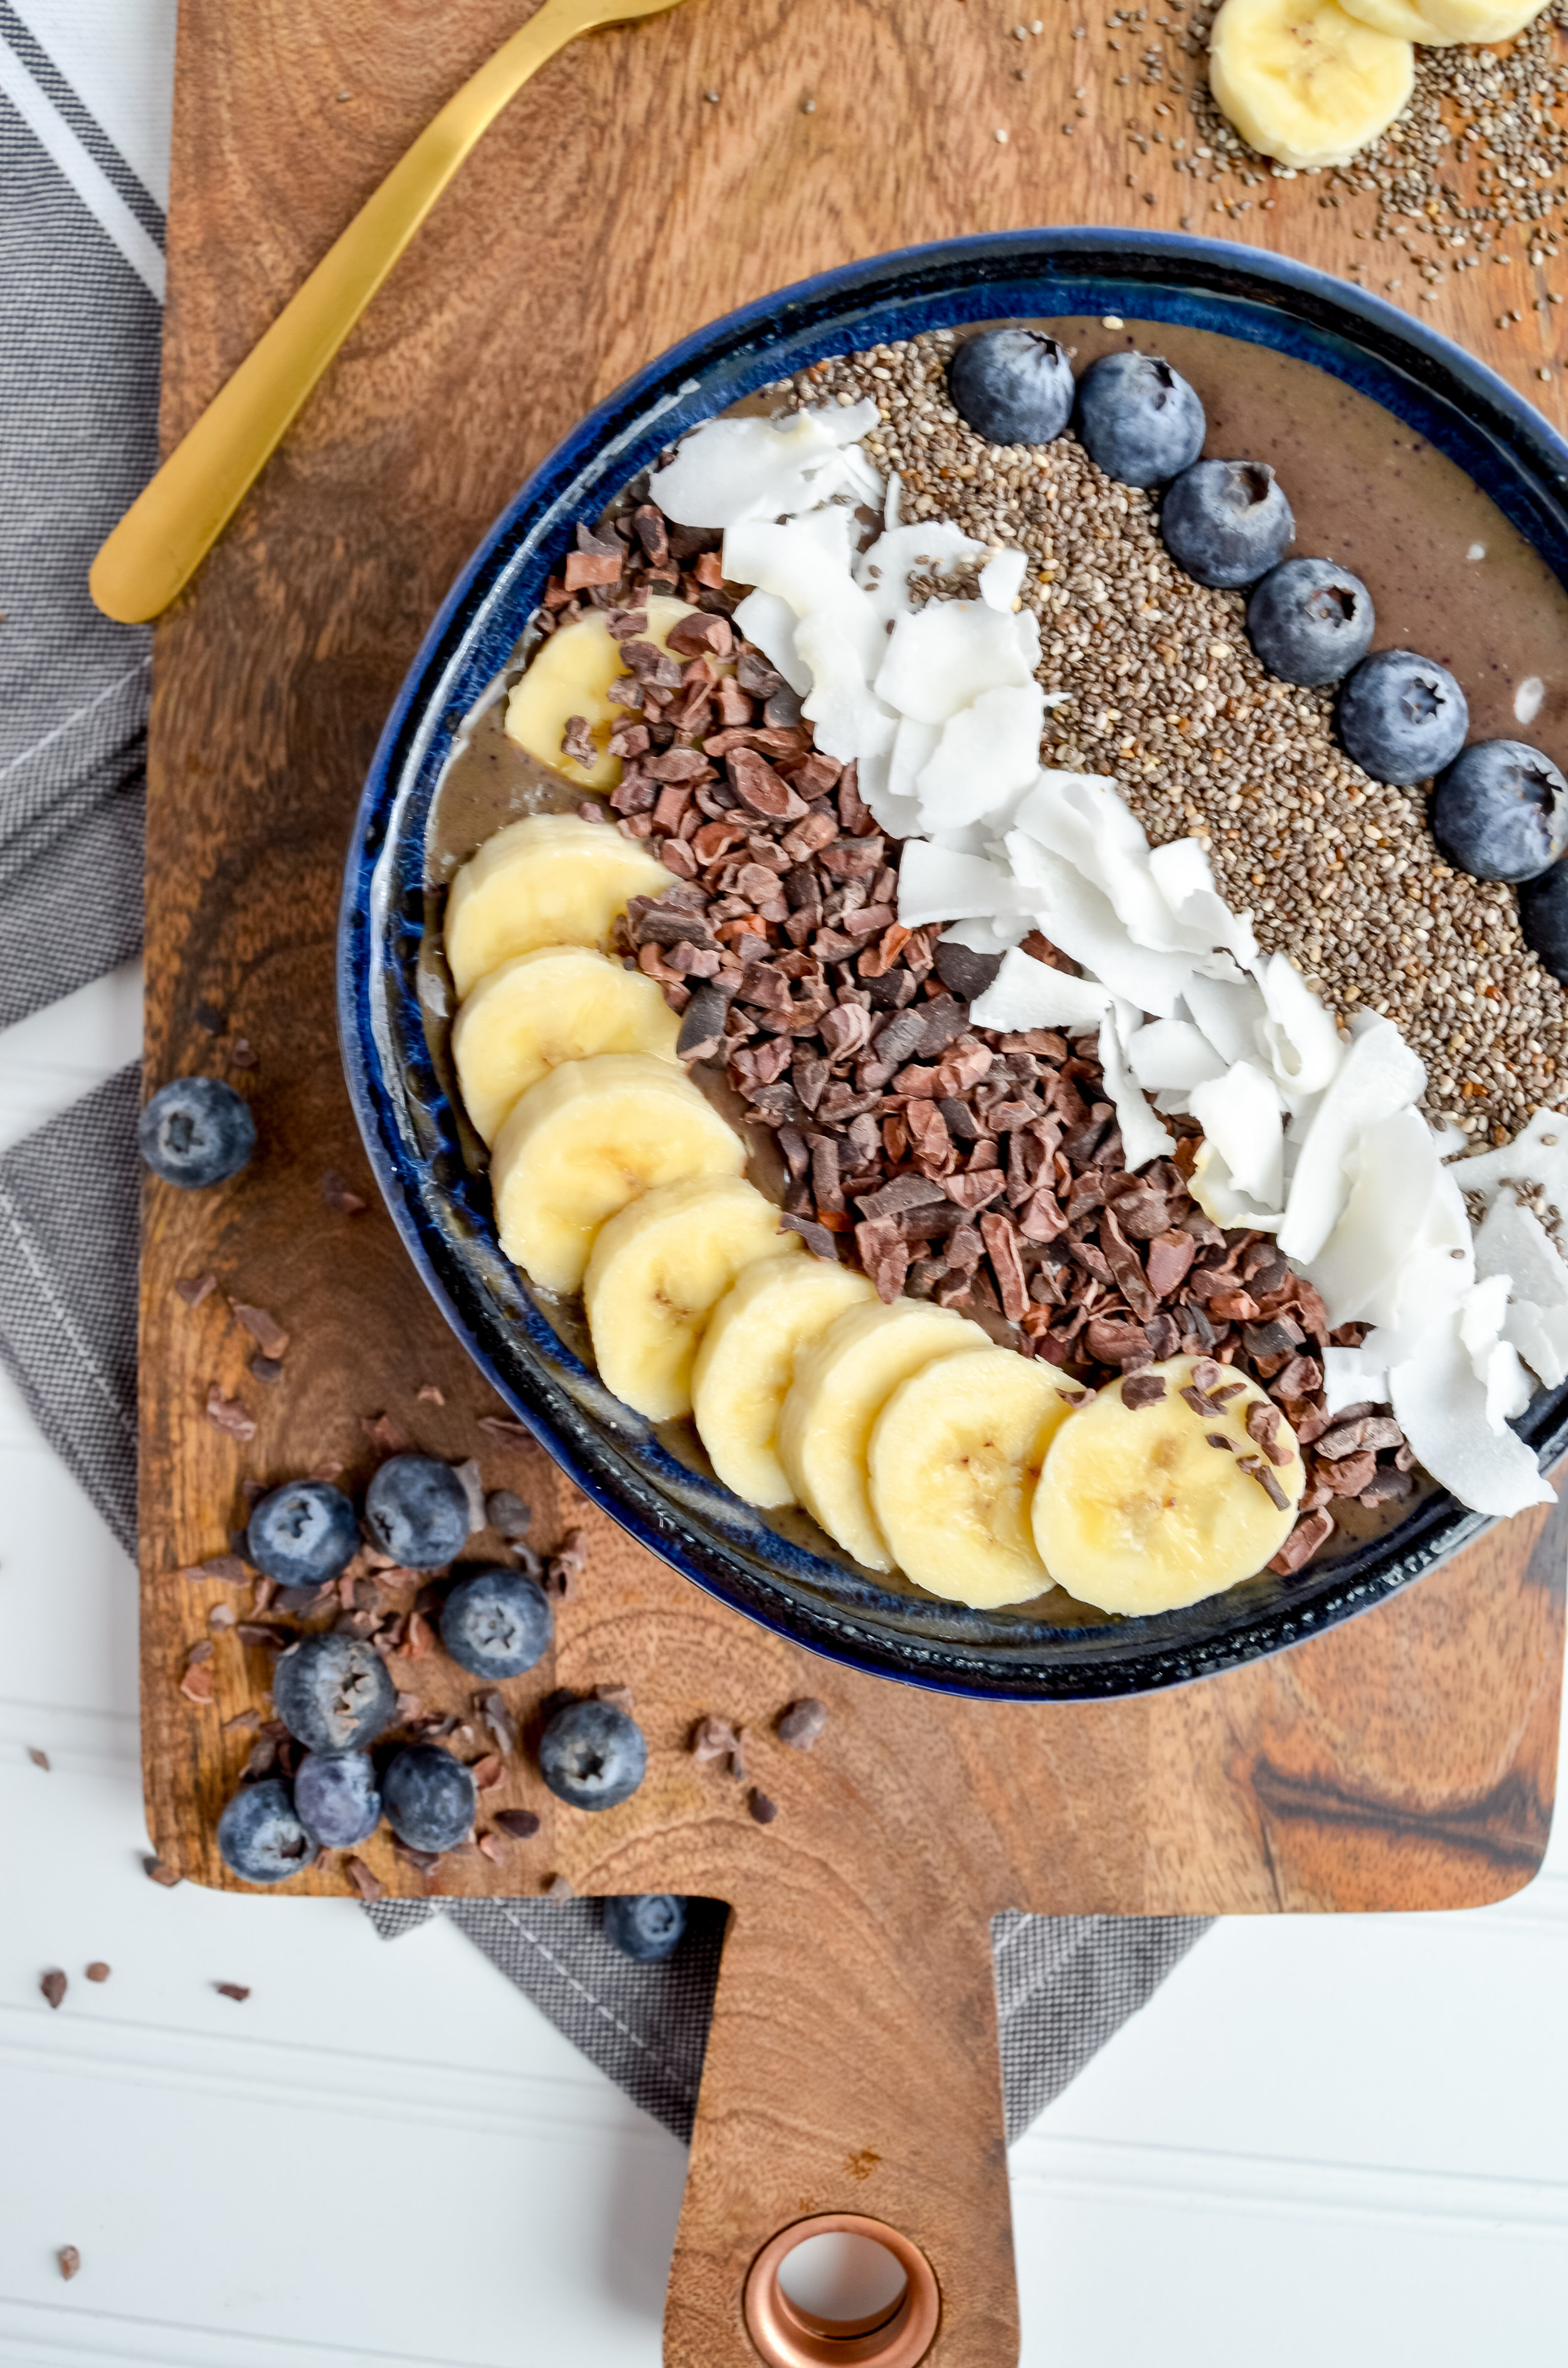
Now that I am older and wiser, I have created a smoothie bowl recipe that is not only healthy but still has the same flavor PB&J flavor that I love. This peanut butter & jelly protein smoothie bowl is a recipe that I have been using for years now. Every other morning, I whip up a batch for breakfast in a tumbler so I can bring it to work. For the weekends, I like to transform this smoothie into a bowl so that I can jazz it up with superfoods like goji berries, cacao nibs, chia seeds, and coconut flakes.
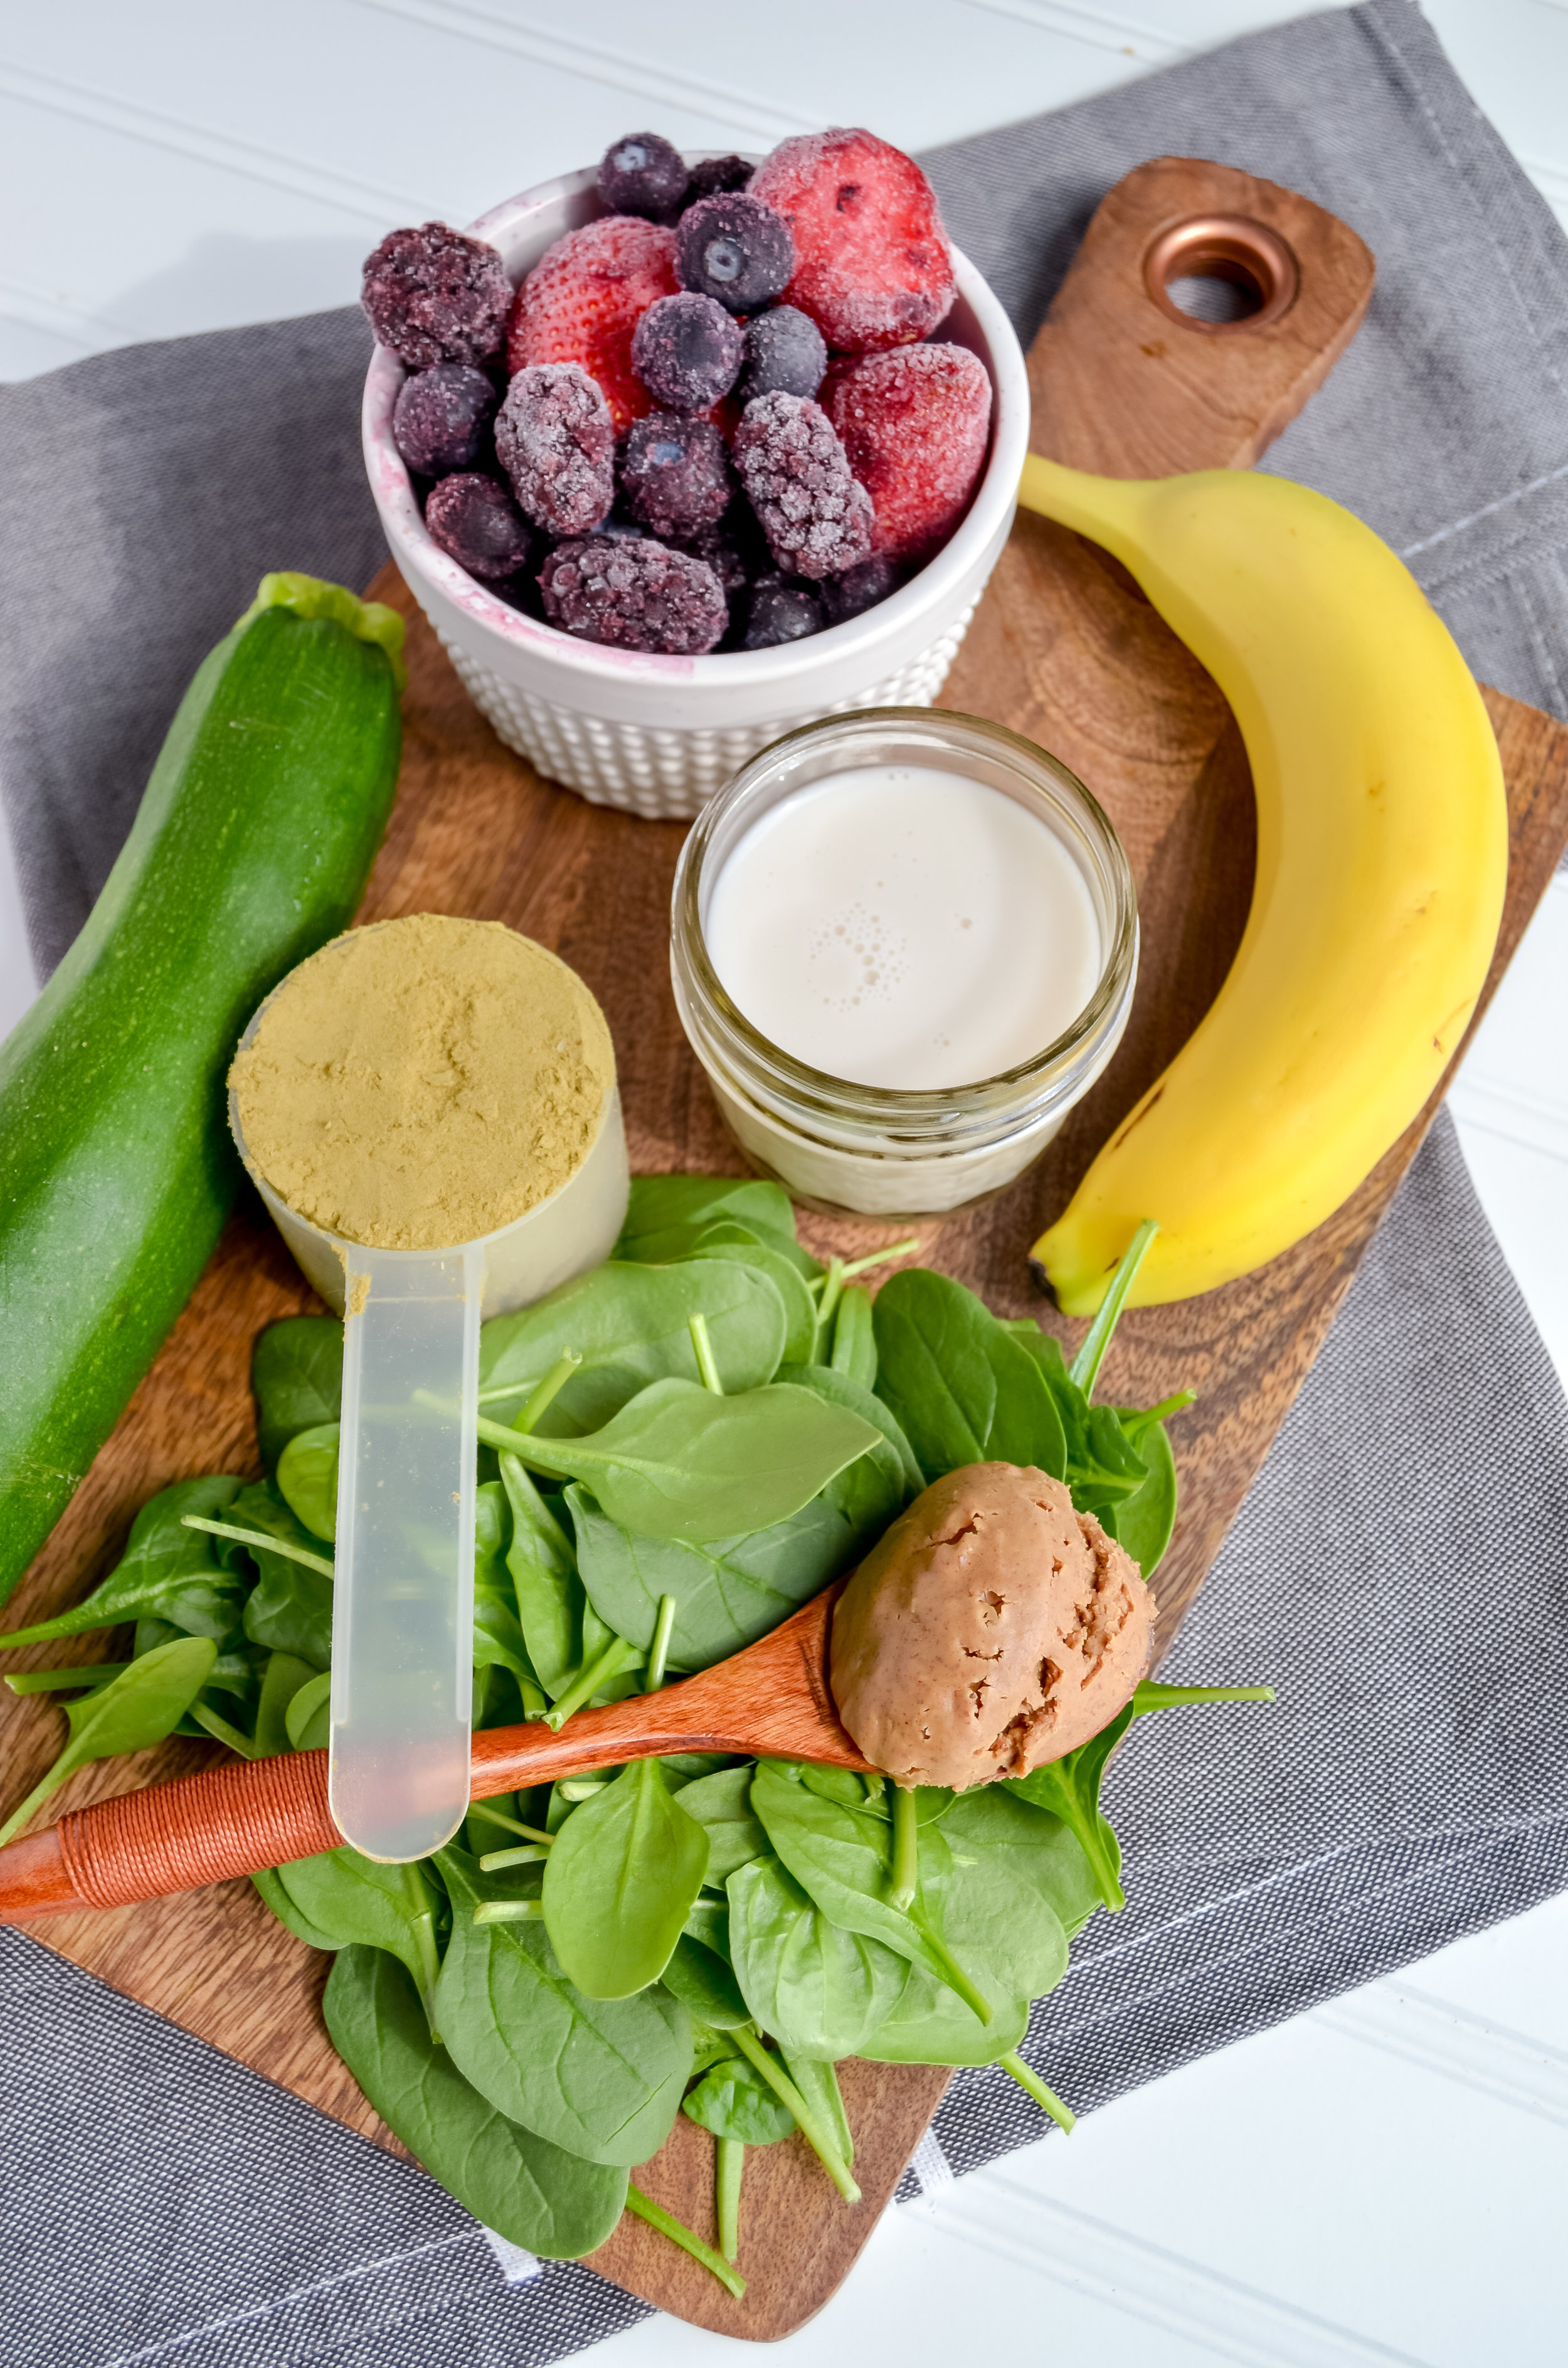
Would you have guessed that zucchini is the secret ingredient for keeping this smoothie super creamy and thick? Zucchini is great for amping your smoothie with amazing vitamins and nutrients as well as being naturally lower in carbs and calories. If you drink smoothies in the morning like I do, zucchini is great for digestion and provides energizing B vitamins. B vitamins are important for cognitive health as it maintains an upbeat mood and prevent fatigue.
Regardless of how you choose to create this smoothie, whether you present it in a bowl or choose to put it in a tumbler to take with you, the ingredients are just as flexible. I usually amp this smoothie up with two heaping handfuls of spinach along with a green powder scoop if I feel that I want to incorporate more greens into my diet. Like I said, this recipe is flexible -- it’s up to you if you want to add more veggies or superfoods!

Interested in more smoothie recipes that are nutritious and delicious? Check out my recipe for (starburst smoothie). Yes, you read that right -- it tastes like pink starbursts!
If you try this recipe, let us know! Leave a comment, rate it, and don’t forget to tag a photo with #fromtherootsblog on Instagram. We love seeing what you come up with!
Creamy and nutritious protein smoothie bowl with spinach, banana, berries, protein powder and a secret ingredient! A healthy breakfast or great post-workout treat that tastes just like PB&J!
INGREDIENTS
1 small handful fresh organic spinach
1 frozen ripe banana
1 cup frozen berry medley (I used strawberries, blackberries, and blueberries)
1 cup almond milk
1/2 zucchini
1 scoop protein peanut butter/ chocolate powder
DIRECTIONS
Blend all ingredients in a high powered blender until creamy yet thick. If making this into a smoothie that you can take with you, add more milk or water to thin out the mixture.
Add your favorite toppings! I used coconut flakes, cacao nibs, banana slices, blueberries, chia seeds, coconut flakes, goji berries and warm almond butter drizzle!
NOTES
I use is this protein powder brand

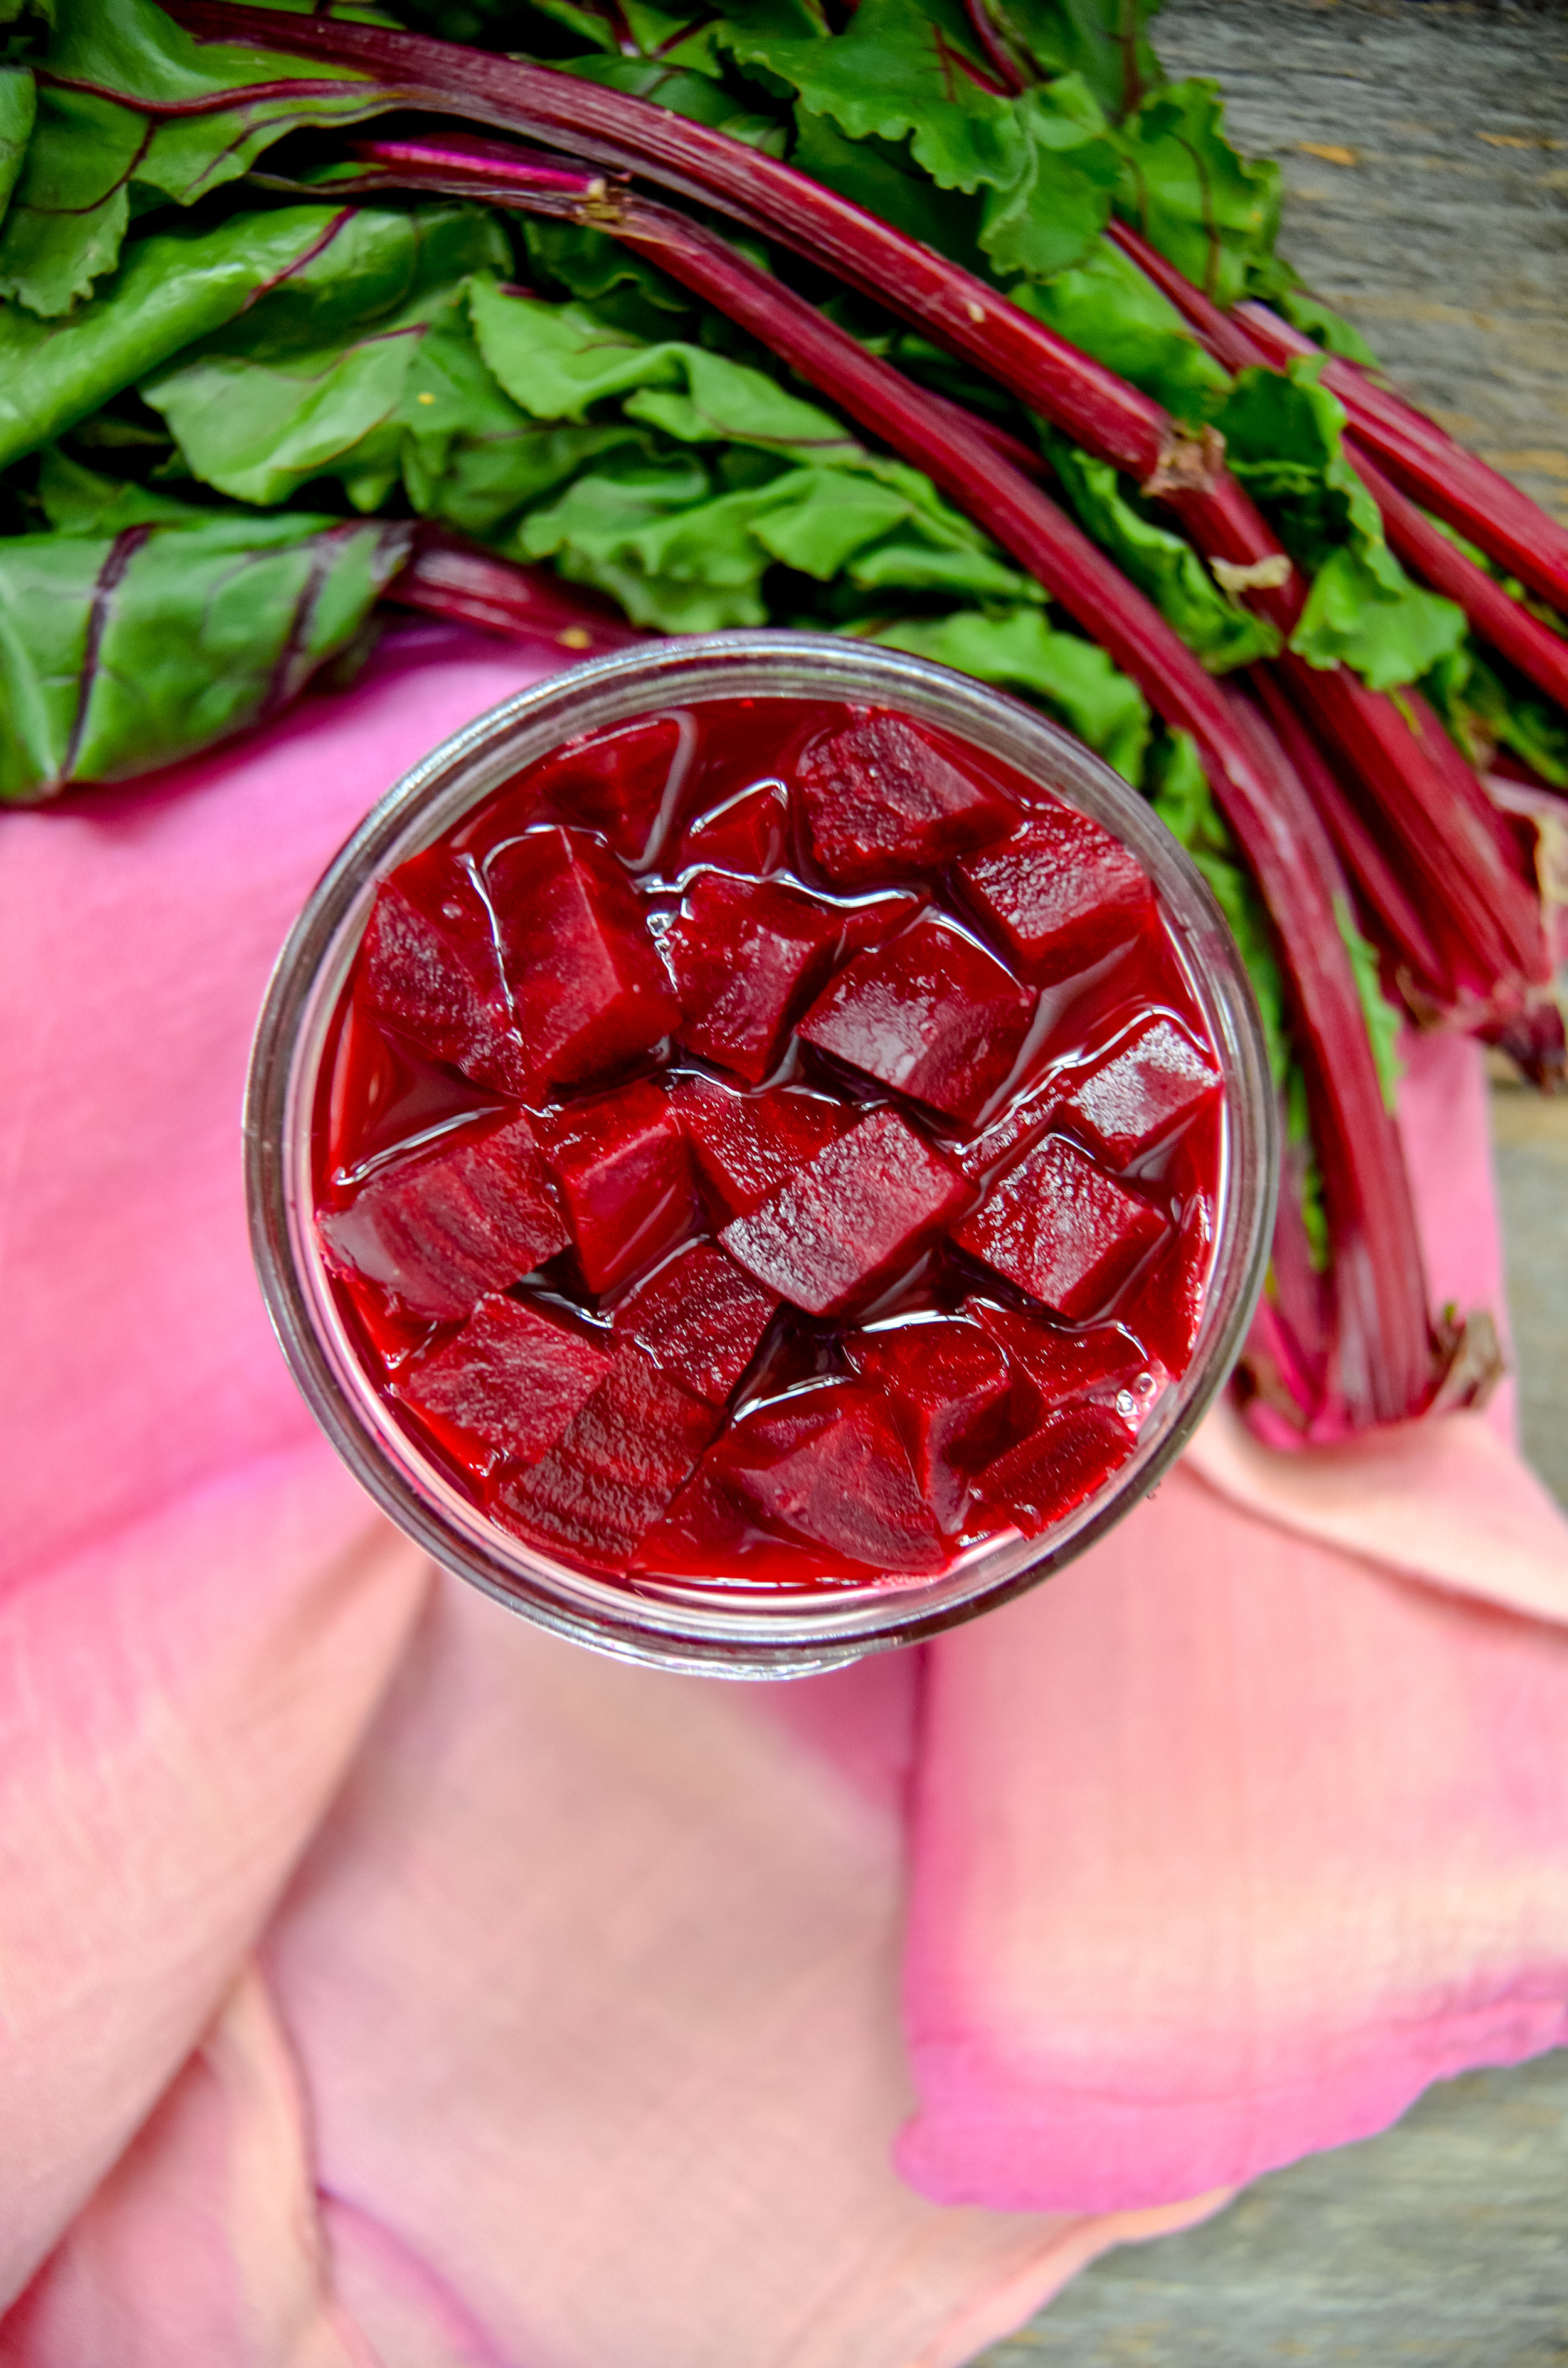
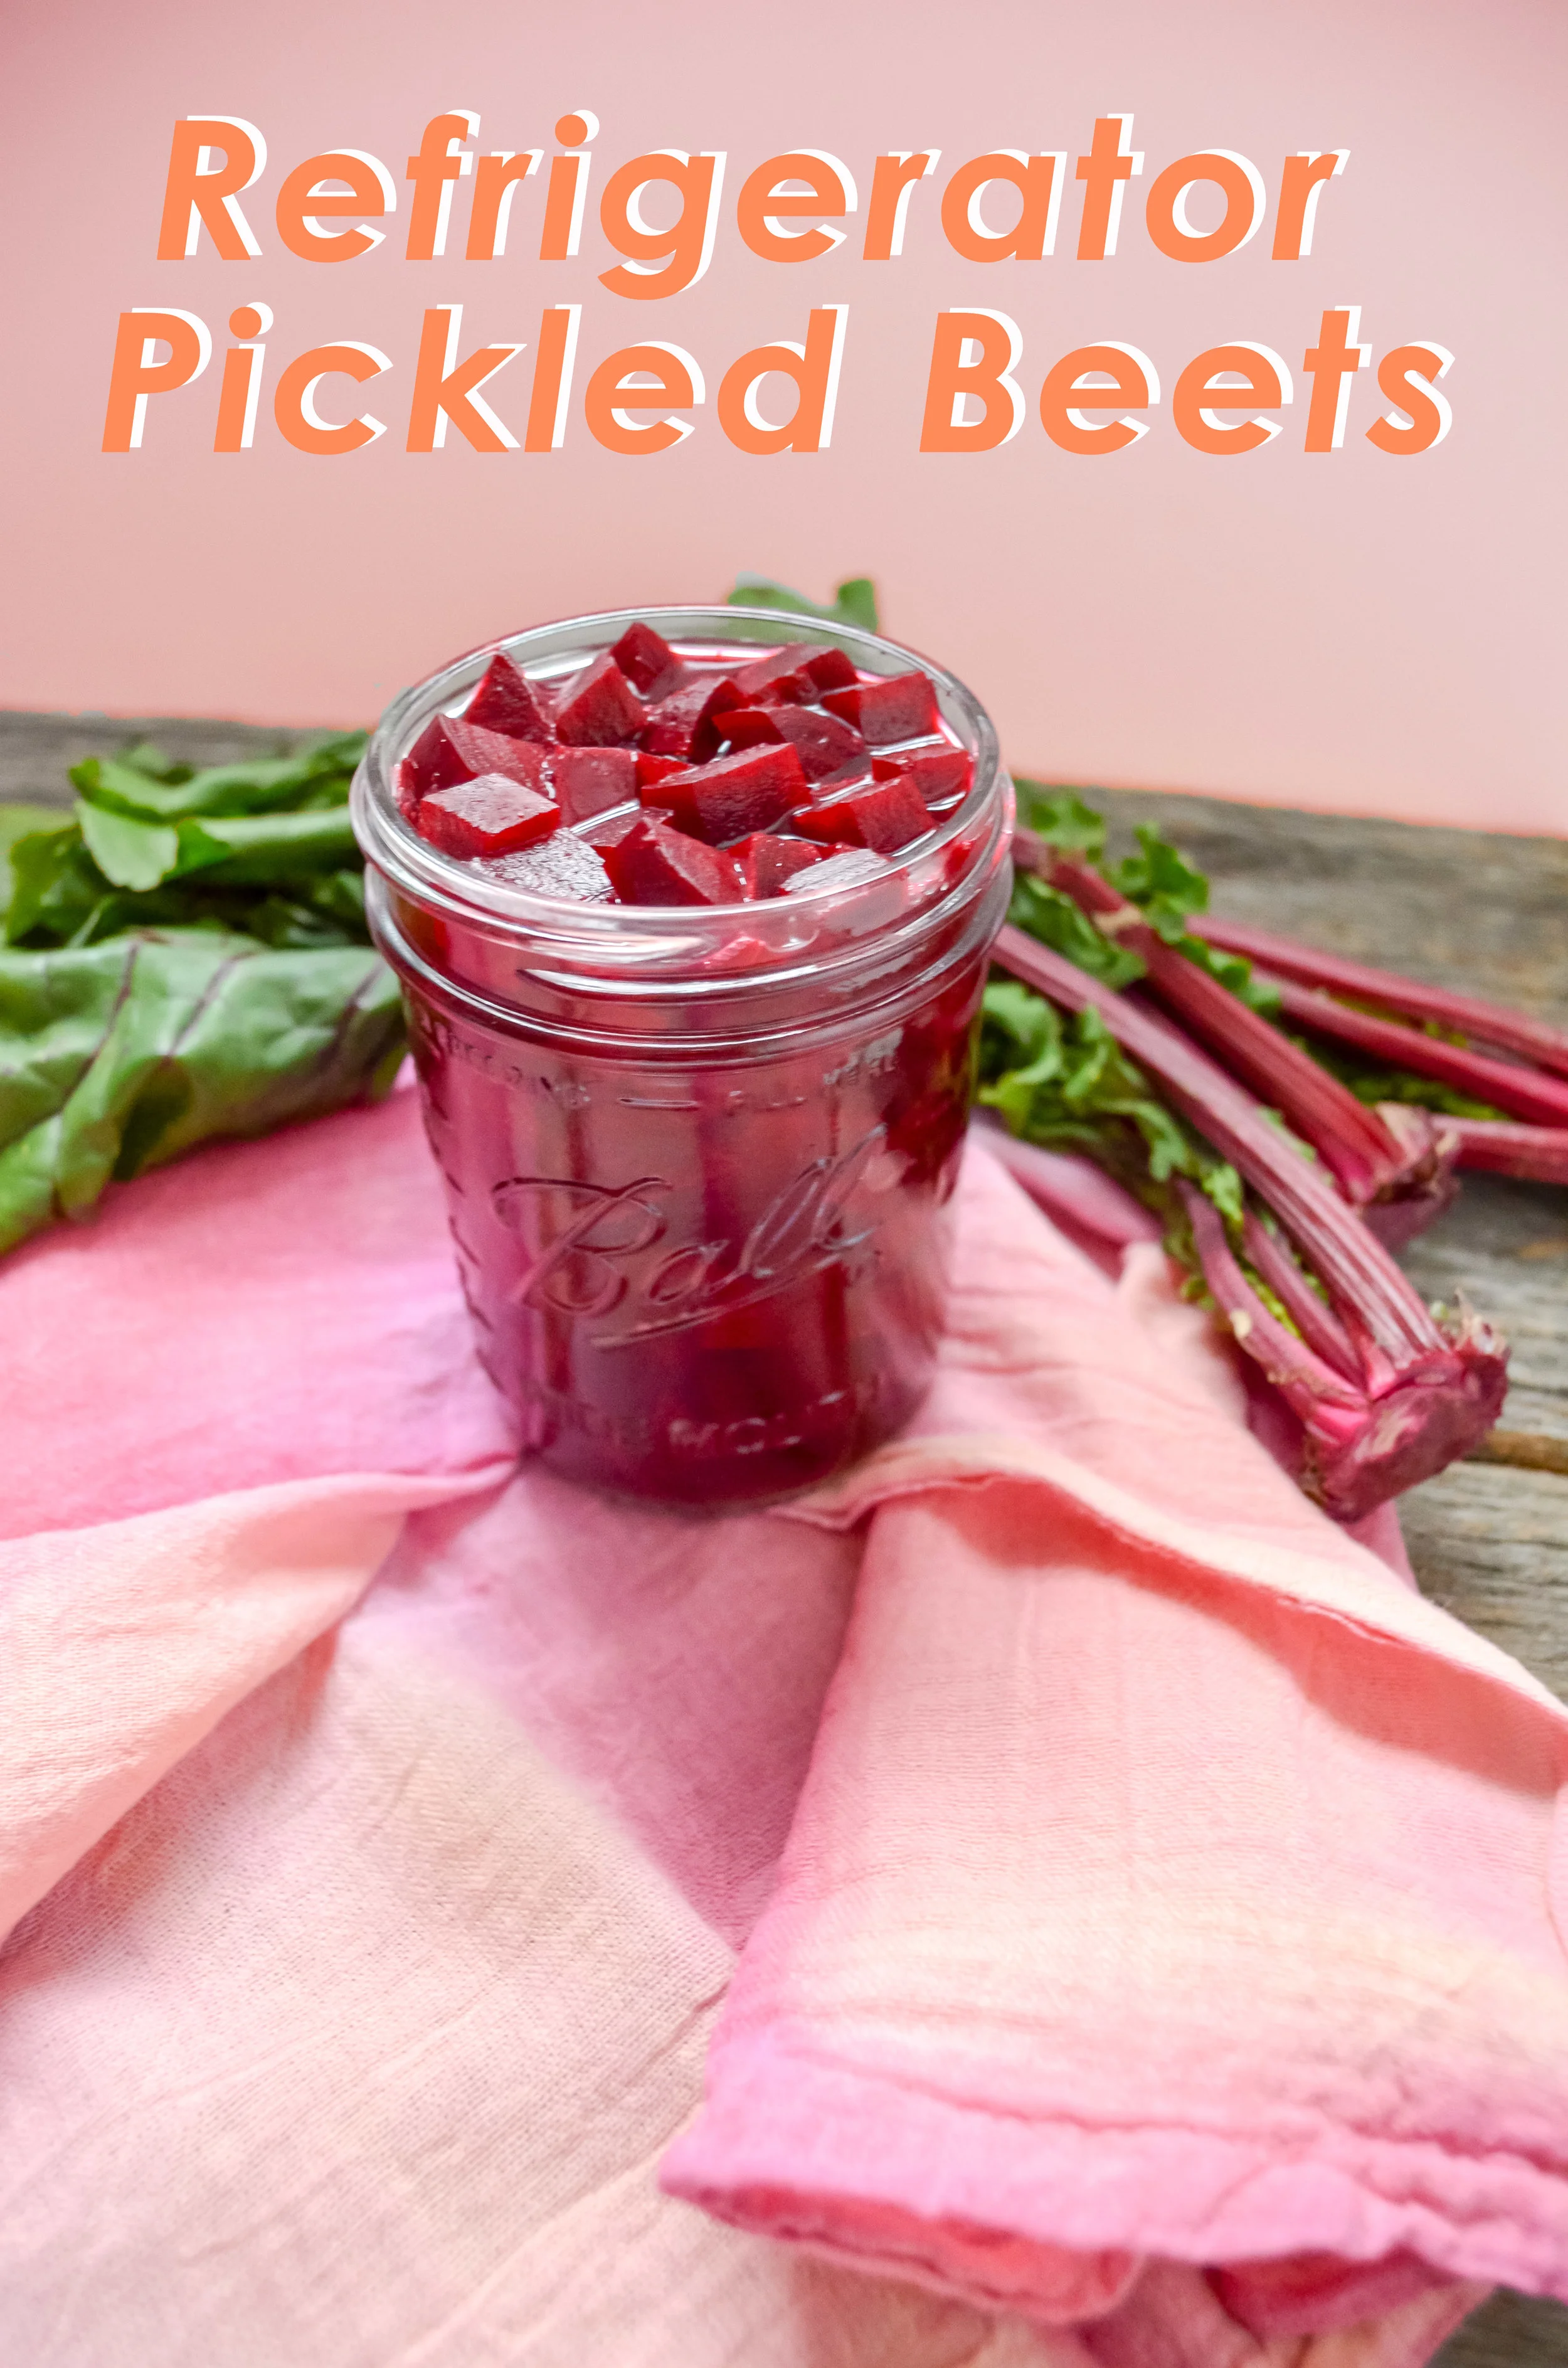
Refrigerator Pickled Beets
We need to talk about beets.
I was not a fan of them in the beginning. It was so bad that I remember my first time trying them. It was at Jason’s Deli, many moons ago. I was with my health freak friends and they were like, “Oh! You have to add beets to your salad, they’re so good for you!”. I thought to myself, “Sure… If beets can make my entire salad pink then they can’t be that bad!”.
Boy, was I wrong; beets taste just like dirt.
A great way to amp up up the nutritional value of beets while being a great addition to salads, side dishes, and appetizers!
We need to talk about beets.
I was not a fan of them in the beginning. It was so bad that I remember my first time trying them. It was at Jason’s Deli, many moons ago. I was with my health freak friends and they were like, “Oh! You have to add beets to your salad, they’re so good for you!”. I thought to myself, “Sure… If beets can make my entire salad pink then they can’t be that bad!”.
Boy, was I wrong; beets taste just like dirt.
Years have gone by since then and I would now consider myself a beet connoisseur. If I go to a cute mom & pop bakery or a hipster smoothie joint, I will initially scour the menu for anything beet flavored and go for it. One of my favorite things that include beet in the recipe is these amazing beet and ricotta cheese donuts from The Underground Cafe with DoughP Doughnutsin Asheville, NC. They were a total game changer!
I have thought about different ways to incorporate beets into my diet, and eventually, I realized one way to implement beets is to pickle them!
Cool facts about pickled beets:
Very low in fat, with less than 0.2g in each cup of slices.
Rich in dietary fiber which helps in promoting a healthy digestive system and stable blood sugar levels.
High levels of many vitamins and minerals like Vitamin A, B and C, potassium, magnesium, and iron.
Detox capabilities!
Contains both essential amino acids betaine (used to help people with depression) and tryptophan (that acts as a natural mood regulator)
There are many ways to incorporate pickled beets into your diet. My favorite way is to add them to salads. You can also add them to a bruschetta style appetizer with goat cheese and basil, breakfast eggs, or a side dish!


Now, let’s talk about how to pickle your beets. Most restaurants or recipes on Pinterest will tell you to pickle your beet or vegetable in sugar or a brine. A little bit of sugar is fine, but I try to avoid adding too much extra sugar to my diet. That is why my recipe uses a very small amount of sugar along with apple cider vinegar just to balance out the flavor. I won’t go too much into detail, as ACV already holds a solid reputation, but ACV is great for regulating blood sugar levels, can improve skin health, and reduce blood pressure. Now, to the recipe, we go!


If you try this recipe, let us know! Leave a comment, rate it, and don’t forget to tag a photo to #fromtherootsblog on Instagram. We love seeing what you come up with!
A great way to amp up up the nutritional value of beets while being a great addition to salads, side dishes, and appetizers!
INGREDIENTS
1 lb fresh beets
1/2 cup apple cider vinegar ((with the mother))
1/2 cup filtered water
1 tsp organic cane sugar
1 pint glass mason jar (wide mouth in picture)
DIRECTIONS
Wash and clean beets and add to a boiling pot of water.
Boil for up to 25 minutes or until fork tender. (Tip* use boiled beet water as a plant fertilizer!)
While beets are boiling, add water, sugar and ACV to a small pot over medium heat. Bring to a boil and simmer on low for 5 minutes. Let the mixture cool to room temperature.
Let the beets rest and then peel off the skin (taking the skin off after boiling process is much easier than when beets are fresh)
Cut into cubes or slices (Tip*place a paper towel over cutting board and wear gloves to prevent staining)
Add beets to a jar and pour the liquid mixture over until full to the rim. Allow the pickled beet mixture to cool until room temperature.
Screw on lid and transfer to the fridge! You can refrigerate for up to two weeks.
NOTES
Canning option: I will be honest and say that I have not tried canning for long-term storage so I am not sure how these would store later so I don’t recommend it.

Mediterranean Grain Bowl + Goat Cheese And Olive Dressing
I don't know about you, but I generally have a busy schedule. An everyday schedule looks something like this: wake up at 6:15AM, get ready for work/prepare a smoothie, long commute to work, work all day, chemistry lecture in between, workout, come home, make dinner, study for GRE, work on homework, work on the blog, and go to bed around 11PM. As you can see, there is not much time in my schedule to make a nutritious and filling lunch.
Classic grain bowl - Mediterranean style! Great recipe for batch cooking. Homemade goat cheese and olive dressing included!


I don't know about you, but I generally have a busy schedule. An everyday schedule looks something like this: wake up at 6:15AM, get ready for work/prepare a smoothie, long commute to work, work all day, chemistry lecture in between, workout, come home, make dinner, study for GRE, work on homework, work on the blog, and go to bed around 11PM. As you can see, there is not much time in my schedule to make a nutritious and filling lunch.
This is where batch cooking (or meal prep) comes into play! Mastering this art has saved me so much time and money. It has helped me to maintain a healthy weight by not eating out as much, especially at work. I typically batch cook on Sunday's for two hours. Within two hours I will make lunch for four servings, prep for breakfast meals that I want for that week, and chop fruits/vegetables for snacks and dinner sides. If you are just starting on the batch cooking train, grain bowls are the way to go!


Not only are grain bowls easy to put together, they are also aesthetically pleasing. I love seeing all my veggies laid out on top!
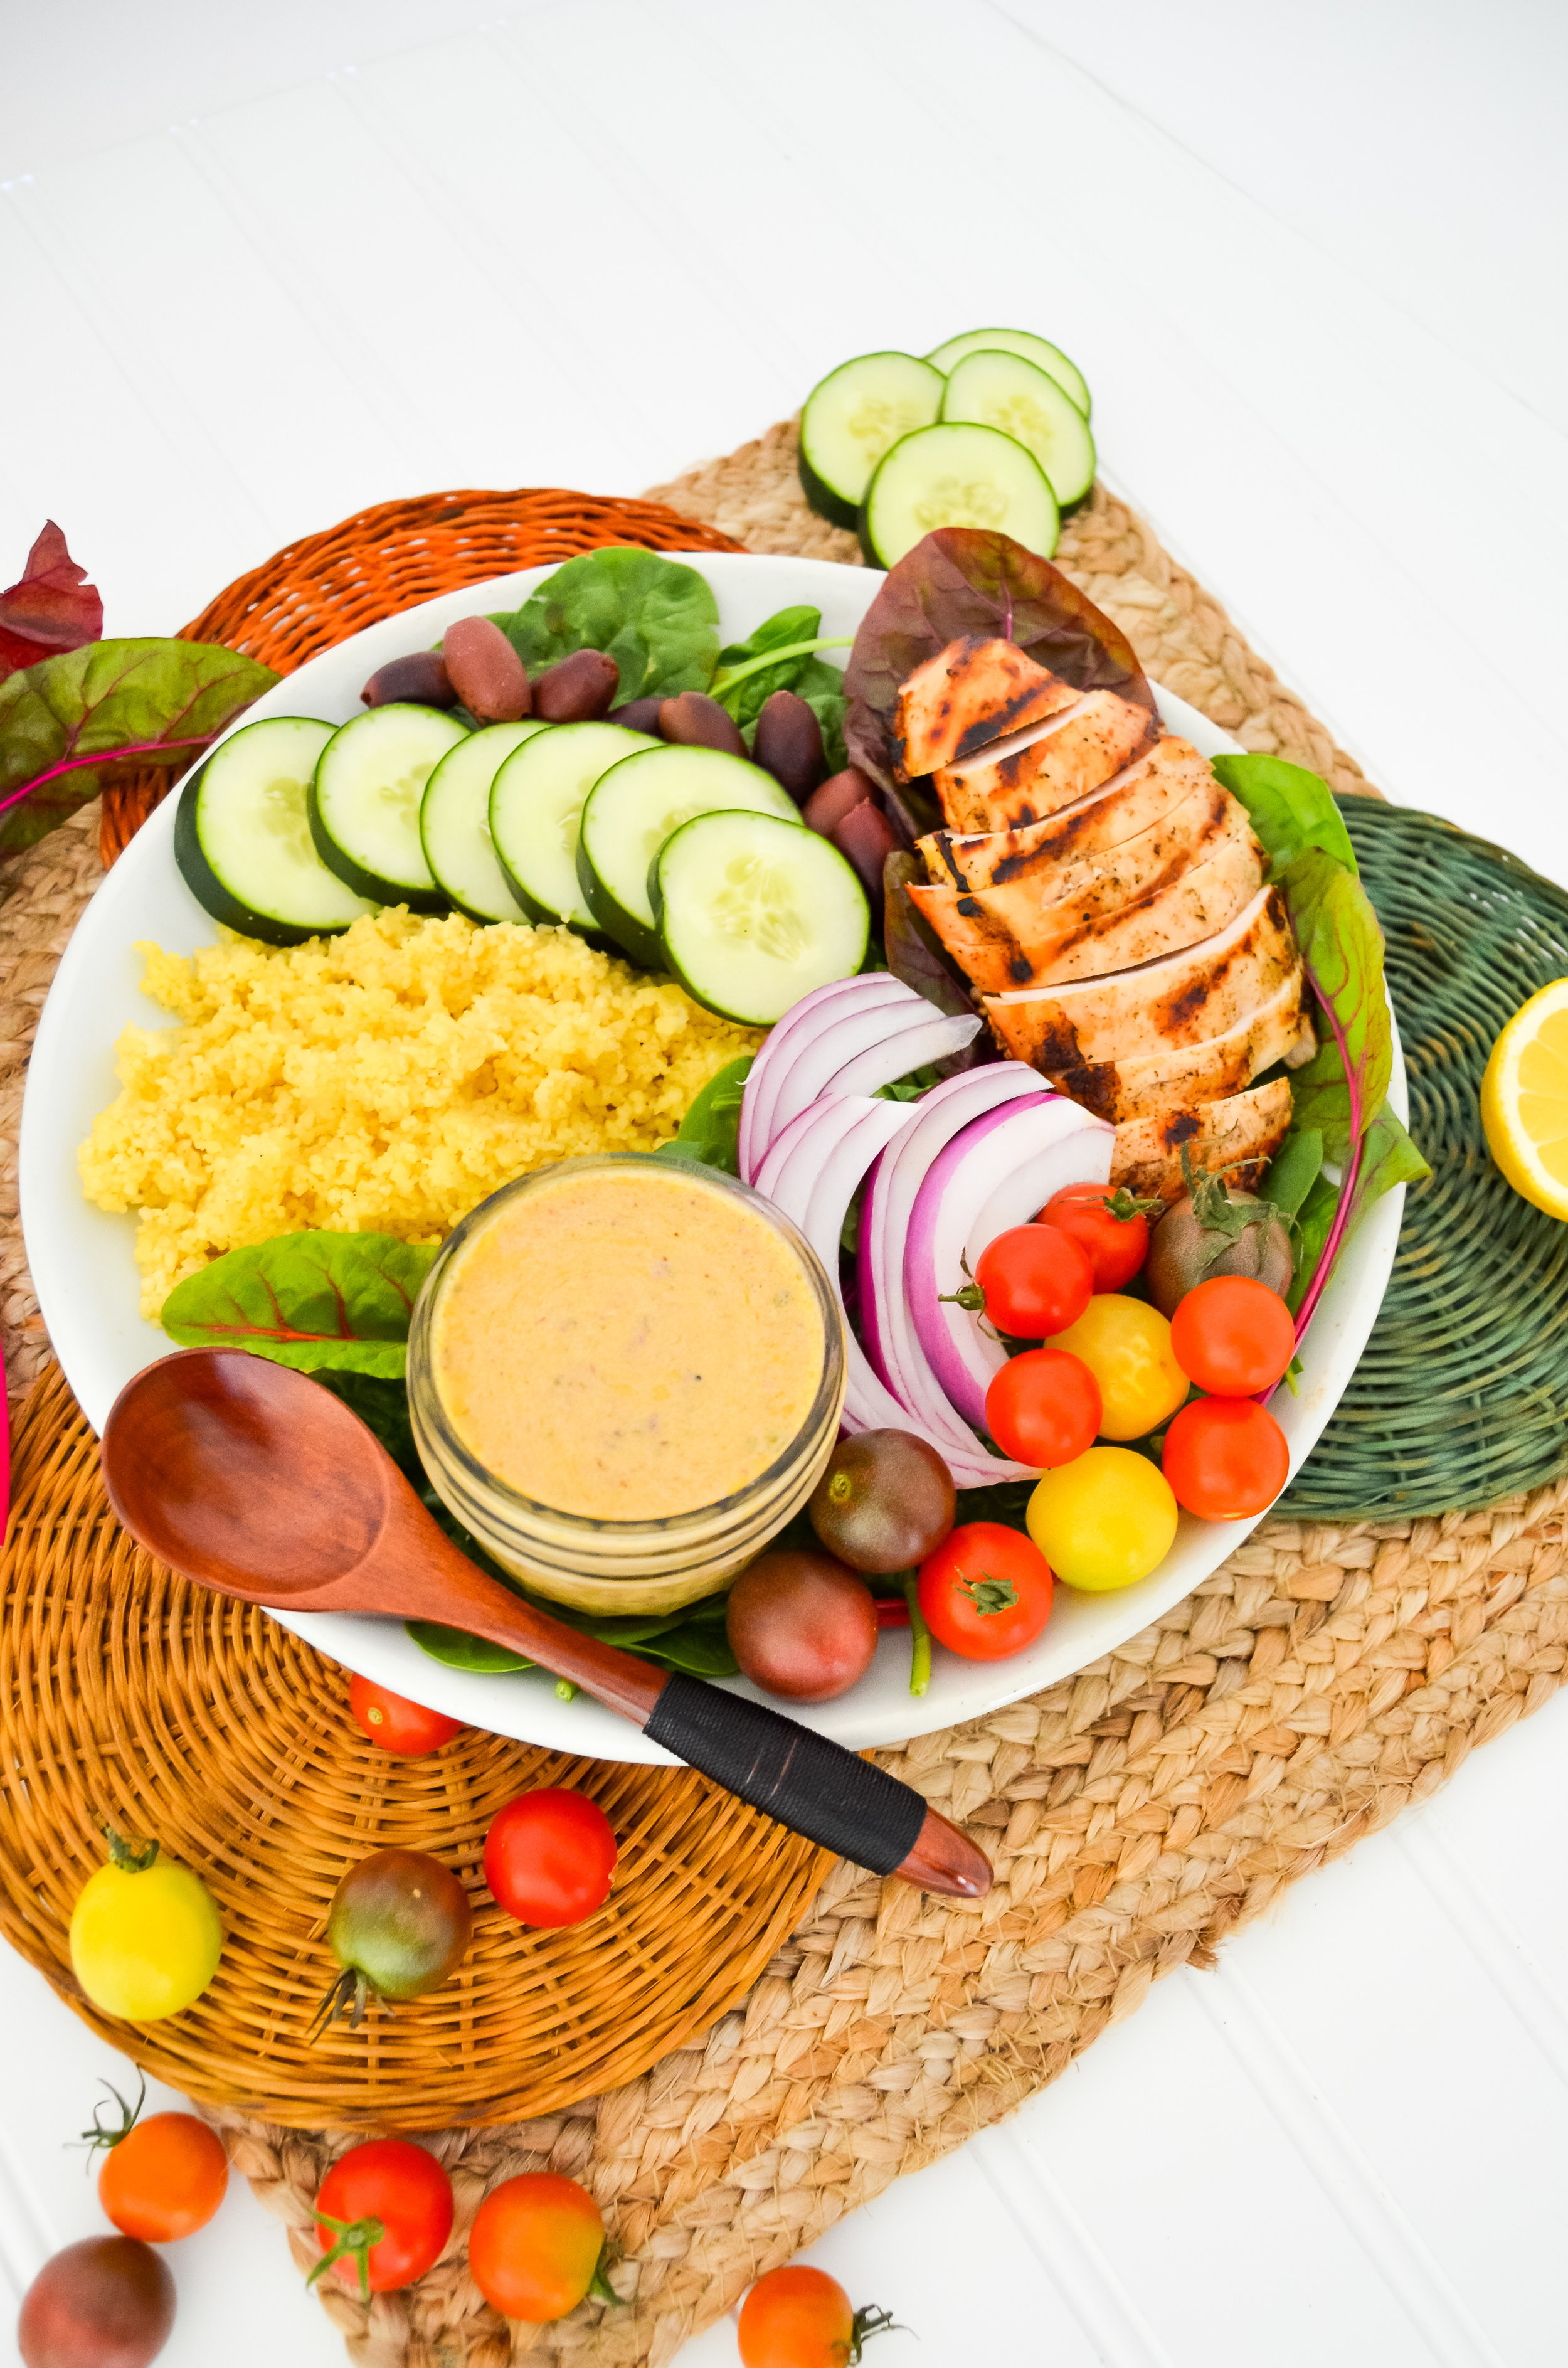
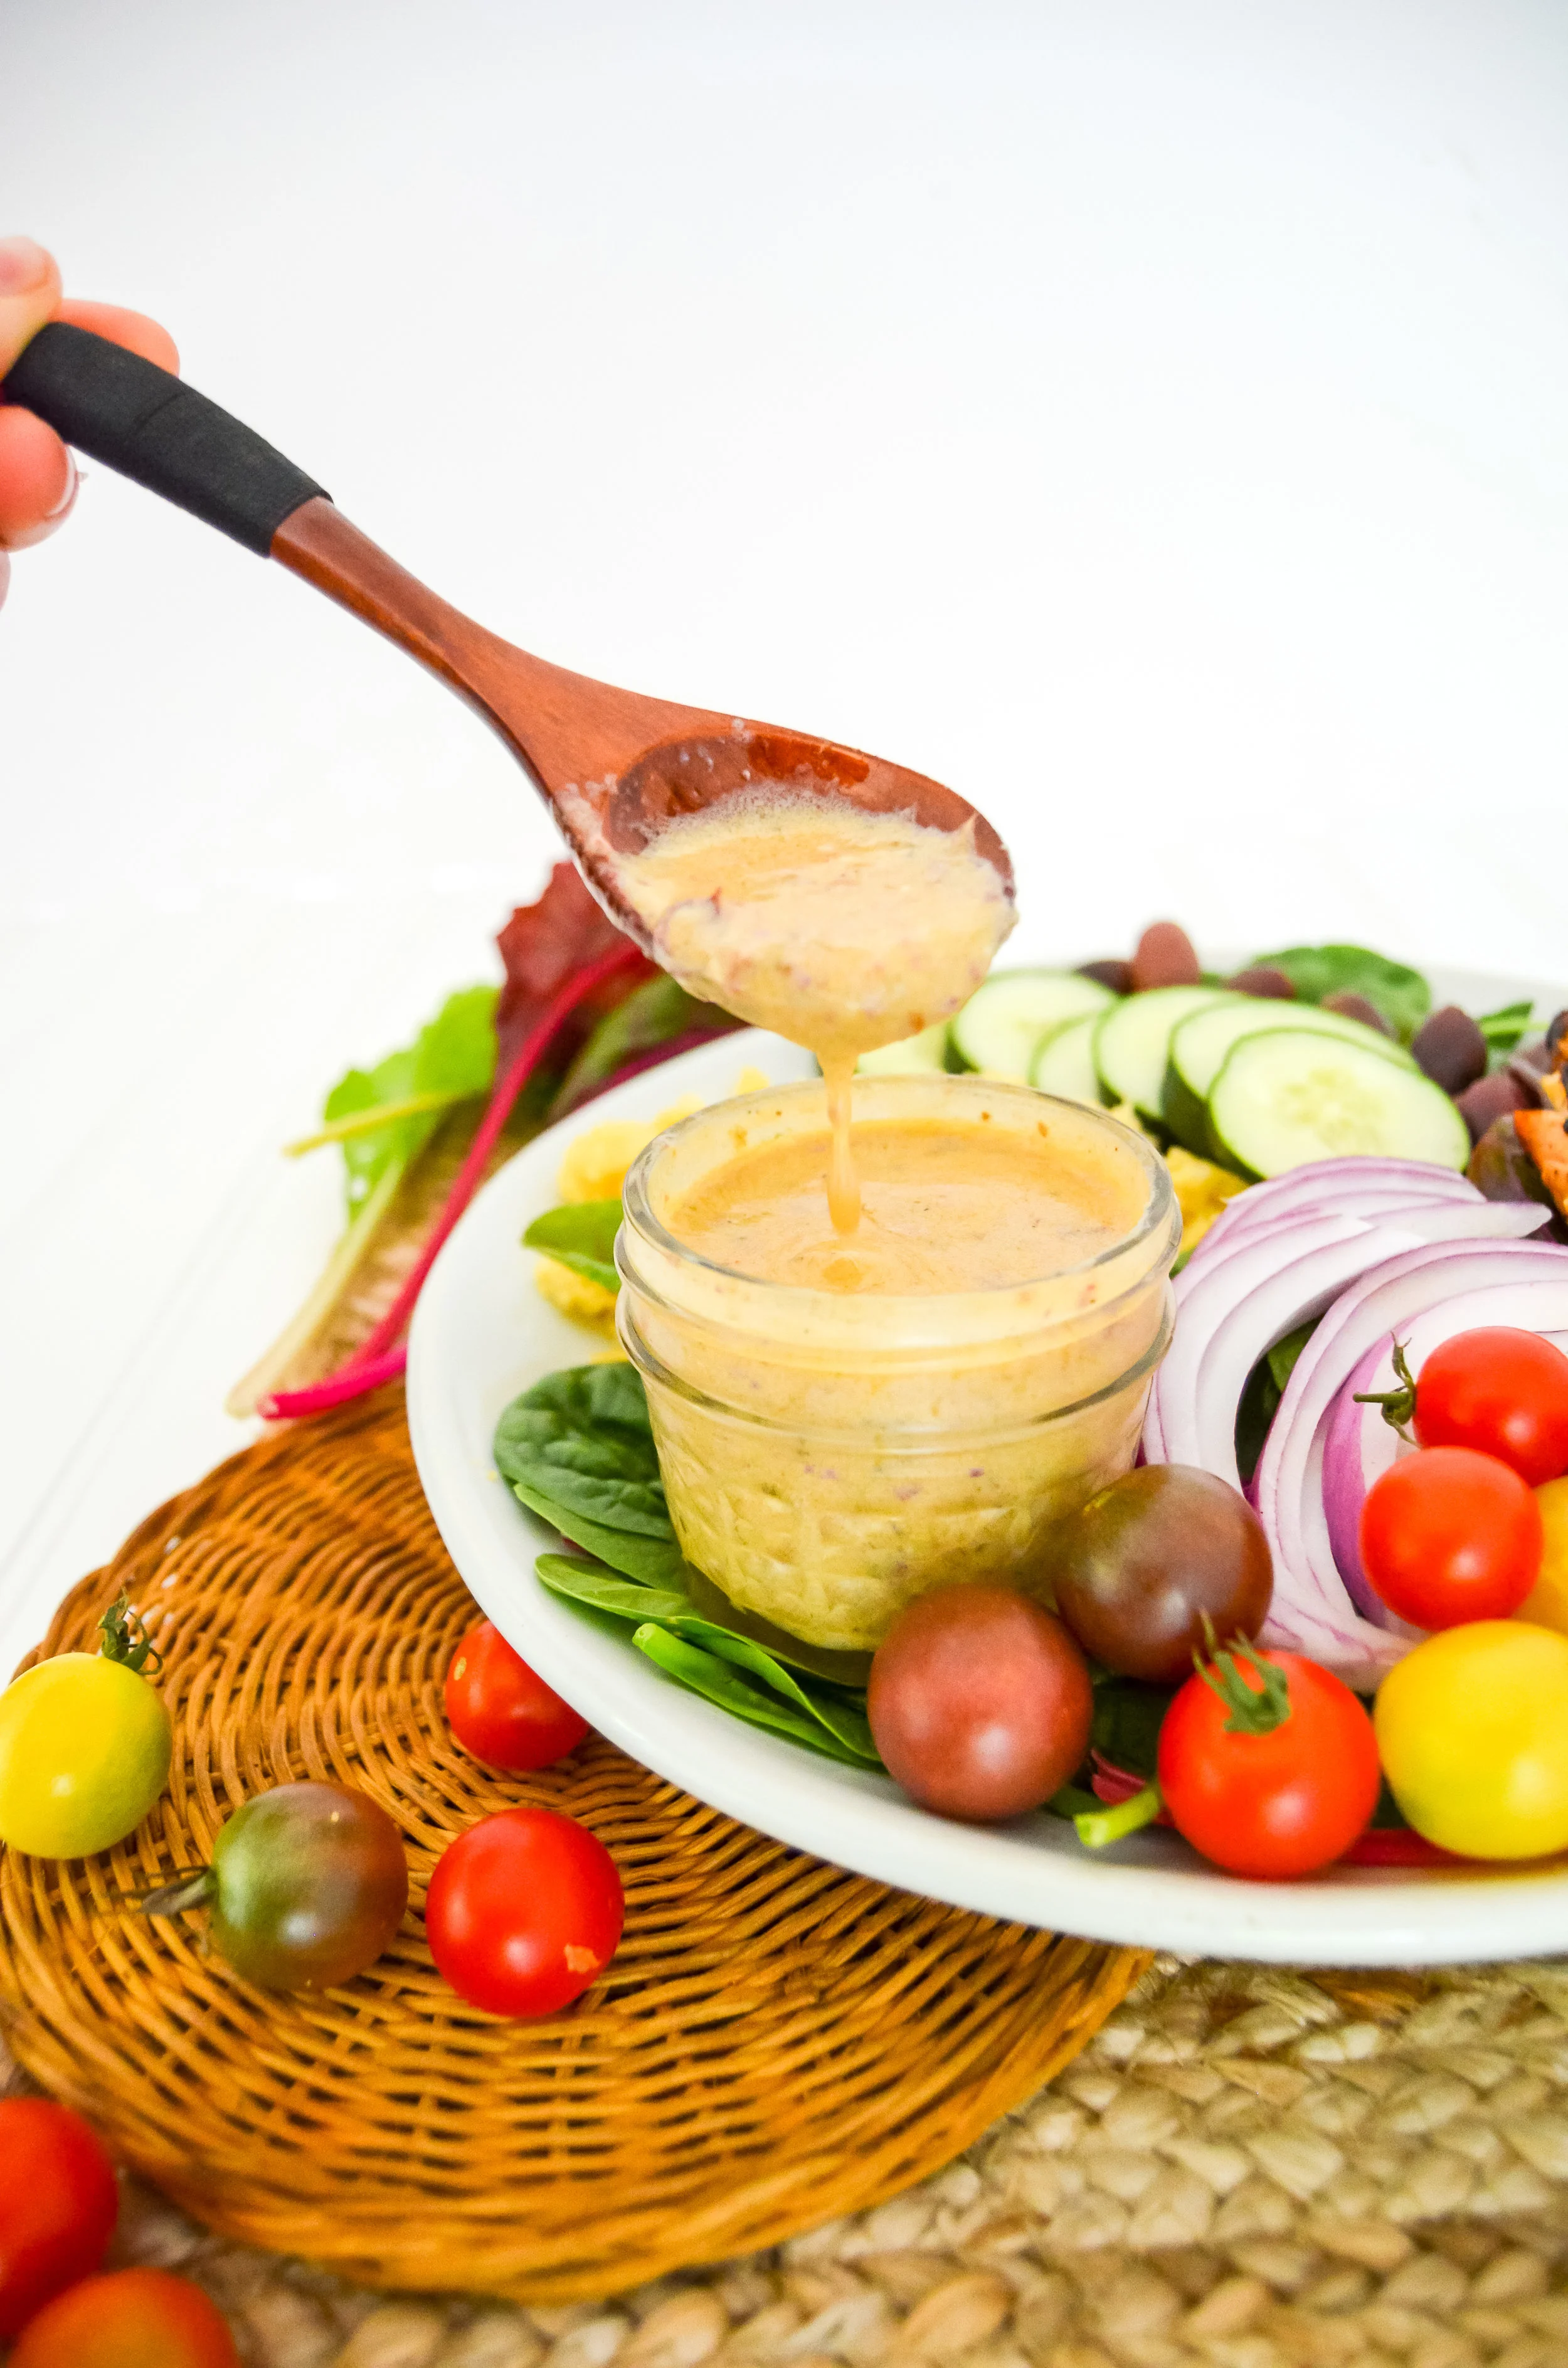
You begin by choosing a grain, a form of protein, some greens, and veggies, and finish it off with something extra like a dressing, lime wedges, or avocados. For this recipe, I decided to create a Mediterranean style grain bowl by using couscous, lemon and garlic marinated chicken, tomatoes, cucumbers, and mixed greens. I also created a goat cheese and olive dressing that is simple to make in a mason jar but is even easier if you have a food processor.

Mediterranean cooking has become a popular way of eating as it consists mainly of fruits, vegetables, whole grains, legumes, and healthy fats with lean sources of protein like fish and poultry. This style of cooking is very easy to follow especially when it comes to batch cooking lunches. In this Mediterranean grain bowl recipe, you will need to cook the grain and protein but the rest is all fresh ingredients that are super easy to assemble. What’s even better about grain bowls is that you can add or take away ingredients if you need to! For example, if you want to skip the meat, you can instead toast chickpeas with 1 teaspoon of coconut oil and Italian seasoning in the oven at 425 degrees for about 20 minutes until brown and crispy.

Let us know how you like to prepare your favorite grain bowl! If you tried this recipe, don’t forget to comment and share!
Classic grain bowl - Mediterranean style! Great recipe for batch cooking. Homemade goat cheese and olive dressing included!
INGREDIENTS
1 lb boneless skinless chicken breast
1 cup cooked couscous
1/2 cup black olives
3 gloves garlic (peeled and minced)
1 whole lemon
1 cup cherry tomatoes
1/2 small red onion (sliced)
1 whole cucumber (sliced)
1 large handful of spinach or mixed greens
Goat Cheese & Olive Dressing
2 Tbsp apple cider vinegar (more if into vinegar like me!)
1 Tbsp dijon mustard
1 tsp dried oregano
1/4 tsp pink Himalayan sea salt
1/4 tsp crushed black pepper
4 Tbsp avocado oil (or EVOO)
2 Tbsp goat cheese (or feta cheese)
3 whole olives
1 clove garlic
DIRECTIONS
Marinate chicken with minced garlic, juice, and zest of one lemon and S/P for at least 30 minutes. If you have more time, marinating it overnight will create a super juicy chicken!
Grill or cook chicken in a skillet for 5-10 minutes per side until chicken reaches an internal temperature of 165 degrees Fahrenheit.
While the chicken is cooking, add all dressing ingredients to processor and process until smooth and creamy. If you do not have a processor, finely mince garlic and olives and add to mason jar along with the rest of the ingredients and shake vigorously until desired creamy texture.
Assemble!
NOTES
This recipe will make four servings. With that in mind, divide up your couscous, chicken, veggies, and dressing in order to create four-grain bowls!